
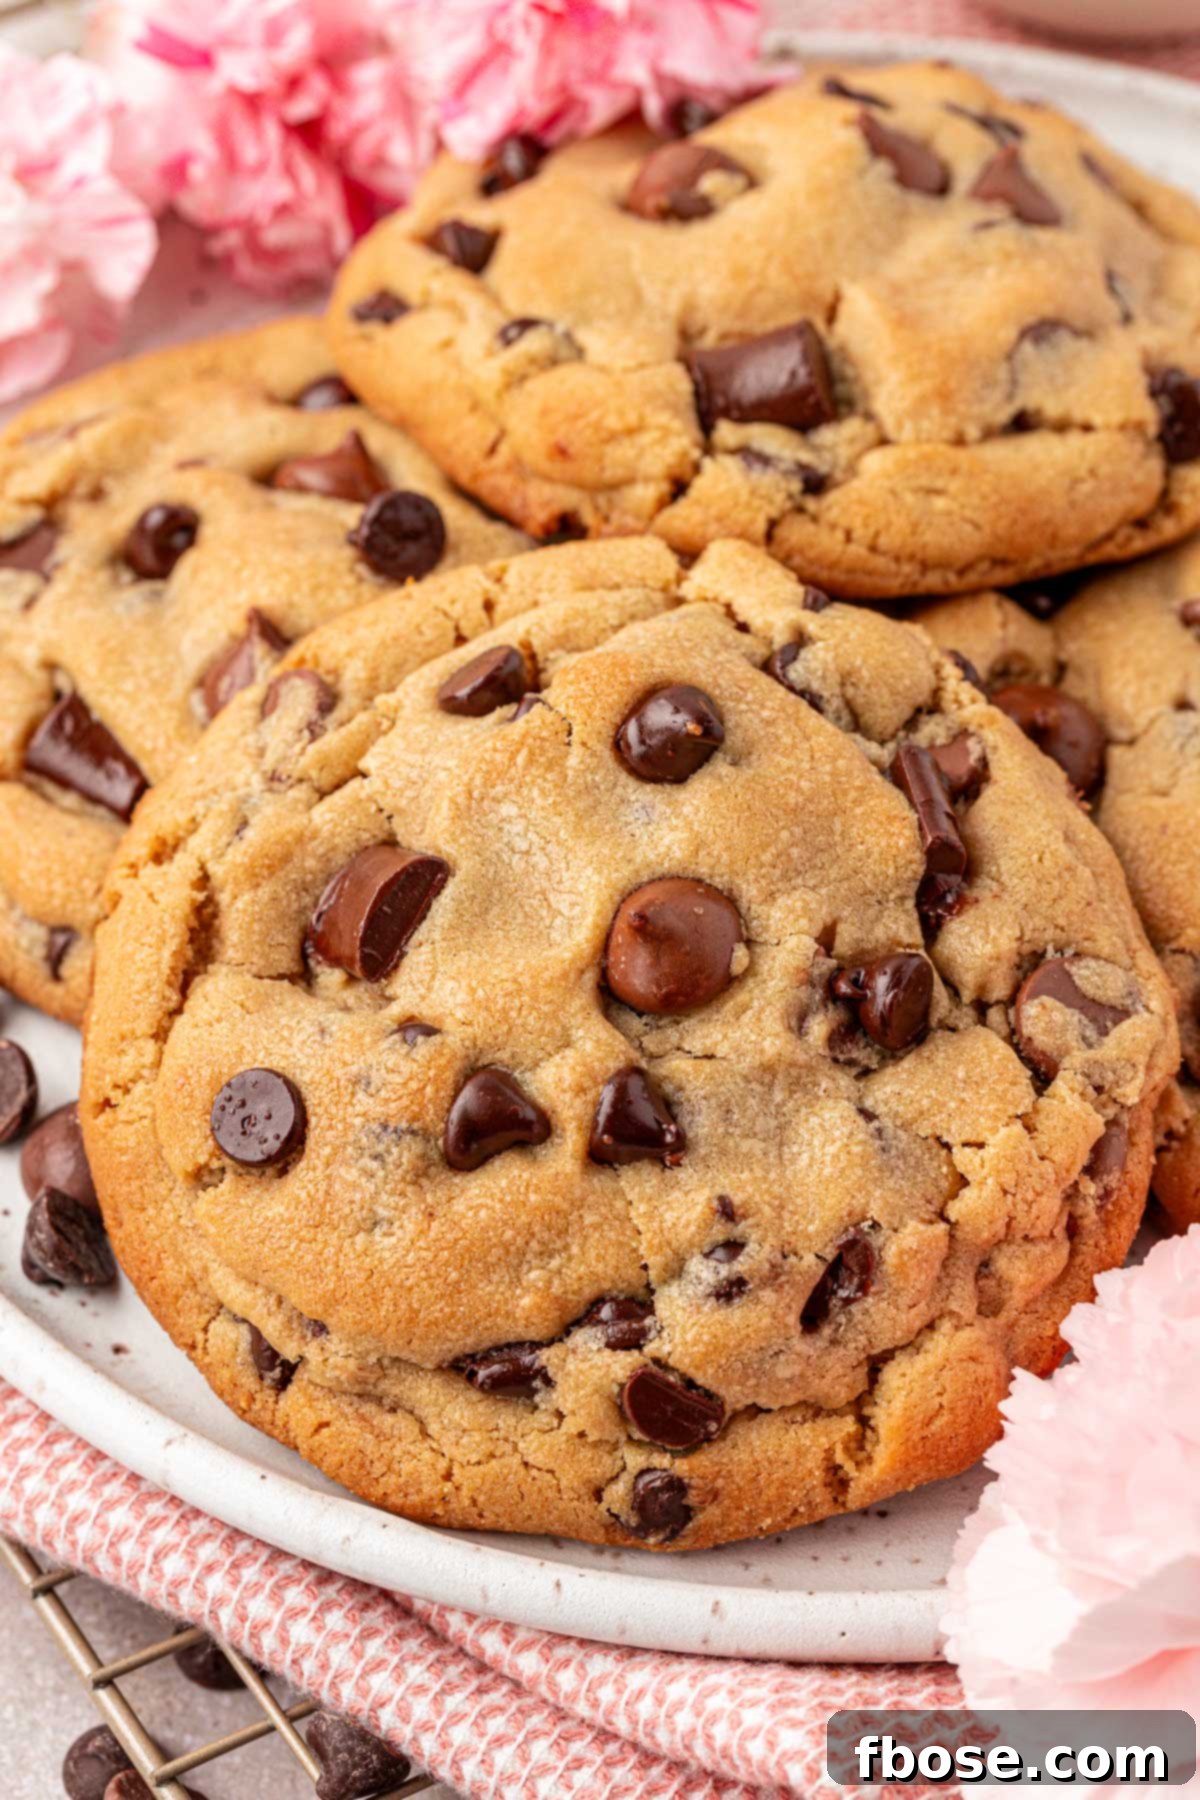
Embark on a culinary journey to recreate the legendary taste of **Nancy B’s Bakery Chocolate Chip Cookies** right in your own kitchen! Hailing from Pennsylvania, these cookies are often hailed as “The World’s Best Chocolate Chip Cookie,” and now you can discover their magic. This carefully crafted copycat recipe brings together a delightful blend of pantry staples, including rich peanut butter and an assortment of chocolate chips, all perfected with a smart freezer method that guarantees consistently delicious results every time. Prepare to bake a batch of these extraordinary cookies that will undoubtedly become a new household favorite.
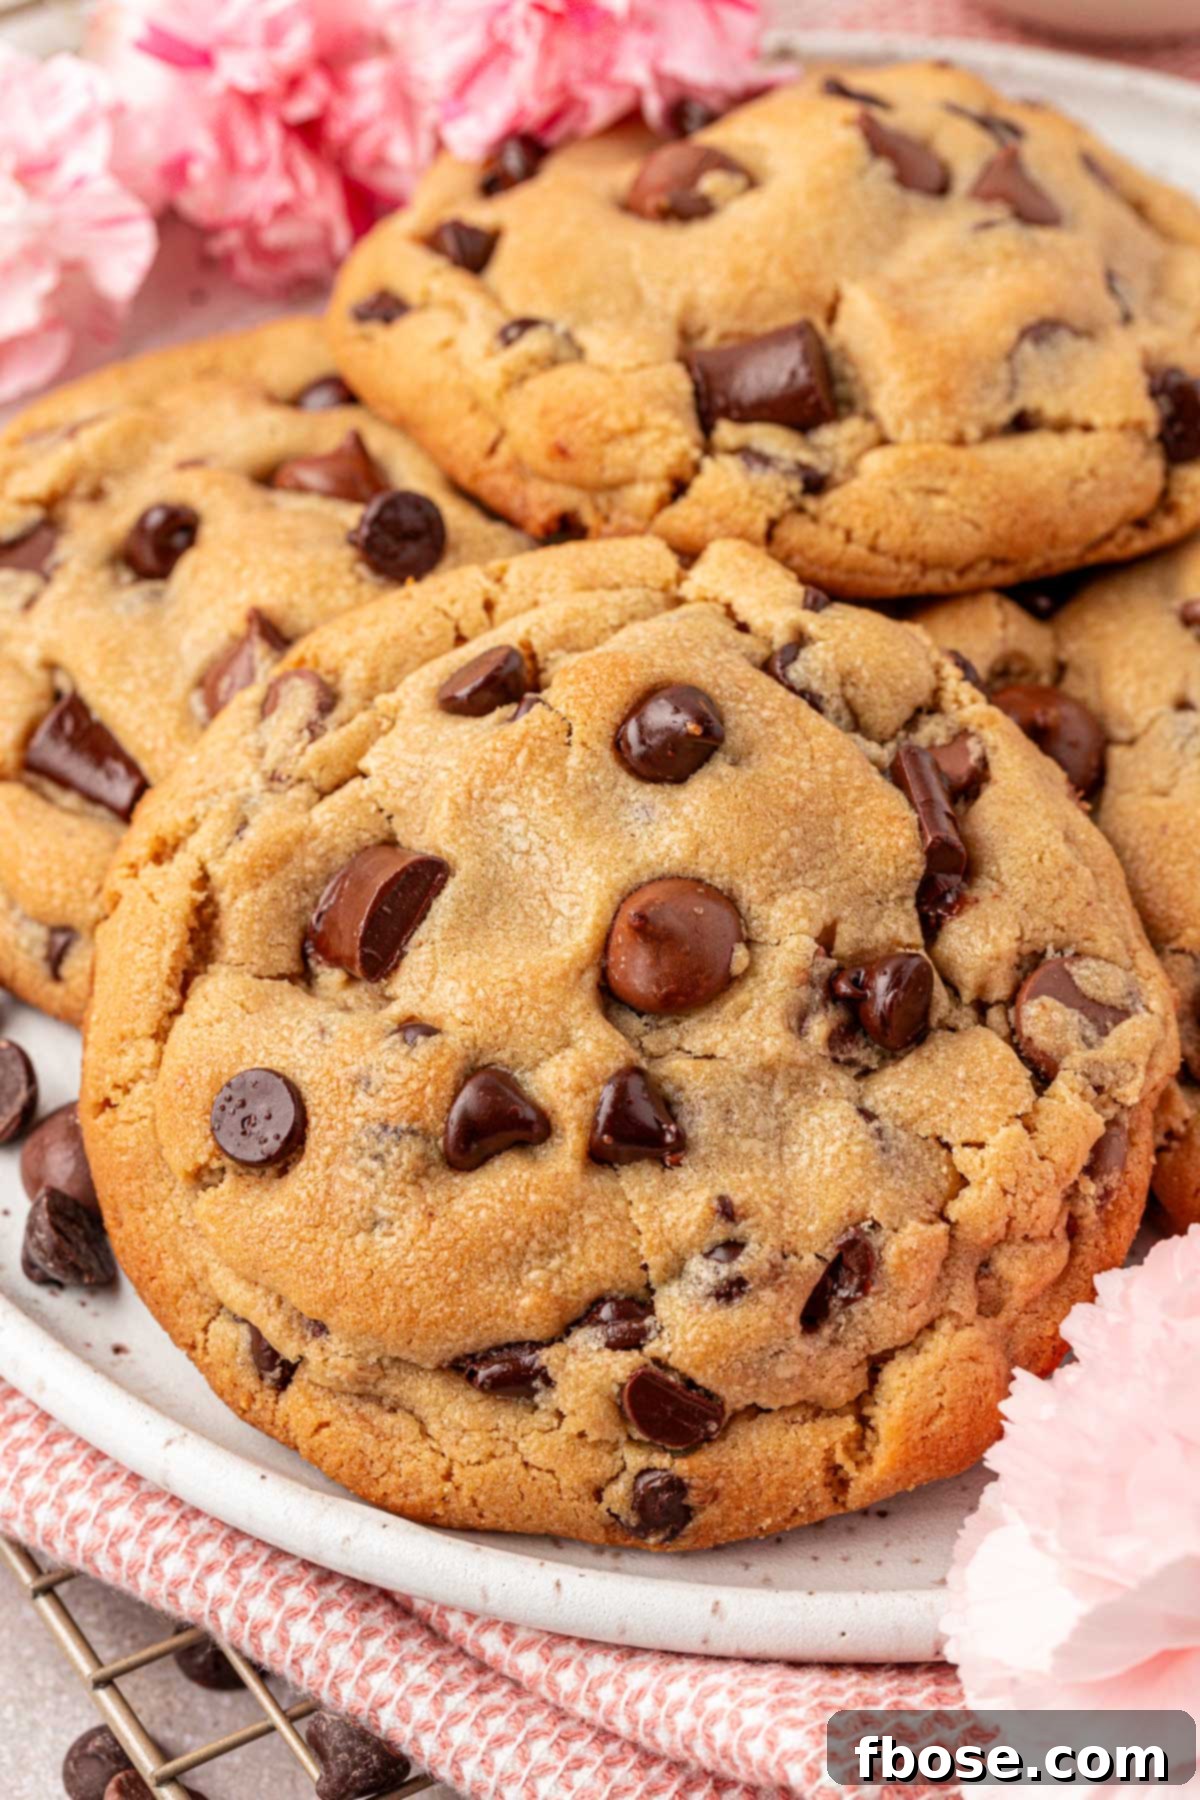
Unlock the Secret: Crafting the Best Chocolate Chip Cookies at Home
The moment a cookie claims the title of “The Best,” a powerful curiosity takes hold, compelling me to experience it for myself. With Nancy B’s Bakery located a significant distance away, the challenge and joy of developing an authentic copycat recipe became an irresistible mission. After countless hours dedicated to researching existing recipes and conducting numerous baking trials, I am thrilled to present what I believe is the definitive copycat recipe for Nancy B’s Bakery Chocolate Chip Cookies.
My quest for perfection led me to a unique flour combination: replacing standard all-purpose flour with a precise mix of cake and bread flour. This strategic choice is crucial for achieving the perfect balance of tender chewiness and structural integrity that characterizes Nancy B’s renowned cookies. Furthermore, I experimented with a medley of chocolate chips, incorporating various types and sizes to ensure every bite delivers a rich, complex chocolate experience. Crucially, the addition of creamy peanut butter was key to replicating that subtle, signature peanut butter undertone that makes these cookies so distinct and irresistible.
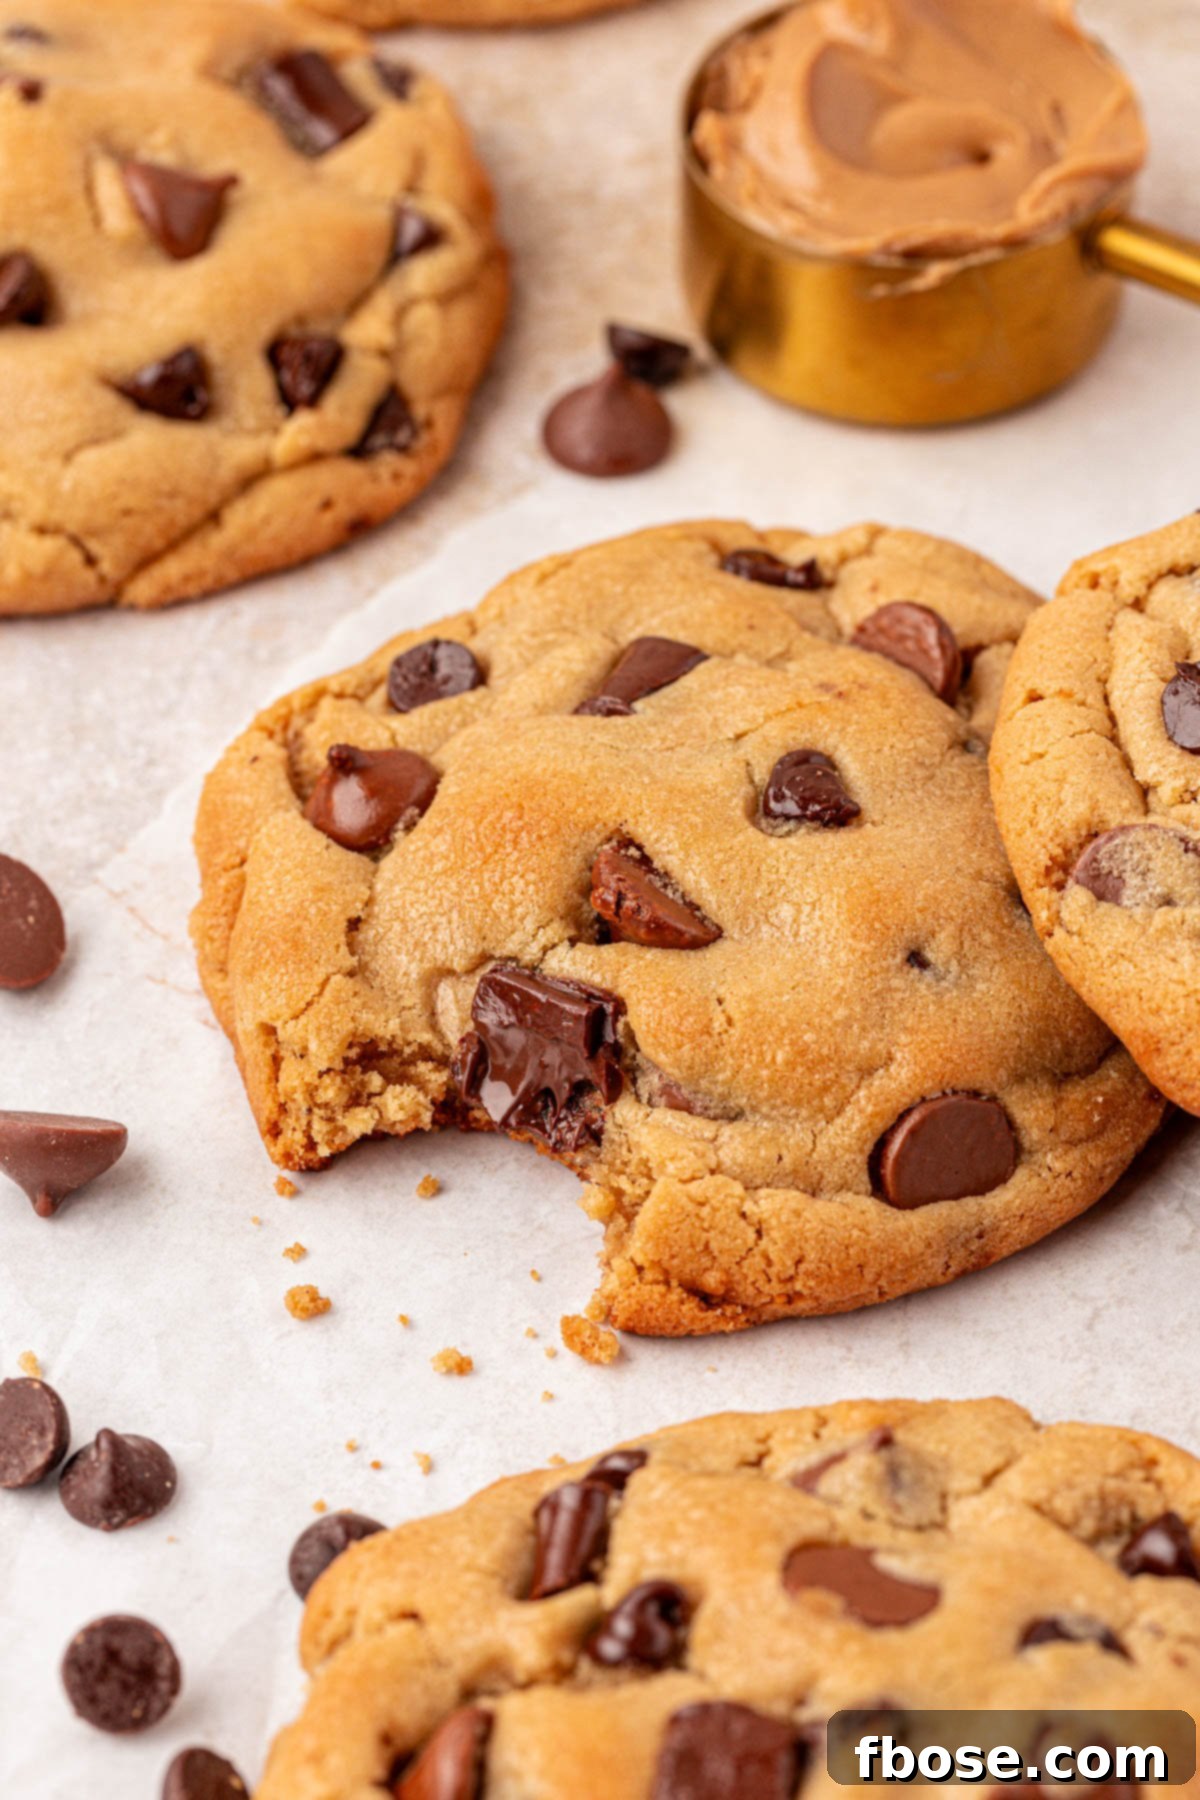
The outcome of this meticulous development process is nothing short of astounding. These homemade cookies boast a texture that is remarkably soft and tender on the inside, with a delightfully crisp exterior, and a rich flavor profile that one might typically expect only from a professional bakery. Yet, the true marvel is that these exceptional treats are crafted right in your home kitchen, promising an unmatched taste and experience.
Pin This Recipe For Later

A Baker’s Verdict: Rebecca’s Recipe Review
Taste: These cookies offer a beautifully balanced sweetness, enriched by distinct notes of both creamy milk chocolate and intense dark chocolate, all complemented by a delightful and subtle peanut butter undertone. This combination creates a truly harmonious flavor profile that lingers pleasantly after each bite.
Texture: Prepare for a cookie that is wonderfully soft and tender at its core, encased in a delicate, slightly crisp exterior. Throughout the cookie, you’ll discover luscious puddles of melted chocolate, adding to its luxurious mouthfeel. The unique flour blend works wonders to create this irresistible texture.
Ease: A surprisingly simple process for such gourmet results, rated 3 out of 10. While there’s a crucial chill time involved, the active preparation is straightforward, making it accessible for home bakers of all skill levels. The rewards far outweigh the effort.
Pros: The brilliance of this recipe lies in its design to be baked from frozen dough. This feature makes it exceptionally versatile for meal prepping or simply indulging in a single, freshly baked cookie whenever a late-night craving strikes. It’s convenience and gourmet quality, all in one.
Cons: The extended chill time is a necessary step to achieve the perfect texture, but it can be a minor inconvenience if you’re in immediate need of a sweet treat. Planning ahead is key for maximum enjoyment.
Would I Make This Again? Absolutely, without a doubt! This recipe has earned its place as a top-tier, go-to cookie recipe in my baking repertoire. Its consistent quality and exceptional flavor make it a true winner.
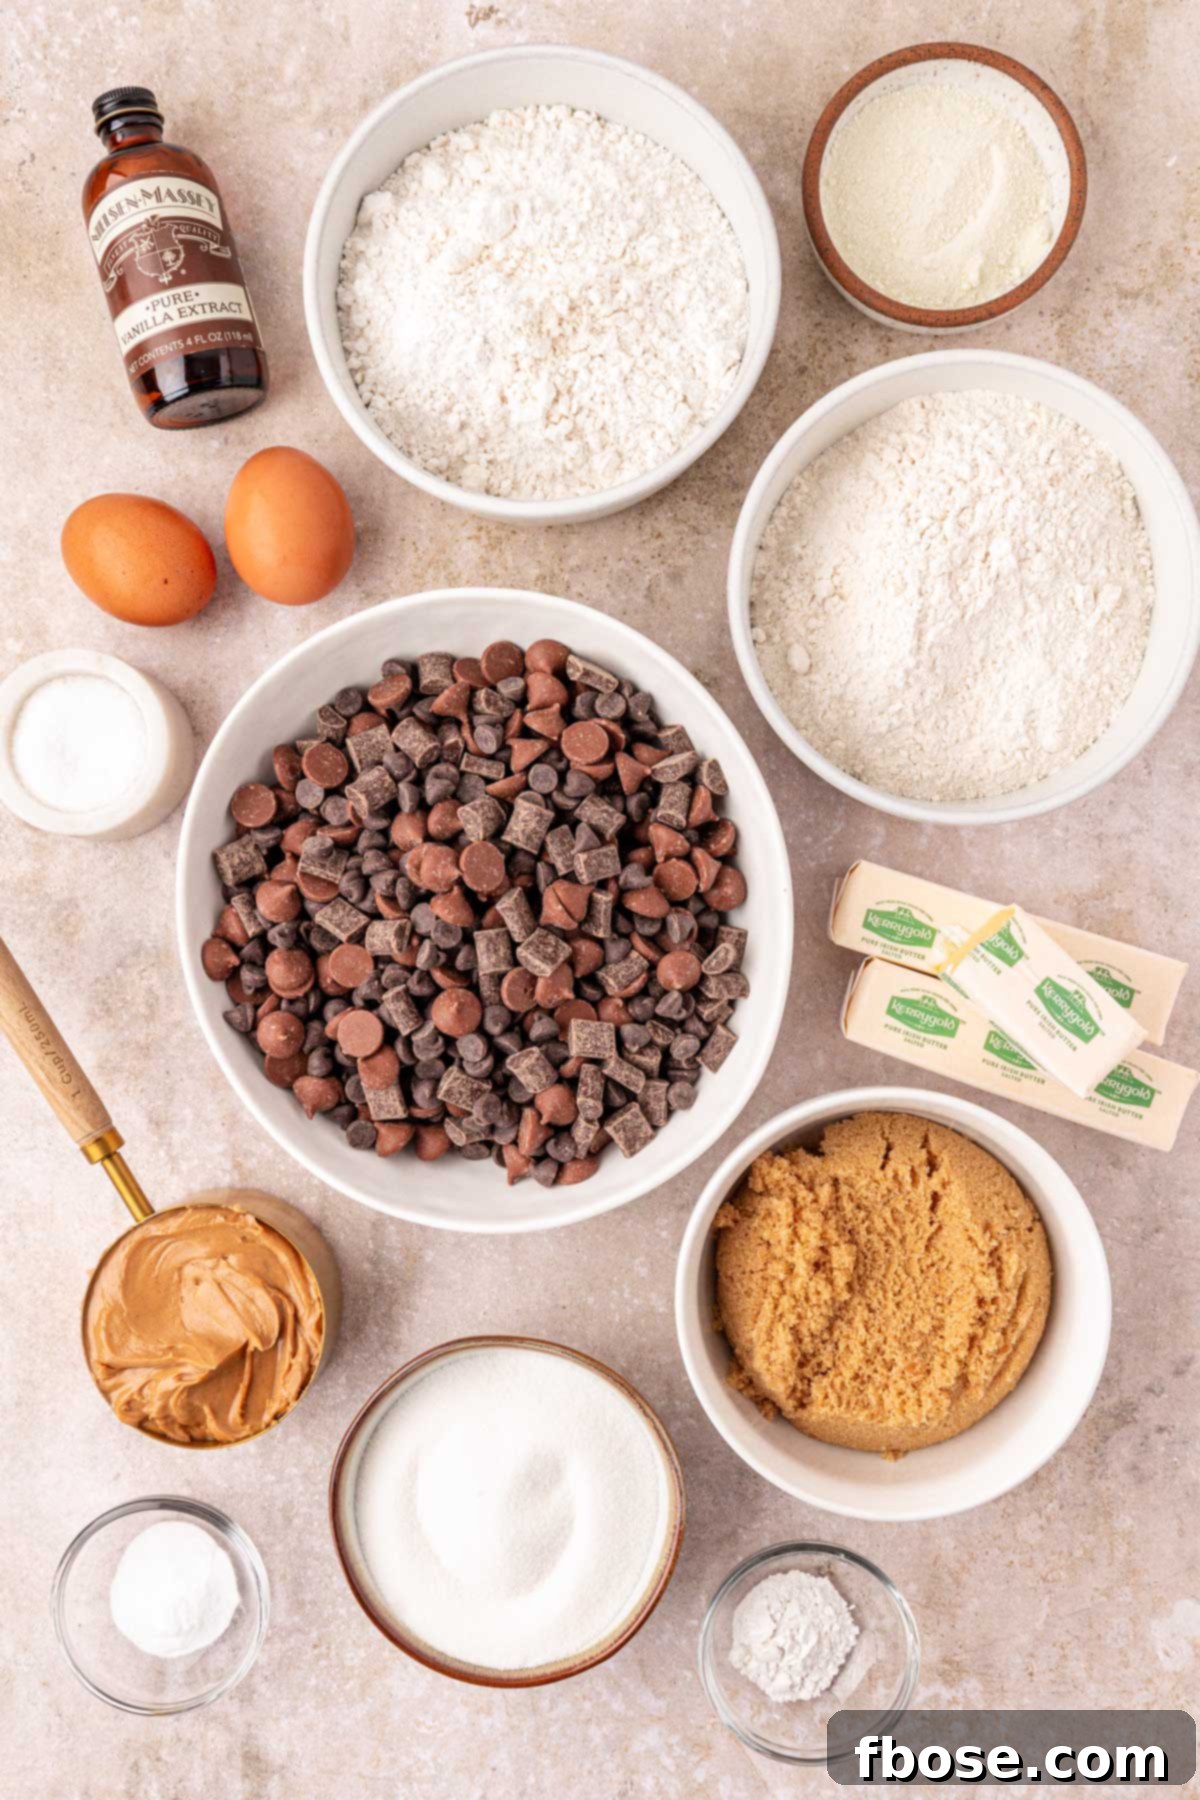
Essential Ingredients for Nancy B’s Bakery Cookies
To perfectly replicate the foundational excellence of Nancy B’s cookies, the selection of flours is paramount. This recipe calls for a precise blend of **bread flour** and **cake flour**. Bread flour contributes to the cookie’s signature chewiness and structure, while cake flour ensures a tender, melt-in-your-mouth crumb. This duo creates an unparalleled texture that truly captures the bakery’s original.
For those who don’t frequently bake with cake flour, there’s no need to worry! You can easily create a simple 2-ingredient cake flour substitute right at home using common pantry items. This ensures you can achieve the desired texture without a special trip to the store.
Beyond the flour, this copycat recipe relies on a harmonious mix of other quality ingredients: **powdered milk** for added richness and depth of flavor, a precise balance of **baking powder** and **baking soda** for optimal lift and spread, moisture-rich **light brown sugar**, creamy **salted butter**, foundational **granulated sugar**, a touch of **salt** to enhance all flavors, aromatic **vanilla extract**, and fresh **eggs** to bind it all together. Of course, a generous quantity of premium **chocolate chips** is essential for that decadent chocolate experience.
The final, yet highly significant, ingredient is **creamy peanut butter**. This isn’t just an optional addition; it’s a critical component that infuses the cookies with a very subtle, yet distinctive, peanut butter flavor. This nuanced note is what truly elevates these cookies, making them an authentic homage to Nancy B’s Bakery’s renowned originals.
Step-by-Step: Crafting Nancy B’s Bakery Chocolate Chip Cookies
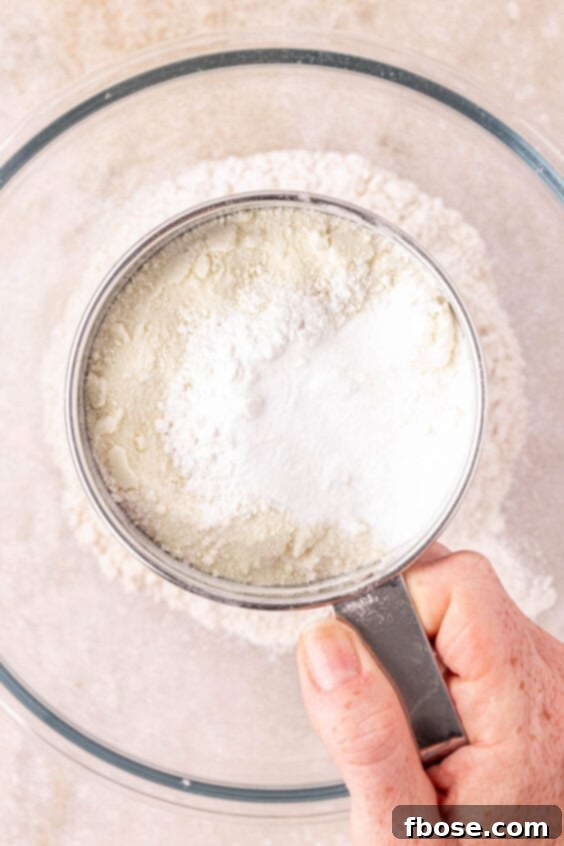
- In a medium-sized bowl, meticulously sift together the bread flour, cake flour, powdered milk, baking powder, and baking soda. Sifting ensures a uniform distribution and a lighter texture. Once combined, set this bowl of dry ingredients aside.
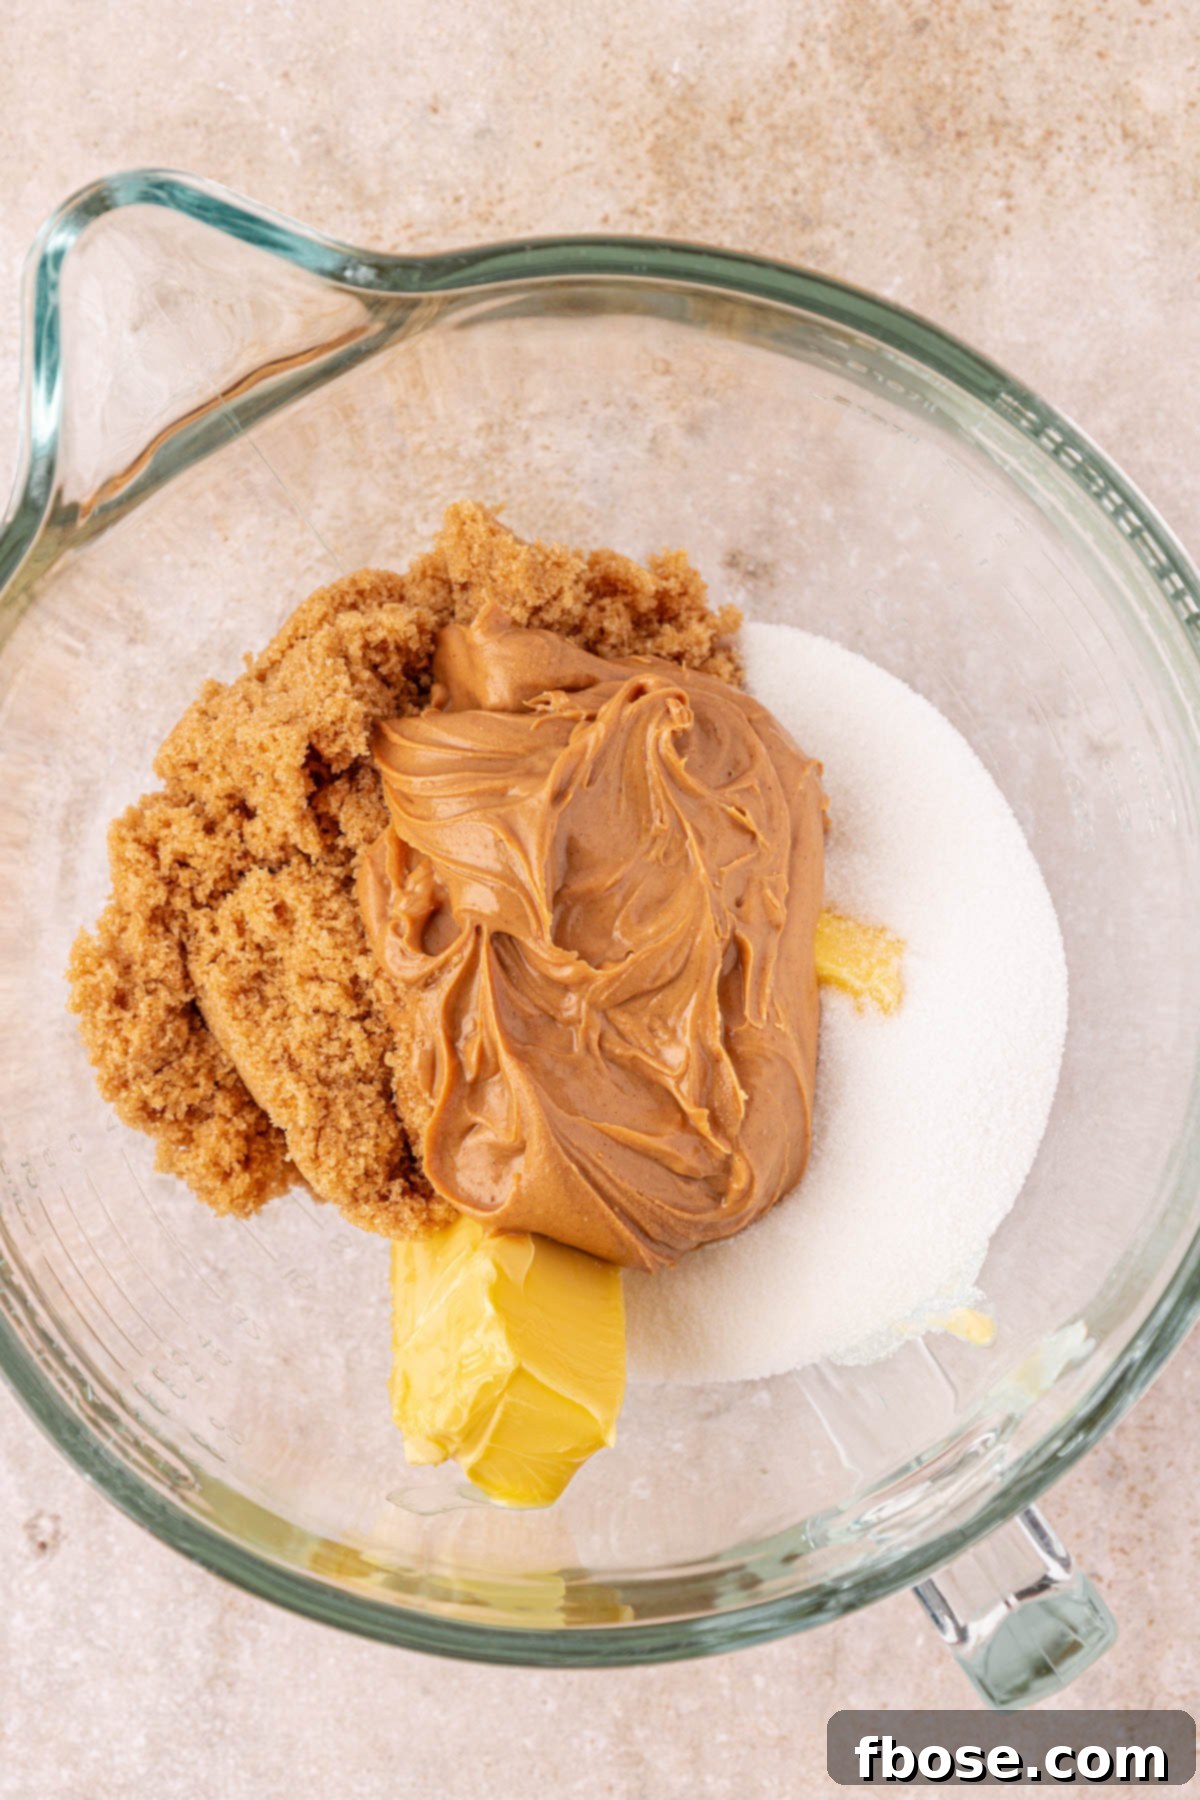
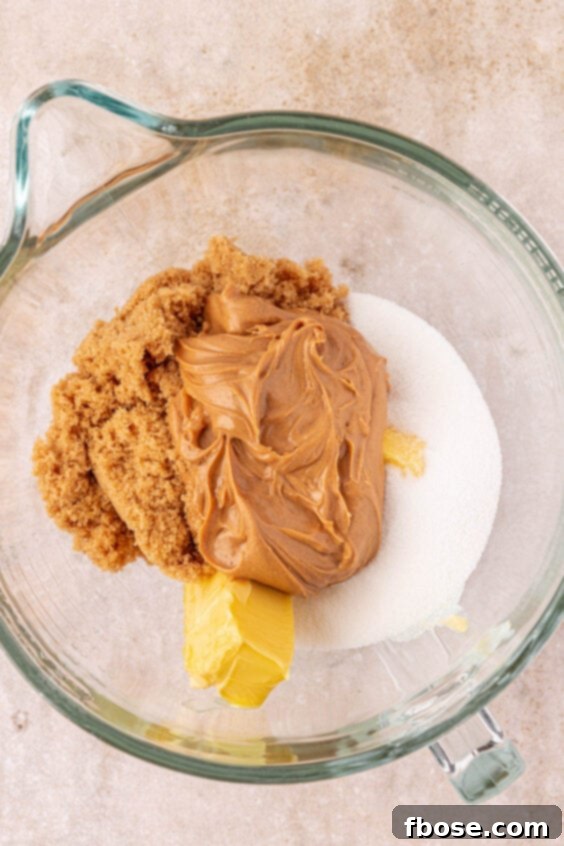
- In a separate, large mixing bowl, cream together the softened salted butter with light brown sugar, creamy peanut butter, granulated sugar, salt, and vanilla extract. Beat this mixture until it becomes light, fluffy, and well combined, which usually takes about 2 minutes, creating a luscious base for your cookies.
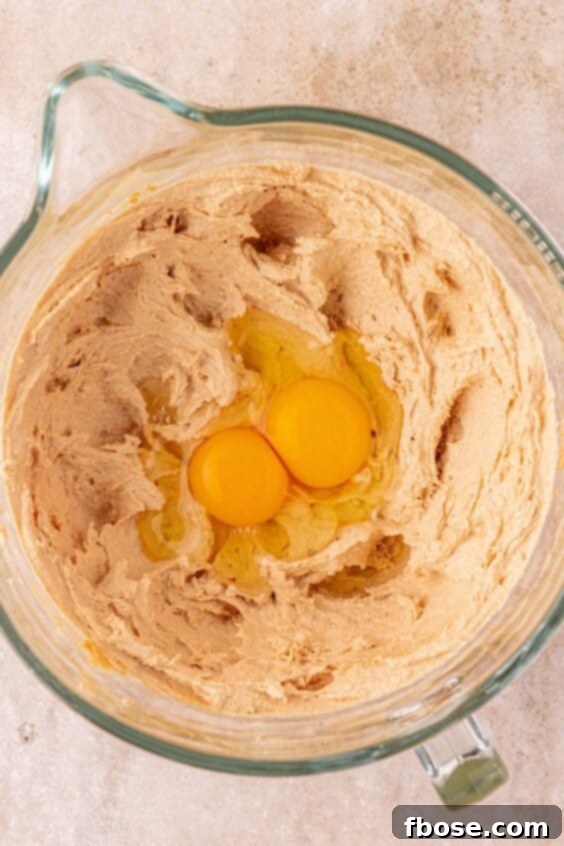
- Gently beat in the large eggs, one at a time, until they are just incorporated into the butter and sugar mixture. Overmixing at this stage can lead to a tougher cookie.
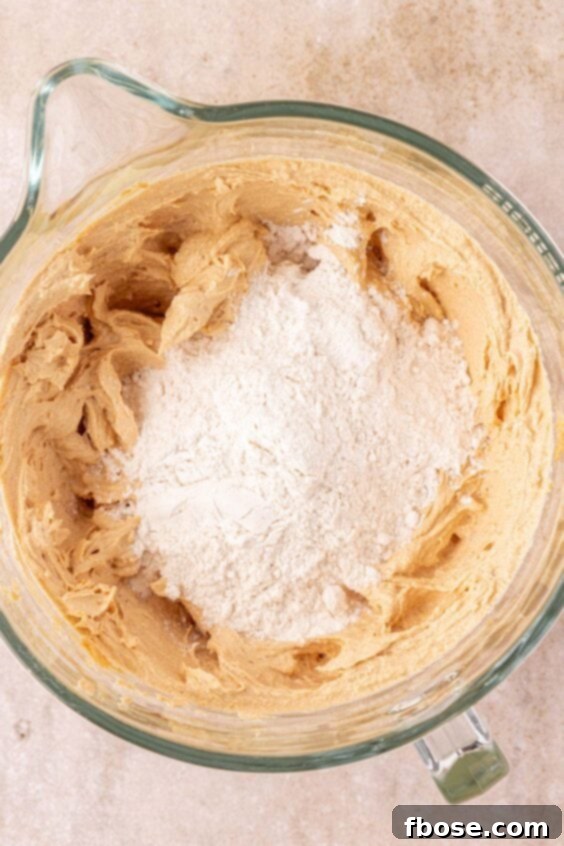
- Gradually add the reserved dry ingredients to the wet mixture in three distinct parts. After each addition, mix until just incorporated, then scrape down the sides of the bowl to ensure everything is evenly blended. Finish by mixing for an additional 15 seconds to ensure a cohesive dough.
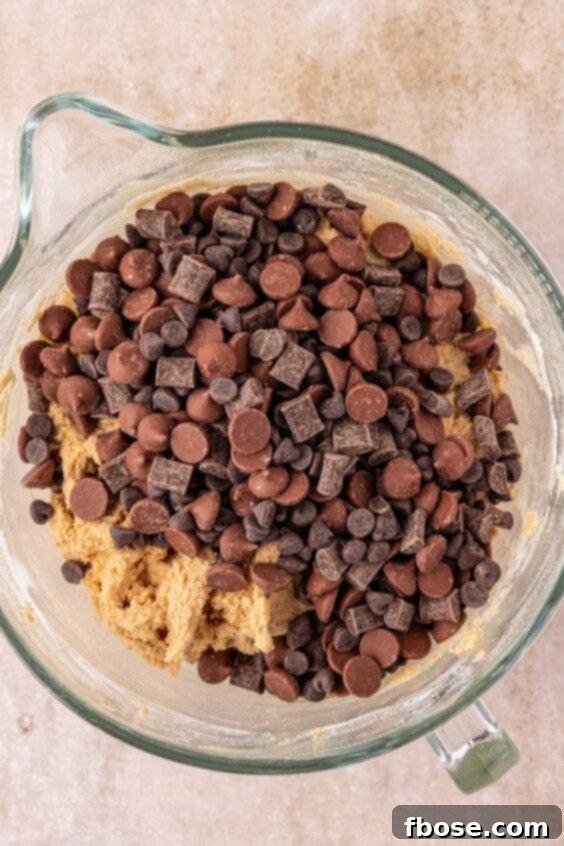
- Fold the chocolate chips into the cookie dough. To achieve that signature bakery-style appearance, consider reserving about ¼ cup of chocolate chips to press onto the tops of the cookie dough balls just before freezing.
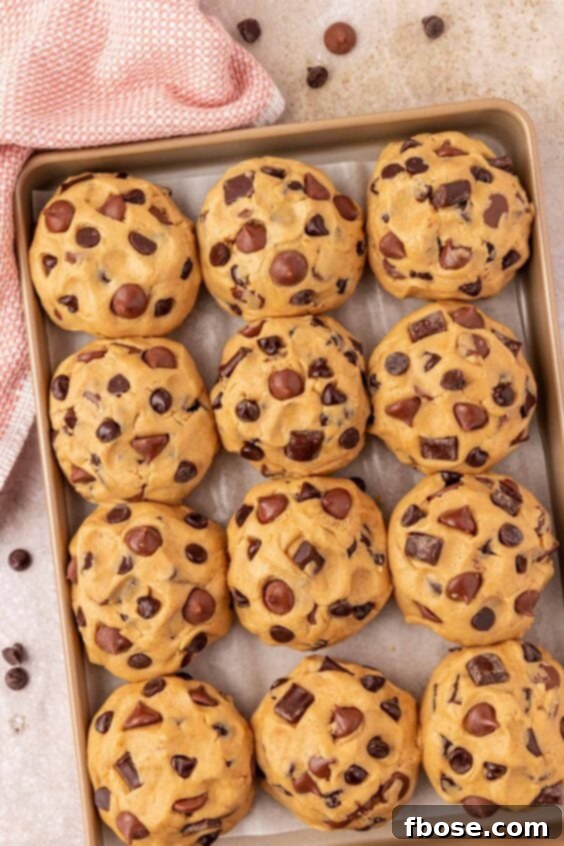
- Portion out the cookie dough using a ½-cup measuring cup or a #8 cookie scoop, aiming for approximately 6 ounces per cookie. Gently roll each portion into a ball, then lightly press down on the top to flatten them slightly. Use your fingertips to tap into the tops, creating an attractive, textured surface.
- Arrange the portioned cookie dough balls on a baking sheet and freeze them for a minimum of 2 hours. For optimal texture and flavor development, freezing overnight or for up to 24 hours is highly recommended. This crucial step prevents the cookies from spreading too much during baking and ensures a thick, chewy center. It is imperative to bake the cookies directly from their frozen state to maintain the desired texture.
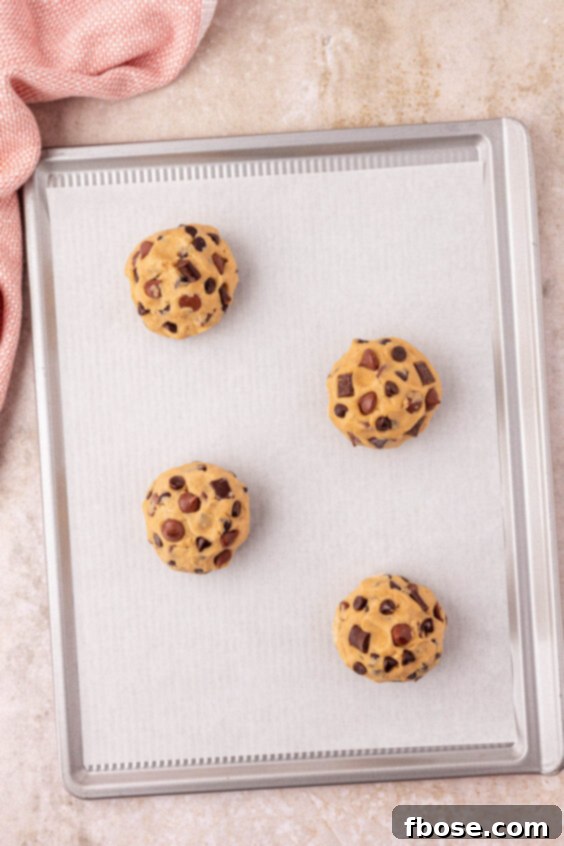
- When you’re ready to bake, preheat your oven to 350°F (175°C). Line a large, double-layered baking sheet with parchment paper. Using two stacked baking sheets helps to insulate the bottom of the cookies, allowing them to bake through evenly without overbaking or burning the bottoms, which is particularly important for large cookies.
- Carefully transfer 4 frozen cookie dough balls onto the prepared baking sheet, ensuring adequate spacing between them. Bake for 18 to 20 minutes, rotating the baking sheet halfway through the cooking time to promote even browning. Keep a close eye on them, as these cookies can go from perfectly baked to overdone very quickly.
- Once baked, allow the cookies to cool on the baking sheet for at least 5 minutes before attempting to transfer them. This initial cooling period is vital, as it allows the cookies to set and prevents their delicate bottoms from crumbling. After 5 minutes, carefully move them to a wire rack to finish cooling completely. For subsequent batches, either use fresh, cooled baking sheets or chill the hot pans in the freezer for a few minutes before placing more dough.

Rebecca’s Expert Tips for Perfect Chocolate Chip Cookies
- For the most precise and consistent results, especially when aiming for a true copycat, I highly recommend using a kitchen scale to weigh your dry ingredients. If a scale isn’t available, make sure to learn how to measure flour correctly. Even a slight variation in flour quantity can significantly alter the cookie’s final texture and structure.
- Through extensive testing, I discovered that employing a diverse mixture of chocolate chip sizes and cocoa percentages yields the most complex and satisfying flavor. I personally use a combination of chocolate chunks, mini chips, and regular-sized chips in dark, semi-sweet, and milk chocolate varieties. Feel free to use your favorite type of chocolate if you prefer a single flavor profile, but for depth, a mix is ideal.
- To achieve uniform cookies, which is key to consistent baking, use a 1/2 cup measuring cup or a #8 cookie scoop for portioning the dough. Alternatively, a kitchen scale is excellent for accuracy; aim for each cookie dough ball to weigh approximately 6 ounces.
- The **freezing step is absolutely non-negotiable** for this recipe. These cookies will not achieve their characteristic texture and thickness without adequate time in the freezer. Furthermore, they **must be baked directly from their frozen state** to ensure proper structure and prevent excessive spreading. Do not let them thaw before baking!
- During baking, these large cookies require careful observation. They transition from perfectly baked to slightly overdone very quickly. The goal is to avoid the typical “crispy” appearance of standard chocolate chip cookies, as this will drastically alter the desired soft and tender texture. Watch for golden edges and a slightly underbaked center.
- It is critical to allow the freshly baked cookies to cool on the baking sheet for a full 5 minutes before attempting to transfer them to a wire rack. This brief cooling period on the warm pan allows the cookies to firm up and prevents the soft bottoms from detaching or breaking. Patience here is rewarded with perfectly intact, delicious cookies.

Optimal Cookie Storage Instructions
Once your Nancy B’s Bakery Chocolate Chip Cookies have completely cooled to room temperature on the wire rack, it’s time to store them to maintain their freshness. Transfer the cooled cookies into an airtight container or a heavy-duty Ziploc bag. If you need to stack the cookies in layers within the container or bag, I highly recommend placing a sheet of parchment paper between each layer. This simple trick prevents the cookies from sticking together, preserving their perfect shape and texture.
Mastering the Art of Freezing Cookie Dough
Discovering how to properly freeze cookie dough is an absolute revelation for any home baker. Imagine a freezer stocked with perfectly portioned, ready-to-bake cookies, offering the delight of warm, fresh-from-the-oven treats without the immediate mess and effort of mixing a fresh batch. It’s a game-changer for spontaneous cravings or unexpected guests!
To store the cookie dough, after the portioned balls have chilled in the freezer for at least two hours (or ideally overnight), carefully transfer them from the baking sheet into a large gallon-sized Ziploc freezer bag or another freezer-safe airtight container. Properly stored, these frozen cookie dough balls will maintain their quality and flavor for up to 3 months, providing a long-lasting supply of gourmet goodness.
Since this recipe is specifically designed to be baked directly from frozen, it makes an outstanding option for keeping a stash of delicious treats on hand. You’ll always be prepared to enjoy freshly baked, warm cookies with minimal effort, making it ideal for busy schedules or impromptu indulgences.

Explore More Incredible Copycat Cookie Recipes
- Sausalito Cookies (Pepperidge Farm Copycat) – This recipe is so spot-on, you’ll happily bypass the store-bought version and prefer your homemade creation!
- Mom’s Recipe (Crumbl Copycat) – Discover the one simple tweak that transforms this copycat recipe into an absolute masterpiece, rivaling the original!
- Copycat Levain Bakery Cookies – Bring the magic of these world-famous, thick, and chewy cookies from the iconic New York bakery straight into your home kitchen.
- Gideon’s Bakehouse Peanut Butter Cold Brew Cookies – Prepare for an extraordinary and truly indulgent cookie experience that will utterly blow your mind with its decadent flavors.
- Jacques Torres Chocolate Chip Cookies – We meticulously tested this recipe with four different kinds of chocolate to ensure we found the absolute best combination for a truly gourmet cookie.
Did You Make This Recipe?
If you’ve tried this recipe, please leave a review in the comments below. I love hearing from you! Don’t forget to tag me – @sugarandsoulco – on Instagram and Pinterest with your photos, or join our Sugar & Soul Show-offs Community and share them there.

Nancy B’s Cookies (Copycat Recipe)
Ingredients
- 1¾ cups bread flour 228g, spooned and leveled
- 1¾ cups cake flour 228g, spooned and leveled
- 2 tablespoons powdered milk 10g
- 1½ teaspoons baking powder
- 1¼ teaspoons baking soda
- 1⅓ cups light brown sugar 266g, packed
- 1¼ cup salted butter 284g, softened
- 1 cup creamy peanut butter 265g
- 1 cup granulated sugar 200g
- 1 teaspoon salt
- 1 tablespoon vanilla extract 13mL
- 2 large eggs room temperature
- 24 oz chocolate chips I use a mixture of sizes and chocolate content (chunks, mini and regular – dark, semi, and milk)
Instructions
-
Sift together 1¾ cups bread flour, 1¾ cups cake flour, 2 tablespoons powdered milk, 1½ teaspoons baking powder, and 1¼ teaspoons baking soda in a medium bowl and set aside.

-
Cream together 1⅓ cups light brown sugar, 1¼ cup salted butter, 1 cup creamy peanut butter, 1 cup granulated sugar, 1 teaspoon salt, and 1 tablespoon vanilla extract for 2 minutes.
-
Add in 2 large eggs and beat until just combined.
-
Add in the dry ingredients in three parts, mixing after each addition until just incorporated. Scrape the sides of the bowl and mix for 15 additional seconds.
-
Stir in 24 oz chocolate chips (I like to reserve about ¼ cup to press into the tops of the cookie dough for a more finished look). Original recipe says to use 1/4 cup scoop to measure cookies. If you make them that large no problem, I have been able to make them about half that size by adjusting cooking time.
-
Use a #8 cookie scoop or a ½-cup measuring cup to divide the dough into 12 cookies; each cookie should weigh approximately 6 ounces. Place them close together on a baking sheet for chilling.
-
Make your balls and flatten slightly, gently pressing your fingers in to give the top texture. Then, freeze them for at least 2 hours, preferably overnight to 24 hours. MUST BAKE FROM FROZEN TO KEEP THE TEXTURE RIGHT.
-
When ready to bake, preheat the oven to 350℉ and line a double-layered baking sheet with parchment paper. The doubled-up pans allow the large cookies to bake through without overbaking the bottoms.
-
Bake 4 cookie dough balls per baking sheet at 350°F for 18 to 20 minutes, rotating the pan halfway through. Allow to cool on the pan for 5 minutes before transferring to a wire rack. Use fresh pans for the next batch, or chill the hot pans in the freezer for a couple of minutes before placing the next batch to bake.
Video
Nutrition
Did You Make This Recipe?
Don’t forget to share it with me on Instagram @sugarandsoulco and follow on Tiktok @sugarandsoulco and Pinterest @sugarandsoulco for more!
Pin Recipe
Share Recipe