Biscoff Icebox Cake
Dreamy no bake Biscoff icebox cake stacked with layers of whipped cream, Lotus cookies, and a rich cookie butter ganache comes together easily with only 5 ingredients!
- Total 5 hours 15 minutes
- Serves 9 servings
- Dessert
- American
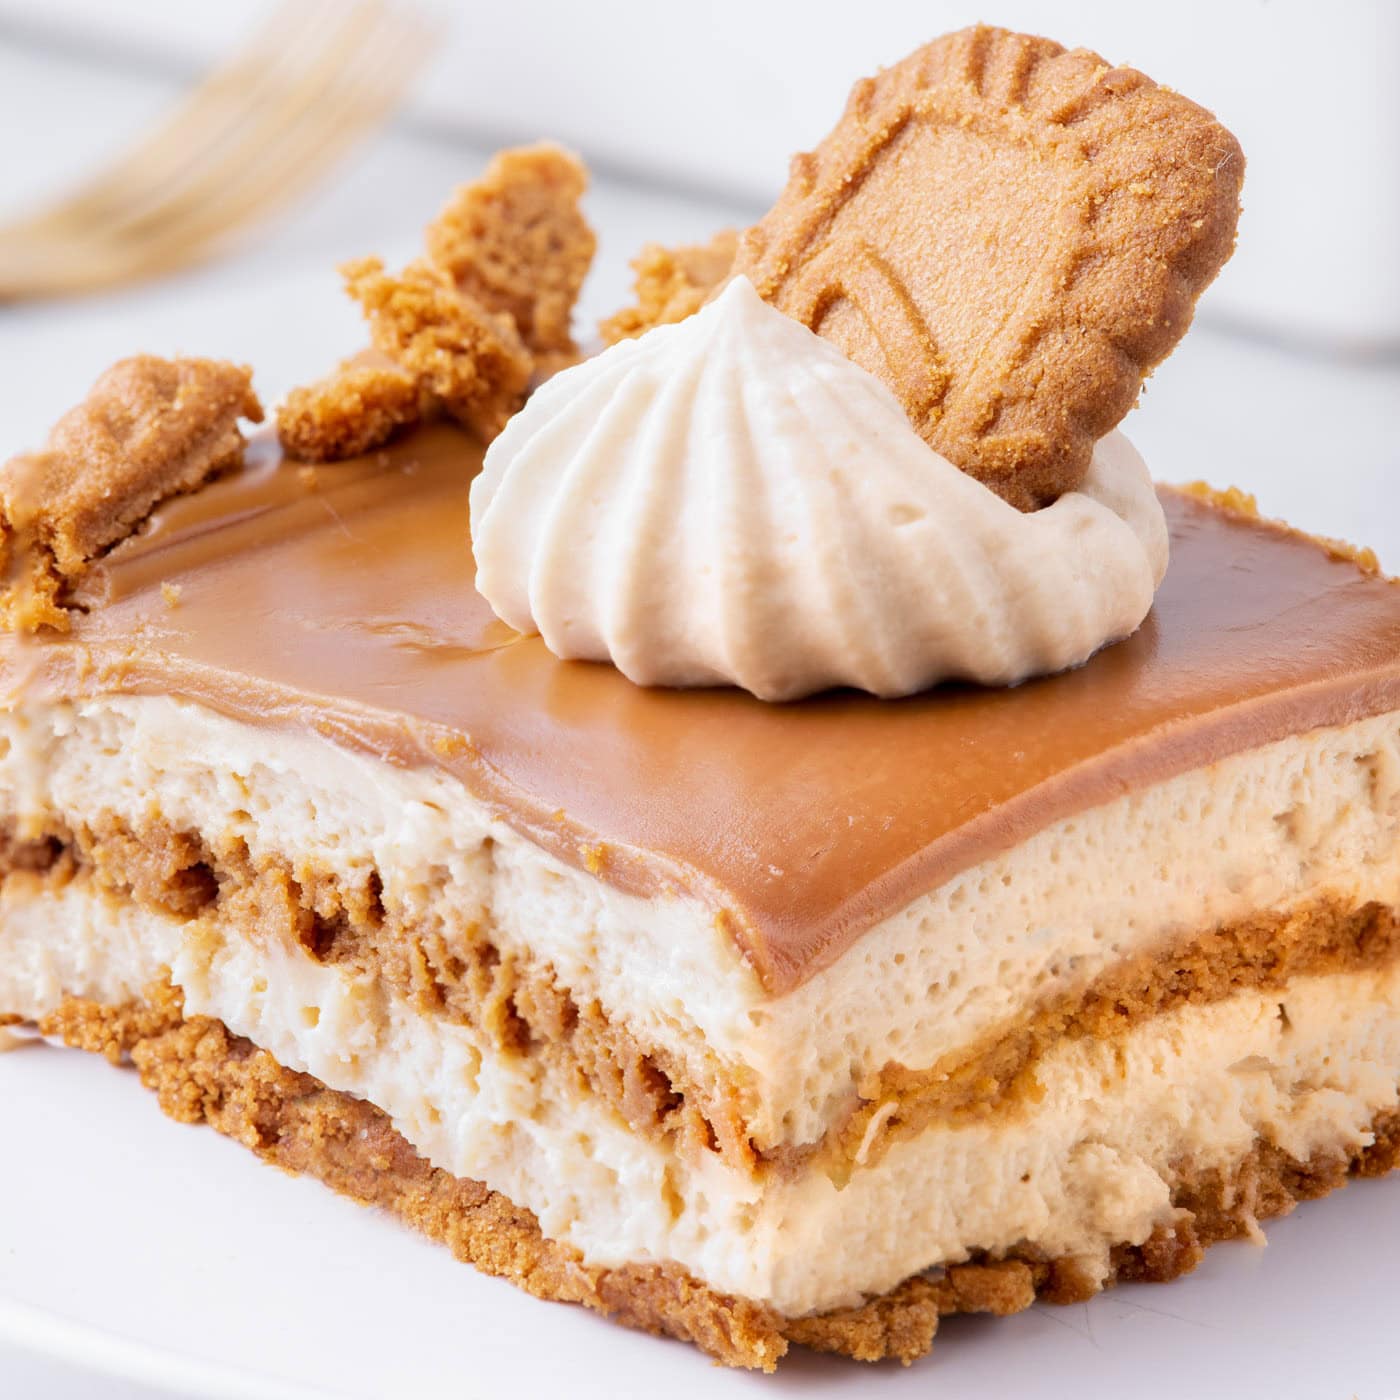
Dreamy no bake Biscoff icebox cake stacked with layers of whipped cream, Lotus cookies, and a rich cookie butter ganache comes together easily with only 5 ingredients!
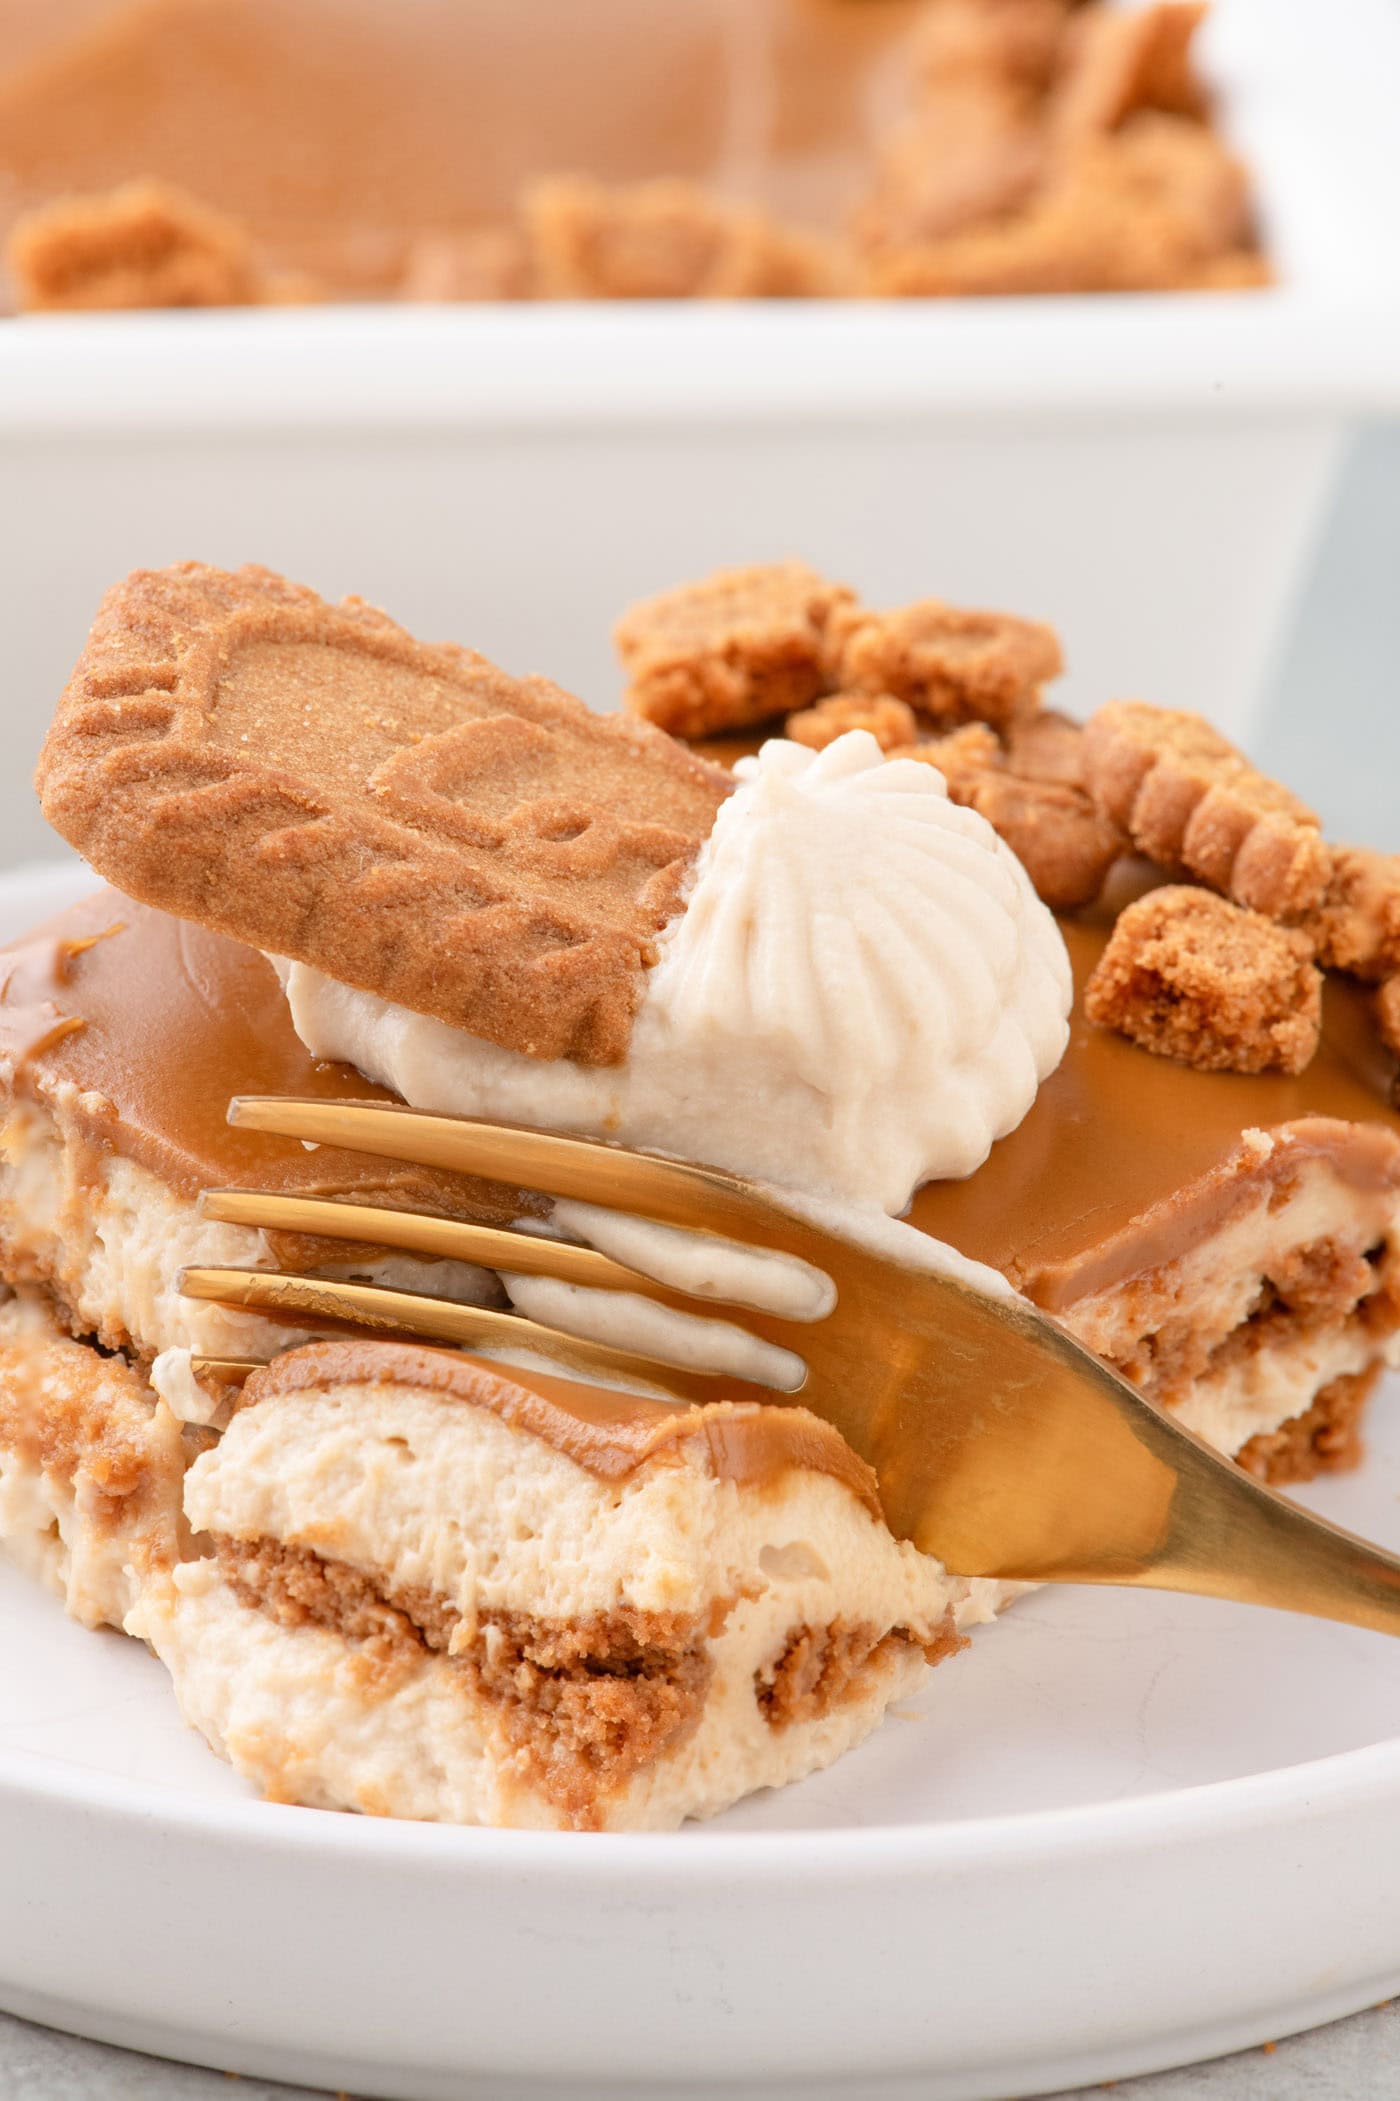 more
more
Why this recipe works
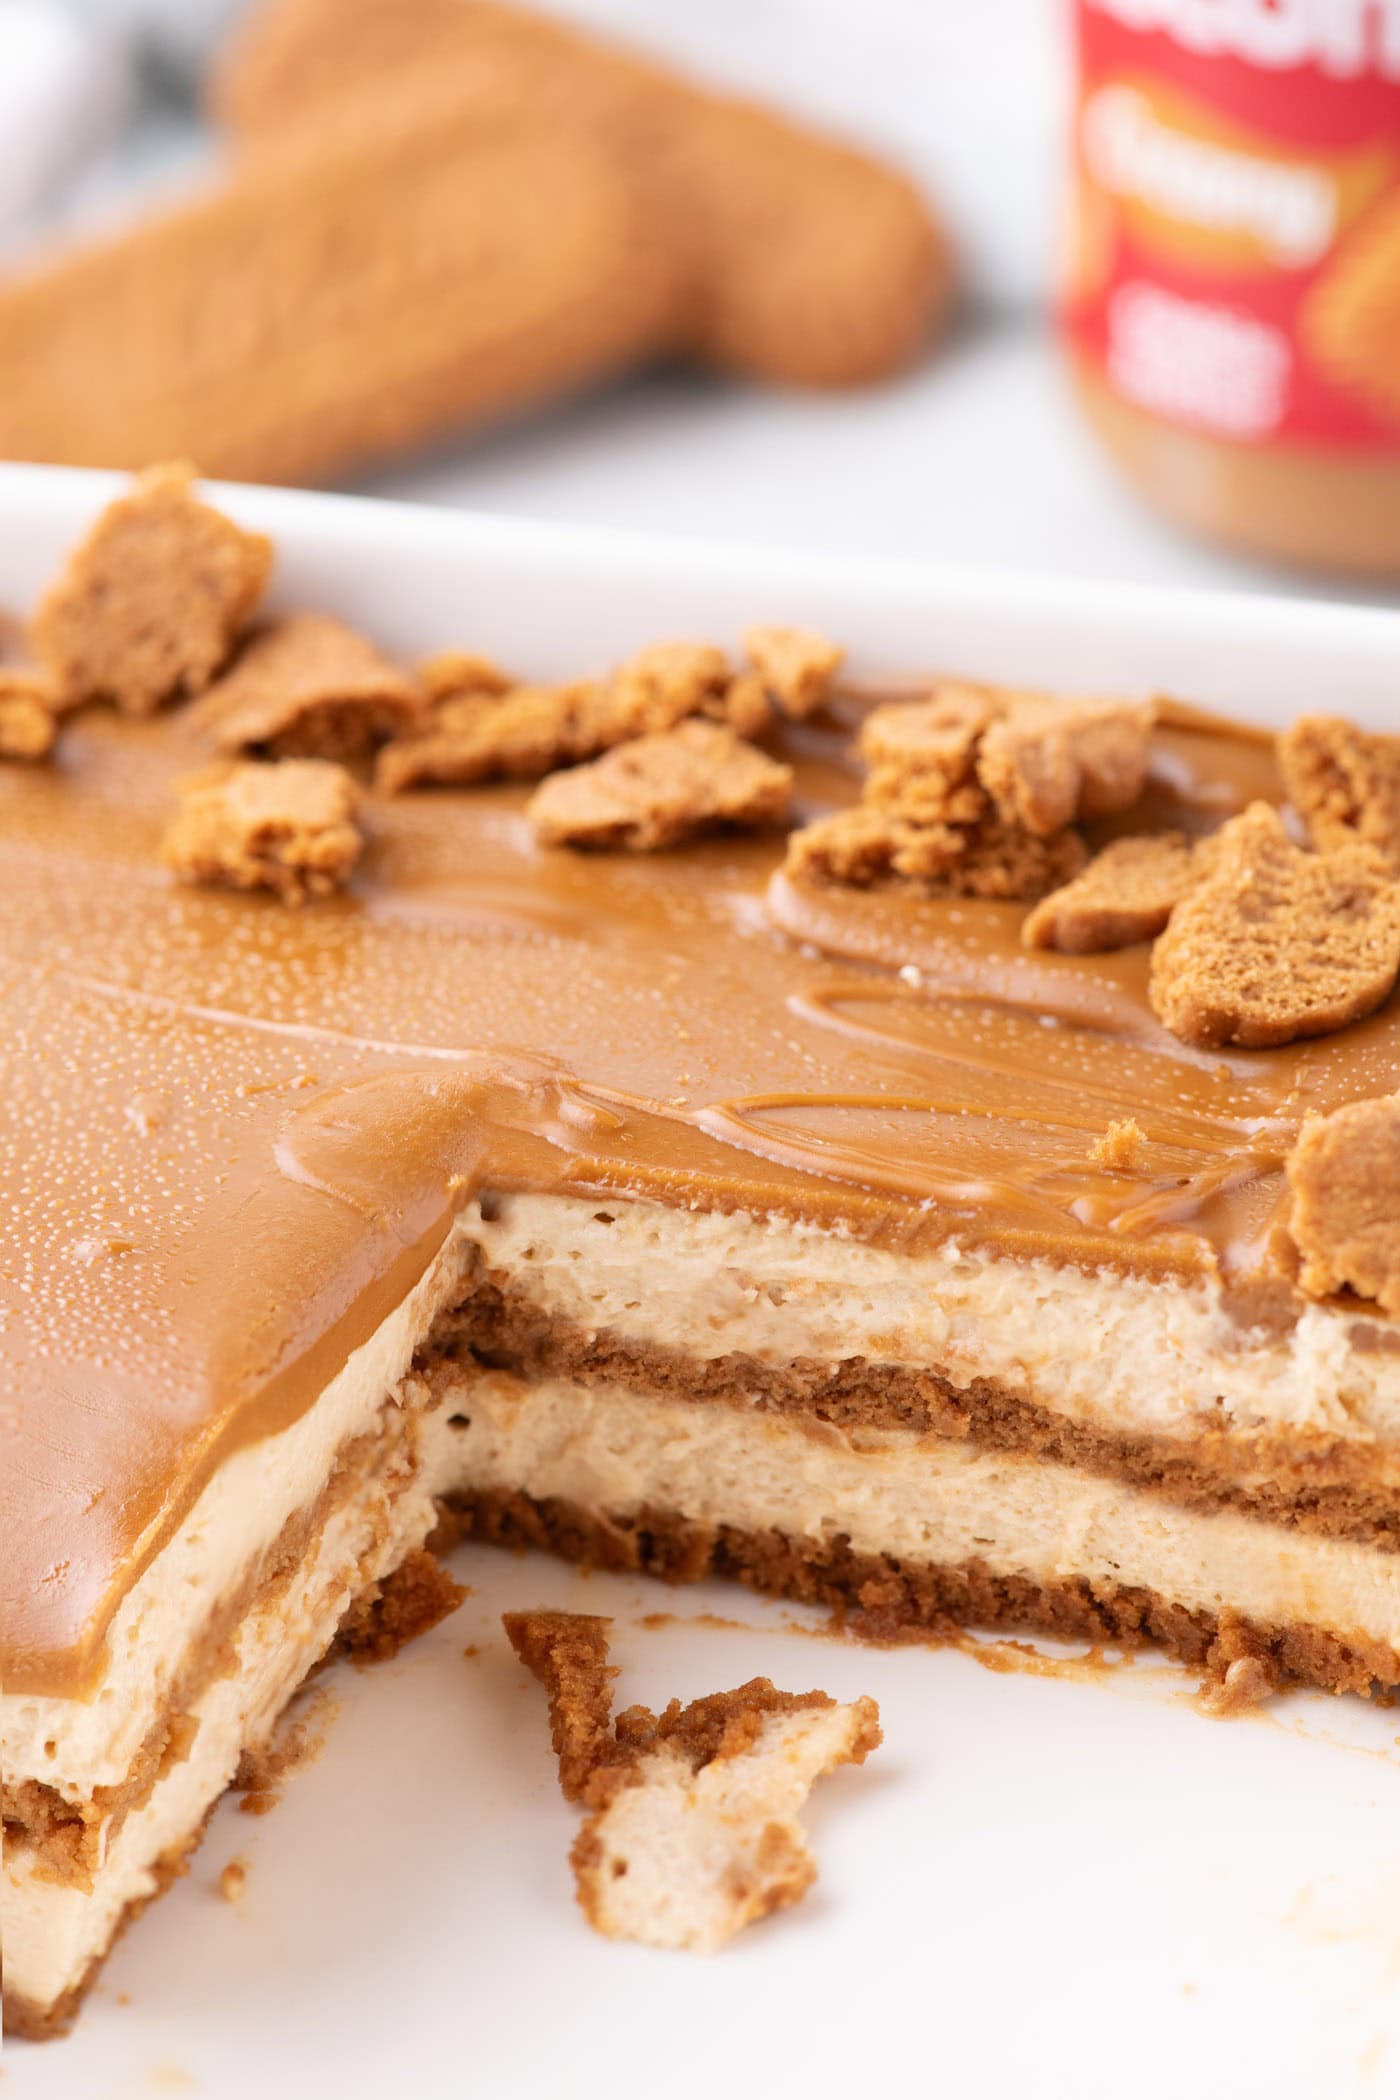
Biscoff icebox cake assembles in a snap, the hardest part is allowing it the time it needs to firm up in the refrigerator. Rich layers of Biscoff cookies and a whipped cream mixture meet a decadent cookie butter ganache in this no-bake dessert. Those magical little crisp cookies soak up the surrounding whipped cream layer leaving them soft and supple as if you’re biting into a cloud. It’s a dreamy combination!
The simplicity of icebox cake is what has us coming back for more and more. Typically, they require only a handful of ingredients that are layered together in a dish. Those layers can either be a mixture of whipped cream and cream cheese like we use in ourOreo icebox cake or a combination of whipped cream, cream cheese, and pudding mix for a blast of flavor you’ll see in our lemon icebox cake. Add either a biscuit, cookie, or graham cracker to embellish and you have yourself an insanely easy dessert to feed a crowd.
Ingredients you will need
Get all measurements, ingredients, and instructions in the printable version at the end of this post.
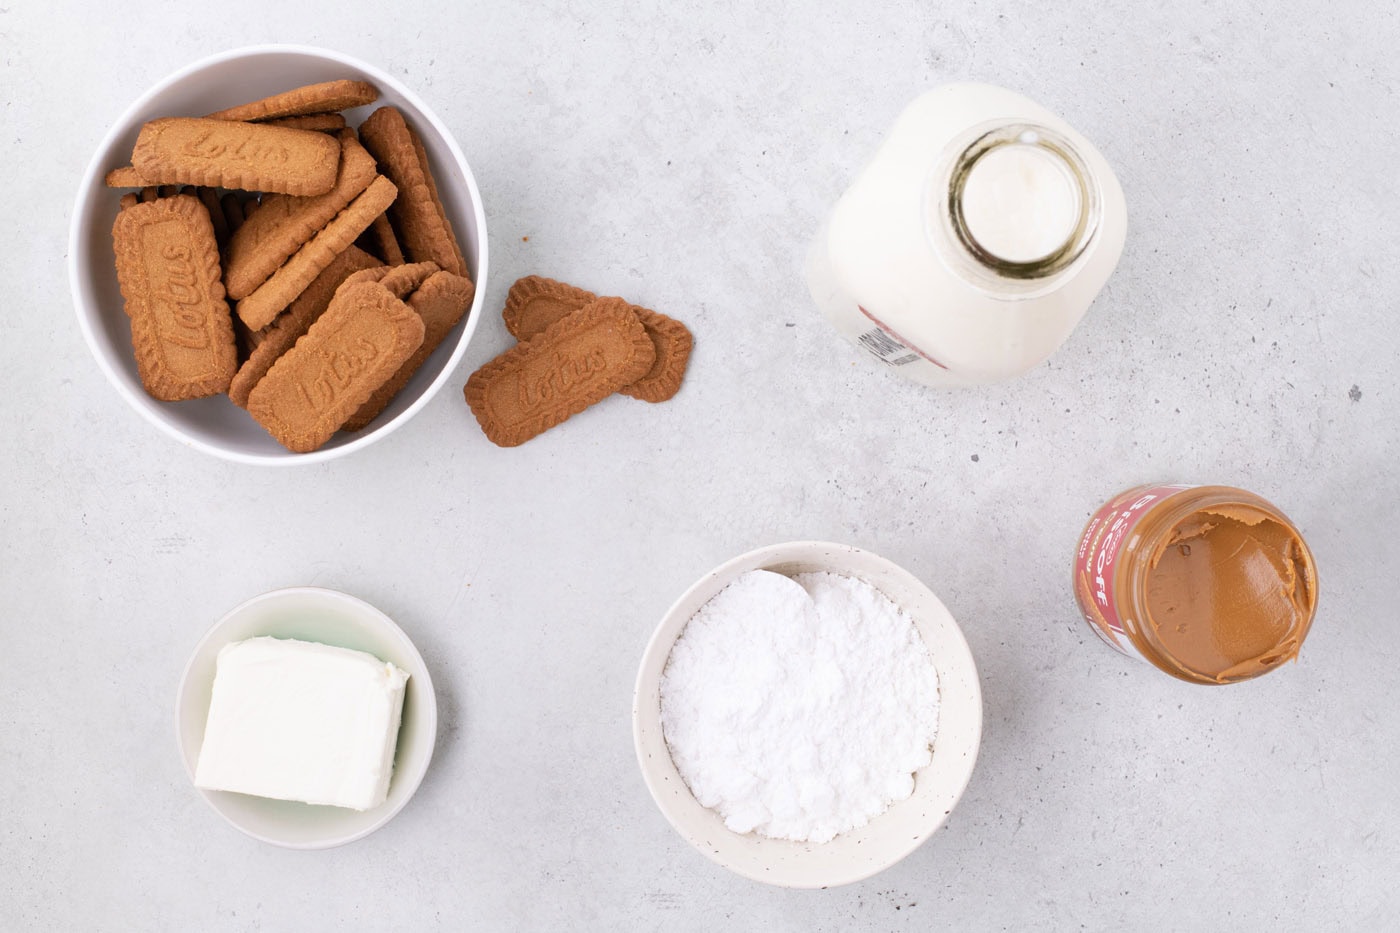
Ingredient Info and Substitution Suggestions
BISCOFF COOKIES – Make sure to buy the Biscoff cookies and not the ones with the sandwich cream center.
CREAM CHEESE – Only use brick-style cream cheese; you won’t get the same texture if you use anything else. Leave the cream cheese on the counter to soften. Do not try microwaving it to speed up the process – this may alter the outcome of the whipped cream mixture. The cream cheese block should be slightly firm to the touch yet create a little indent when touched.
HEAVY CREAM – Be sure that your heavy cream is chilled and only take it out of the refrigerator when you are ready to use it.
GANACHE – All you will need for the top layer is a jar of Biscoff cookie butter from the grocery store. Any brand of cookie butter will work if you aren’t able to find the Biscoff brand.
How to Make Biscoff Icebox Cake
These step by step photos and instructions are here to help you visualize how to make this recipe. You can Jump to Recipe to get the printable version of this recipe, complete with measurements and instructions at the bottom.
- Grease an 8×8-inch square baking pan.
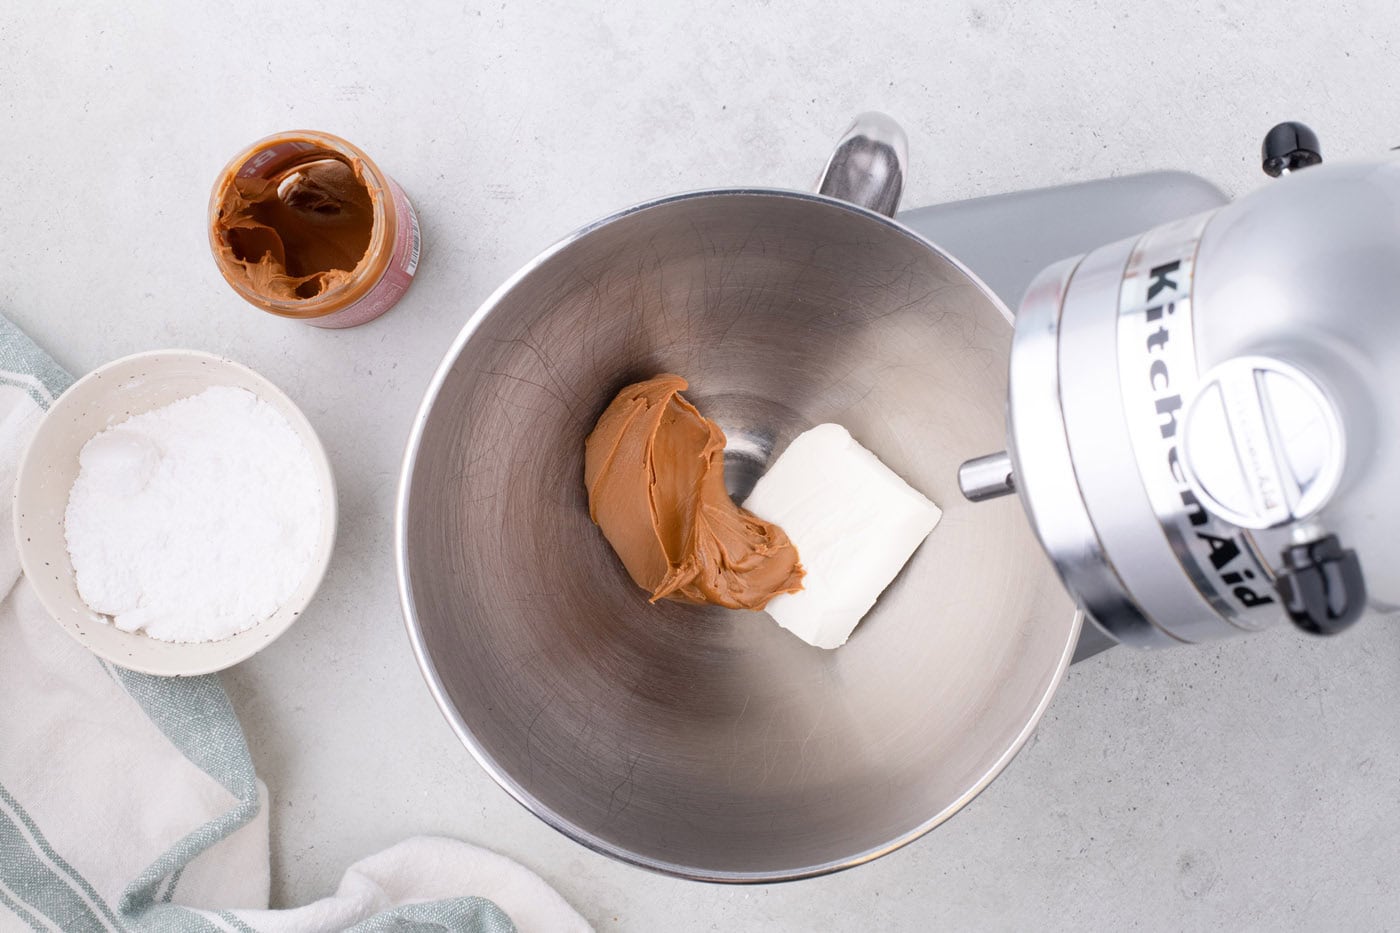
- In the bowl of a stand mixer fitted with the whisk attachment, combine the softened cream cheese and ¾ cup Biscoff cookie butter. Mix on medium speed until smooth.
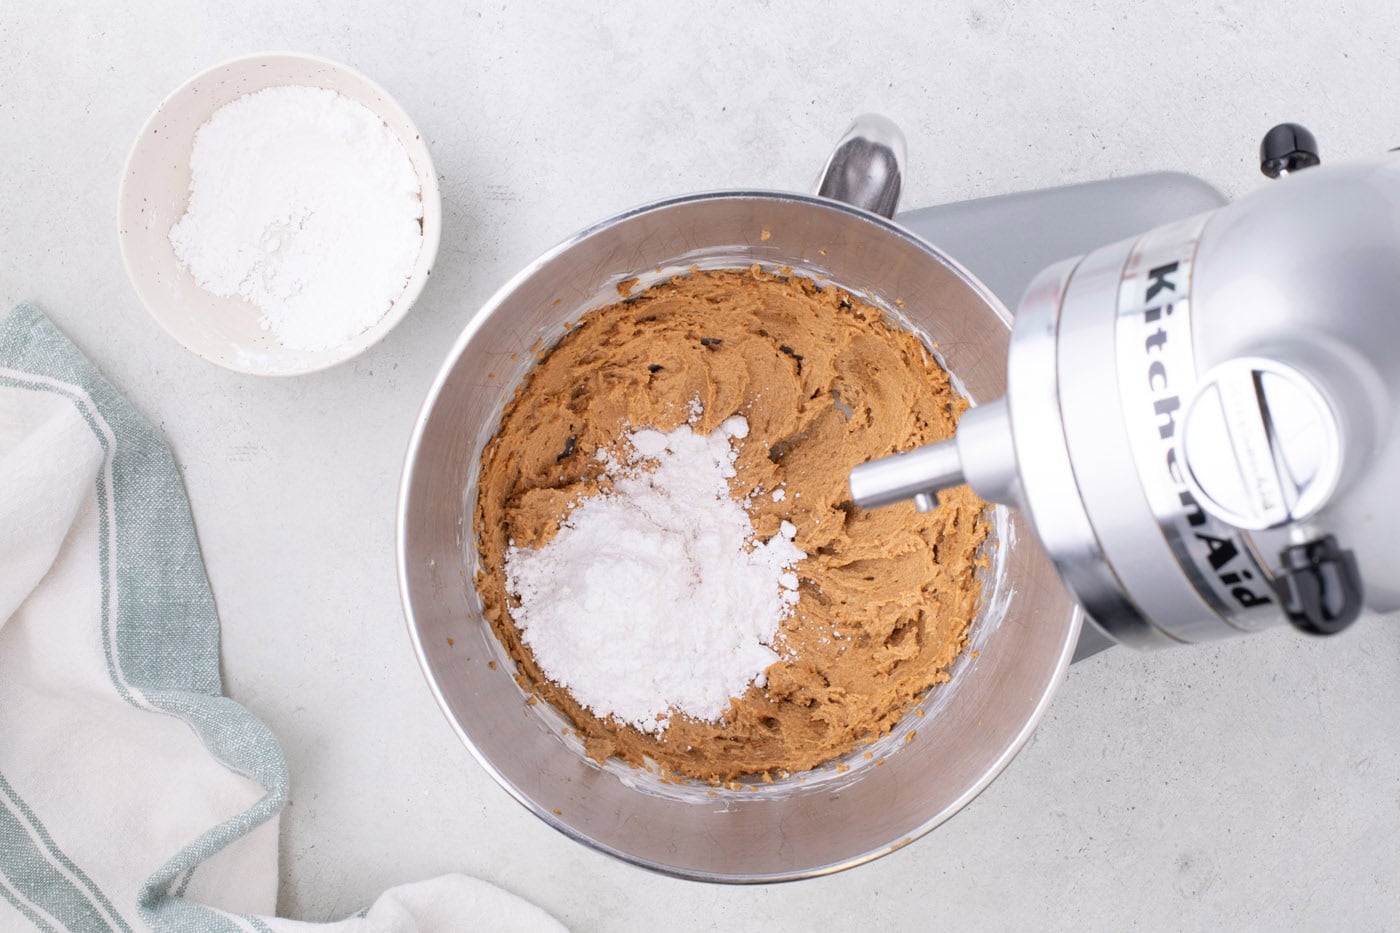
- Add the powdered sugar a little at a time and mix on low speed until thoroughly combined.
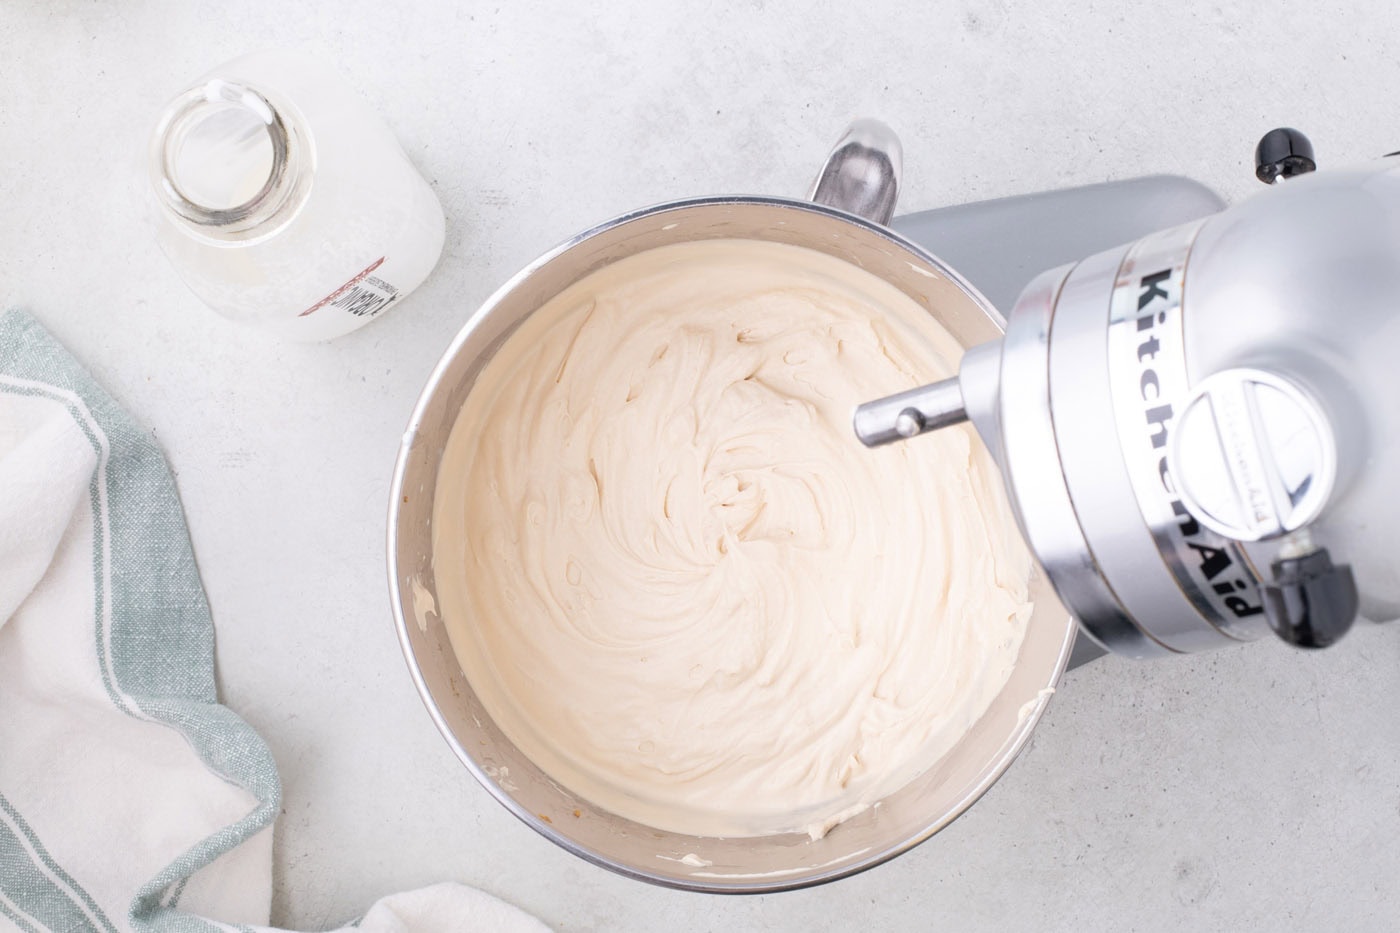
- Add ½ cup of the heavy whipping cream to the Biscoff/cream cheese mixture and mix on low speed until combined. Add another 1/2 cup of the heavy cream and continue mixing until smooth. Continue to add the remaining heavy cream in 1 cup increments mixing on low speed until smooth. Increase the speed to high and beat until the mixture thickens and soft peaks form. Set aside.
EXPERT TIP – Don’t overmix! The key is to build volume slowly by mixing the ingredients on low speed until smooth. Only then beat on high speed and stop beating until you see the mixture starting to form soft peaks.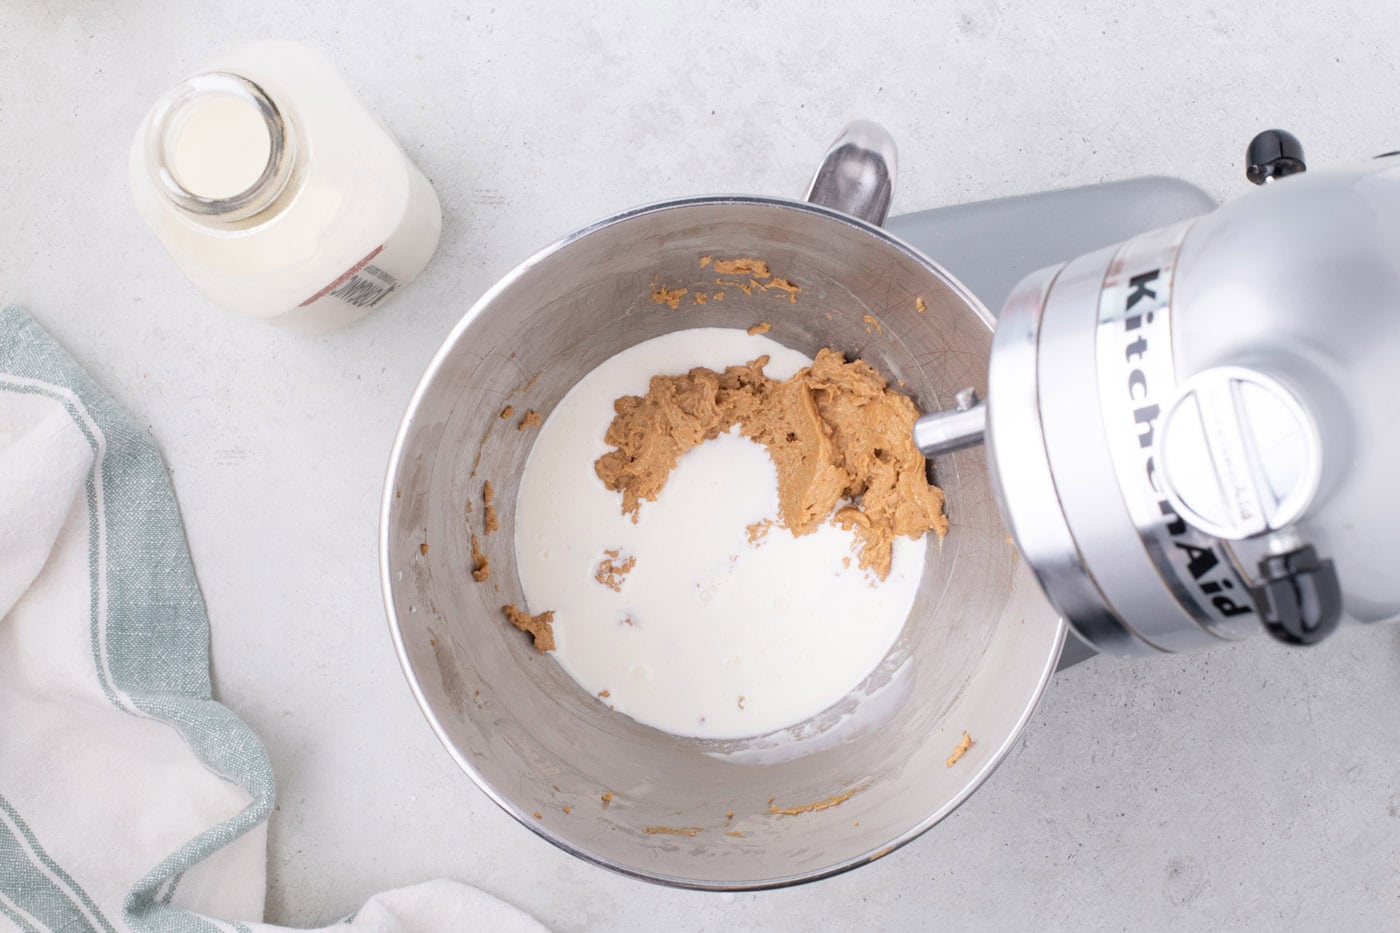
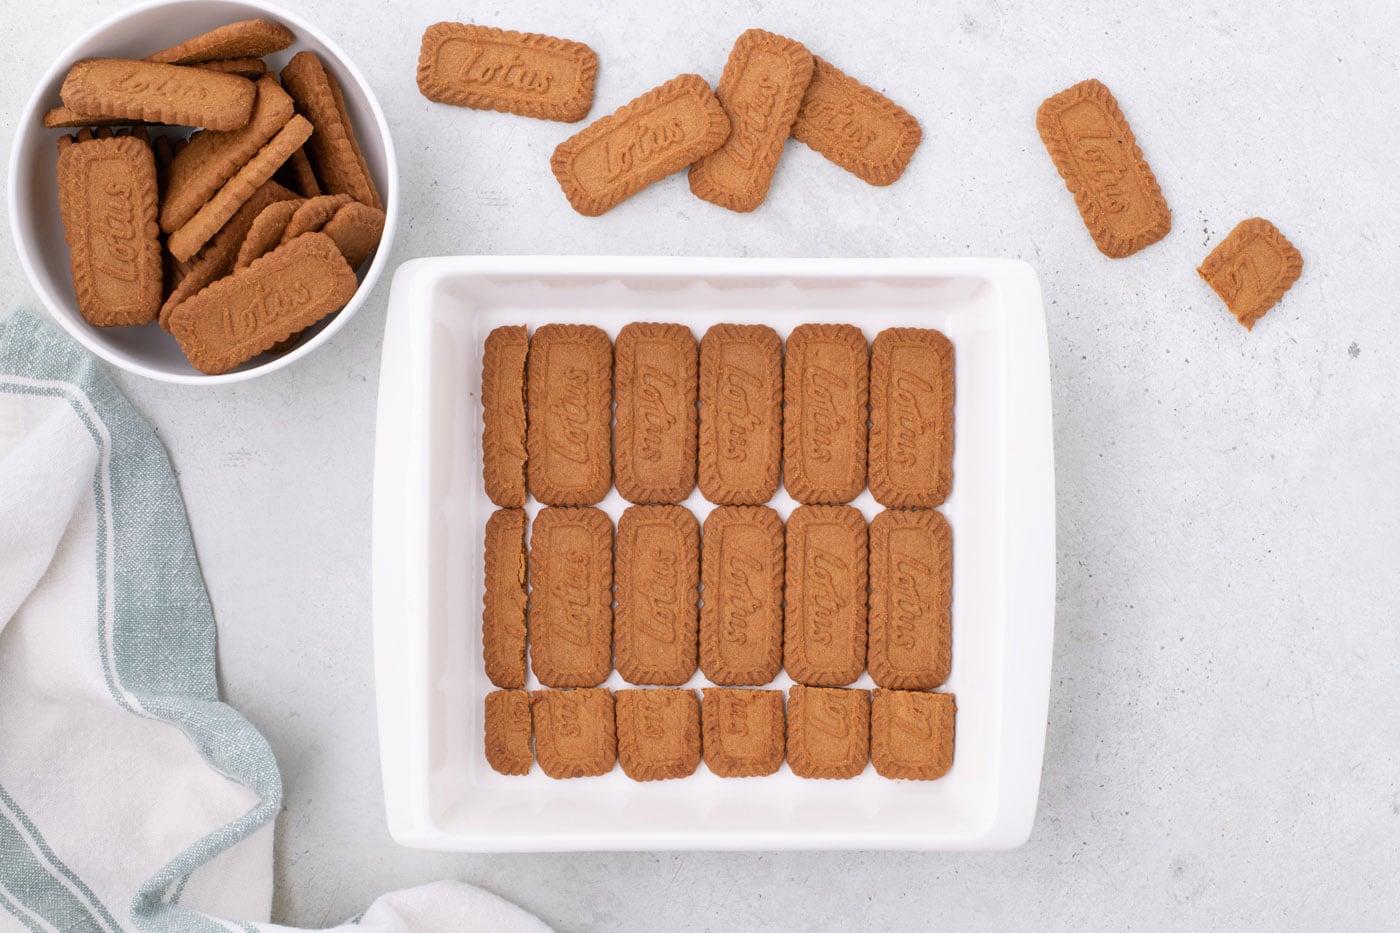
- Place a layer of Biscoff cookies onto the bottom of the prepared baking pan. If they don’t fit evenly or you have large gaps, you may need to cut some of the cookies in half to make them fit snugly into the base of the pan.
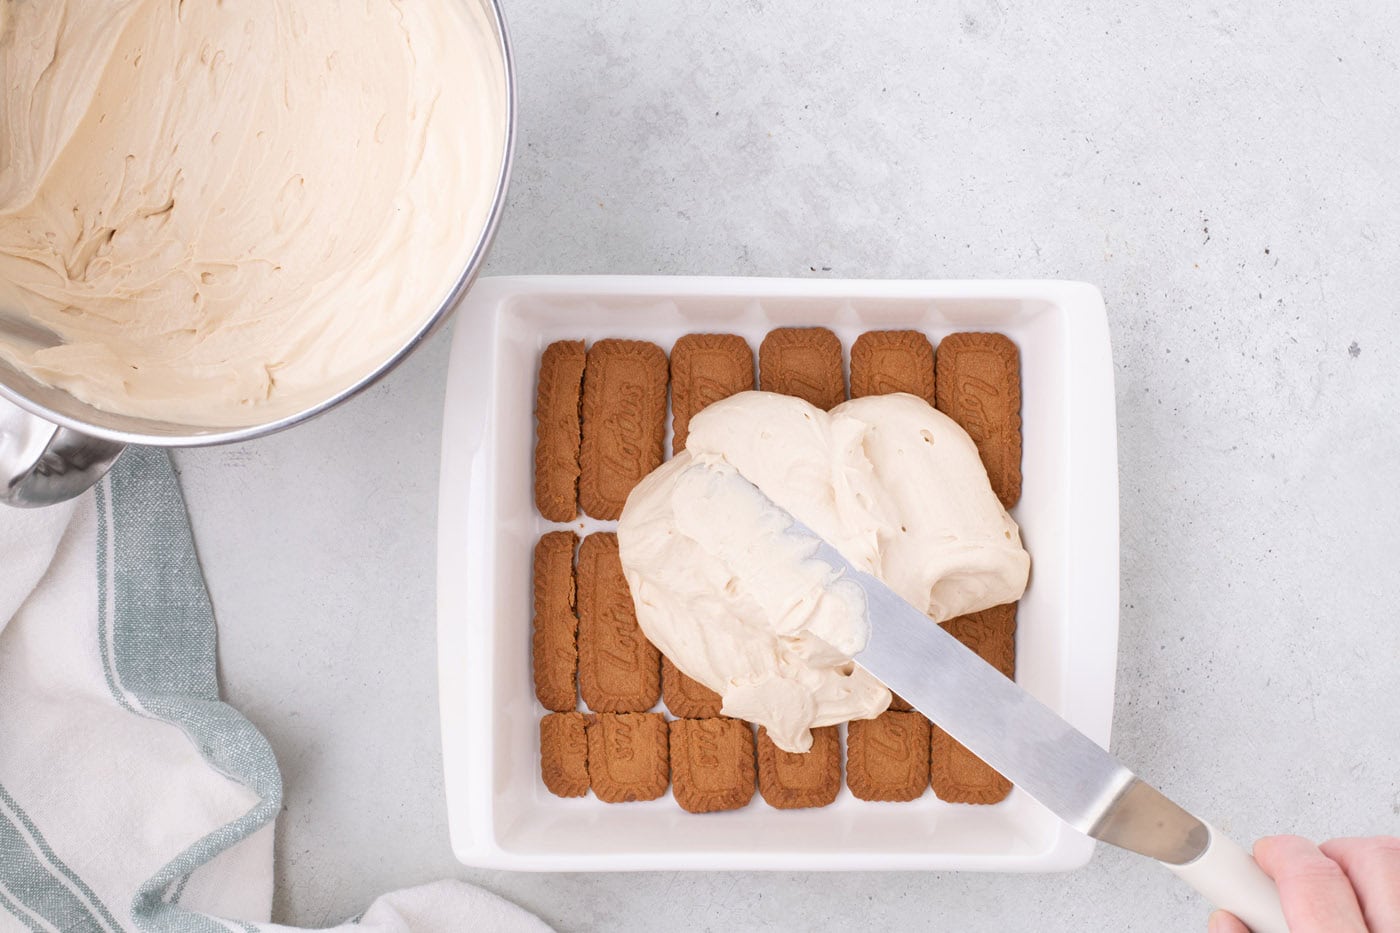
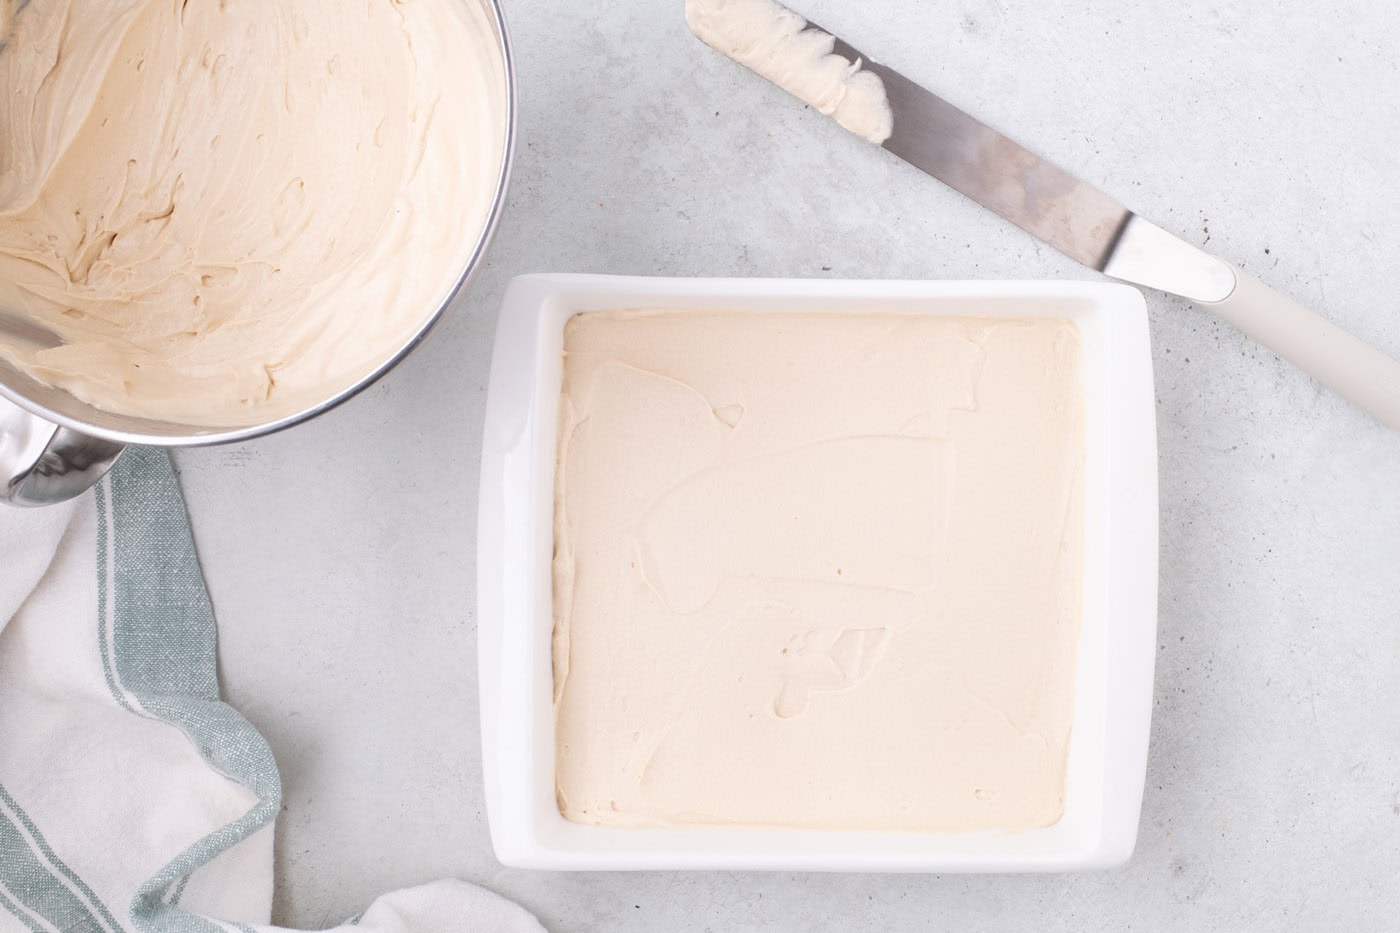
- Spoon 2 ½ cups of the whipped cream mixture on top of the layer of cookies, (be careful not to move the cookies around too much). Smooth the top using an offset spatula.
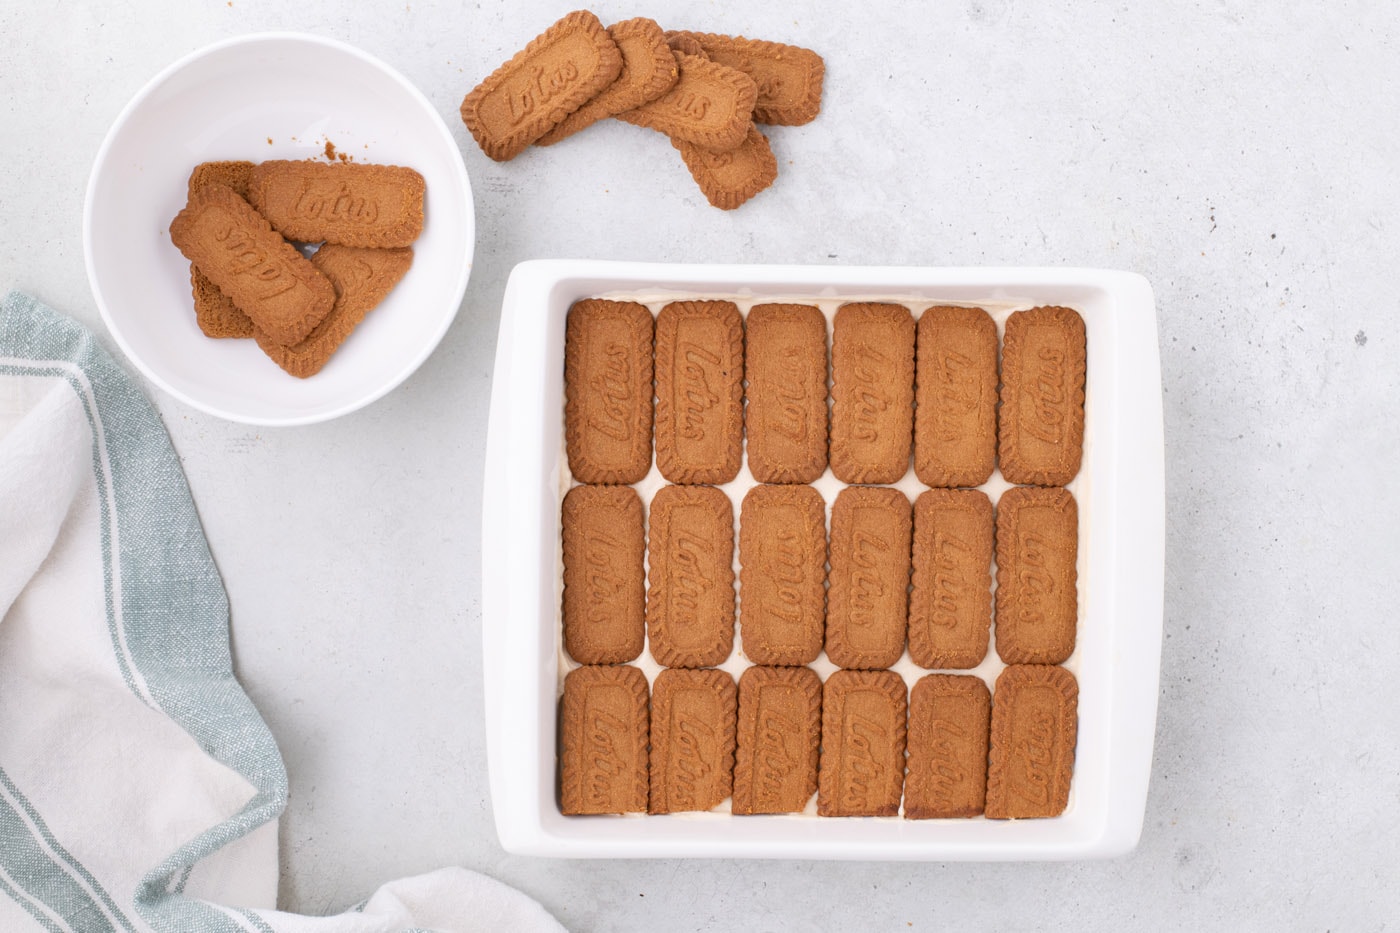
- Place a second layer of Biscoff cookies on top of the whipped cream layer, making sure they fit snugly next to each other. Cut cookies in half to fill any gaps.
- Add the remaining 2 ½ cups of whipped cream to the layer of Biscoff cookies, smoothing out the whipped cream mixture and getting into all the corners. Chill for 1 hour.
Assembling the Biscoff Icebox Cake
- Break 10 Biscoff cookies into smaller pieces and set aside.
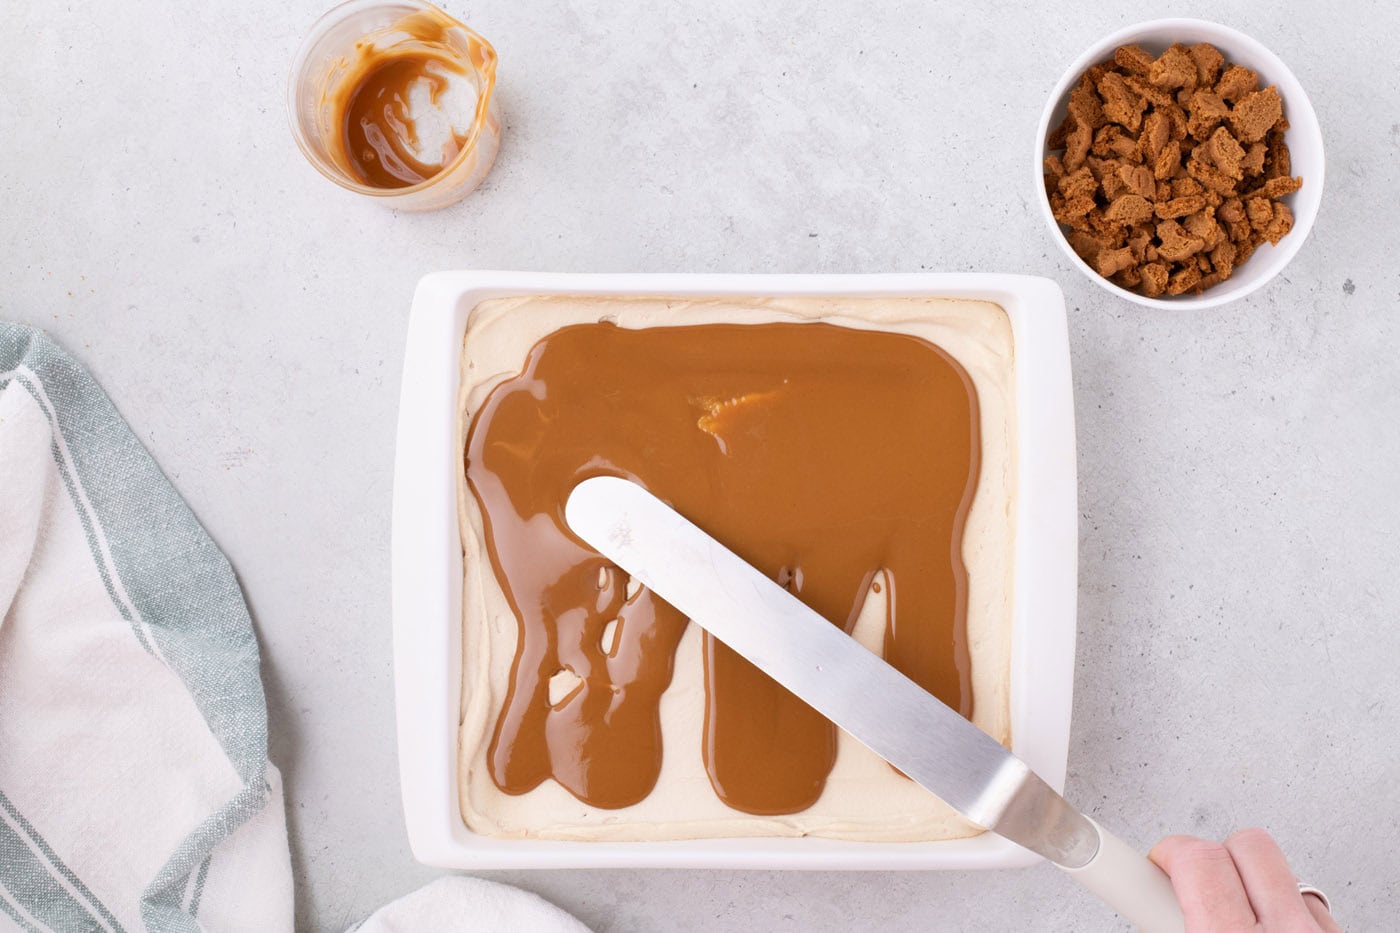
- To make the Biscoff ganache, place 1 cup of the cookie butter in a microwave-safe container and heat for 30 seconds. Pour the melted cookie butter over the chilled whipped cream layer, smoothing it out with an offset spatula.
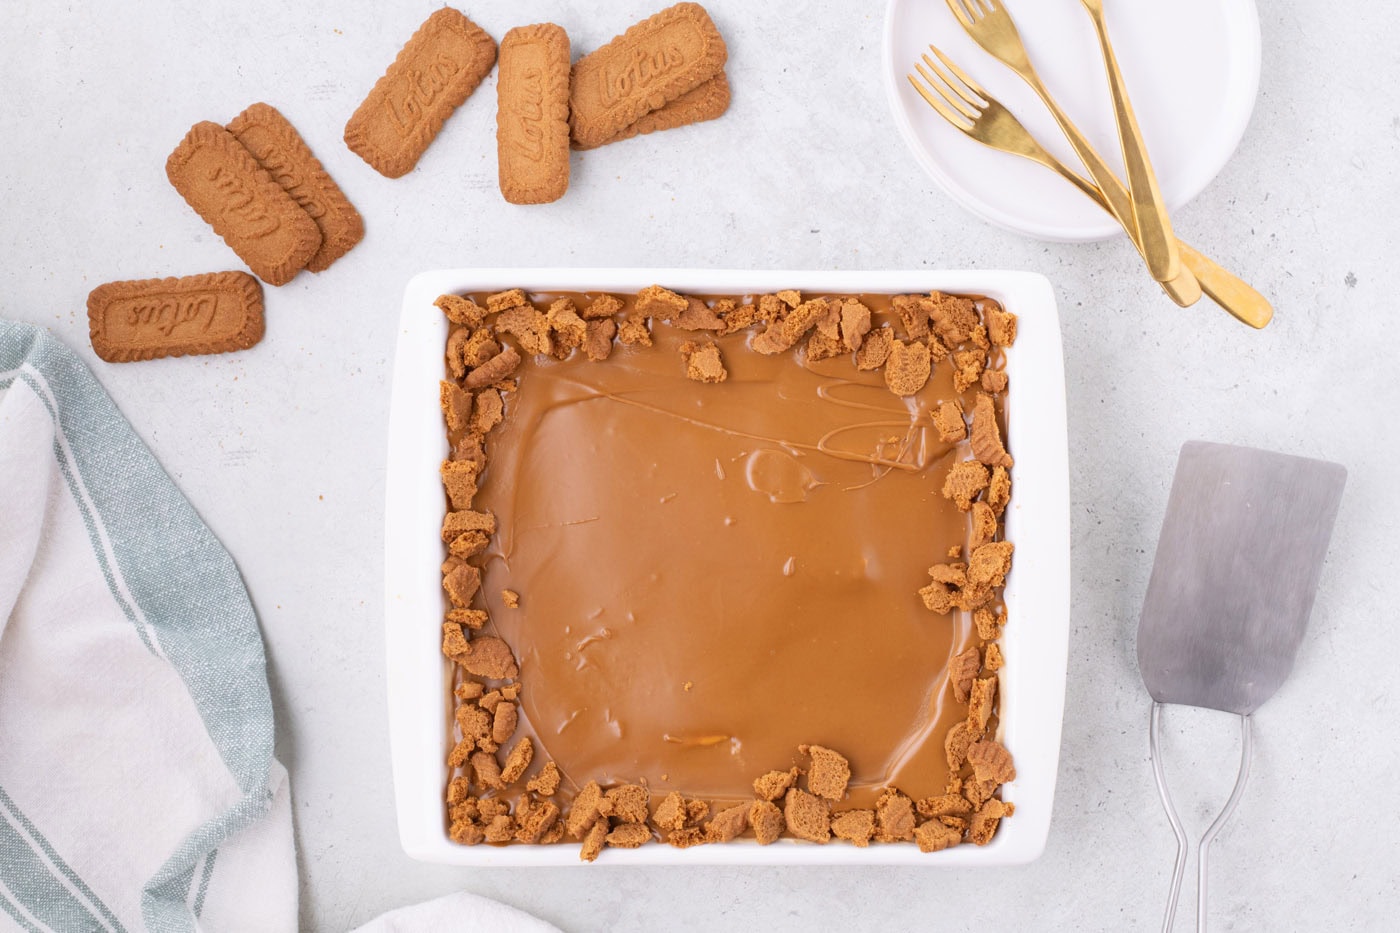
- Sprinkle the broken cookies along the sides of the ganache layer, creating a square border. Refrigerate for a minimum of 4 hours.
Frequently Asked Questions & Expert Tips
How do you store Biscoff icebox cake?Store the icebox cake tightly wrapped with plastic wrapped or covered with an air-tight lid in the refrigerator for up to 5 days.
Can I make it ahead of time?Yes, absolutely. It’s recommended to make this icebox cake at minimum 4-5 hours ahead of time for the best texture. However, you can easily prepare it the day before and store it in the refrigerator until you are ready to serve. Allowing it plenty of time to rest in the refrigerator will leave you with soft, sliceable layers to sink your teeth into.
Can you freeze Biscoff icebox cake?I would not recommend freezing this cake as it will change the consistency of the whipped cream layer when thawed. For storage, I recommend placing leftovers in the refrigerator.
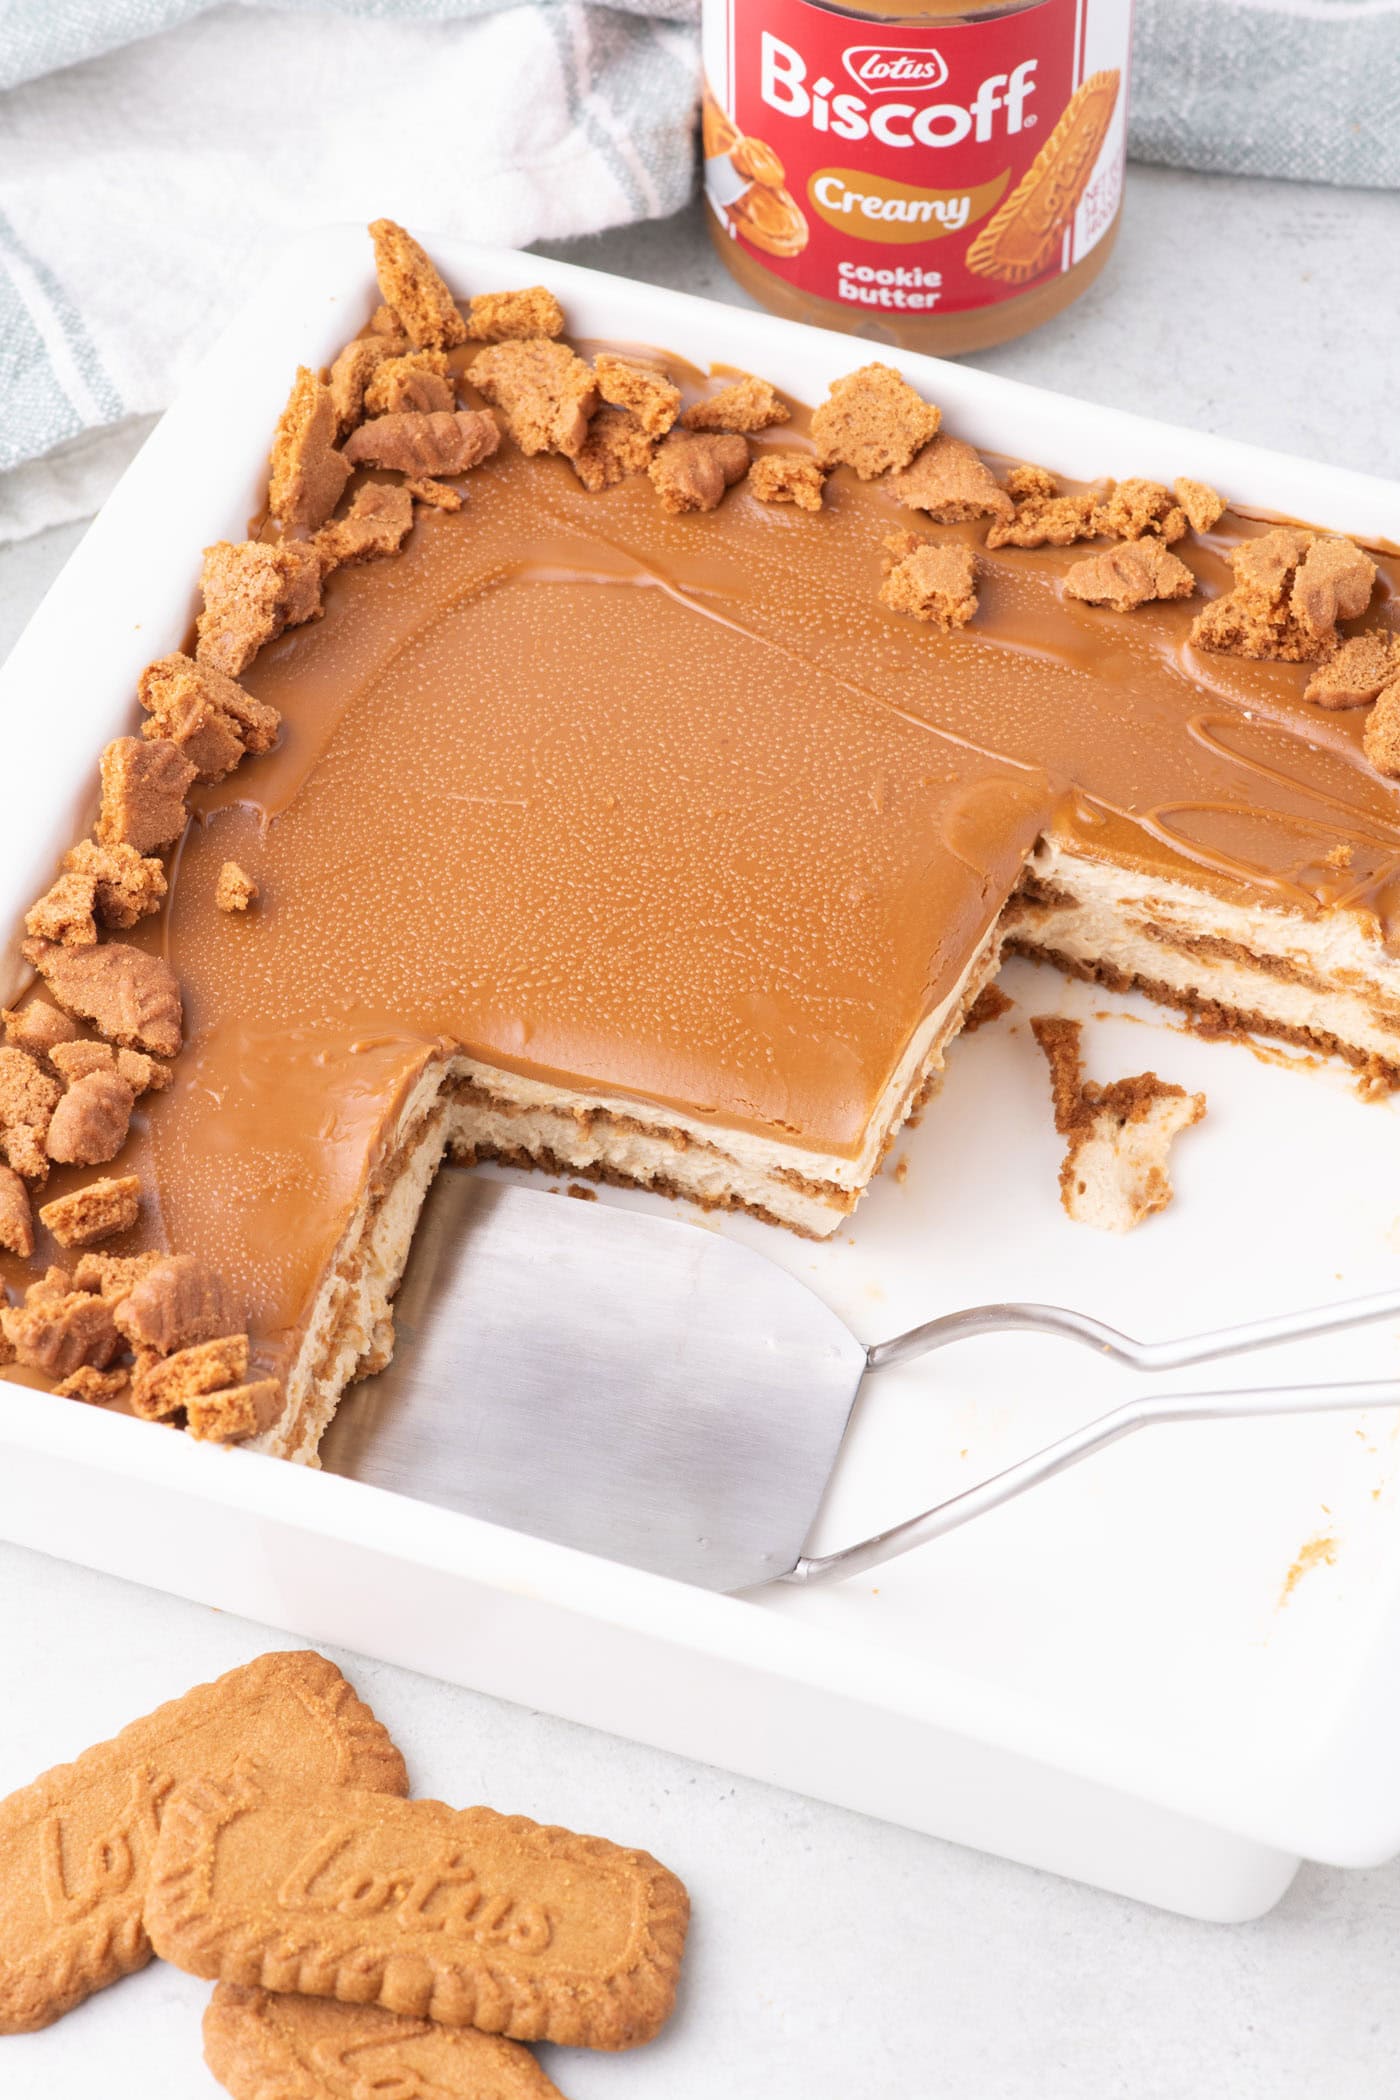
How do I get nice clean cuts from the Biscoff icebox cake?It is best to keep the cake cold, which will make it easier to slice. Dip a sharp knife into hot water, pat dry, and slice to get clean cuts. Do this before every cut you make.
Serving Suggestions
Serve your Biscoff icebox cake slices with an optional dollop of whipped cream and half of a Lotus cookie on top, or simply crush extra cookies and sprinkle them over the whipped cream. Always keep your cake chilled for the best consistency. Enjoy!
More Icebox Cake Recipes
- Strawberry Icebox Cake
- Nutter Butter Icebox Cake
- Banana Cream Pie Icebox Cake
- Chocolate Chip Cookie Icebox Cake
I love to bake and cook and share my kitchen experience with all of you! Remembering to come back each day can be tough, that’s why I offer a convenient newsletter every time a new recipe posts. Simply subscribe and start receiving your free daily recipes!
More recipes to try
Eight more recipes from the kitchen.
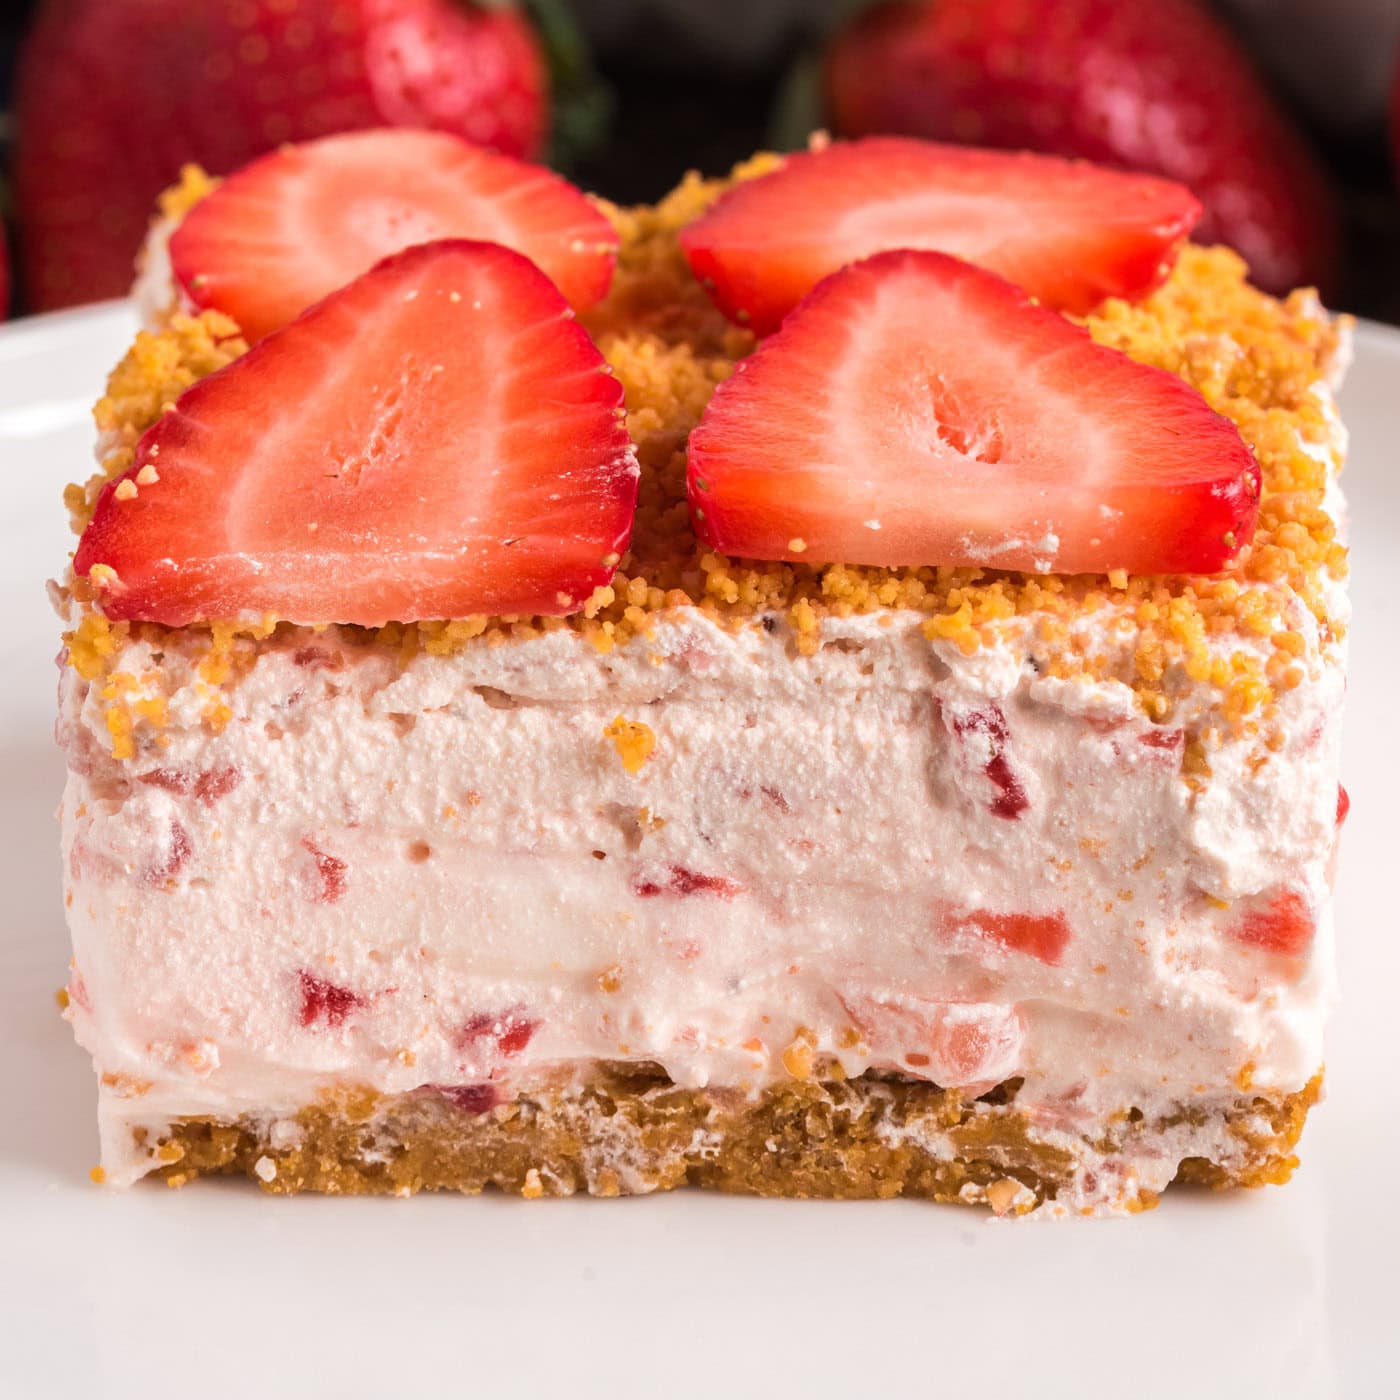
Strawberry Dream Dessert
Summer desserts don’t get any better than this strawberry dream…
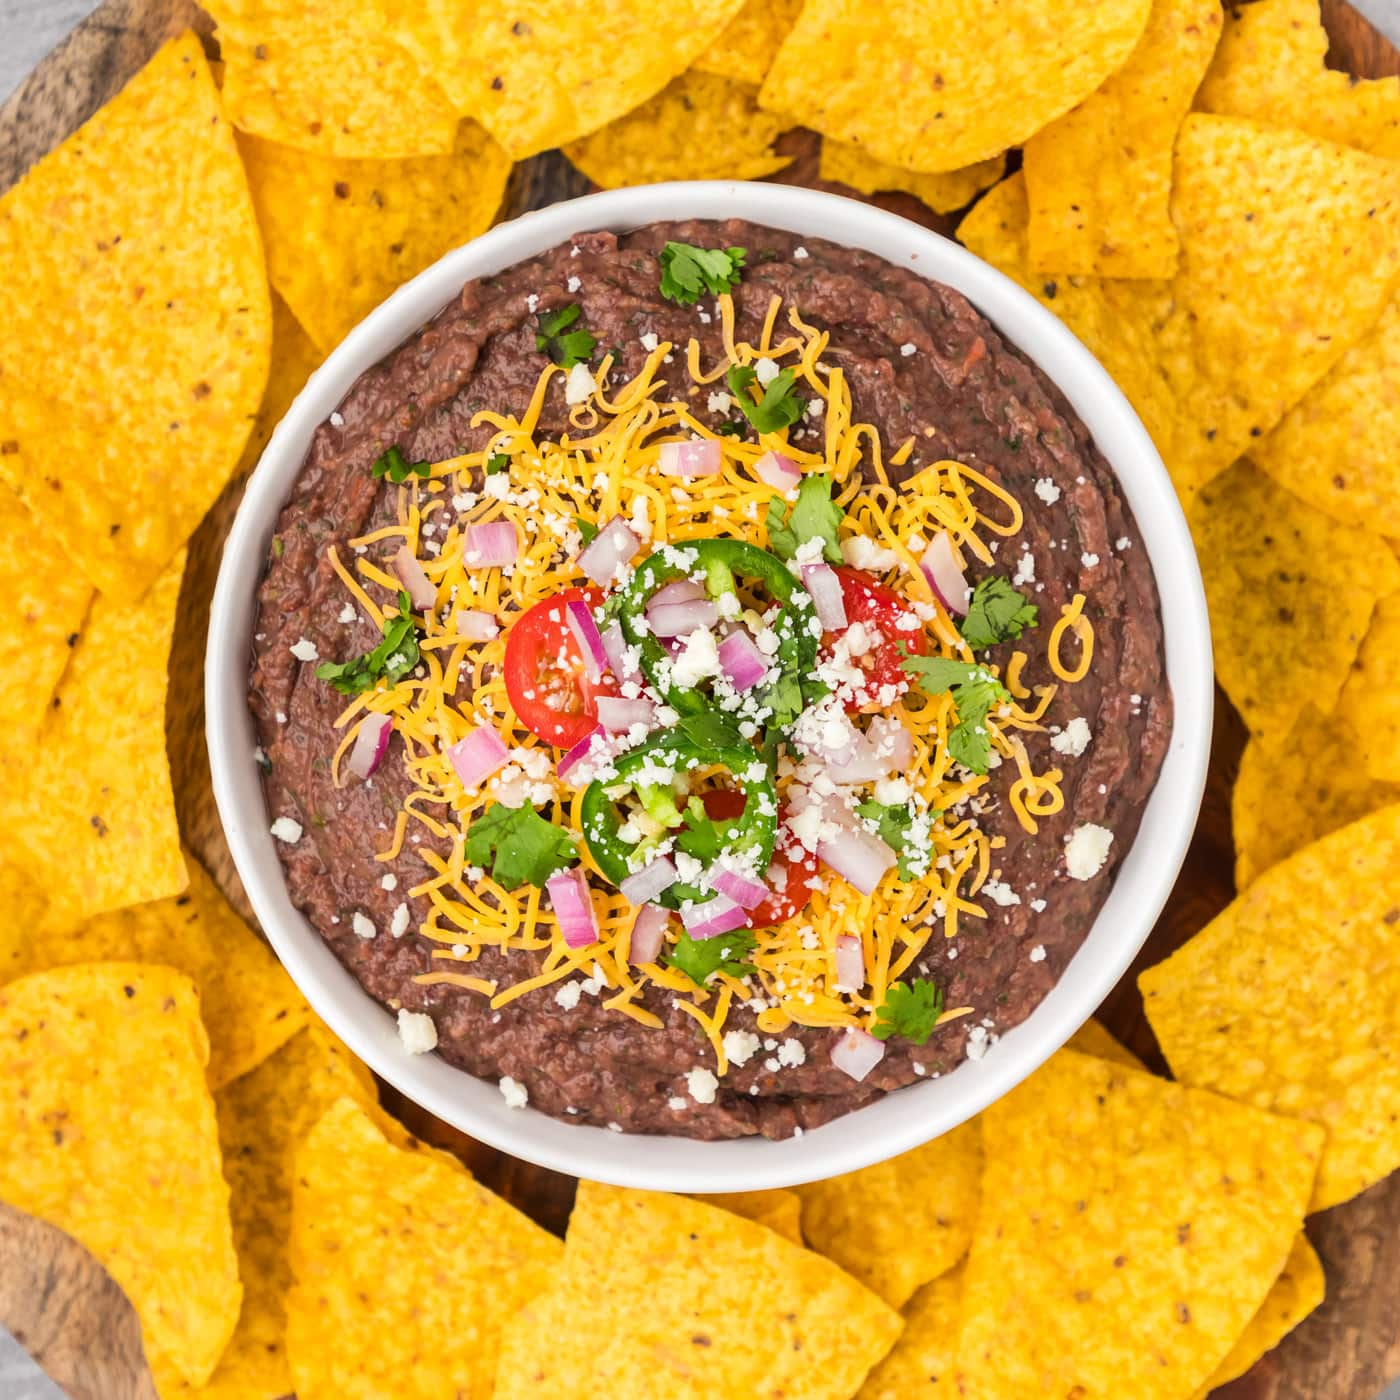
Black Bean Dip
Black bean dip is one of the quickest and easiest appetizers to throw…
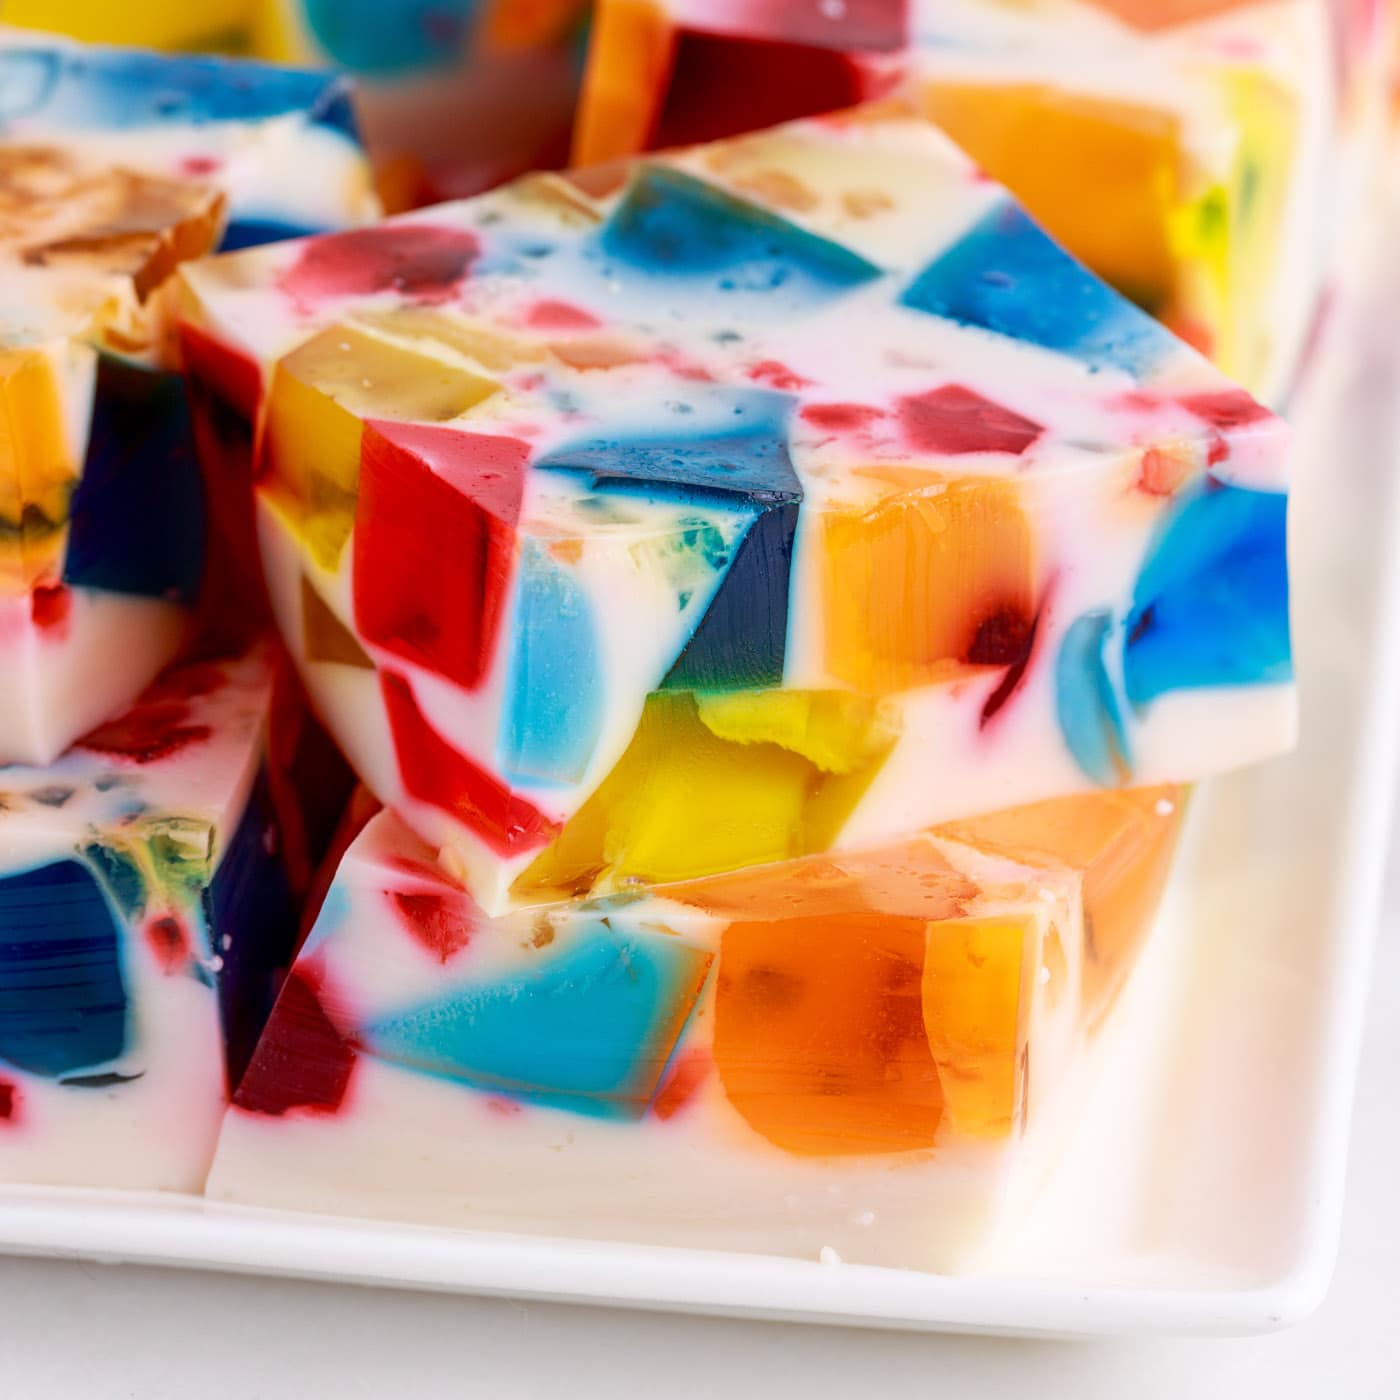
Broken Glass Jello
Broken glass jello is made with 4 different flavors of colorful jello…

Southern Green Beans
Melt in your mouth tender green beans are elevated with smokey, savory…

Meatball Sliders
These meatball sliders are made with frozen meatballs, melty…
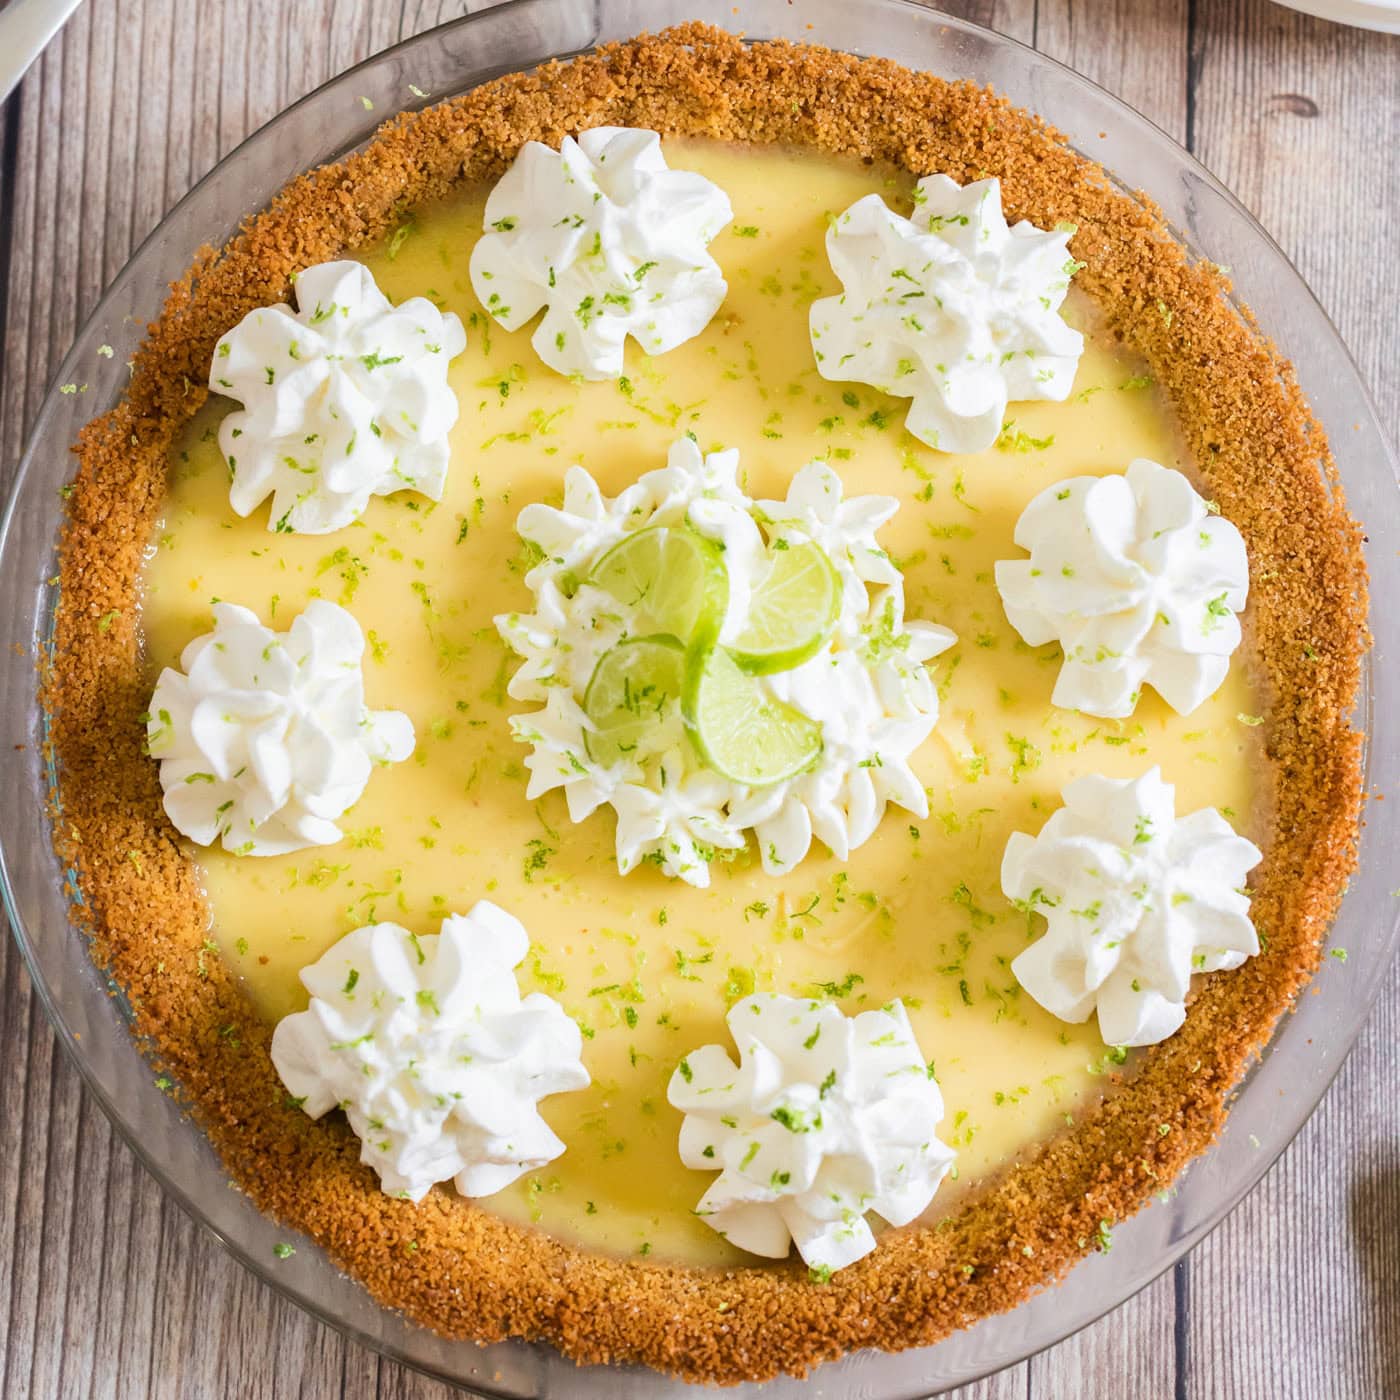
Key Lime Pie
A luscious, creamy key lime pie recipe made with heaps of sweet-tart…
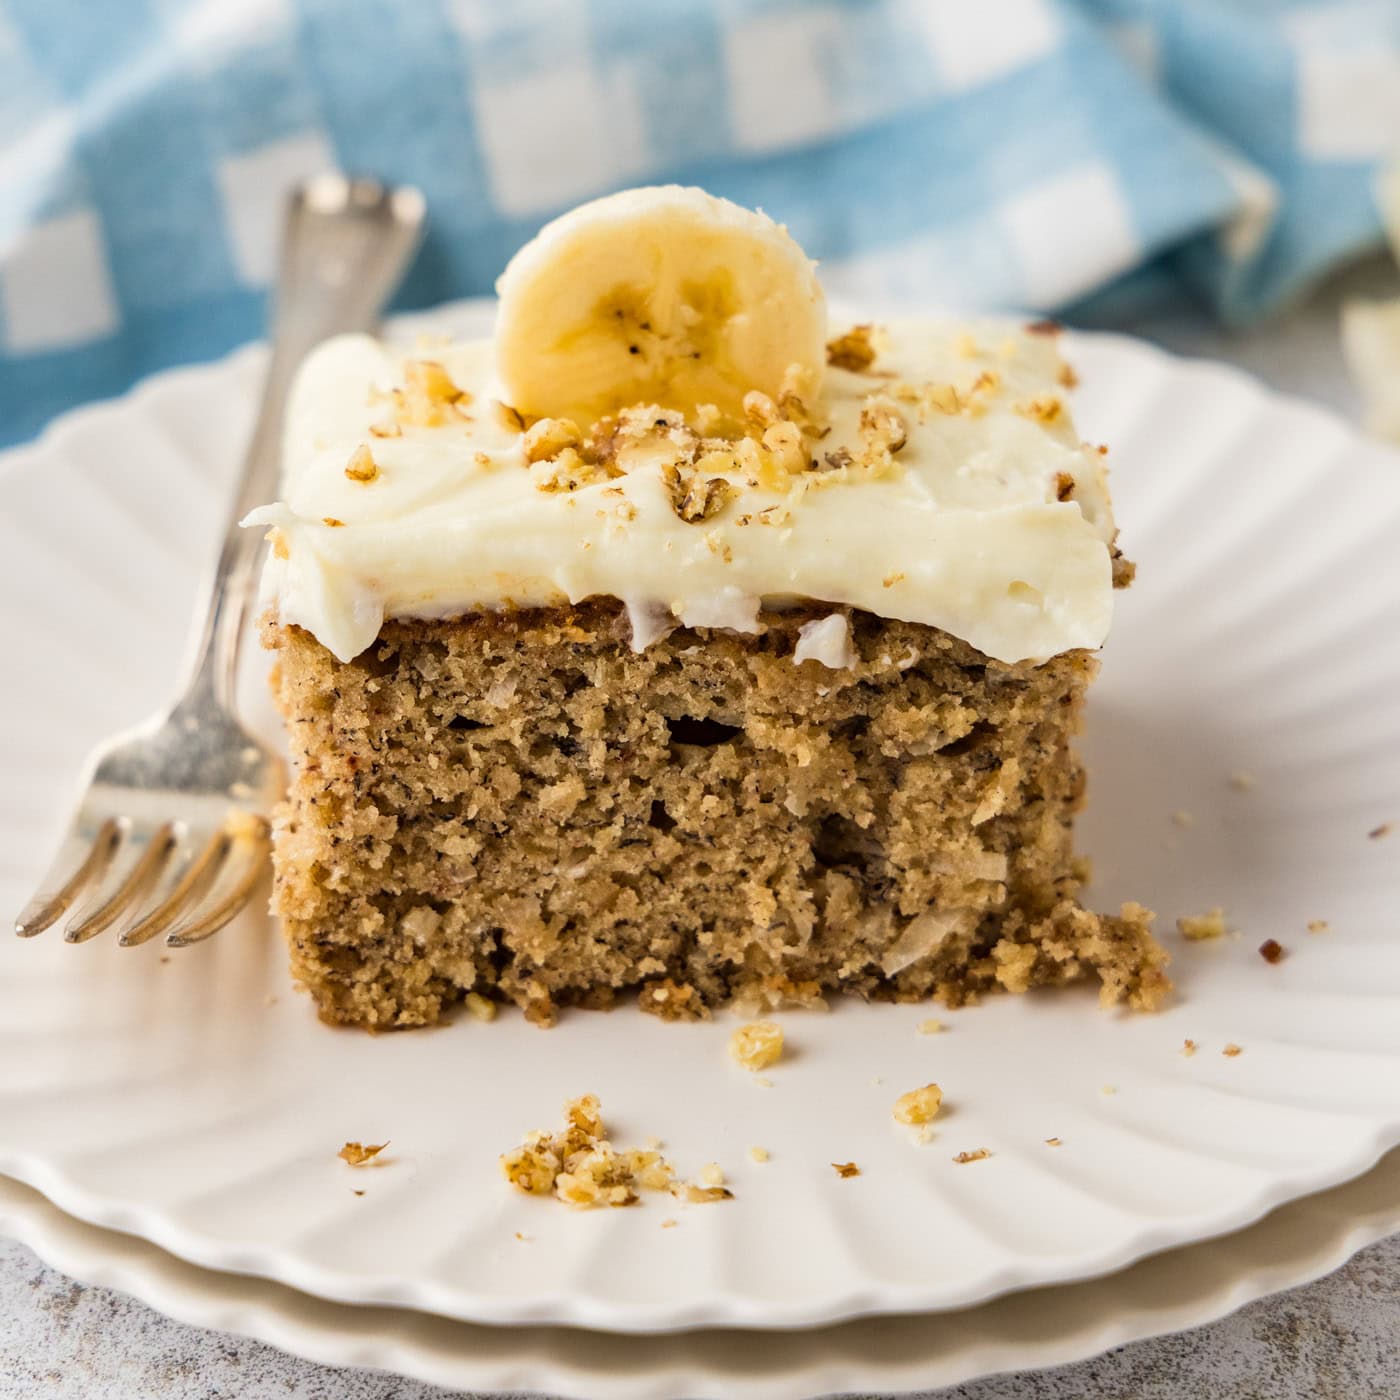
Banana Cake with Cream Cheese Frosting
Banana cake with cream cheese frosting is nothing short of amazing…

Baja Chicken
A refreshingly bright citrus baja chicken recipe marinated in orange…