Strawberry Dream Dessert
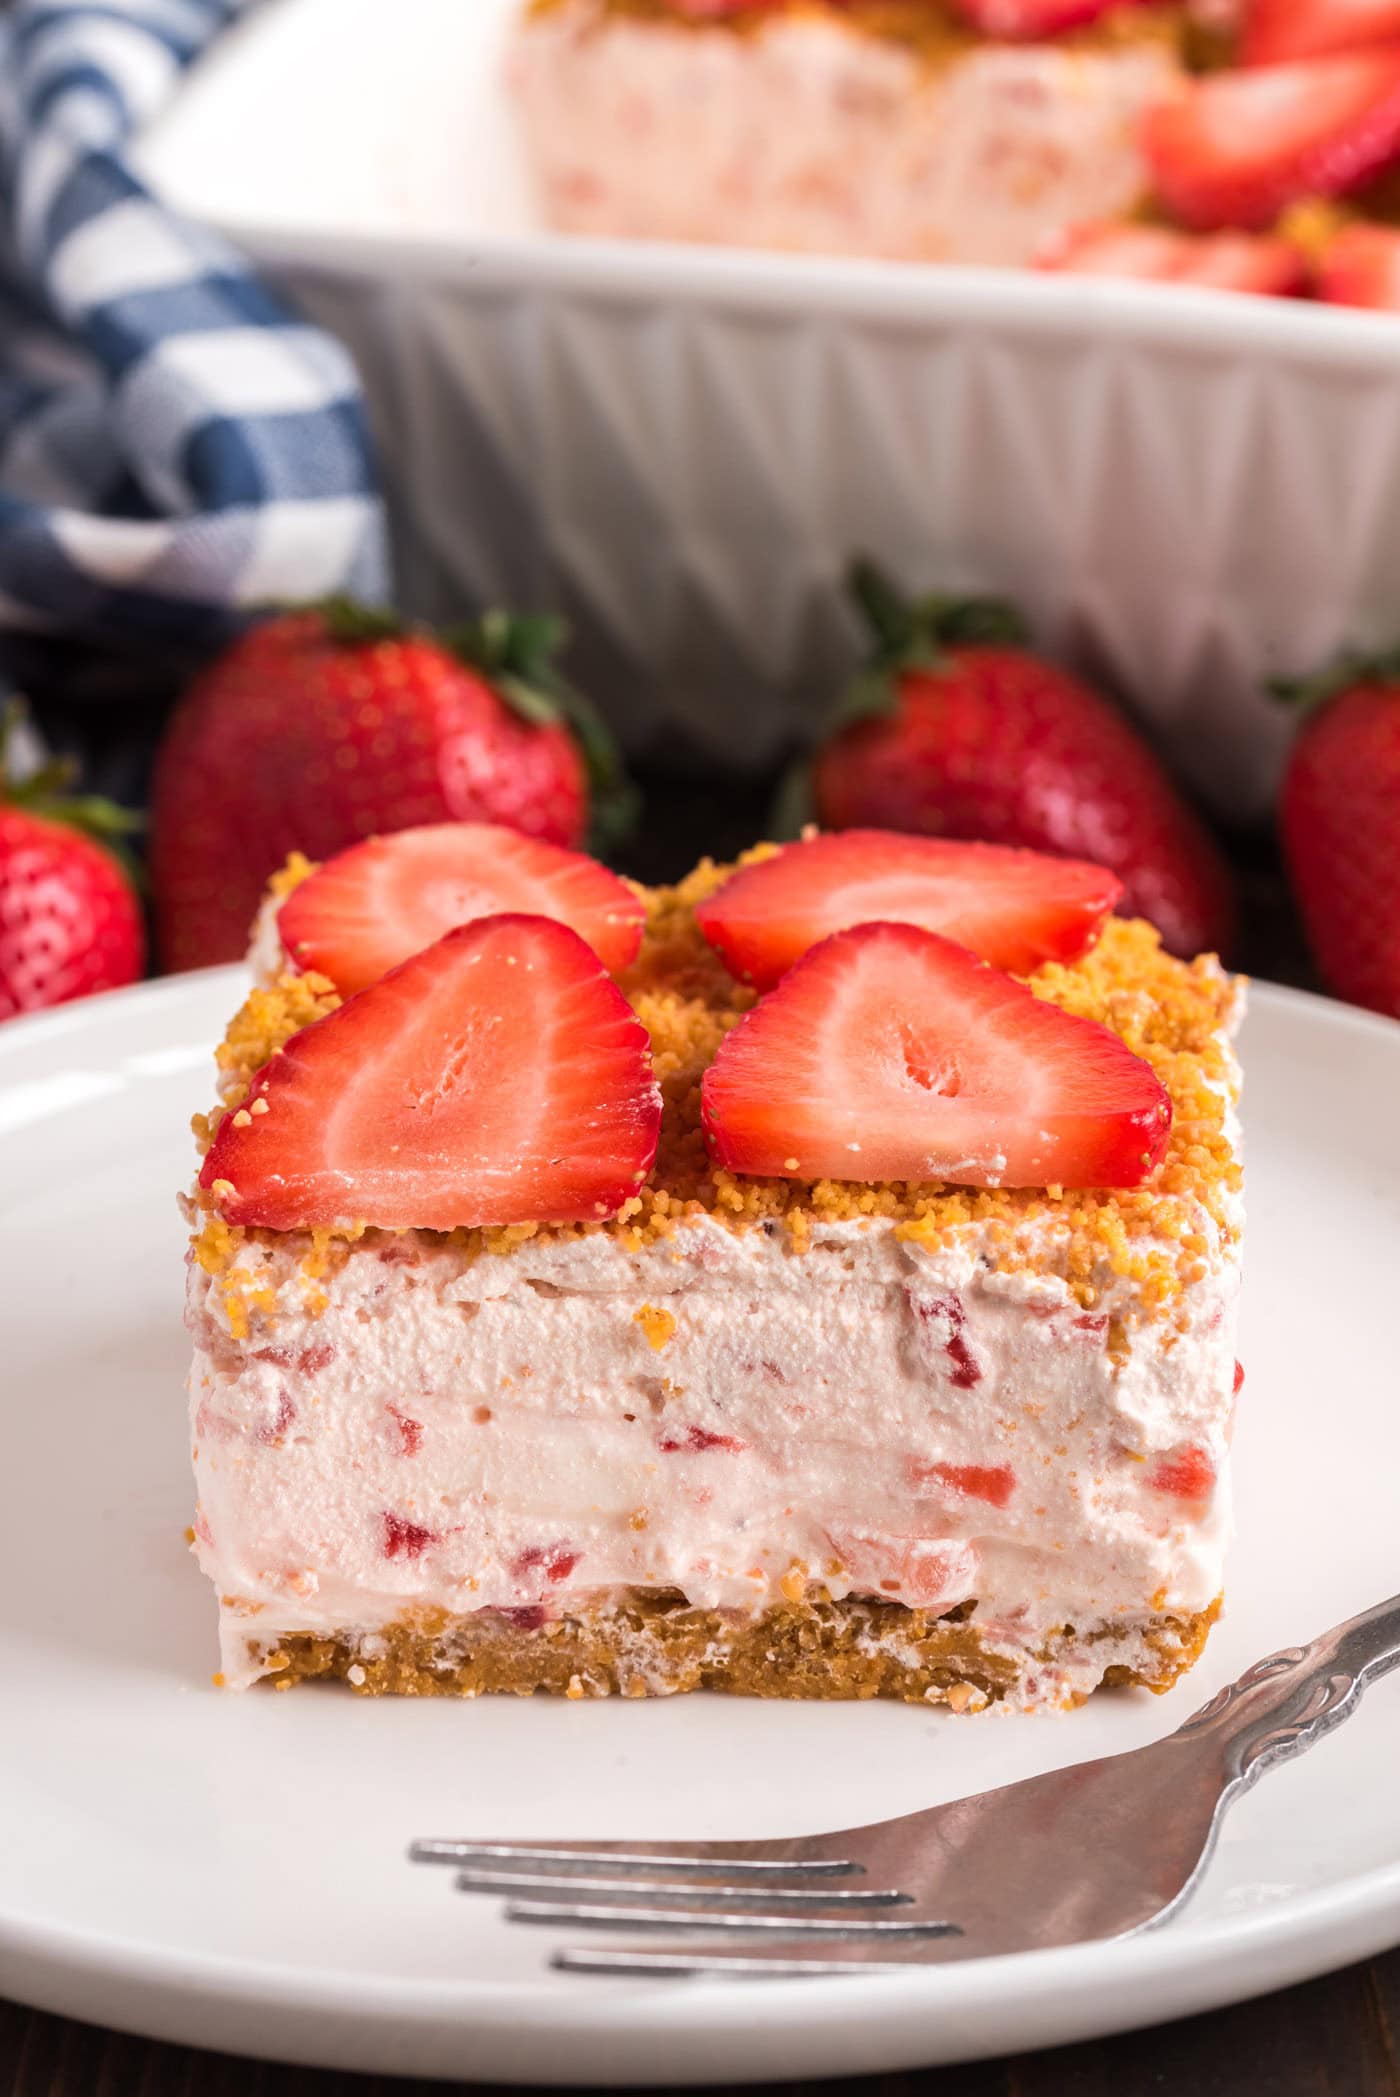
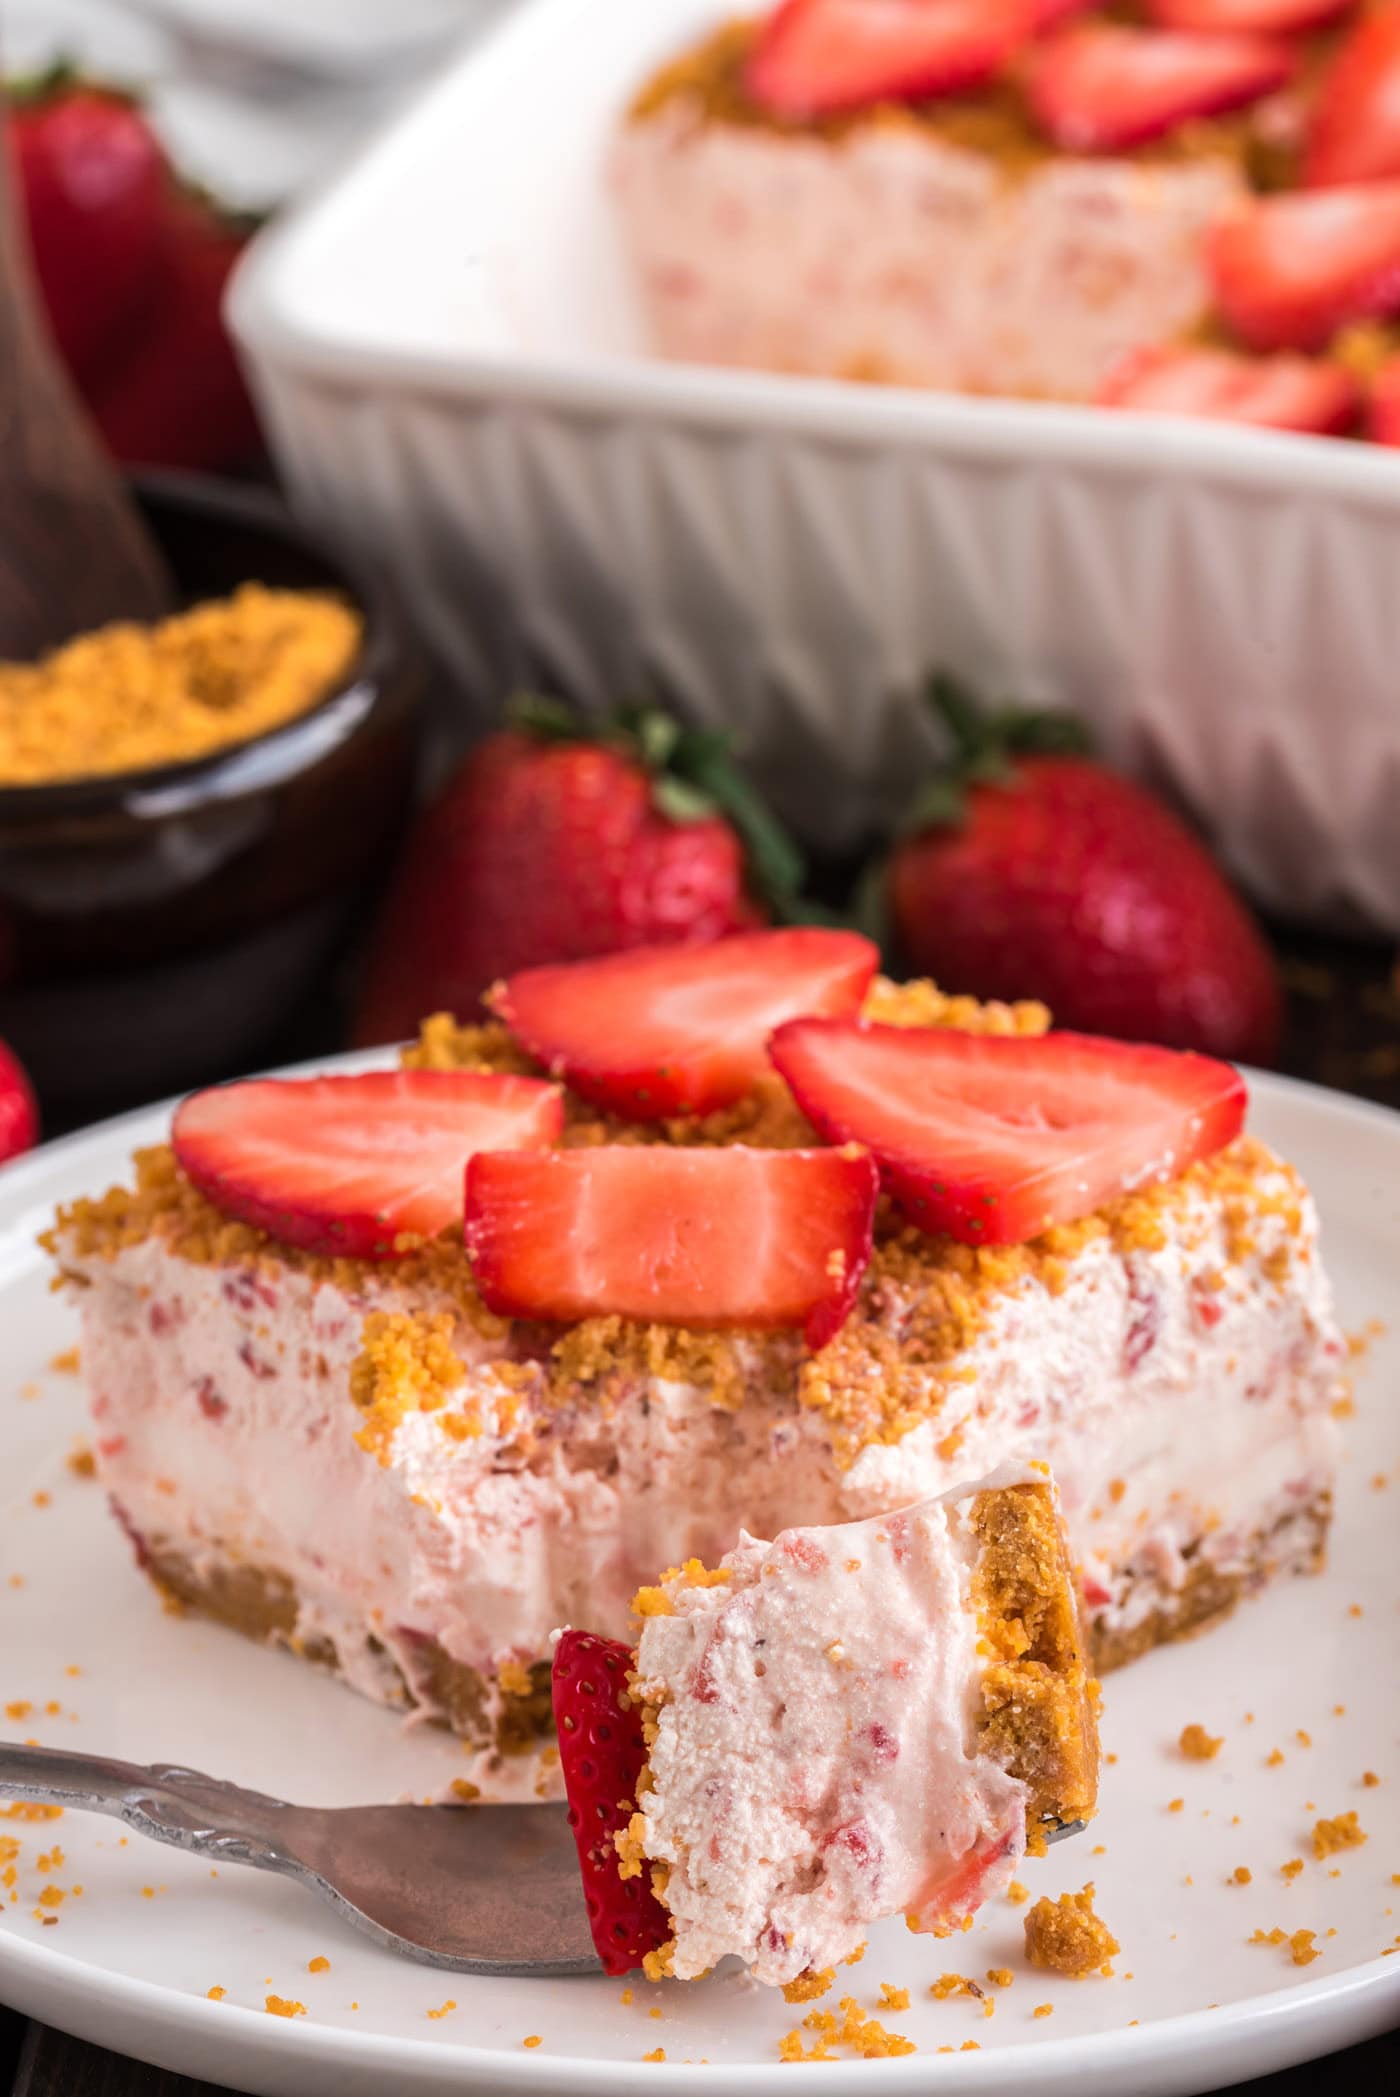
Summer desserts don’t get any better than this strawberry dream dessert! The creamy filling is dotted with fresh strawberries on top of a buttery graham cracker crust with a no-bake option included!
- Total 25 minutes
- Serves 12 people
- Desserts
- American
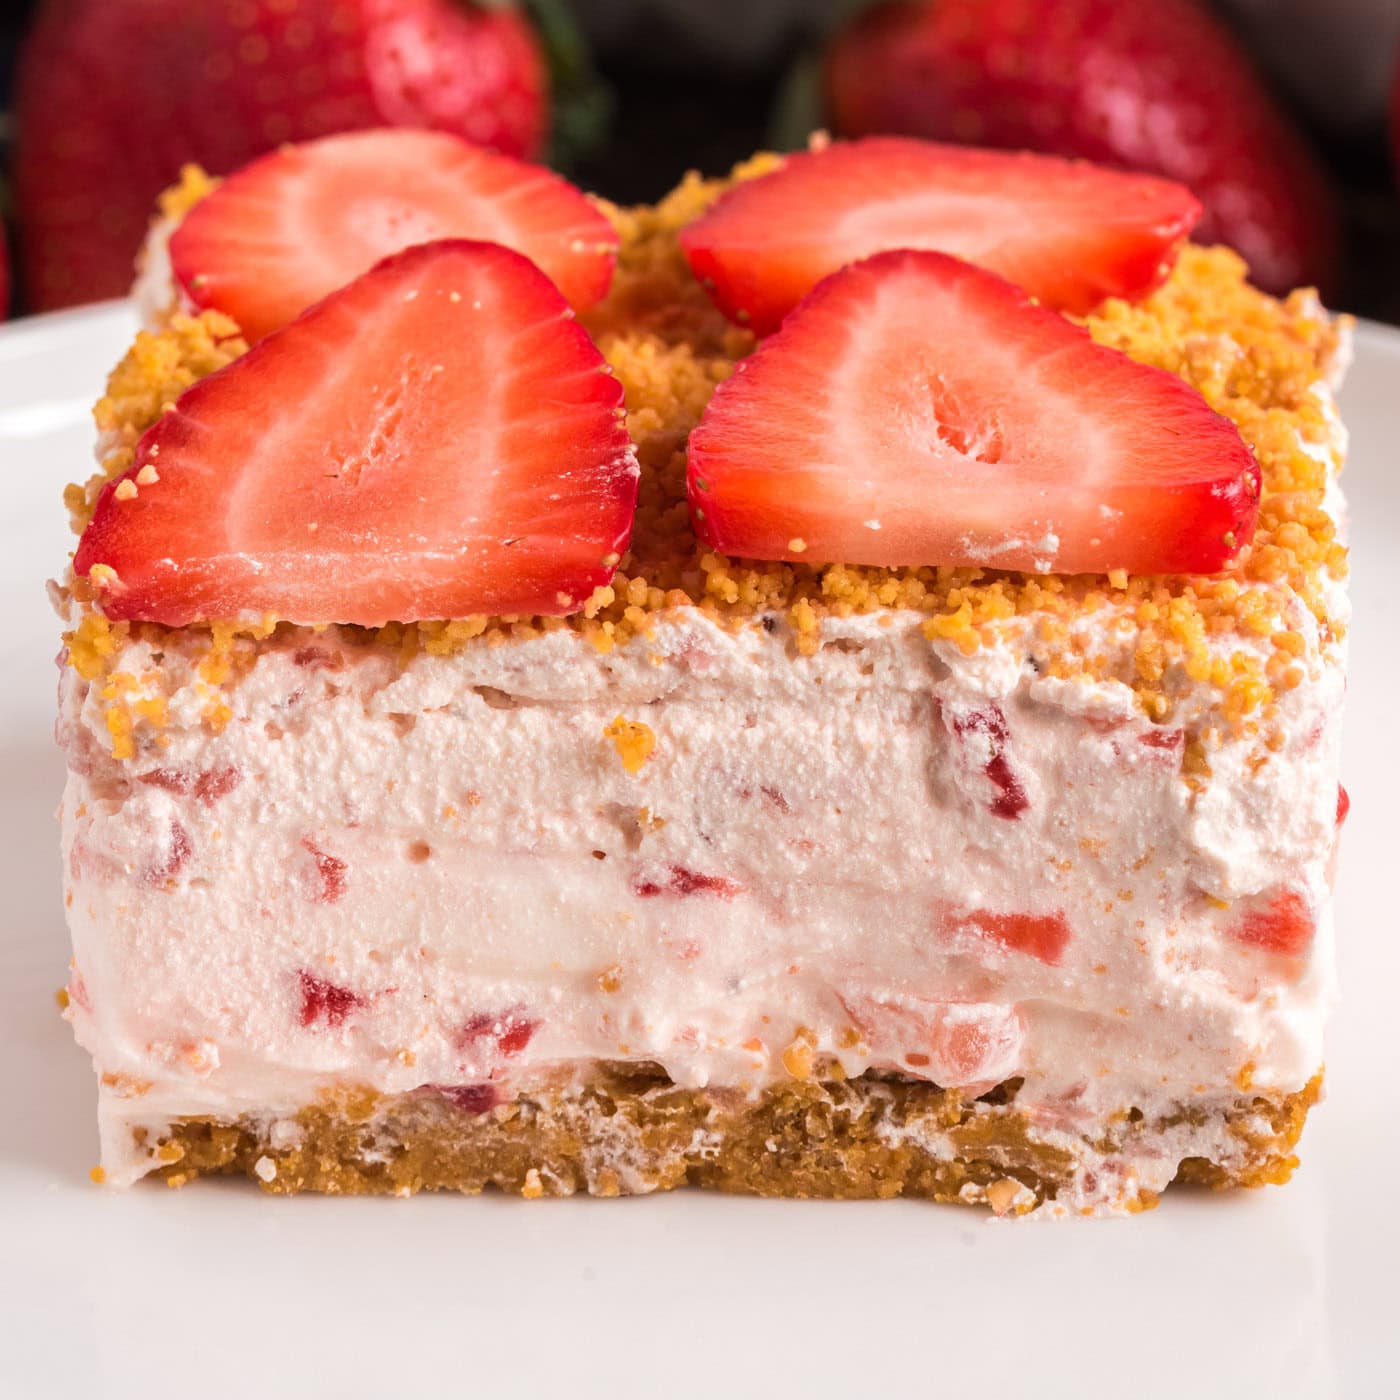
Summer desserts don’t get any better than this strawberry dream dessert! The creamy filling is dotted with fresh strawberries on top of a buttery graham cracker crust with a no-bake option included!
 more
more
Why this recipe works
Sister to the famous pineapple dream dessert is our sweet strawberry dream dessert! Lush, airy, and light, it’s exactly how I love my summertime treats.
RELATED: An ideal potluck dessert, our magic bars take 7 ingredients and just one bowl!
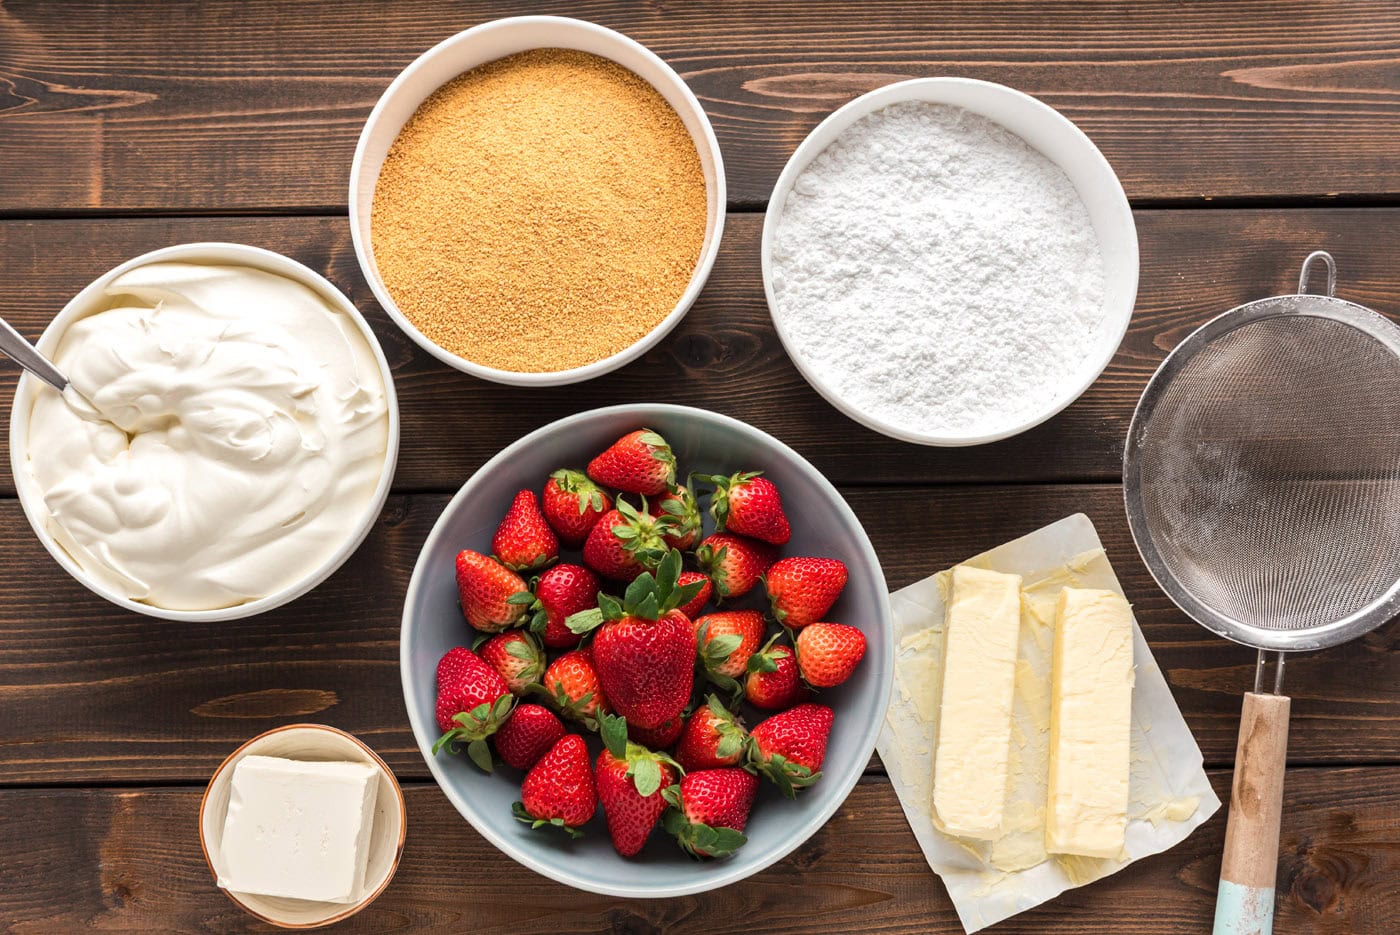
Strawberry dream dessert is really straightforward to make and comes together in around 25 minutes (plus chill time of course). Simple ingredients make it even better with powdered sugar, butter, cream cheese, Cool Whip, and fresh juicy strawberries plus a graham cracker crust. Although we typically bake the crust, we’ve included a no-bake option as well for hot summer days.
Craving something cold instead? This easy strawberry frozen yogurt comes together in about five minutes with just a food processor.
Ingredients you will need
Get all measurements, ingredients, and instructions in the printable version at the end of this post.
Ingredient Info and Substitution Suggestions
CRUST – You can use a food processor or a blender to crush up the graham crackers, but honestly, it’s just as easy to dump two sleeves of graham crackers into a gallon zipper plastic bag and crush them with a rolling pin.
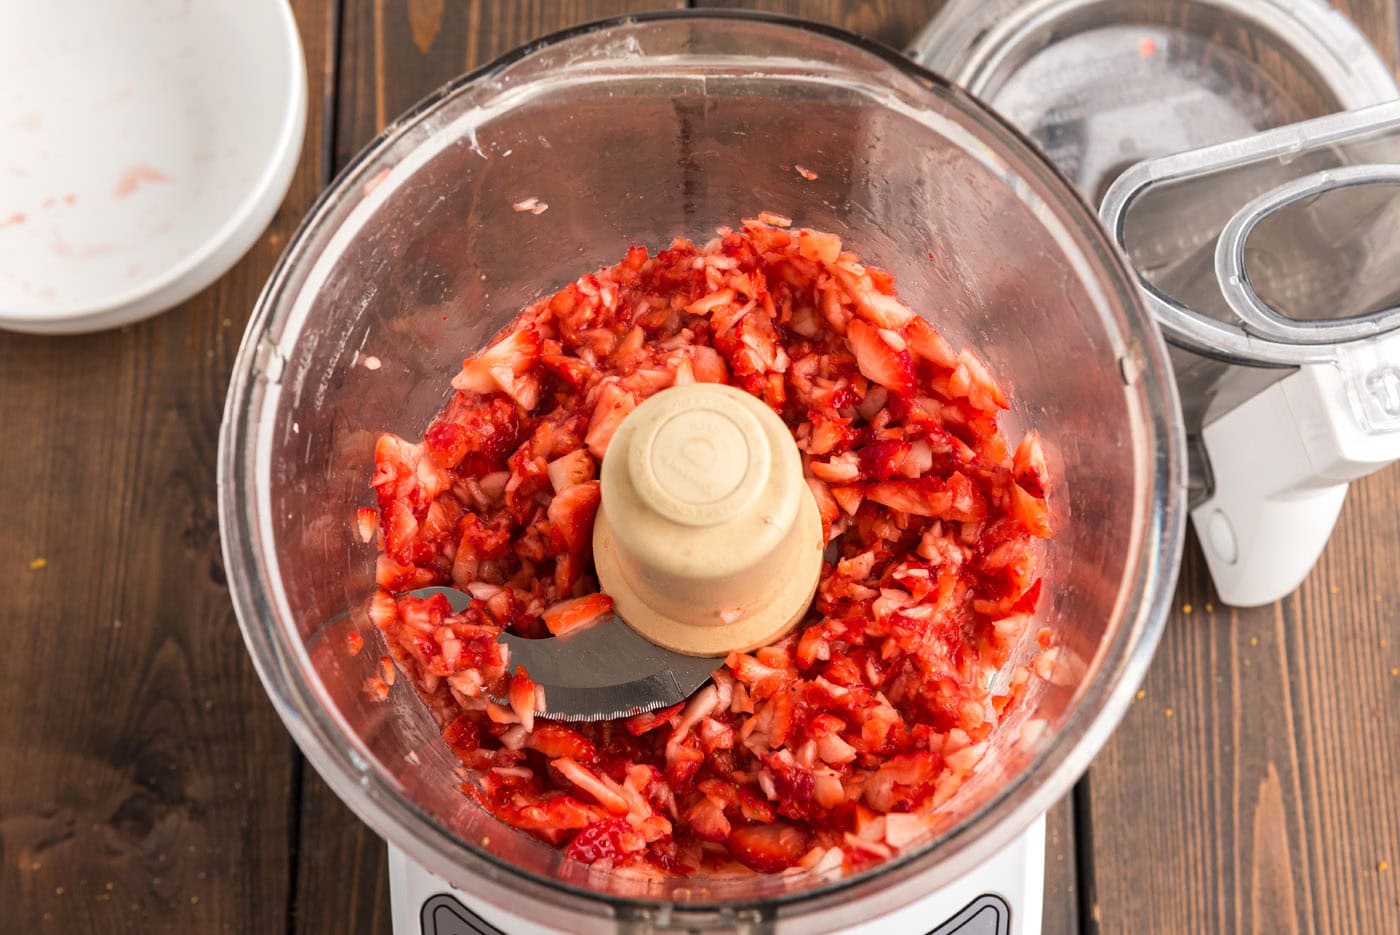
STRAWBERRIES – Fresh, plump strawberries are best for this dessert. Frozen strawberries will leak too much liquid once they thaw so I would not recommend using them, unless you take the time to thaw them and pat them dry. While you might be thinking about just chopping up the strawberries, a quick whirl in the food processor or blender breaks the strawberries up and gives you just the right amount of juice and all that amazing flavor.
How to Make Strawberry Dream Dessert
These step by step photos and instructions are here to help you visualize how to make this recipe. You can Jump to Recipe to get the printable version of this recipe, complete with measurements and instructions at the bottom.
- Preheat oven to 300 F.
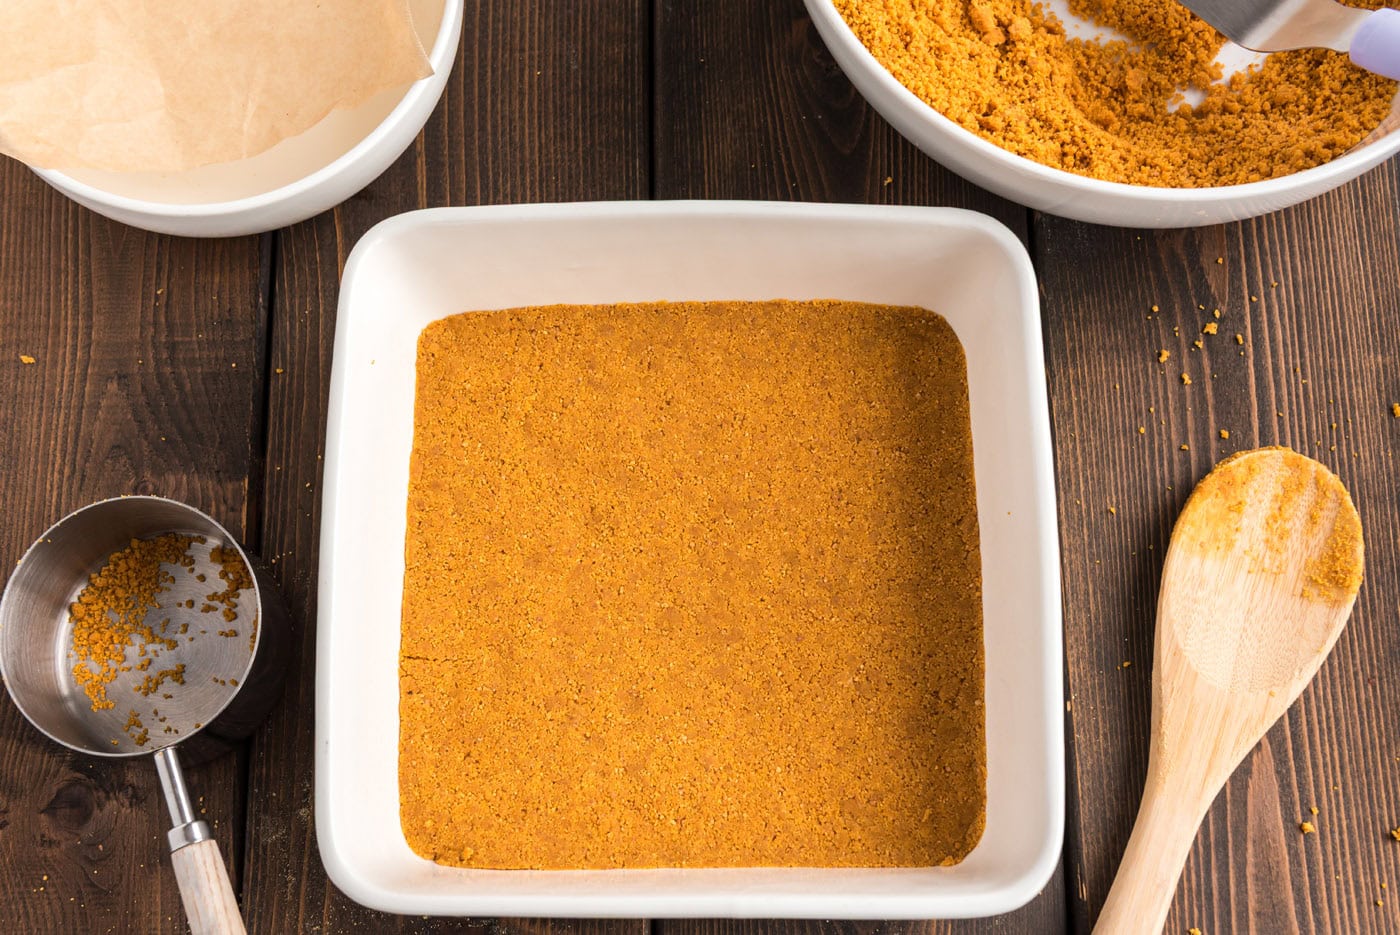
- Melt butter in the microwave and allow to cool. Combine the graham crumbs and butter and toss together until incorporated. Press 2 cups of the crumb mixture firmly but gently into a 9×9 square pan and bake for 8-10 minutes. Place on wire rack to cool. Reserve remaining crumbs for topping.
- Place strawberries in a blender or food processor and pulse a few times just to break them into chunks.
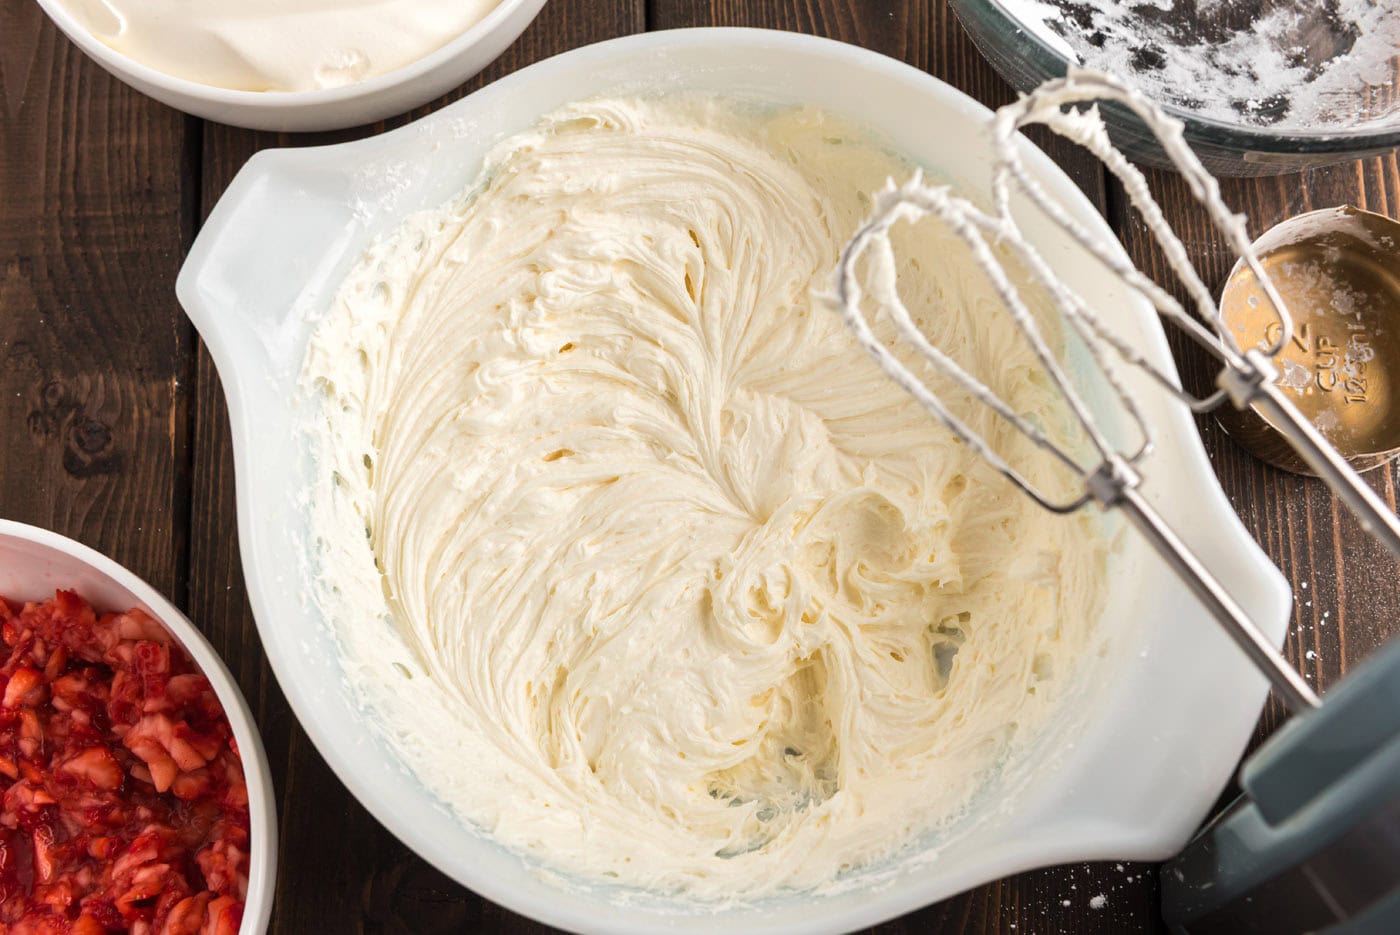
- Beat the cream cheese and butter together until creamy using an electric mixer. Turn the mixer down to low and add the powdered sugar one cup at a time until incorporated. Turn up and beat well for a minute or so.
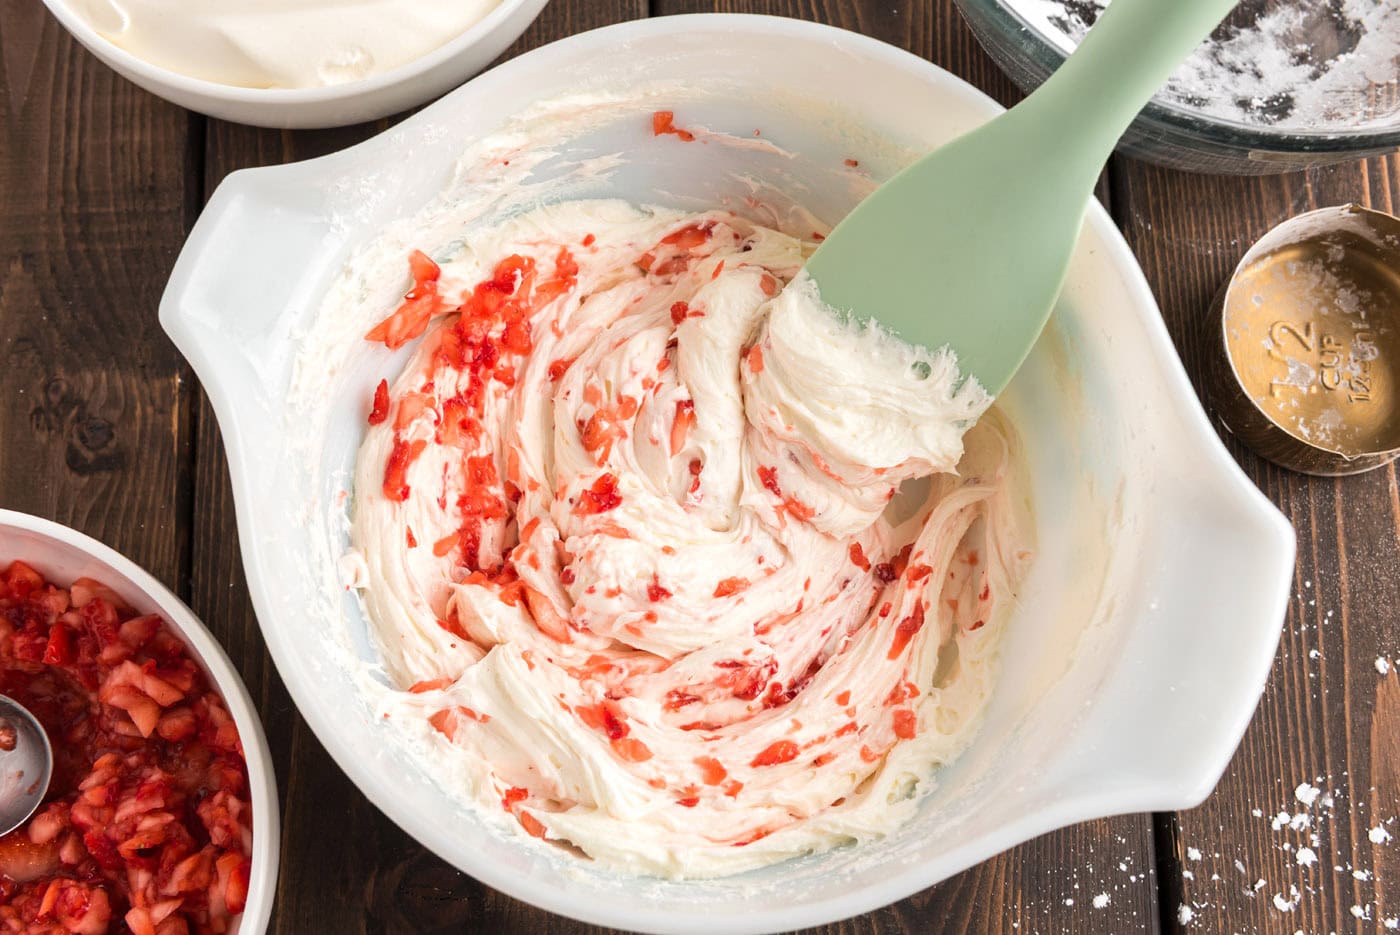
- Add a heaping tablespoon of the strawberry chunks and stir in with a rubber spatula. Spread the cream cheese and strawberry mixture over the crust.
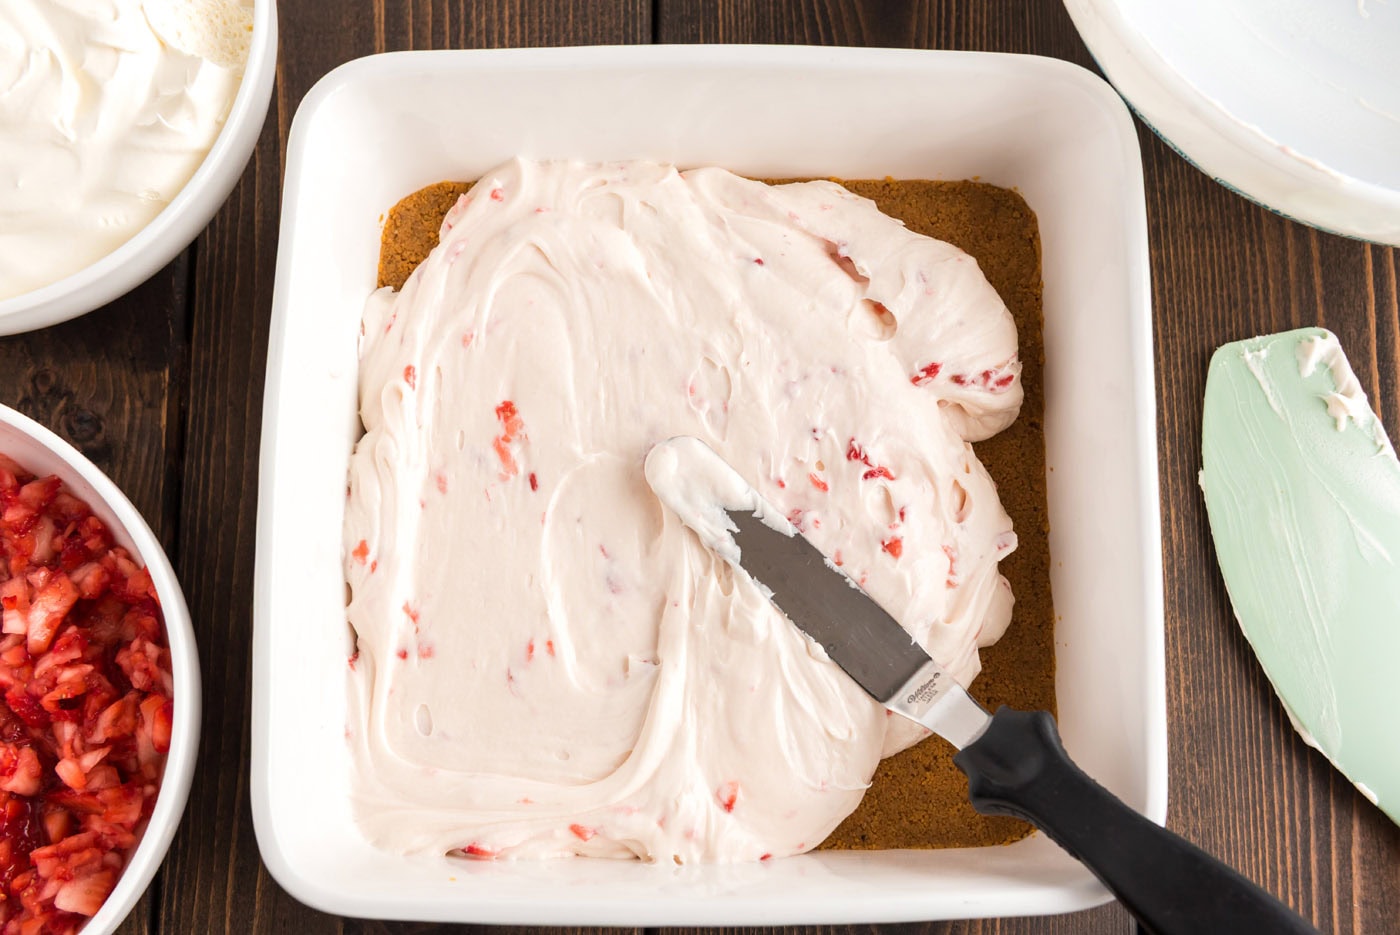
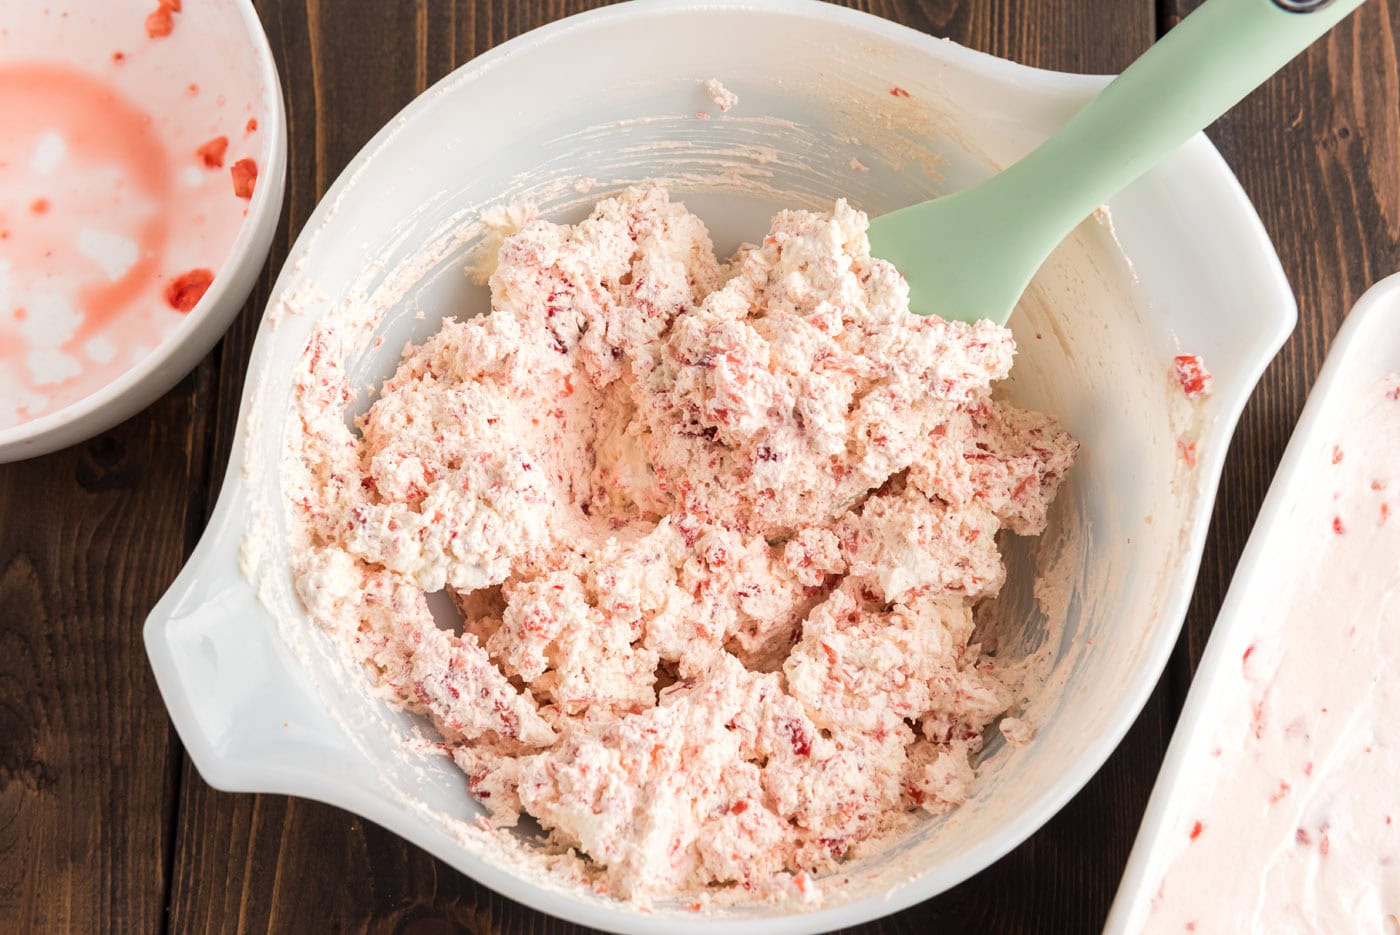
- Fold the remaining strawberry chunks into the Cool Whip and spread on top of the cream cheese mixture.
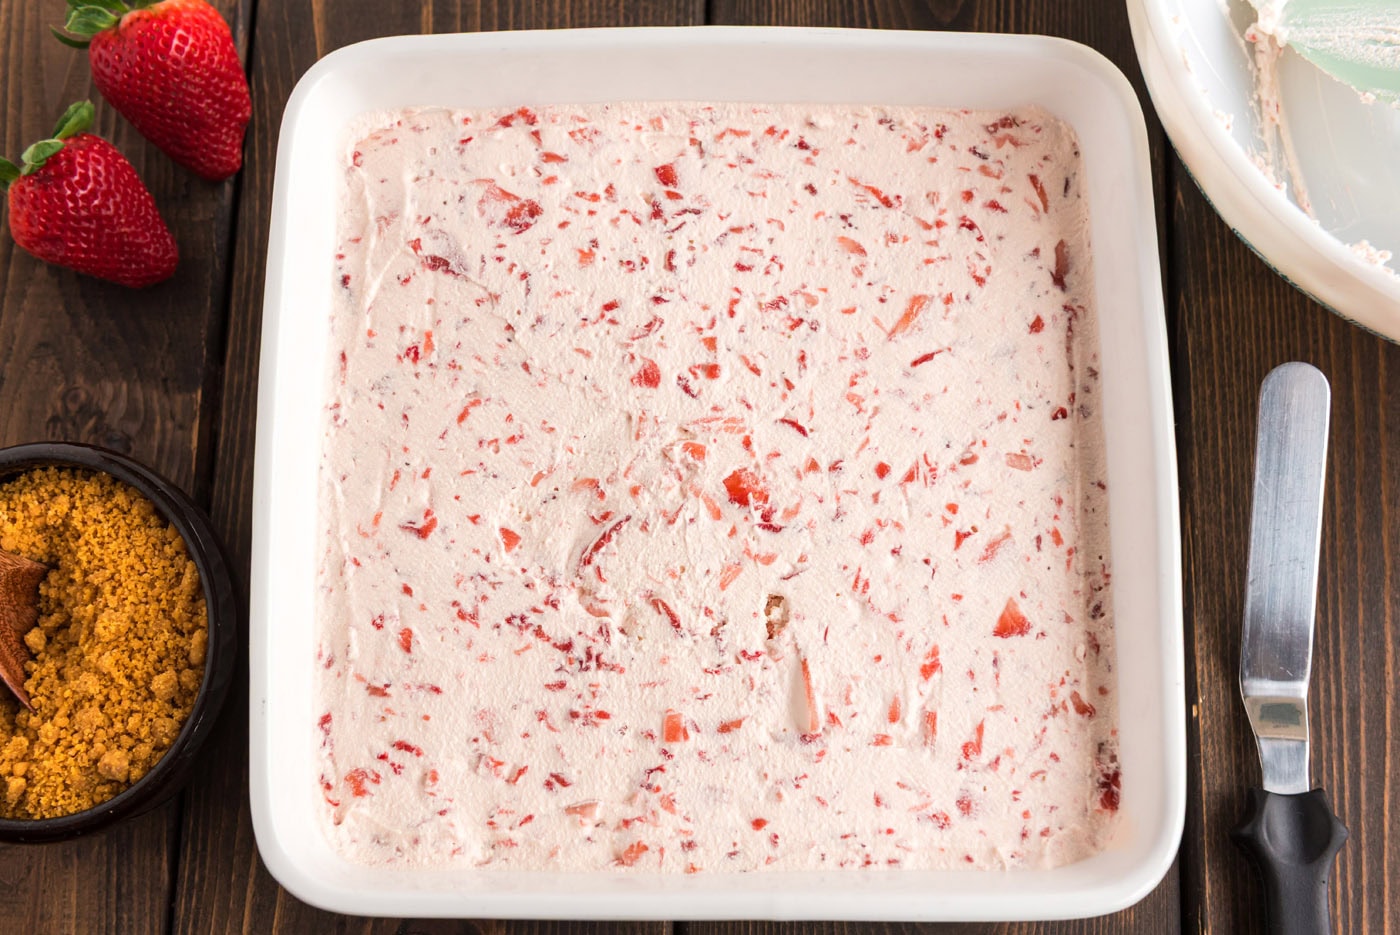
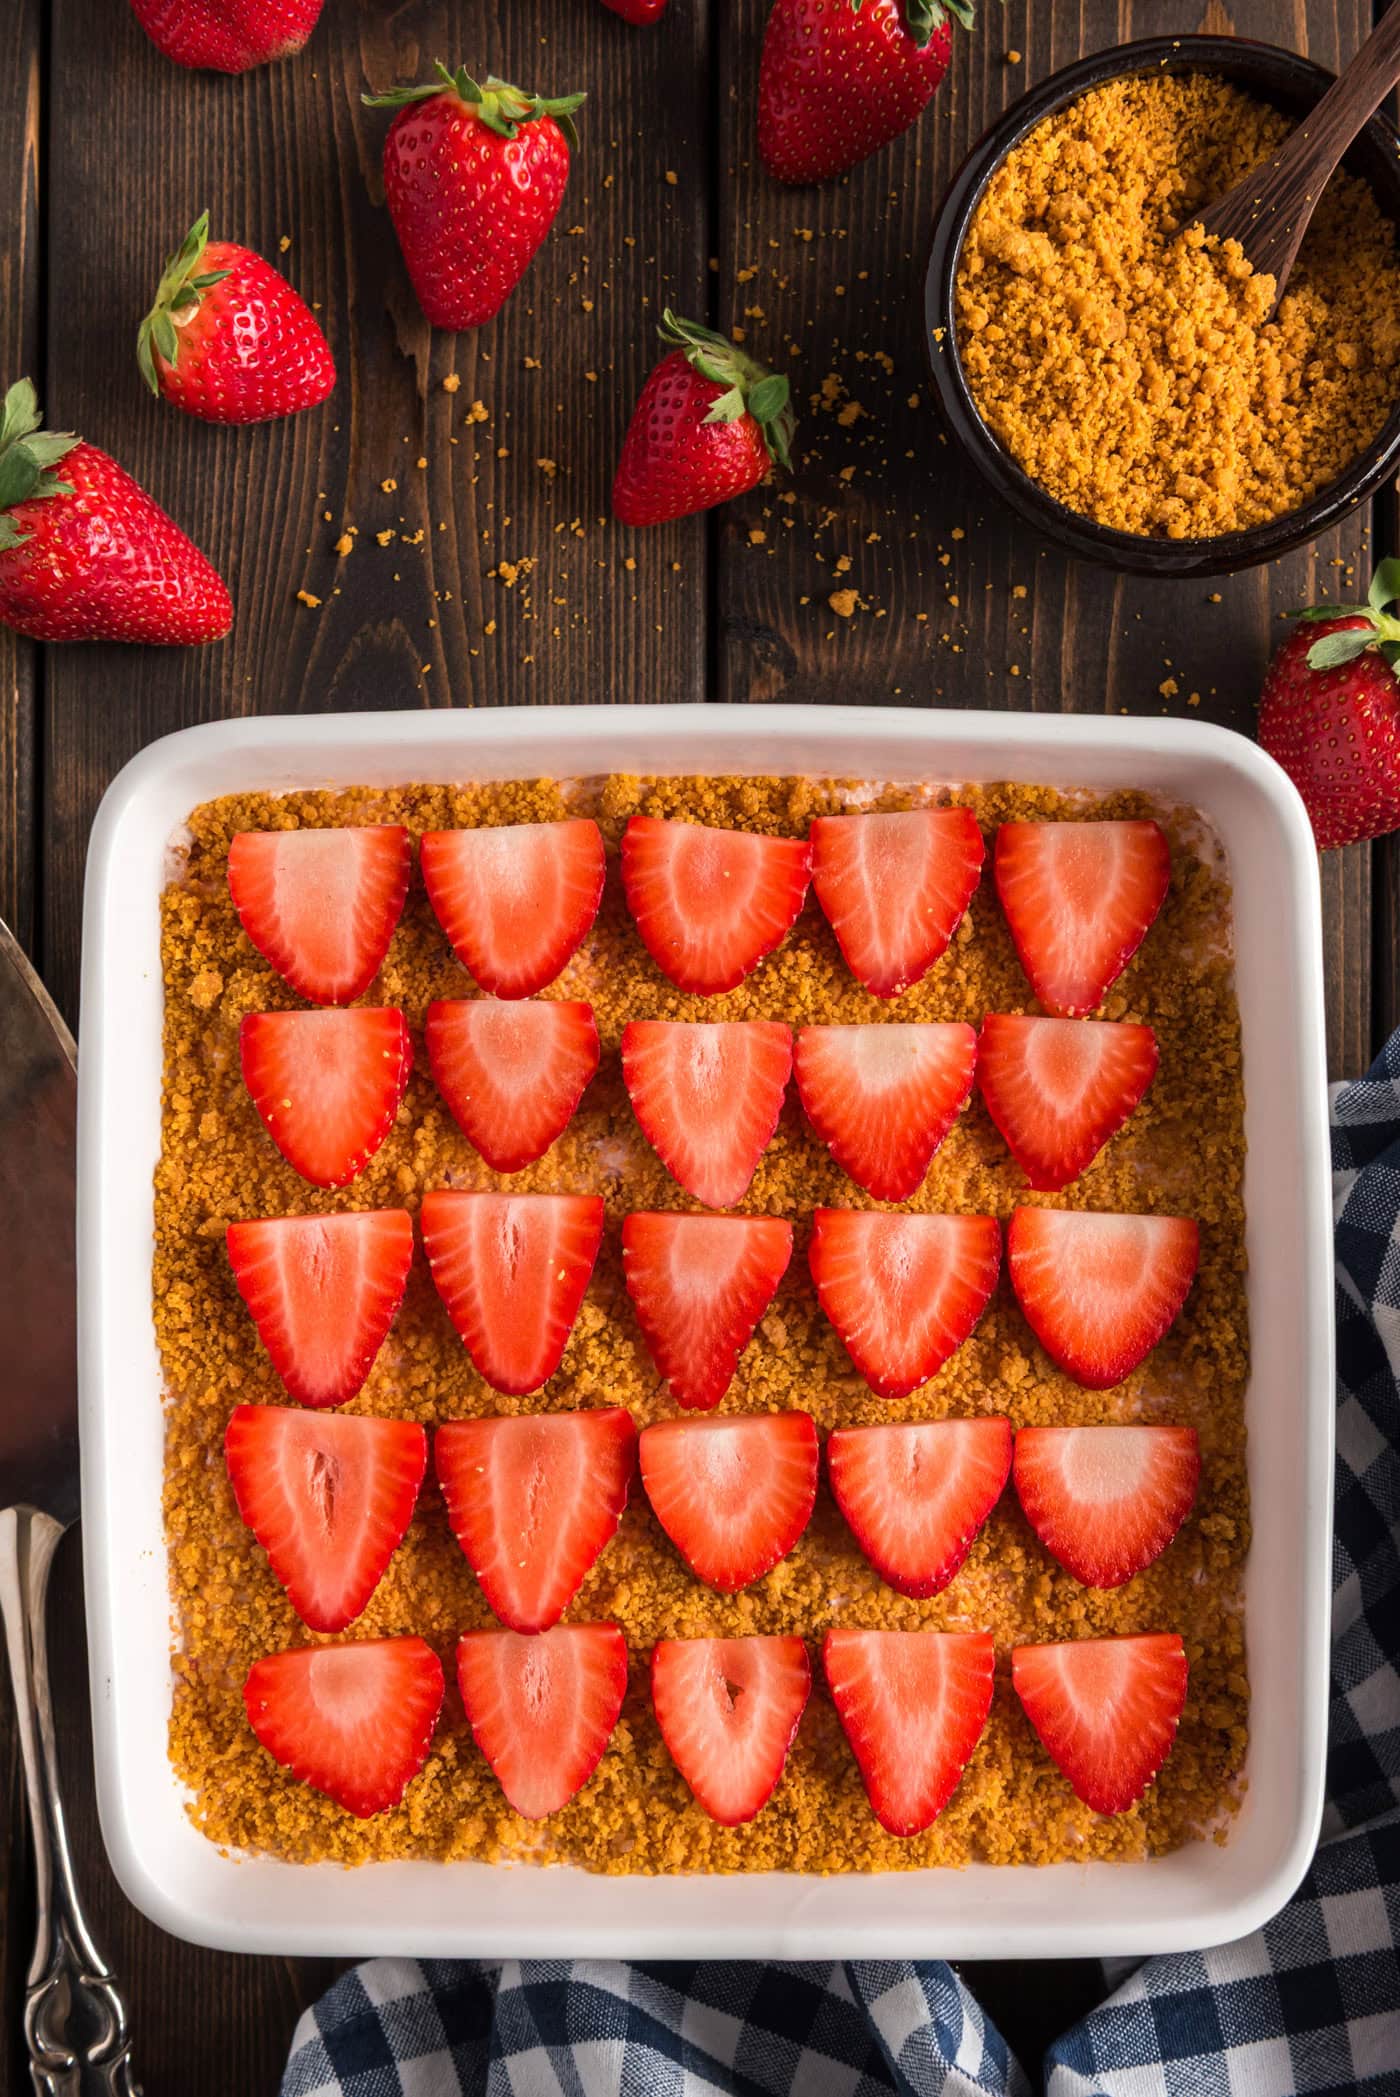
- Sprinkle graham cracker crumb mixture on top (you may not use it all). Optionally top with sliced strawberries.
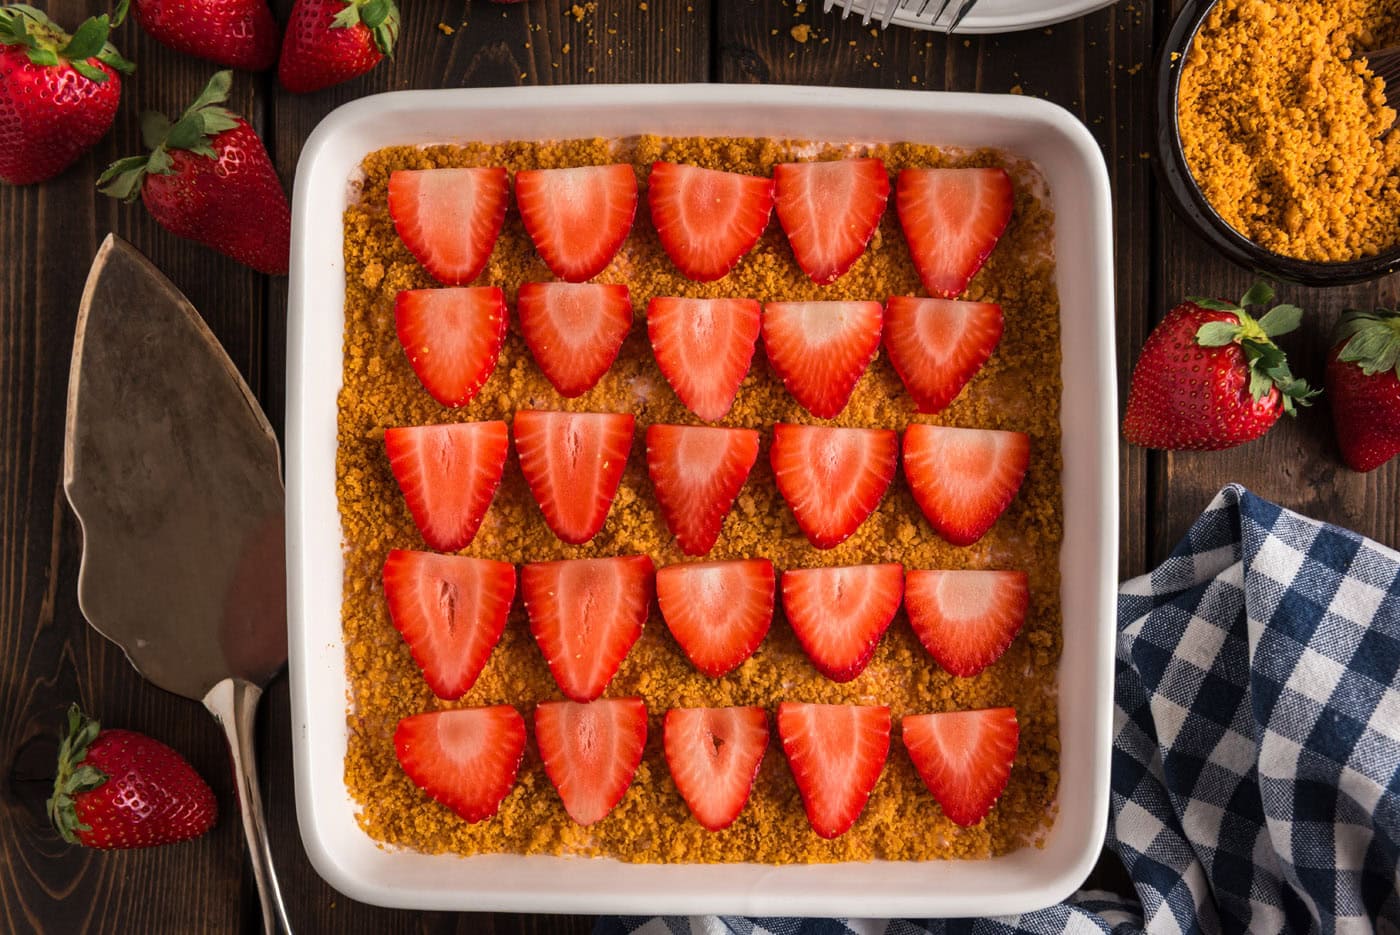
- Refrigerate for at least 4 hours, preferably overnight.
Frequently Asked Questions & Expert Tips
What kind of pan should I use?This recipe calls for a square baking pan. A metal, glass, or ceramic pan is fine, but since you’ll be serving this dessert in that same pan, a glass or ceramic pan with a lid is a nicer choice! You can double the recipe to make it in a 13×9 pan instead.
Can I make strawberry dream dessert ahead of time?Yes, in fact, it’s suggested to make it at least four hours in advance to allow everything to set up in the fridge. However, you can prep it up to a day ahead of time and store it, covered, in the refrigerator to allow it to set up even further. When garnishing the top with sliced strawberries you might want to hold off until an hour or so before serving. Even when covered, if the dish sits in the refrigerator overnight the sliced strawberries may begin to look a little dried out.
How do you store strawberry dream dessert?Store your dessert covered with plastic wrap or an air-tight lid and keep in the refrigerator for up to 4 days.
Can you freeze it?You can easily freeze this strawberry dream dessert. To do so, place the dessert (in the pan, without foil or plastic wrap, so uncovered) in the freezer for a couple of hours to harden. Remove from freezer and place a layer of plastic wrap on top and press it to the dessert so it’s actually touching the top, to help keep air off it. Wrap completely with foil and freeze for up to 3 months. Thaw in the fridge overnight.
For individual pieces, flash-freeze the pieces on a baking sheet, placed just enough apart so they don’t touch. Remove from freezer and wrap each piece individually with plastic wrap. Place frozen wrapped pieces in a freezer bag if you like. To consume, remove from freezer and unwrap immediately, allow to thaw in the fridge or at room temp. Don’t wait for it to thaw to remove, or the plastic wrap may stick to the dessert.
Serving Suggestions
We kept it simple with the garnish on our strawberry dream dessert by using extra crushed graham crackers on top along with sliced strawberries. You can optionally layer the top with Cool Whip and chopped strawberries instead. Bring to potlucks or summer parties and serve chilled, enjoy!
Building a dessert table? Add these strawberry shortcake kabobs for a fun, hands-on option the kids will go for.
More Strawberry Recipes
- Strawberry Lasagna
- Strawberry Icebox Cake
- Strawberry Jello Pretzel Salad
- No Bake Strawberry Cheesecake Bars
- Strawberry Shortcake Kabobs
I love to bake and cook and share my kitchen experience with all of you! Remembering to come back each day can be tough, that’s why I offer a convenient newsletter every time a new recipe posts. Simply subscribe and start receiving your free daily recipes!
This post was originally published on this blog on Jun 22, 2017 and has since been updated with new photos and expert tips.
More recipes to try
Eight more recipes from the kitchen.
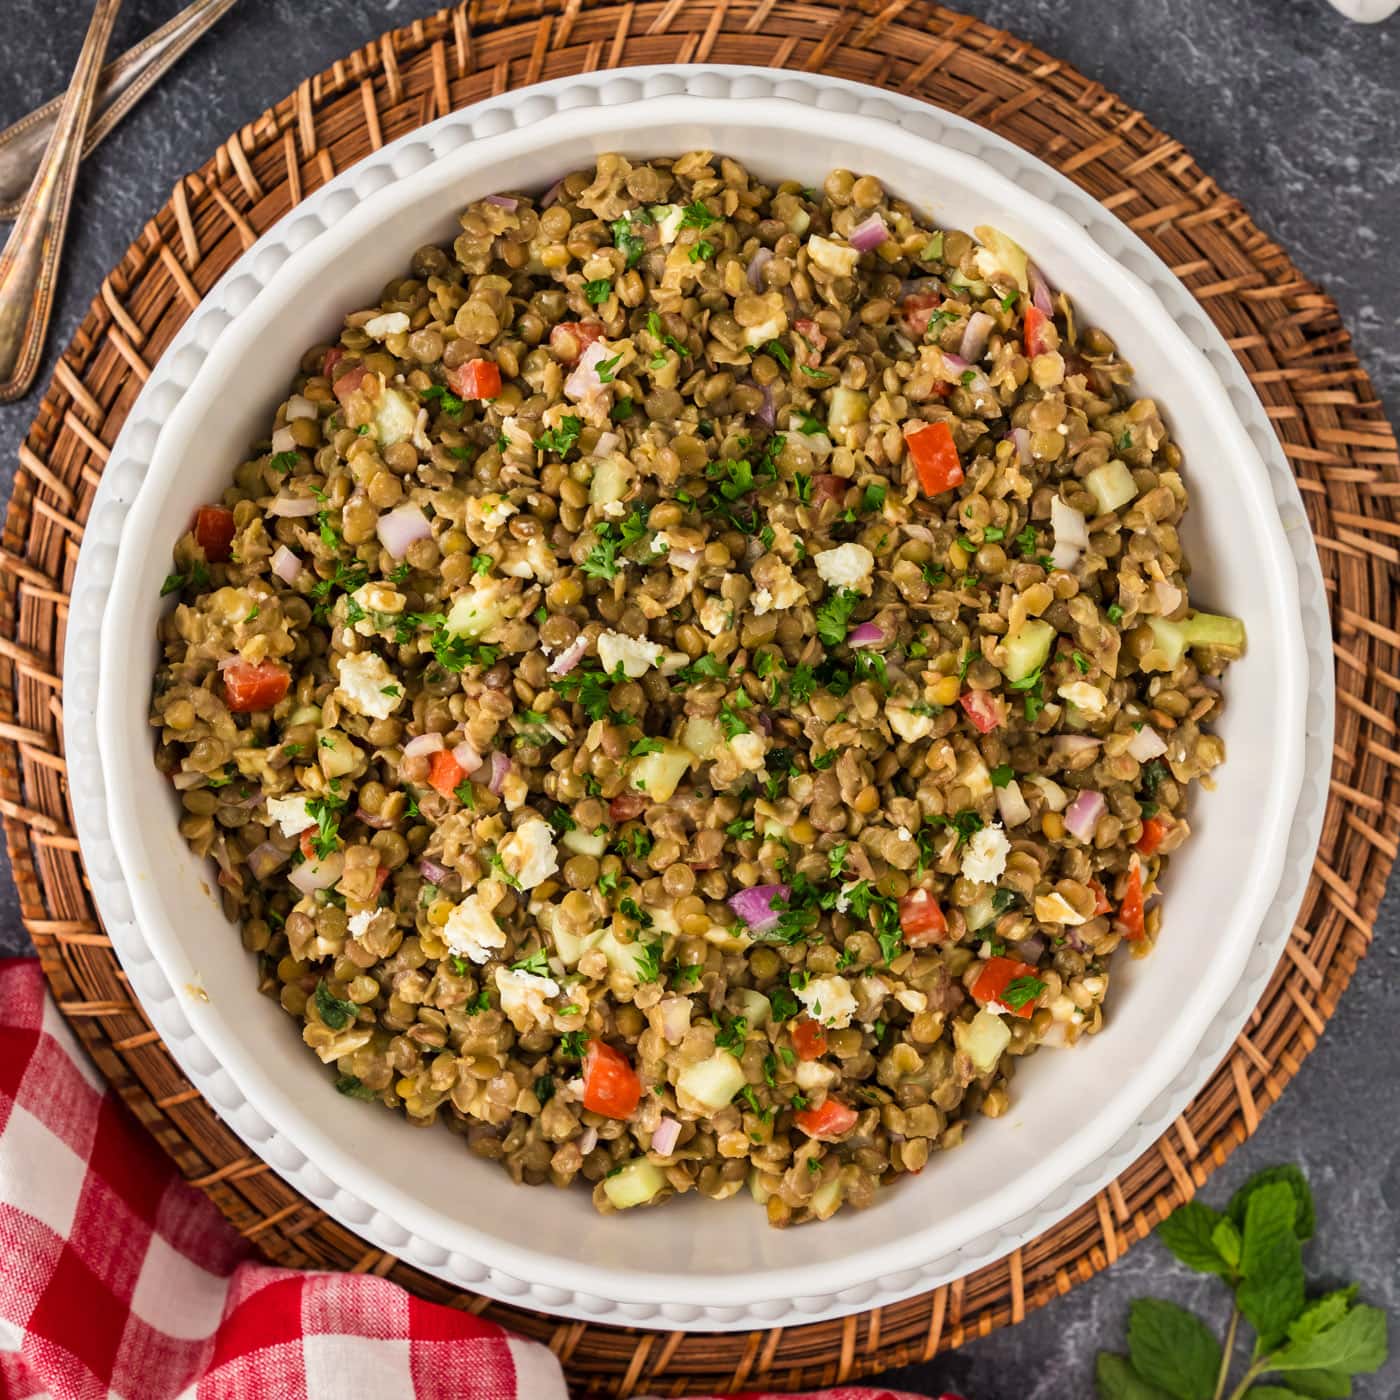
Lentil Salad
Lentil salad is packed with crisp cucumber, sweet tomatoes, and tangy…
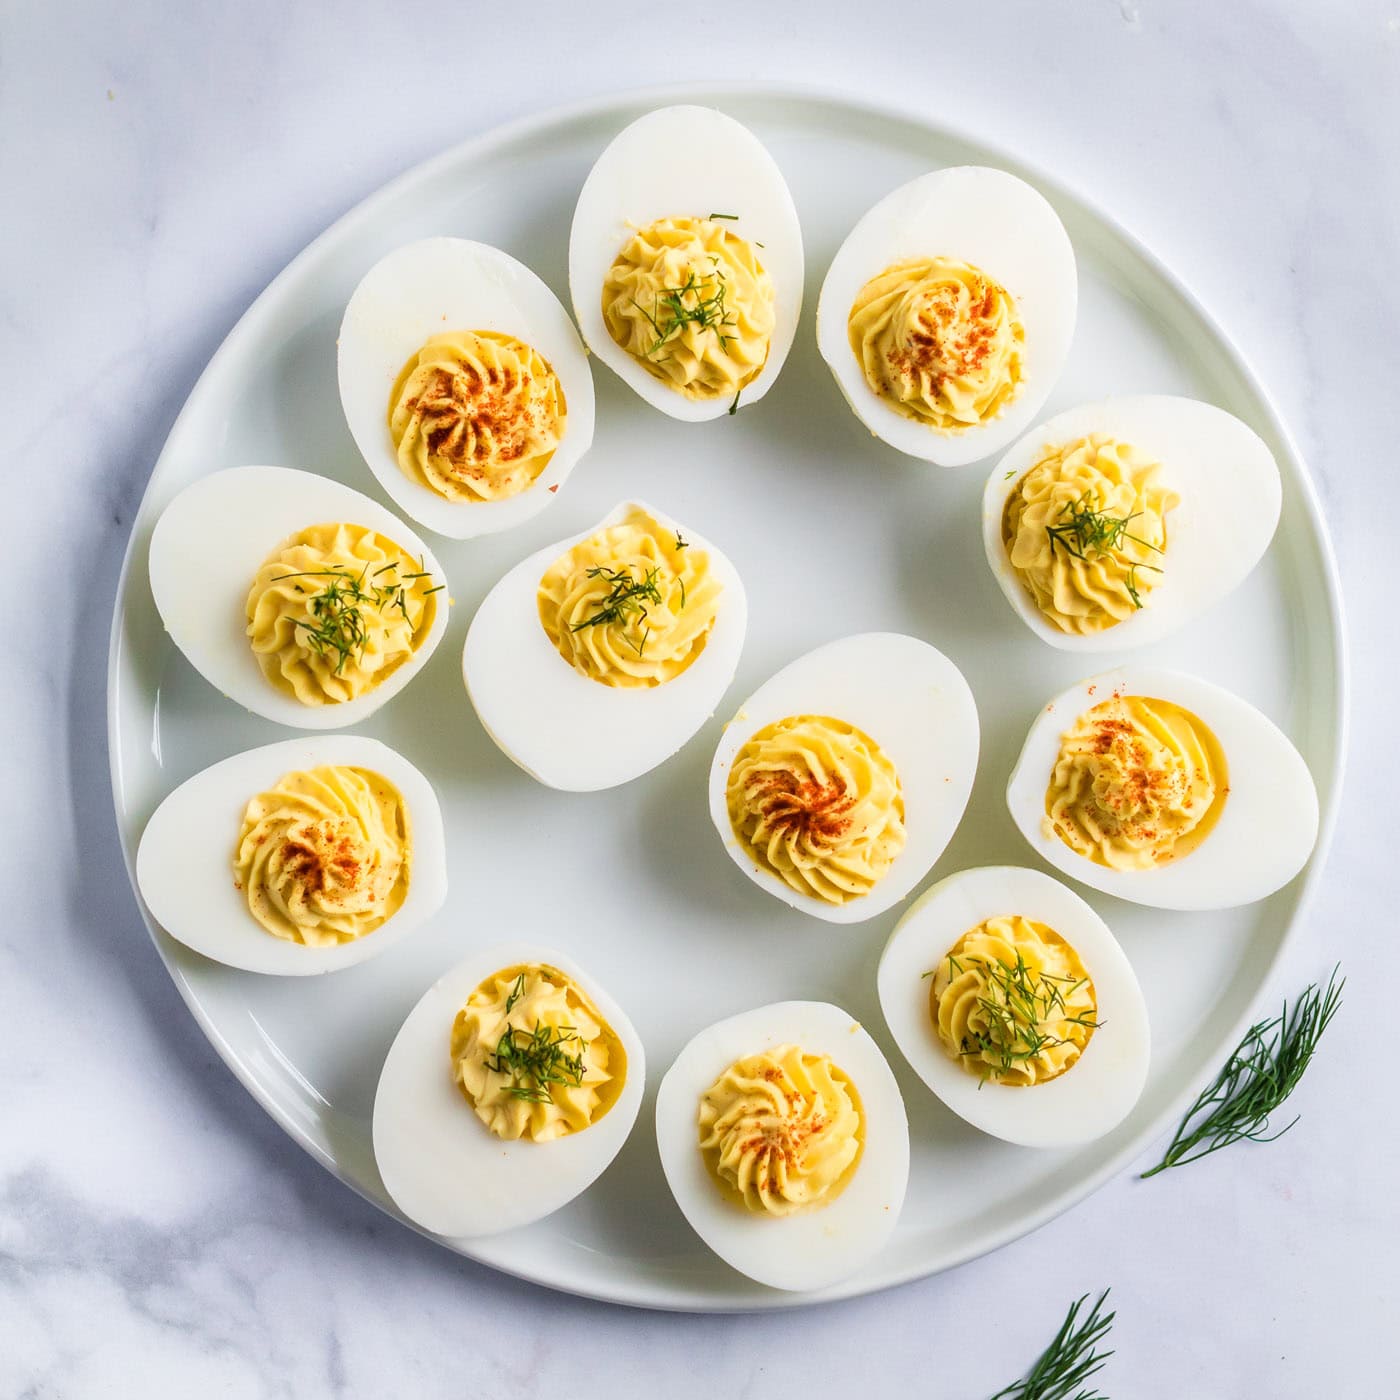
Deviled Eggs
Growing up, it seemed like every holiday gathering had a tray of…
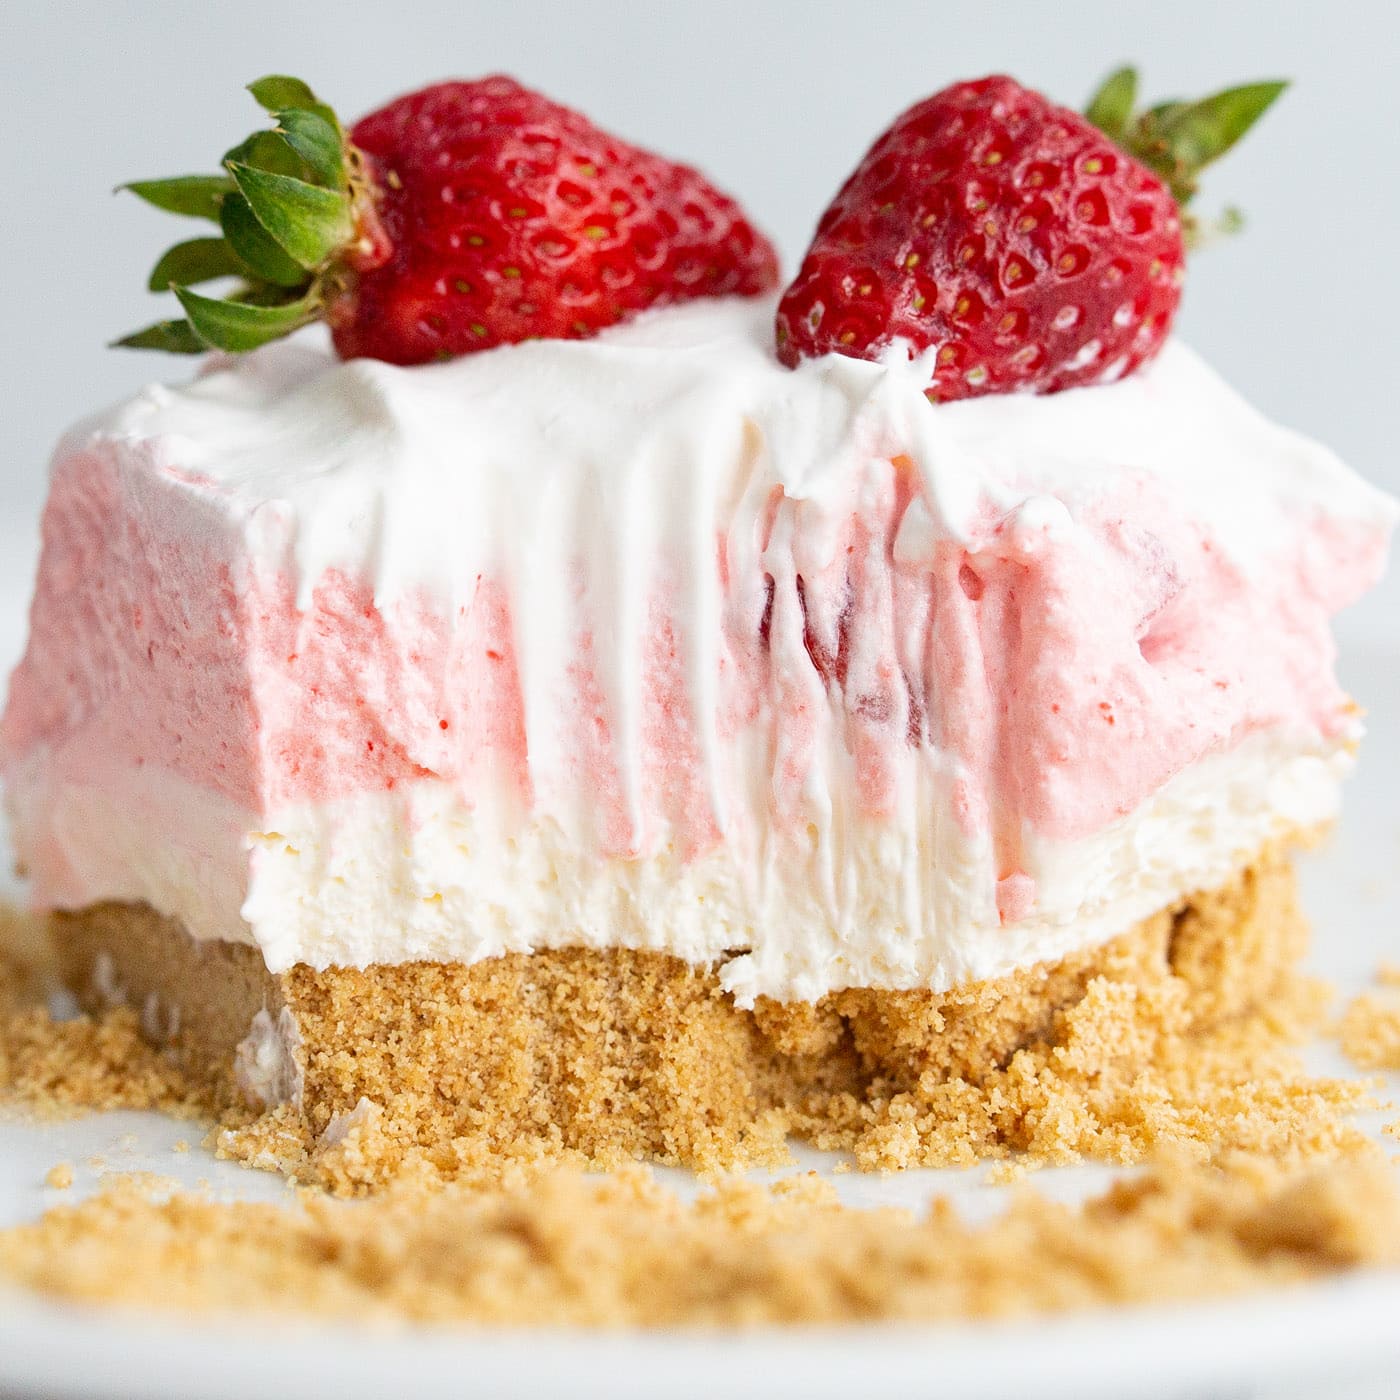
Strawberry Lasagna
This strawberry lasagna is creamy, dreamy, and bursting with…

Strawberry Mojito
This fruity strawberry mojito is the perfect refreshing summer…
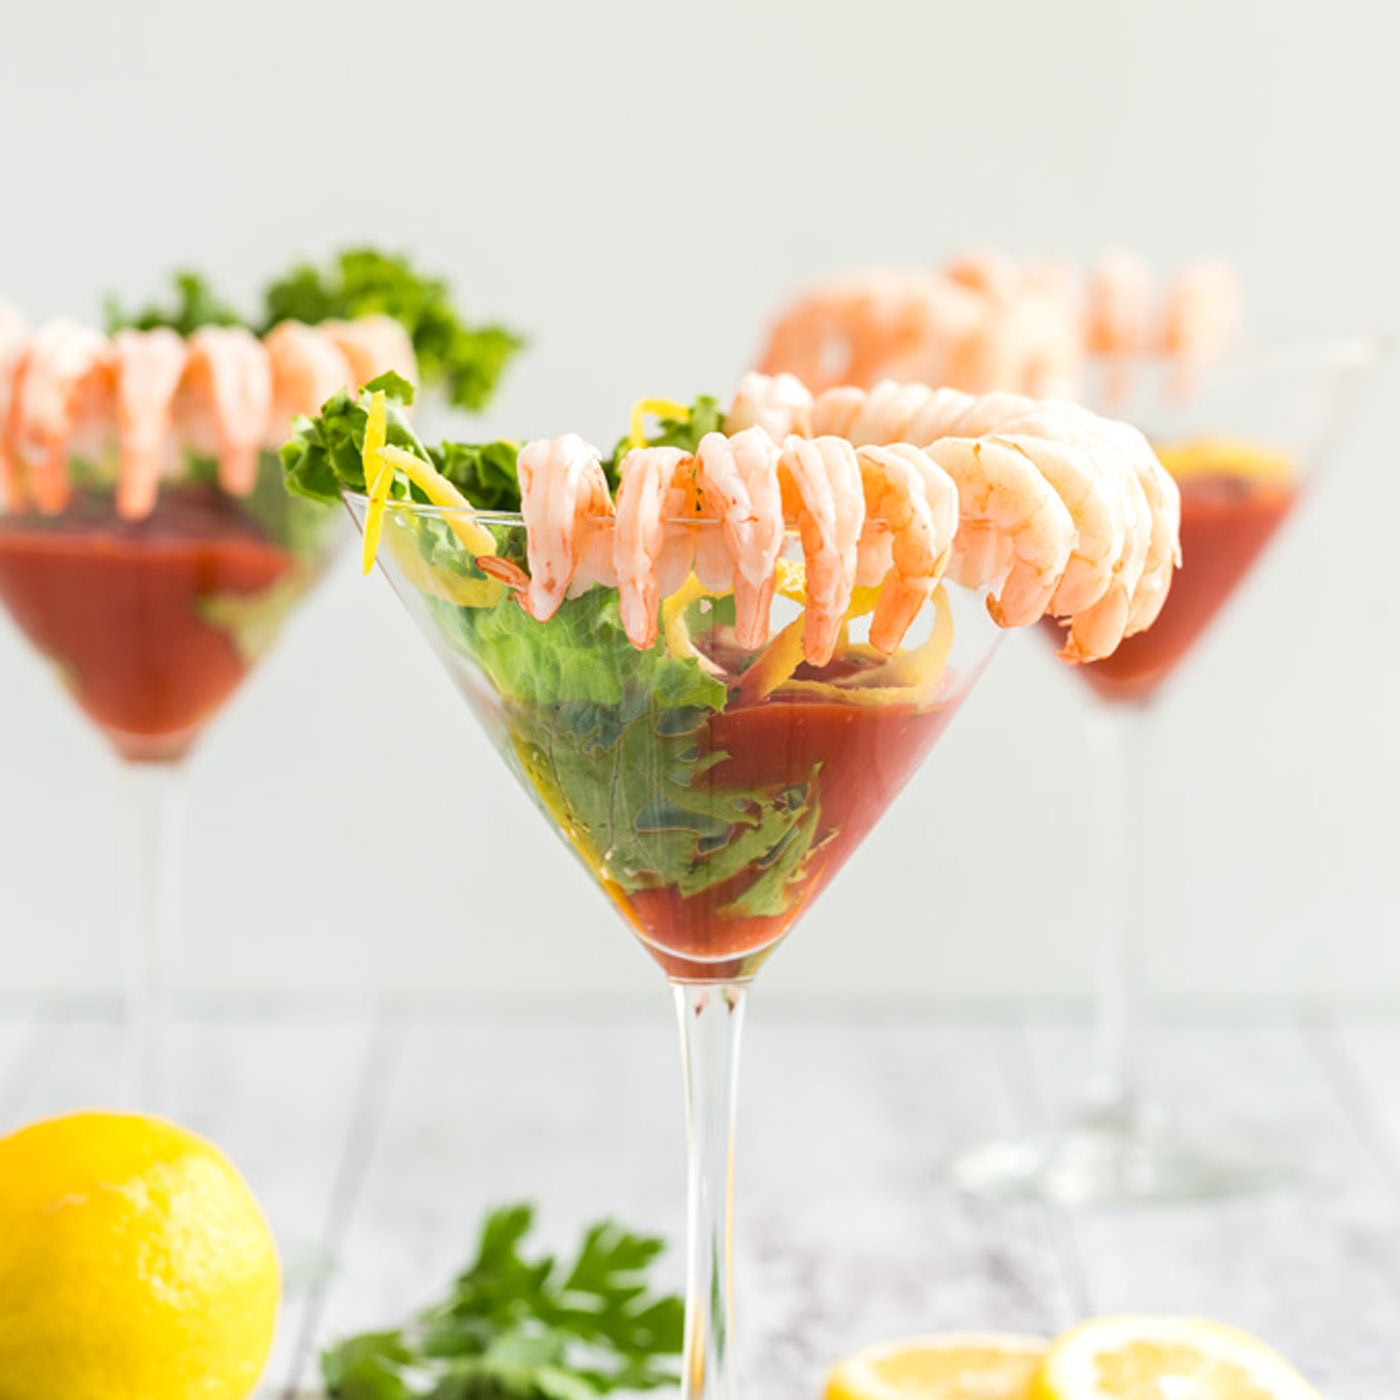
Shrimp Cocktail
Shrimp cocktail has to have the most delicious shrimp cocktail sauce…

Cake Balls
Crumbled cake mixed with frosting and dipped in candy coating make…
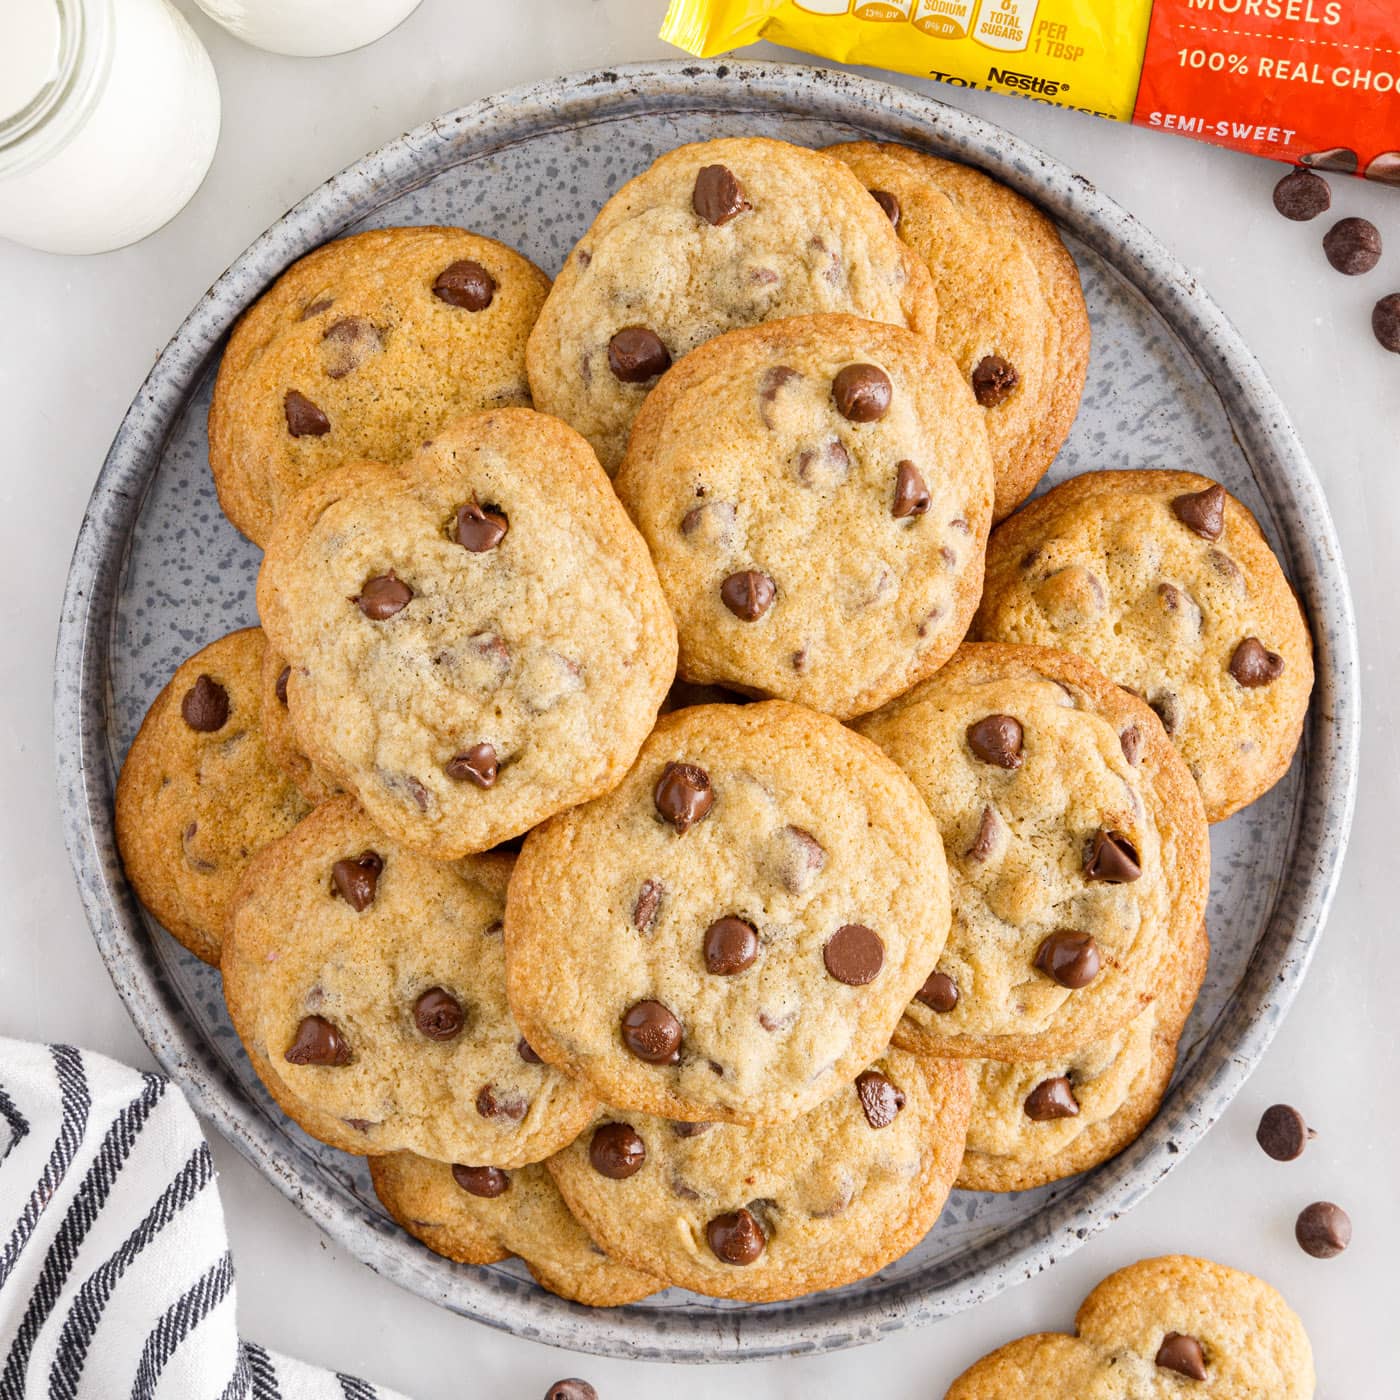
Toll House Cookie Recipe
This original Toll House cookie recipe is the mother of all chocolate…
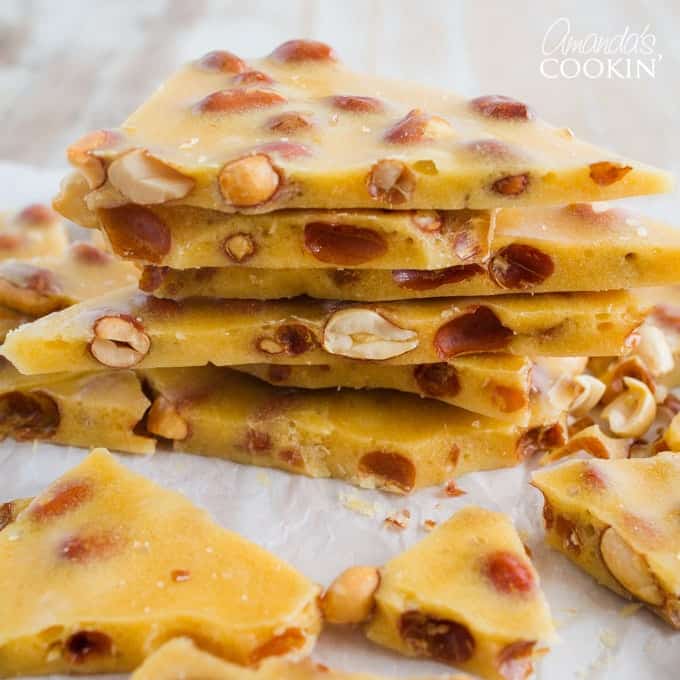
Homemade Peanut Brittle
I’ve been making homemade peanut brittle for over 20 years. When I was…