
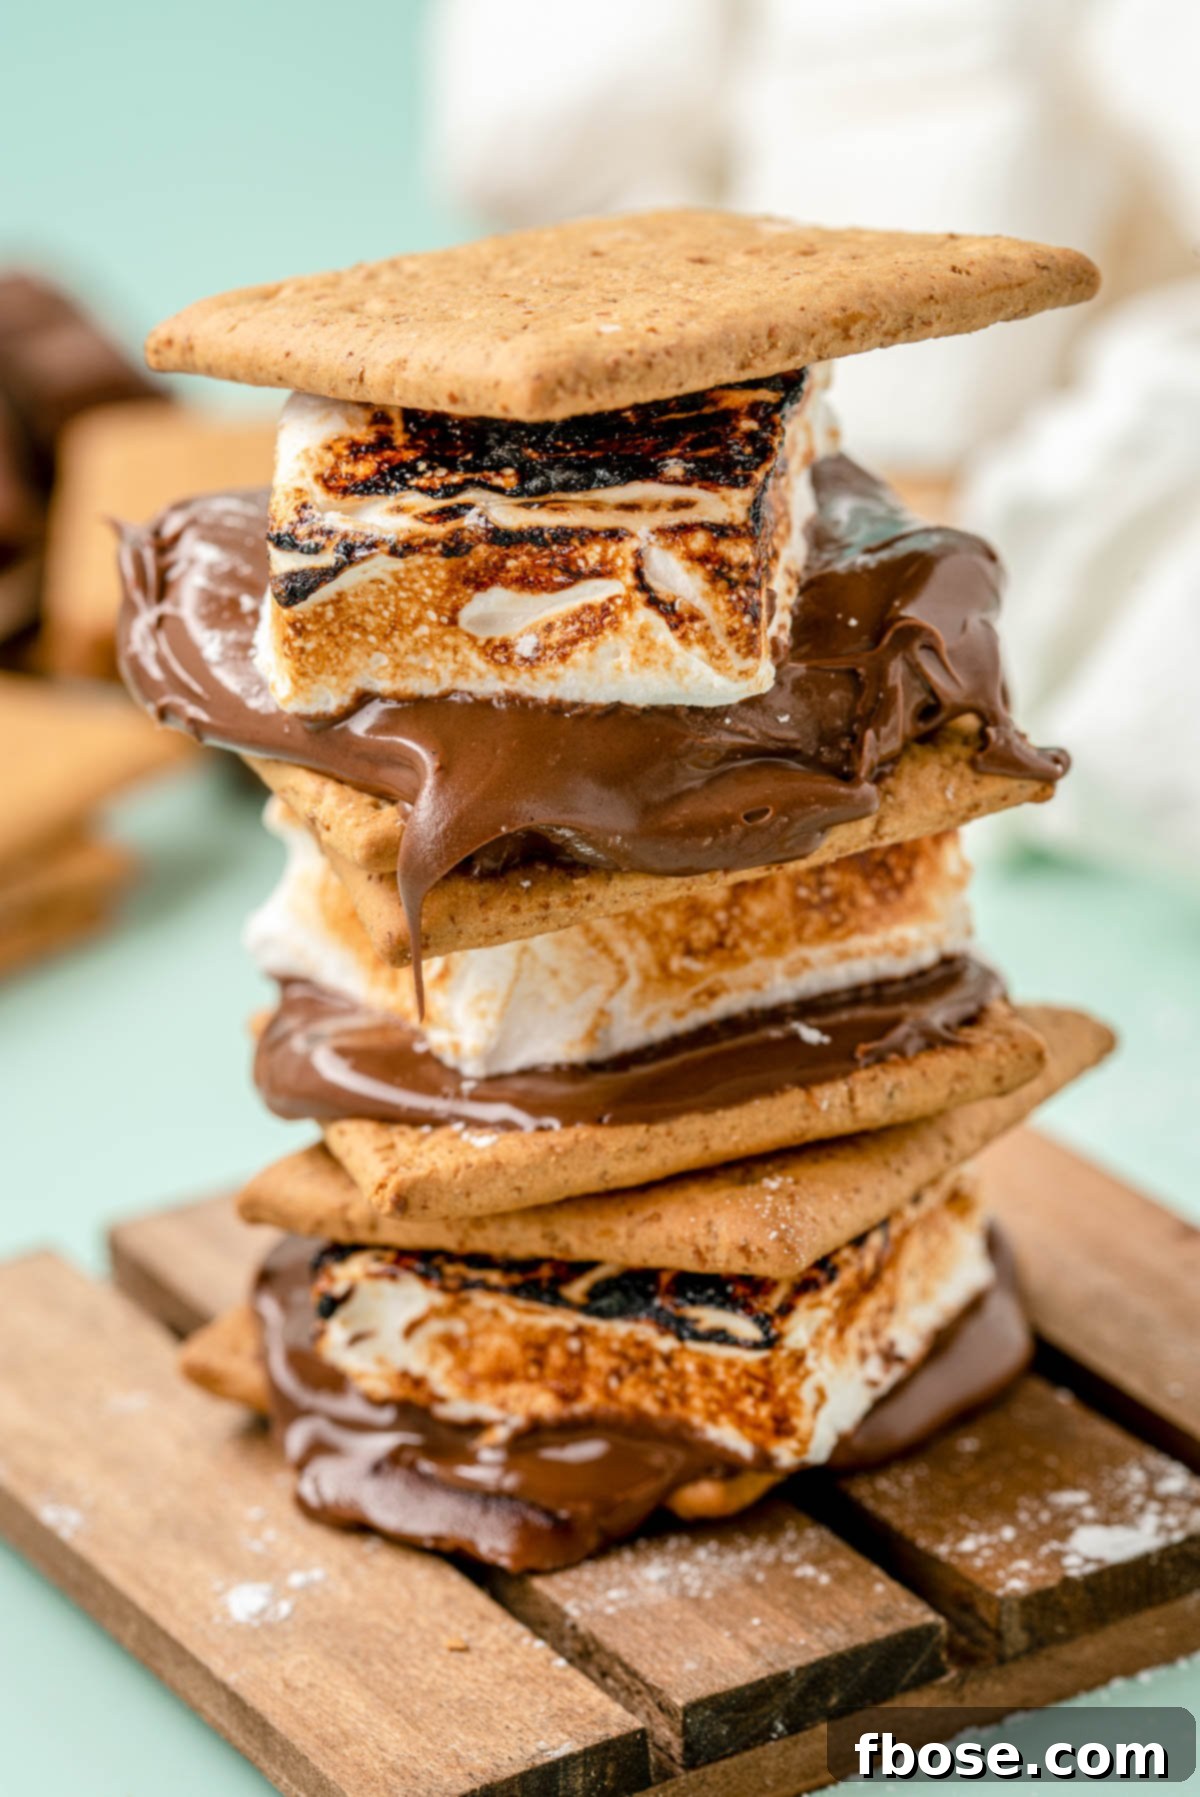
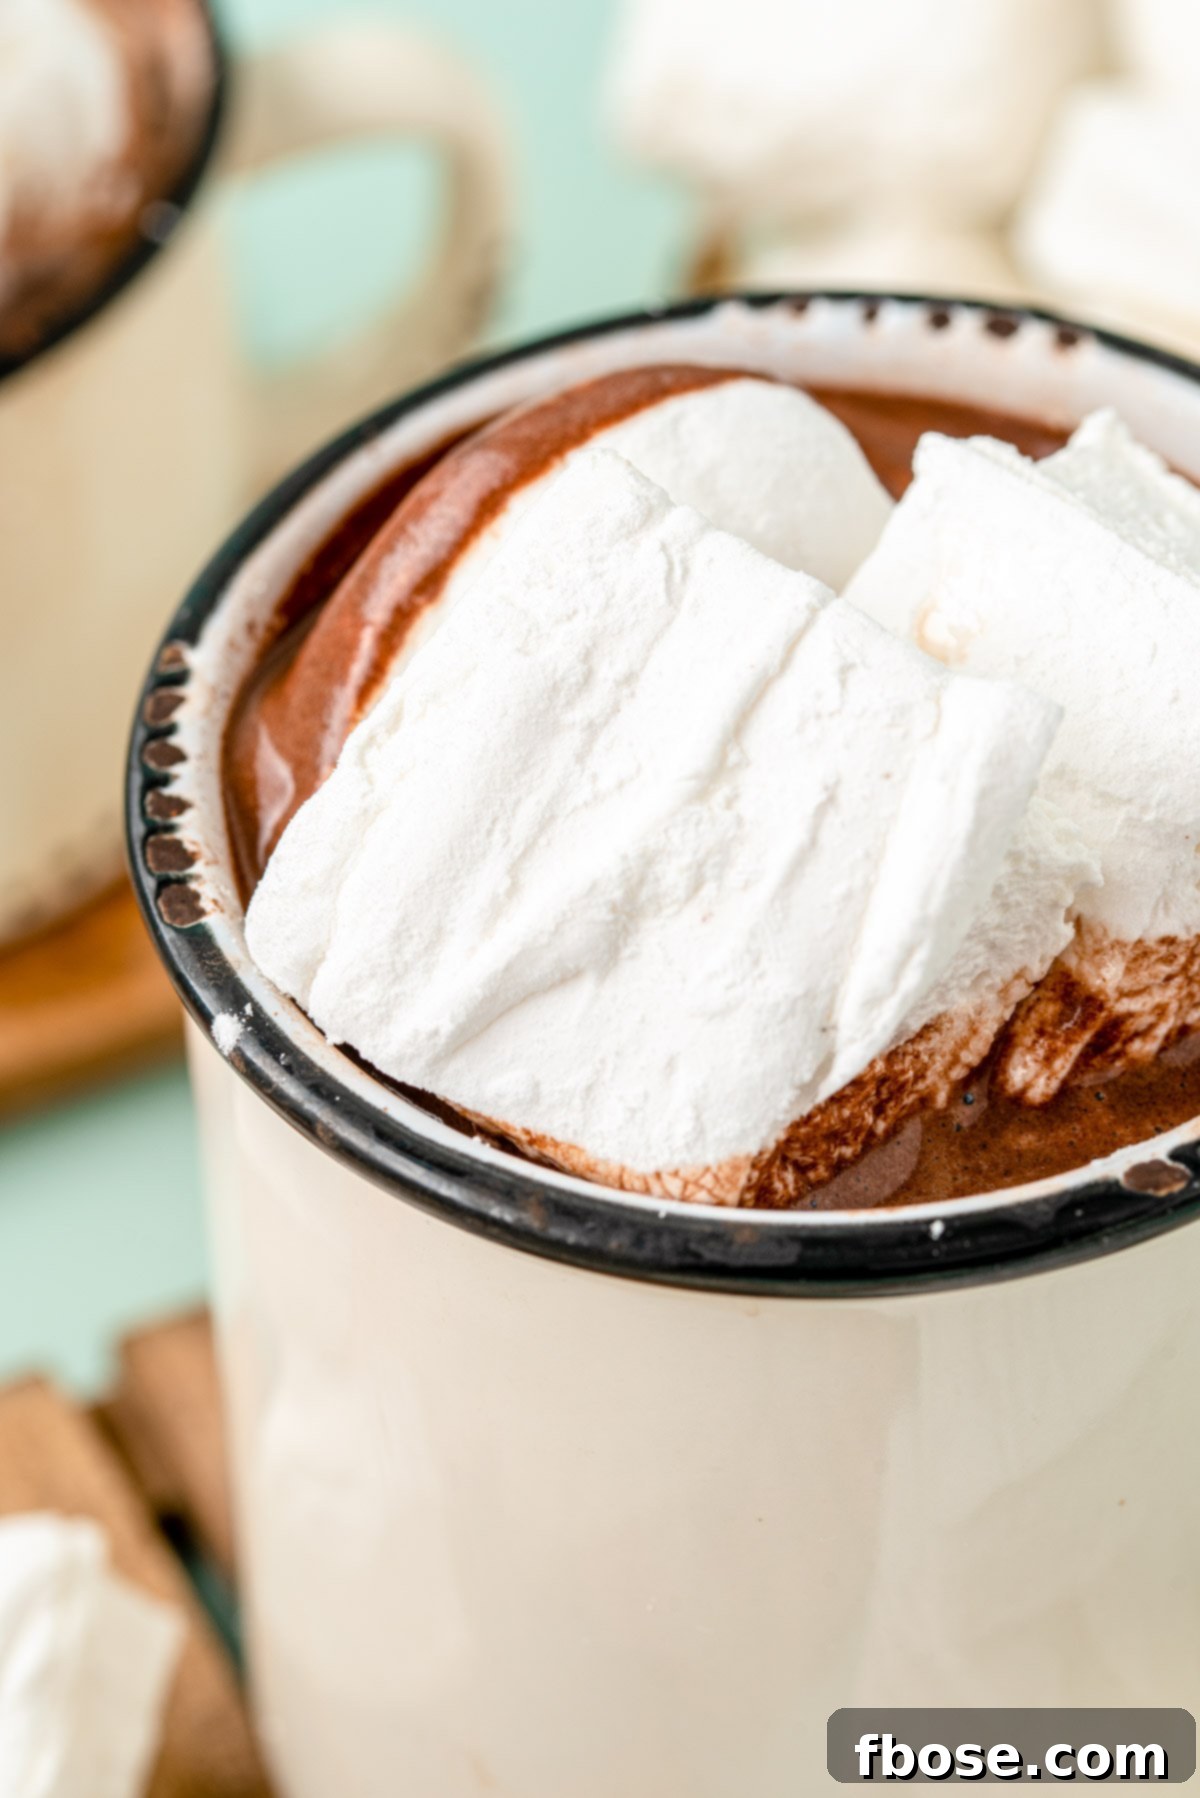
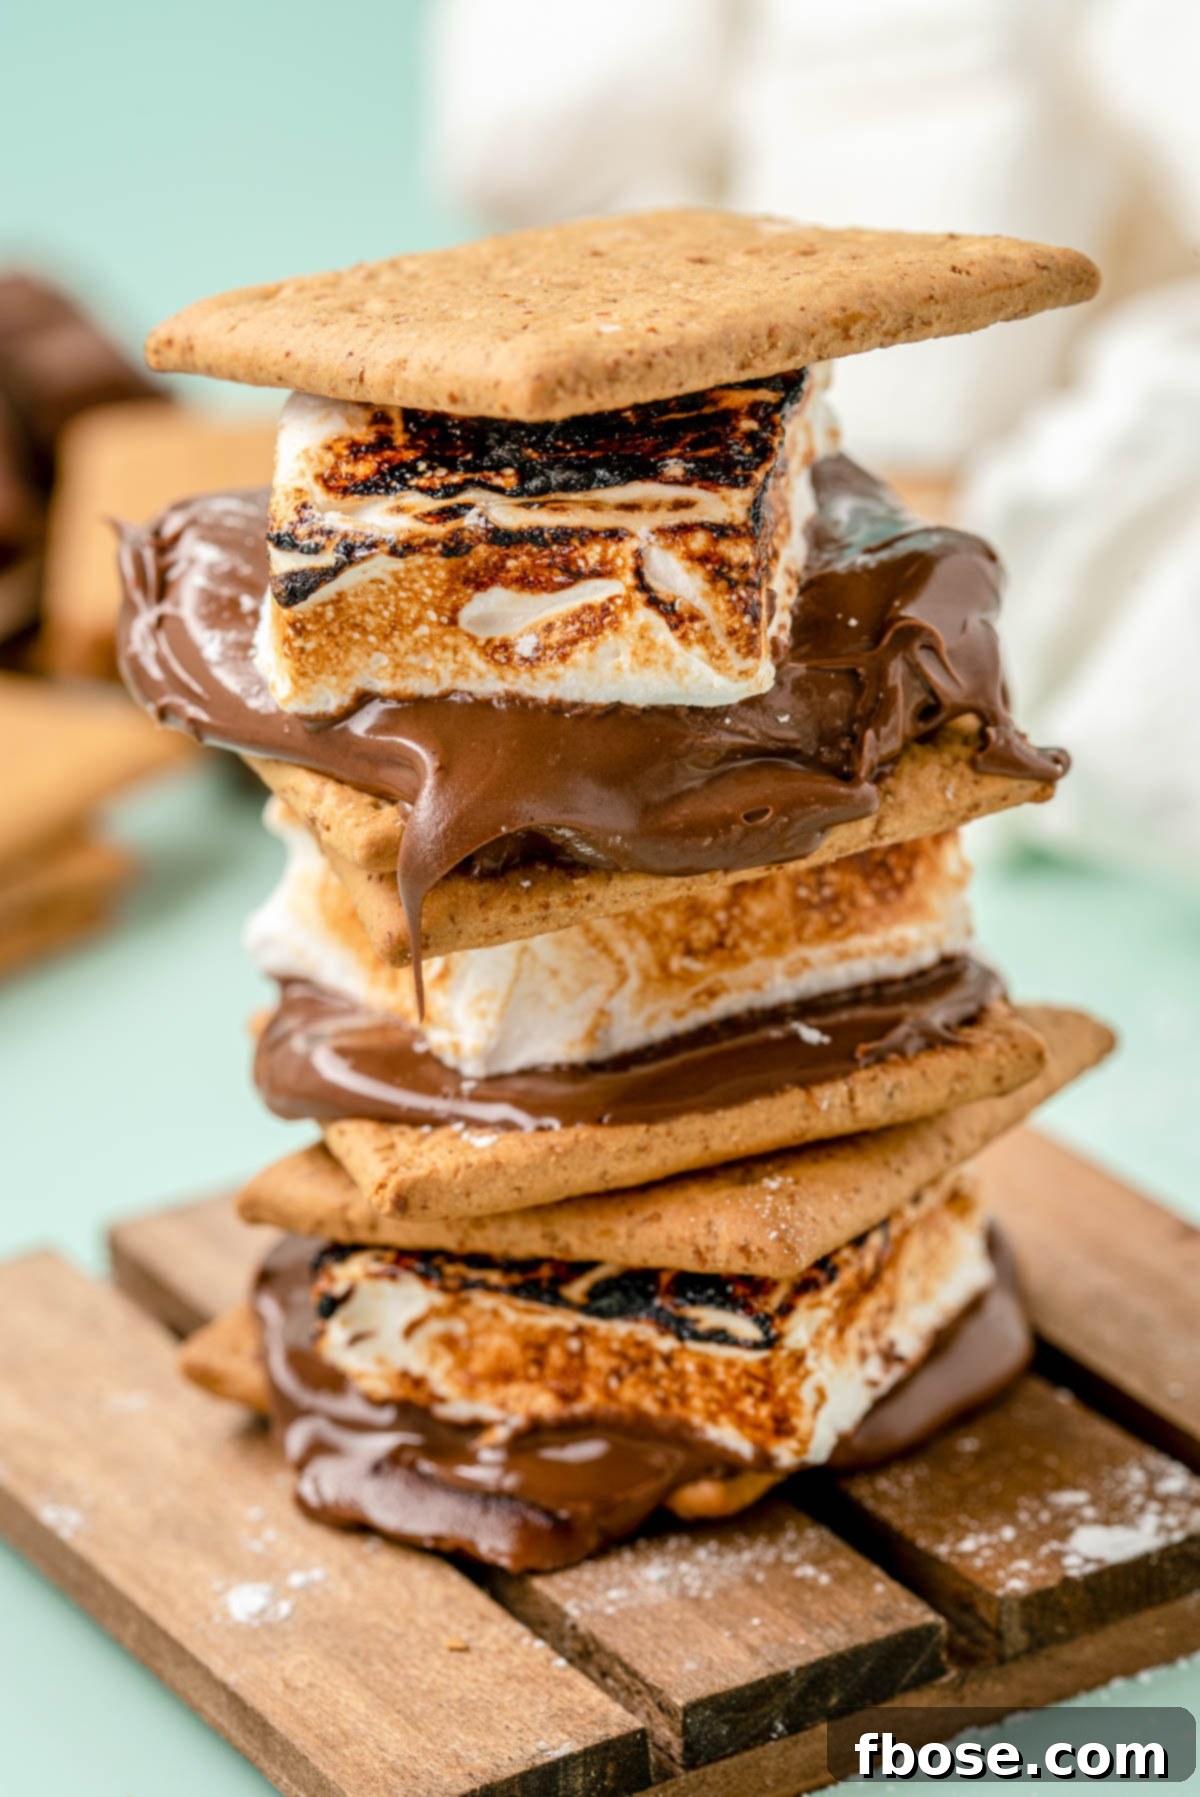
Homemade Marshmallows are an absolute game-changer, elevating any sweet treat far beyond what store-bought options can offer. They are surprisingly simple to create in your own kitchen and deliver an unparalleled depth of flavor and luscious texture. Imagine them melting slowly into a rich cup of French Hot Chocolate on a chilly winter evening, or perfectly toasted to a golden crisp for classic s’mores during a warm summer gathering. This recipe unlocks the secret to light, fluffy, and intensely flavorful marshmallows that are bound to impress everyone who tries them.
Why Homemade Marshmallows Are Truly The Best!
Once you experience the sublime taste and texture of homemade marshmallows, you’ll never look back at their store-bought counterparts. This versatile marshmallow recipe is perfect for various occasions: from elegant food gifts during the holidays to enhancing a gourmet hot chocolate bar. The process, especially with the aid of a stand mixer, is largely hands-off, making it much easier than you might anticipate.
The magic of homemade marshmallows lies in their incredible freshness and melt-in-your-mouth consistency. They possess a delicate chewiness and a vibrant vanilla flavor that is utterly absent in mass-produced varieties. Plus, crafting them yourself allows for endless customization, ensuring your marshmallows are perfectly suited to your taste and dietary needs. Get ready to create a truly unforgettable sweet treat!
Essential Ingredients for Fluffy Homemade Marshmallows
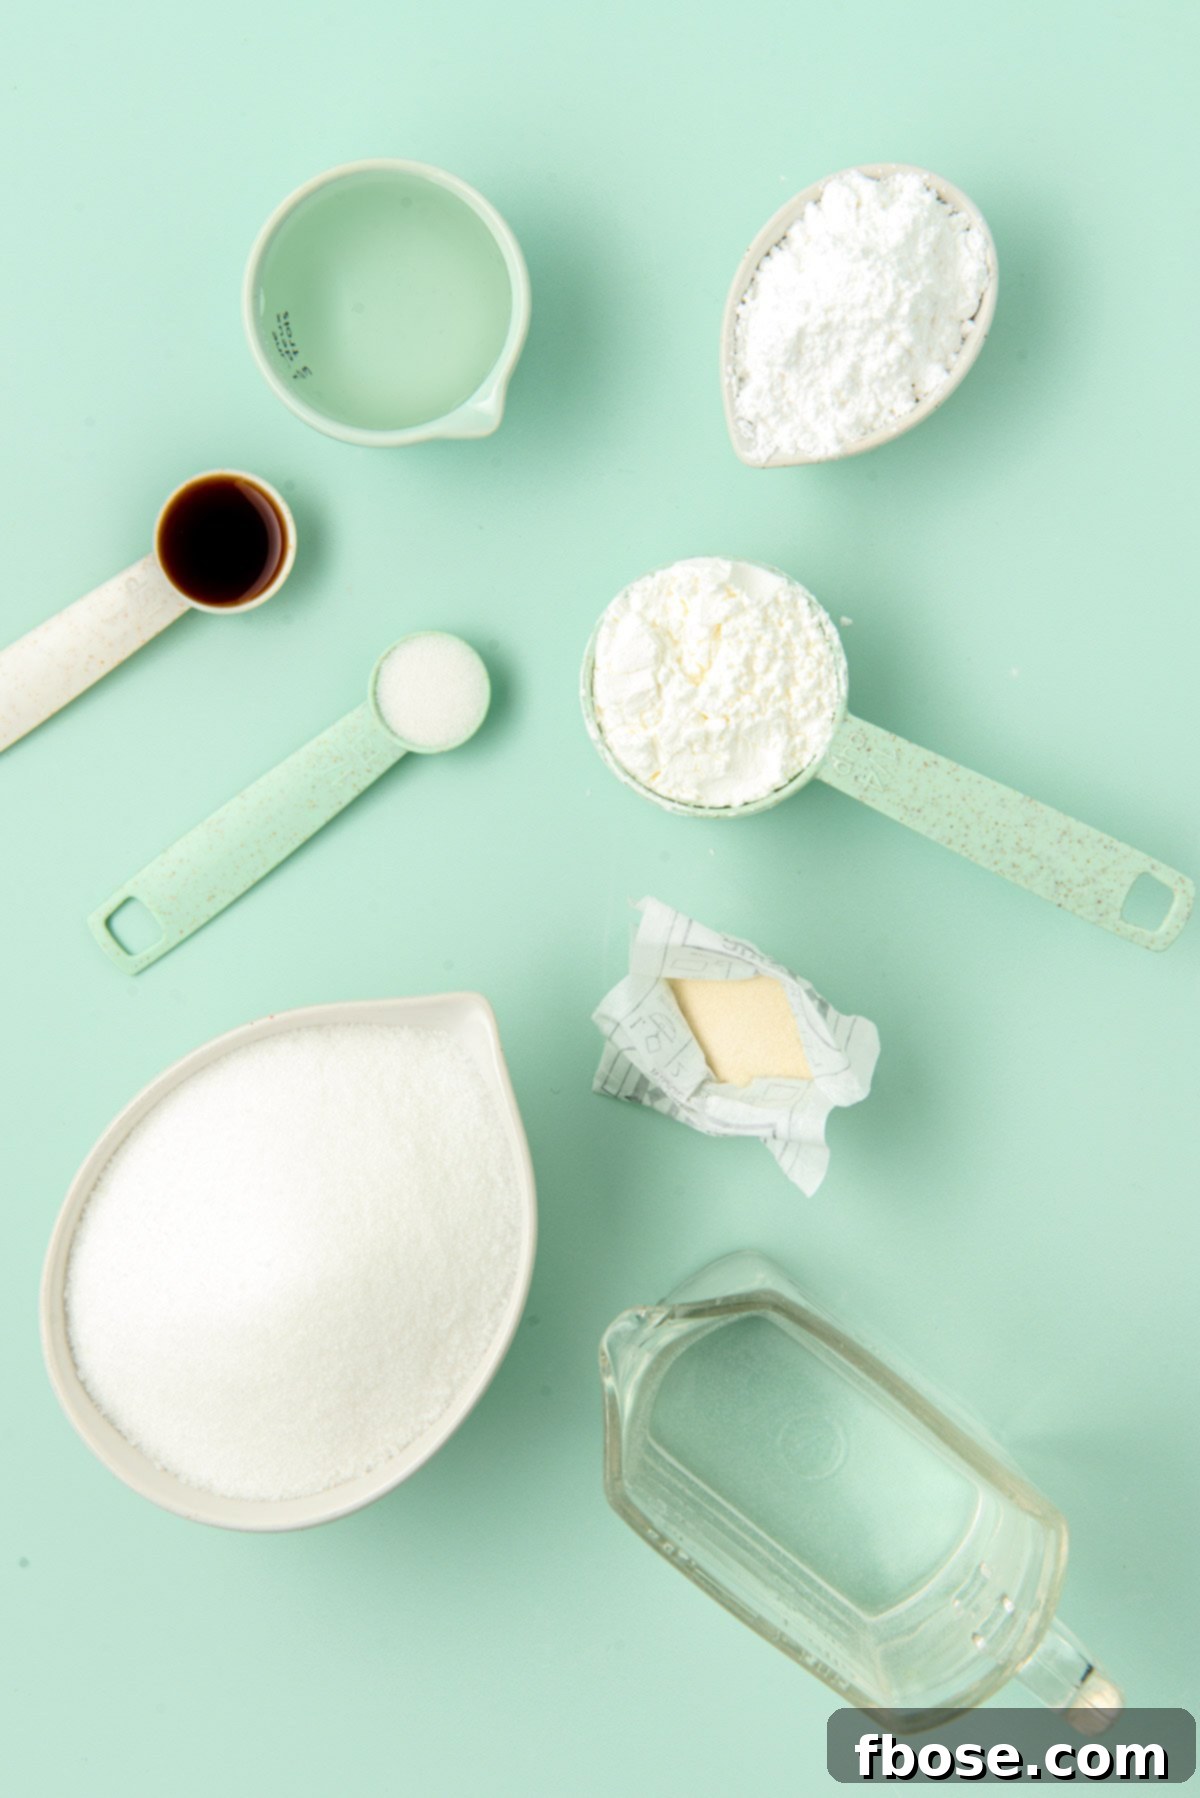
Creating these delightful homemade marshmallows requires a few key ingredients, each playing a crucial role in achieving that perfect fluffy texture and sweet flavor. Here’s what you’ll need:
- Powdered Sugar: Essential for dusting the pan and the finished marshmallows, preventing stickiness.
- Cornstarch: Works hand-in-hand with powdered sugar to create a non-stick coating and a smooth finish.
- Unflavored Gelatin: The backbone of marshmallow structure, giving them their characteristic chewiness and bounce. Ensure it’s unflavored for pure vanilla taste.
- Cold Water (divided): Used to bloom the gelatin and to create the sugar syrup base.
- Granulated Sugar: Provides the primary sweetness and contributes to the syrup’s structure.
- Light Corn Syrup: Crucial for preventing sugar crystallization, ensuring a smooth, pliable marshmallow texture. It adds a subtle sweetness and body.
- Kosher Salt: A pinch of salt balances the sweetness and enhances the overall flavor profile.
- Vanilla Extract (or other flavorings): The star flavor! High-quality vanilla extract makes a significant difference. Explore other extracts for unique variations.
- Nonstick Spray: For preparing your baking pan, ensuring easy removal of the marshmallow slab.
How To Make Homemade Marshmallows: A Step-by-Step Guide
Making marshmallows from scratch is a rewarding process, especially when you follow these clear, detailed steps. The key to success lies in proper preparation and precise temperature control. Let’s get started on creating your own batch of gourmet marshmallows!
Step 1: Prepare Your Dusting Mixture
In a medium-sized bowl, thoroughly combine the powdered sugar and cornstarch. This mixture will serve as a crucial non-stick coating for your pan and the finished marshmallows.
Step 2: Coat the Baking Pan
Lightly spray a 9×13-inch baking pan with nonstick cooking spray. Then, liberally dust the entire inside surface of the pan—bottom and sides—with about half of your powdered sugar and cornstarch mixture. Gently tap out any excess back into the bowl with the remaining mixture. This ensures a perfectly coated pan, preventing the sticky marshmallow from adhering.
Step 3: Bloom the Gelatin
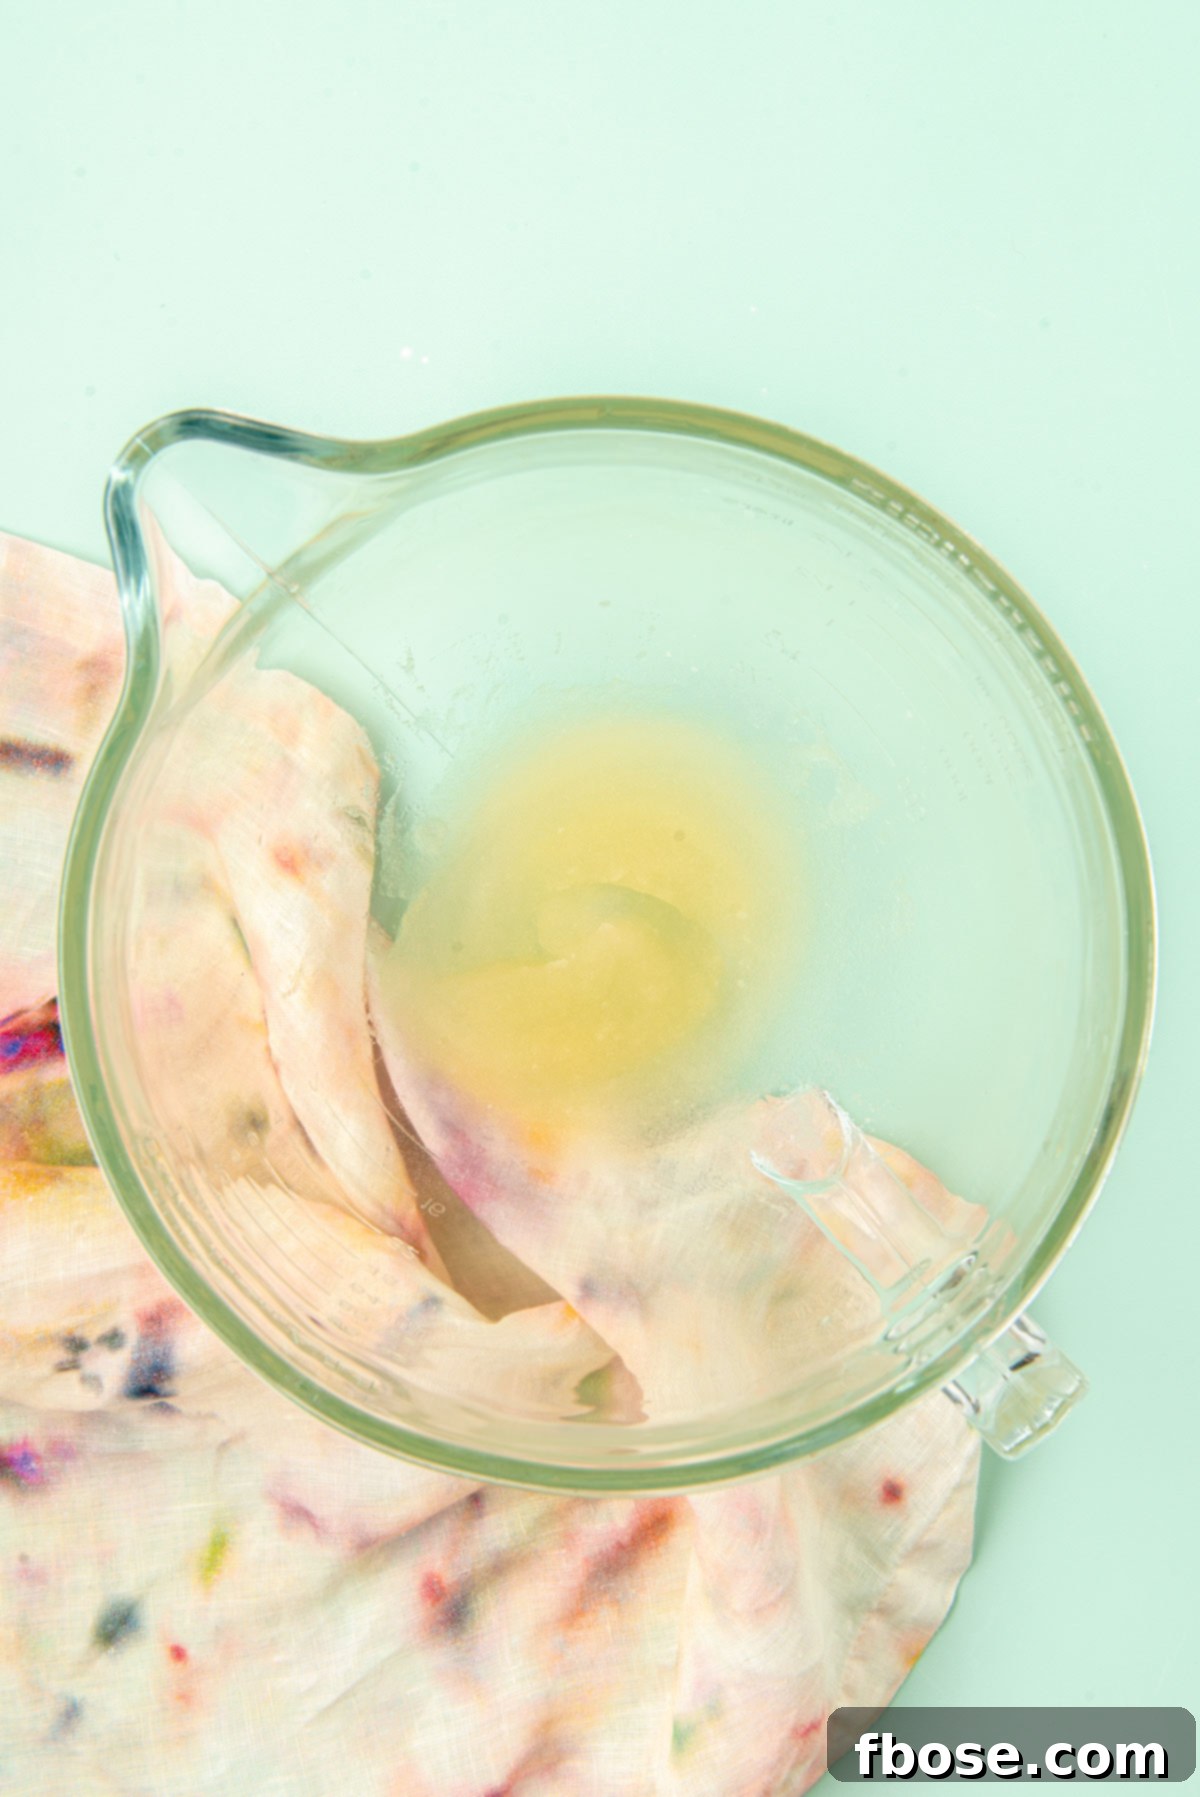
In the large bowl of your stand mixer, fitted with the whisk attachment, combine the unflavored gelatin with ½ cup of cold water. Give it a quick stir to ensure all gelatin granules are moistened, then let it sit undisturbed for about 5 minutes. This process, known as “blooming,” allows the gelatin to absorb water and hydrate, which is essential for proper setting.
Step 4: Prepare the Sugar Syrup Base
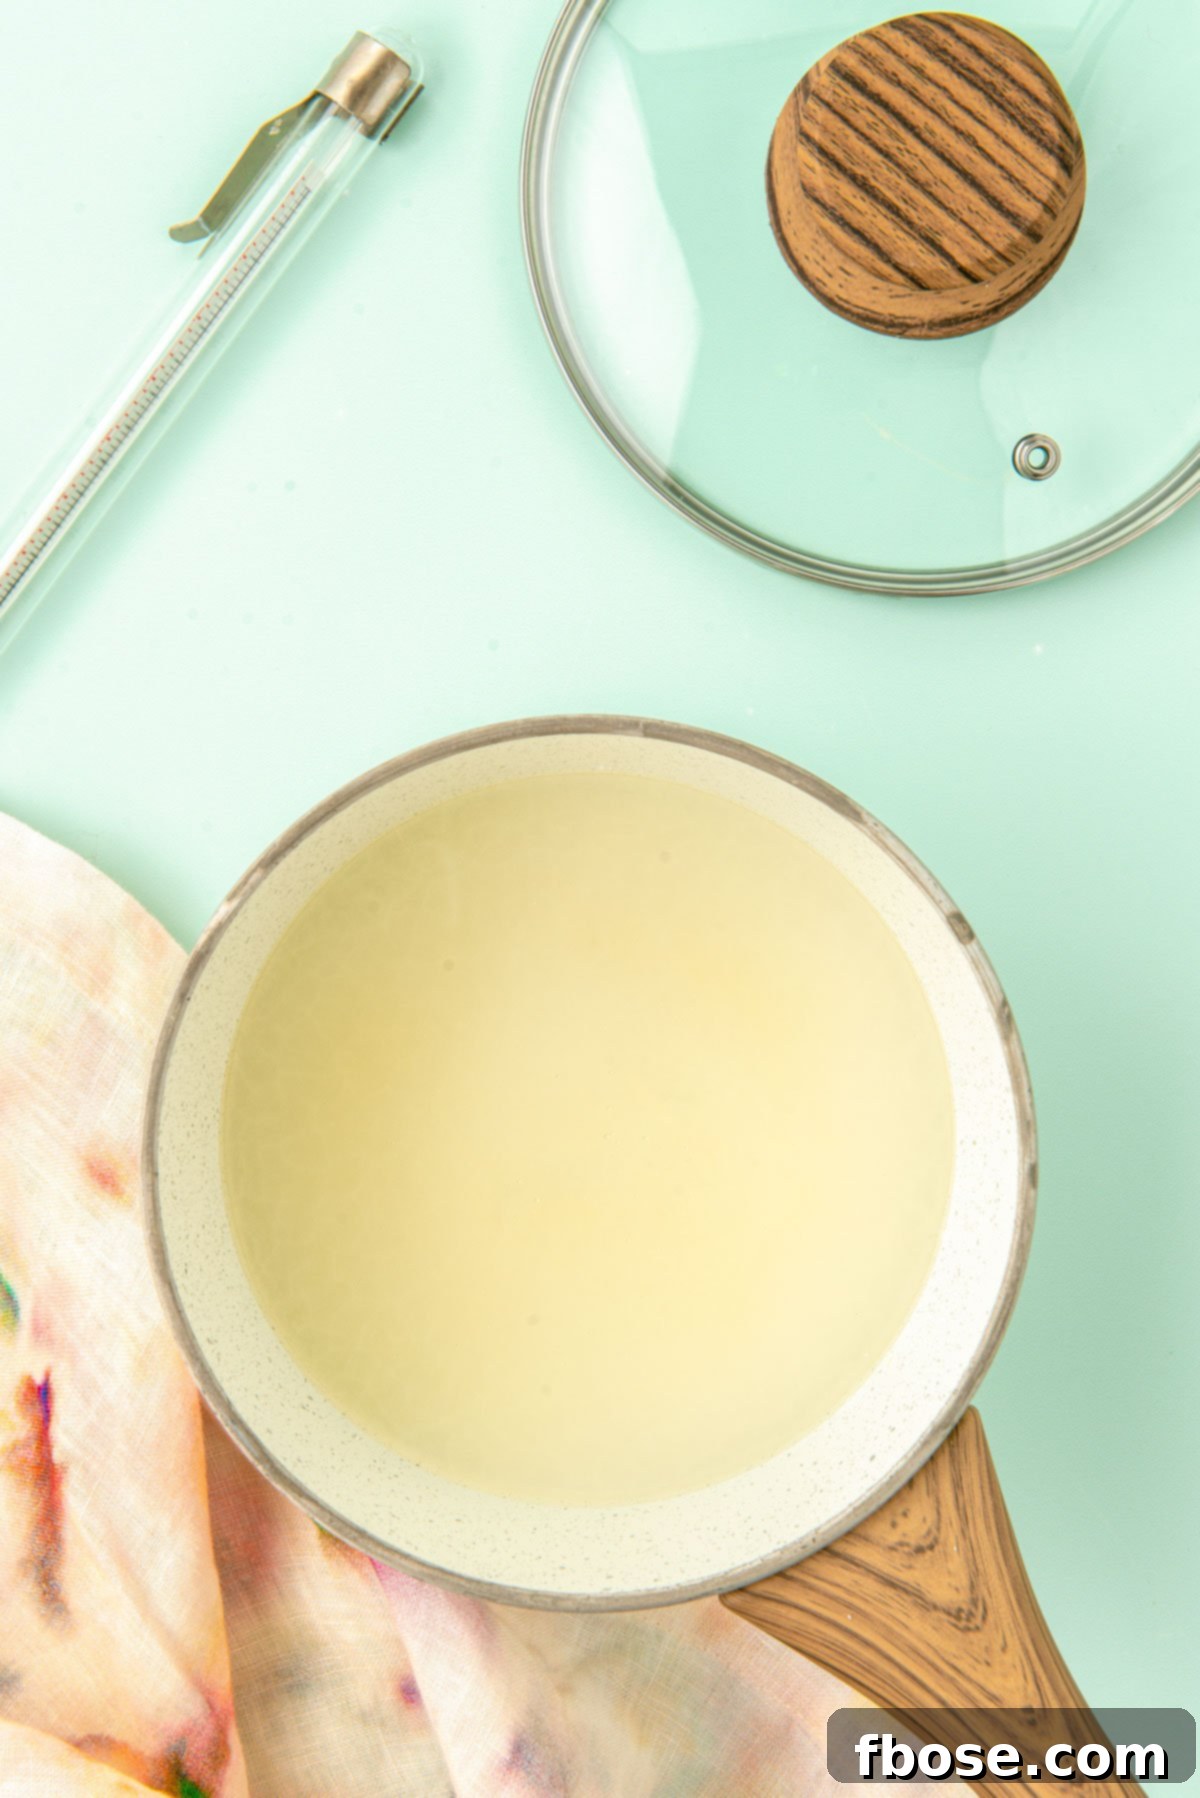
In a small, heavy-bottomed saucepan, combine the remaining ½ cup of cold water with the granulated sugar, light corn syrup, and kosher salt. Place the saucepan over medium-high heat. Cover the pan and allow it to cook for 3 to 4 minutes. Covering the pan helps build steam, which washes down any sugar crystals from the sides, preventing premature crystallization. You’ll know it’s ready when the edges of the mixture begin to simmer.
Step 5: Achieve the Perfect Temperature
Carefully uncover the saucepan and attach a candy thermometer to the side, ensuring it doesn’t touch the bottom of the pan. Continue to cook the syrup without stirring. Stirring at this stage can introduce air bubbles and encourage crystallization. Monitor the temperature closely until it reaches precisely 240°F (116°C). This usually takes about 7 to 8 minutes. As soon as the mixture hits 240°F, immediately remove the pan from the heat. Precision here is key for the ideal marshmallow texture.
Step 6: Slowly Combine Syrup and Gelatin
With your stand mixer running on low speed (or the stir setting), carefully and slowly pour the hot sugar syrup down the side of the bowl into the bloomed gelatin mixture. Pouring it slowly down the side helps prevent the syrup from splashing and ensures even incorporation without deflating the gelatin too quickly. Continue pouring until all the syrup is added.
Step 7: Whip to Fluffy Perfection
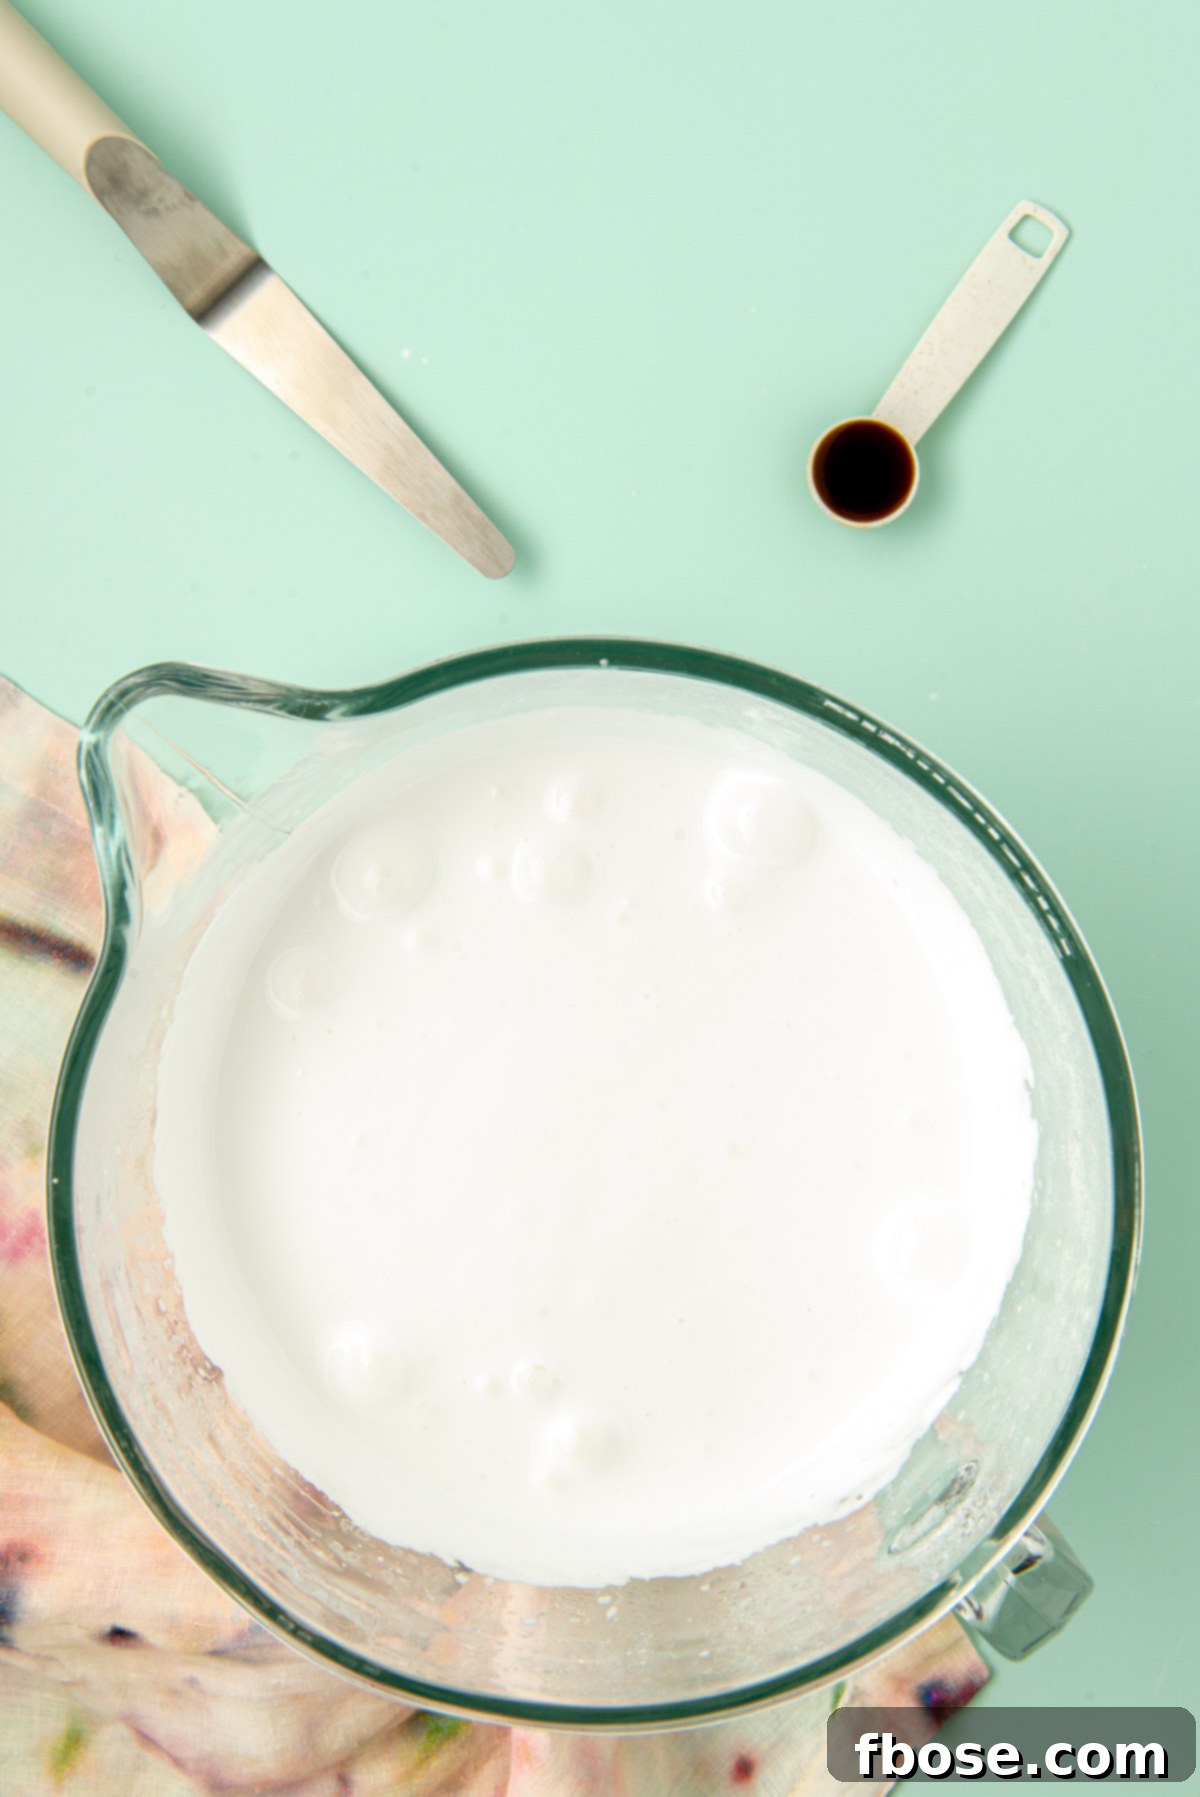
Once all the sugar syrup has been incorporated, increase the mixer speed to high (speed 10 on most stand mixers). Whip the mixture continuously for about 6 to 7 minutes. During this time, the mixture will transform: it will become very thick, increase significantly in volume, turn opaque, and develop a beautiful glossy sheen. It should hold soft peaks that gently fall back into themselves after a few seconds. Finally, add the vanilla extract (or your chosen flavoring) and whip for an additional 30 seconds to fully incorporate it.
Step 8: Spread and Set
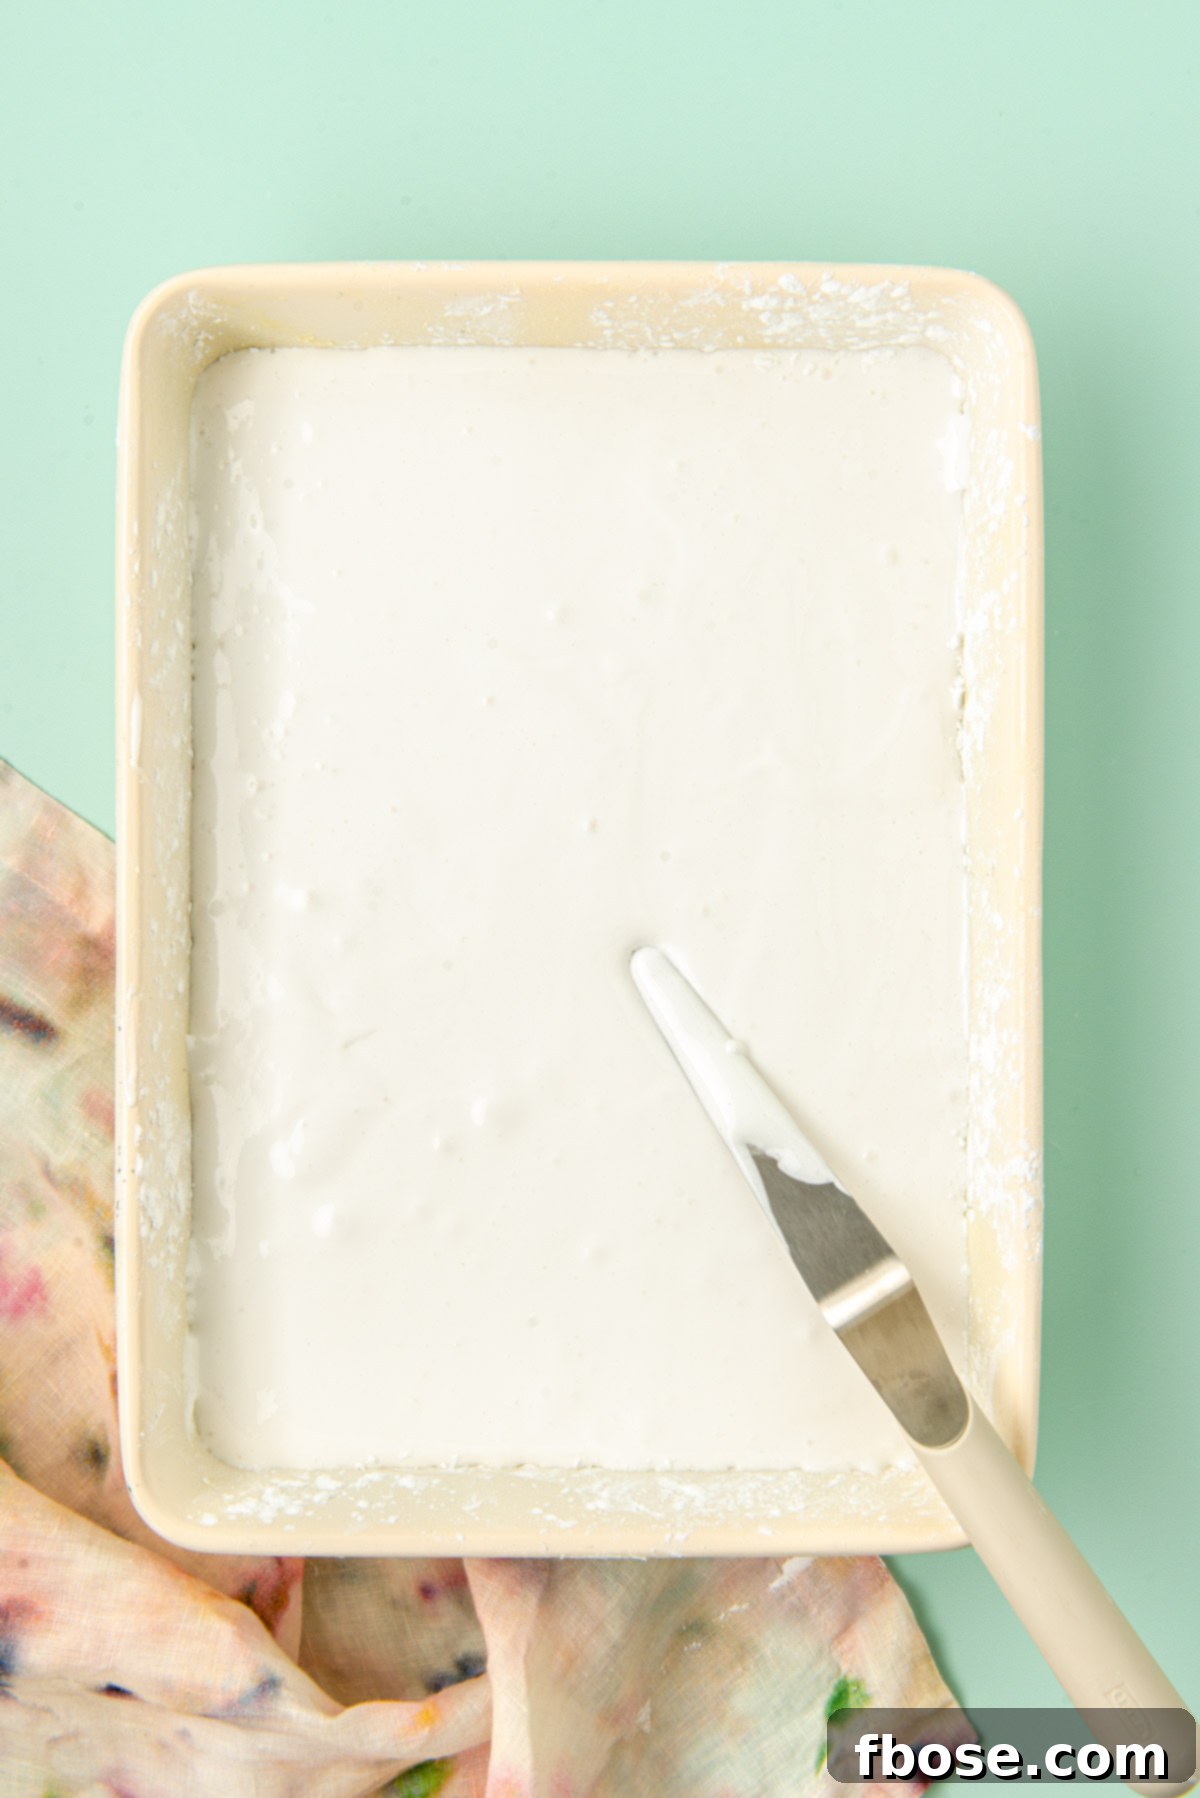
Working quickly, as the marshmallow mixture sets fast, use a greased rubber or offset spatula to spread the mixture evenly into your prepared 9×13-inch pan. Aim for a relatively level surface. Tap the pan gently on the counter a few times to release any trapped air bubbles. Sprinkle the top generously with more of your powdered sugar and cornstarch mixture. Let the marshmallow set uncovered at room temperature for at least 4 hours, though ideally overnight, to achieve the best firm texture.
Step 9: Cut into Perfect Squares
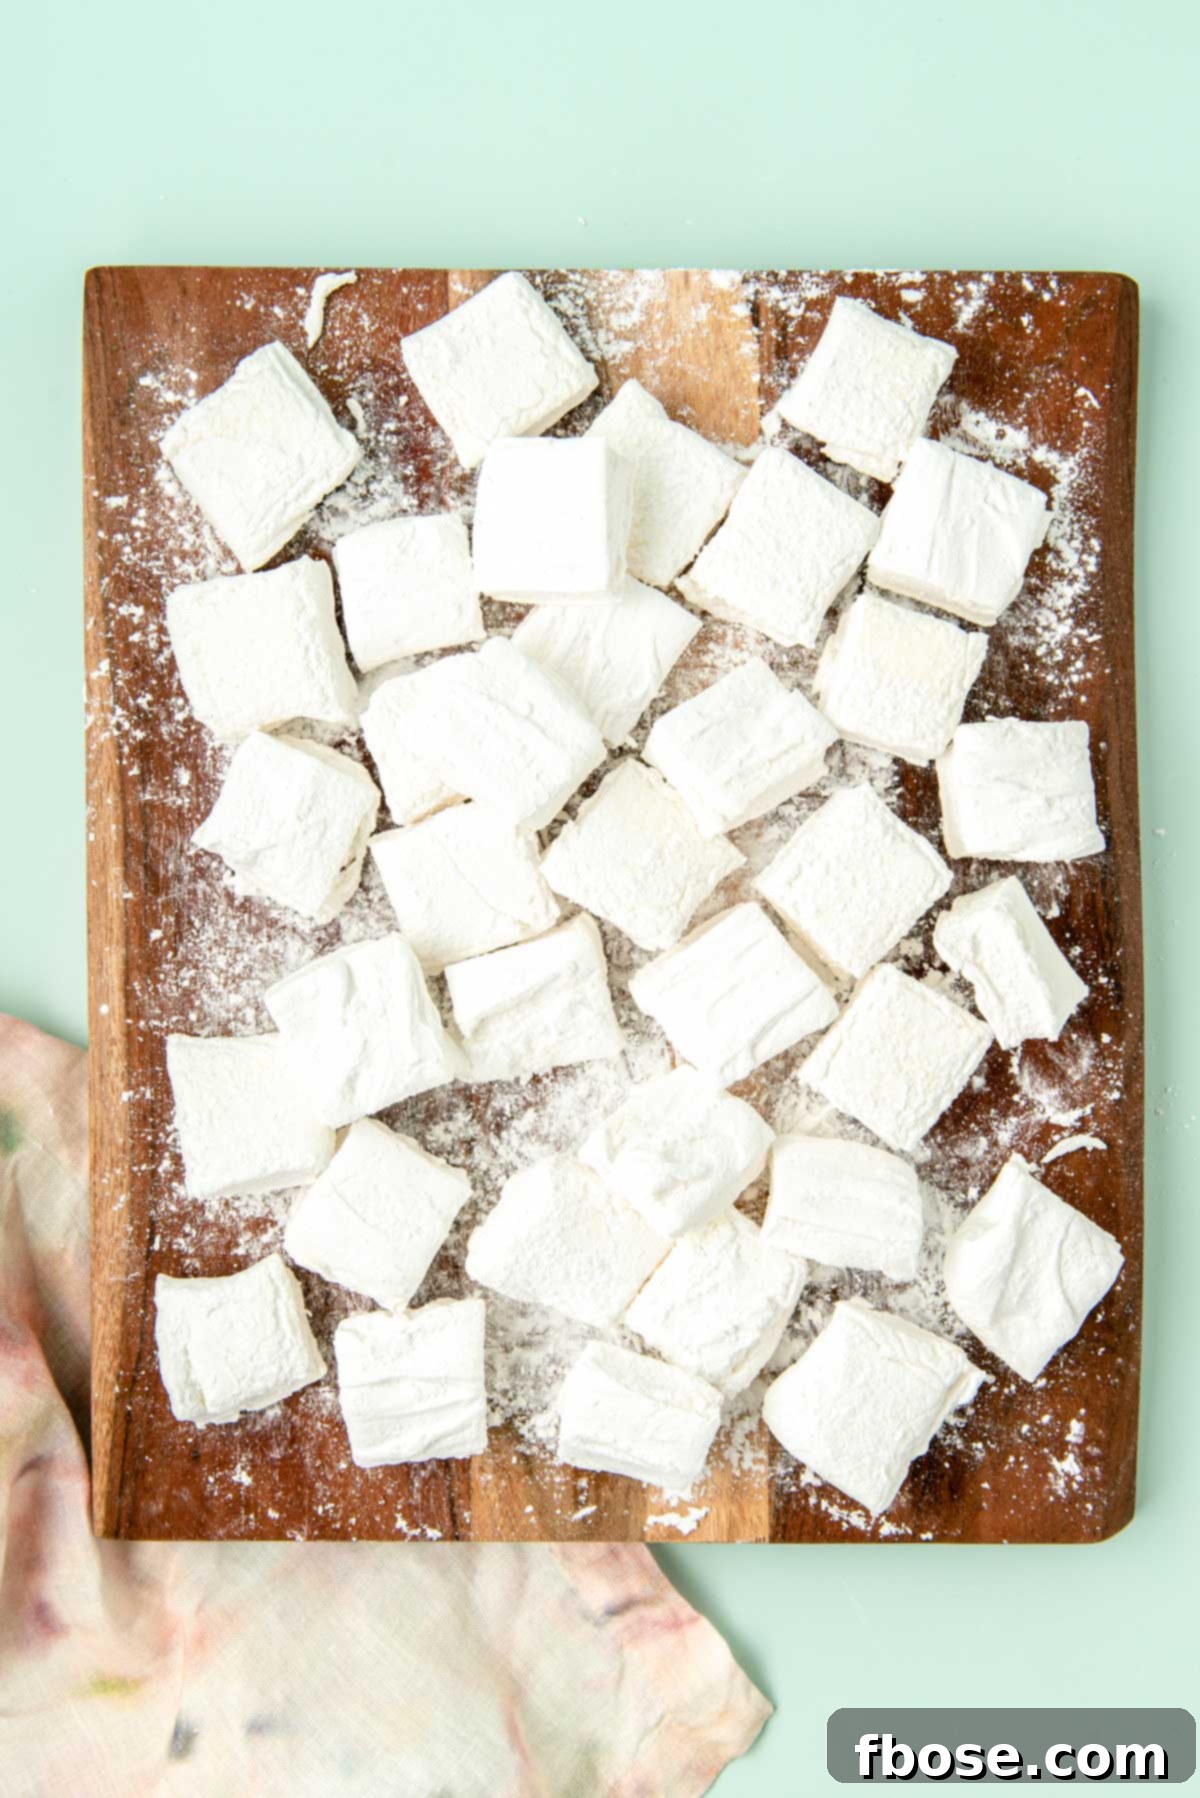
Once fully set, invert the marshmallow slab onto a clean cutting board that has been lightly dusted with the powdered sugar mixture. For precise 1-inch squares, you can use a pizza cutter, a large sharp knife, or even unflavored dental floss (dusted in the sugar mixture to prevent sticking). Dental floss provides incredibly clean cuts.
Step 10: Final Dusting and Finishing Touches
After cutting, dust all sides of each individual marshmallow square with the remaining powdered sugar mixture. If you run out, simply mix up a little more. This final coating prevents the marshmallows from sticking together. Then, toss the coated marshmallows in a large colander to gently shake off any excess powdered sugar mixture, leaving them perfectly coated and ready to enjoy.
How To Store Homemade Marshmallows
To keep your homemade marshmallows fresh and delicious, store them in an airtight container at room temperature. They will maintain their quality and delightful texture for up to 3 weeks. Avoid refrigeration, as this can introduce moisture and alter their consistency.
Can You Freeze Homemade Marshmallows?
Absolutely! Marshmallows freeze beautifully, allowing you to prepare a large batch and enjoy them over an extended period. Once your marshmallows are fully prepared and dusted, arrange them in a single layer on a baking sheet and flash freeze them for an hour or two until firm. Then, transfer the frozen marshmallows to an airtight freezer-safe container or a heavy-duty freezer bag. They can be stored in the freezer for up to 3 months. Thaw them at room temperature before serving.
This Easy Marshmallow Recipe Is Allergy Friendly!
Many commercially produced marshmallows contain corn syrup derived from GMO corn or artificial ingredients. This homemade marshmallow recipe is not only delicious but also wonderfully allergy-friendly! If you’re wondering, are marshmallows gluten-free? Yes, these are! Furthermore, this recipe contains no egg whites, nuts, or dairy, making it a safe and delightful treat for those with common allergies. Always double-check your individual ingredient labels to ensure they meet your specific dietary requirements.
Easy Marshmallow Recipe FAQs
Yes, it is possible to over-whip marshmallow mixture, and it can affect the final texture. Over-whipping can lead to an extra sticky and stubborn consistency that becomes difficult to spread smoothly in the pan. For the ideal consistency, you’re looking for marshmallow cream that holds a soft peak for a few seconds before it gently leans and settles back into itself. A visual cue for perfectly whipped marshmallow is a beautiful, glossy appearance. If it looks dull, it might be a sign of over-whipping.
This recipe is designed to produce perfectly fluffy and dry marshmallows every time, thanks to the precise measurements of liquid ingredients and the careful cooking method. If your homemade marshmallows turn out soggy or wet, the most common reason is that they were likely under-whipped. Insufficient whipping prevents enough air from being incorporated and doesn’t allow the mixture to fully develop its stable structure, leading to a moist, denser result. Ensure you whip for the full recommended time until the mixture is thick, fluffy, and glossy.
Several factors can contribute to homemade marshmallows not being as fluffy as desired:
- Overcooking the Sugar Syrup: It’s crucial to remove the sugar syrup from the heat as soon as it reaches 240°F (116°C). If the temperature exceeds 245°F (118°C), the structure of the gelatin can begin to break down, resulting in marshmallows that are firmer, chewier, and thinner, rather than light and airy.
- Overbeating the Marshmallow Mixture: While whipping is essential for fluffiness, overbeating can cause the air bubbles to be expelled from the mixture. This leads to a denser marshmallow that deflates once spread into the pan. Aim for a glossy, thick consistency that holds soft peaks.
- Using Flavor Oil Instead of Extract: Flavor oils, due to their composition, can sometimes interfere with the setting process of marshmallows, causing them to sink or not achieve proper fluffiness. Always opt for high-quality flavor extracts for the best results.
These exquisite homemade marshmallows are incredibly versatile. I particularly love how they melt into a creamy, dreamy topping on my hot cocoa, adding an extra layer of decadence. They are also fantastic roasted over a fire for s’mores, or even incorporated into desserts like sweet potato casserole for a unique twist. Honestly, they are so delicious, you might find yourself simply enjoying them plain! They make a perfect addition to a thoughtful food gift basket for friends and family, or whip up a grand batch for a festive hot chocolate bar on Christmas Eve or any special occasion.
Explore More Basic Kitchen Recipes
Ready to master more kitchen essentials? Check out these other fantastic recipes to expand your culinary skills:
- Best Ever Peanut Butter Frosting
- How To Make Simple Syrup
- How To Candy Lemons
- Best Ever Vanilla Icing
- Homemade Vanilla Buttercream
Let’s Connect! Share Your Sweet Creations
If you’ve tried this delightful homemade marshmallow recipe, we’d love to hear from you! Please let me know how you liked it in the comments below and consider leaving a star rating. Your feedback truly helps our community grow!
Don’t forget to tag me – @sugarandsoulco – on Instagram and Pinterest with your beautiful photos, or join our Sugar & Soul Show-offs Community on Facebook and share your creations there! You can also participate in our fun recipe challenges!
This post was originally published in December 2017 and was extensively updated in May 2023 with new photos, fresh content, and an improved recipe to ensure your homemade marshmallows are perfect every time.
Homemade Marshmallows Recipe
Ingredients
- ¼ cup powdered sugar
- ¼ cup cornstarch
- 3 (.25 oz.) envelopes unflavored gelatin
- 1 cup cold water divided
- 1⅔ cups granulated sugar
- ½ cup light corn syrup
- ¼ teaspoon kosher salt
- 1 teaspoon vanilla extract or other flavoring
- nonstick spray
Instructions
-
Combine powdered sugar and cornstarch together in a medium bowl.
-
Lightly spray a 9×13-inch baking pan with cooking spray and dust with half of the powdered sugar mixture, making sure to coat the bottom and sides of the pan fully. Transfer the excess coating back to the bowl with the half that wasn’t used.
-
In a medium saucepan, combine ½ cup water, sugar, corn syrup, and salt and cook covered over medium-high heat for 3 to 4 minutes until the edges of the mixture start to simmer. (DO NOT STIR)
-
Uncover and clip a candy thermometer to the side of the pan a continue to cook until the temperature reaches 240°F, (DO NOT STIR), about 7 to 8 minutes. Once the mixture reaches this temperature, immediately remove the pan from heat.
-
Stir the gelatin and ½ cup of water in the bowl of a stand mixer and let sit so the gelatin can bloom for about 5 minutes.
-
Turn the stand mixer on low speed (stir setting); while running, slowly pour the sugar mixture down the side of the bowl into the gelatin mixture.
-
Once you have added all the sugar syrup, increase speed to high (10 speed) and whip until the mixture becomes very thick, fluffy, and glossy, about 6 to 7 minutes. Add the vanilla and whip for 30 additional seconds.
-
Spread marshmallow cream out in the pan so it’s relatively level. Sprinkle with more powdered sugar mixture. Let sit uncovered for at least 4 hours, preferably overnight.
-
Once set, turn marshmallow out onto a cutting board and slice it into 1-inch squares with a pizza cutter, large knife, or unflavored dental floss dusted in the powdered sugar mixture.
-
Once cut, dust every side of each marshmallow with powdered sugar mixture, make more mixture if needed. Then toss the marshmallows in a colander to remove any excess mixture.
-
Store in an airtight container for up to 3 weeks!
Notes
- You can make jumbo marshmallows by preparing this recipe in an 8×8-inch pan instead of a 9×13-inch pan.
- How To Freeze: Once you’ve prepared them, place them in an airtight freezer-safe container and freeze for up to 3 months!
- Recipe adapted from Alton Brown.
Nutrition
Did You Make This Recipe?
Don’t forget to share it with me on Instagram @sugarandsoulco and follow on Tiktok @sugarandsoulco and Pinterest @sugarandsoulco for more delicious inspiration and recipes!
Pin Recipe
Share Recipe