Strawberry Shortcake Cake
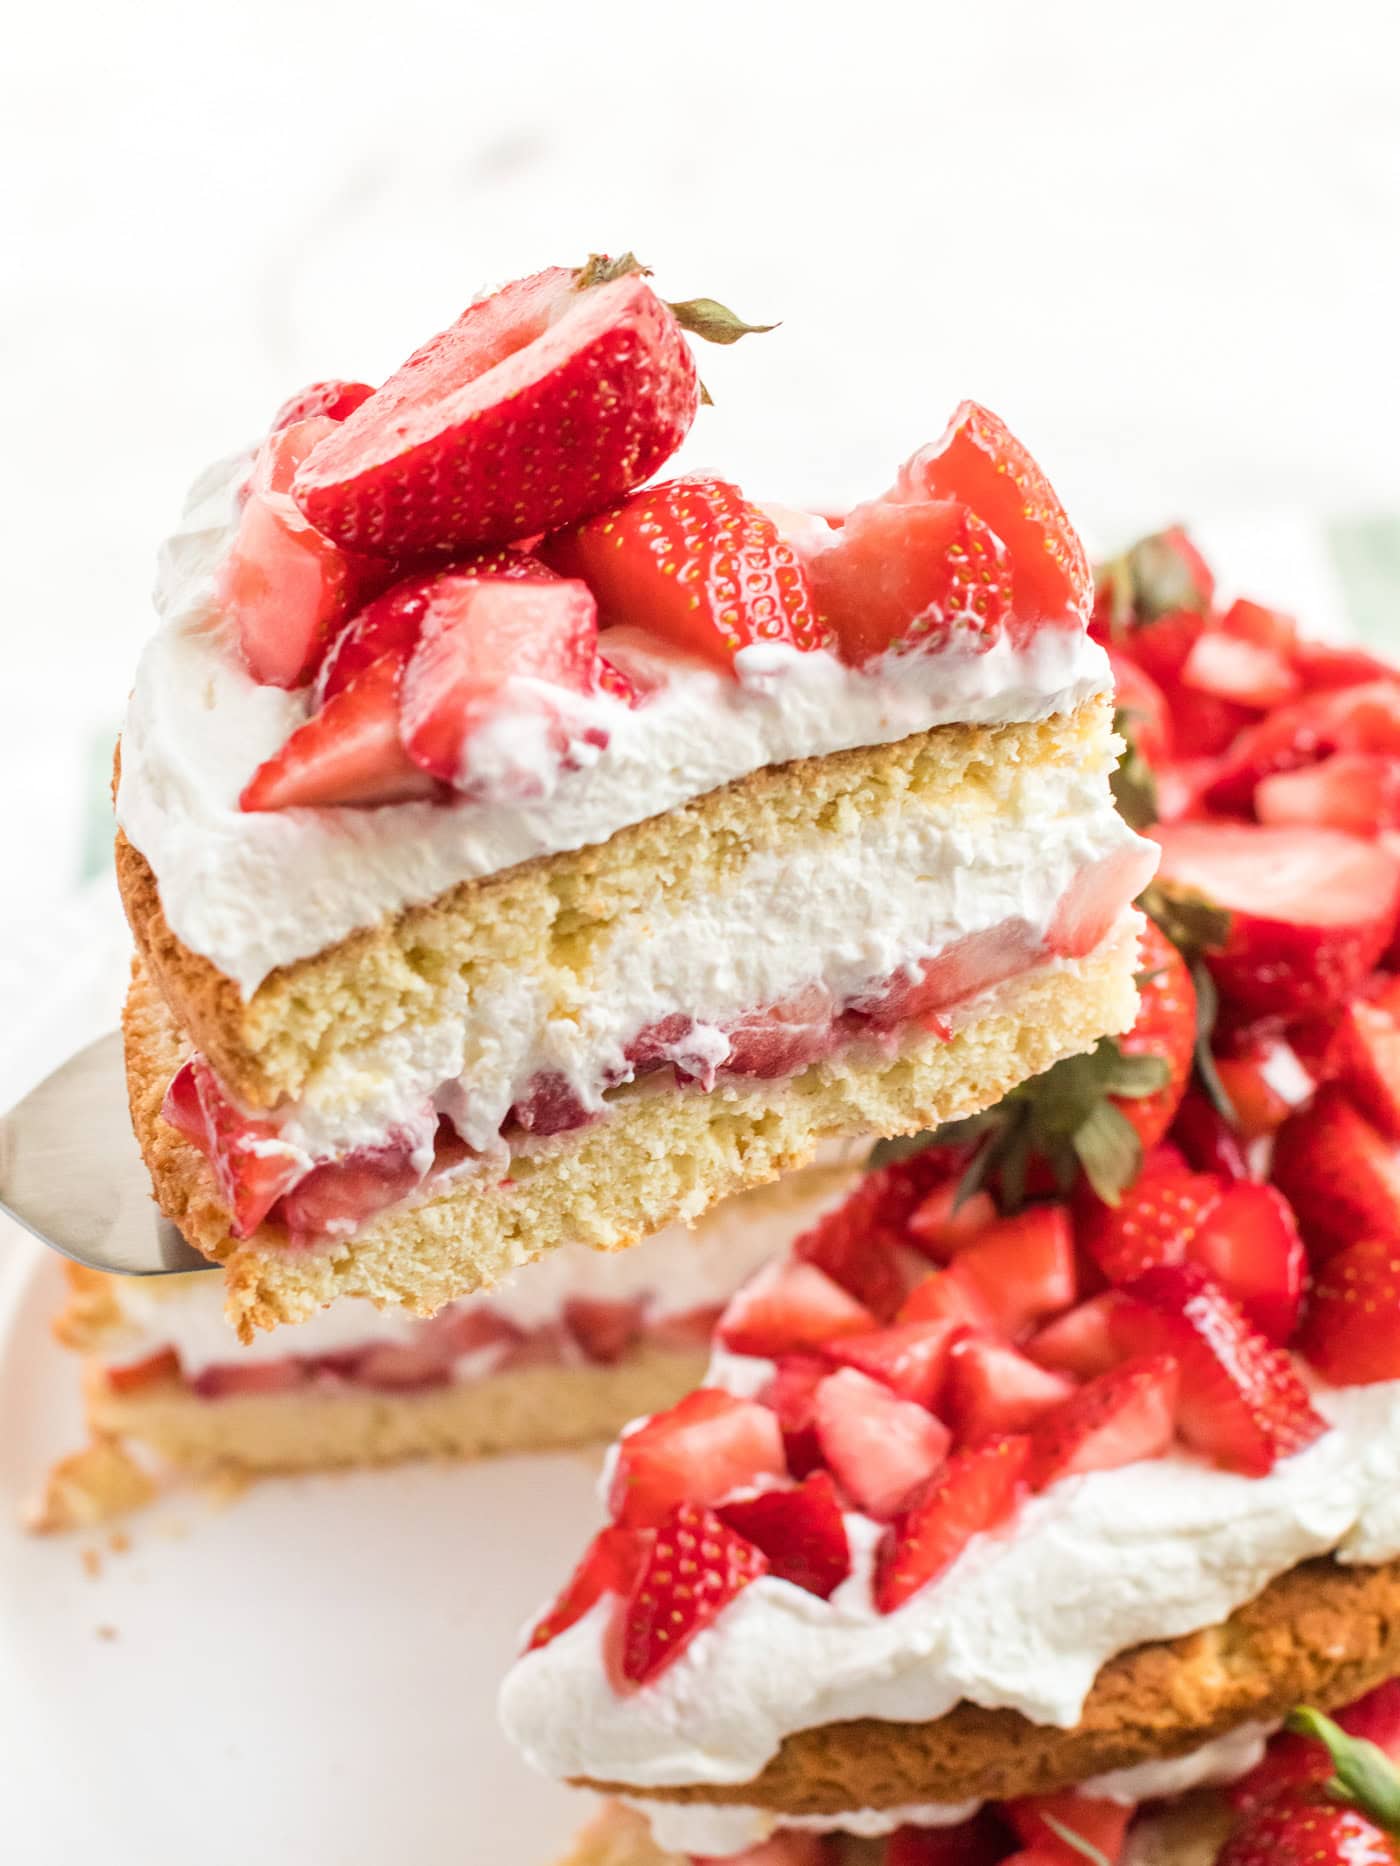
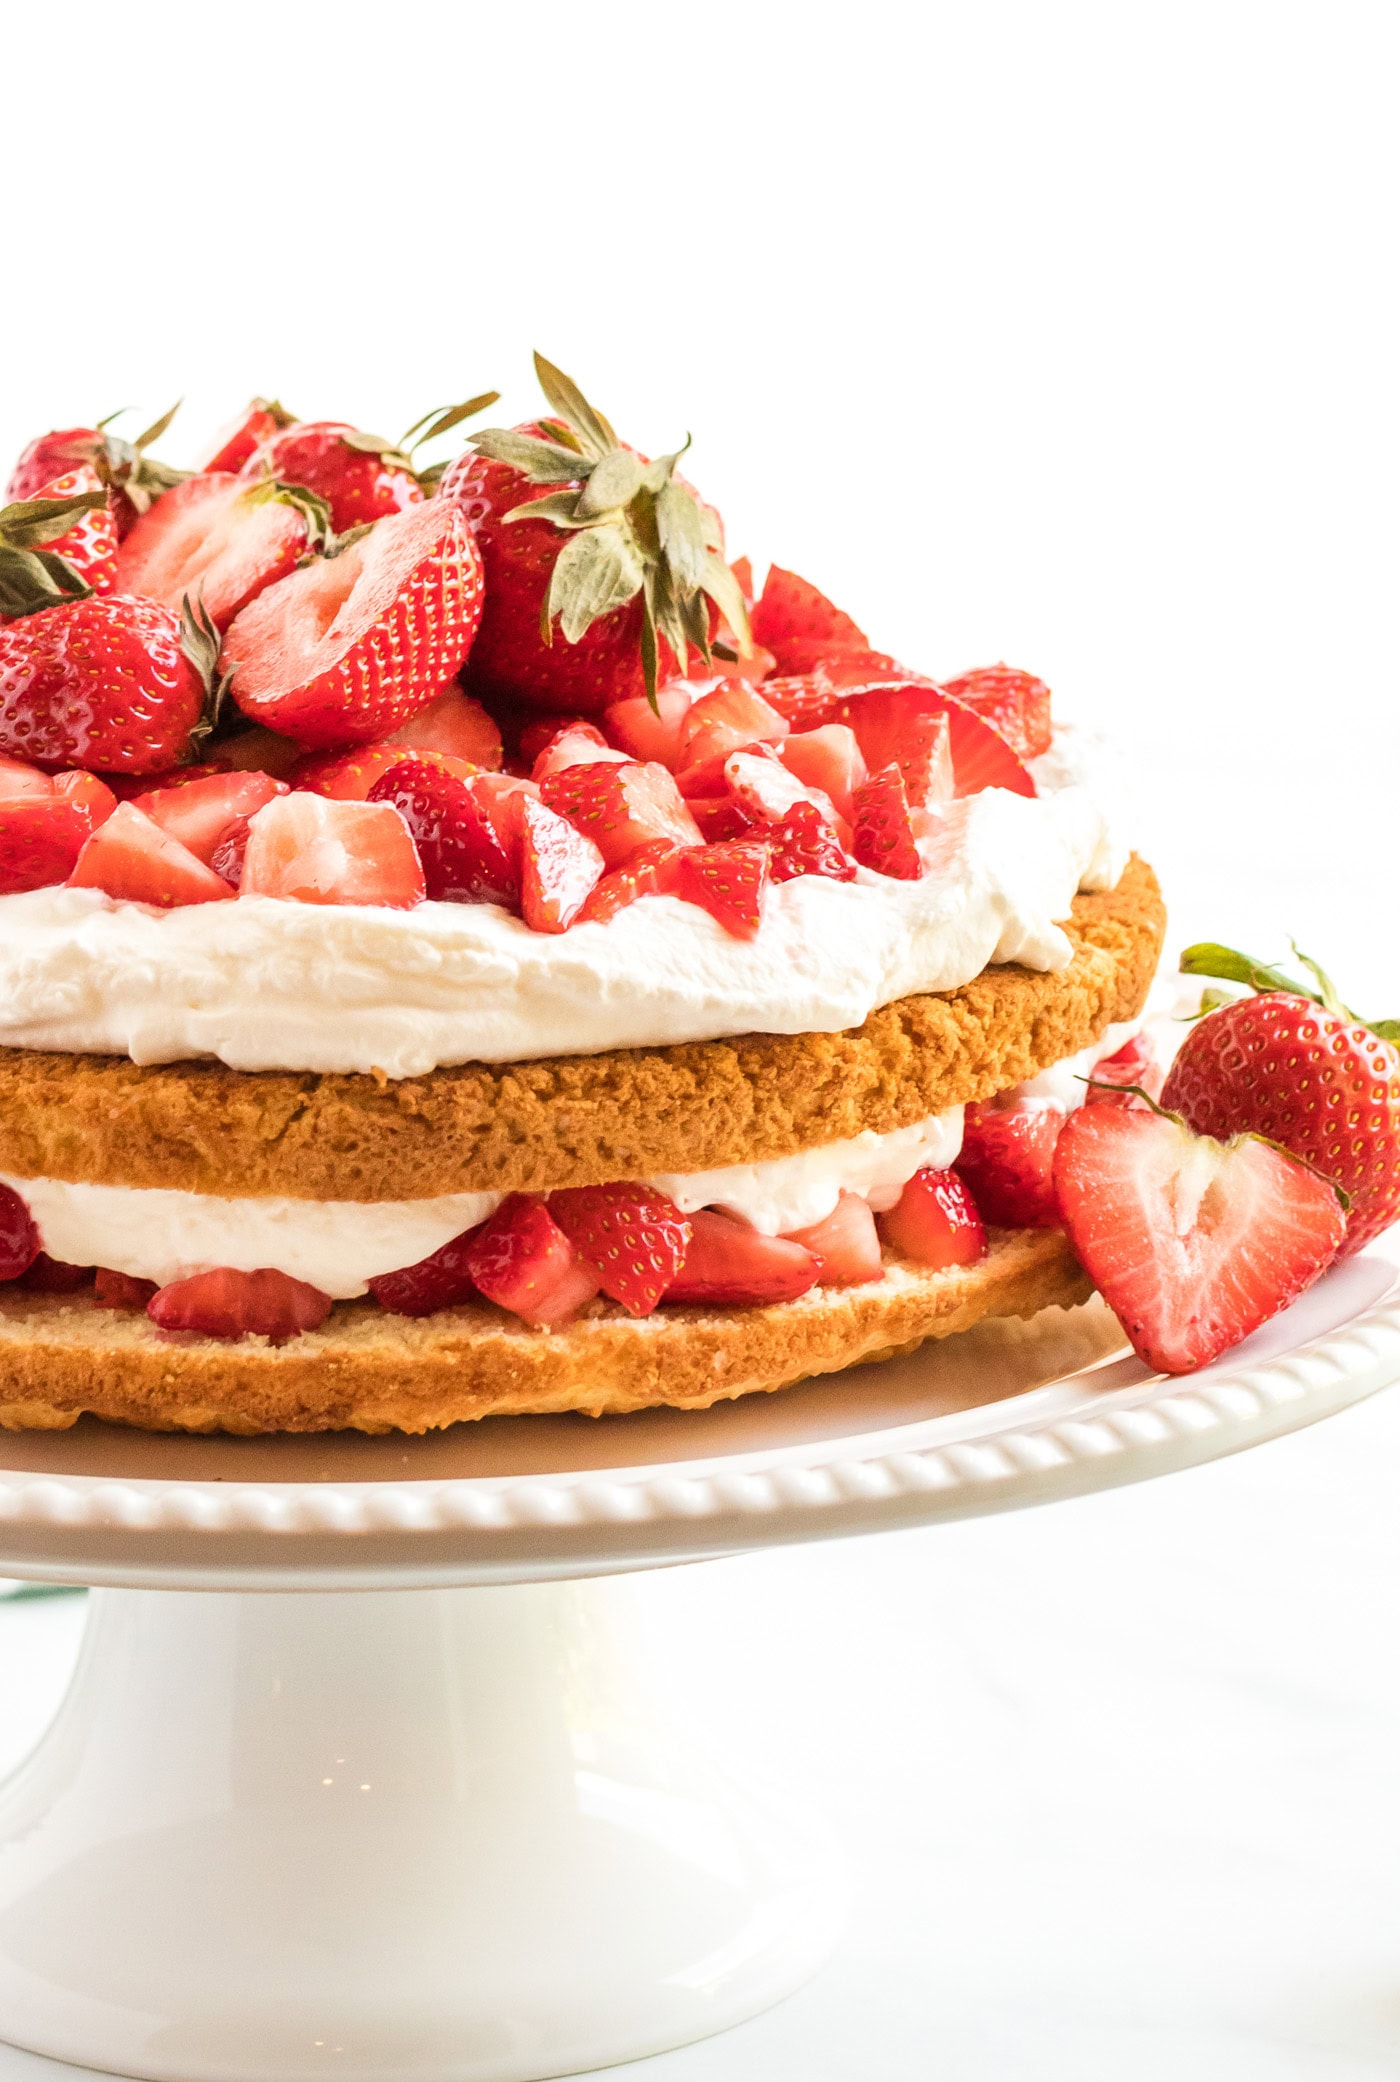
Most recipes labeled strawberry shortcake cake are really just vanilla cake with berries piled on top. This one keeps the tender, biscuit-like layers that hold up to all those juicy sugared strawberries, and it serves twelve from a single 9-inch pan.
- Total 50 minutes
- Serves 12 servings
- Desserts
- American
Most recipes labeled strawberry shortcake cake are really just vanilla cake with berries piled on top. This one keeps the tender, biscuit-like layers that hold up to all those juicy sugared strawberries, and it serves twelve from a single 9-inch pan.
 more
more
Why this recipe works
This “from scratch” cake recipe is worth the little bit of extra effort and is actually quite easy. This is a shortcake cake, not individual biscuits.
The texture of the cake is more like a biscuit than a pillowy, sponge cake, and that is exactly why it works. Those layers truly hold up to the juicy strawberries like strawberry shortcake should. And because this version is a whole cake rather than individual servings, I find it so much better when serving to multiple guests.
One thing before you start. This is a small dough and it is sensitive to how much flour goes into it, so weigh your flour if you can. A kitchen scale is the difference between a layer that splits cleanly and one that crumbles apart.
Ingredients you will need
Get all measurements, ingredients, and instructions in the printable version at the end of this post.
Please use the gram weights if you can. They are the difference between this cake working and this cake crumbling, and they are the reason I retested the whole recipe on a scale.
Ingredient Info and Substitution Suggestions
STRAWBERRIES – These are the star of the show, so find gorgeous, plump, ripe berries. You will want two pounds, divided, because six to eight of the prettiest ones get set aside whole for the garnish on top before the rest are hulled, cut and macerated for the filling. All of the macerated berries go into the middle of the cake, not on top. Do not hull the garnish berries. Leaving the leaves on gives you that pop of green on top, and I like to leave some whole and cut others in half, then pile them on randomly rather than arranging them.
ALL-PURPOSE FLOUR – 1 3/4 cups, or 210 grams. Weigh it. Too much flour is the single most common reason this cake turns out dry and crumbles when you split it, and the same measuring cup of flour can vary by 25 percent or more depending on how the flour got into it. A scale removes that variable completely. If you are measuring by volume, fluff the flour in the bag first, spoon it lightly into the cup, and level it off with the back of a knife. Never scoop the measuring cup through the bag, which packs it and is how people end up with far more flour than the recipe wants.
SHORTENING – 1/2 cup, or 94 grams. This is what gives the layer its tender, biscuit-like crumb, and it is the reason this cake tastes like shortcake instead of vanilla cake. Regular or butter flavored will both work fine. I have not tested this recipe with butter in place of the shortening, so I cannot promise the same texture if you swap it.
MILK – 1/3 cup, or 78 grams. I tested this most recently with 2% and it worked beautifully, so either whole or 2% will be great. I have not tested this recipe with any of the dairy free milks.
LEMON ZEST – Just a teaspoon, but do not skip it. It lifts everything and keeps the sweetness from feeling heavy. I zest lemons before juicing and slicing them for other recipes and usually have zest sitting in the freezer, so it is always on hand. You can work the other direction too and zest the lemon, then juice it and freeze the juice in ice cube trays.
HEAVY WHIPPING CREAM – Two cups whipped with a few tablespoons of powdered sugar, beaten only to medium-soft peaks. You want it firm but not stiff, because stiff whipped cream sits on top of the berries instead of settling into them. If you would rather not make your own, a tub of Cool Whip will do the job, but we make ours whenever we can. You can also try our stabilized whipped cream, a great substitute for Cool Whip. A hand mixer makes quick work of it.
BUTTER – Four tablespoons, softened, spread across the cut faces of both cake halves before the filling goes on. This is not a decorative step. The butter creates a barrier that slows the strawberry juice from soaking straight through the layer.
How to Make Strawberry Shortcake Cake
These step by step photos and instructions are here to help you visualize how to make this recipe. You can Jump to Recipe to get the printable version of this recipe, complete with measurements and instructions at the bottom.
- Preheat the oven to 450°F. Butter or spray a 9-inch round cake pan.
- Remove 6 to 8 of the best looking berries and set them aside for the garnish. Do not hull these.
- Wash and hull the remaining berries, then cut them into fourths.
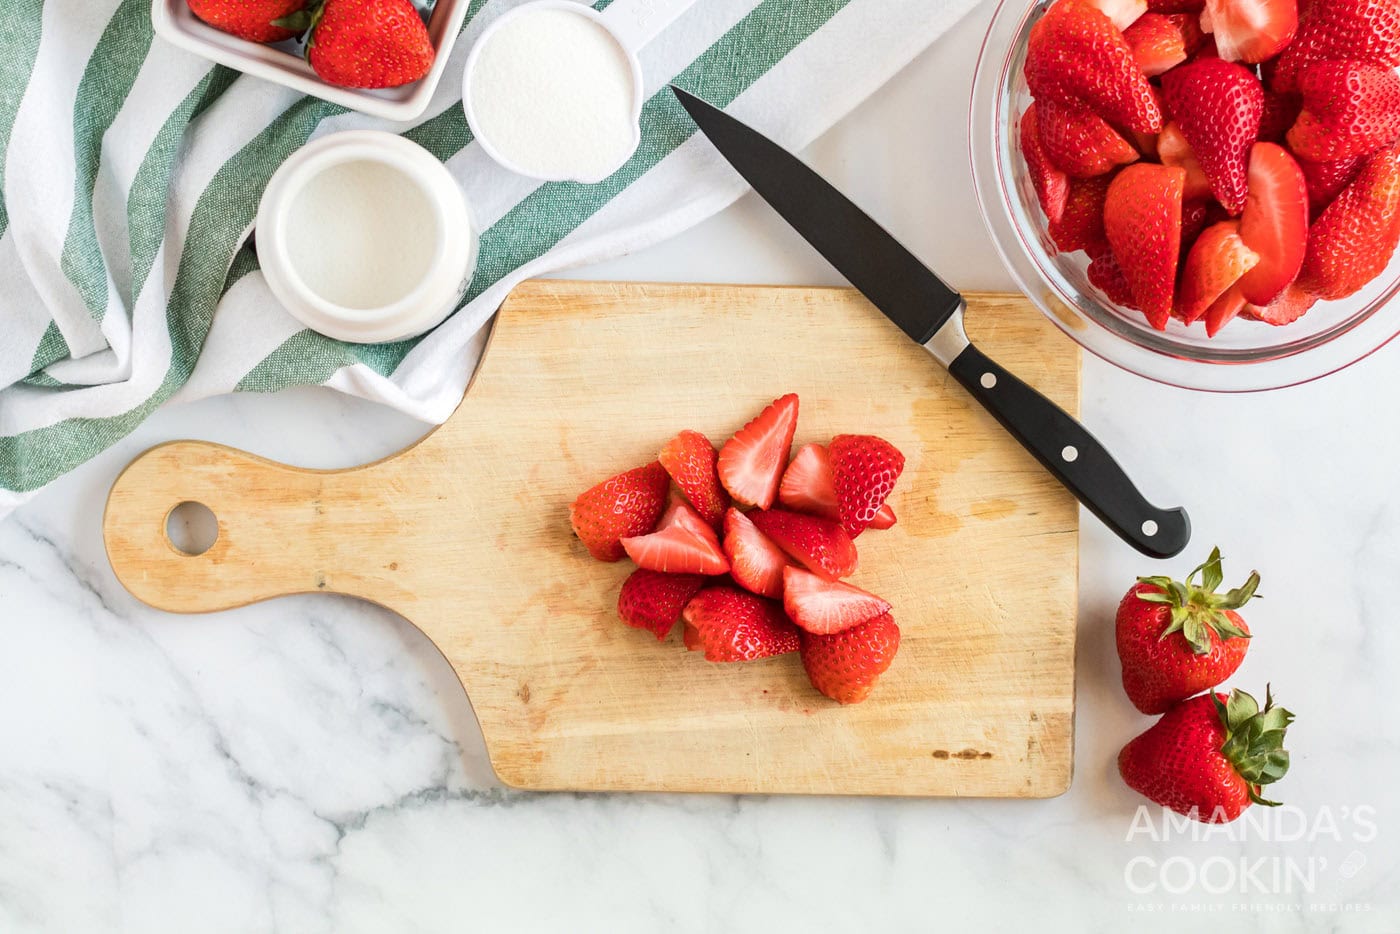
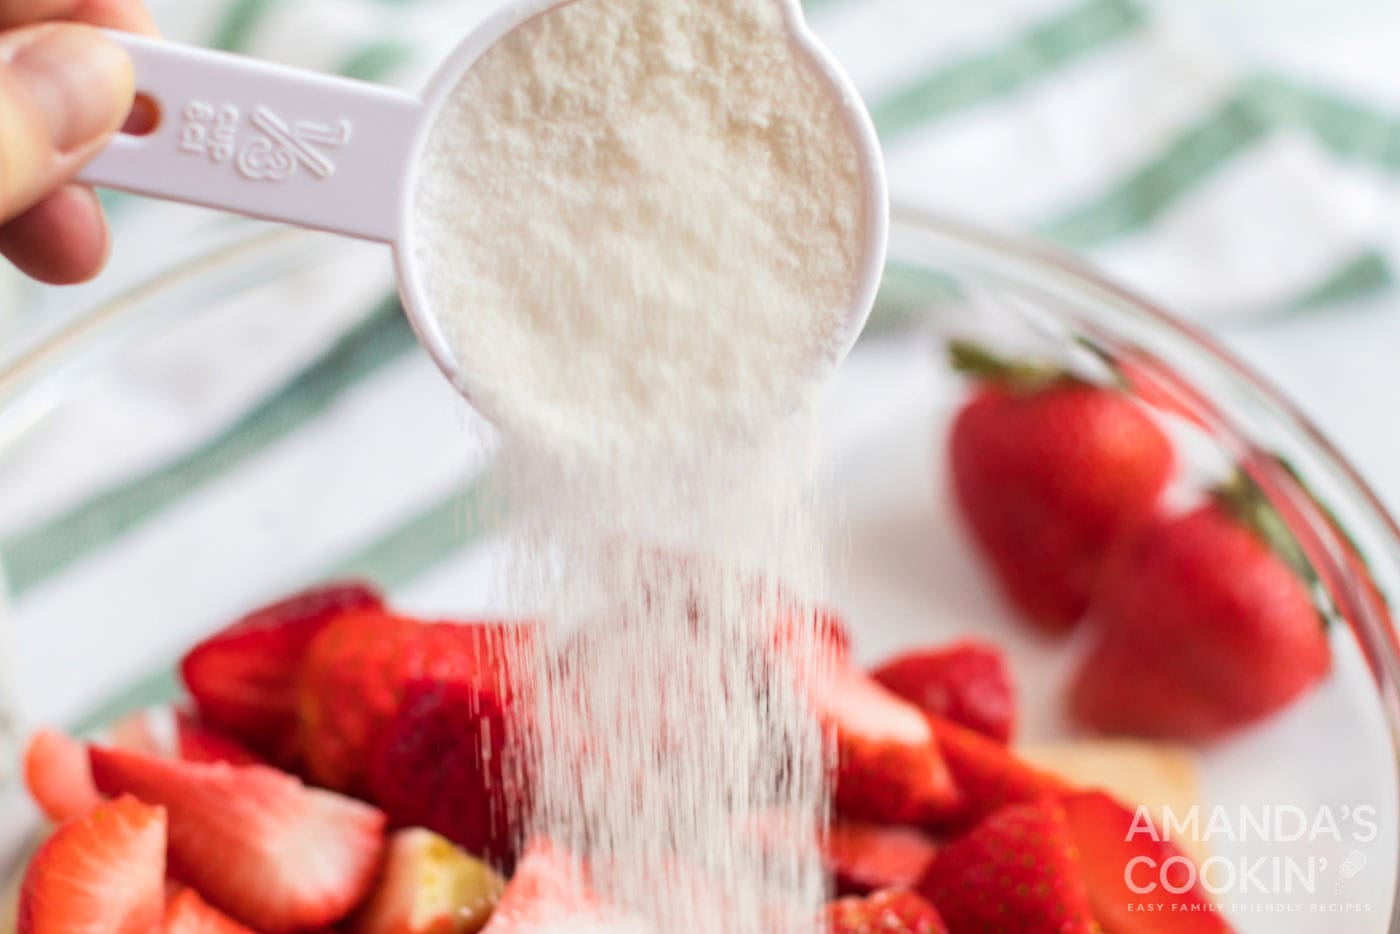
- Sprinkle the cut strawberries with 1/3 cup sugar and mash them slightly. Set them aside to macerate while you work.
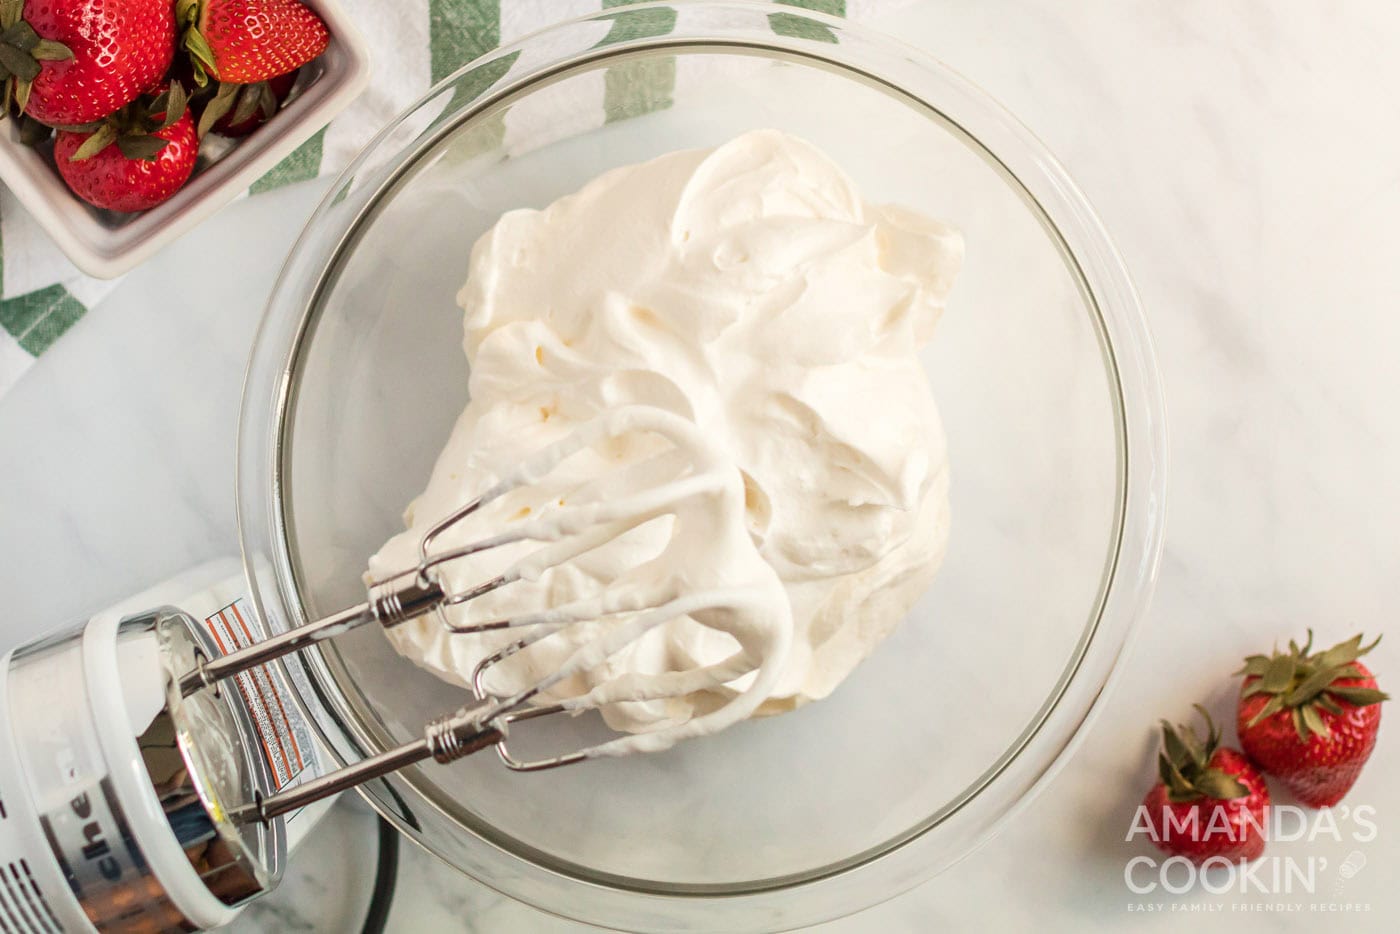
- Beat the heavy cream and powdered sugar together until medium-soft peaks form. It should be firm but not stiff. Refrigerate until needed.
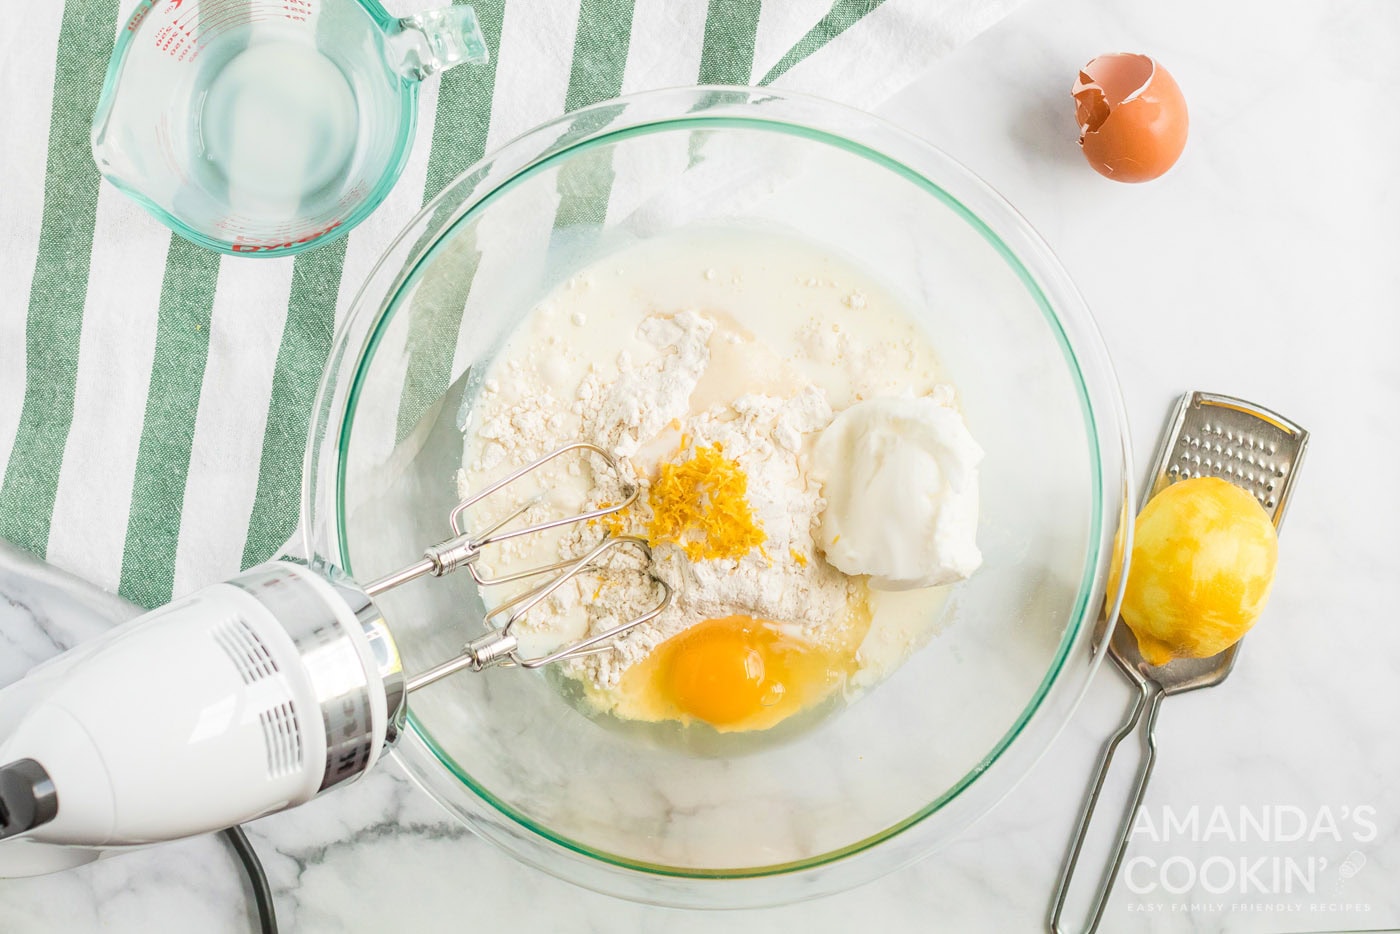
- In a medium bowl, combine the 1/4 cup sugar, flour, shortening, milk, egg, baking powder, lemon zest and salt.
- With a mixer at medium speed, beat the mixture until it is well combined. It will look crumbly and clumpy rather than smooth, and it will not gather into a ball on its own in the bowl. That is exactly right, so do not keep beating to try to bring it together and do not add more milk.
- Gather the dough in your hands. You should be able to form a dough ball. Put the dough ball into the prepared pan and press it evenly out to the edges with a spatula or your fingertips until the surface is level.
- Set the cake pan on a baking sheet and bake for 13 to 15 minutes, until the top is golden brown and springs back when lightly touched. Start your timer the moment the oven door closes.
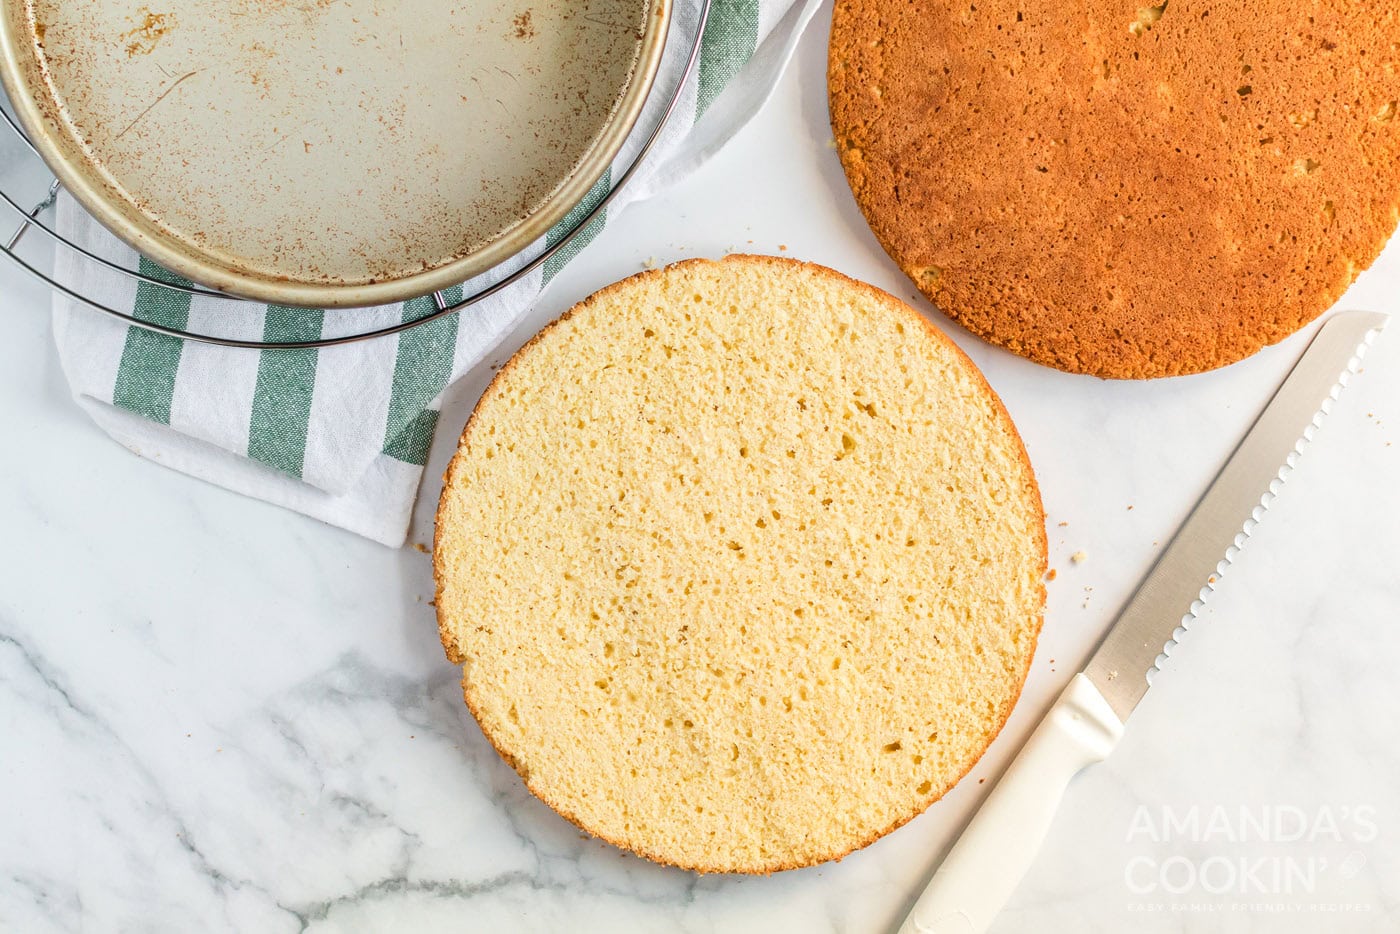
- Remove the cake from the oven and invert it onto a cutting board. Allow it to cool for 15 minutes. Give it the full 15, because the warmer the layer is, the more fragile it is.
- Using a bread knife, carefully split the warm shortcake in half horizontally with a long, gentle sawing motion. Plain, unflavored dental floss works well for this too. Expect a few crumbs along the cut edge. That is normal for a shortcake and not a sign anything has gone wrong.
- Slide a wide offset spatula or turner under the top half and carefully slide it onto a cooling rack. Set a second cooling rack upside down over it and invert so the cut side is facing up. Move the bottom half to its own rack. Both should be cut side up.
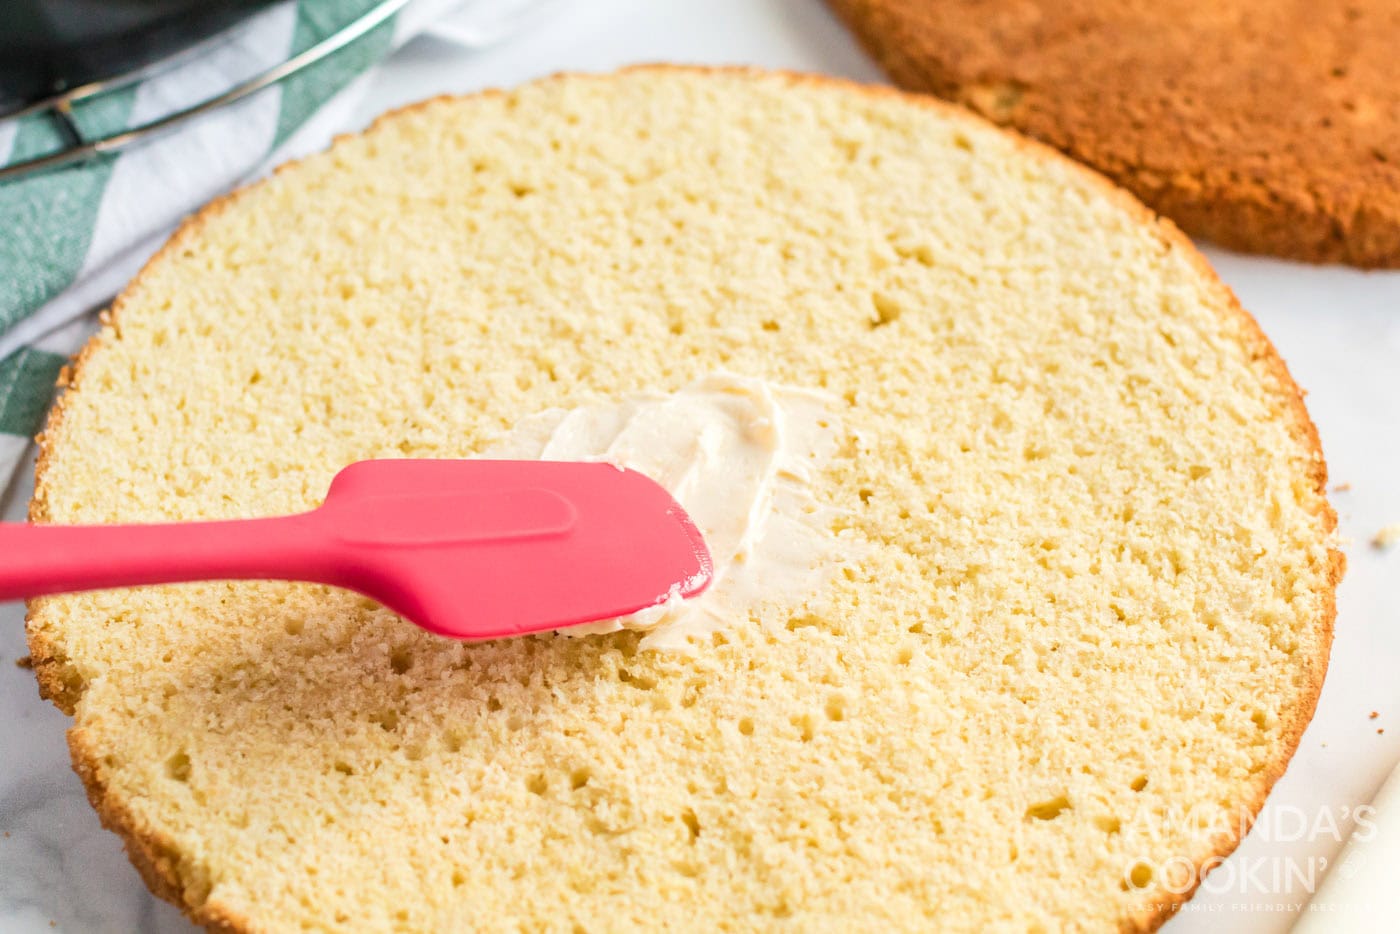
- Spread both cut faces evenly with the softened butter while the cake is still warm.
- Spoon all of the macerated strawberry mixture onto the bottom half of the cake, syrup and all.
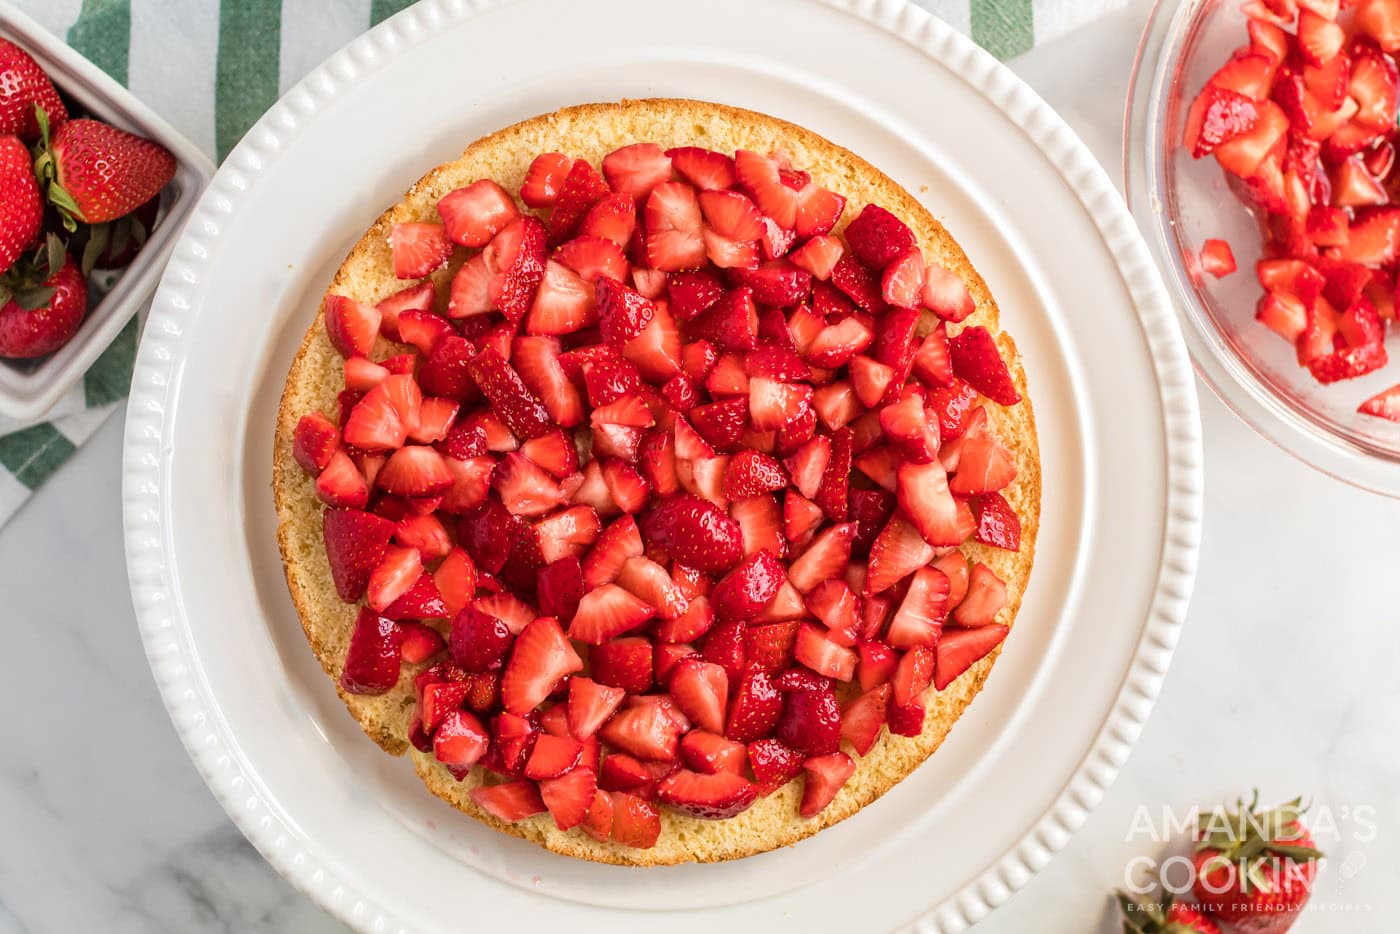
- Spread half of the whipped cream over the berry layer.
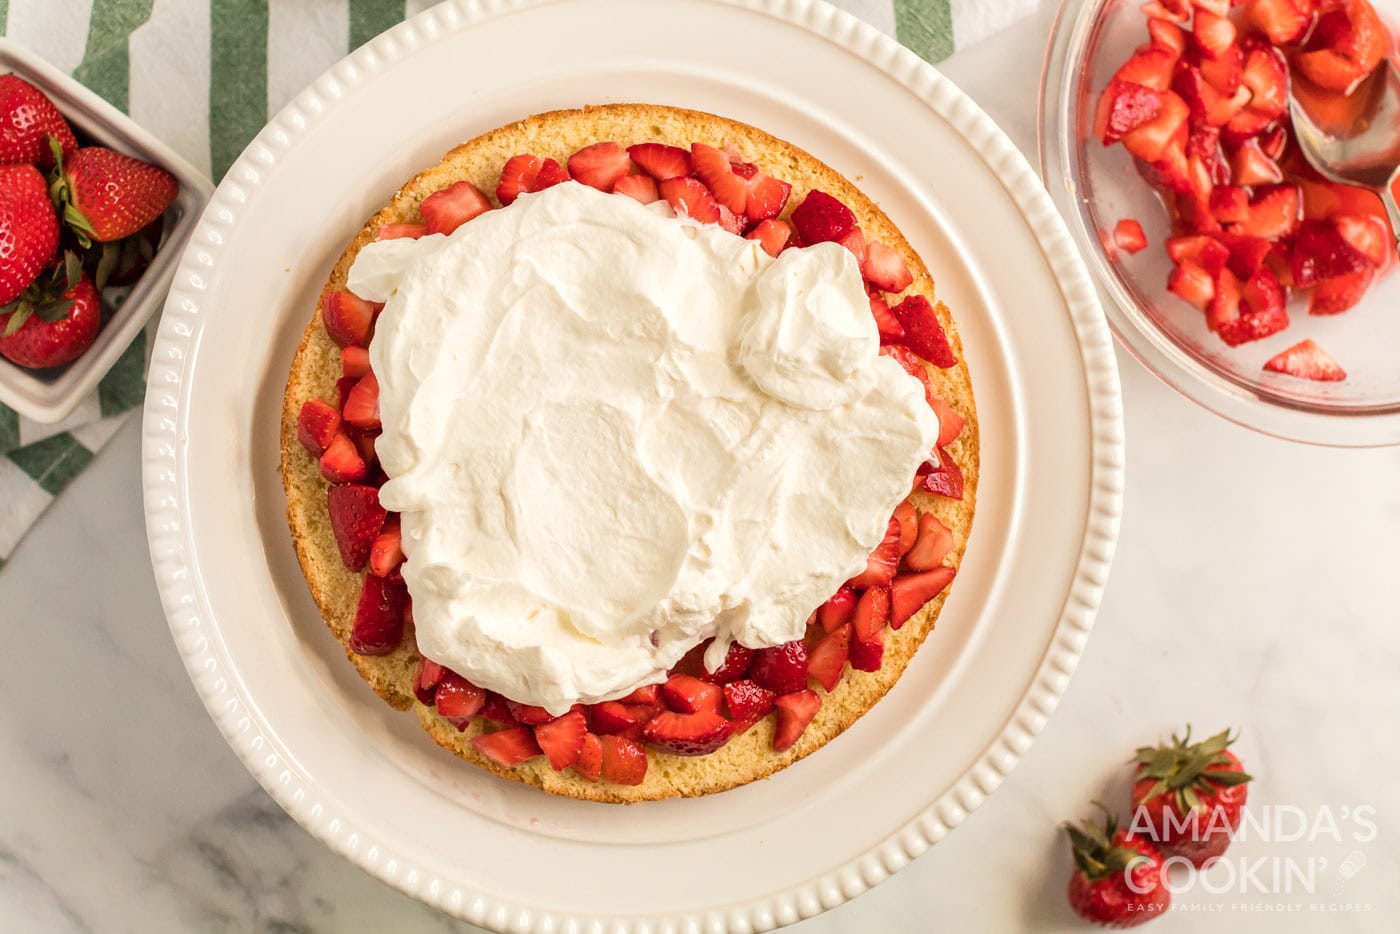
- Place the other cake half on top and spread the remaining whipped cream across the top.
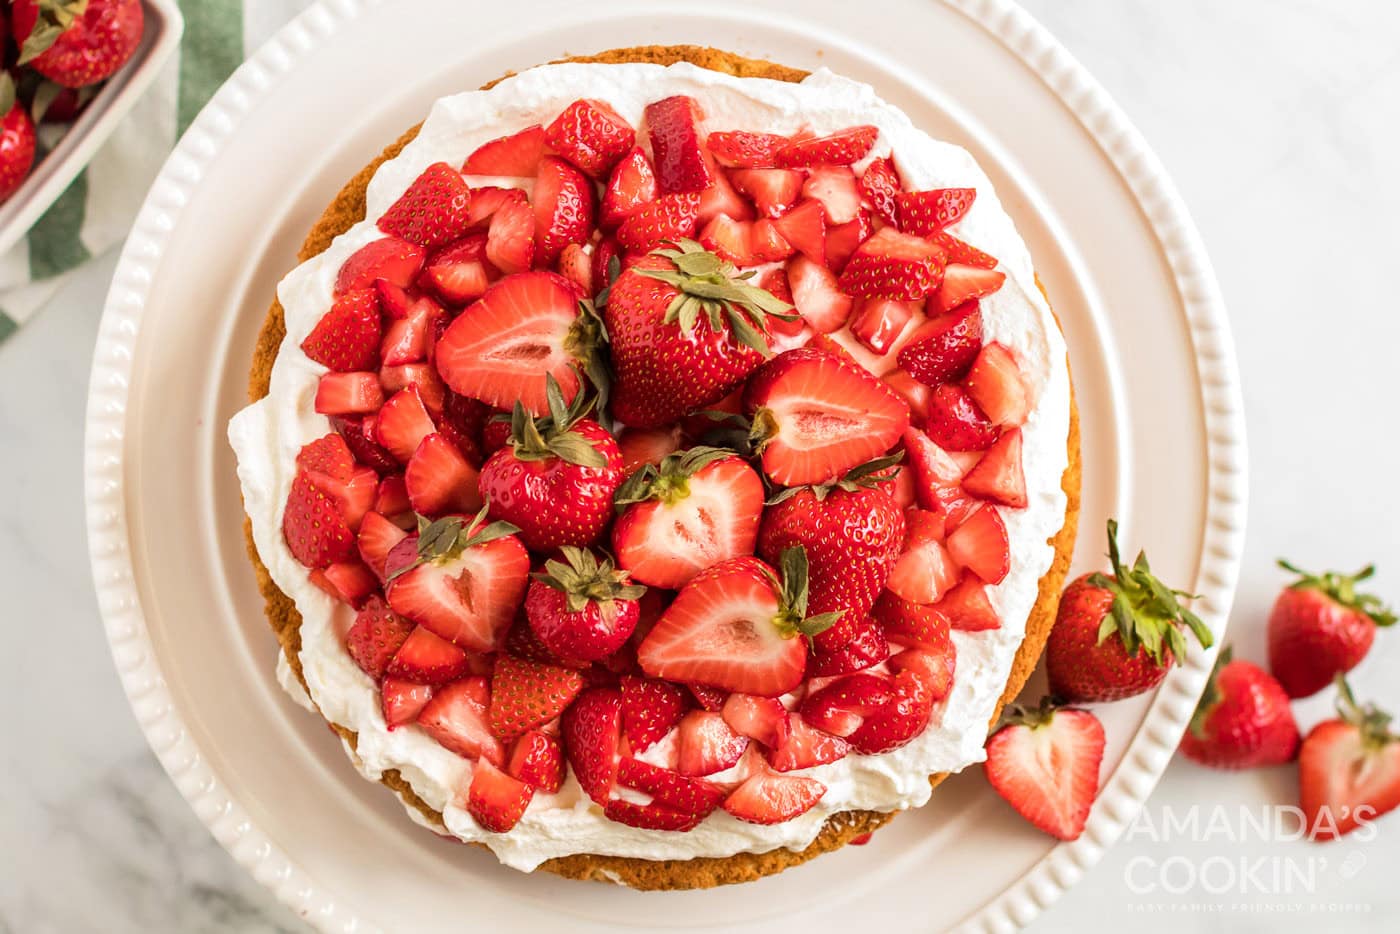
- Garnish with the reserved whole and halved berries.
How to macerate strawberries for shortcake
Macerating just means drawing the juice out of the fruit with sugar, and it is the step that turns plain cut strawberries into the syrupy filling that makes shortcake taste like shortcake.
Wash and hull your berries, then cut them into fourths. Sprinkle 1/3 cup of granulated sugar over roughly two pounds of cut berries and mash them lightly with a fork or the back of a spoon. That light mashing is what gets things going, because it breaks the surface of the fruit and lets the sugar pull the juice out. Leave them at room temperature while the cake bakes and cools, which is about 30 minutes in this recipe, and you will have soft, glossy berries sitting in their own syrup by the time you are ready to assemble.
Do not drain them. That syrup is the best part, and the buttered cut faces of the cake are there specifically to handle it.
Frequently Asked Questions & Expert Tips
Why did my shortcake layer crumble when I cut it in half?I retested this recipe weighing every ingredient, and the cause is almost always too much flour. A cup can vary by 25 percent depending on whether you scoop it through the bag or spoon it in and level it, and that much extra turns a tender layer dry. Weigh your flour. 1 3/4 cups should come to 210 grams.
After that, two things help. Give the cake its full 15 minutes to cool, and when you split it, use a long gentle sawing motion rather than pressing down, then slide the top half onto a cooling rack instead of carrying it on the spatula.
You do not have to, but this is the one recipe on the site where I am going to push you a little, because volume measuring is where this cake goes wrong for people. Measuring cups measure space, not amount. Two cooks can scoop the same cup from the same bag of flour and end up with weights that differ by a quarter, and in a dough this small that difference is the whole ballgame. A scale measures the actual amount, every single time, and it takes the guesswork out of it.
If you’ve been putting off buying one, don’t overthink it. The basic digital kitchen scale I use costs about what you will spend on the strawberries for this cake, takes up no room in a drawer, and will outlast most of the other things in your kitchen. Once you have it you will find yourself reaching for it constantly, especially for baking.
If you are measuring by volume for now, fluff the flour in the bag, spoon it gently into the measuring cup, and level it off with the back of a knife. Never pack it down and never scoop with the cup itself.
Texture, almost entirely. A regular cake is soft and airy, built to be light. Shortcake is closer to a rich, sweet biscuit. It uses a lot of fat and very little liquid, so instead of a pourable batter you get a thick dough that bakes into a sturdier, biscuit-like layer. That sturdiness is the point, because it is what lets the layer stand up to juicy strawberries instead of dissolving underneath them. This recipe is a shortcake cake, meaning it uses shortcake texture in a single round layer that gets split and filled, rather than baked as individual biscuits.
How much sugar do you need for the strawberries?This recipe uses 1/3 cup of granulated sugar for the cut berries, which comes from roughly two pounds of strawberries once you have set the garnish berries aside. If your berries are very ripe and sweet already, you can pull that back slightly, but do not cut it too far. The sugar is doing the work of drawing out the juice, not just sweetening.
Can I use Cool Whip instead of homemade whipped cream?You can, and a tub of Cool Whip will hold its shape nicely. We prefer to whip our own when we can, because the flavor is better and it only takes a couple of minutes. Our homemade stabilized whipped cream is also a nice replacement for Cool Whip.
Can I use frozen strawberries?Technically you could, but I would not recommend it. Frozen strawberries need to be thawed and drained first, and they will not have the same consistency or appearance once they are. So much of what makes this cake a showstopper is the fresh fruit, those glossy red berries piled up over the whipped cream with their leaves still on. It is a genuinely beautiful cake when you carry it to the table, and thawed frozen berries will not give you that.
Can I substitute butter for the shortening?I have not tested this recipe with butter in place of the shortening, and there is a good reason to be cautious about it. Butter is only around 80 percent fat, and most of the rest is water, while shortening is essentially all fat. Swapping one for the other adds water this dough was never built to have, and extra water works against exactly the tender, biscuit-like crumb we are after here. If you try it, expect a different texture.
Storage and Freezing Information
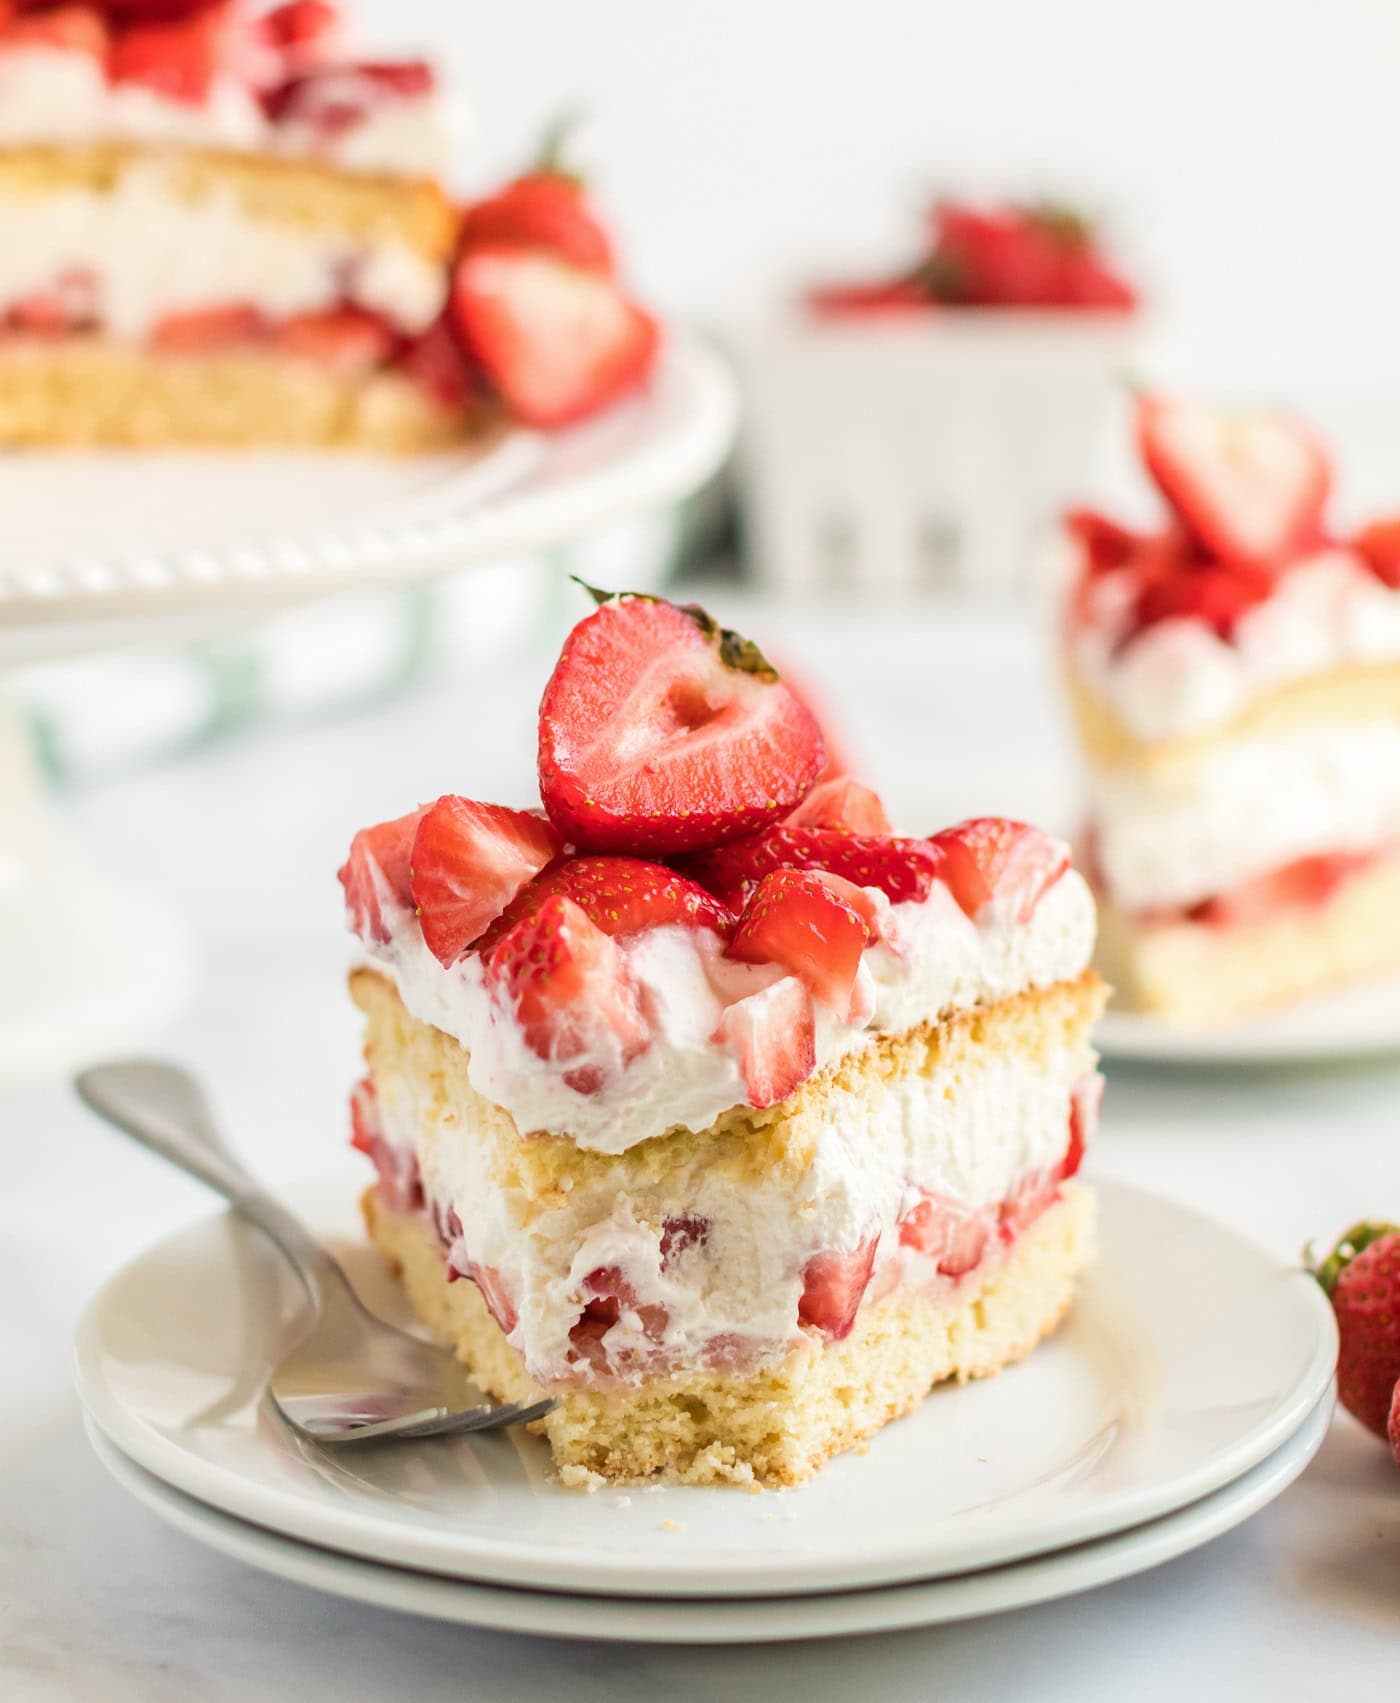
You can assemble the whole cake and refrigerate it a day in advance, which is the easiest way to get ahead for a party. This cake plate with a dome is what I use for this. It keeps the whipped cream from picking up refrigerator smells, protects the garnish berries from getting knocked around, and means you can lift the lid and set the whole thing on the table without transferring anything. Let the cake sit at room temperature for a few minutes before slicing so the whipped cream softens slightly. Beyond a day the strawberry syrup keeps working its way into the layers.
You can also split the work rather than the timing. Macerate the strawberries and whip the cream a few hours ahead, keep both covered in the refrigerator, and bake the layer the same day you plan to serve it. Give the whipped cream a very brief re-whisk before assembling if it has loosened.
Cover any leftovers and refrigerate them. The cake is best the day it is made, but it holds well overnight and the second-day slice is still very good.
I have not tested freezing this one. While the cake and the whipped cream will likely hold up, the fresh garnish berries on top are not good freezer candidates, so I would make it fresh. However, if you don’t mind what those berries look like after freezing, you can cut the cake into slices and lay them out on a plate or baking sheet lined with waxed paper or parchment. Flash freeze for a couple of hours until firm, then wrap each slice in plastic wrap. To thaw, take the plastic off right away while the slice is still frozen and let it come to room temperature.
Serving Suggestions
This is a summer cookout cake more than anything else. It is what I make when there are twelve people in the backyard and I do not want to be assembling individual desserts while everyone waits. Serve it cold or at cool room temperature, cut into wedges with a serrated knife, and expect it to disappear. If you are taking it to someone else’s cookout, a plastic cake carrier with a locking lid will get it there with the berries still where you put them.
For a full spread, it sits well after something bright and green like our strawberry spinach salad with balsamic, which keeps the strawberry thread running through the meal without repeating it. It is also a natural Mother’s Day and Easter dessert, and it works beautifully on a Fourth of July table if you tuck a few blueberries in among the garnish berries.
Add a scoop of vanilla ice cream alongside a slice if you want to push it over the top, and it goes beautifully with coffee for an afternoon rather than an evening dessert.
More Strawberry Desserts
Strawberries are my favorite fruit, hands down. If you want this same flavor in a different format, the first four below are the ones to look at. Here are more strawberry recipes I think you will love.
- Strawberry Shortcakes for the classic individual biscuit version
- Mini Strawberry Shortcake Cups for individual servings instead of slices
- Strawberry Shortcake Kabobs for a picnic or a party where nobody is sitting down
- Strawberry Shortcake Trifle for the layered version in a bowl
- Strawberry Dream Dessert
- Strawberry Icebox Cake
- Strawberry Lasagna
- Strawberry Bundt Cake
- Strawberry Pie
I found this original cake recipe in my favorite cookbook of all time, the Good Housekeeping Illustrated Cookbook. I have changed it slightly by adding whipped cream to the inner layer and making a couple of other tweaks. If I could only keep one cookbook from my collection, it would be this one.
I love to bake and cook and share my kitchen experience with all of you! Remembering to come back each day can be tough, that’s why I offer a convenient newsletter every time a new recipe posts. Simply subscribe and start receiving your free daily recipes!
More recipes to try
Eight more recipes from the kitchen.
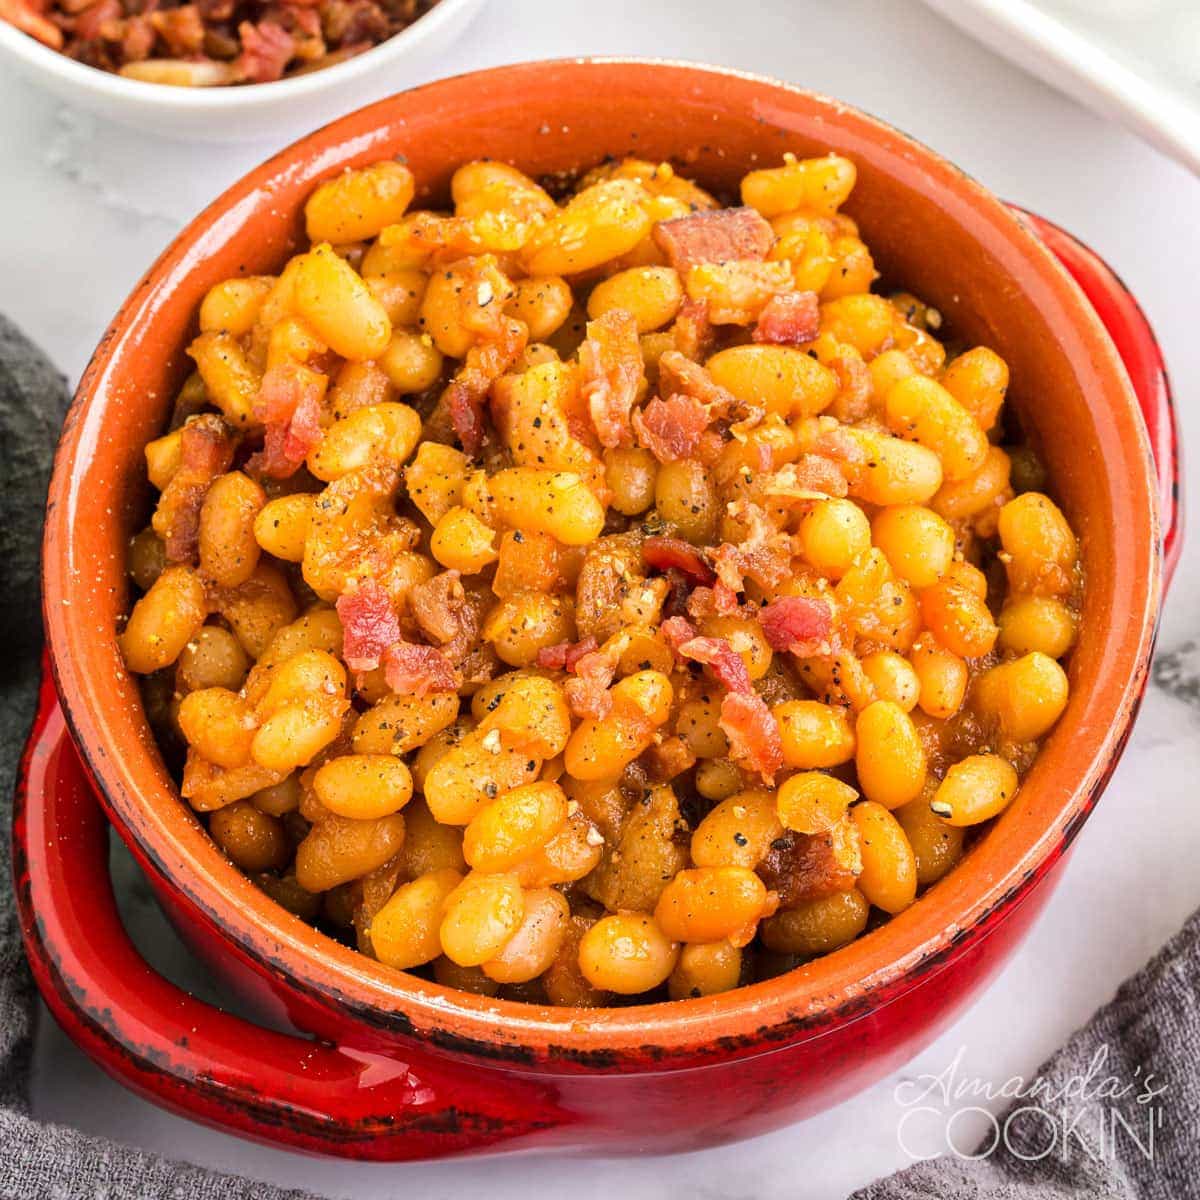
Homemade Baked Beans
These homemade baked beans are made from scratch in a delicious tangy…
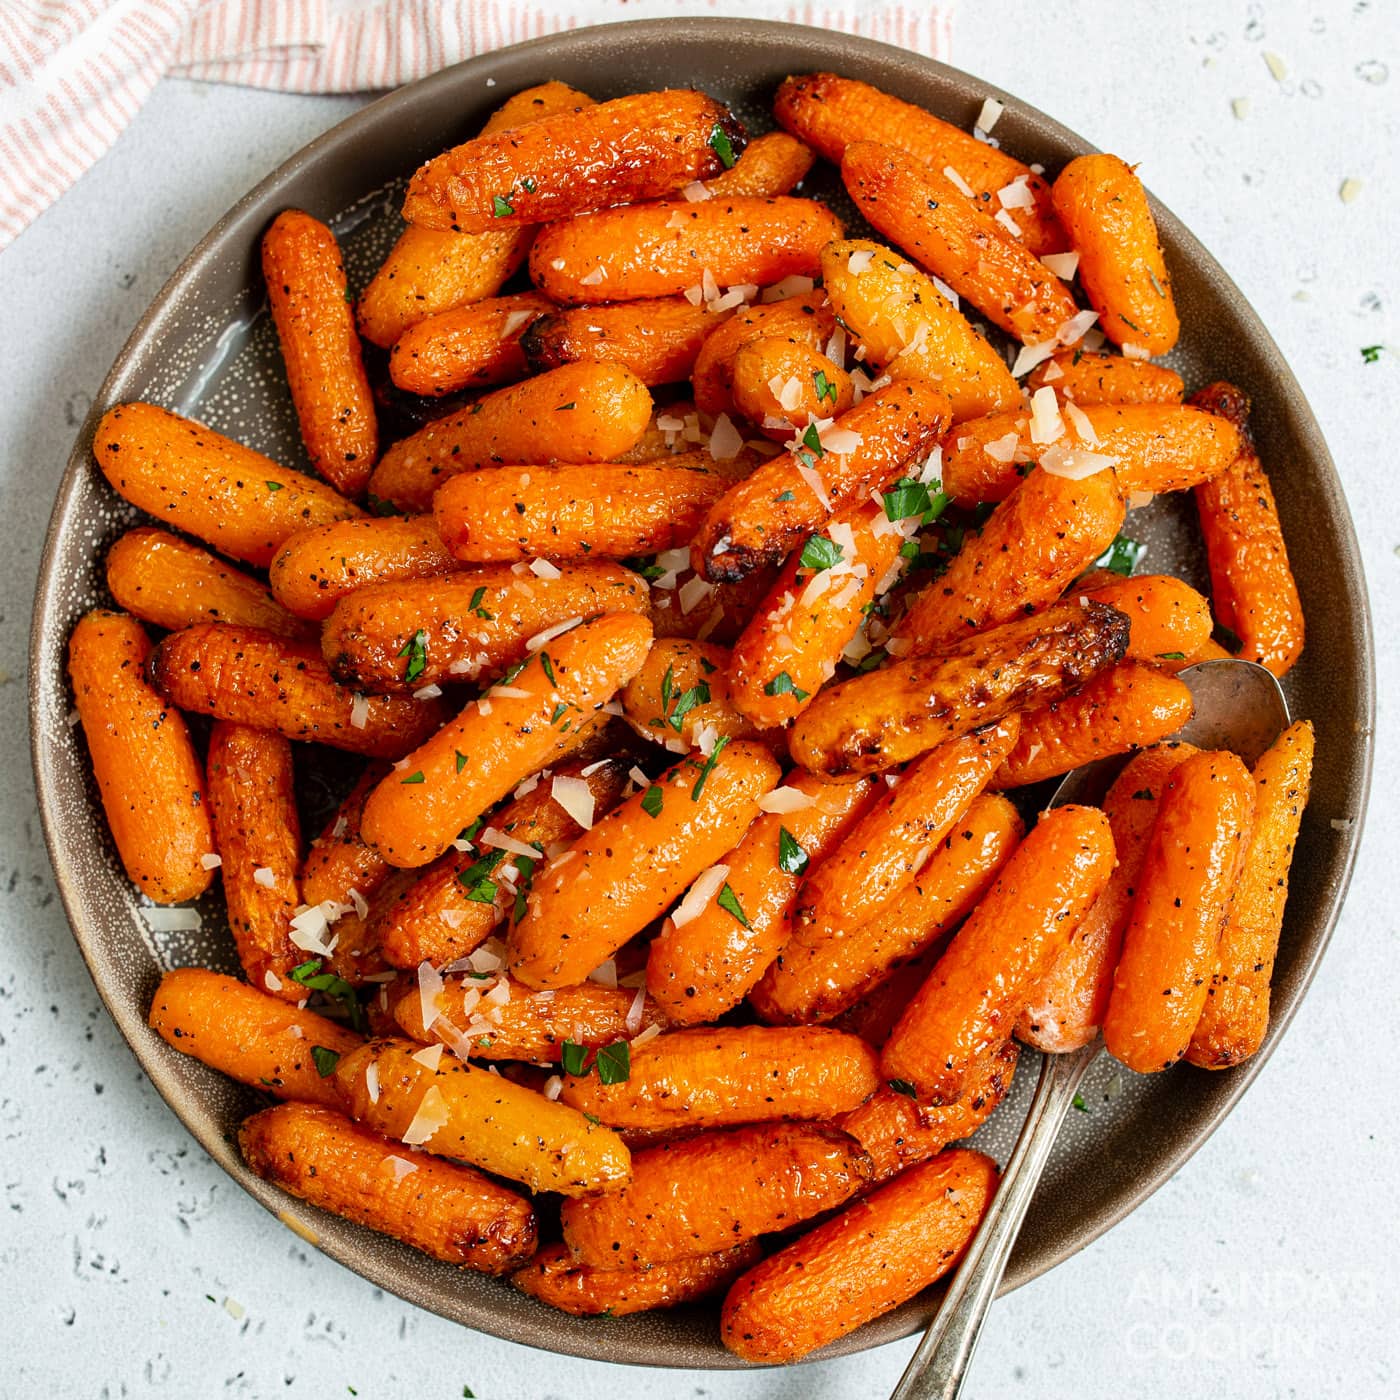
Air Fryer Carrots
Making air fryer carrots is really easy and they are done in less time…
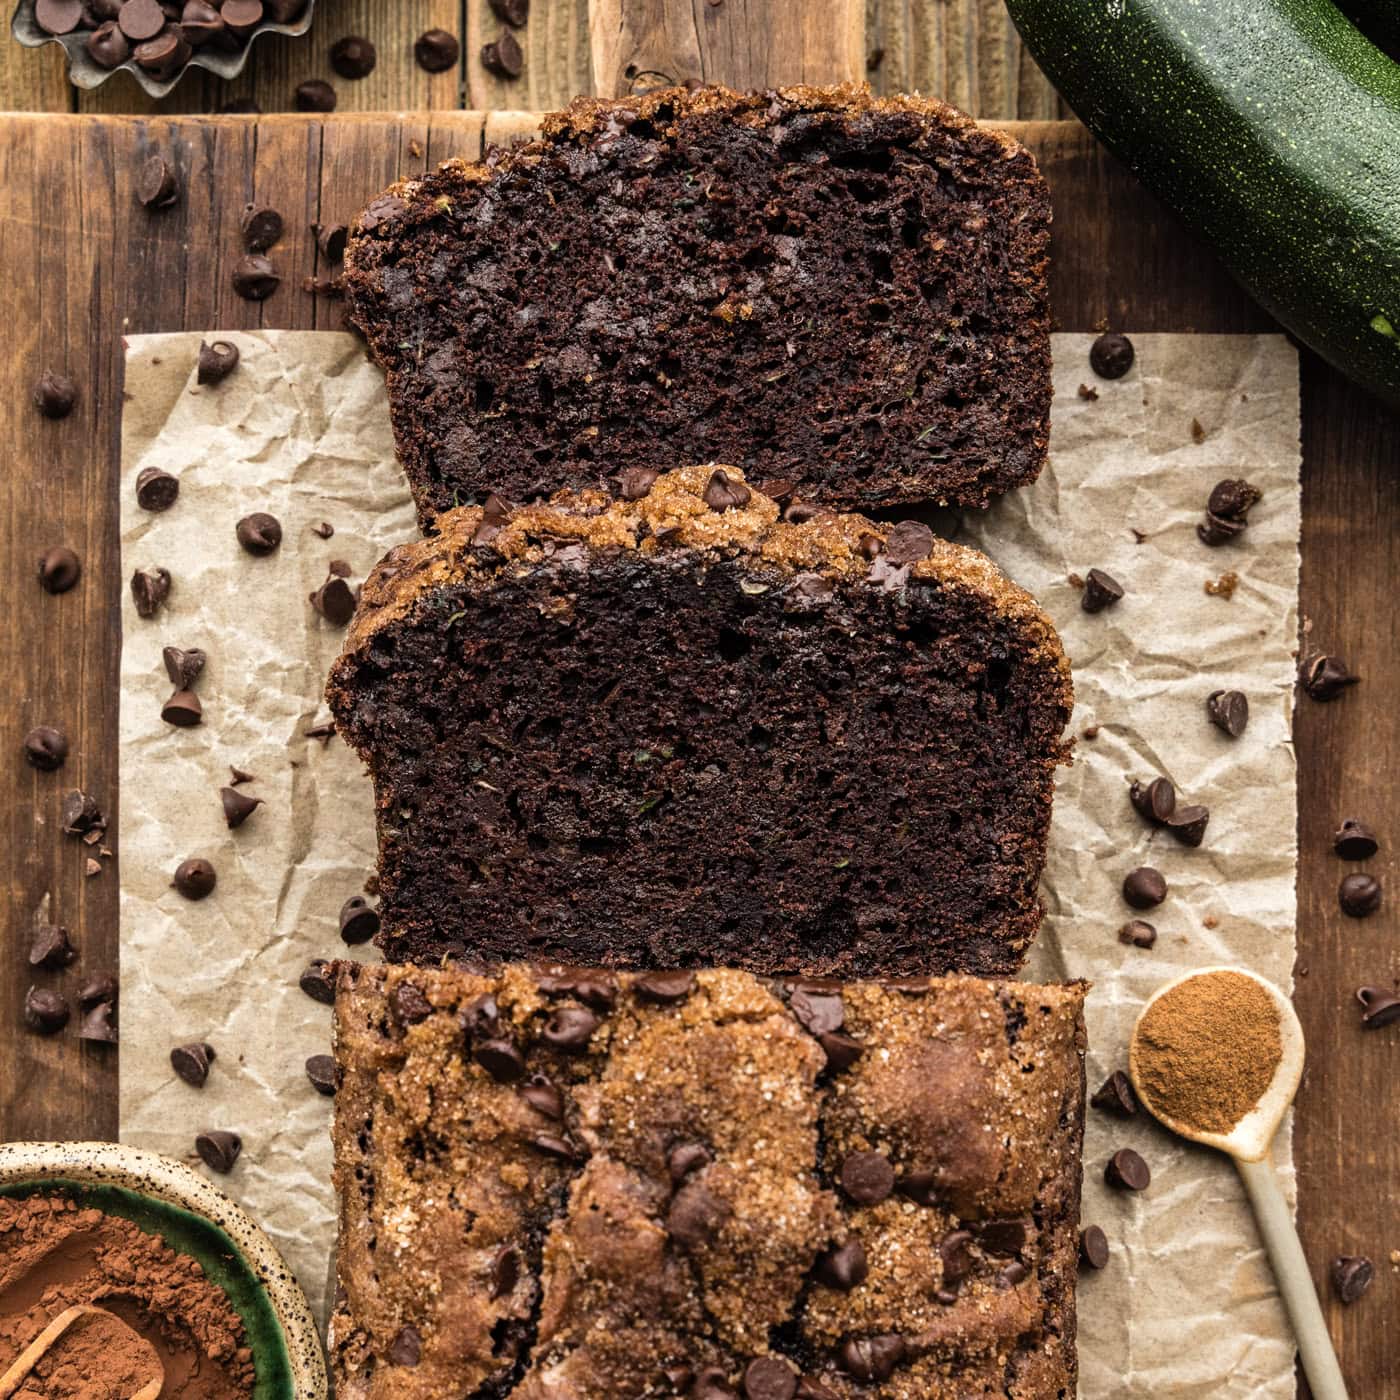
The Best Double Chocolate Zucchini Bread
Rich, fudgy double chocolate zucchini bread with a secret ingredient…

Aperol Spritz
A bubbly Aperol spritz recipe bursting with refreshing bittersweet…
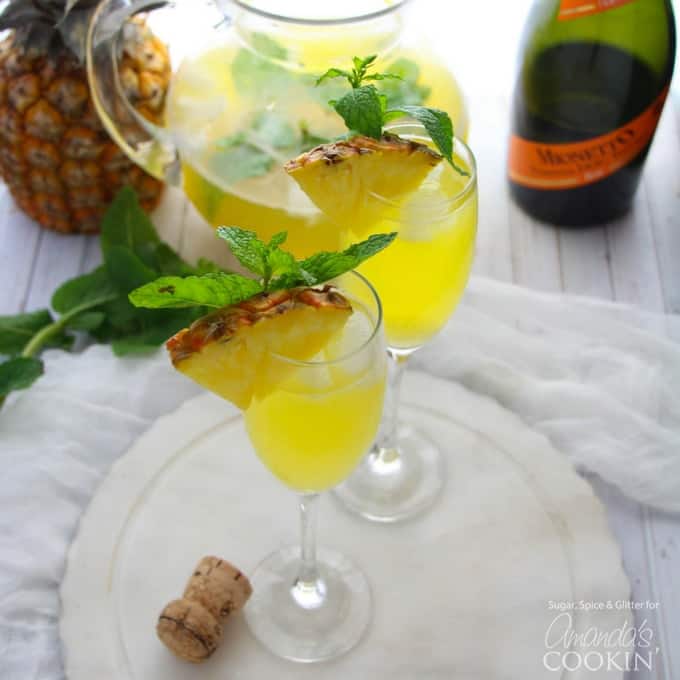
Pineapple Prosecco Punch
Mimosas and Bellinis have long reigned supreme over brunch, but all of…
Lemon Blueberry Icebox Cake
PiIlowy layers of lemon pudding, blueberry pie filling, and soft…
3-Ingredient Apple Pie Cupcakes
These sweet little apple pie cupcakes are made with 3 ingredients…
Homemade Mocha Frappucinos
If you like Starbucks blended drinks, you will love this homemade…