One Hour Bread
This easy one hour bread recipe requires no proofing with beautiful golden brown results. It truly only takes 60 minutes from start to finish!
- Total 1 hour
- Serves 18 servings (2 loaves total)
- Breads
- American
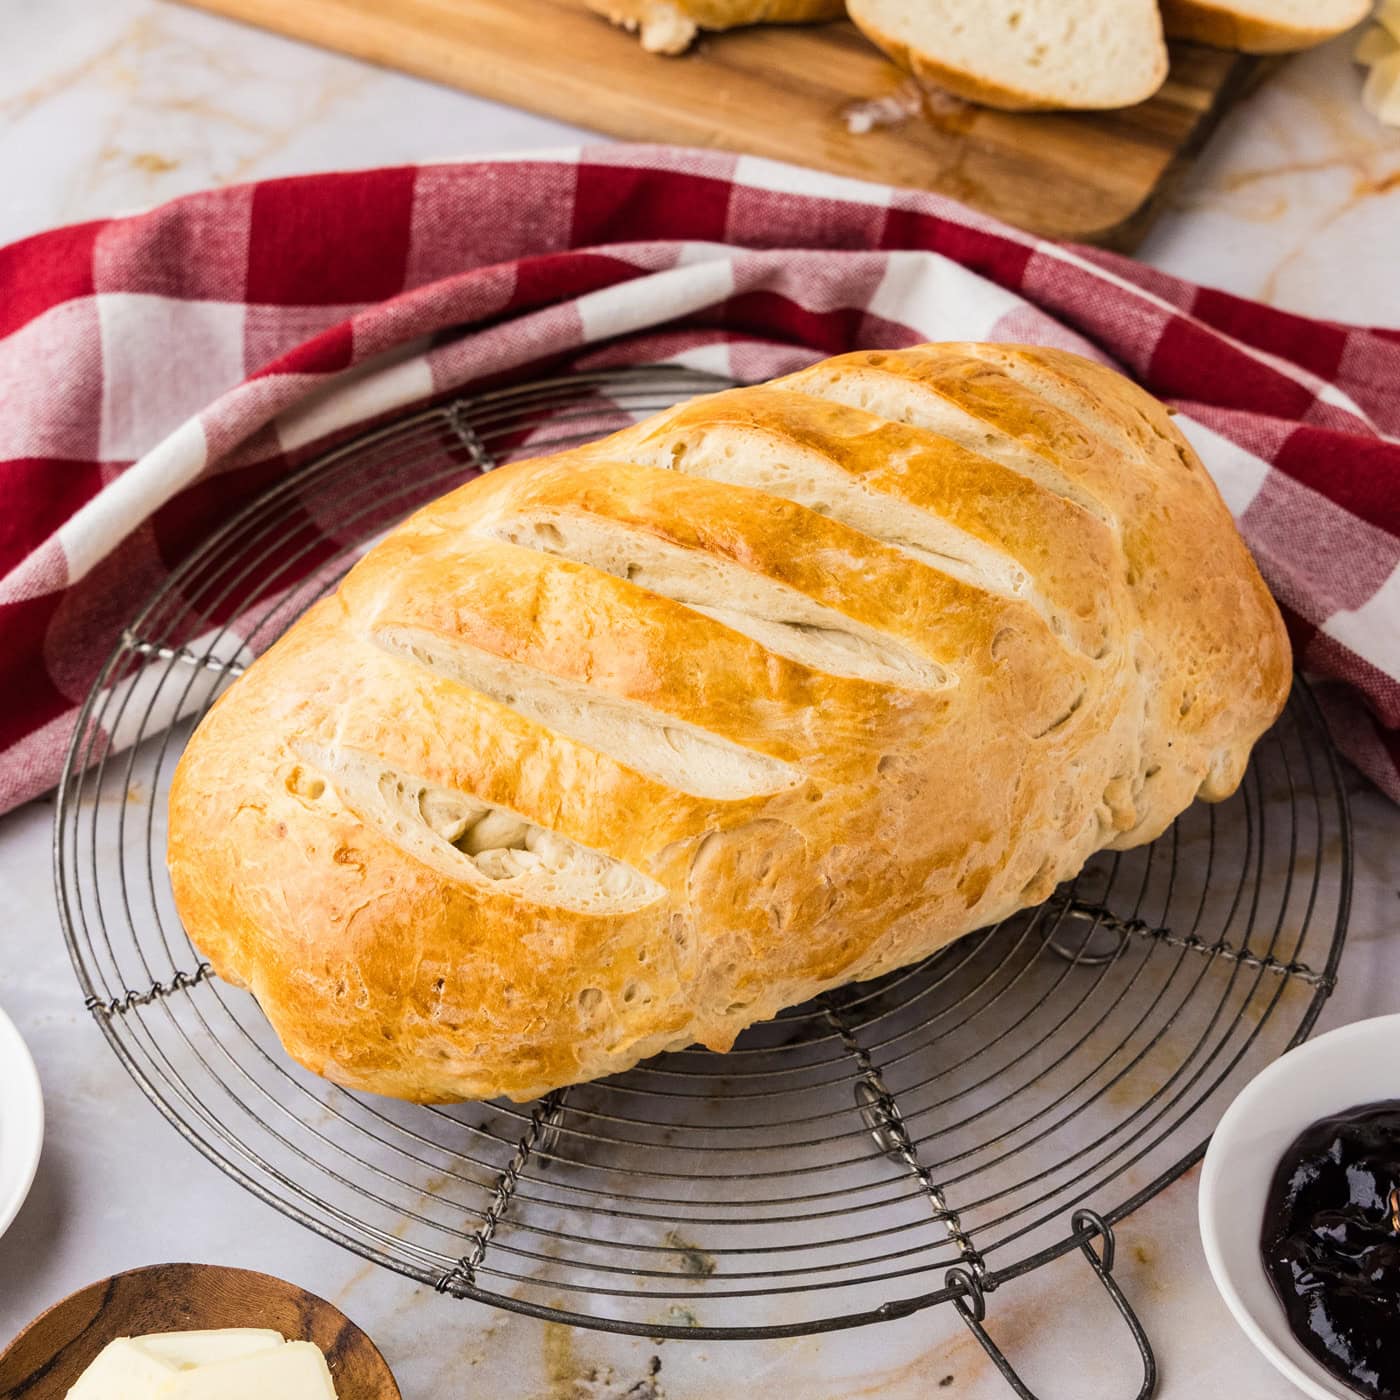
This easy one hour bread recipe requires no proofing with beautiful golden brown results. It truly only takes 60 minutes from start to finish!
 more
more
Why this recipe works
Making homemade bread seems daunting, especially if you’ve never tried it before. Kneading, multiple rises, perfect measurements, the list of do’s and don’ts can be a bit overwhelming. This one hour bread recipe is excellent for both beginners and the experienced, as it quite literally only takes 60 minutes to make, from start to finish.
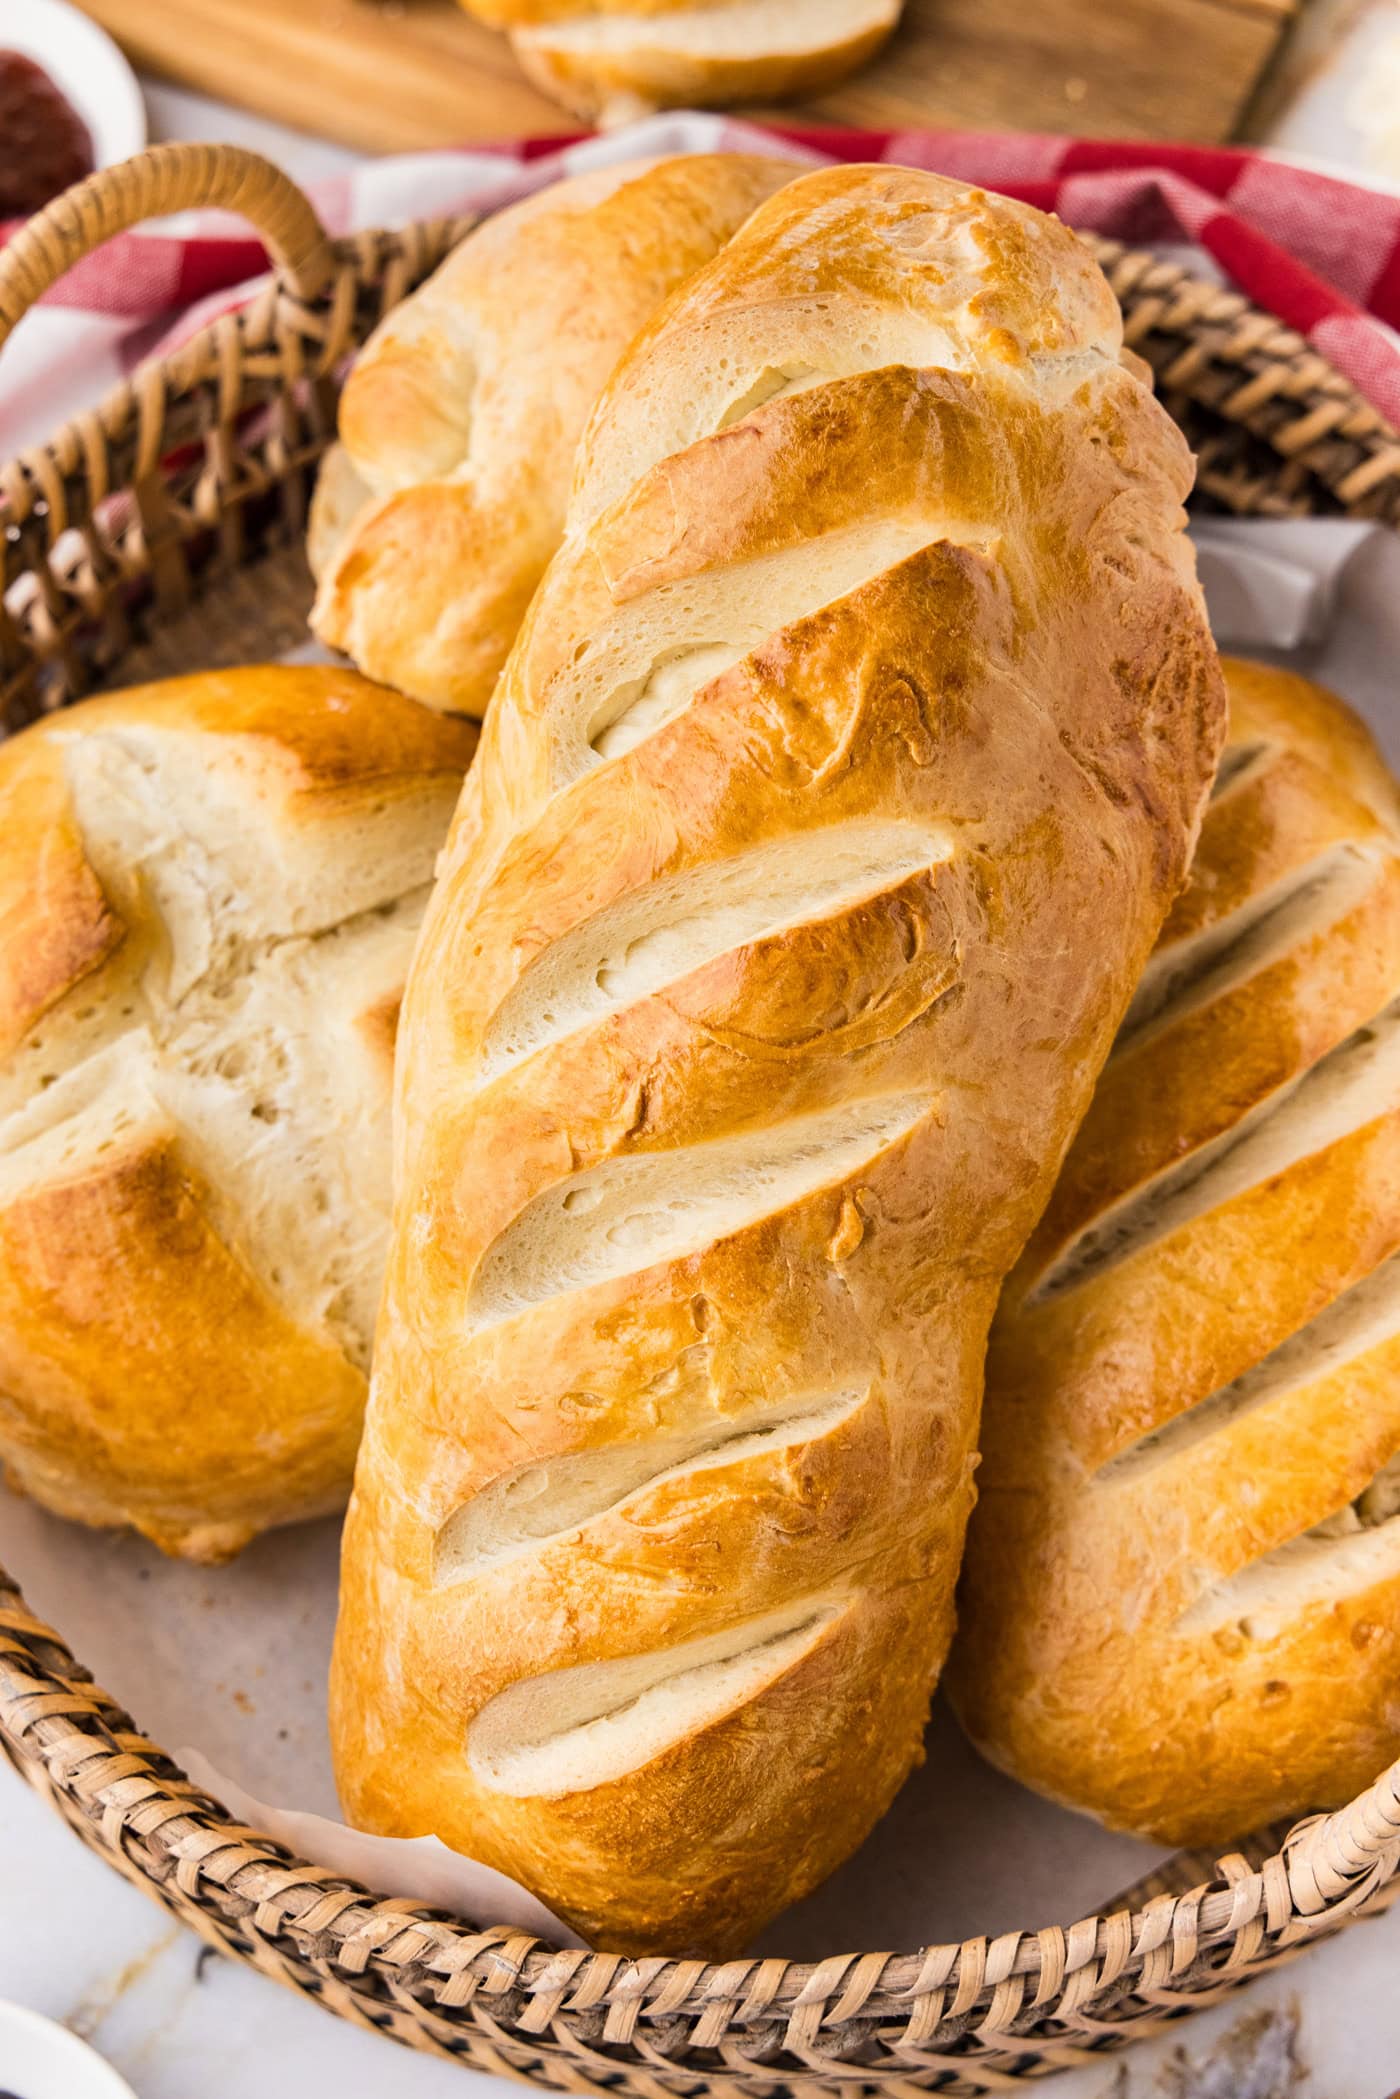
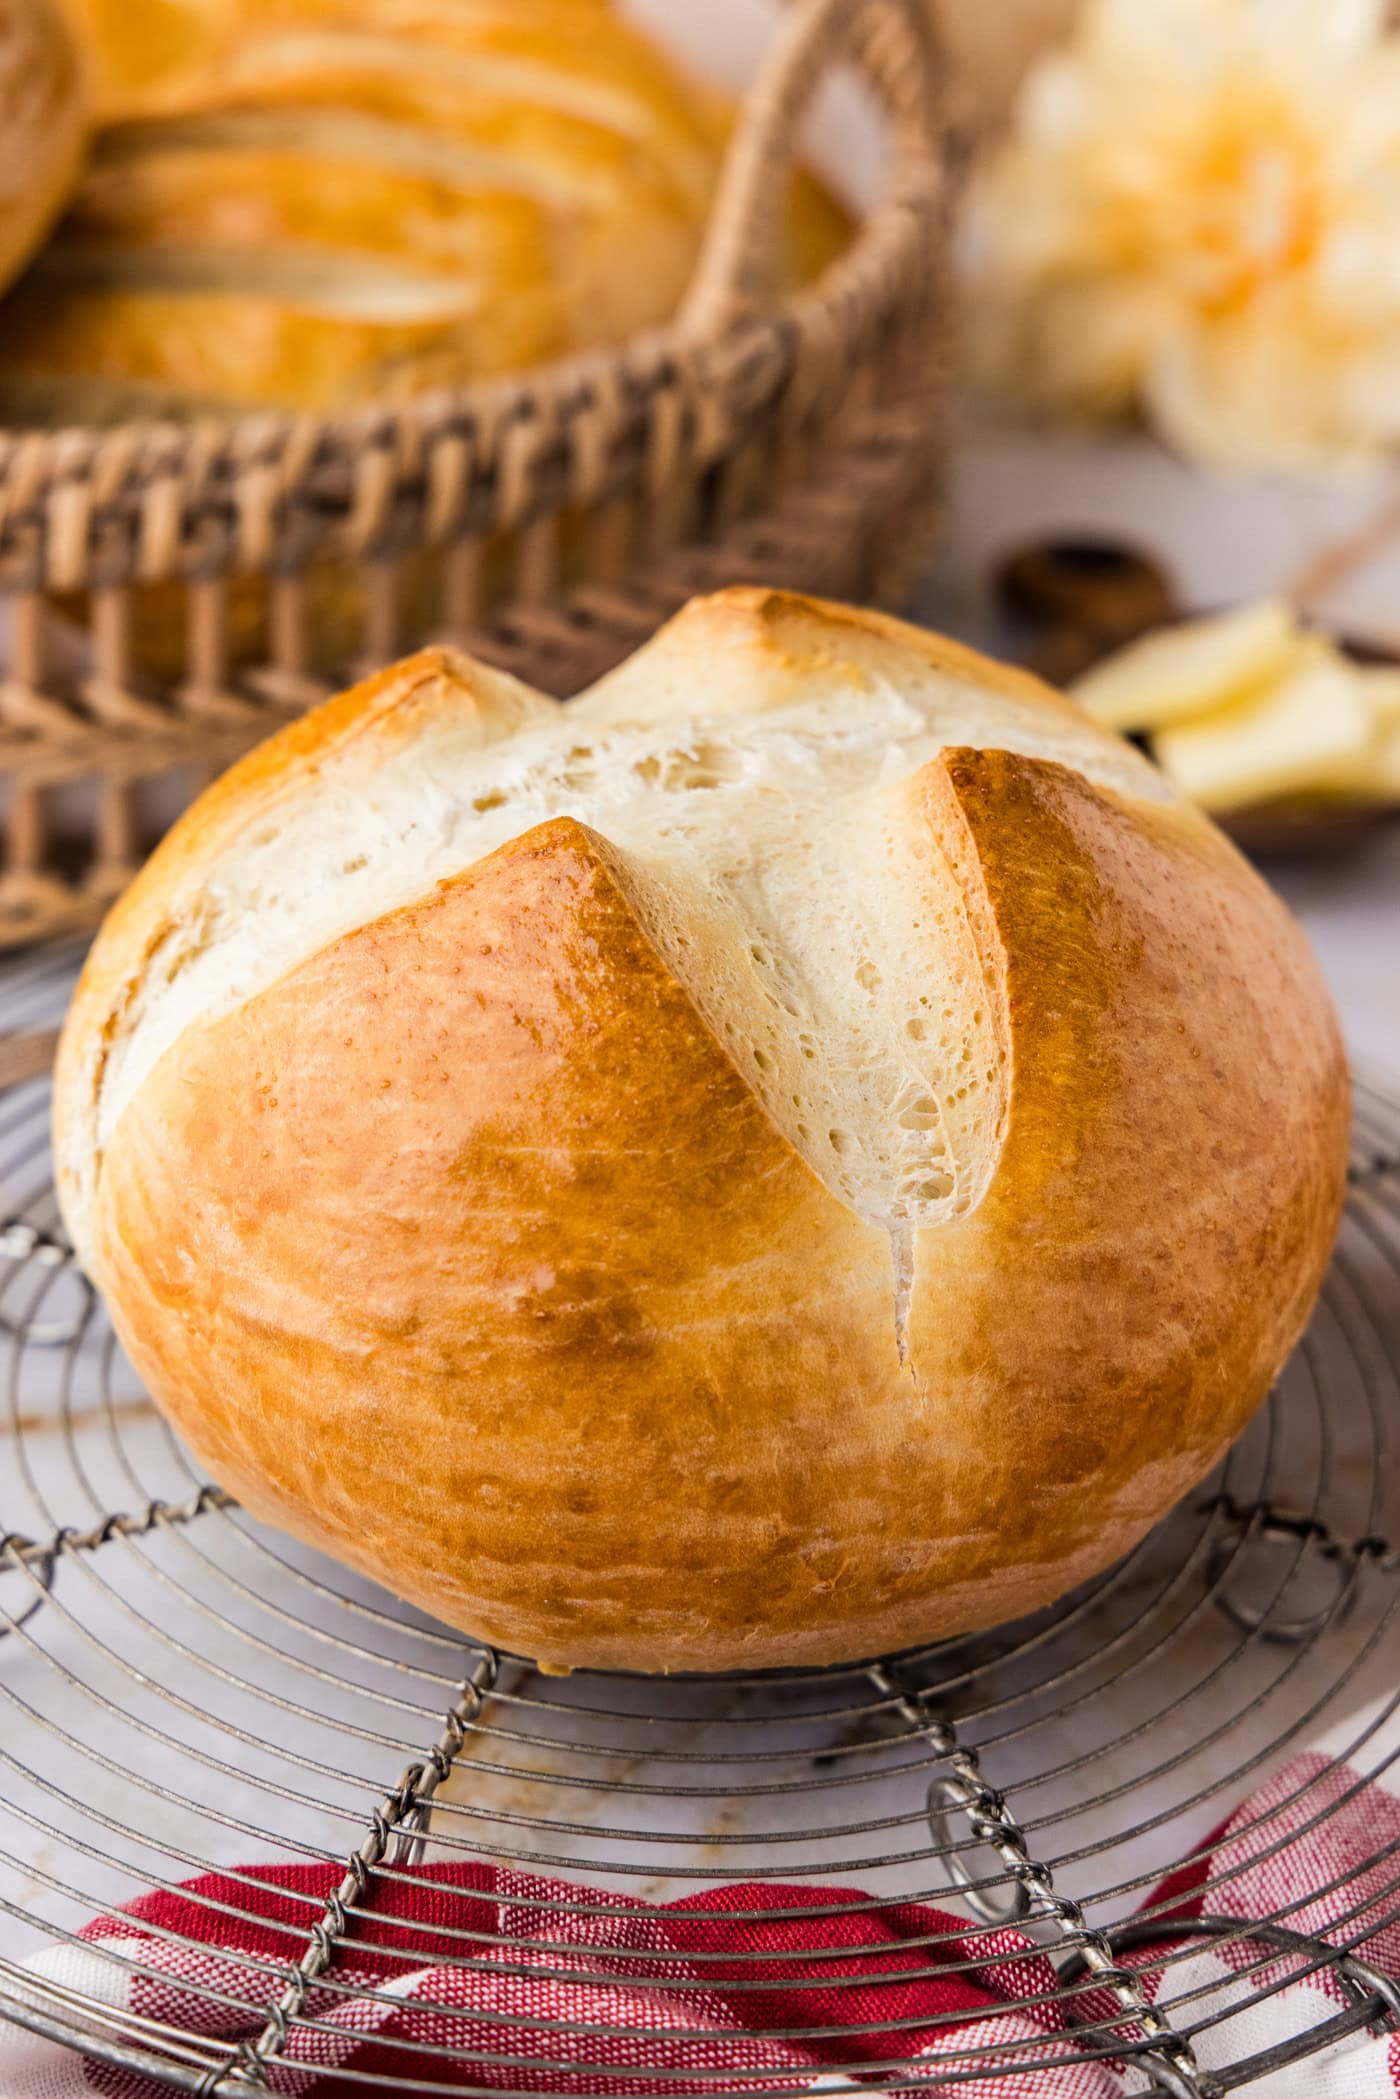
That means no proofing here, and only a quick 25 minute rise. We love to see it. This recipe yields two beautiful golden brown loaves that taste just as divine as the aroma seeping out of the oven. You can shape them into a regular loaf or a circular loaf. Then, use any leftovers to make homemade croutons. It’s the recipe that keeps on giving.
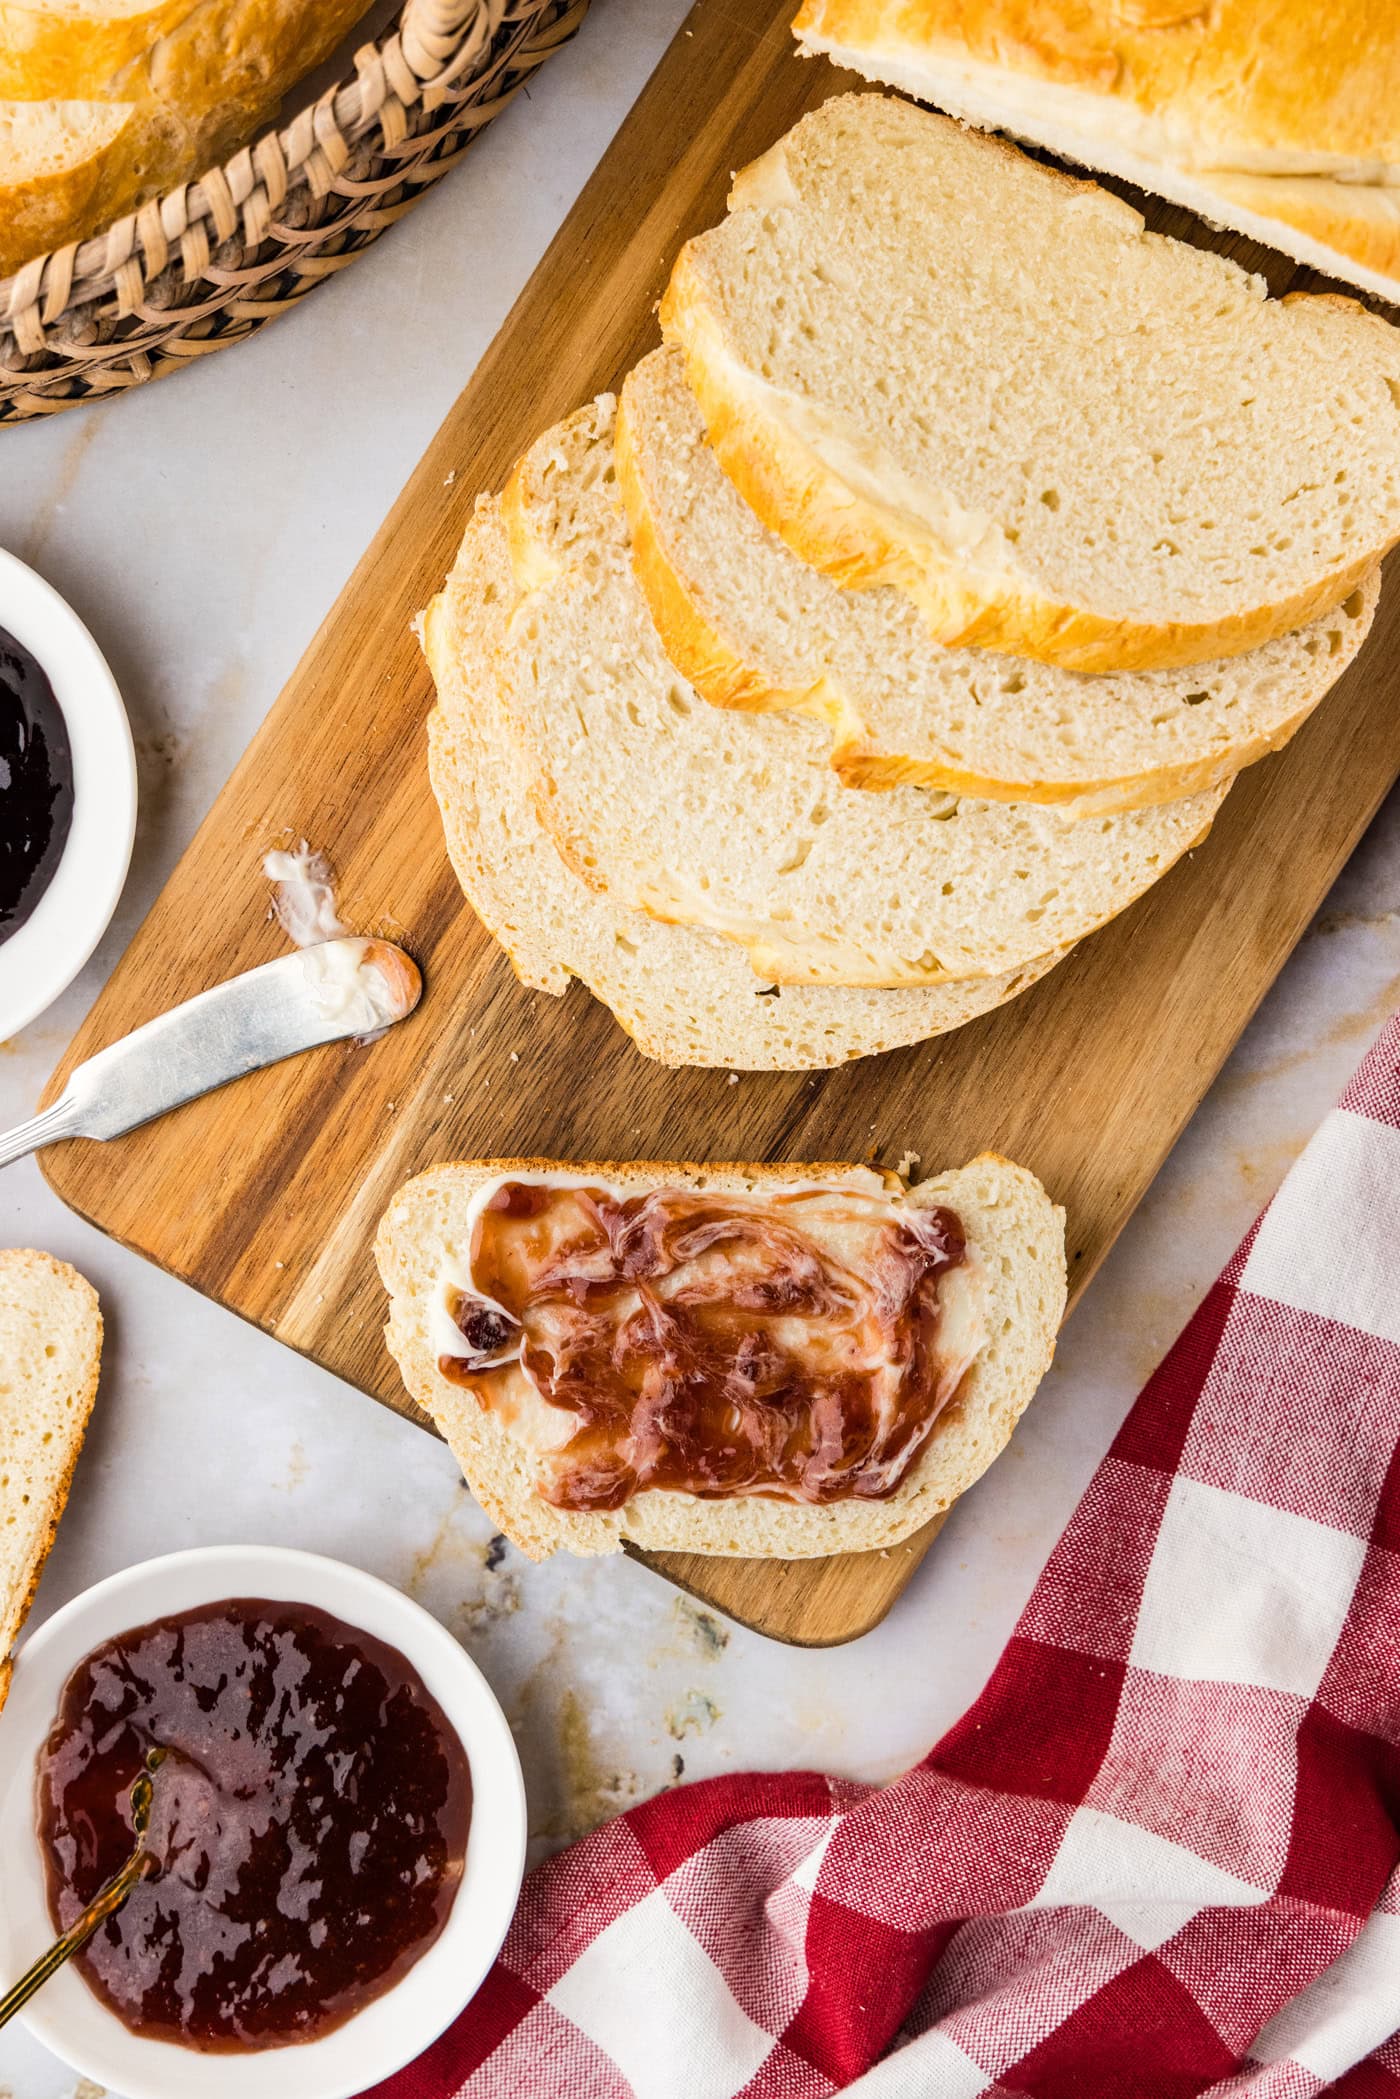
Ingredients you will need
Get all measurements, ingredients, and instructions in the printable version at the end of this post.
Ingredient Info and Substitution Suggestions
FLOUR – You can use all purpose flour if you don’t have bread flour. Bread flour will provide more chew, and you’ll get a better rise, but all purpose will definitely do the job.
YEAST – You’ll want to use a rapid yeast, or instant yeast. Though the two aren’t necessarily the same in every aspect, it is totally fine to use either at a 1:1 ratio here. Rapid yeast is designed to work extra fast, which is ideal for this one hour bread recipe. It’s meant to be mixed directly into your dry ingredients, skipping the proofing process (the same will go for instant yeast). In fact, proofing it can weaken rapid yeast. I have made this bread using both instant yeast and rapid yeast, and they each came out great.
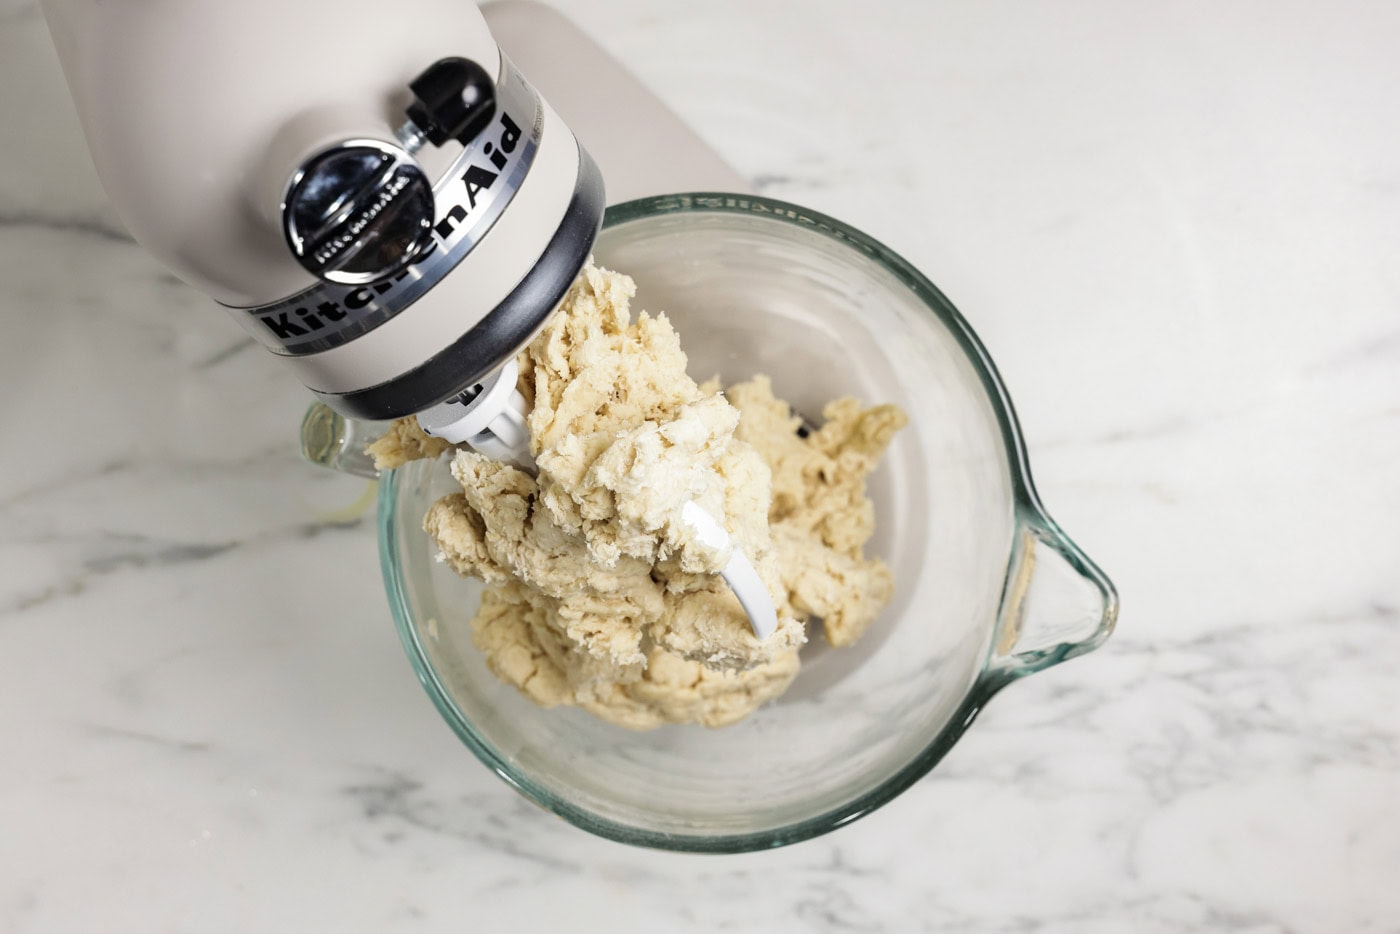
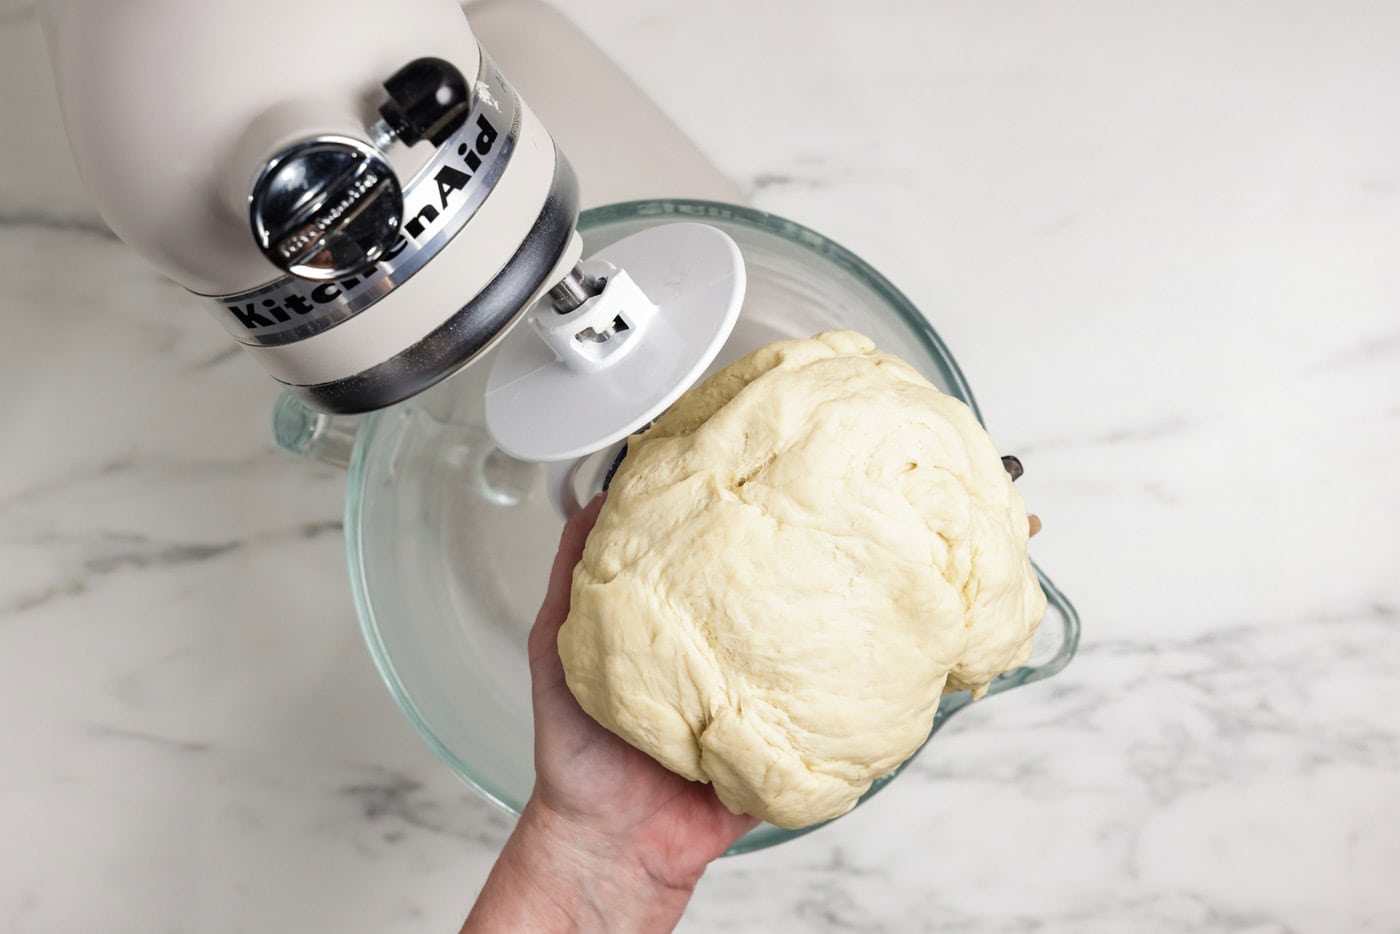
DOUGH – This is a stiff dough. So, don’t be concerned if the dough balls up in the mixer and you find you have to push it back down during the dough hook step. If you are concerned about your mixer not being able to handle this dough, you can most certainly knead it by hand.
EGG WASH – We use an egg wash so we can have a nice brown, glossy finish. This step is totally optional.
How to Make One Hour Bread
These step by step photos and instructions are here to help you visualize how to make this recipe. You can Jump to Recipe to get the printable version of this recipe, complete with measurements and instructions at the bottom.
- Stir together dry ingredients in the bowl of your stand mixer. Add oil and water and mix for 1 minute with the paddle attachment. Check the consistency of the dough. The dough should be a little sticky and stiff, but not so sticky that it has to be peeled from your fingers.
- Change the mixer to the dough hook. Mix for 5 minutes on low, occasionally stopping to push the dough back down below the dough hook if needed.
- Spray baking sheets with cooking spray and set aside.
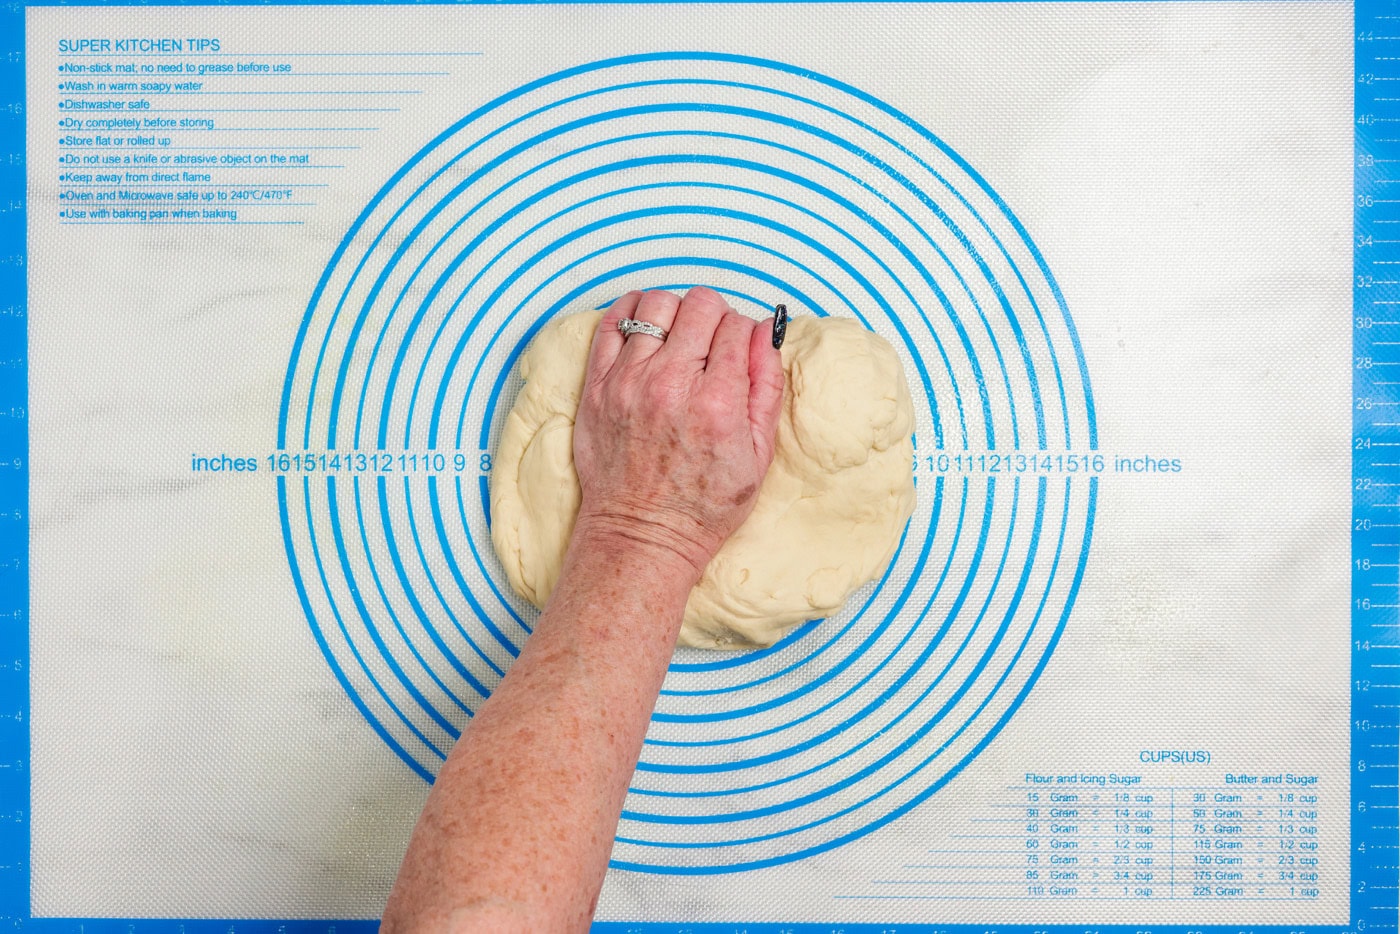
- Spray kneading surface with cooking spray and turn dough out onto the surface. Knead dough briefly until it has a smooth even consistency (this will only take several turns of the dough to accomplish).
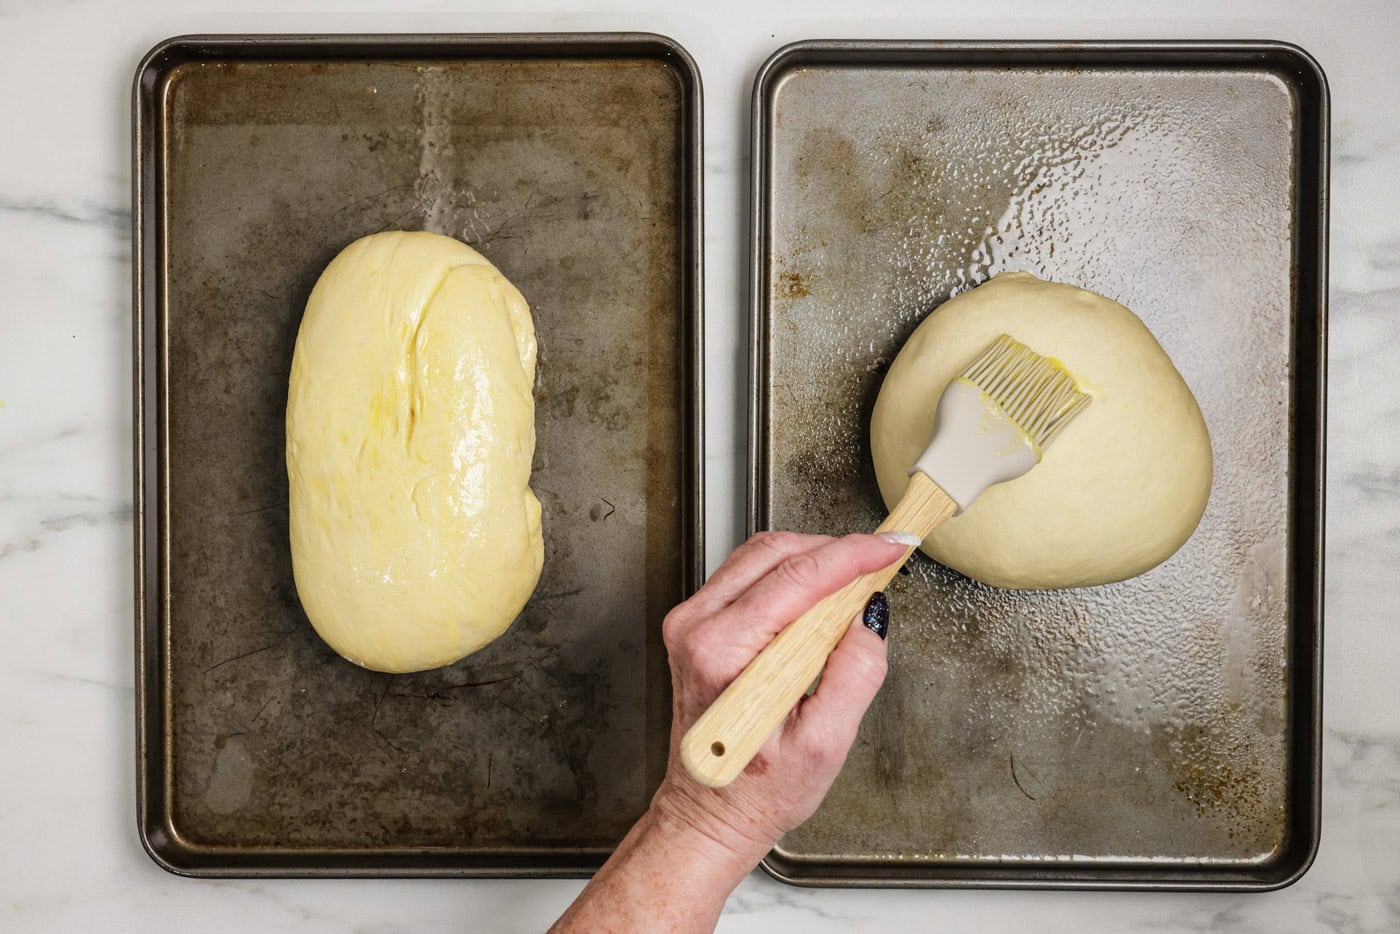
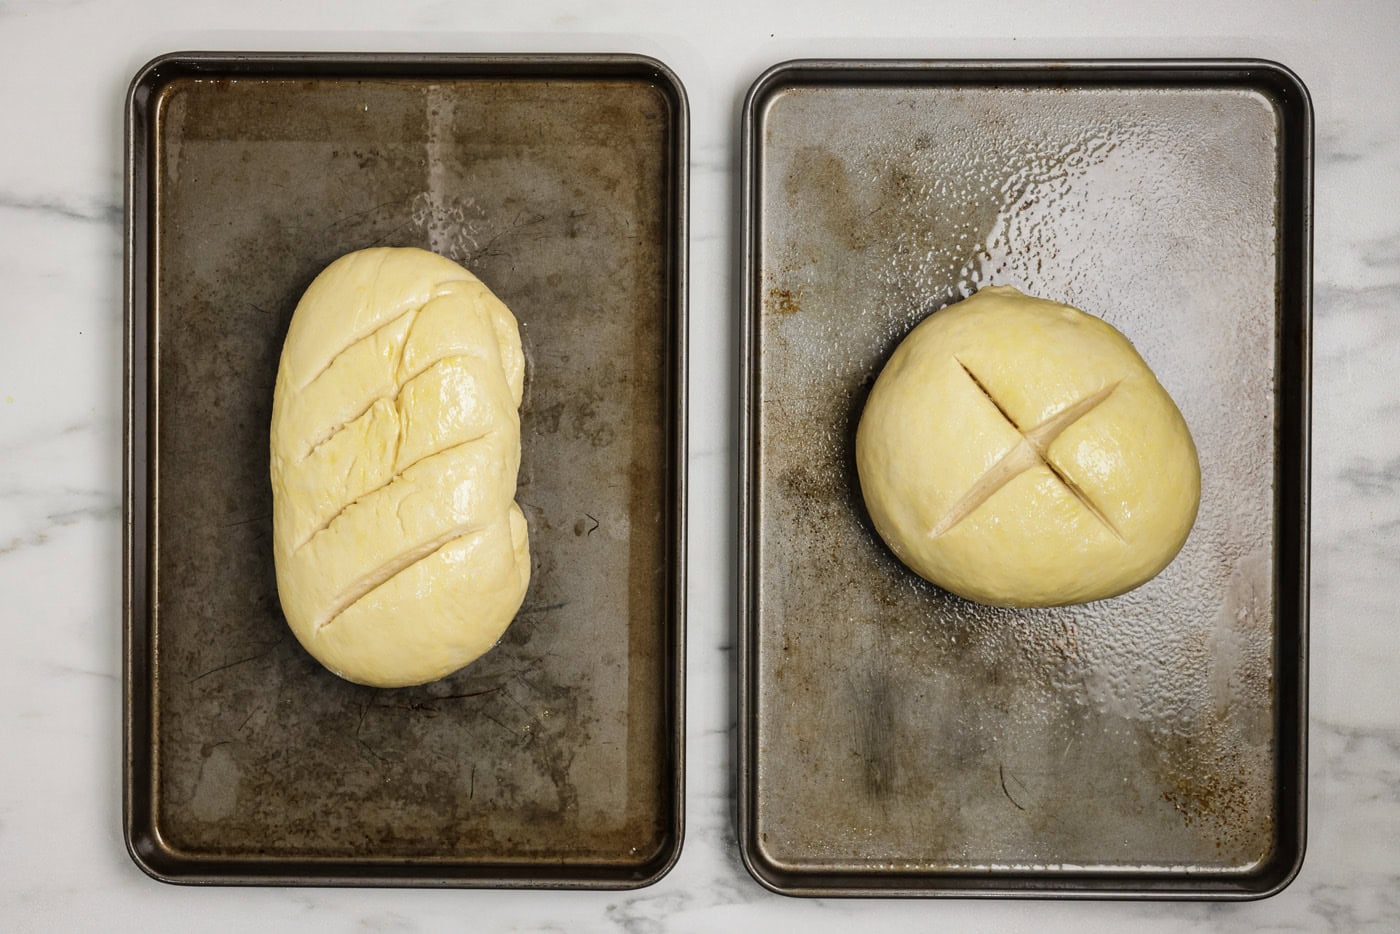
- Divide dough into 2 pieces and form loaves into desired shapes. Place loaves onto prepared baking sheets. I bake one loaf per sheet as they will rise a little more while baking. Cover with a large dish towel and let rise for 25 minutes.
- While loaves are rising, preheat oven to 350 F.
- When loaves have finished rising, whisk egg in a small bowl. Gently brush each loaf top with egg.
- Use a sharp knife (you can lightly spray your knife with cooking spray to prevent dragging) to make several slashes in the top. Make each cut about 1/4-inch deep at a 30 degree angle. Bake loaves for 25 minutes, or until they are golden brown.
- Move loaves to a wire rack to cool.
Frequently Asked Questions & Expert Tips
Why do you have to make slits in bread dough?Slits in bread dough, known as scoring, help control how the loaf expands in the oven. They give rising gases a planned escape route, preventing the bread from bursting unpredictably. Scoring also influences the final crust and crumb structure while helping the bread bake more evenly. Score your bread just before baking, using a sharp knife.
How do you store leftover homemade bread?Store bread with the cut side down inside a bread box or paper bag covered with a plastic bag. Storing bread in a paper bag will help absorb any excess moisture. Storing the bread inside a paper bag followed by a plastic bag will prevent the bread from going stale. You can easily store this bread inside a large ziptop bag as well, squeezed of any excess air. Keep at room temperature for up to 5 days.
Can you freeze it?Yes, absolutely! Wrap your fully cooled loaf (or loaves) in foil, then place it inside a large zip-top bag, squeezing as much air out as possible. Freeze for up to 3 months. You can freeze whole loaves or slice them into individual portions. I’d recommend wrapping each individual slice in foil before placing it into the bag so that you can grab and go easily. To thaw, leave the whole wrapped loaf at room temperature for a couple of hours. You can toast individual slices straight from frozen if preferred, or thaw them (still wrapped) at room temp. Thawing the loaves/slices still in the foil will help prevent condensation from forming on the bread.
Serving Suggestions
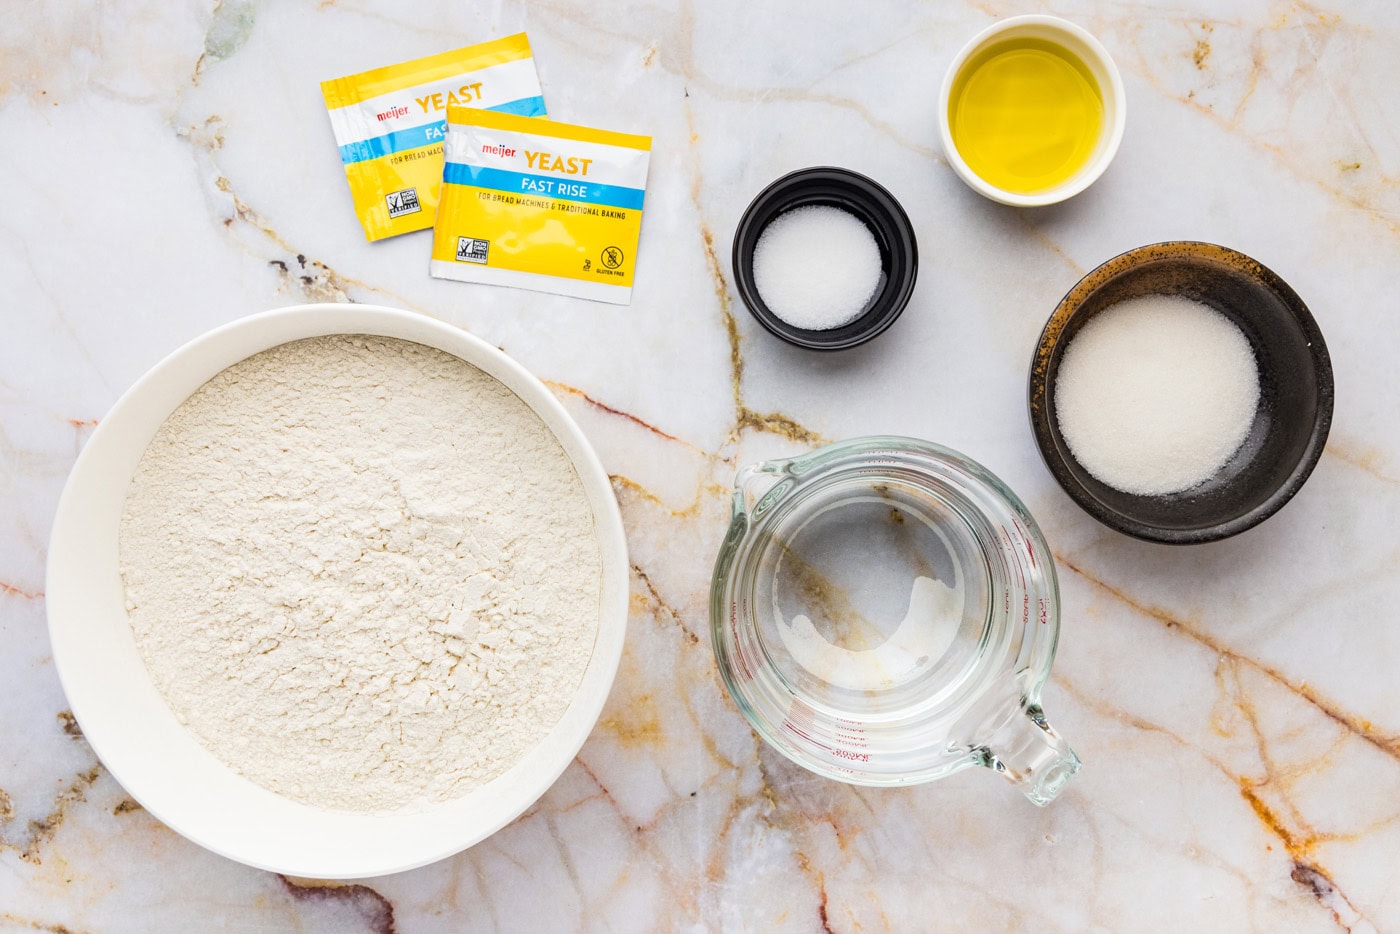
Serve your quick and easy one hour bread warm with butter or slathered with jam or jelly. It’s an excellent base for sandwiches, too! As I mentioned above, keep any leftover (or stale) bits of bread to make homemade croutons. A bread this good shouldn’t go to waste!
Everyone knows it’s much easier to buy a loaf of bread than it is to bake a loaf from scratch. My youngest daughter is used to eating store bought bread, so when she ate a slice of this homemade loaf she said “This was yummy. Can I have more later?” It’s so good and surprisingly easy, I hope you love it as much as we did!
More Homemade Bread Recipes
I love to bake and cook and share my kitchen experience with all of you! Remembering to come back each day can be tough, that’s why I offer a convenient newsletter every time a new recipe posts. Simply subscribe and start receiving your free daily recipes!
This post was originally published here on Dec 11, 2009 and has since been updated with new photos and tips.
More recipes to try
Eight more recipes from the kitchen.

Blood Orange Margaritas
A mix of blood orange soda, tequila, orange liqueur, and simple syrup…

Sheet Pan Chicken Fajitas
Turn your kitchen into a Mexican Cantina and make easy sheet pan…

Hot Toddy
A classic hot toddy begins with only 4 ingredients – water, whiskey…

Baked Spaghetti Squash
Whether you choose to serve this baked spaghetti squash as a…
Homemade Enchiladas & Sauce
We love enchiladas in this house, whether they be beef, chicken, pork…

Frosted Sugar Cookie Bars
These frosted sugar cookie bars would be perfect for Valentine’s Day…

Stained Glass Cookies
Do you remember making stained glass cookies with your mom or grandma?…

Slow Cooker Hungarian Goulash & Noodles
Growing up, goulash was not a meal that was served in my home, let…