Rosemary Garlic Bread
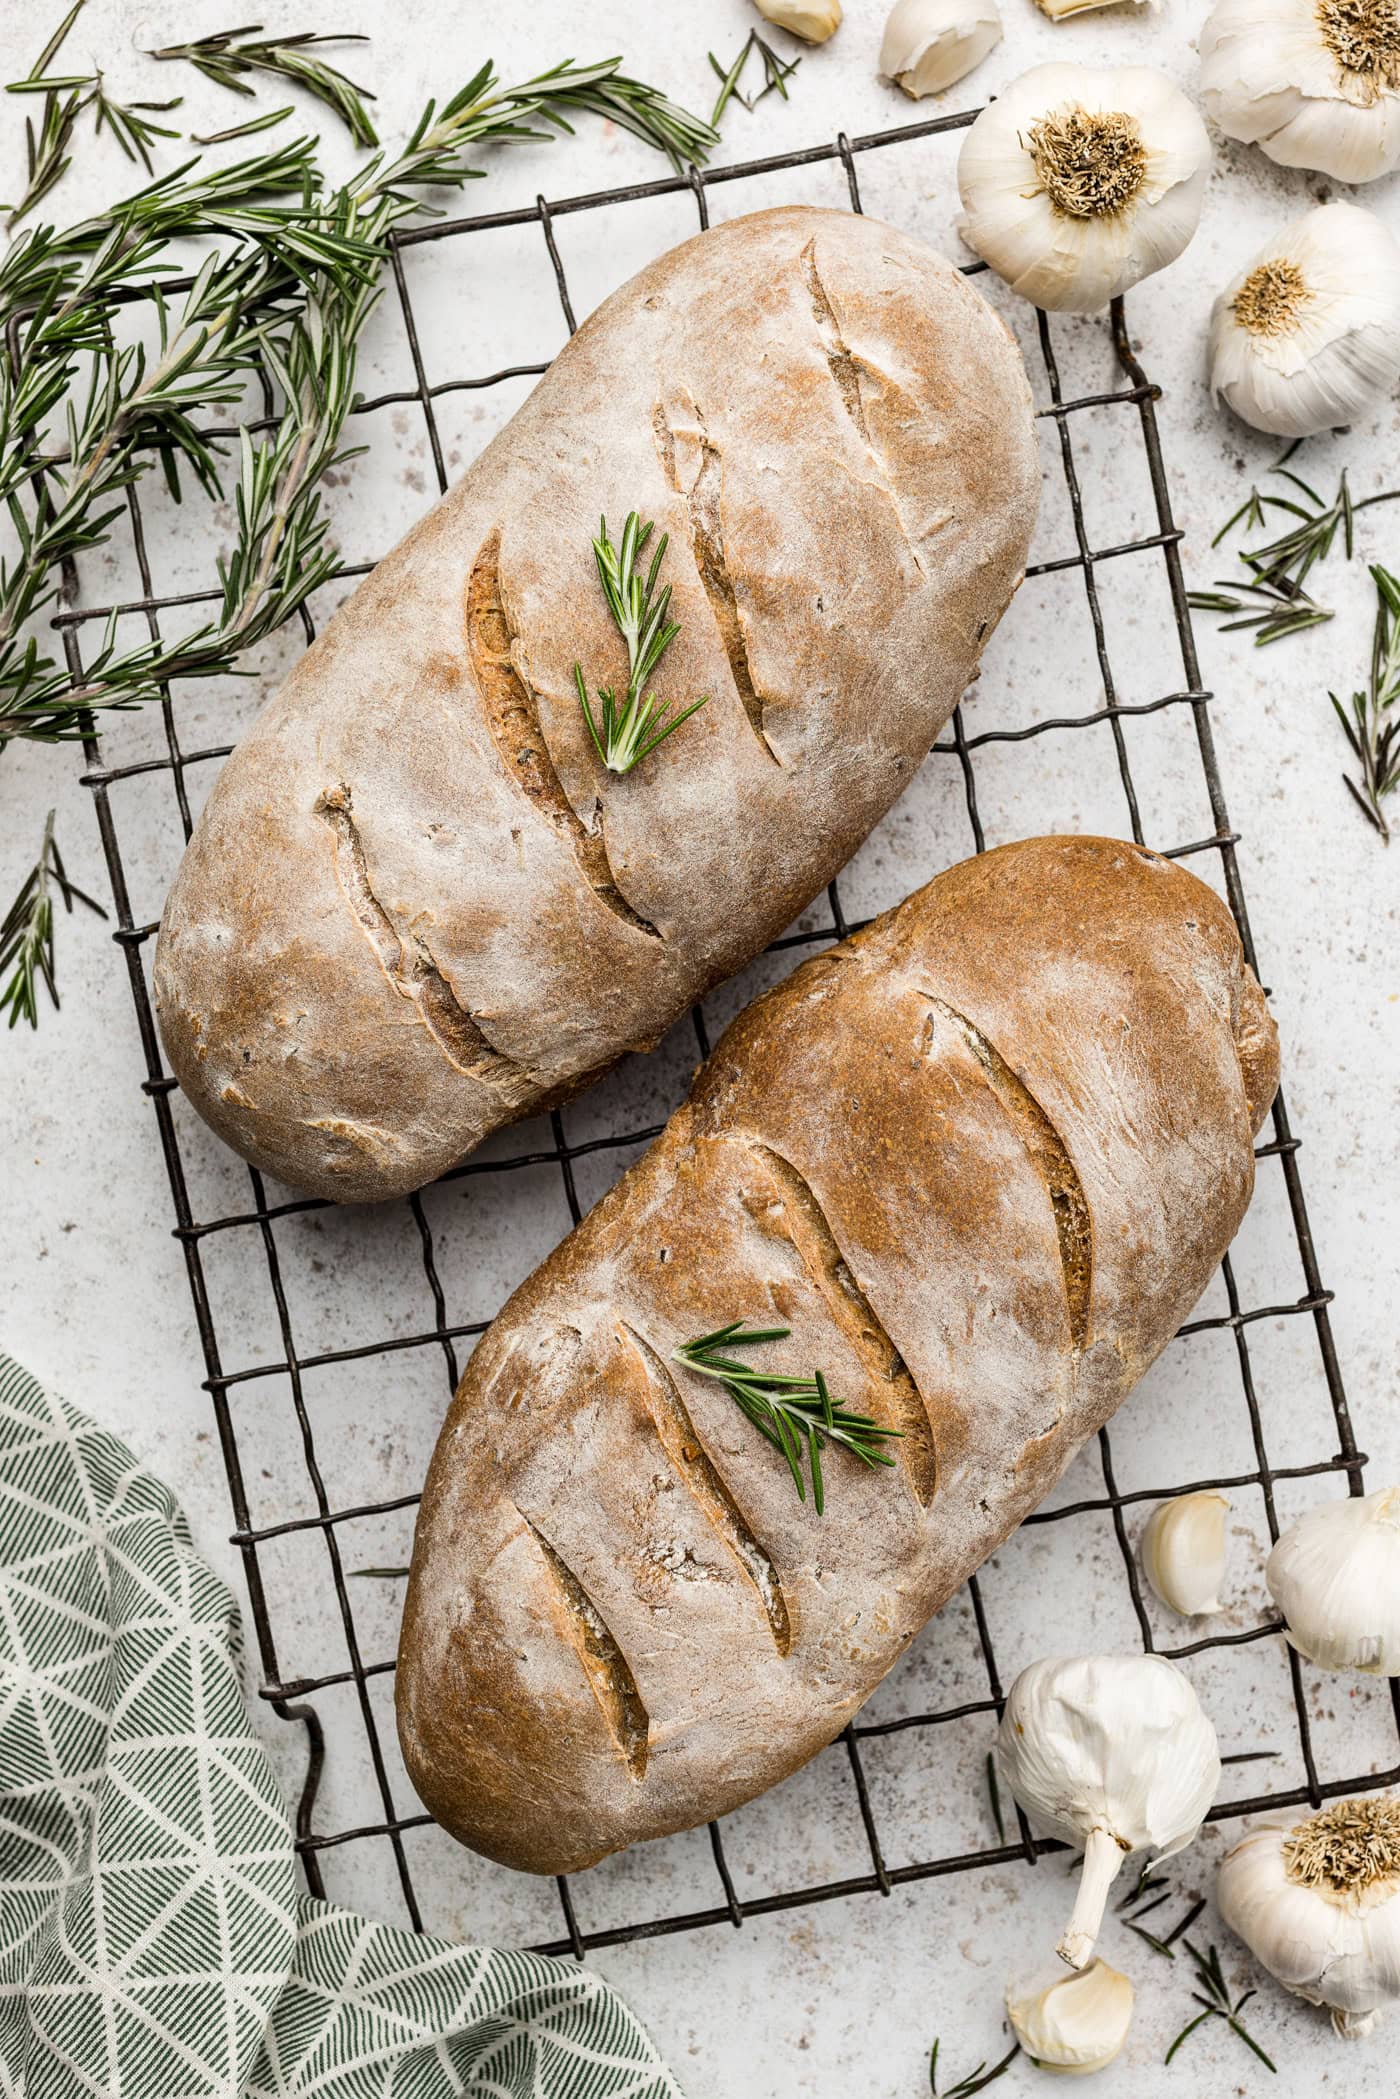
This rosemary garlic bread recipe is beaming with rustic charm from the flour-dusted crust down to the perfectly imperfect shape. Fresh herbs and garlic make it all the better.
- Total 2 hours
- Serves 20 servings (2 loaves total)
- Breads
- American
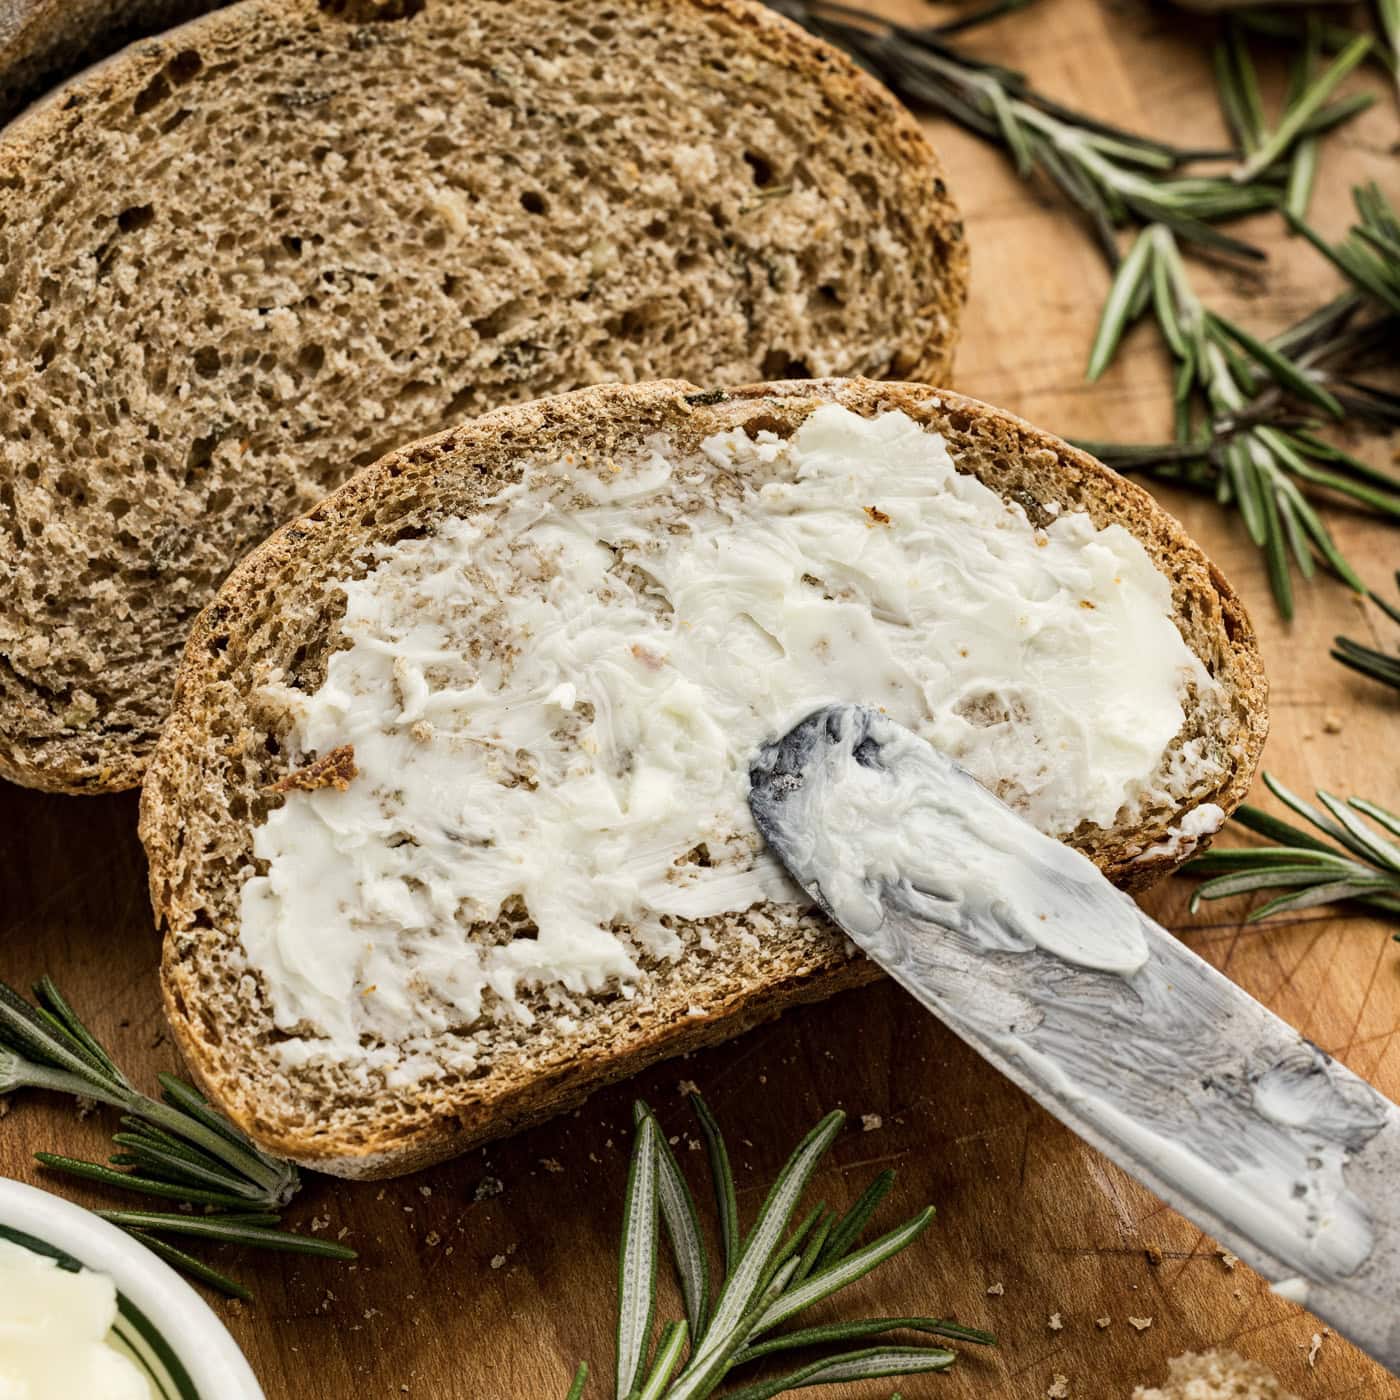
This rosemary garlic bread recipe is beaming with rustic charm from the flour-dusted crust down to the perfectly imperfect shape. Fresh herbs and garlic make it all the better.
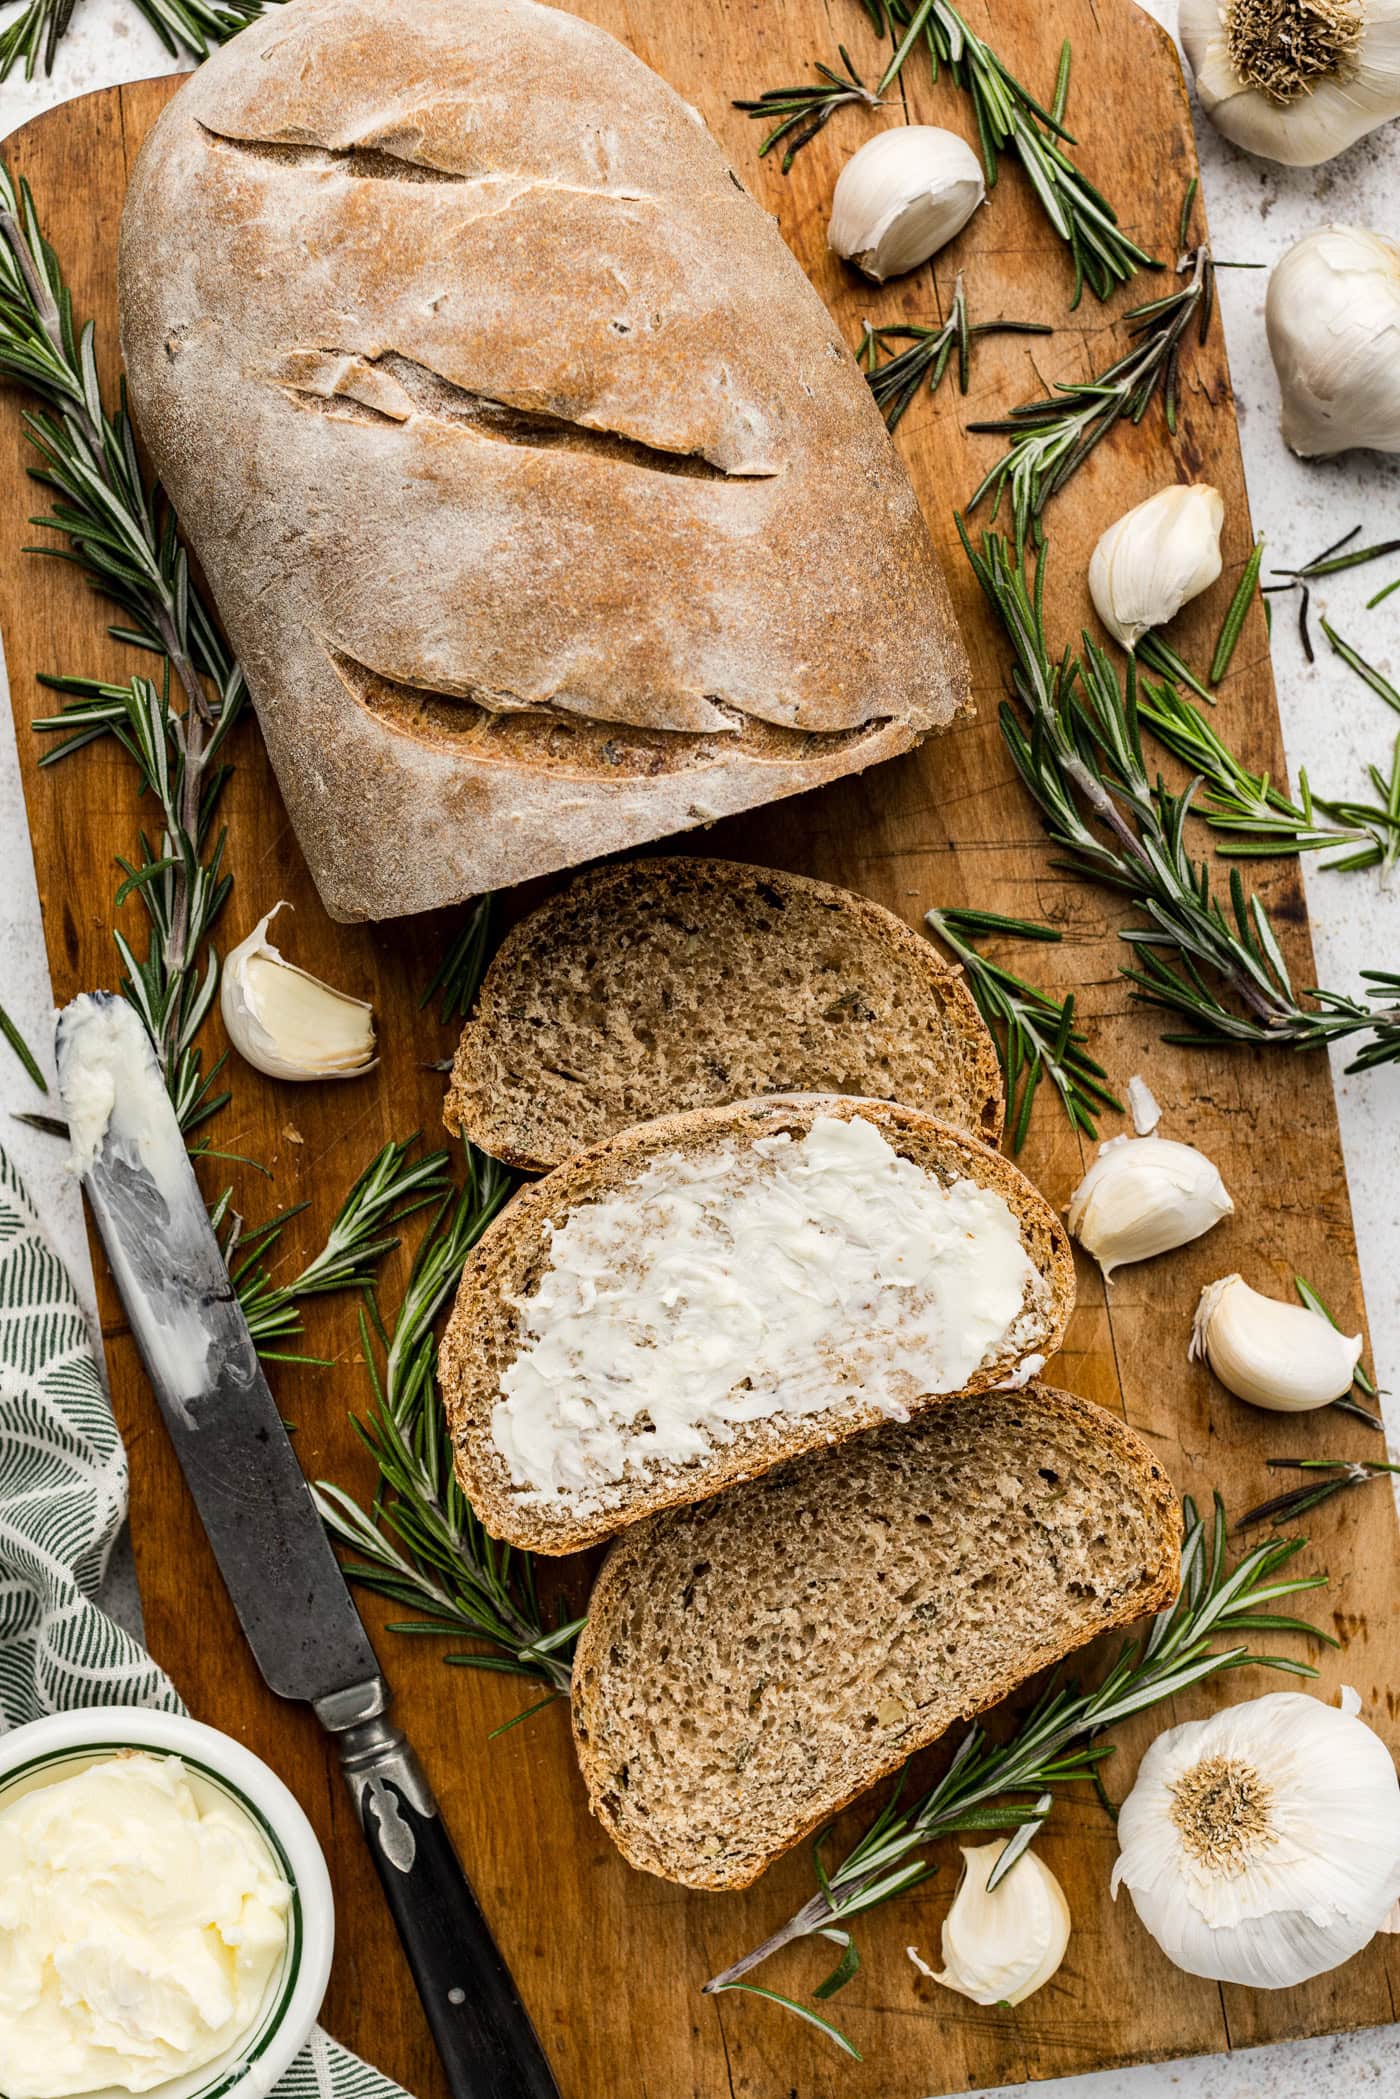 more
more
Why this recipe works
The absolute intoxicating aroma of rosemary garlic bread baking in the oven is practically otherworldly. If you couldn’t tell, a good, hearty, artisan bread is my weakness. This stunner is made in the food processor, a different method from the traditional mixer or hand-mixed variety. Plus, no matter the shape it ends up being, it will bake into a beautiful loaf with a lovely rustic crust.
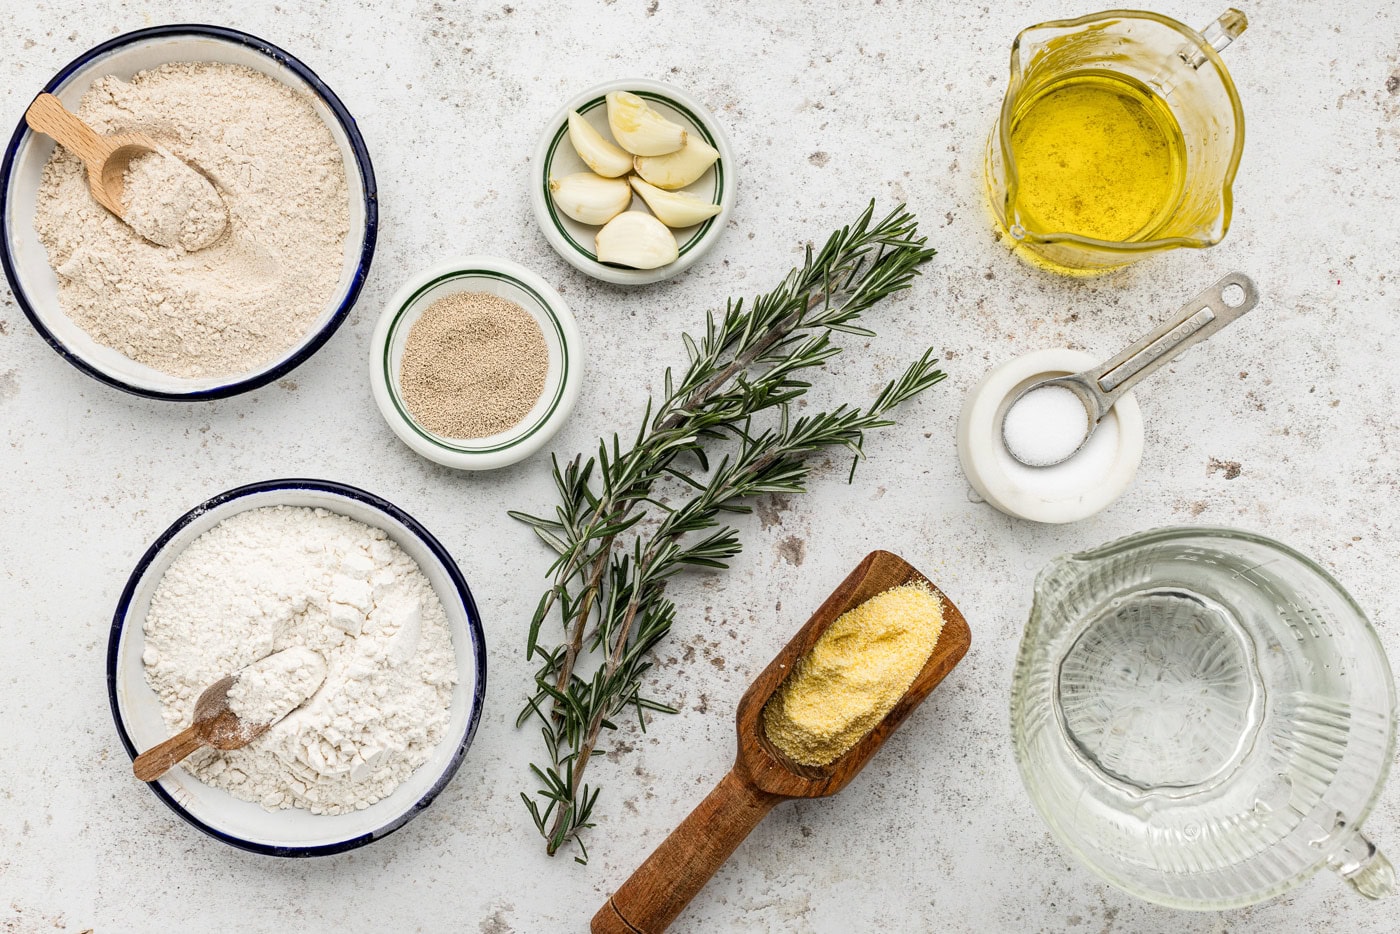
Ingredients you will need
Get all measurements, ingredients, and instructions in the printable version at the end of this post.
Ingredient Info and Substitution Suggestions
FLOUR – This bread uses a combination of whole wheat flour and all purpose flour, similar to a multigrain bread. The whole wheat adds that rustic charm and good structure, while the all purpose flour works to ensure you don’t end up with overly dense bread (makes it softer). I highly, highly recommend using a kitchen scale to weigh your ingredients, especially when making bread.
YEAST – Double check that your yeast is not expired before beginning. Your water should be between 105-110F, which is warm, not hot. Hot water can easily kill your yeast and cool water will slow the process down significantly. Use a thermometer if needed. You’ll know it’s ready once it begins to foam!
ROSEMARY – Fresh is absolutely best here.
GARLIC – I recommend fresh garlic over the bottled minced variety. Roasted garlic is another great option!
How to Make Rosemary Garlic Bread
These step by step photos and instructions are here to help you visualize how to make this recipe. You can Jump to Recipe to get the printable version of this recipe, complete with measurements and instructions at the bottom.
- To make the dough, in a small bowl, or 2-cup measuring cup, add the water and sprinkle the yeast on the surface, allowing it to stand for three minutes before whisking. Once dissolved, whisk in the olive oil.

- To mix the dough, place 2 3/4 cup all-purpose flour (358g) and 2 1/2 cups whole wheat flour (333g), garlic, rosemary, and salt in the bowl of a full sized food processor fitted with a dough blade.
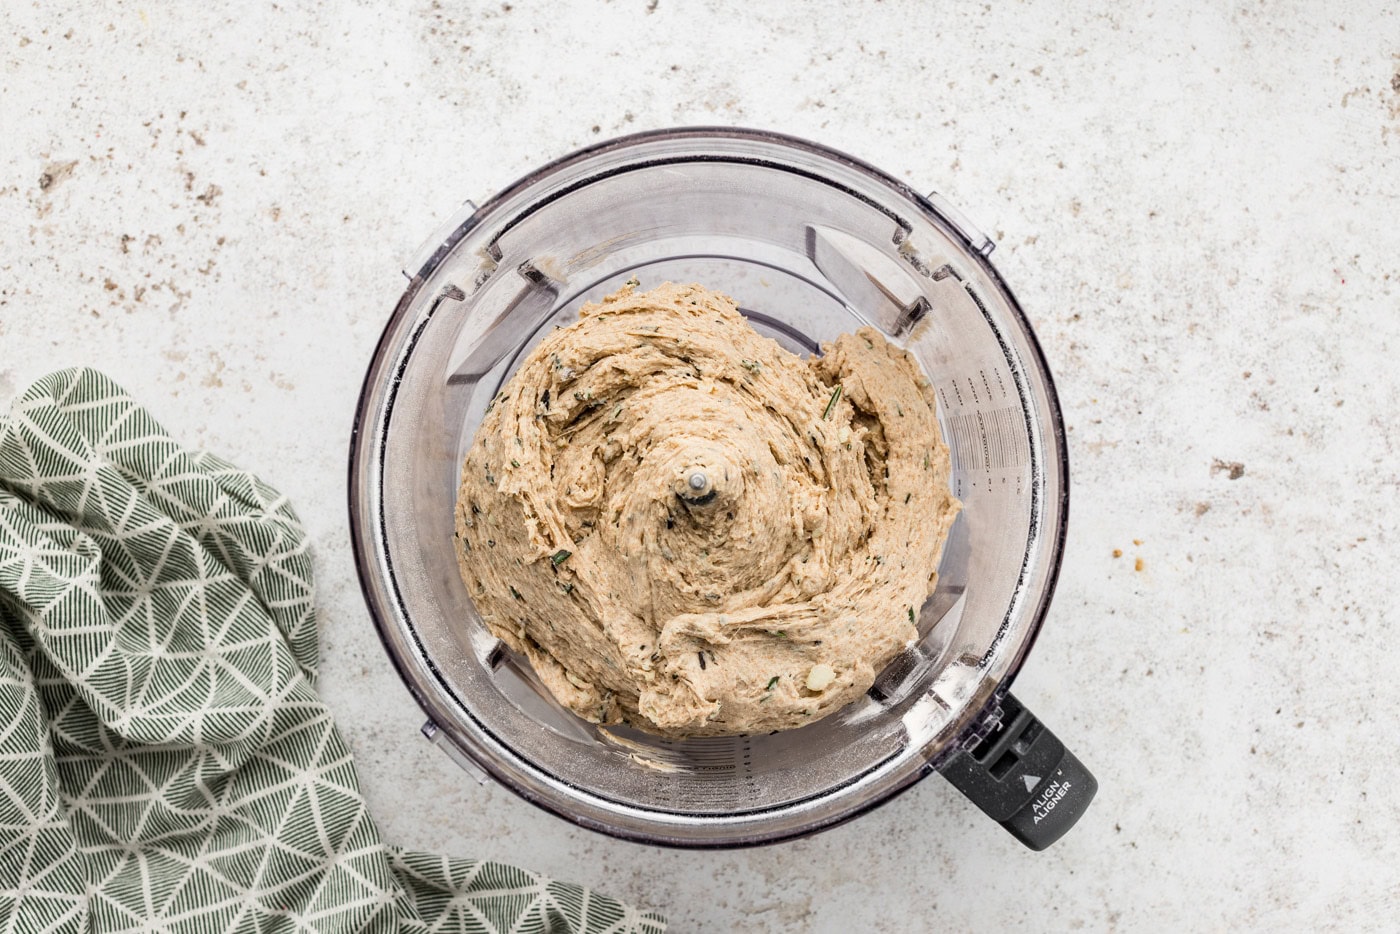
- Add water, oil, and yeast mixture and process to form a smooth, elastic, and slightly sticky dough, about 45 seconds. Incorporate the remaining 1/4 cup all-purpose flour (32g), a tablespoon at a time, if the dough is too soft.

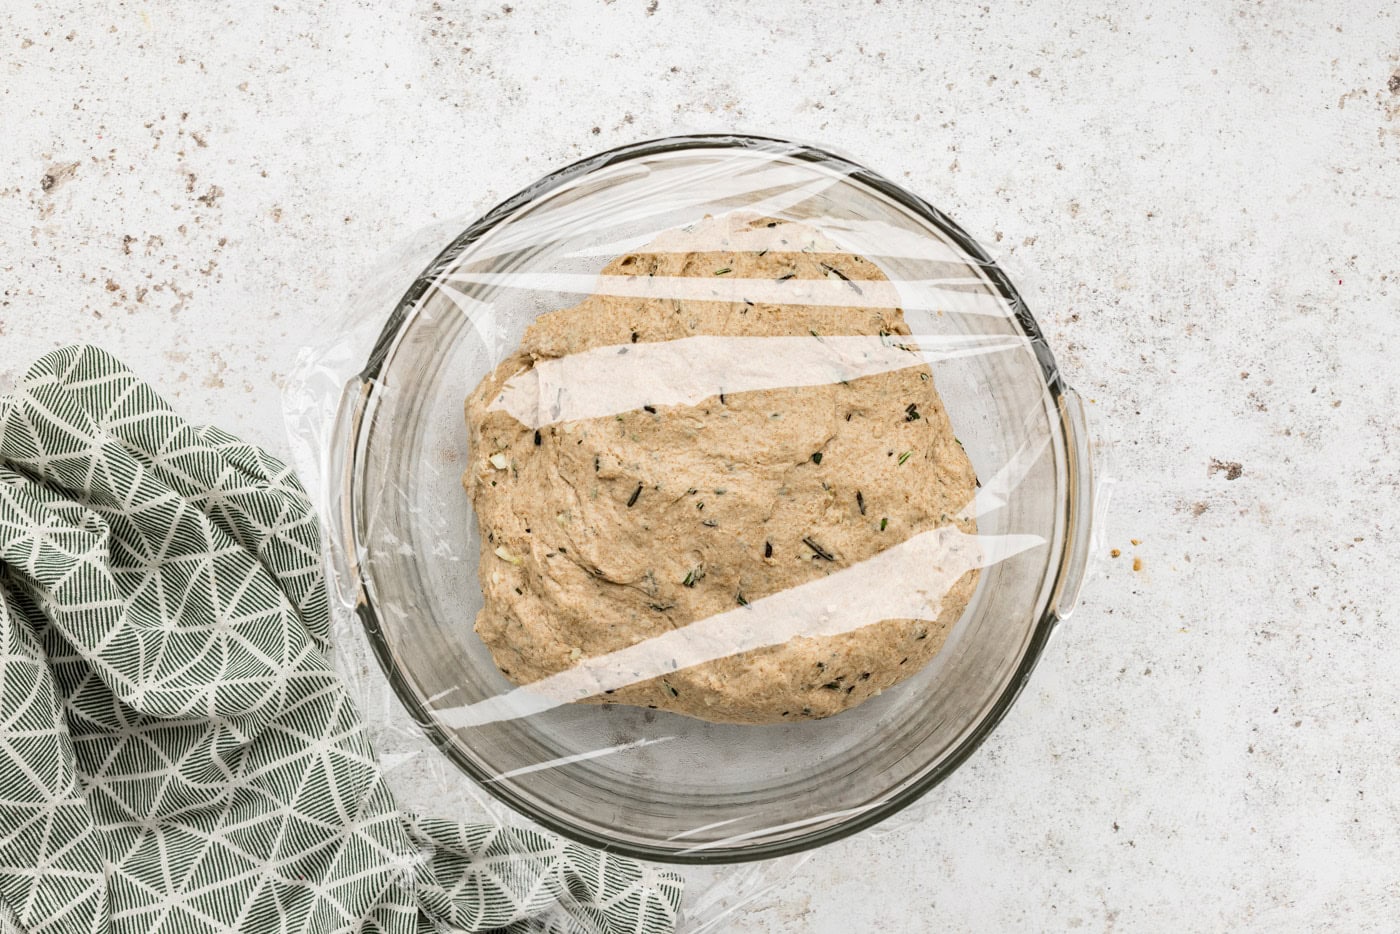
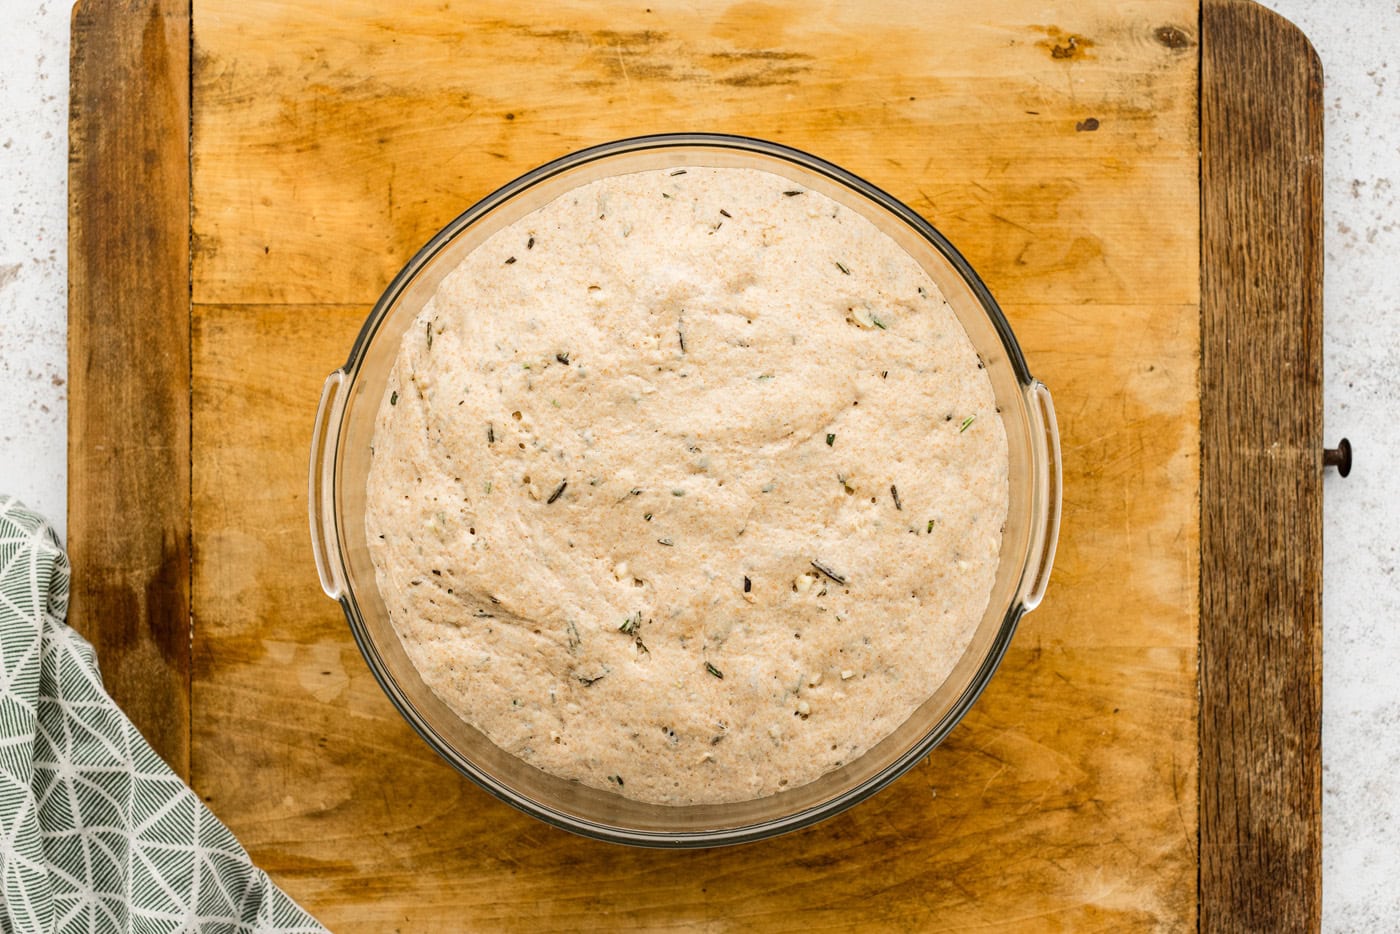
- Place dough in an oiled bowl, turning the dough over so the top is also oiled. Cover bowl with plastic wrap and allow dough to rise at room temperature until doubled.
To Shape and Bake the Loaves
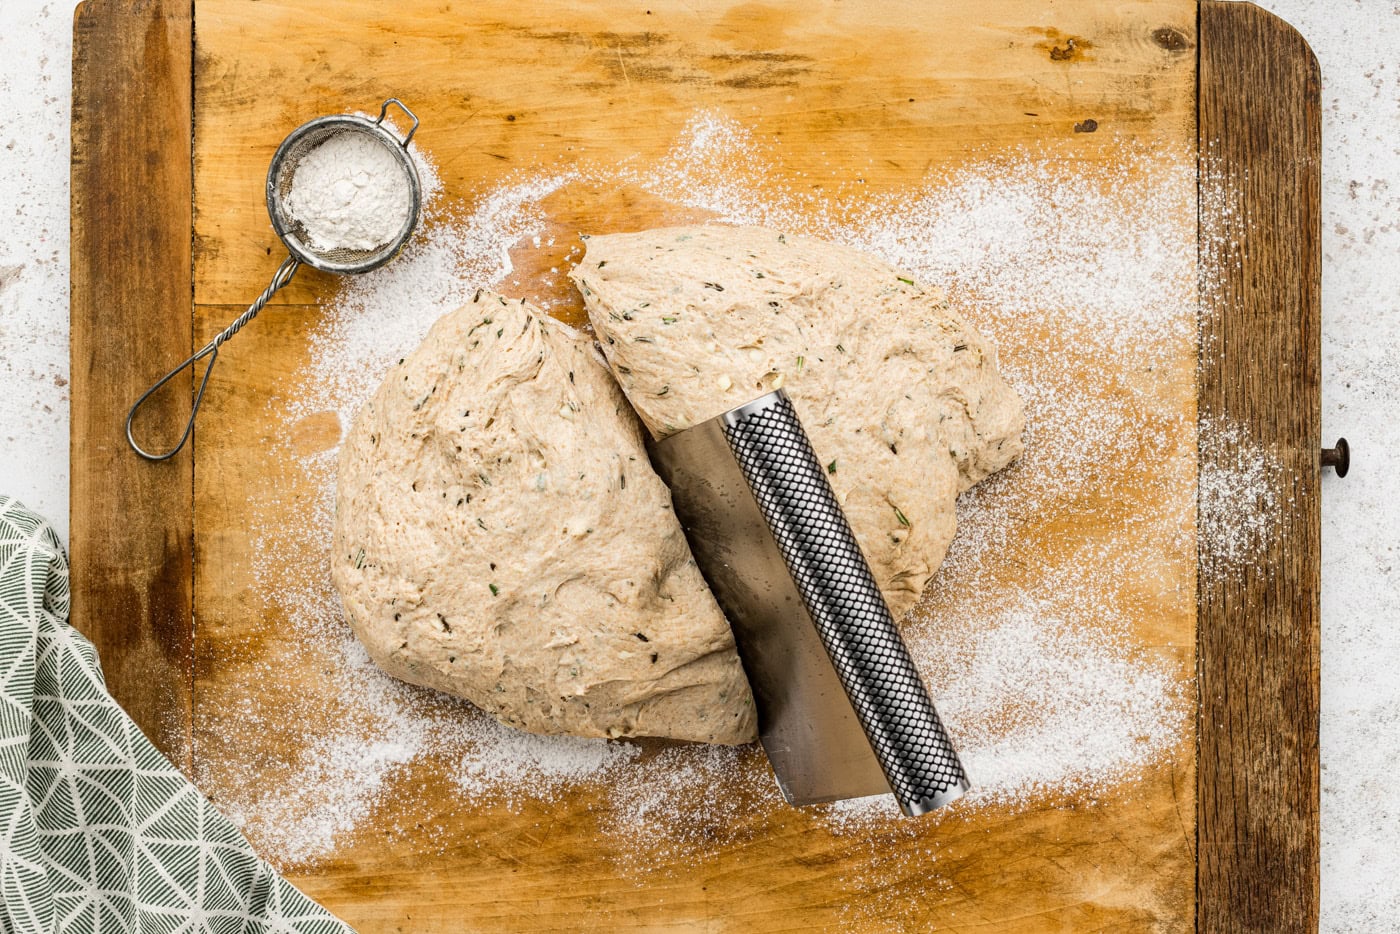
- Scrape risen dough onto a lightly floured surface and press it to deflate it. Divide the dough in half and shape one piece at a time.
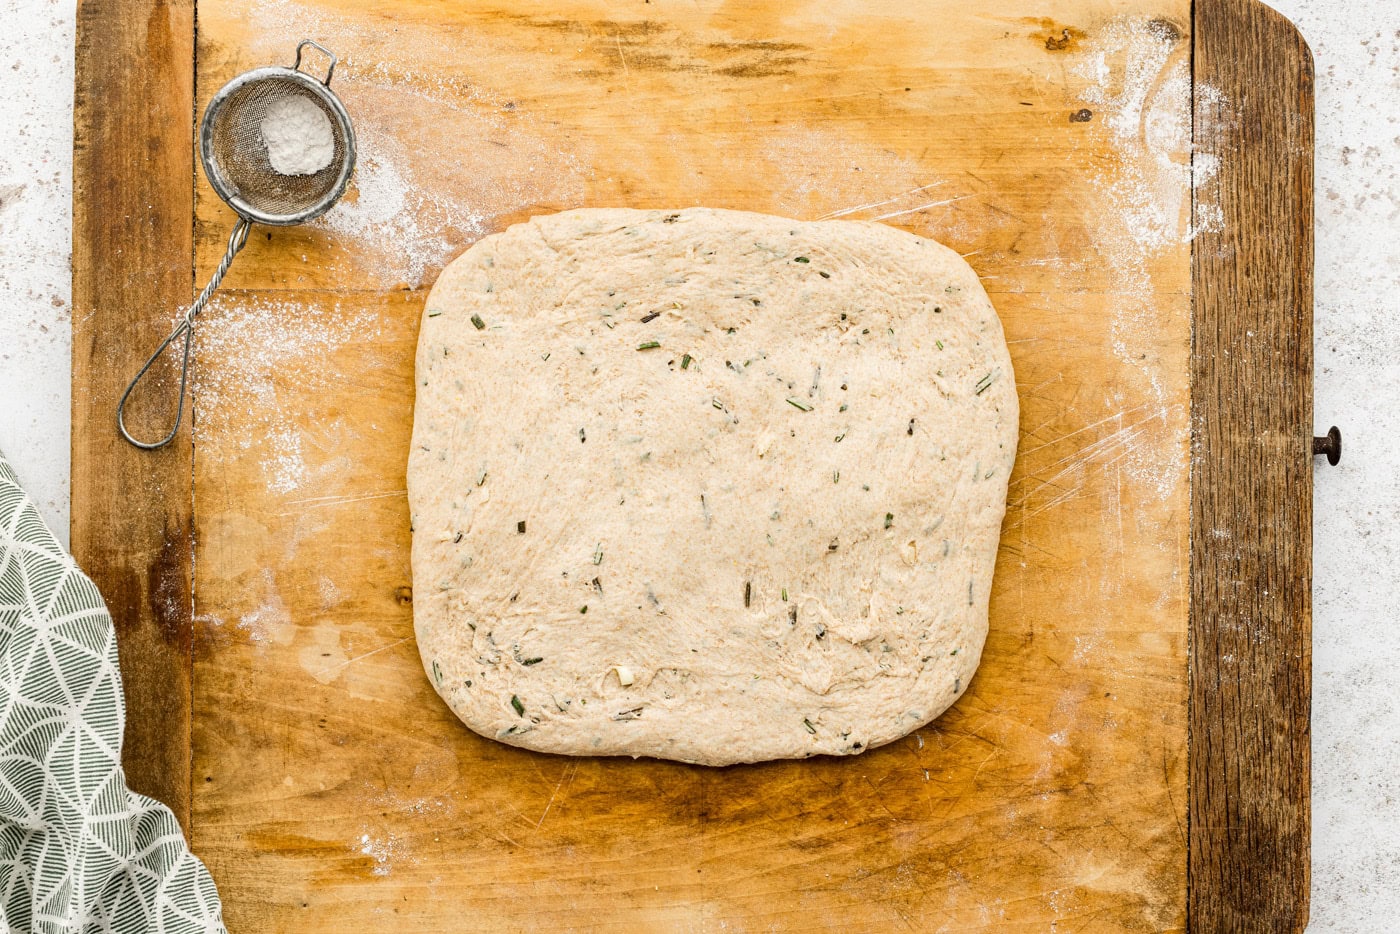
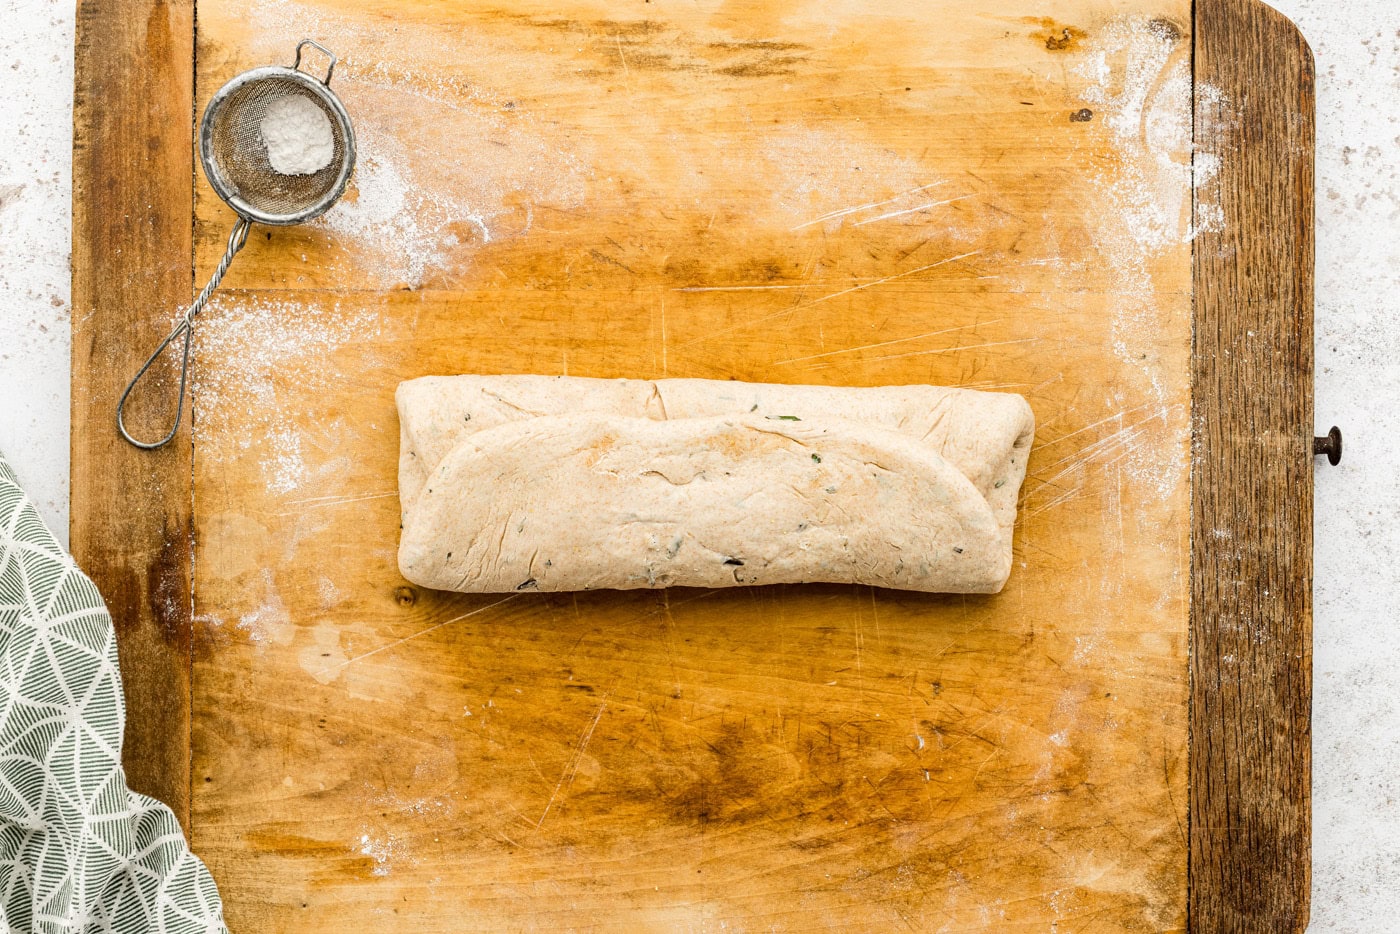
- Press dough into a square, then roll it up tightly. Rotate cylinder of dough 90 degrees and roll it up again from the short end. Arrange the dough seam side down, cover with plastic or a towel, and let it rest for 5 minutes. Repeat with the remaining piece of dough.
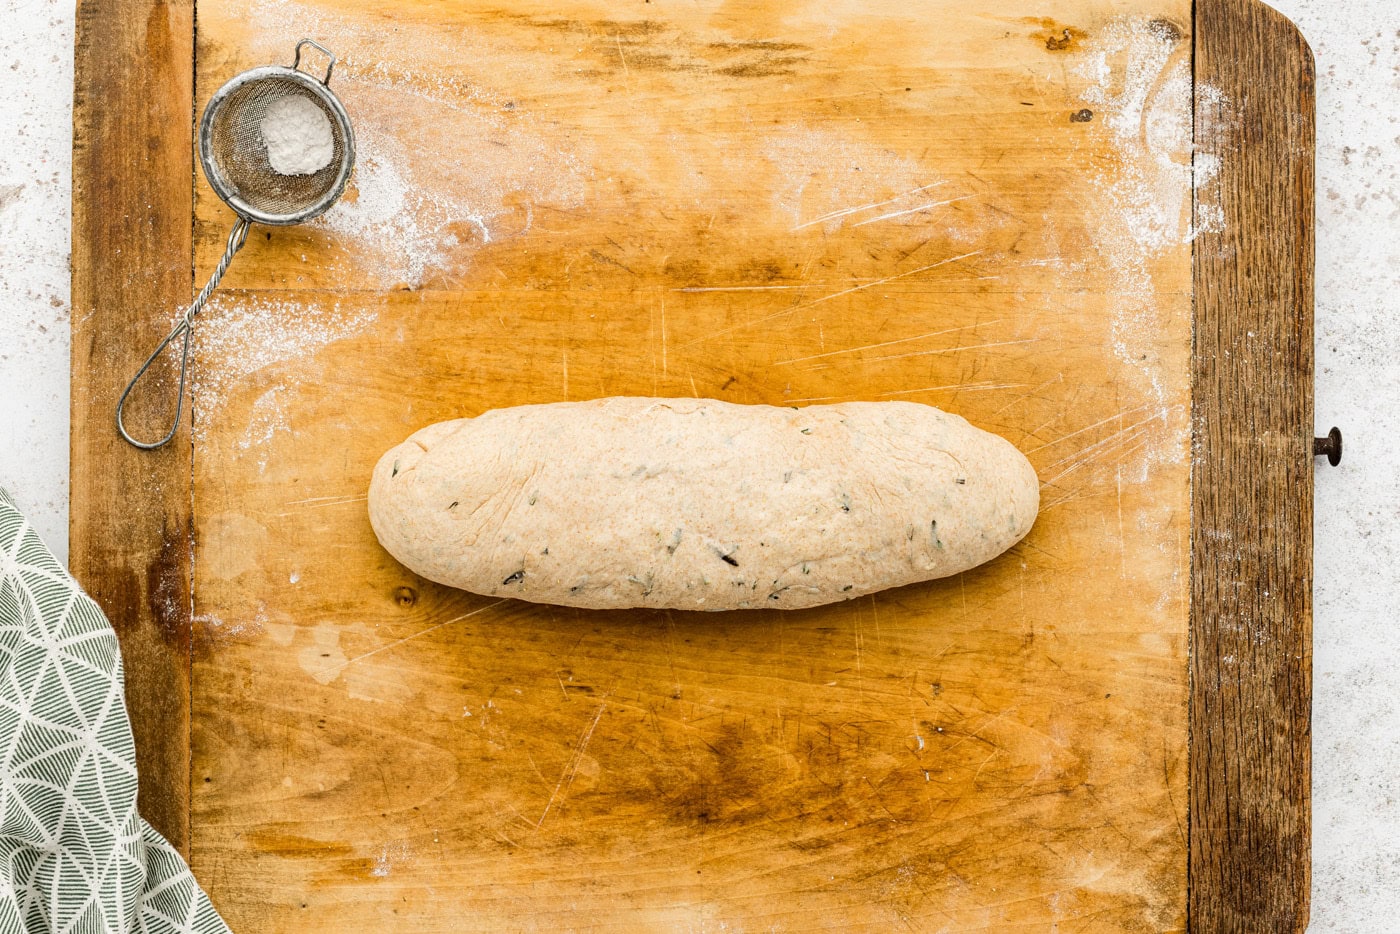
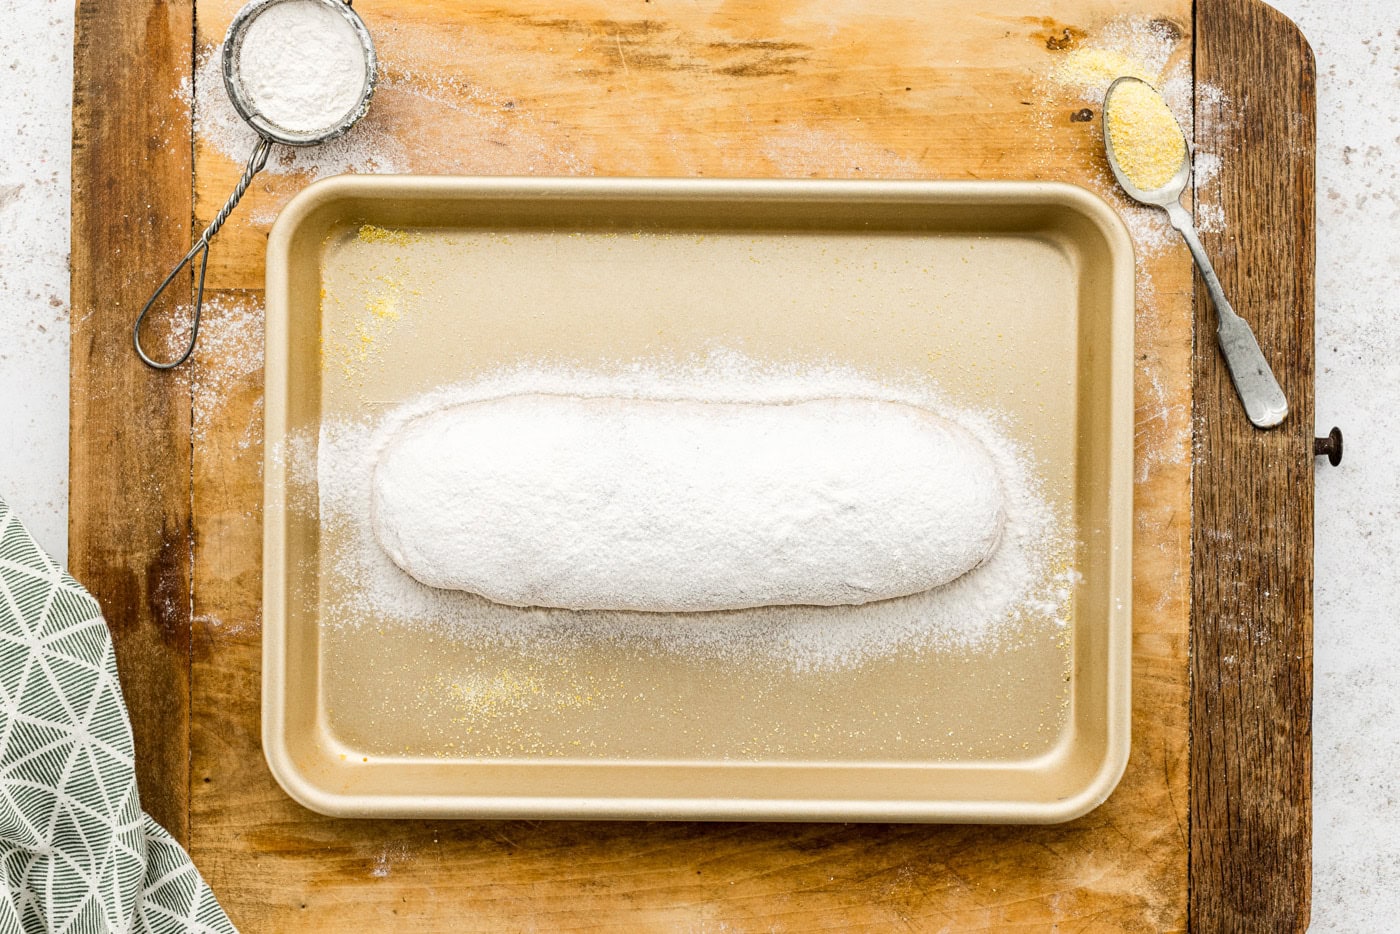
- Dust pan with cornmeal. Roll each piece of dough under the palms of your hands to elongate it. Work from the middle of the loaf outward, pointing the ends slightly. Place loaves seam side down on cookie sheets and dust each loaf heavily with flour, using about 1/4 cup in all. Cover with plastic wrap or a towel and allow to rise until doubled.
- About 30 minutes before you intend to bake the loaves, preheat oven to 500 degrees F and set racks at the middle and lowest levels. Set a pan on the lowest rack to absorb some of the excess bottom heat and keep the bottom of the loaves from burning.
- Holding a razor blade or the point of a very sharp knife at a 30-degree angle to the top of each loaf, make 3 to 4 diagonal slits in each loaf.
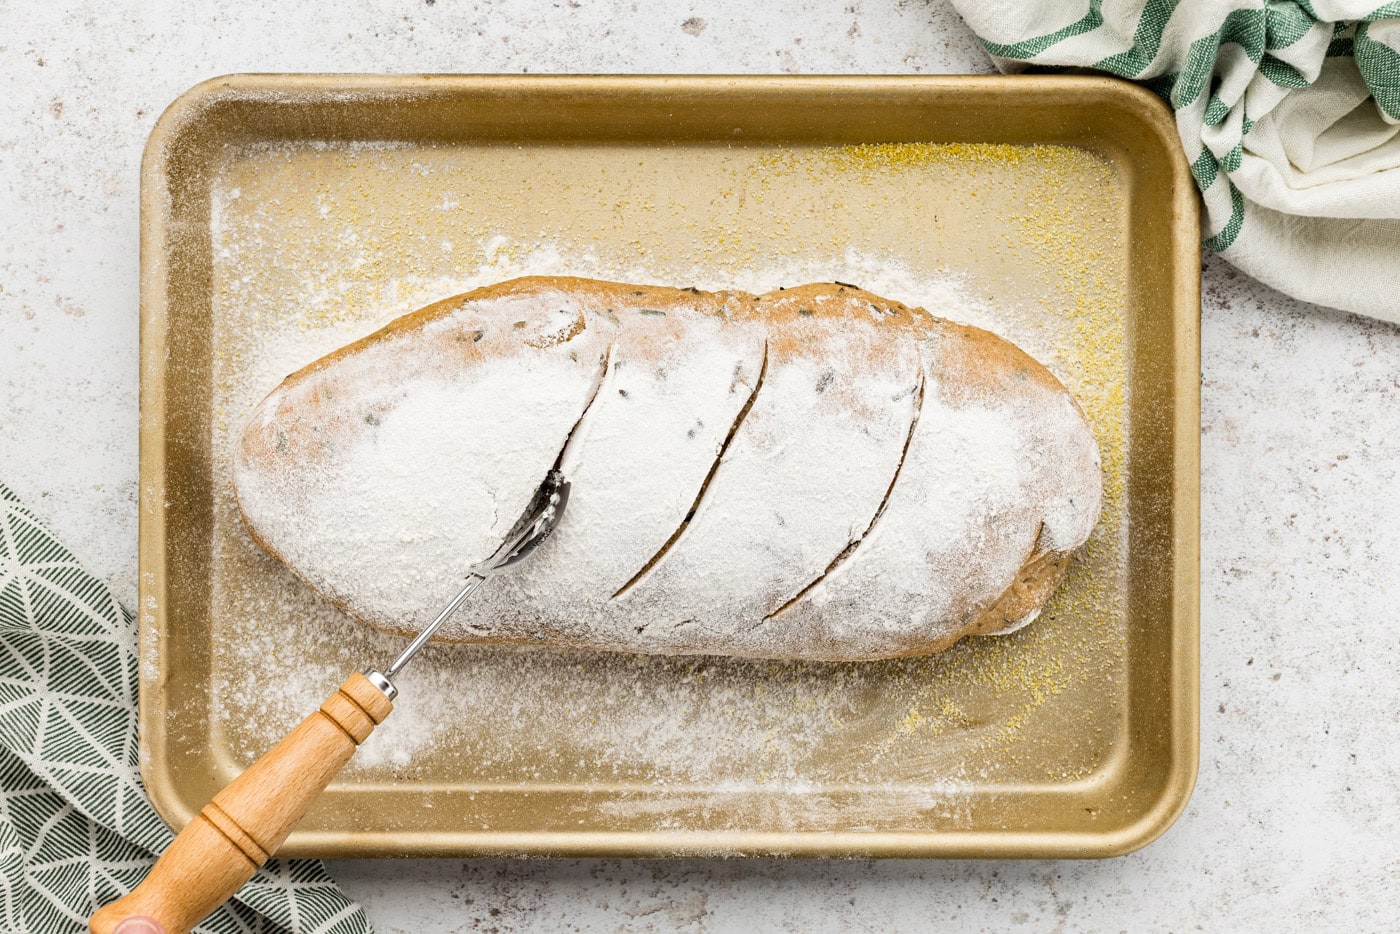
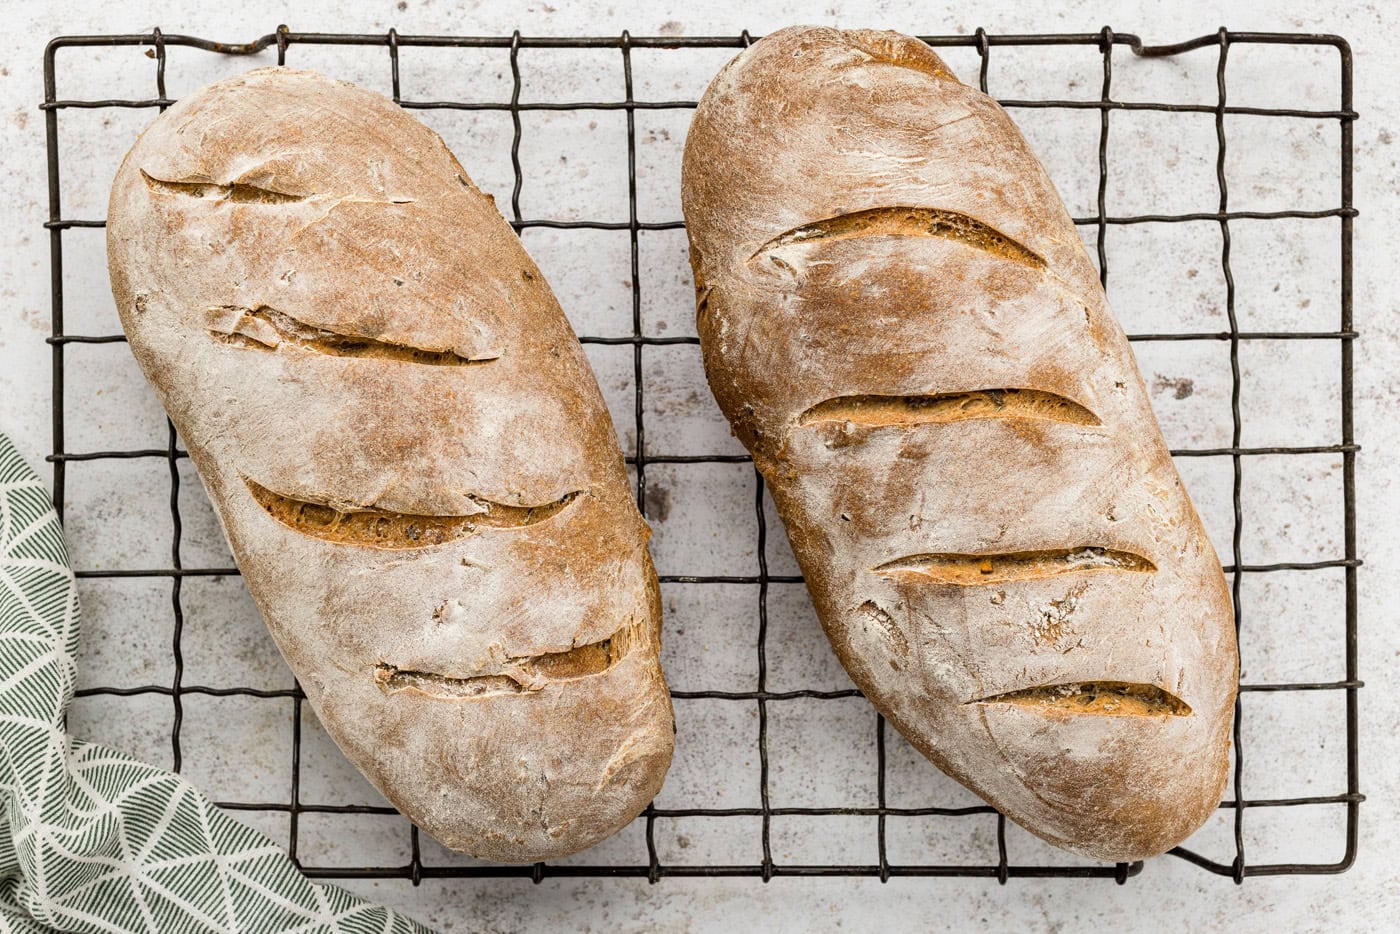
- Immediately place the loaves in the oven and lower the temperature to 450 degrees F. After the loaves have baked for 20 minutes and are completely risen, lower the temperature to 350 degrees F and continue baking for about 20 to 30 minutes longer, until bread reaches an internal temperature of about 210-220 degrees F. Remove loaves from oven and cool on a rack.
Frequently Asked Questions & Expert Tips
Can I make the dough ahead of time?Yes, you can prepare the dough as written up to 3 days in advance. Place the dough in a greased bowl and cover it with plastic wrap. Remove the dough from the refrigerator about an hour to an hour and a half before you’re ready to bake it, allowing it to rest at room temperature. Bake as normal.
Can I use dried rosemary instead of fresh?Yes, of course, though I personally recommend using fresh rosemary as it’s the main star of the recipe! The general rule for swapping fresh for dried herbs is a 3:1 ratio. So, you’ll want to use 1 Tablespoon plus 1 teaspoon of dried rosemary.
Why isn’t my bread rising?The most common culprit is dead yeast. It’s likely expired, dead before using, or killed by too hot of water while proofing. It’s important to note that your bread will rise taller after rolling (give it a few hours), and it will definitely rise well in the oven. If your bread did not rise in the oven, then the yeast is more than likely dead or the dough was left to rise in too cold of an area.
How do you store rosemary garlic bread?This bread is best enjoyed right away, but you can save leftovers kept in an air-tight container, paper bag, or wrapped in foil. Store at room temperature for up to 3 days. You can freeze it for longer storage, either sliced or whole, wrapped with plastic wrap followed by aluminum foil. Freeze for up to 3 months.
Serving Suggestions
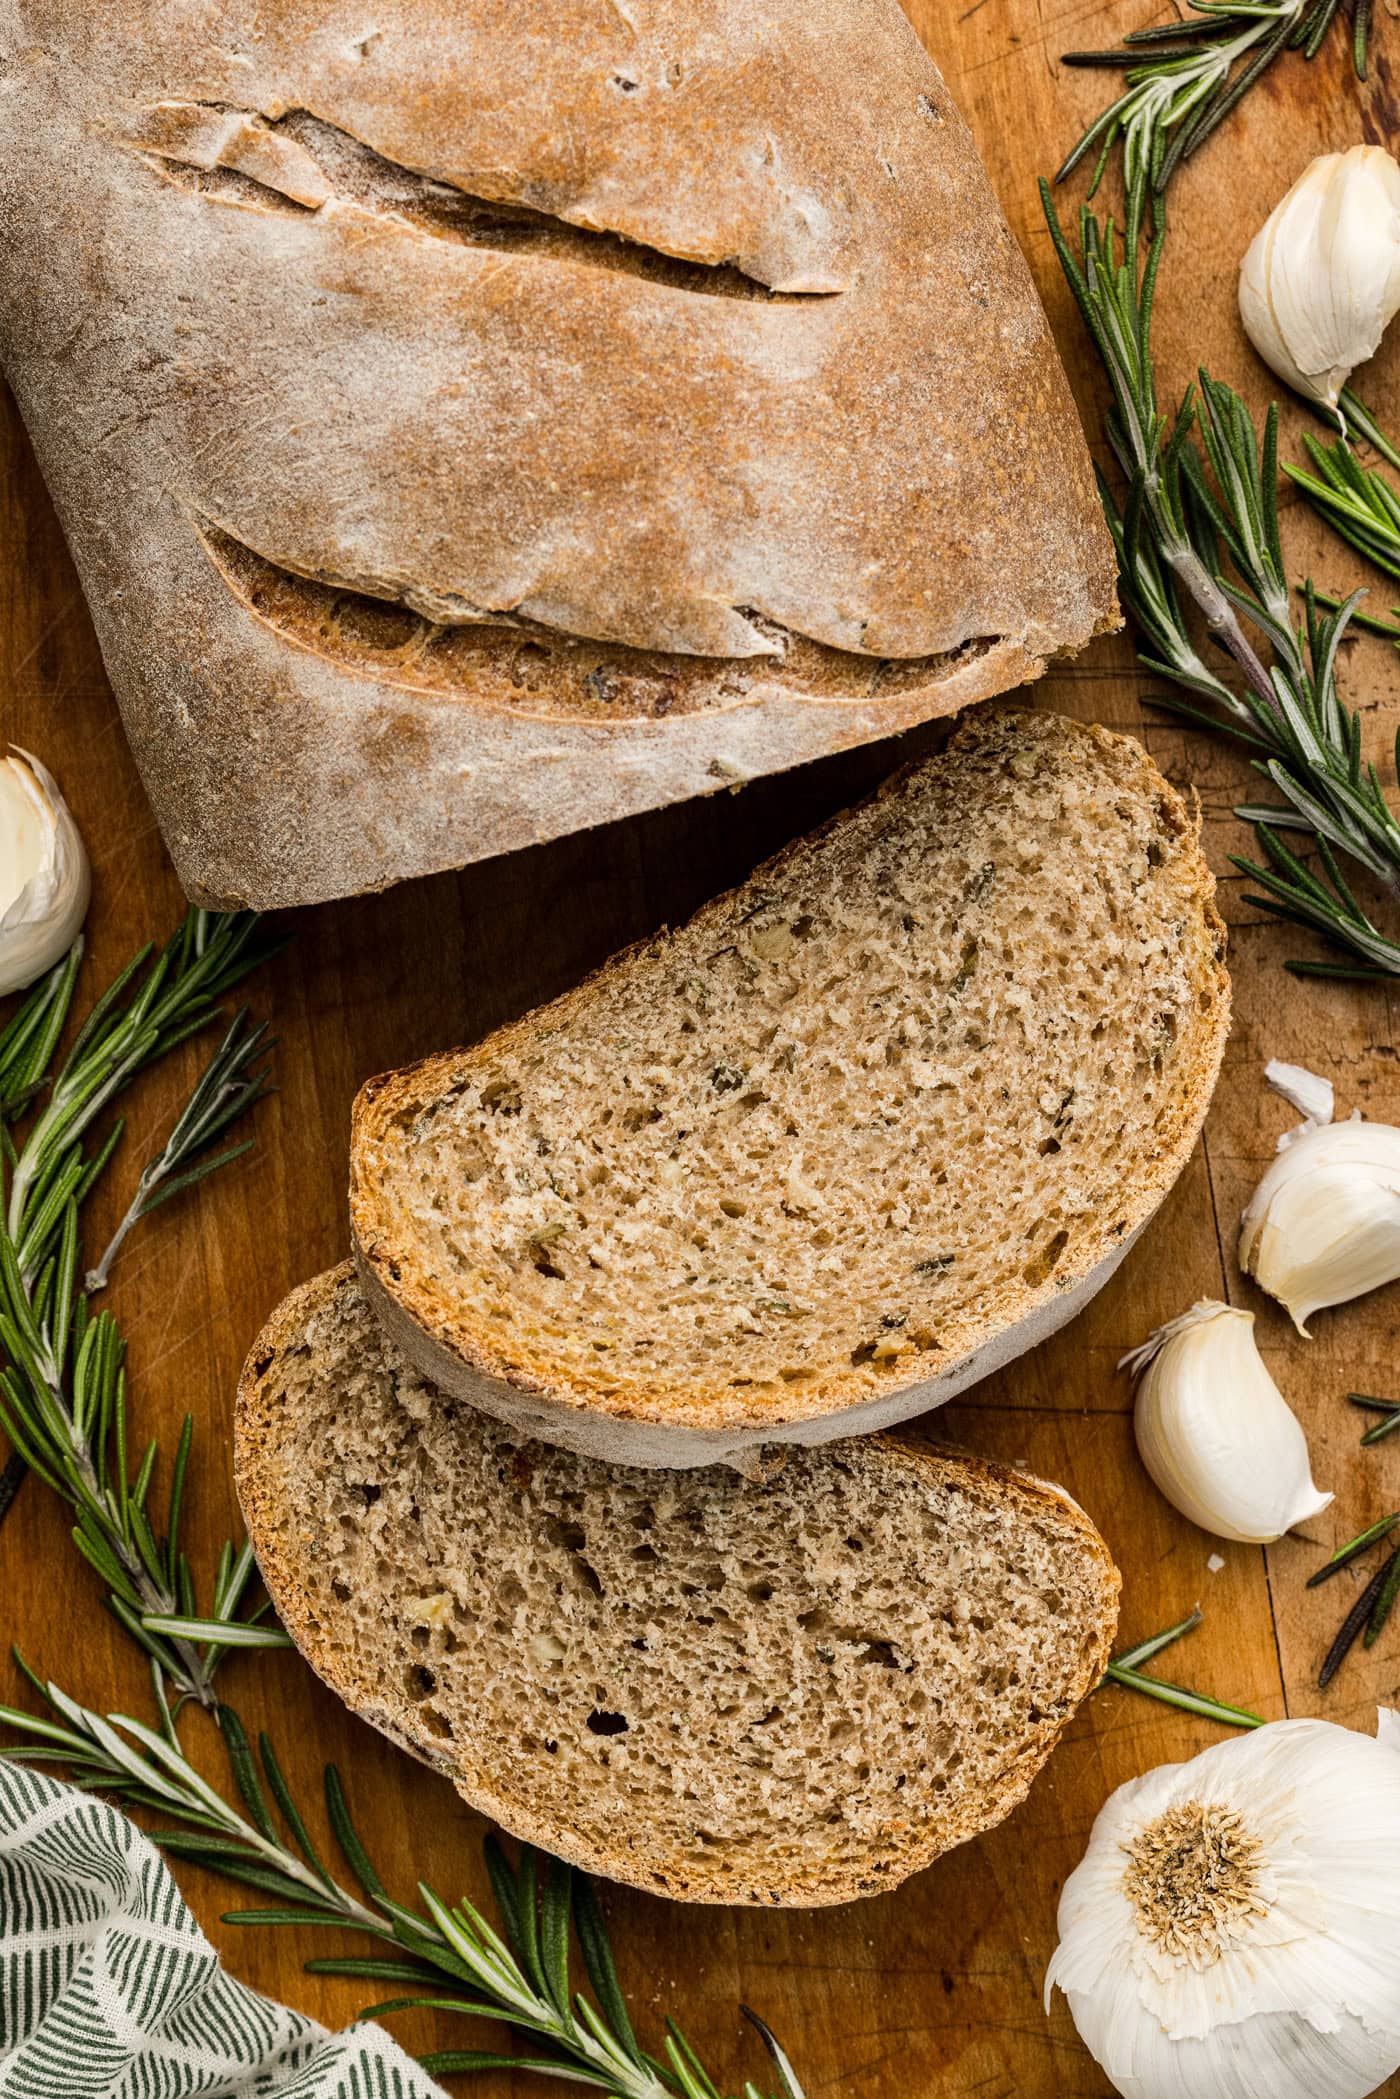
This hunk of good lookin’ rustic rosemary garlic bread is quite the vehicle for sandwiches, paninis, or a heaping slab of butter. I love it with a hearty potato soup, personally. If your bread has gone stale, cube it up and make homemade croutons!
More Bread Recipes
I love to bake and cook and share my kitchen experience with all of you! Remembering to come back each day can be tough, that’s why I offer a convenient newsletter every time a new recipe posts. Simply subscribe and start receiving your free daily recipes!
I first shared this bread back in 2011 on my site and it has since been updated with new photos and tips. Original recipe credit for this lovely bread goes to Katie from Good Life Eats. I slightly adapted it to adjust for what I had on hand at the time.
More recipes to try
Eight more recipes from the kitchen.
Homemade Chicken Stock
This rich homemade chicken stock is the perfect base for soups and…
Bread Pudding
Warm and soft spice-soaked bread pudding with a deliciously sweet…

Boston Cream Pie Cupcakes
If you love Boston Cream Pie, then these smaller, handheld portions…

Snowman Cheeseball
Make a festive snowman cheeseball for your holiday appetizer spread…

Italian Wedding Soup
Sausage and ground beef meatballs combine with pasta, veggies, and a…

Cabbage Soup
Every spoonful of cabbage soup is loaded with healthy vegetables…
Partybrot – German Party Bread
Partybrot, soft and fluffy German party bread rolls are made for…

French Onion Soup
This French Onion Soup recipe has the flavors of that classic soup…