Pear Peach Cobbler
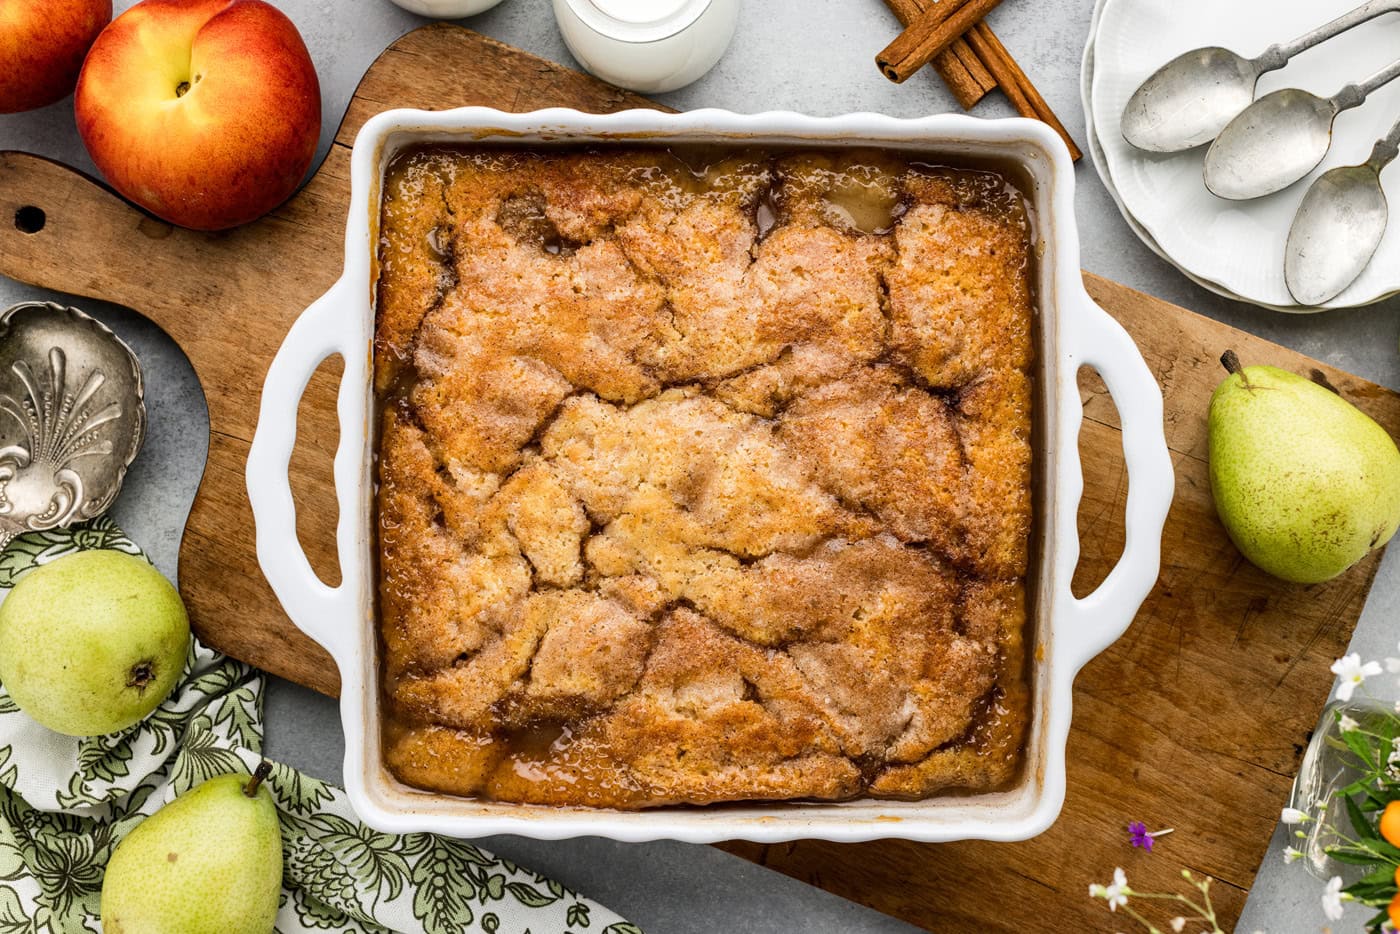
Layers of sweet peaches and pears topped with a golden cakey crust and a sprinkle of warm spices makes this pear peach cobbler downright swoon-worthy.
- Total 1 hour 15 minutes
- Serves 9 servings
- Dessert
- American
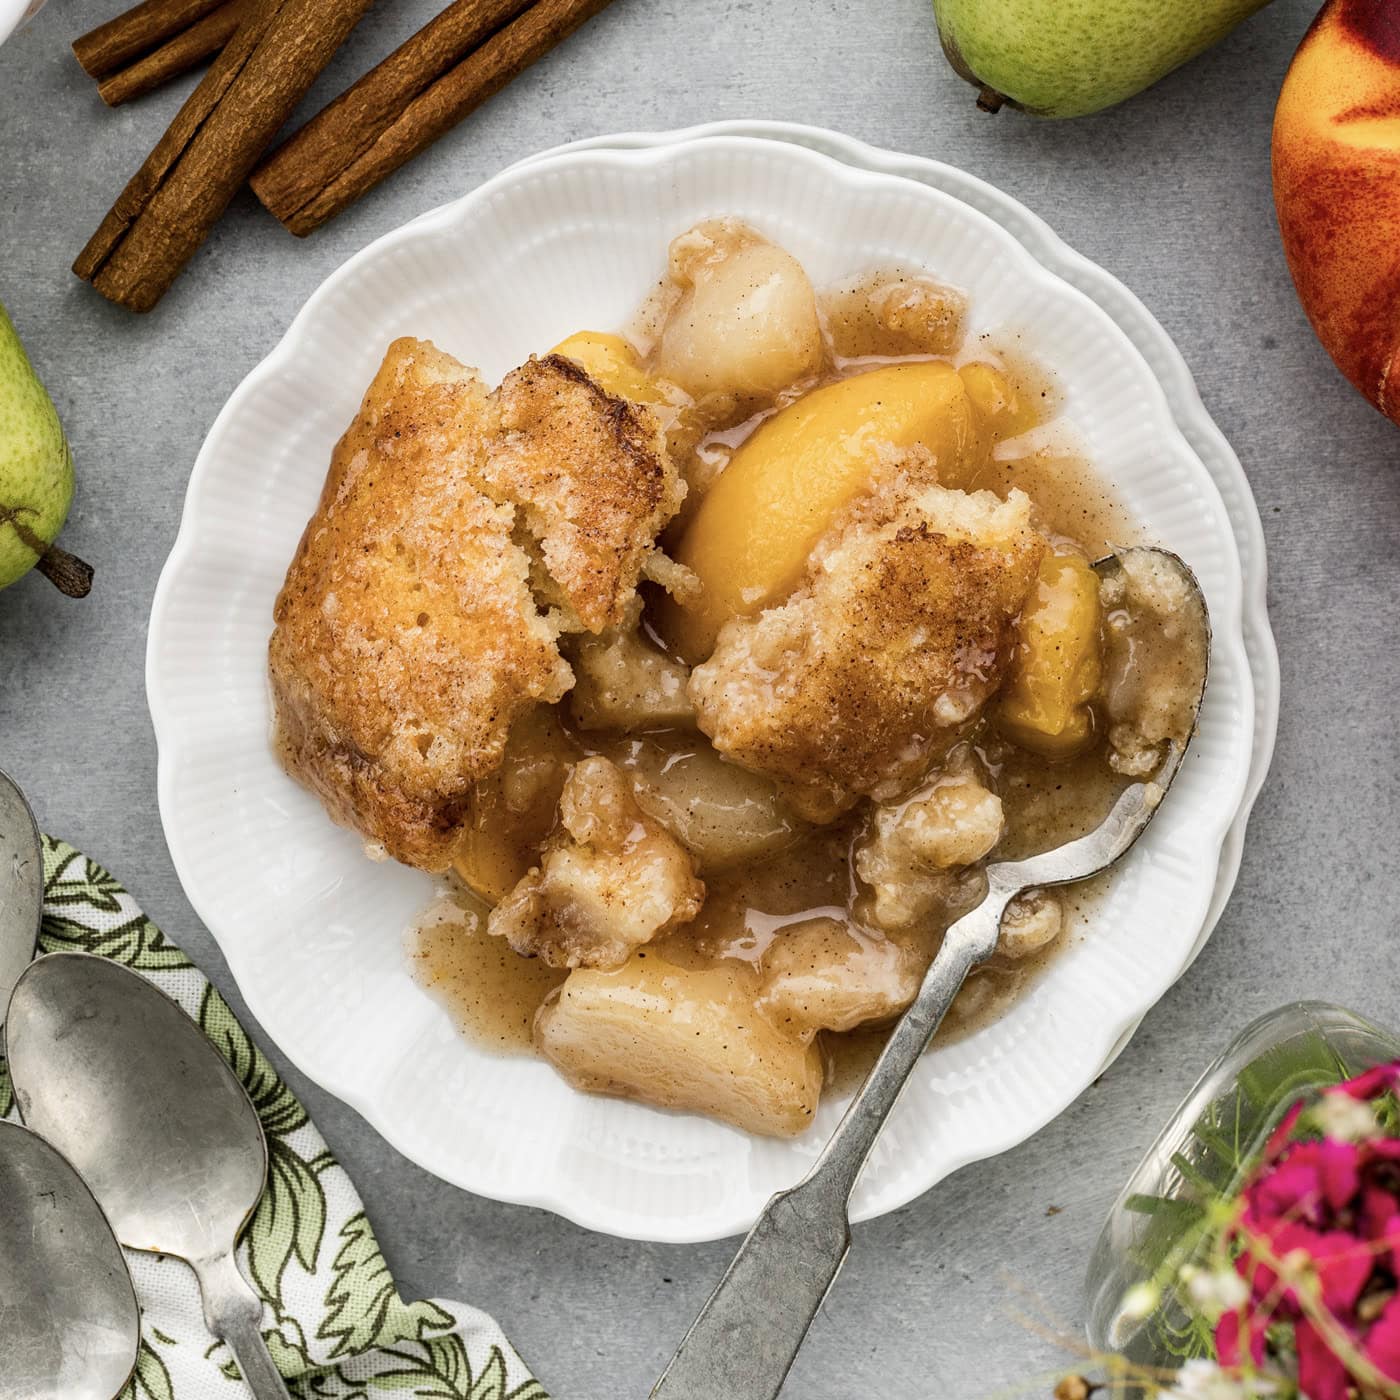
Layers of sweet peaches and pears topped with a golden cakey crust and a sprinkle of warm spices makes this pear peach cobbler downright swoon-worthy.
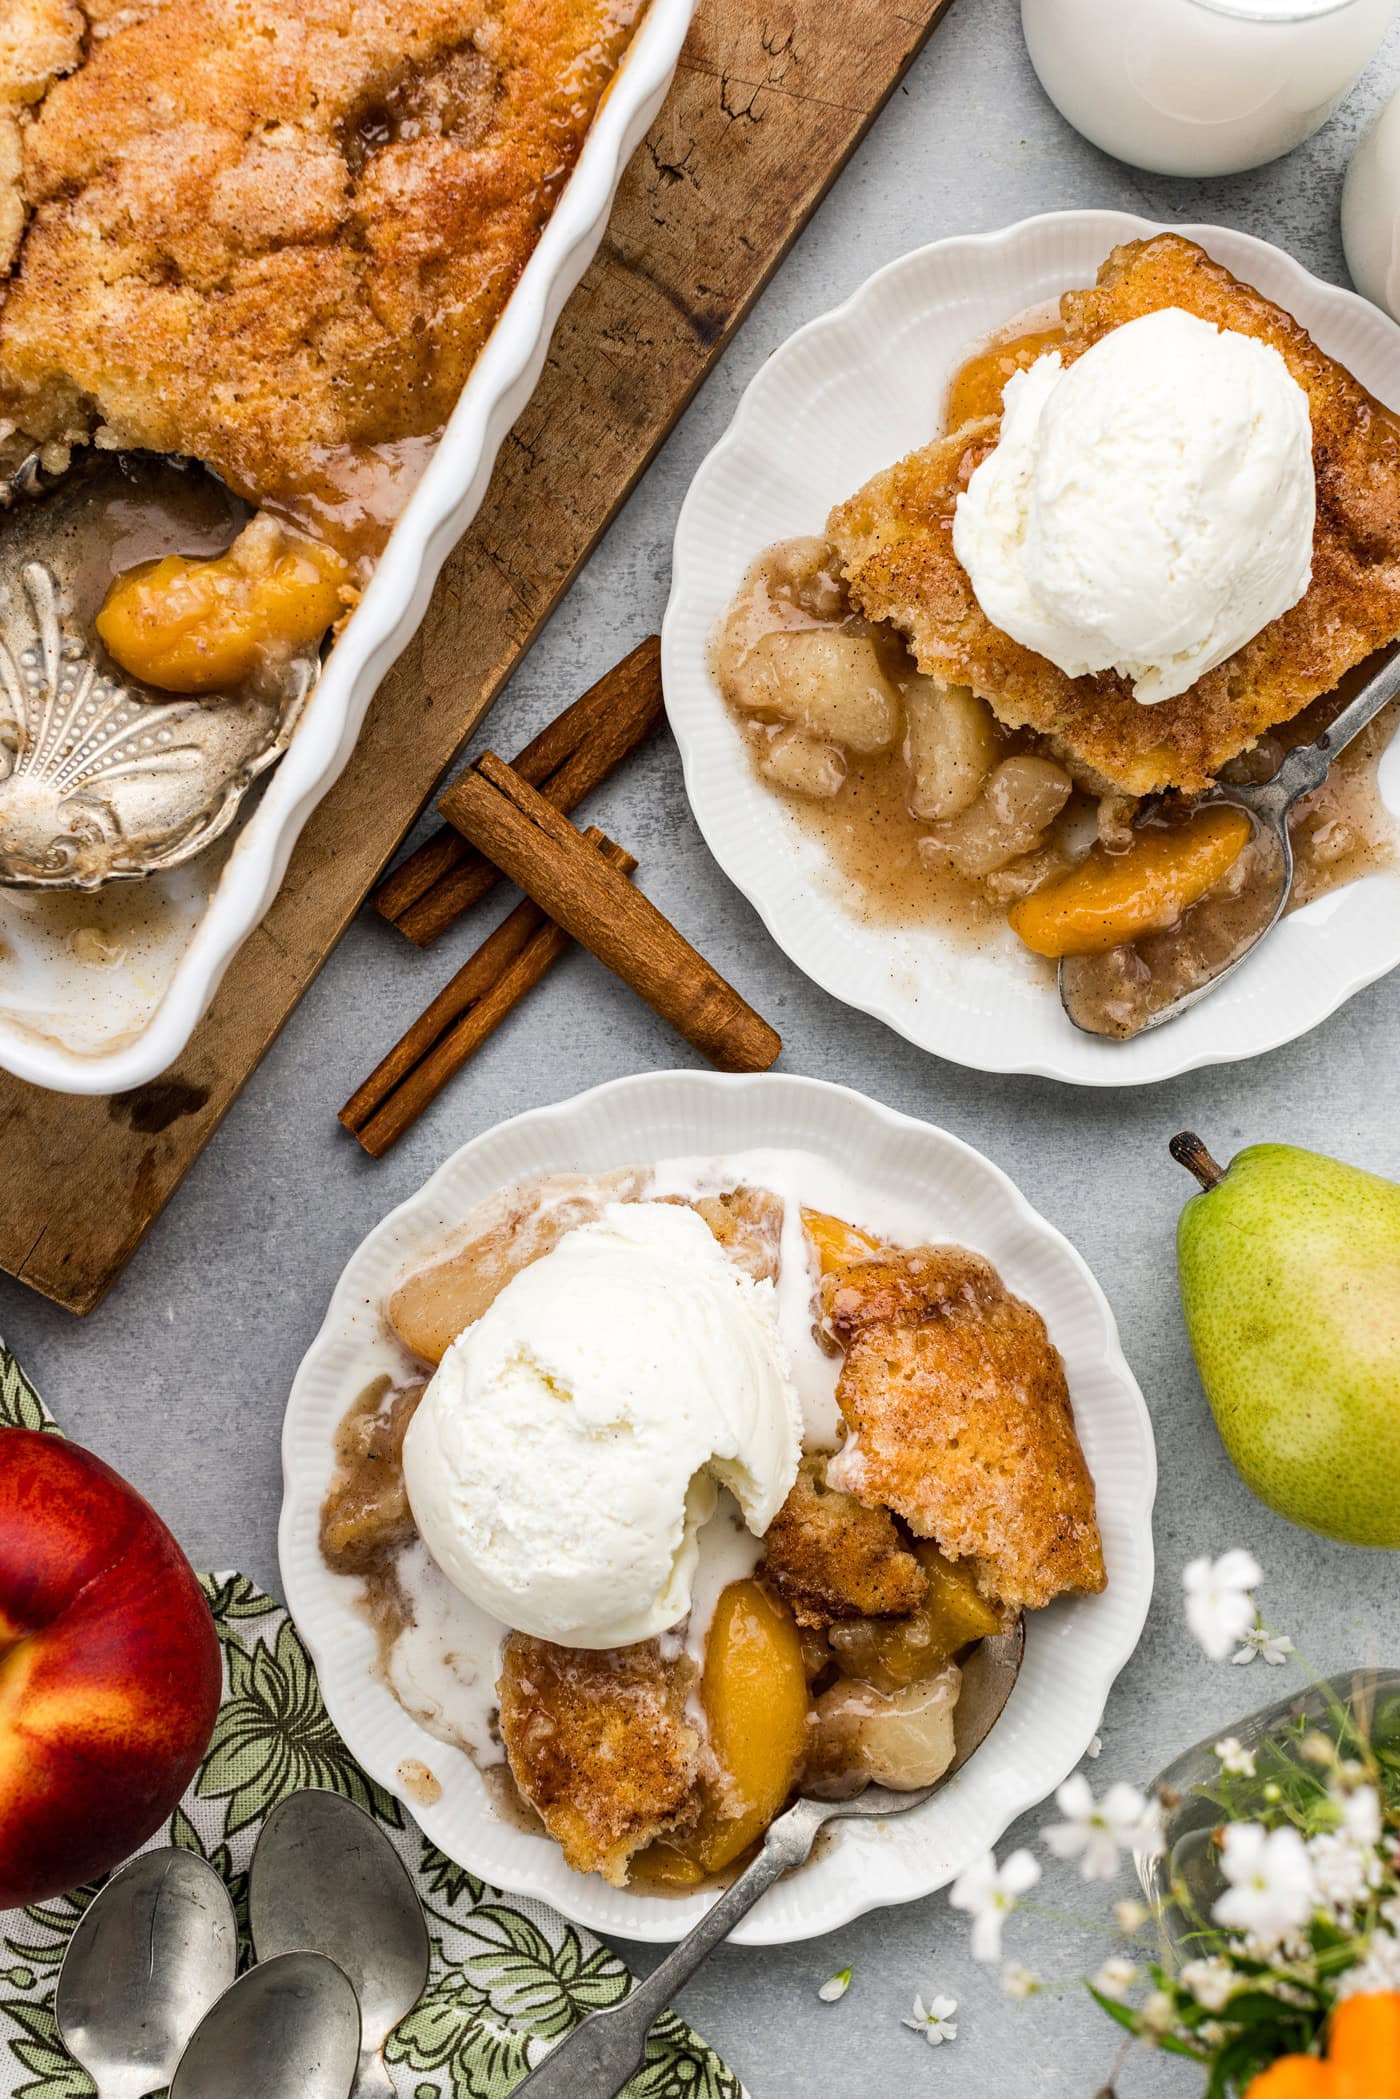 more
more
Why this recipe works
Juicy canned peaches and pears meld into a warm, syrupy filling that’s topped with a layer of soft cakey bliss in this pear peach cobbler recipe. I really can’t stress enough just how easy this cobbler is to make! Drain your fruit and reserve the juices, pop it into a baking dish, and layer with the cobbler batter. Top with the sugar mixture and the cooked reserved juices, and that’s seriously it.
Aside from the sweet syrupy filling, we’re adding a generous sprinkle of warmly spiced sugar on top of the batter which brings out even more flavor in the fruit. It’s excellent for Thanksgiving, but can easily pass for a summer dessert as well. I’ve been making this recipe since 2012 and have yet to have anyone turn their nose up at it, no matter the time of year.
Ingredients you will need
Get all measurements, ingredients, and instructions in the printable version at the end of this post.
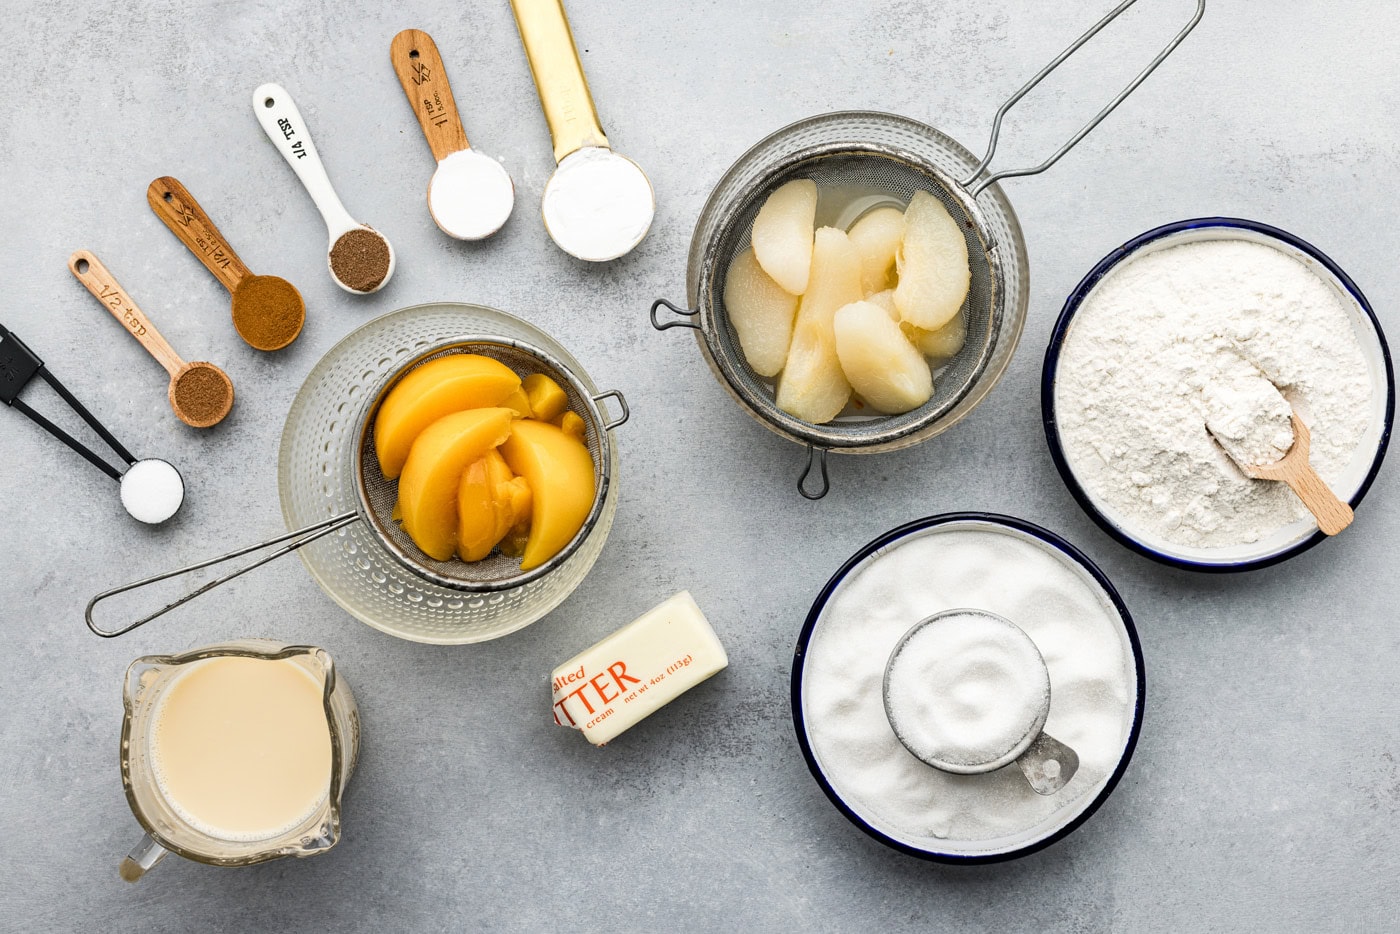
Ingredient Info and Substitution Suggestions
FRUIT – Canned pears and peaches are perfect for this recipe, as we’ll also be using the juices from the cans. If you prefer to use fresh fruit, use about 4 cups of fresh peaches and pairs and substitute 1 cup of water for the canned juices.
SUGAR – I have made this cobbler with both brown sugar and regular granulated sugar, and both ways are great! Brown sugar imparts a subtle caramel-molasses flavor. Use what you prefer.
How to Make Pear Peach Cobbler
These step by step photos and instructions are here to help you visualize how to make this recipe. You can Jump to Recipe to get the printable version of this recipe, complete with measurements and instructions at the bottom.
- Preheat oven to 350 F.
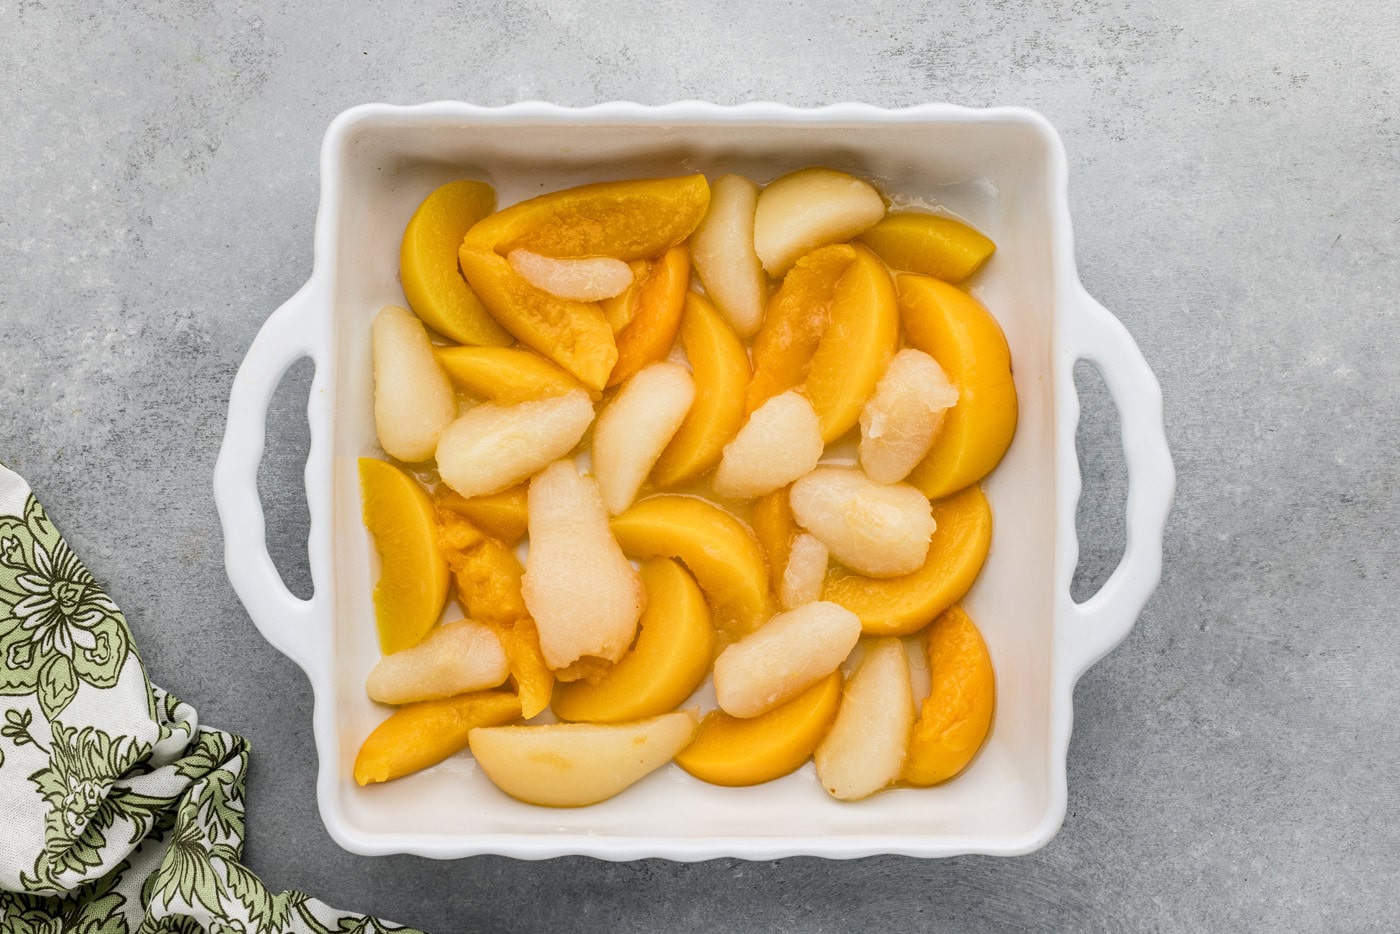
- Drain peaches and pears, reserving the liquid. Spread fruit in the bottom of a 9×9 inch sprayed baking dish.
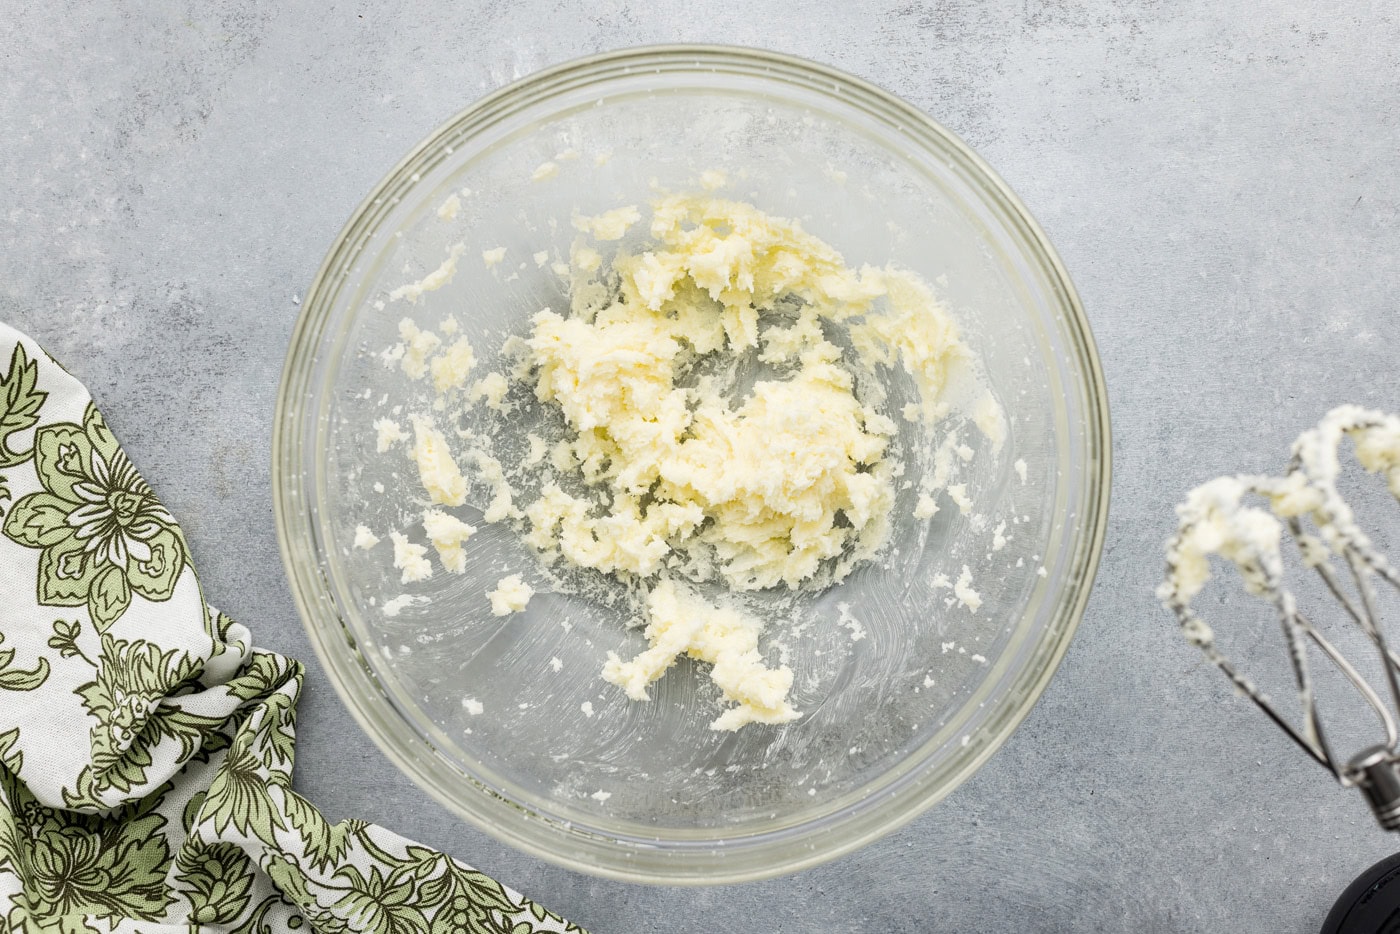
- Cream together the butter and 1/4 cup of the sugar in your mixer until light and fluffy.
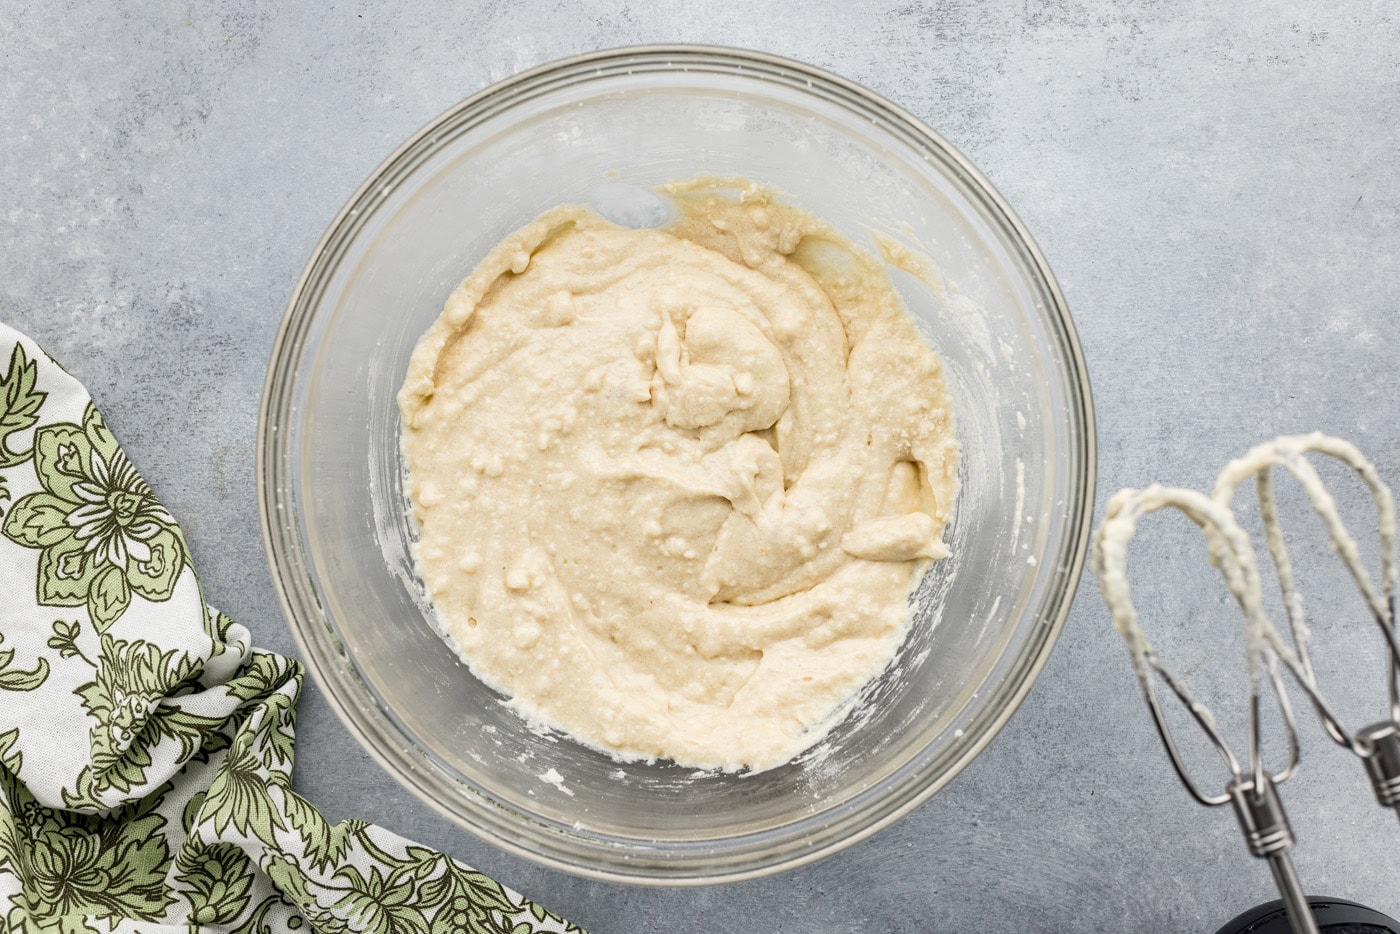
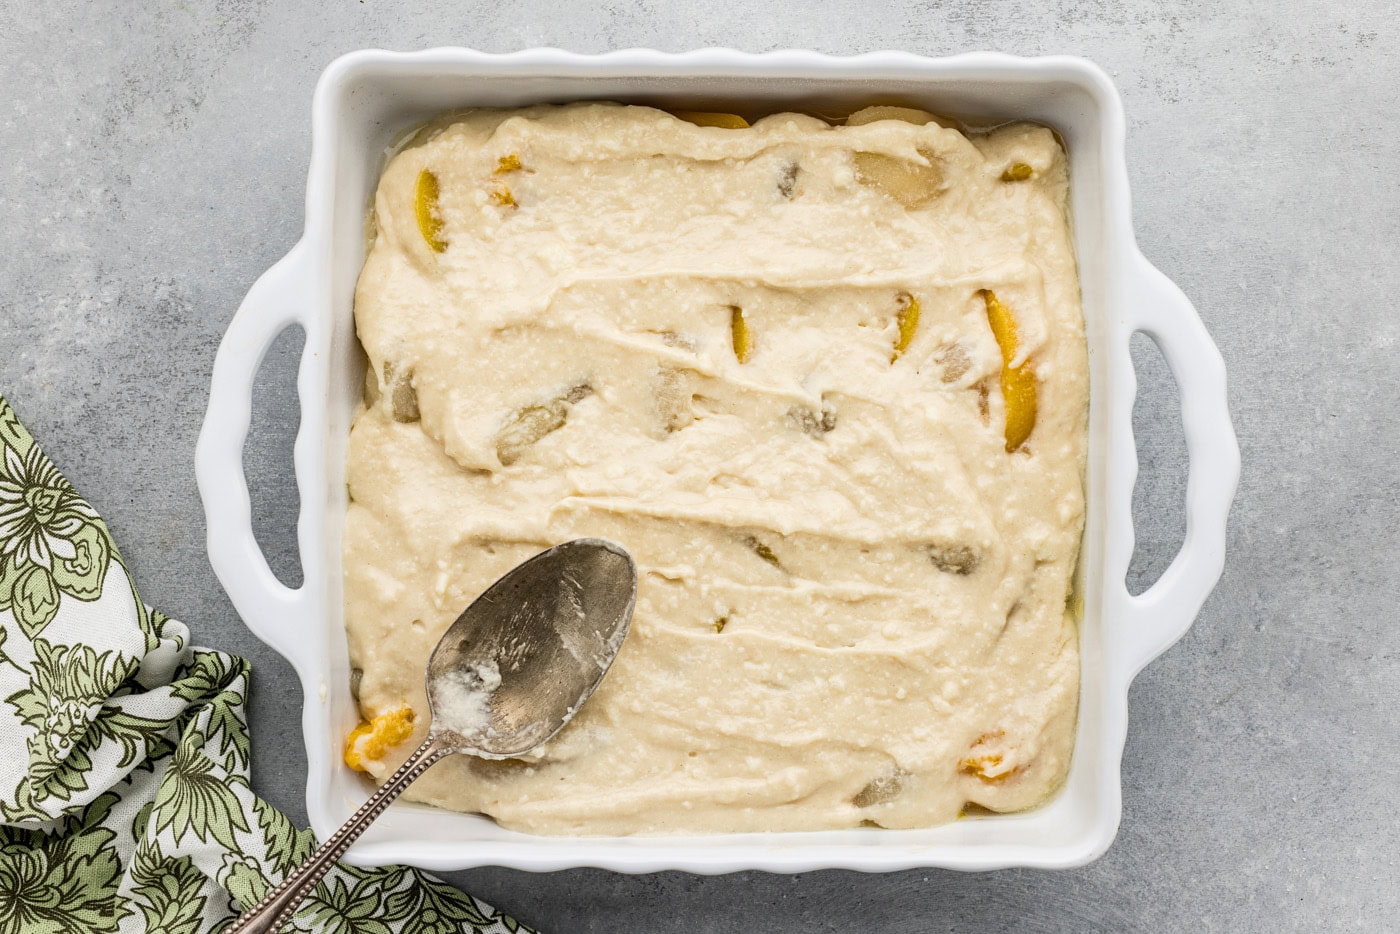
- Turn mixer down to low and add the flour, baking powder, salt, and evaporated milk. Turn mixer up to medium and mix until well combined. Spread the batter over the fruit with a spoon.
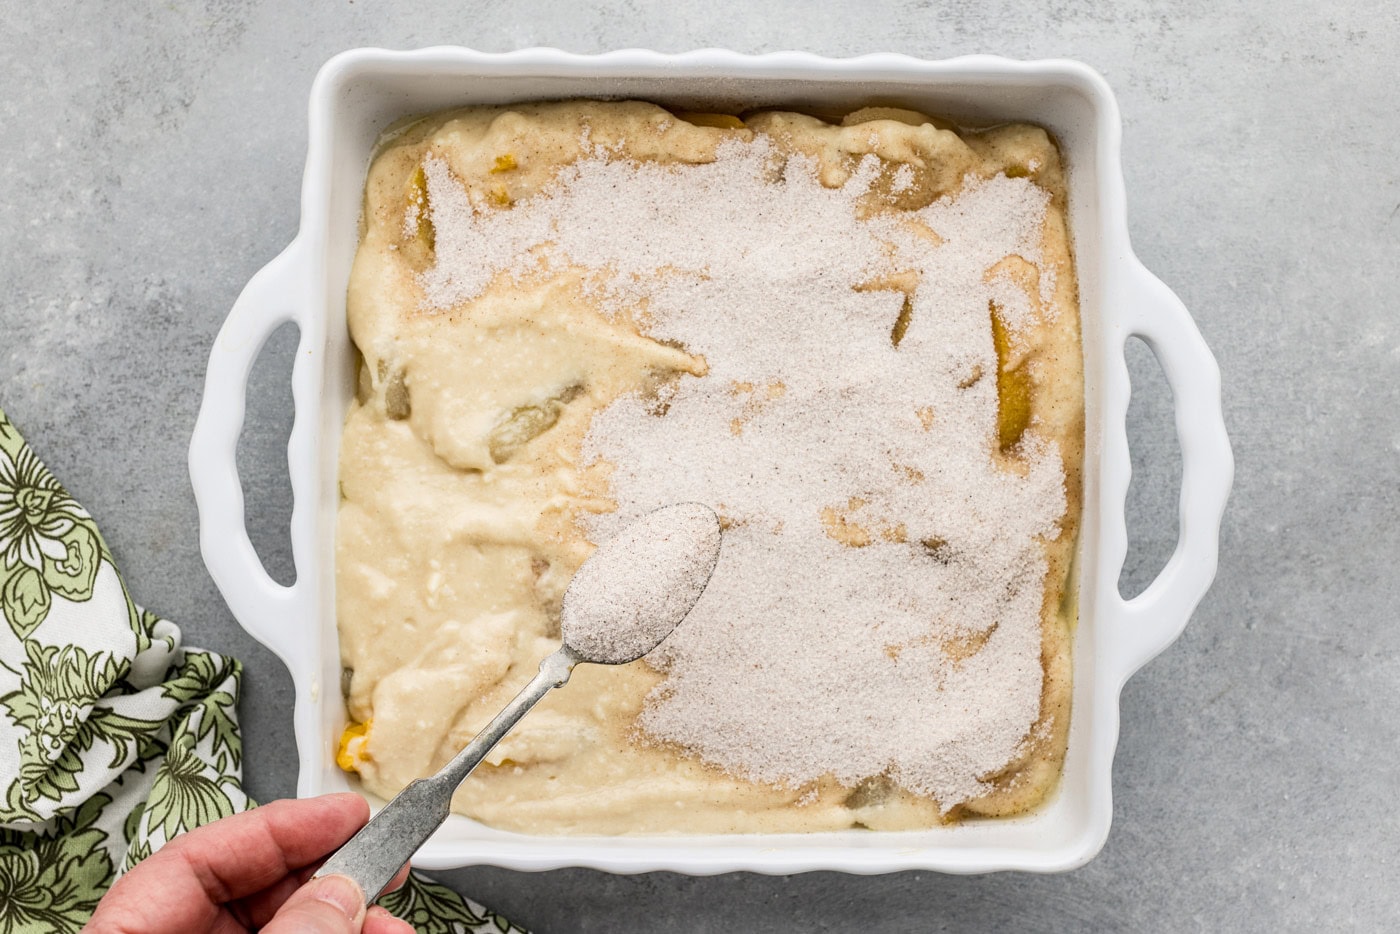
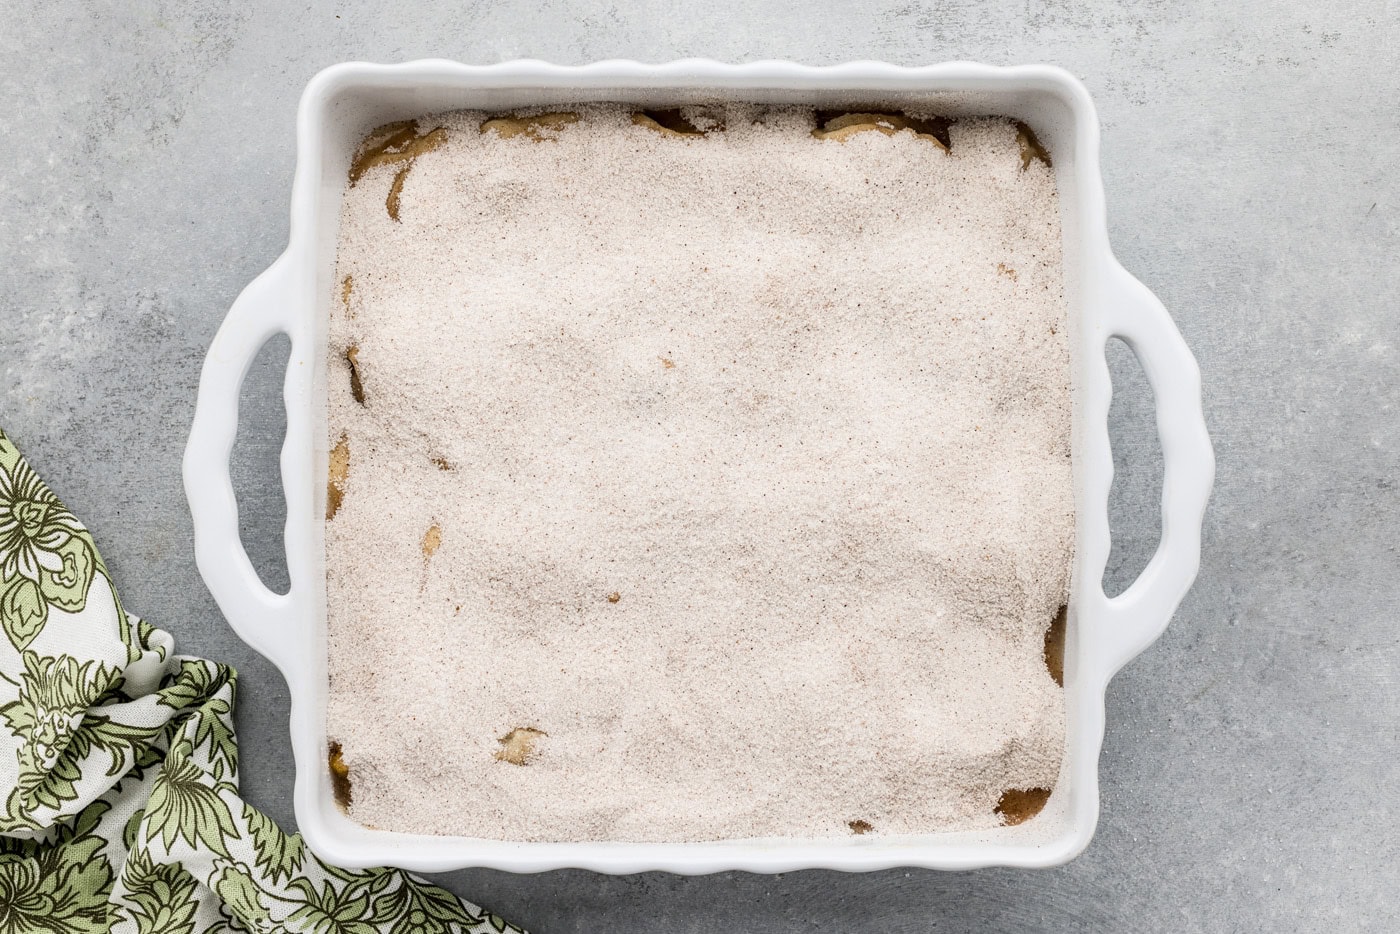
- Whisk together the remaining 3/4 cup of sugar, cornstarch, nutmeg, cinnamon, and allspice. Sprinkle sugar mixture over the batter on the fruit.
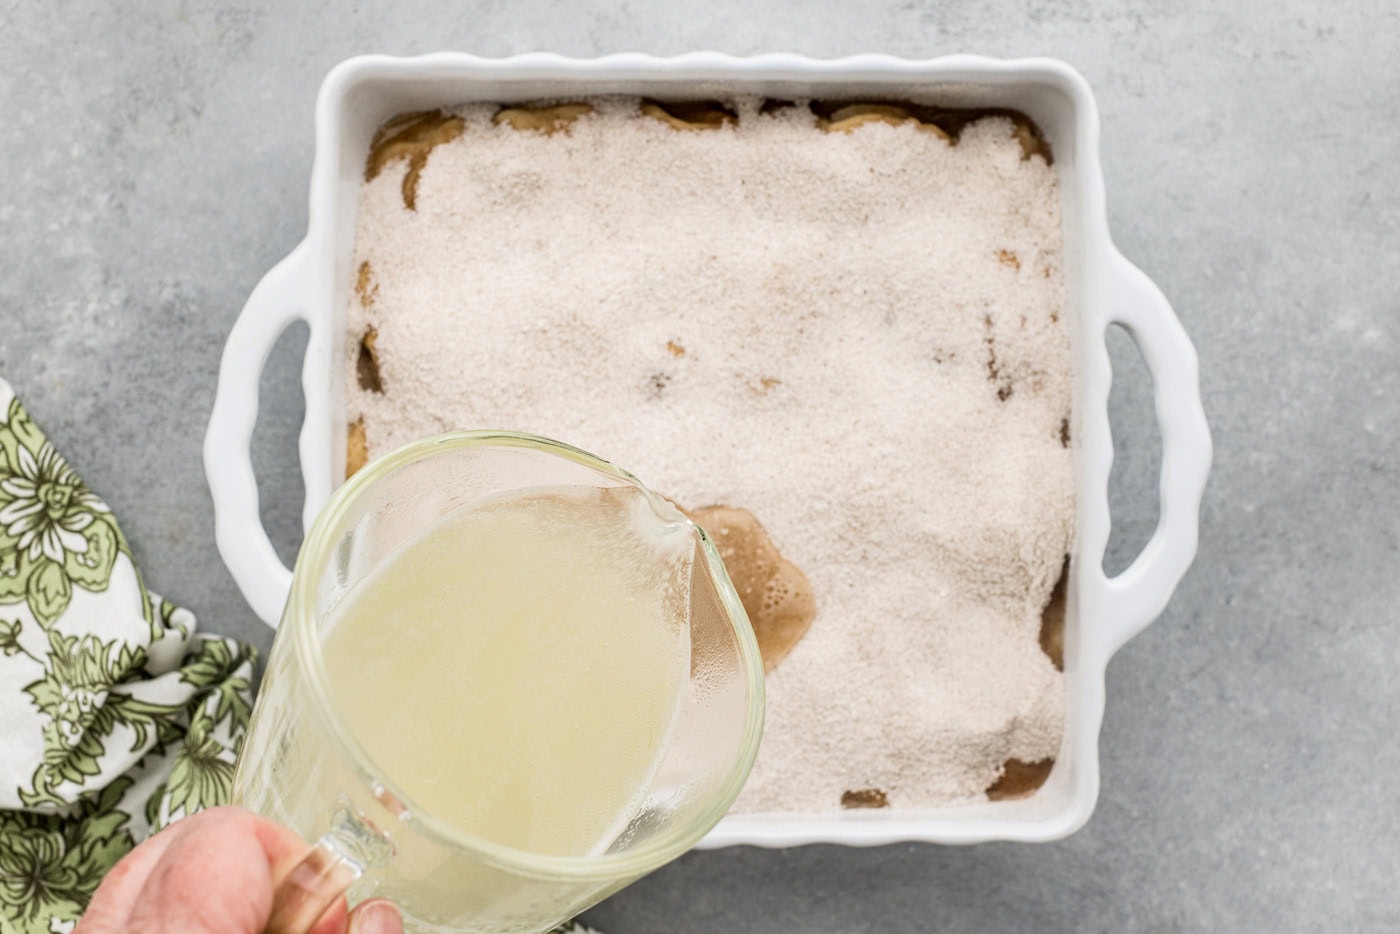
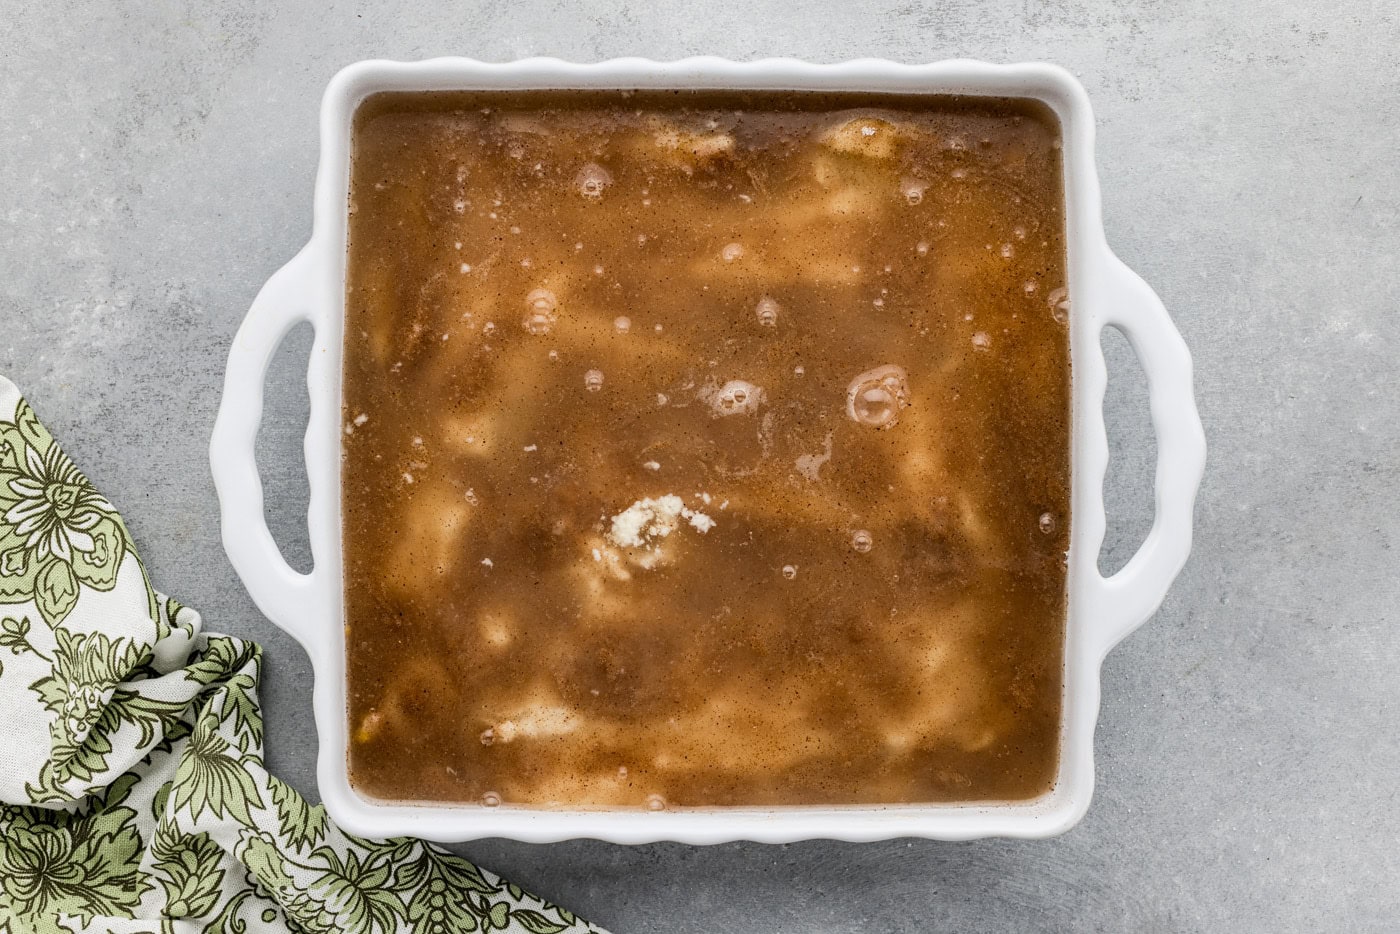
- Combine the peach and pear juice in a glass measuring cup. Bring to a boil in the microwave and then pour over the sugar mixture in the baking pan.
- Bake in preheated 350 degree oven for 55 to 60 minutes. Serve with topping of your choice or ice cream.
Frequently Asked Questions & Expert Tips
Can I use different fruit in this cobbler?Sure! I’ve made a version with pineapple and peaches before which came out tasty, but feel free to experiment with your favorite combo of canned fruits if desired.
How do you store leftover pear peach cobbler?As with most cobbler recipes, it’s best when served right away to prevent the topping getting soggy. However, you can store cooled leftovers in an air-tight container kept in the refrigerator for up to 4 days. I would suggest reheating it in a 350F oven for around 15 minutes or until warmed through to help the topping crisp back up.
Serving Suggestions
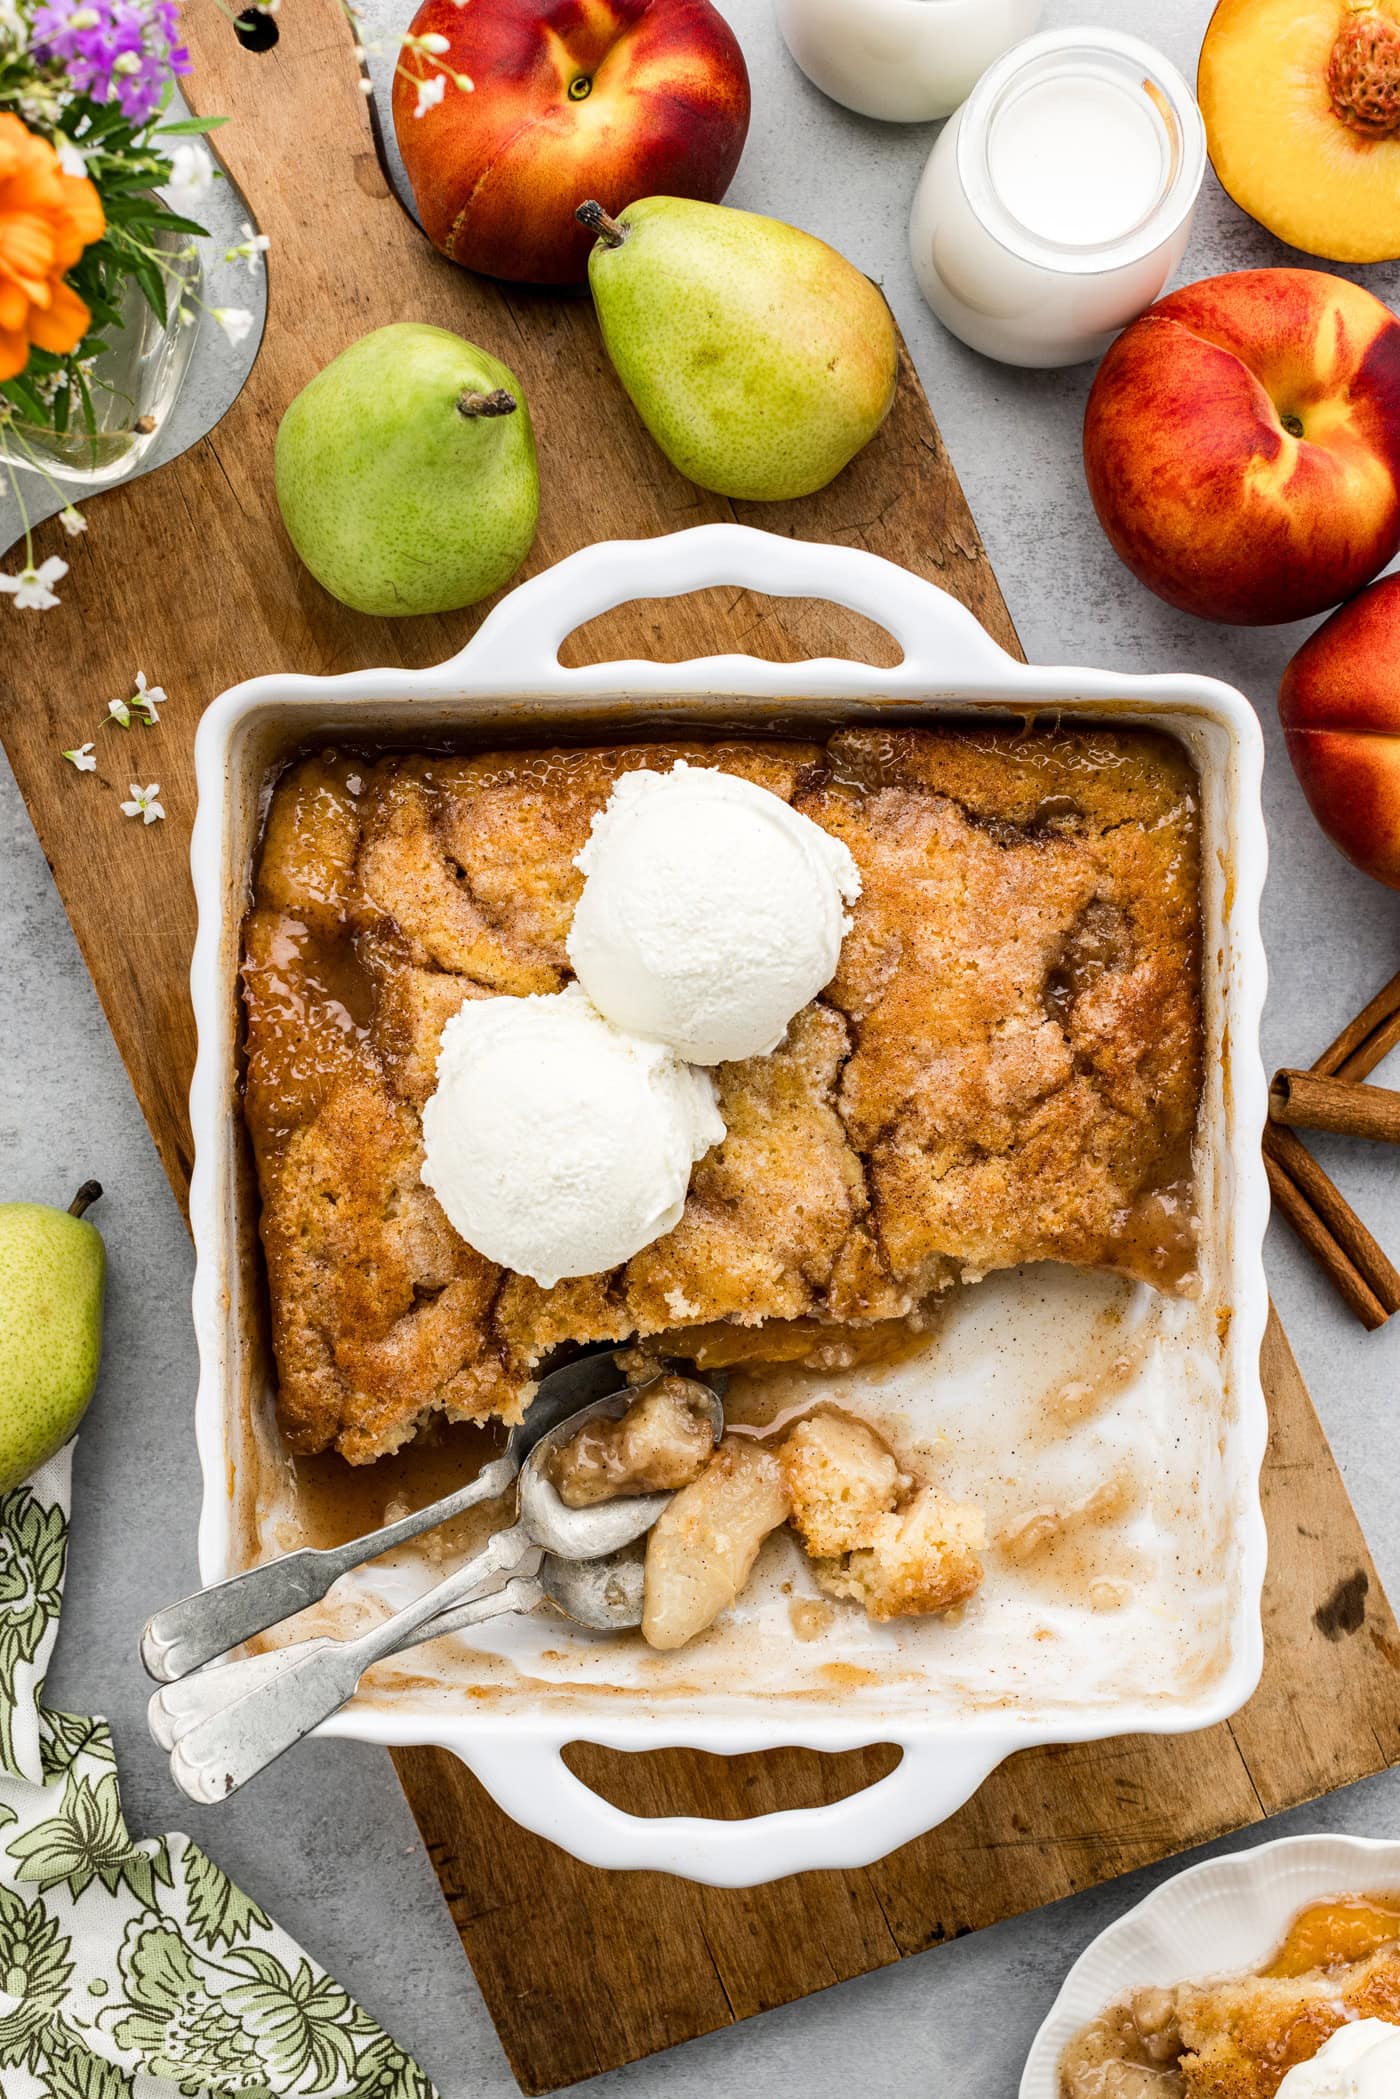
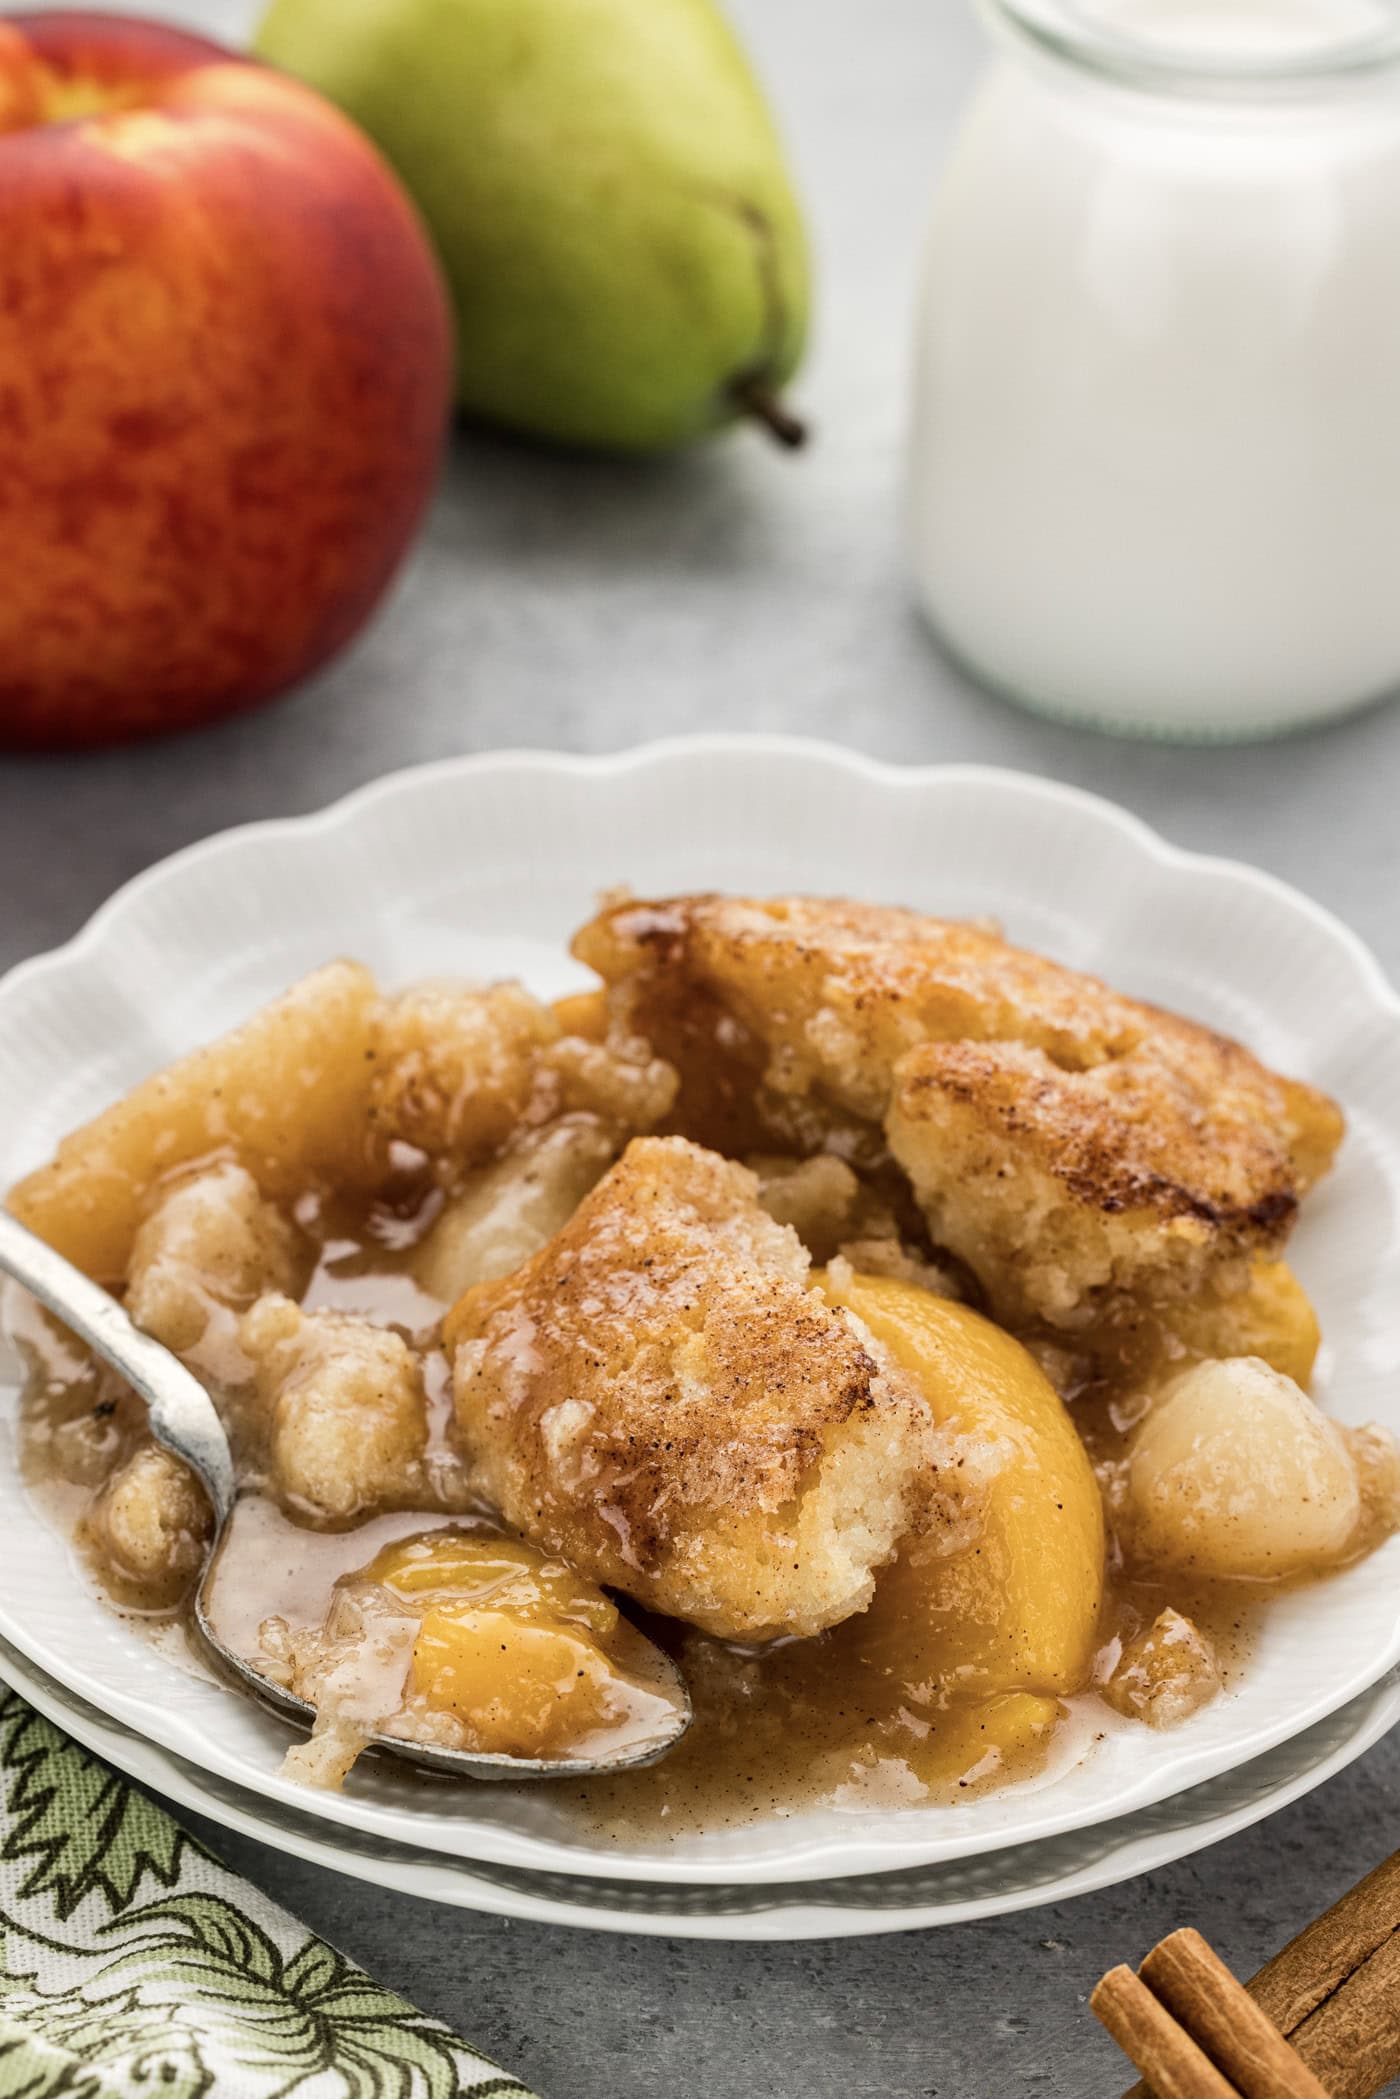
Pear peach cobbler is even more divine served warm and topped with a hefty scoop of vanilla ice cream… It’s like the icing on the cake if you know what I mean. Enjoy!
More Cobbler and Crisp Recipes
- Blueberry Cobbler
- Peach Cobbler Dump Cake
- Crockpot Apple Cobbler
- Crockpot Chocolate Cherry Cobbler
- Prize Winning Rhubarb Crumble
I love to bake and cook and share my kitchen experience with all of you! Remembering to come back each day can be tough, that’s why I offer a convenient newsletter every time a new recipe posts. Simply subscribe and start receiving your free daily recipes!
This post has been updated with new photos and expert tips.
More recipes to try
Eight more recipes from the kitchen.

Our Best Grill Recipes
Do you long for cooking on the grill come March? If you live in a…
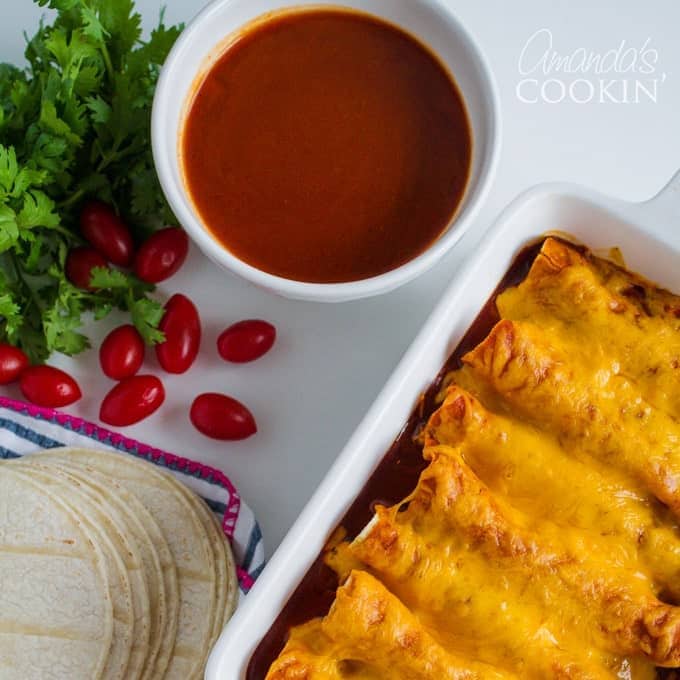
Homemade Enchiladas & Sauce
We love enchiladas in this house, whether they be beef, chicken, pork…
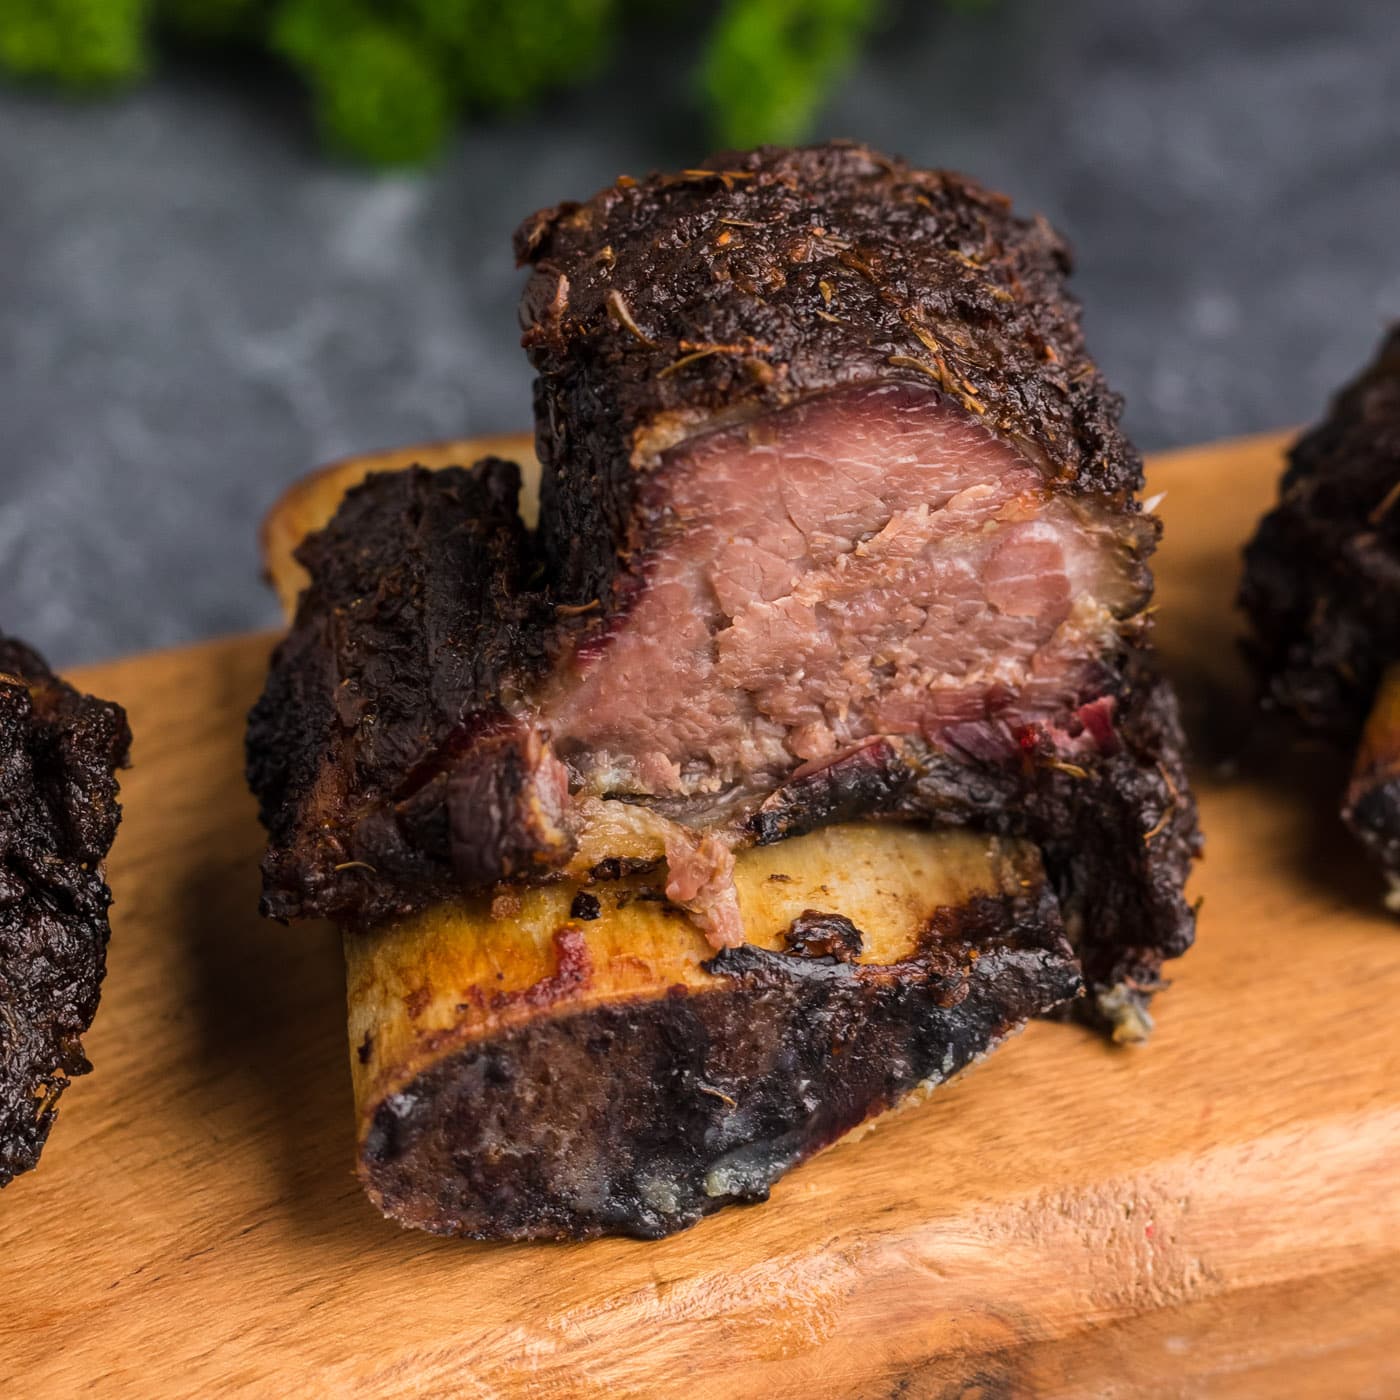
Smoked Beef Short Ribs
This smoked beef short ribs recipe is cooked low and slow for tender…
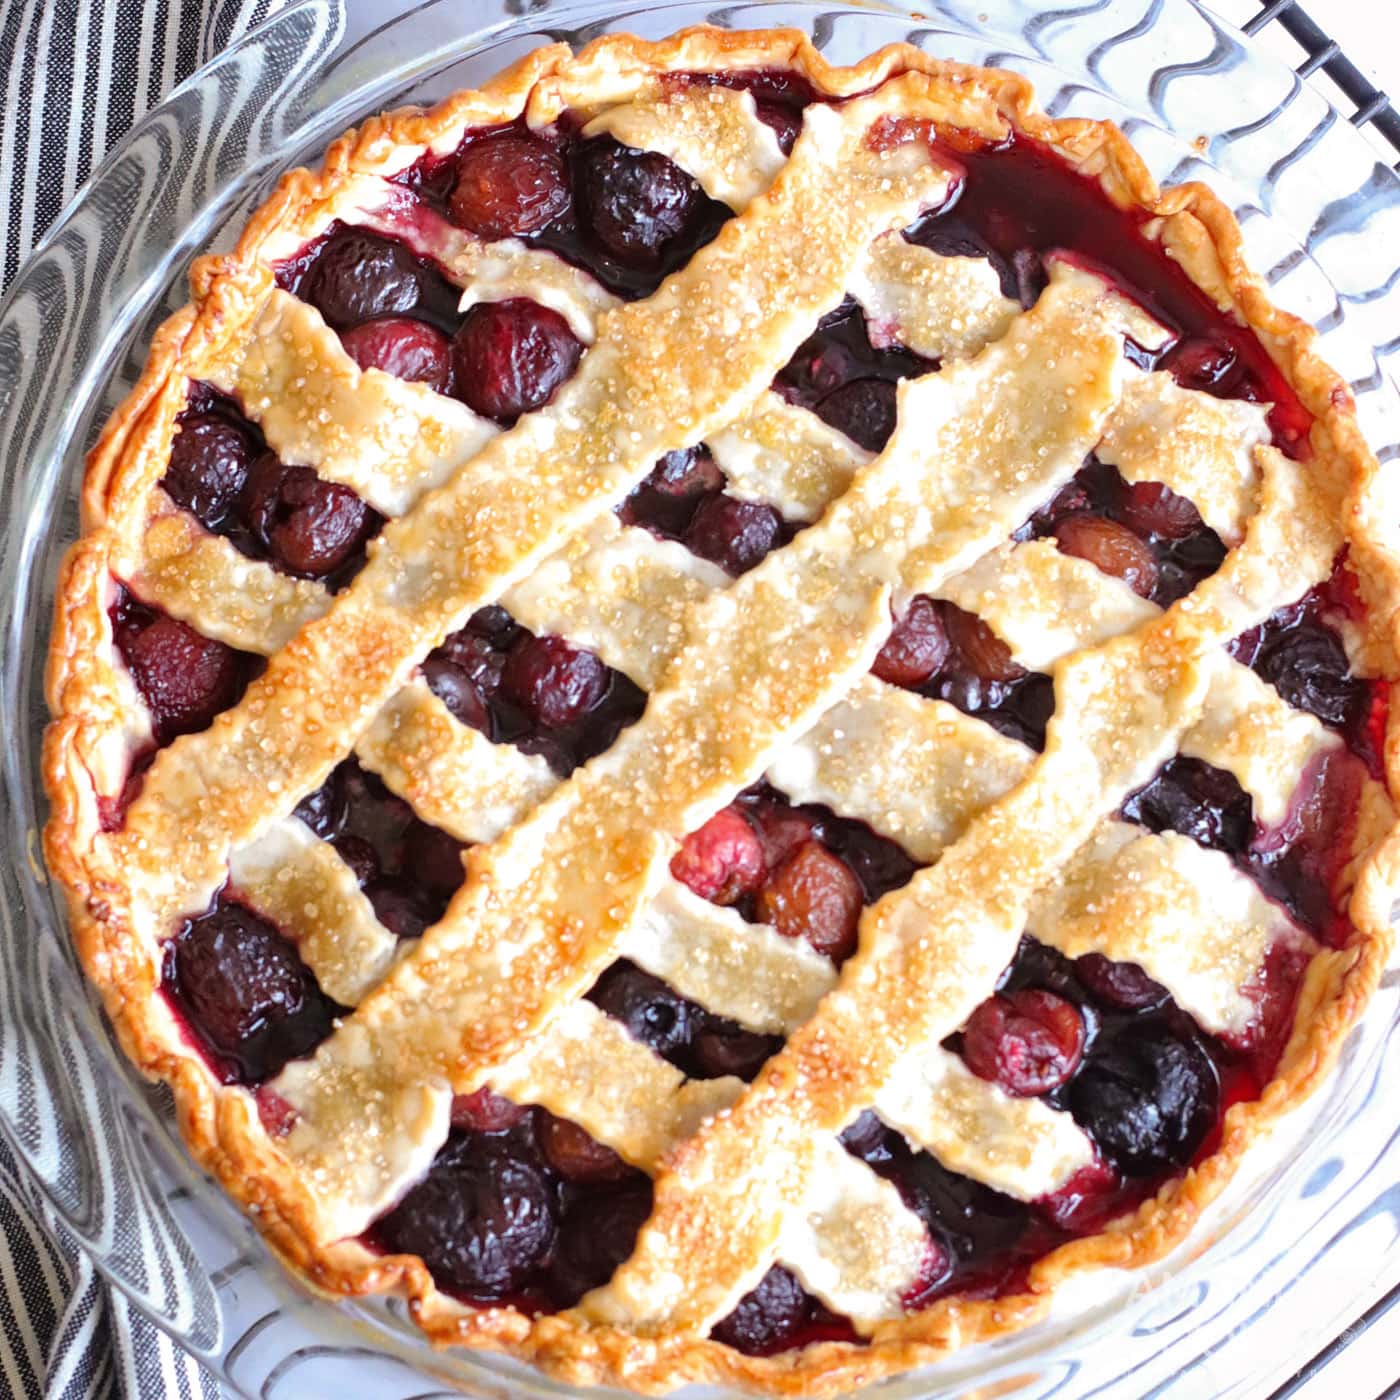
Cherry Pie
Homemade cherry pie is a classic dessert, but it’s even better when…
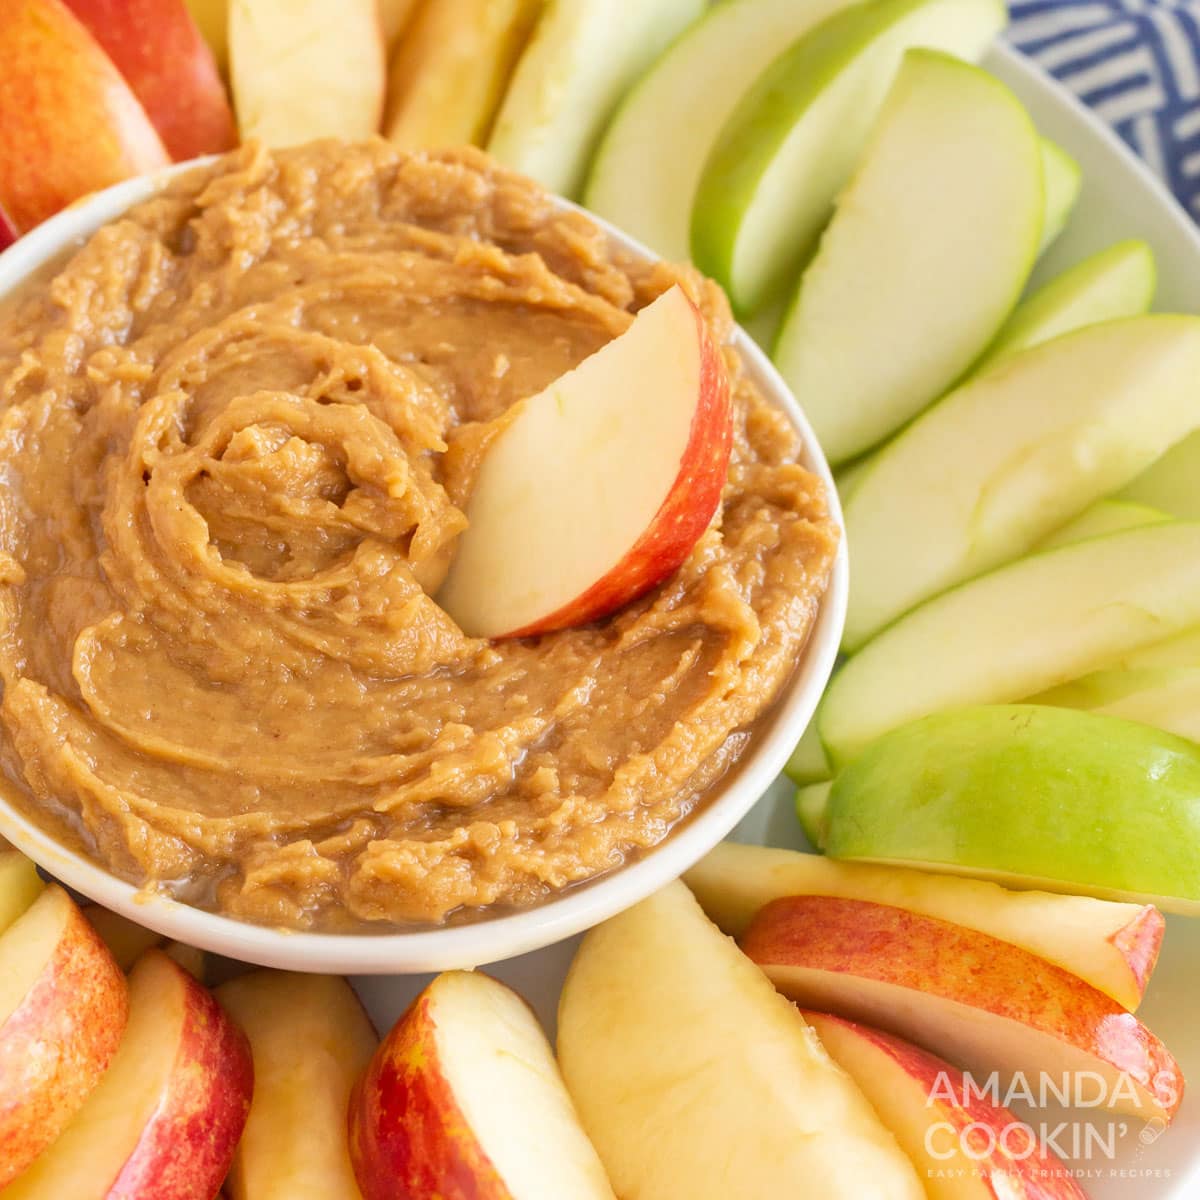
Peanut Butter Apple Dip
With just 4 ingredients, and a quick run through with a mixer, and…
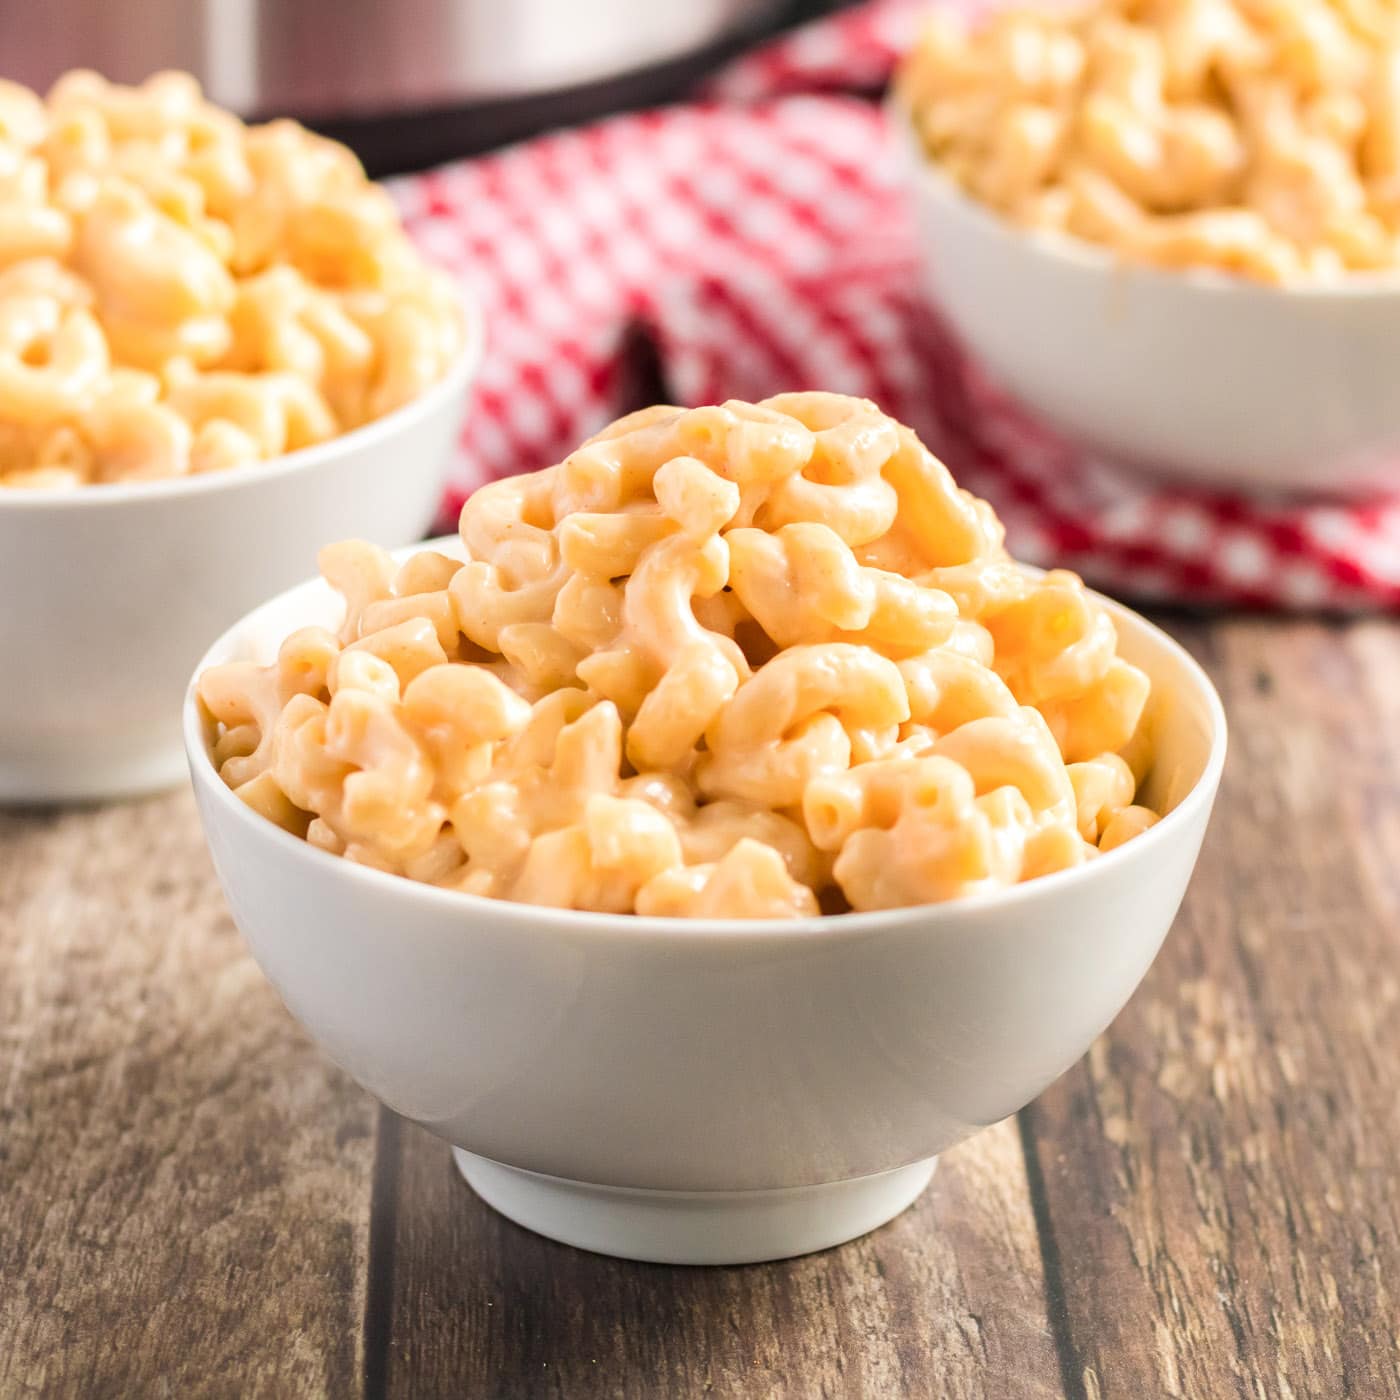
Instant Pot Mac and Cheese
Creamy, delicious Instant Pot mac and cheese. If you’re wondering how…
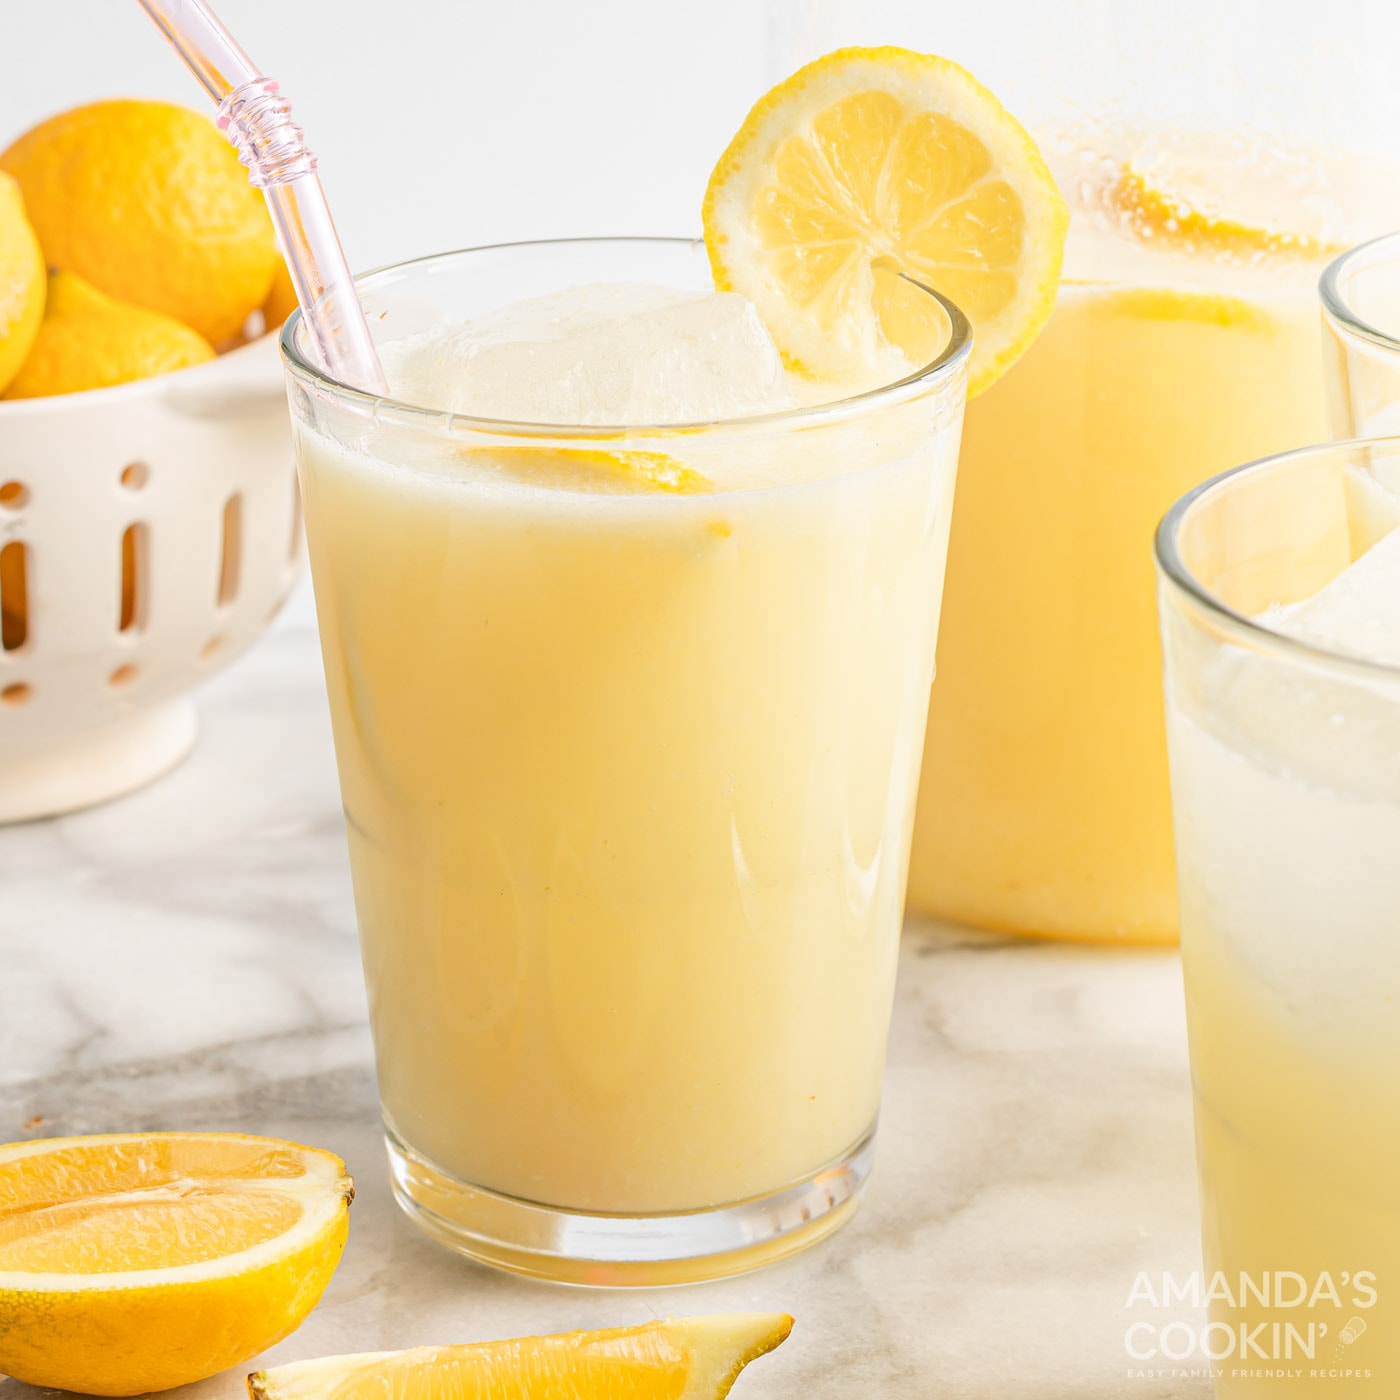
Frozen Lemonade
A quick, easy, and refreshing homemade frozen lemonade recipe that…

Cilantro Lime Grilled Chicken Breasts
Looking for a simple but delicious marinade that’s perfect for the…