Cherry Pie
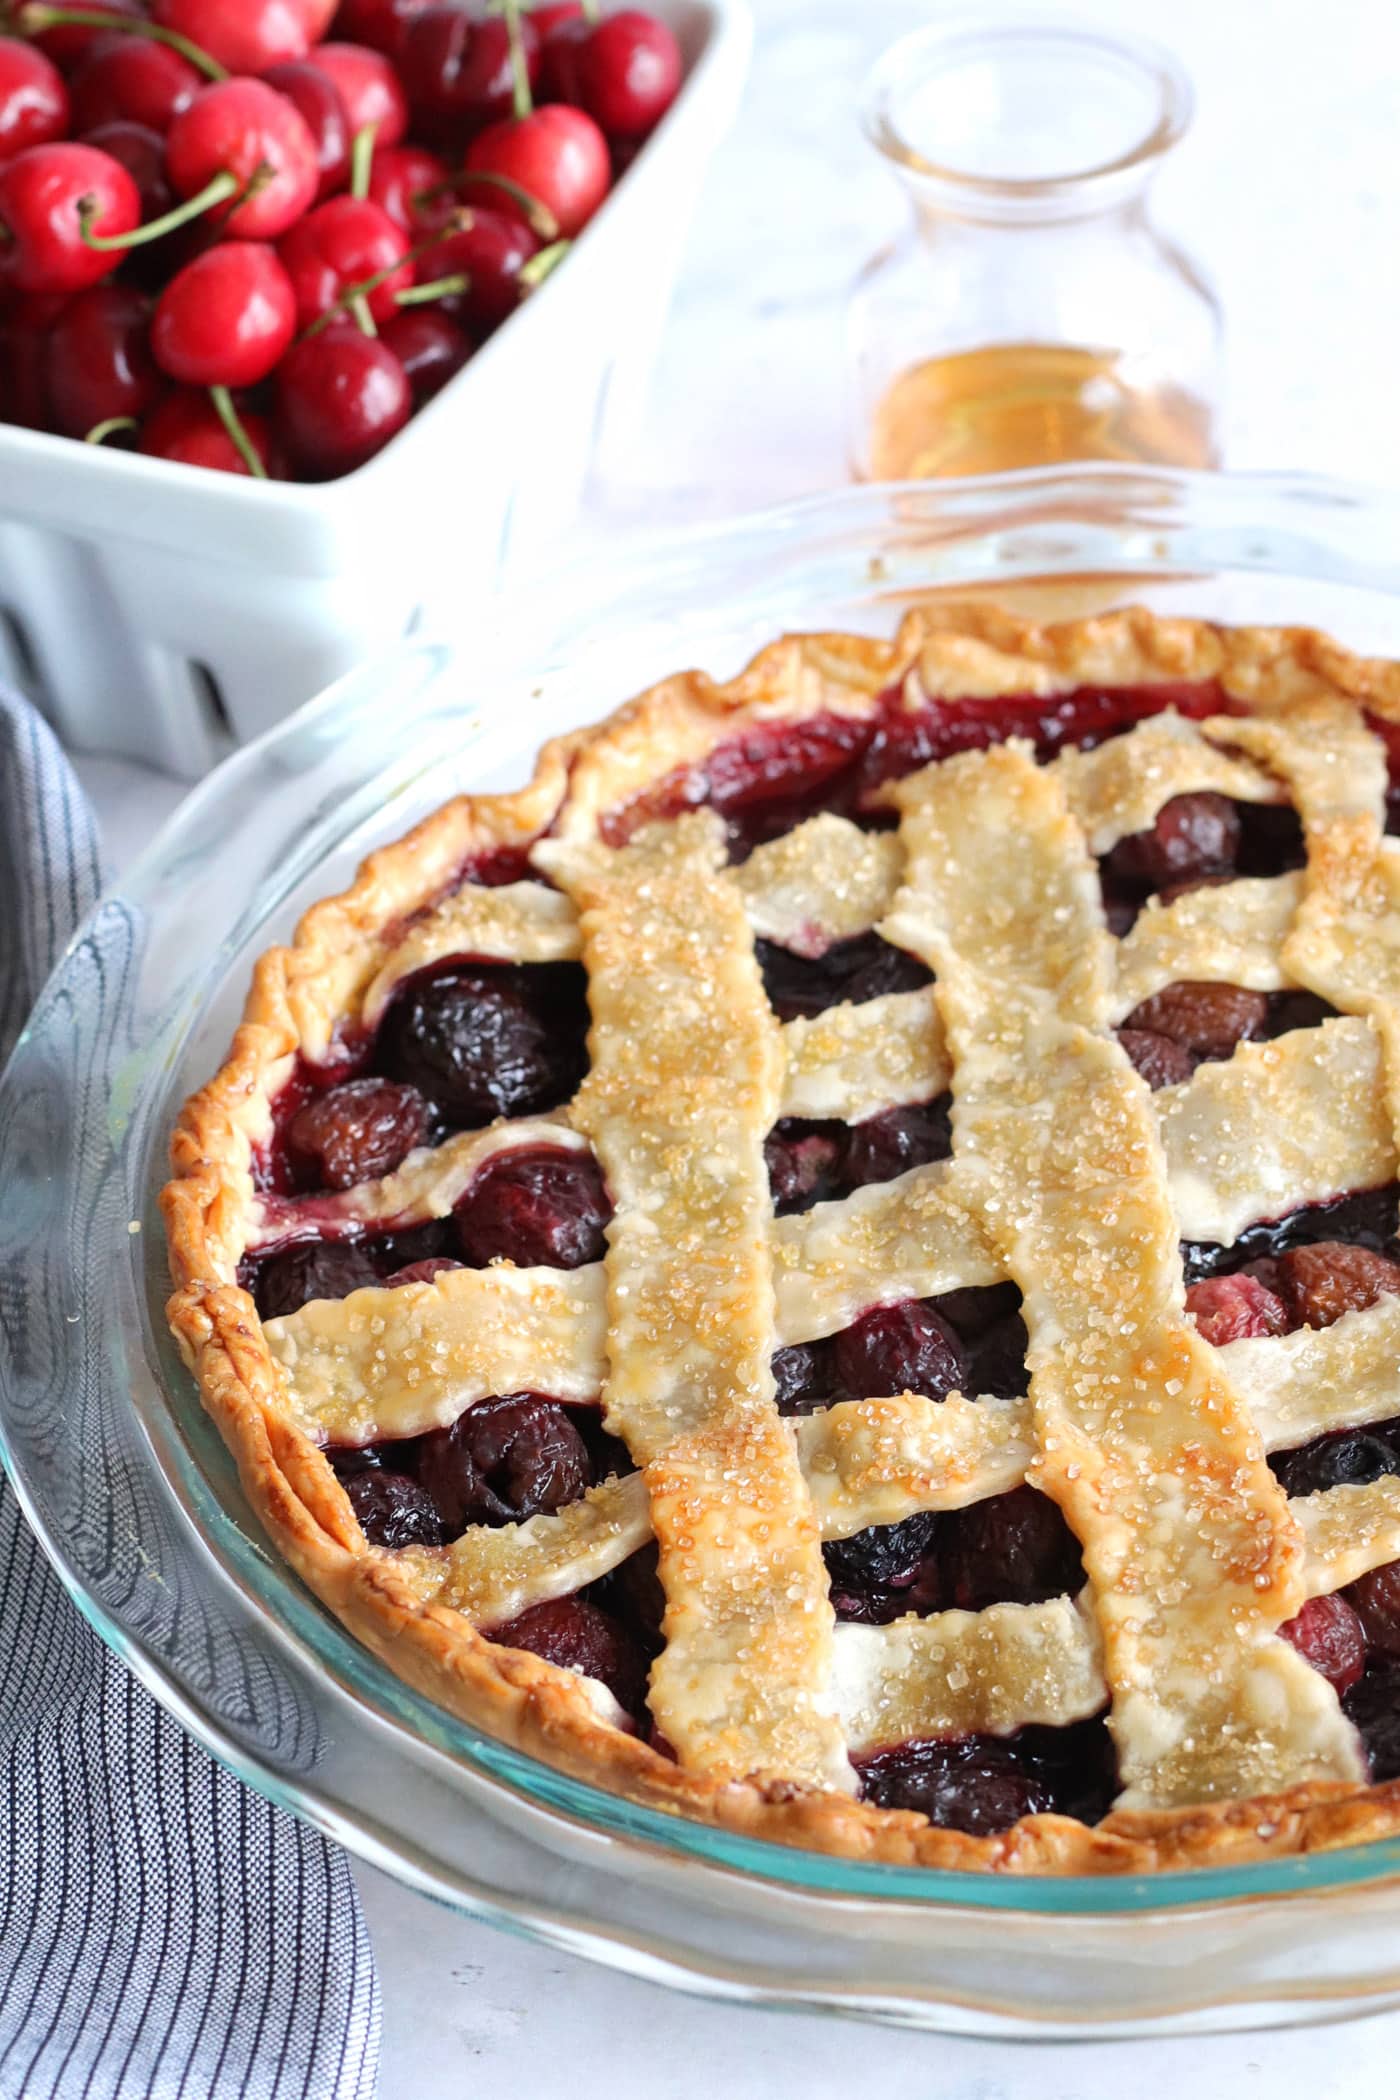
Homemade cherry pie is a classic dessert, but it’s even better when made with juicy sweet cherries and a hint of bourbon to harmonize all the flavors of the pie.
- Total 4 hours 30 minutes
- Serves 8 slices
- Dessert
- American
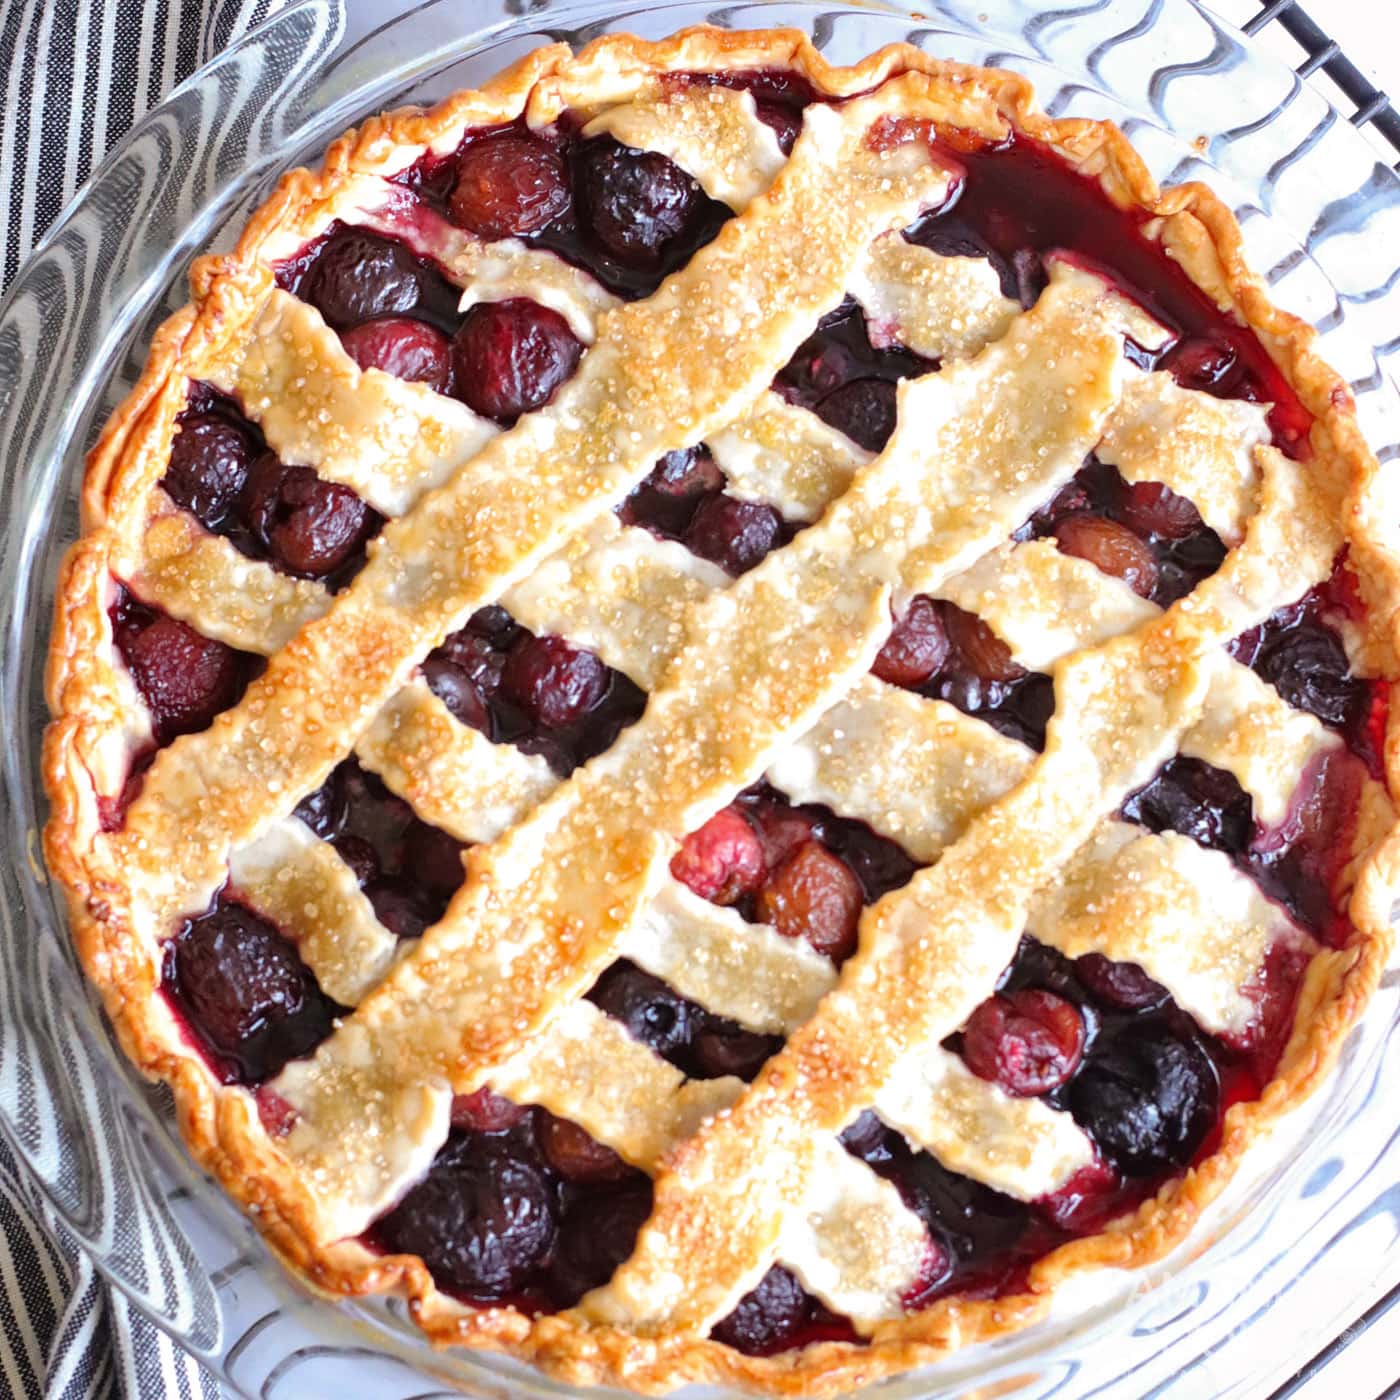
Homemade cherry pie is a classic dessert, but it’s even better when made with juicy sweet cherries and a hint of bourbon to harmonize all the flavors of the pie.
 more
more
Why this recipe works
Cherry pie is quite timeless, especially when baked to a bubbly golden brown and topped with vanilla ice cream. It’s no wonder it’s been around for ages. The addition of bourbon in this recipe adds a slightly nutty component and really ties the cherries, vanilla extract, almond extract, and other ingredients together helping all the flavors shine to their full potential.
Save the store-bought cherry pie filling for some cherry cheesecake because we’re whipping up this pie with fresh sweet cherries today. And don’t be intimidated by it, it only takes about 10 minutes to get into the oven.
RELATED: you might also like this recipe – How to Make Pie Crust
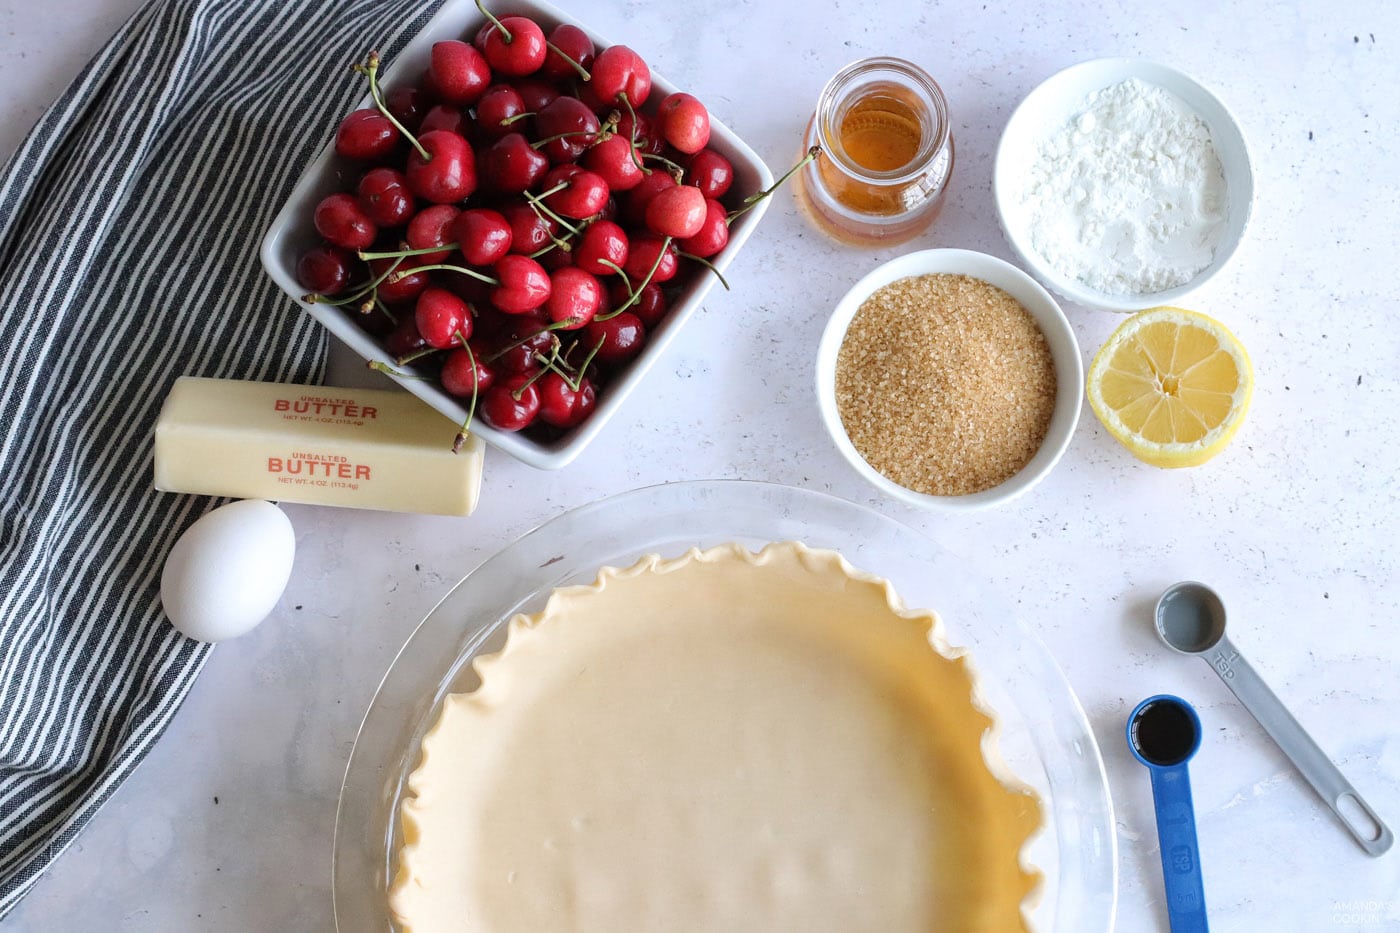
Ingredients you will need
Get all measurements, ingredients, and instructions in the printable version at the end of this post.
Ingredient Info and Substitution Suggestions
CRUST – If you have a tried and true homemade pie crust recipe you’d like to use, go for it! We opted for premade pie crust for ease of use and less prep work.
CHERRIES – You can substitute the dark sweet cherries with Rainier cherries for a bit more sourness in the pie. You can also use frozen cherries in place of fresh if that’s what you have on hand – they work just as well!
ADDITIONS – If you’d like to exclude the alcohol you can easily substitute the bourbon for a bourbon extract or swap it out entirely for cranberry juice or cranberry cherry juice. Adding the cornstarch helps thicken the Cherry filling so it does not get too liquidy upon baking. Adding the butter also helps with preventing the filling from getting to liquidy and not bubbling out over the edges.
How to Make Cherry Pie
These step by step photos and instructions are here to help you visualize how to make this recipe. You can Jump to Recipe to get the printable version of this recipe, complete with measurements and instructions at the bottom.
- Remove your pie crusts from the fridge and allow them to thaw for about 15-20 minutes before starting the pie.
- Preheat your oven to 375 degrees.
- If you’re using fresh cherries you’ll need to pit them and remove the stems too. If you’re using frozen cherries, no need to thaw or do anything to them.
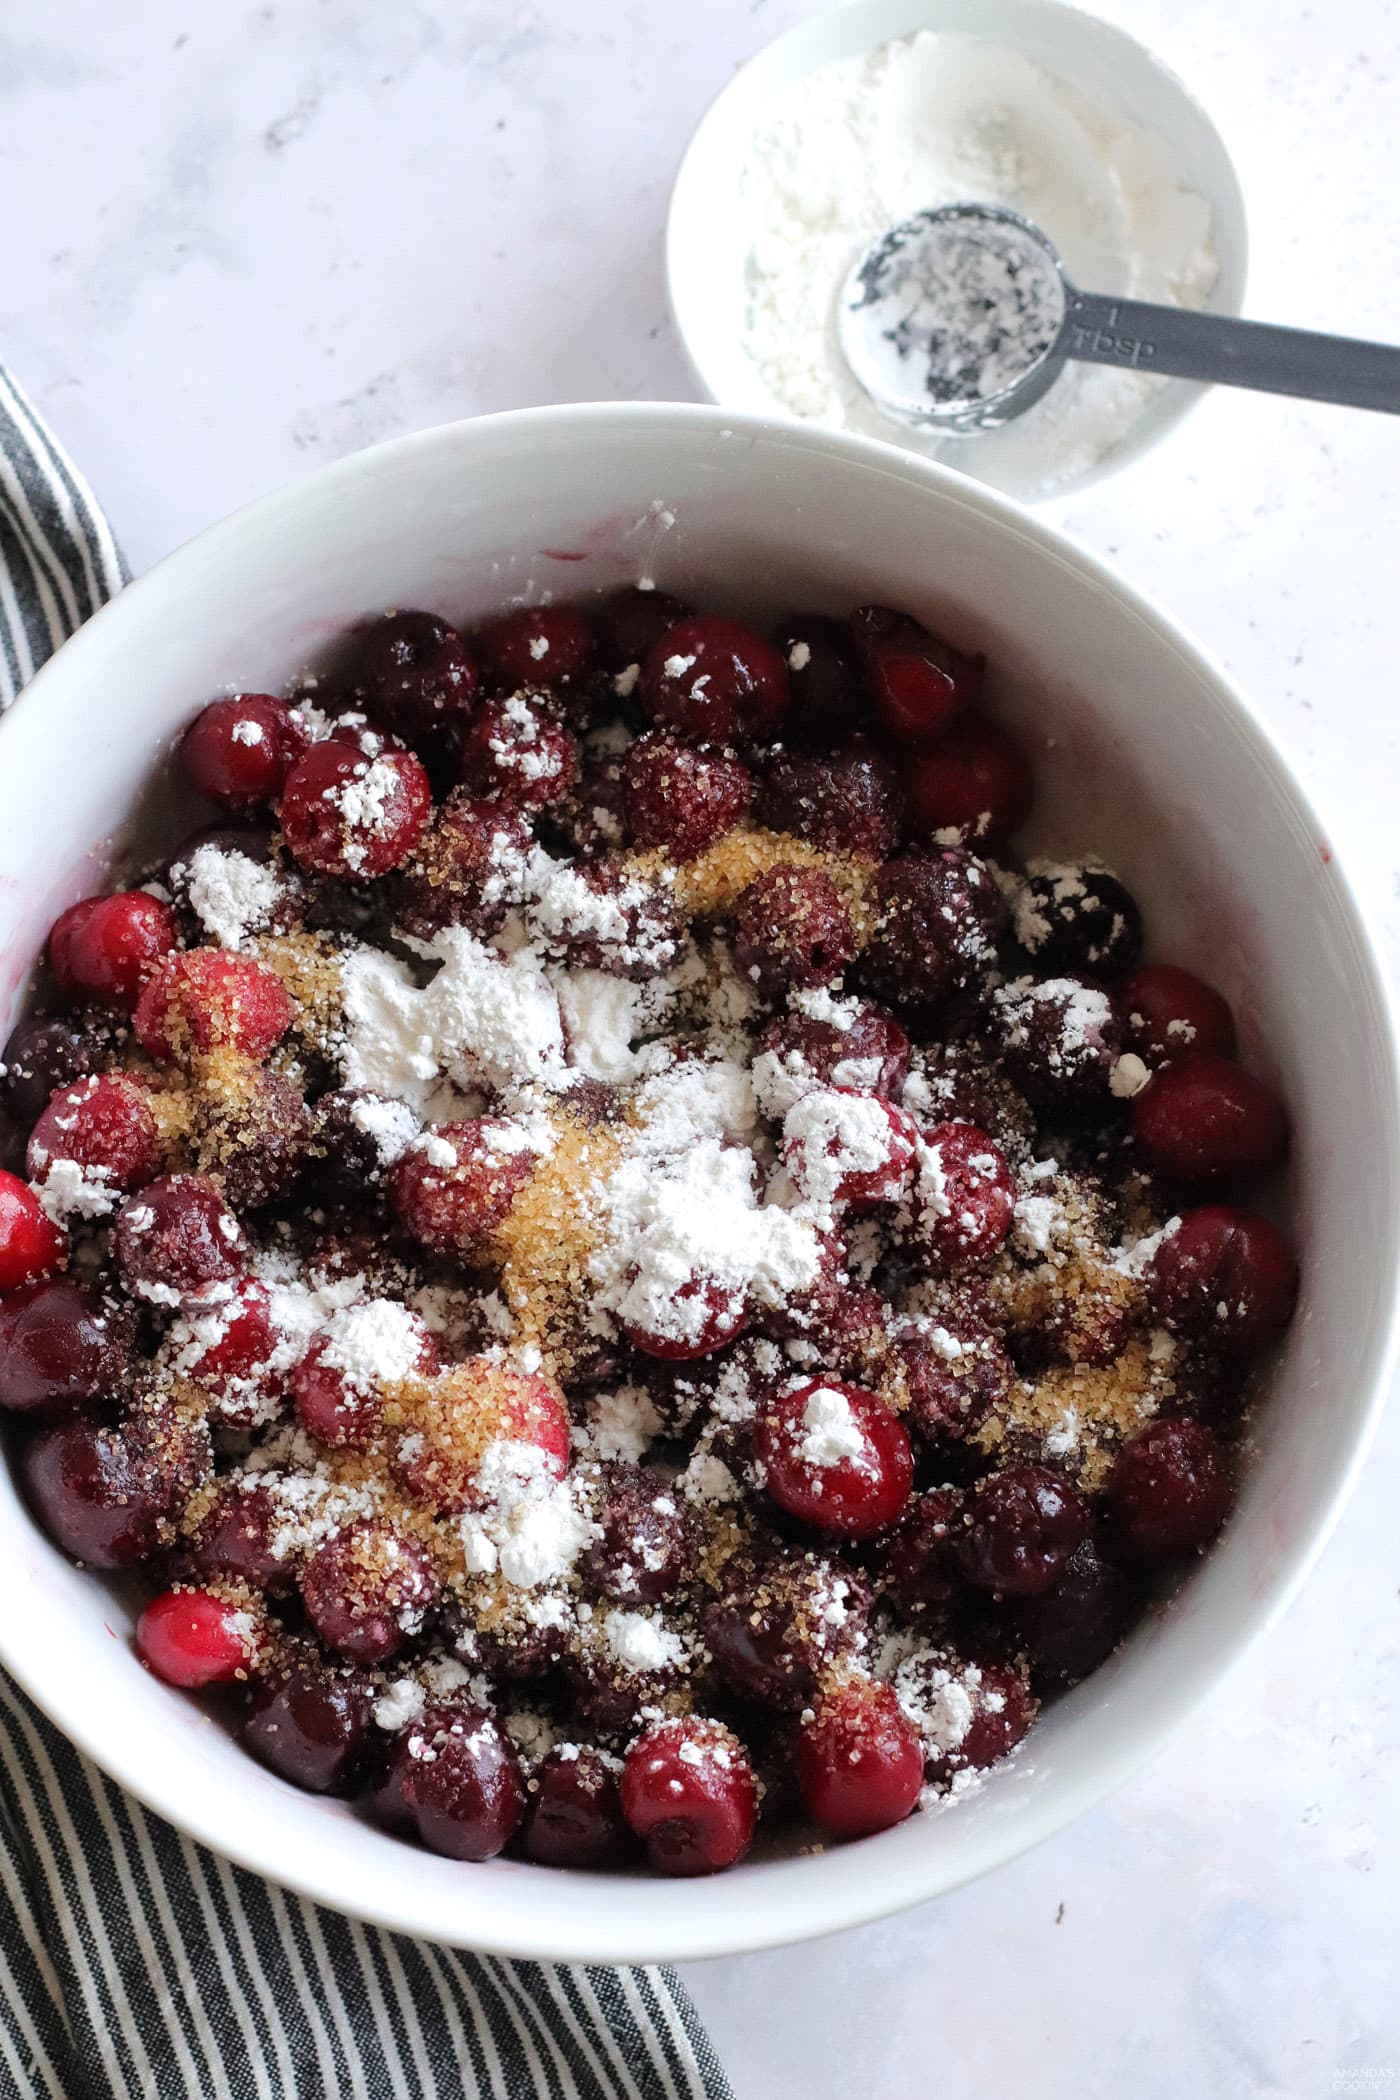
- Place the cherries in a bowl. Add the bourbon and a ½ Cup of the raw sugar (Turbinado sugar) to the cherries. Save the rest of the sugar for later.
- Then add the cornstarch, lemon juice, vanilla extract, and almond extract to the cherries. Mix them around with a spoon until they’re fully coated.
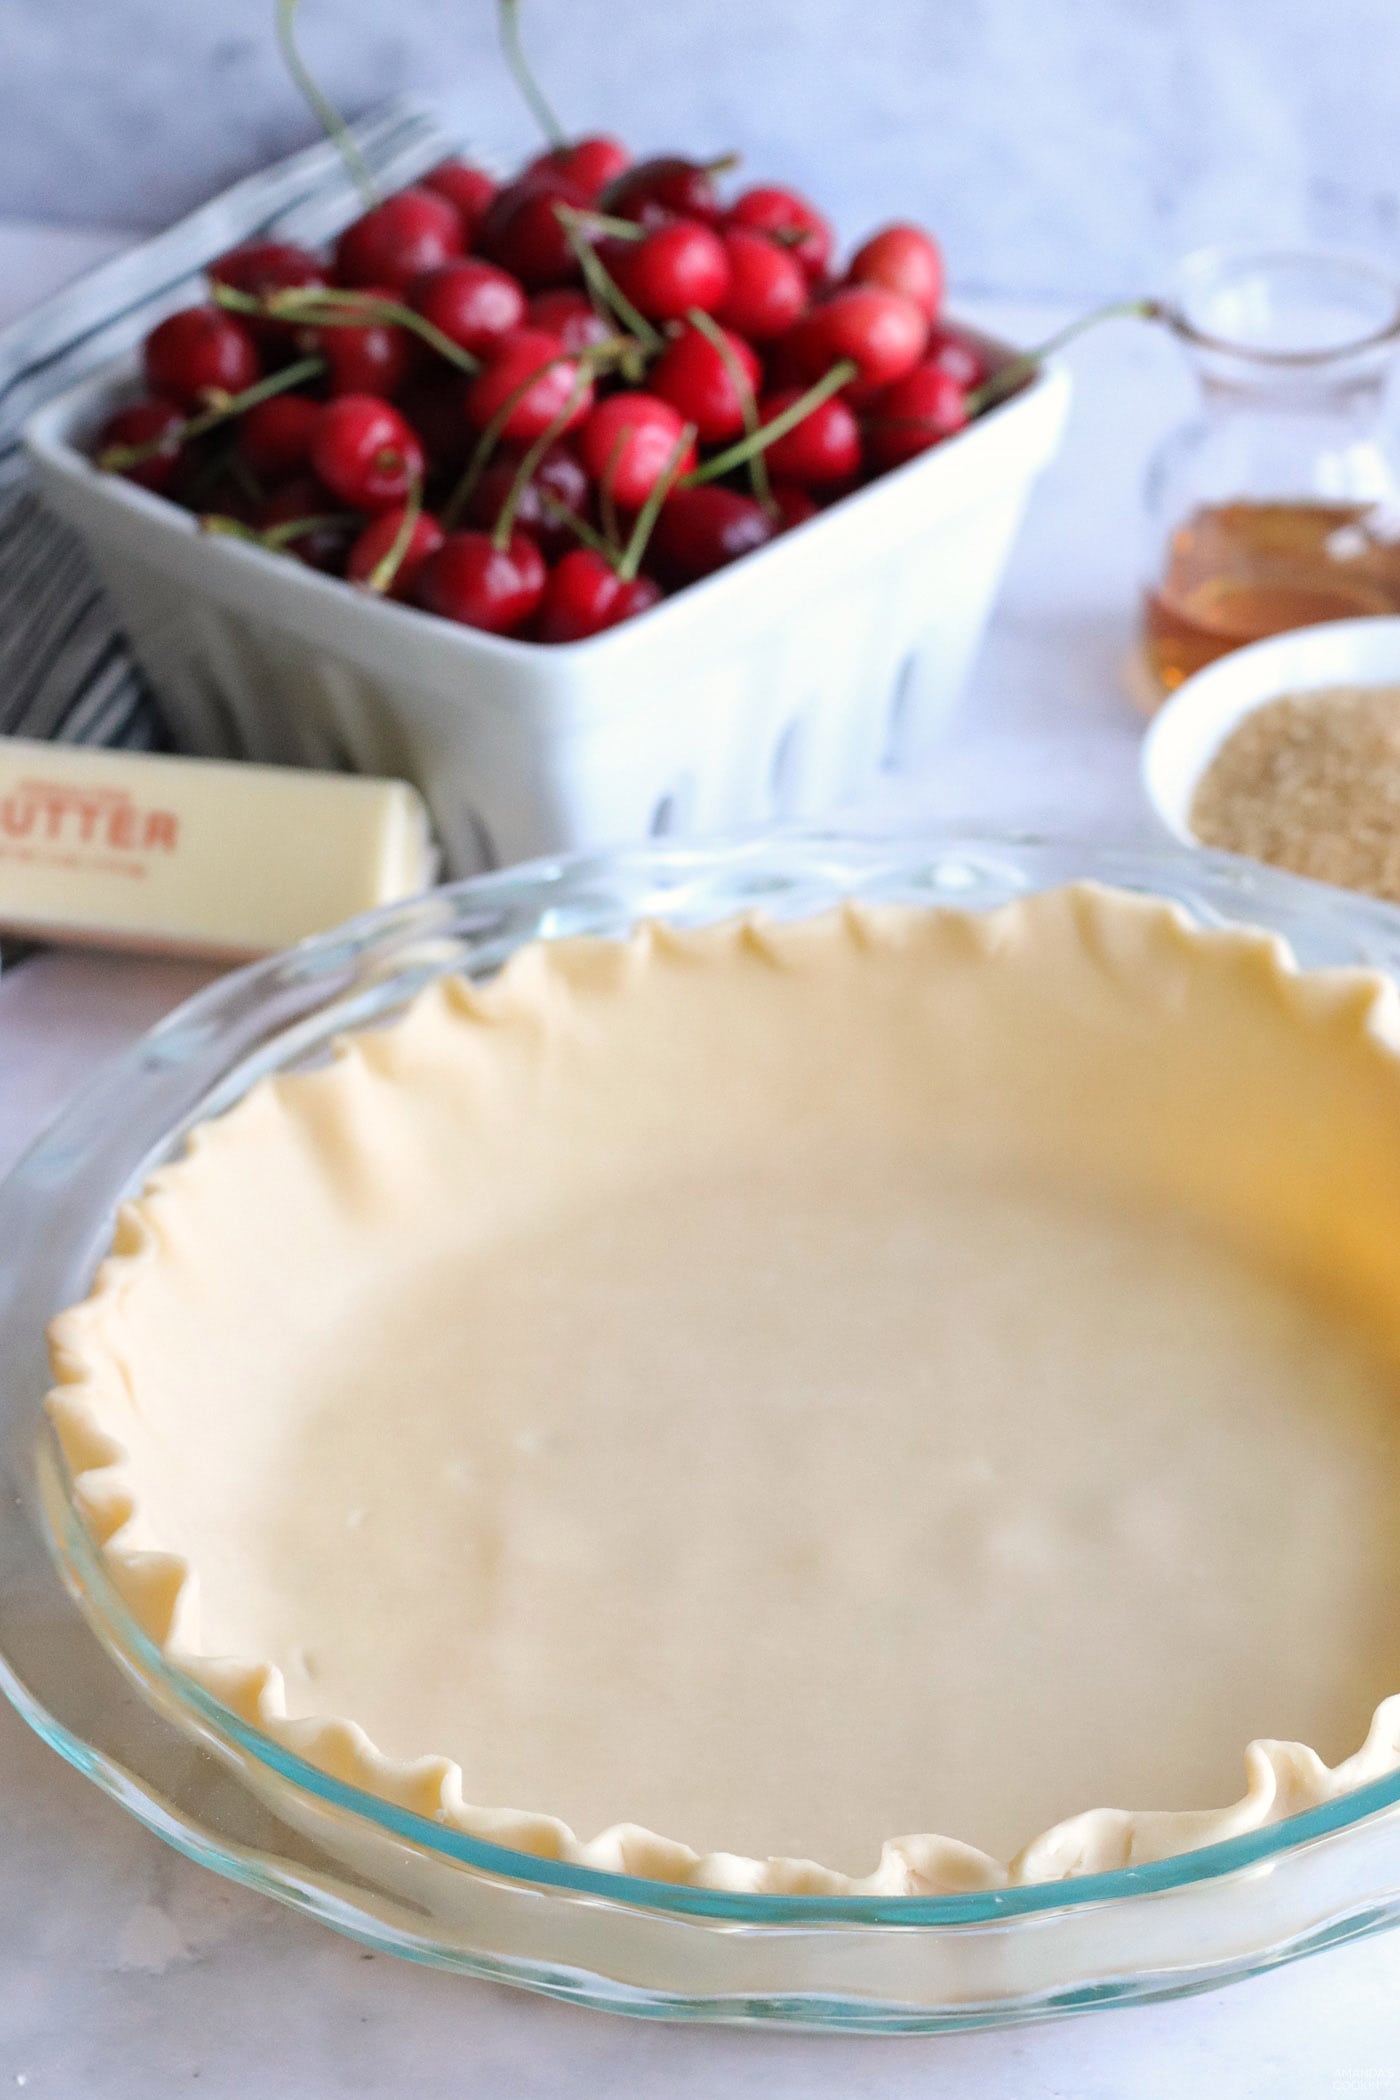
- Place one of your pie crusts into a 9-9.5 inch pie dish.
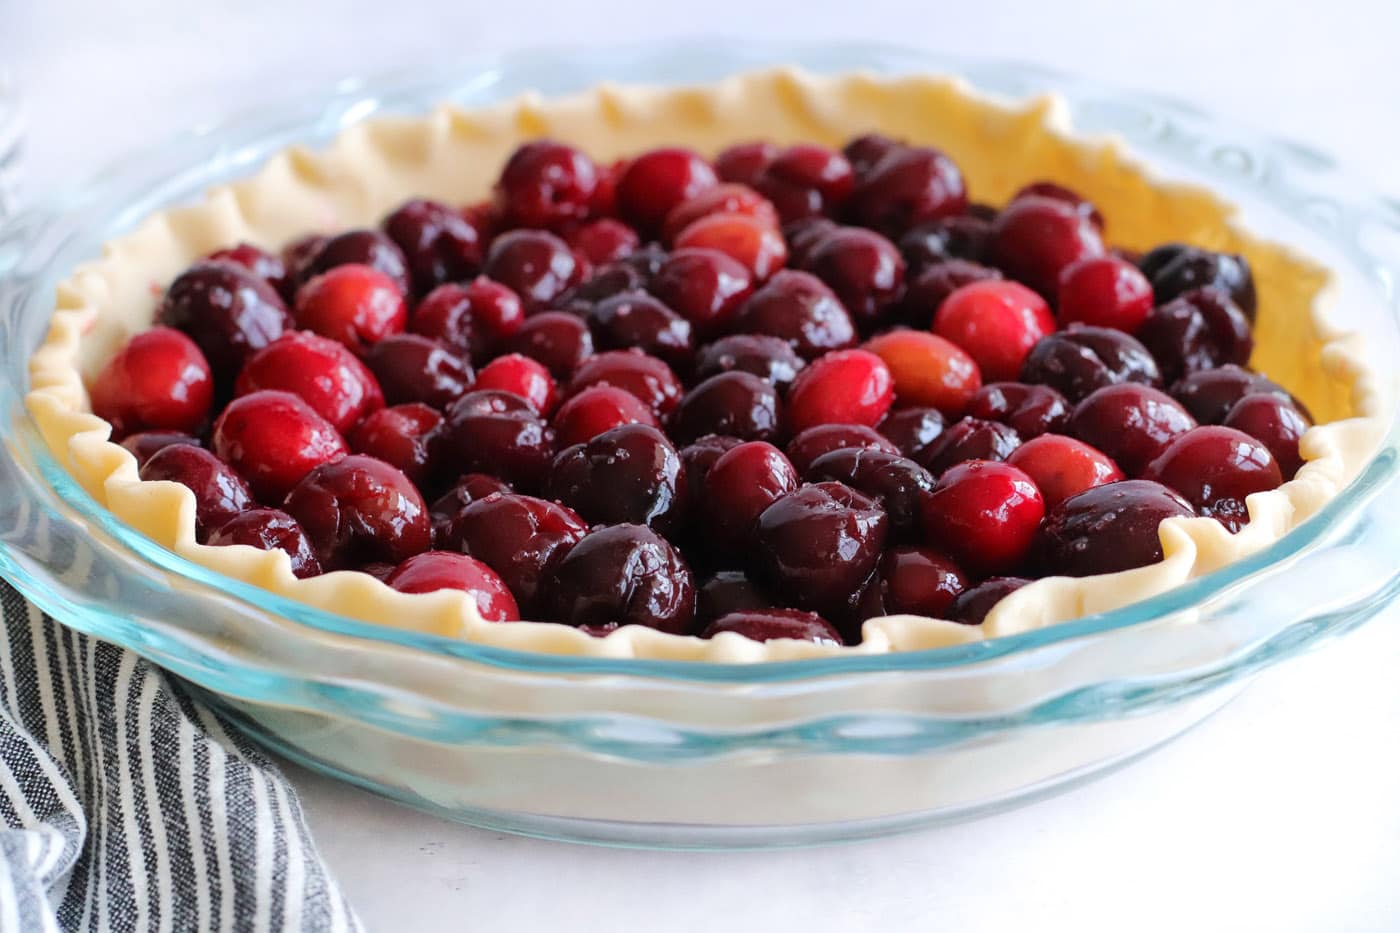
- Add the cherry filling right in to the crust.
- Cut your butter up into smaller pieces and place the pieces on top of the cherries evenly spaced out.
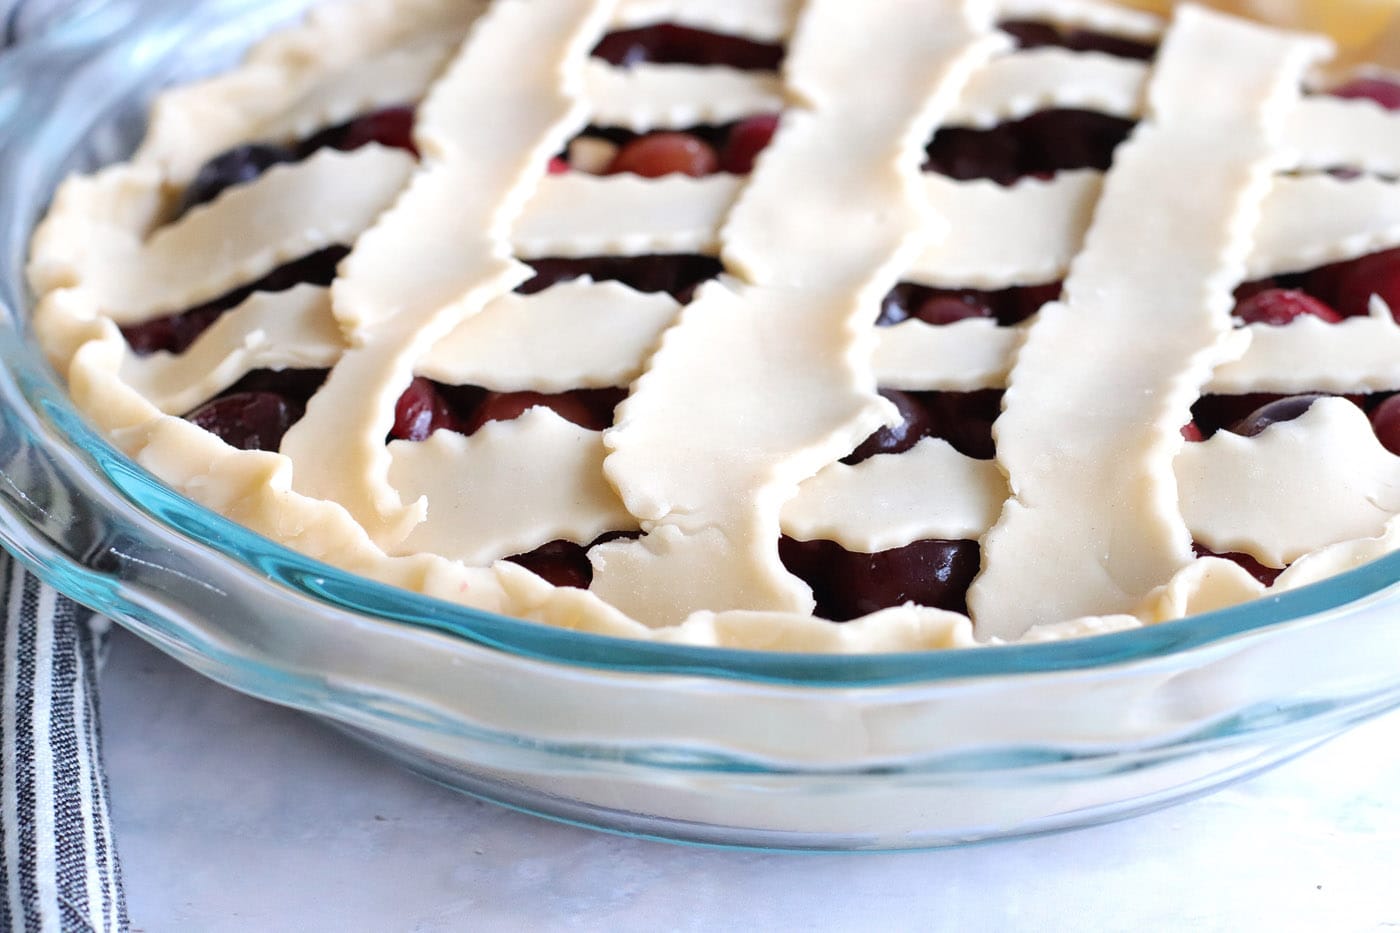
- Take your other pie crust and place it on a piece of parchment paper. Using a pastry wheel, cookie cutter edge, or knife cut the second crust into about 8-10 even strips.
- Lay the strips on top of the cherries in any pattern you’d like. I laid five pieces down vertically and then three across the top horizontally.
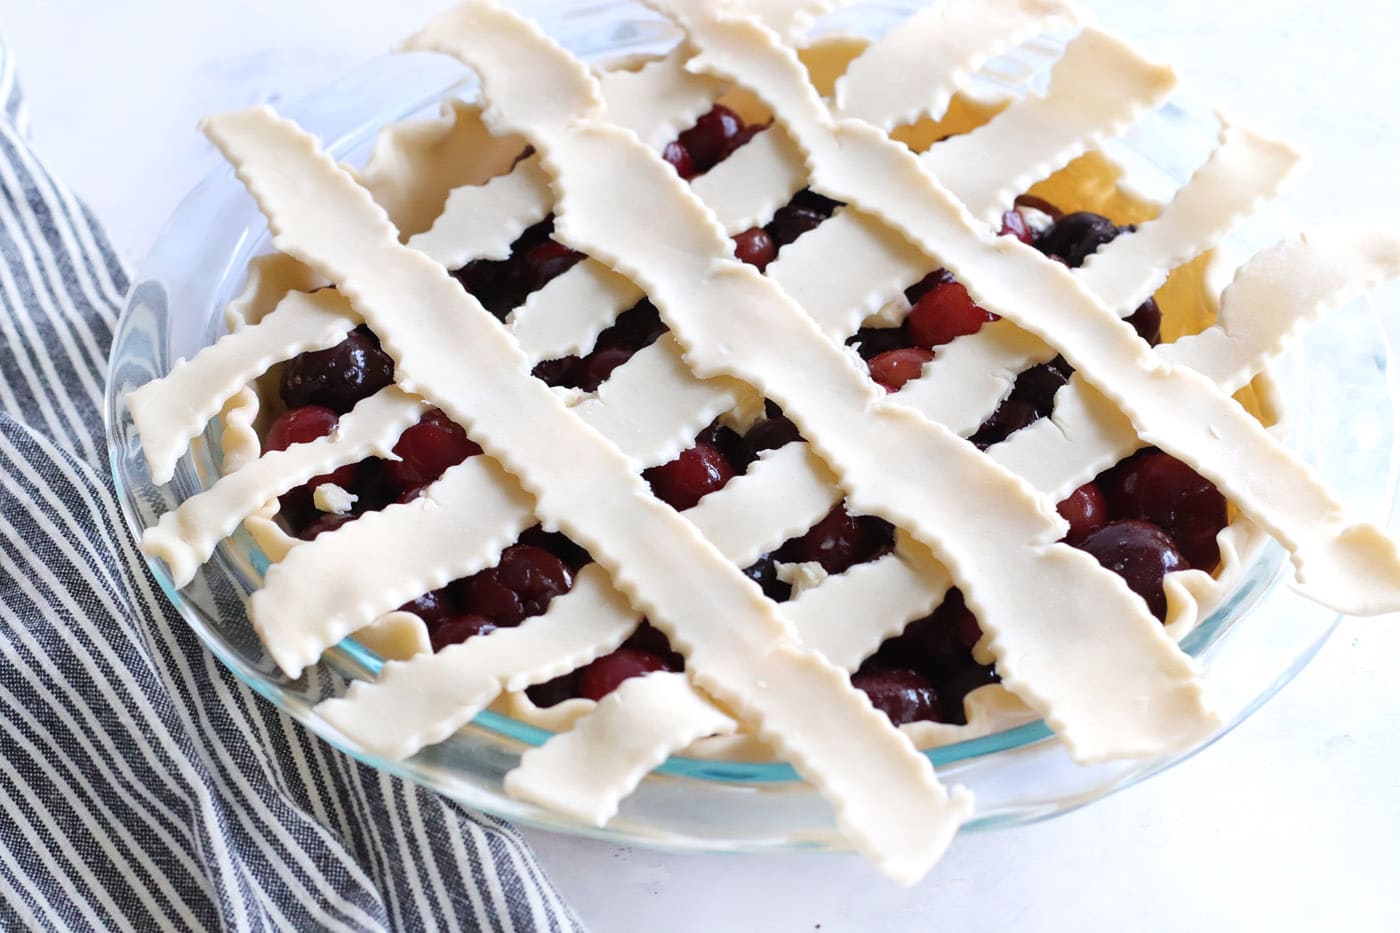
- Next, trim off any excess dough around the edges and tuck the edges into the bottom crust, pinching them to it (you can use a sprinkle of water if you are having trouble getting them to stick).
- Crack the egg into a bowl and add about 1 Tbsp of room temp water to it. Mix it to make an egg wash.
- Brush the top of your pie crust with the egg wash. Sprinkle the crust with the remaining raw sugar.
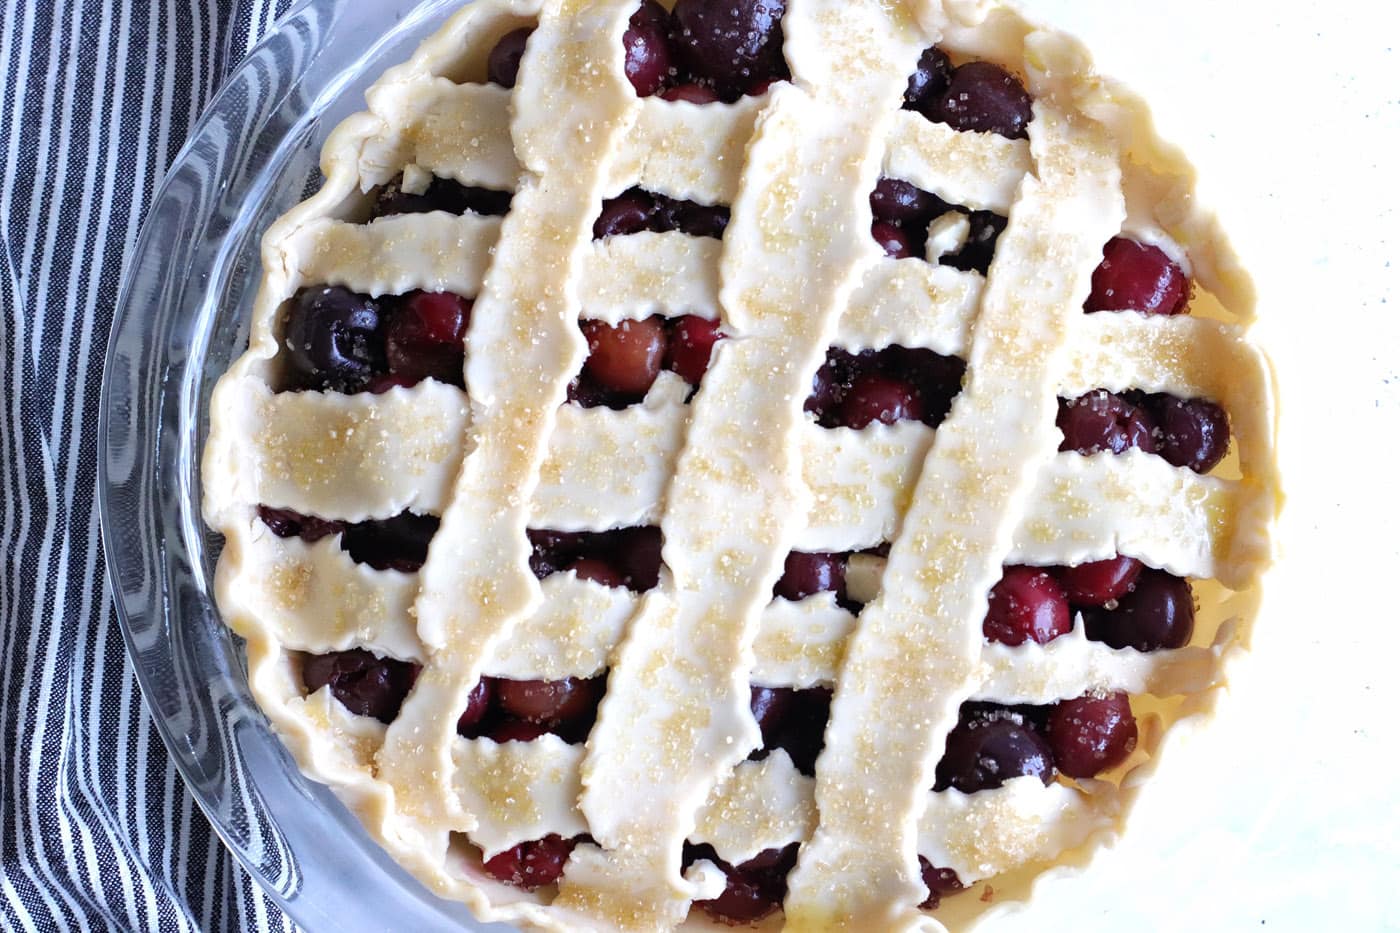
- Place the pie in the oven and bake for about 30-35 minutes.
- If the edges are starting to get brown at this point, you may want to cover them with a baking protector or foil if you don’t have one of those. Just fold the foil so it’s only covering the edges of the pie (It should lay right on the edges in a circle, leaving the middle exposed).
- Place the pie back in the oven, reduce the heat to 350 degrees and cook for another 30 to 40 minutes.
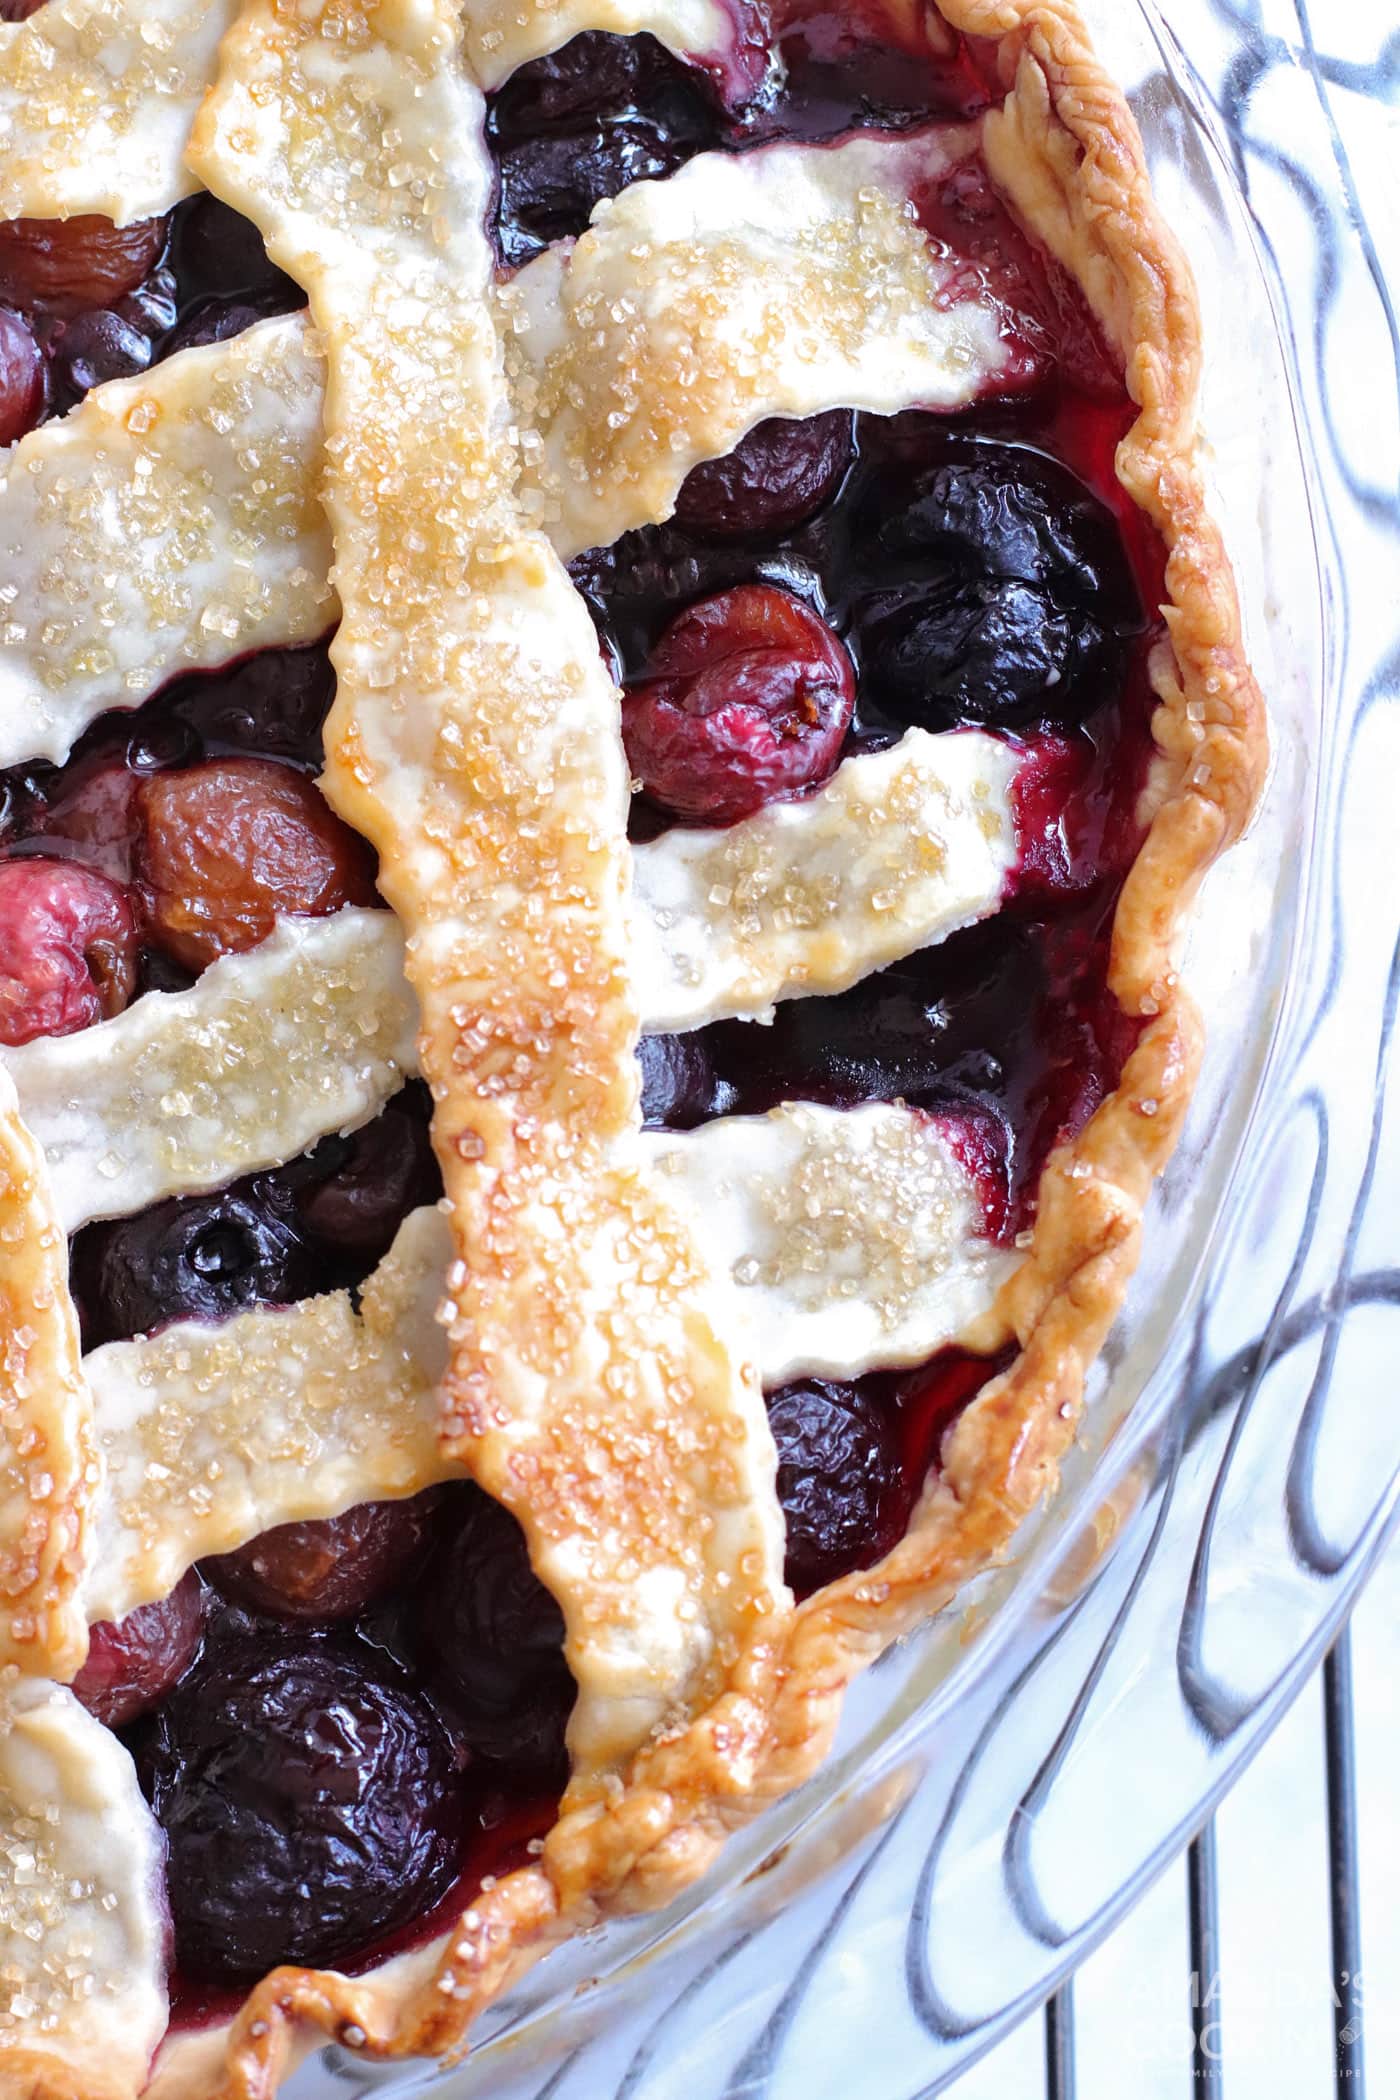
EXPERT TIP – Ovens can vary especially when cooking pies, when it’s ready your crust should be a nice golden brown all over, you should see the cherry filling starting to bubble, and the bottom should not be translucent anymore, but cooked through. - Once the pie is done cooking, remove it from the oven and allow it to cool for about 3 hours on a cookie rack.
Frequently Asked Questions & Expert Tips
What kind of cherries can I use?The darker the cherry, the sweeter. Dark sweet cherries are our go-to, but you can substitute with Rainier cherries if you like them a little more sour. You may also use frozen cherries, which will save you some time since they’re already pitted. No need to thaw the frozen cherries before using.
How do you pit a cherry?Pitting cherries can be pretty time-consuming so I highly suggest using a cherry pitter. If you do not have a cherry pitter, you can try taking a chopstick or wooden skewer and popping the pit out of the bottom of the cherry.
How do I store cherry pie and how long does it last?Store your cherry pie loosely wrapped with aluminum foil or plastic wrap in the refrigerator for 4 days, or at room temperature (loosely covered) for about 2 days.
Serving Suggestions
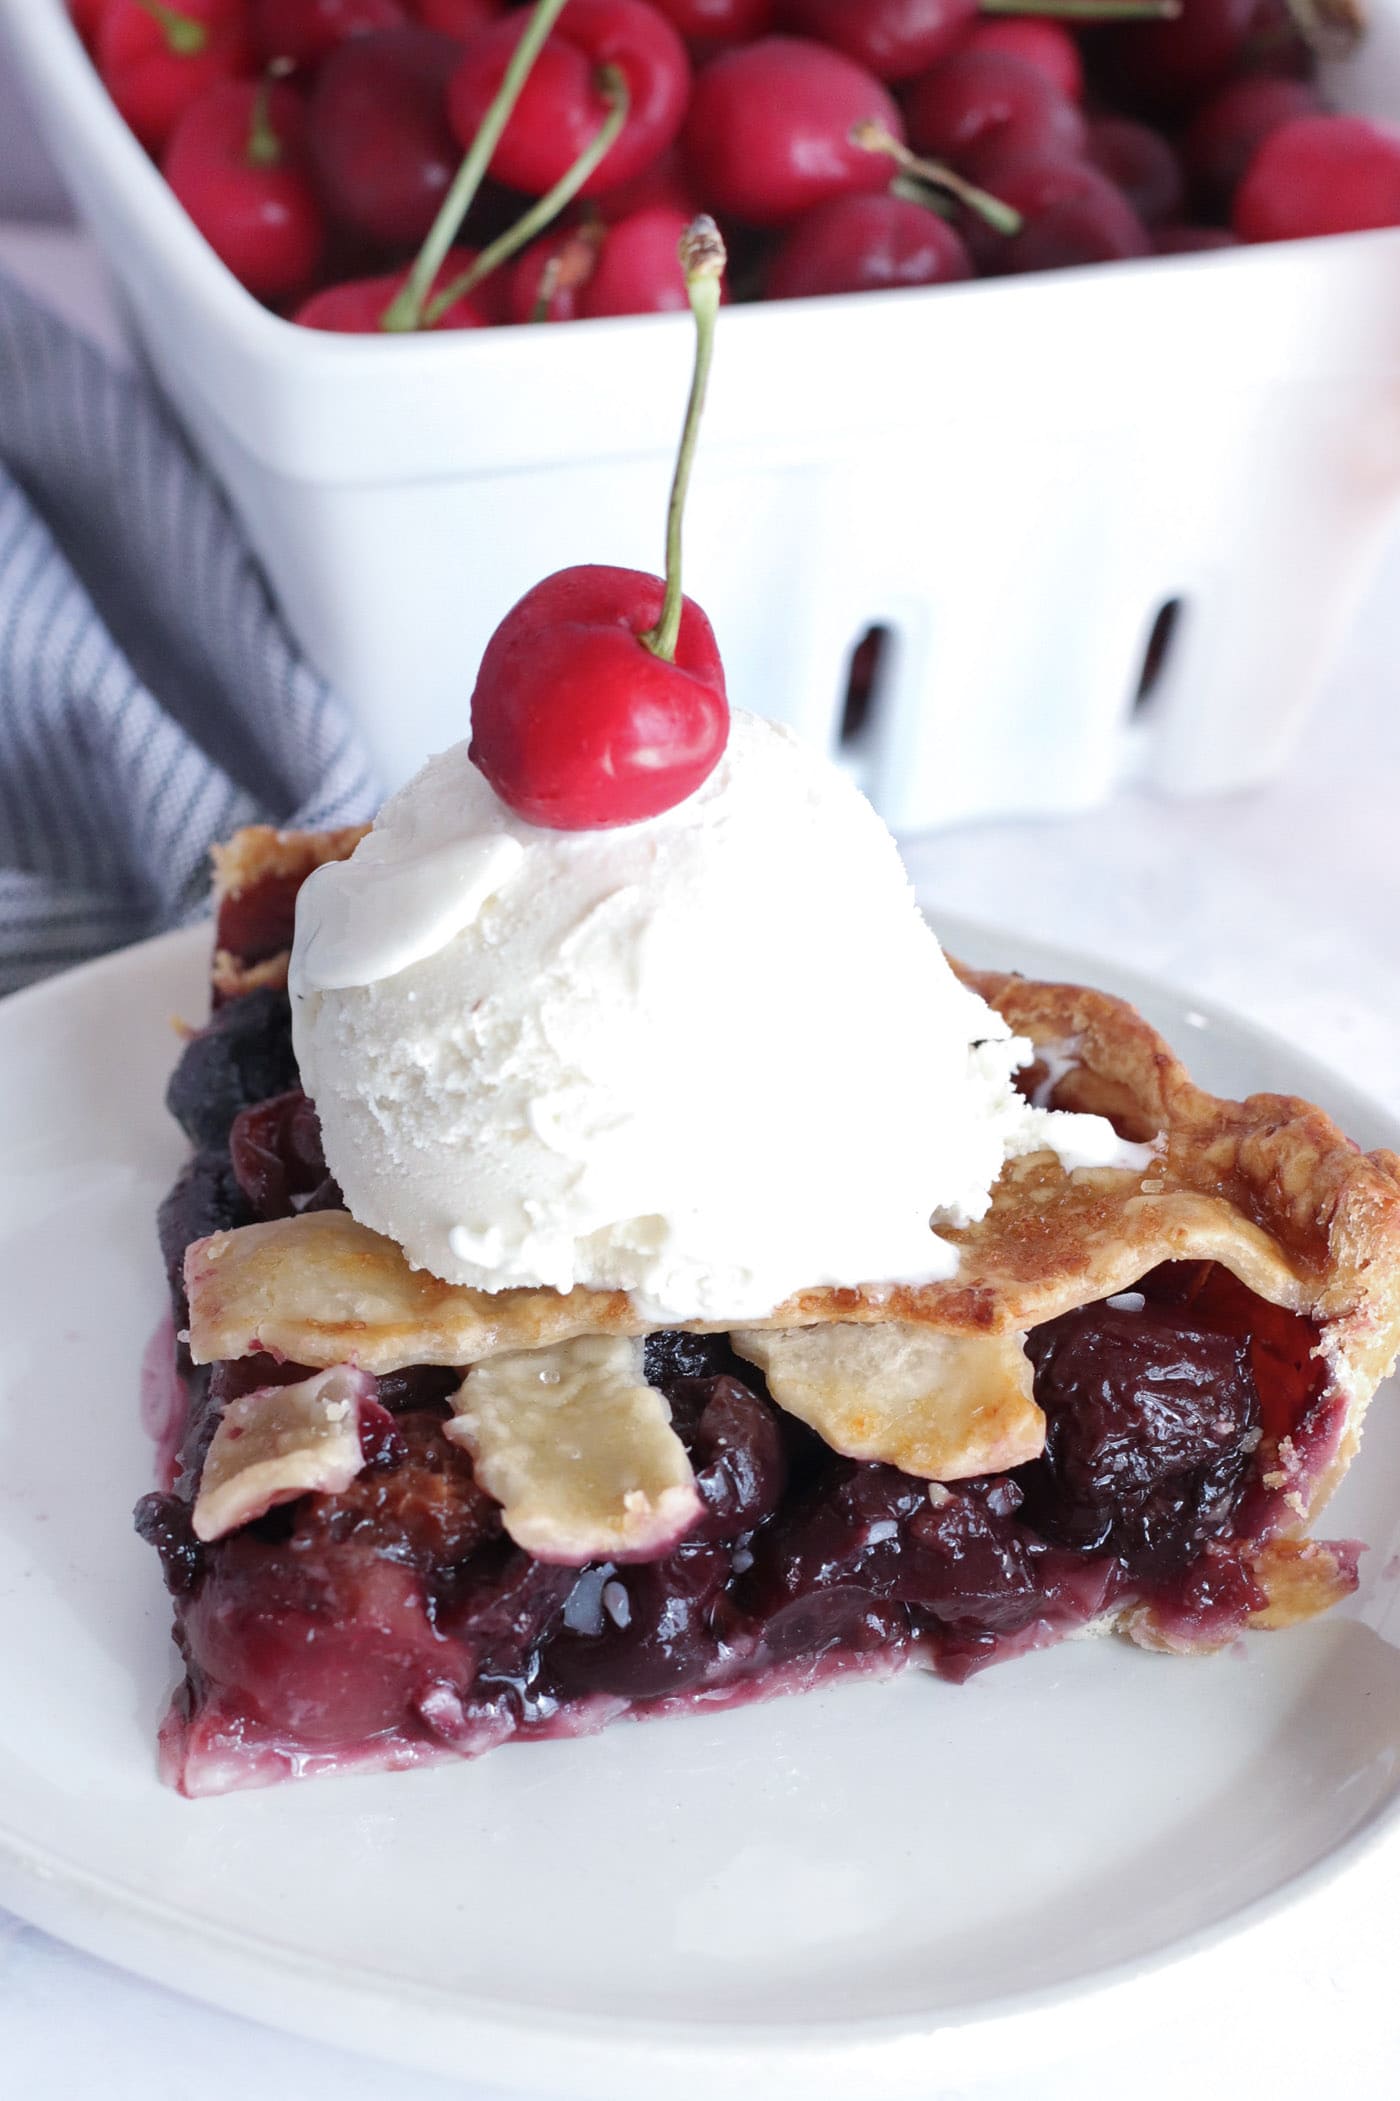
Serve cherry pie with whipped cream or a heaping scoop of vanilla ice cream on top (or as is). This pie is fantastic year-round but is most popular on Thanksgiving as well as late spring and early summer during cherry season.
More Cherry Dessert Recipes
- Cherry Fluff
- Cherry Lush
- Spiked Cherries
- Cherry Cake with Cherry Frosting
- Cherry Cream Cheese Coffee Cake
- Crockpot Chocolate Cherry Cobbler
I love to bake and cook and share my kitchen experience with all of you! Remembering to come back each day can be tough, that’s why I offer a convenient newsletter every time a new recipe posts. Simply subscribe and start receiving your free daily recipes!
More recipes to try
Eight more recipes from the kitchen.
Strawberry Lasagna Trifle
This gorgeous layered strawberry lasagna trifle is a tiered version of…
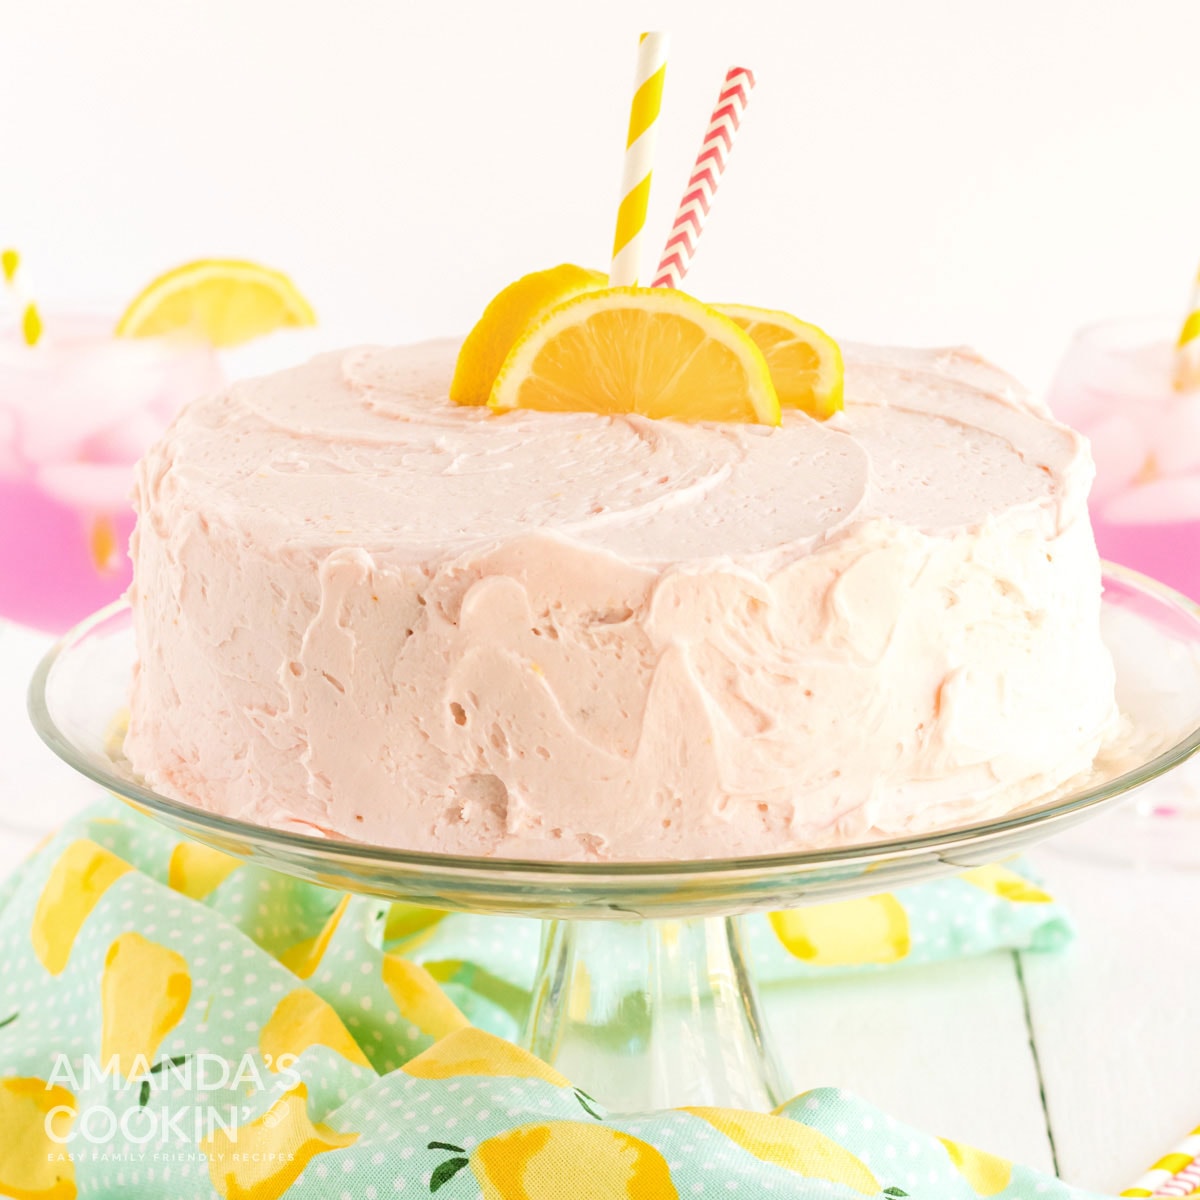
Pink Lemonade Cake
This pink lemonade cake is perfect for summer and will be a huge hit…
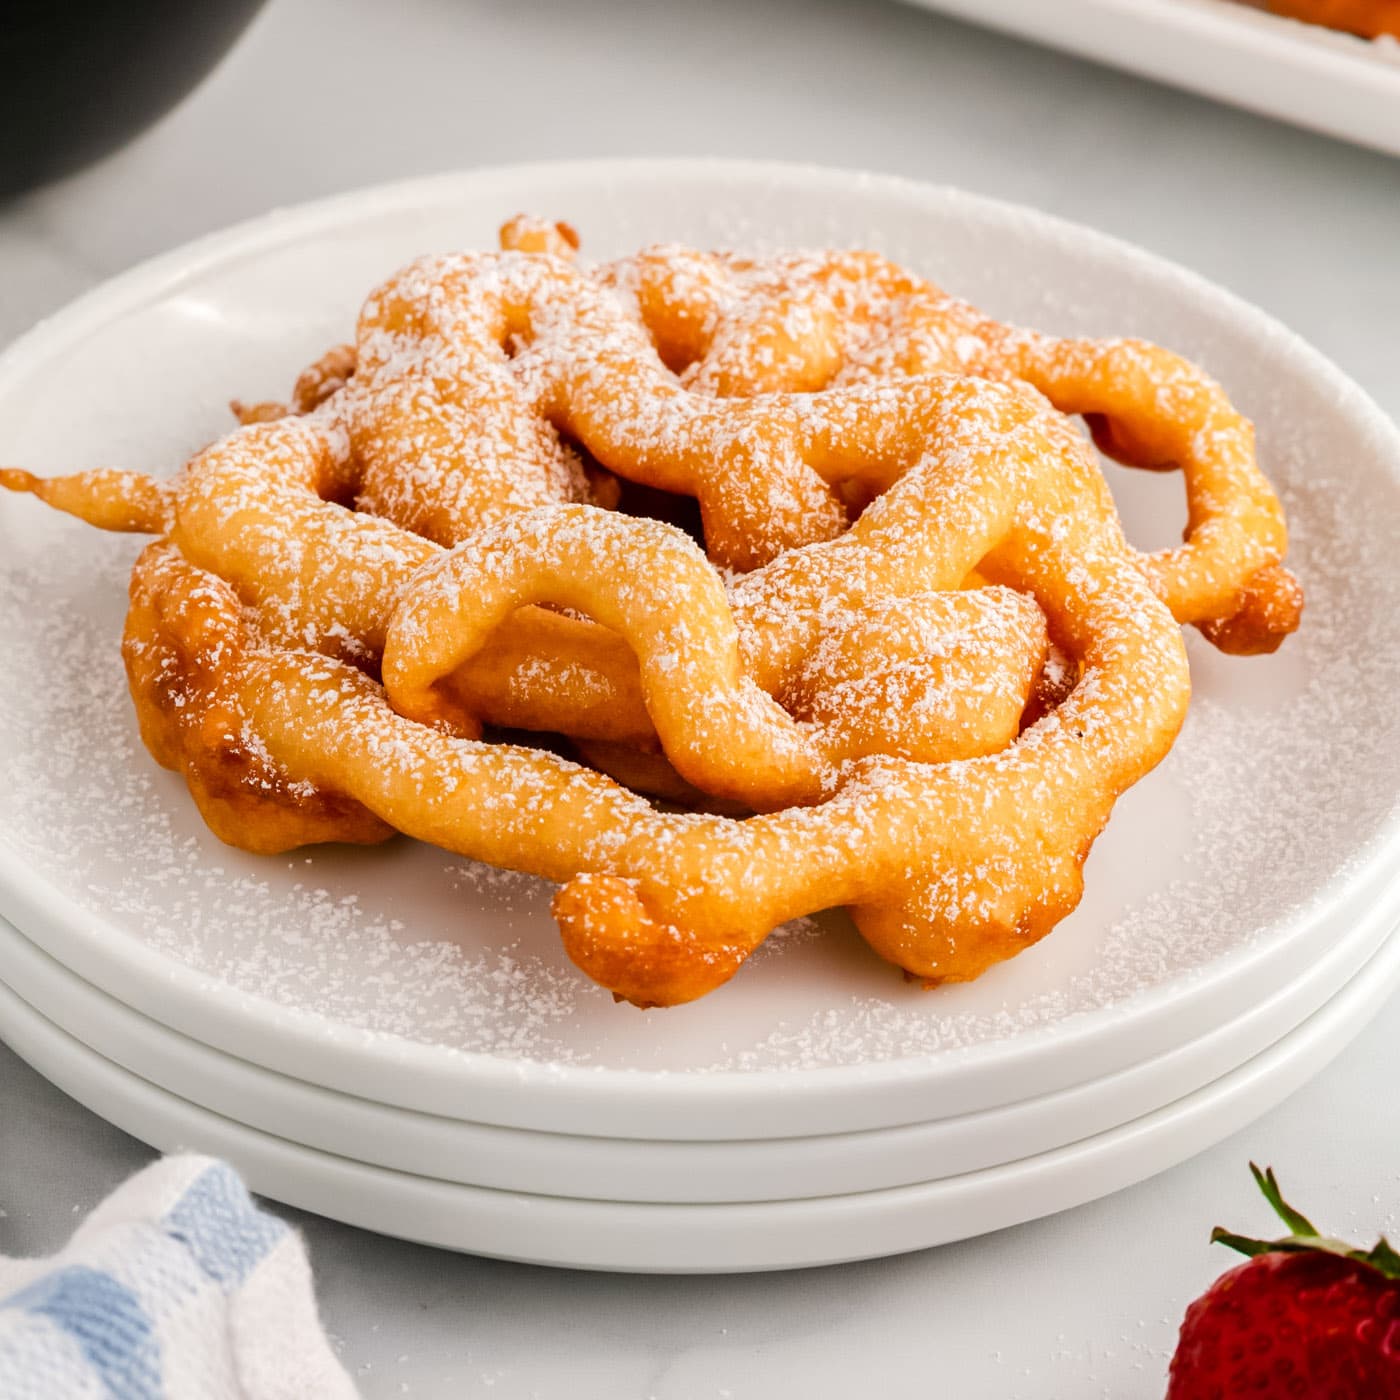
Funnel Cake
This homemade funnel cake recipe is deep-fried until crisp and golden…

Cilantro Lime Grilled Chicken Breasts
Looking for a simple but delicious marinade that’s perfect for the…

Screwdriver Drink Recipe
Do you know how to make a screwdriver? This easy cocktail recipe is a…
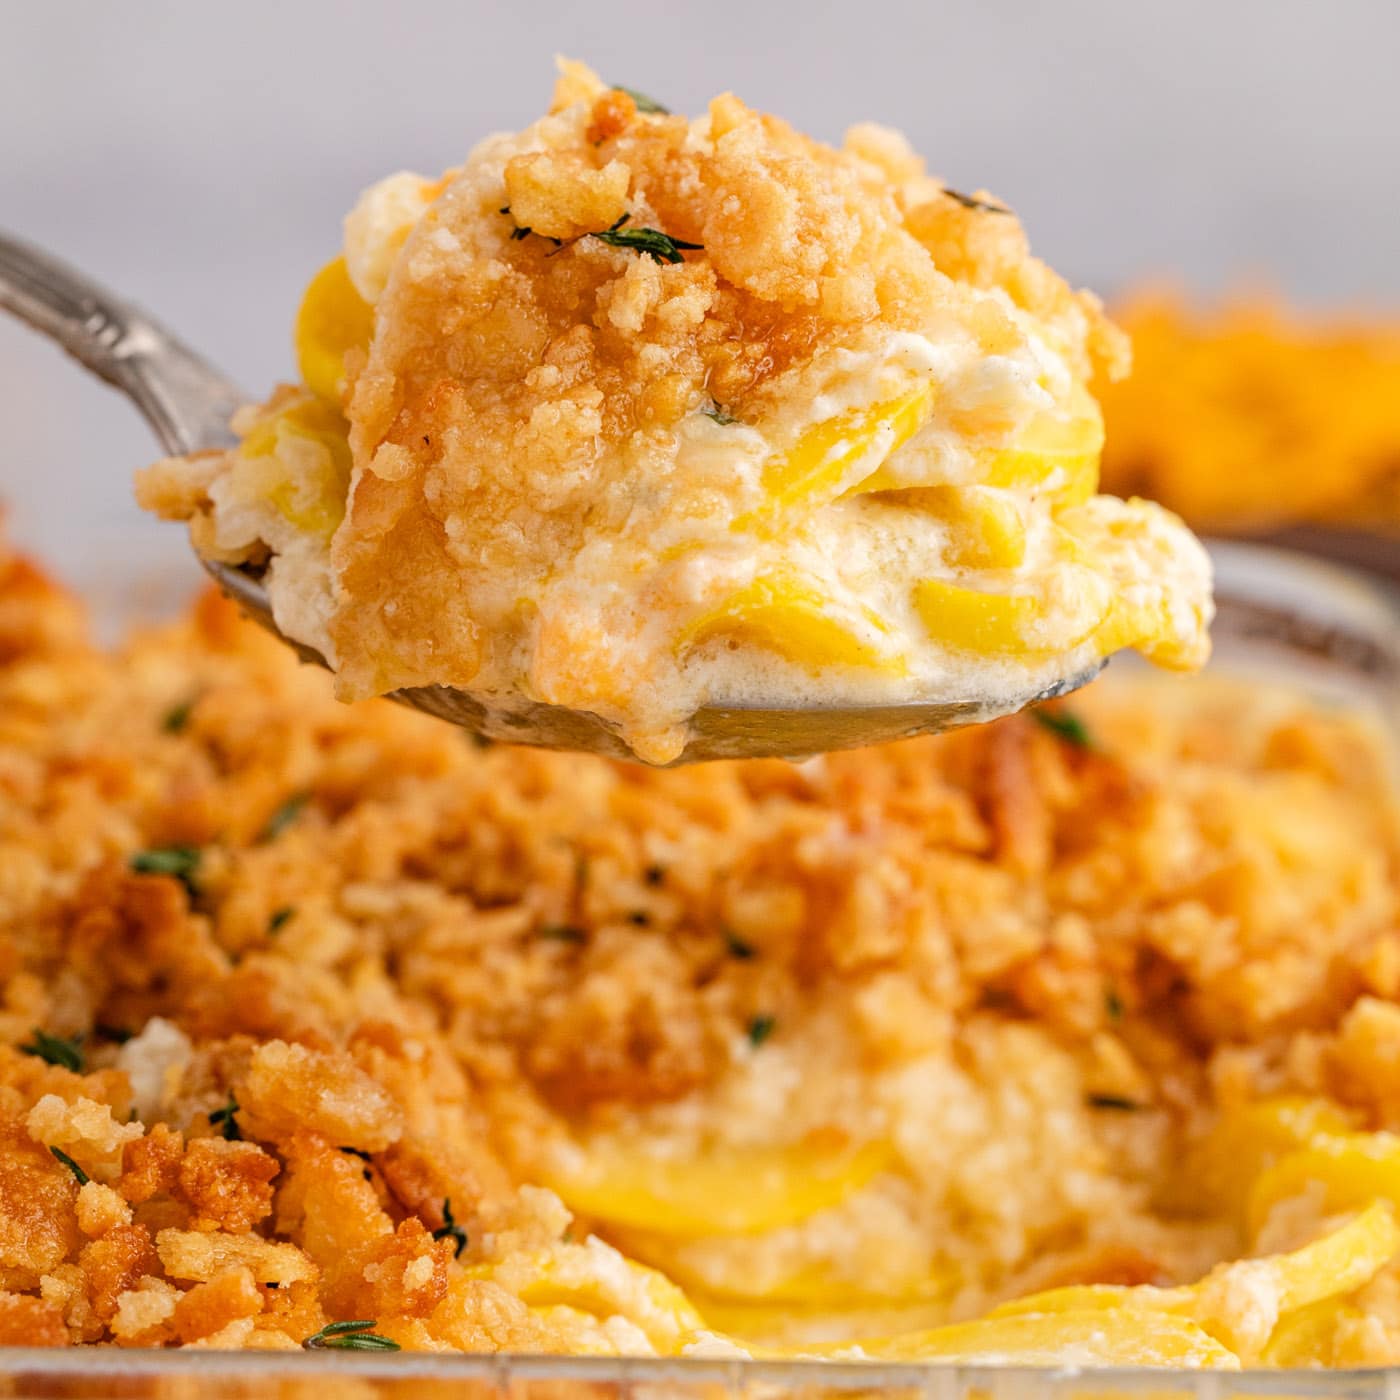
Squash Casserole
Squash casserole is a simple, satisfying dish with tender squash, sour…

Butterscotch Milkshake Cocktail
On days that I can’t decide if I want to follow supper with a dessert…
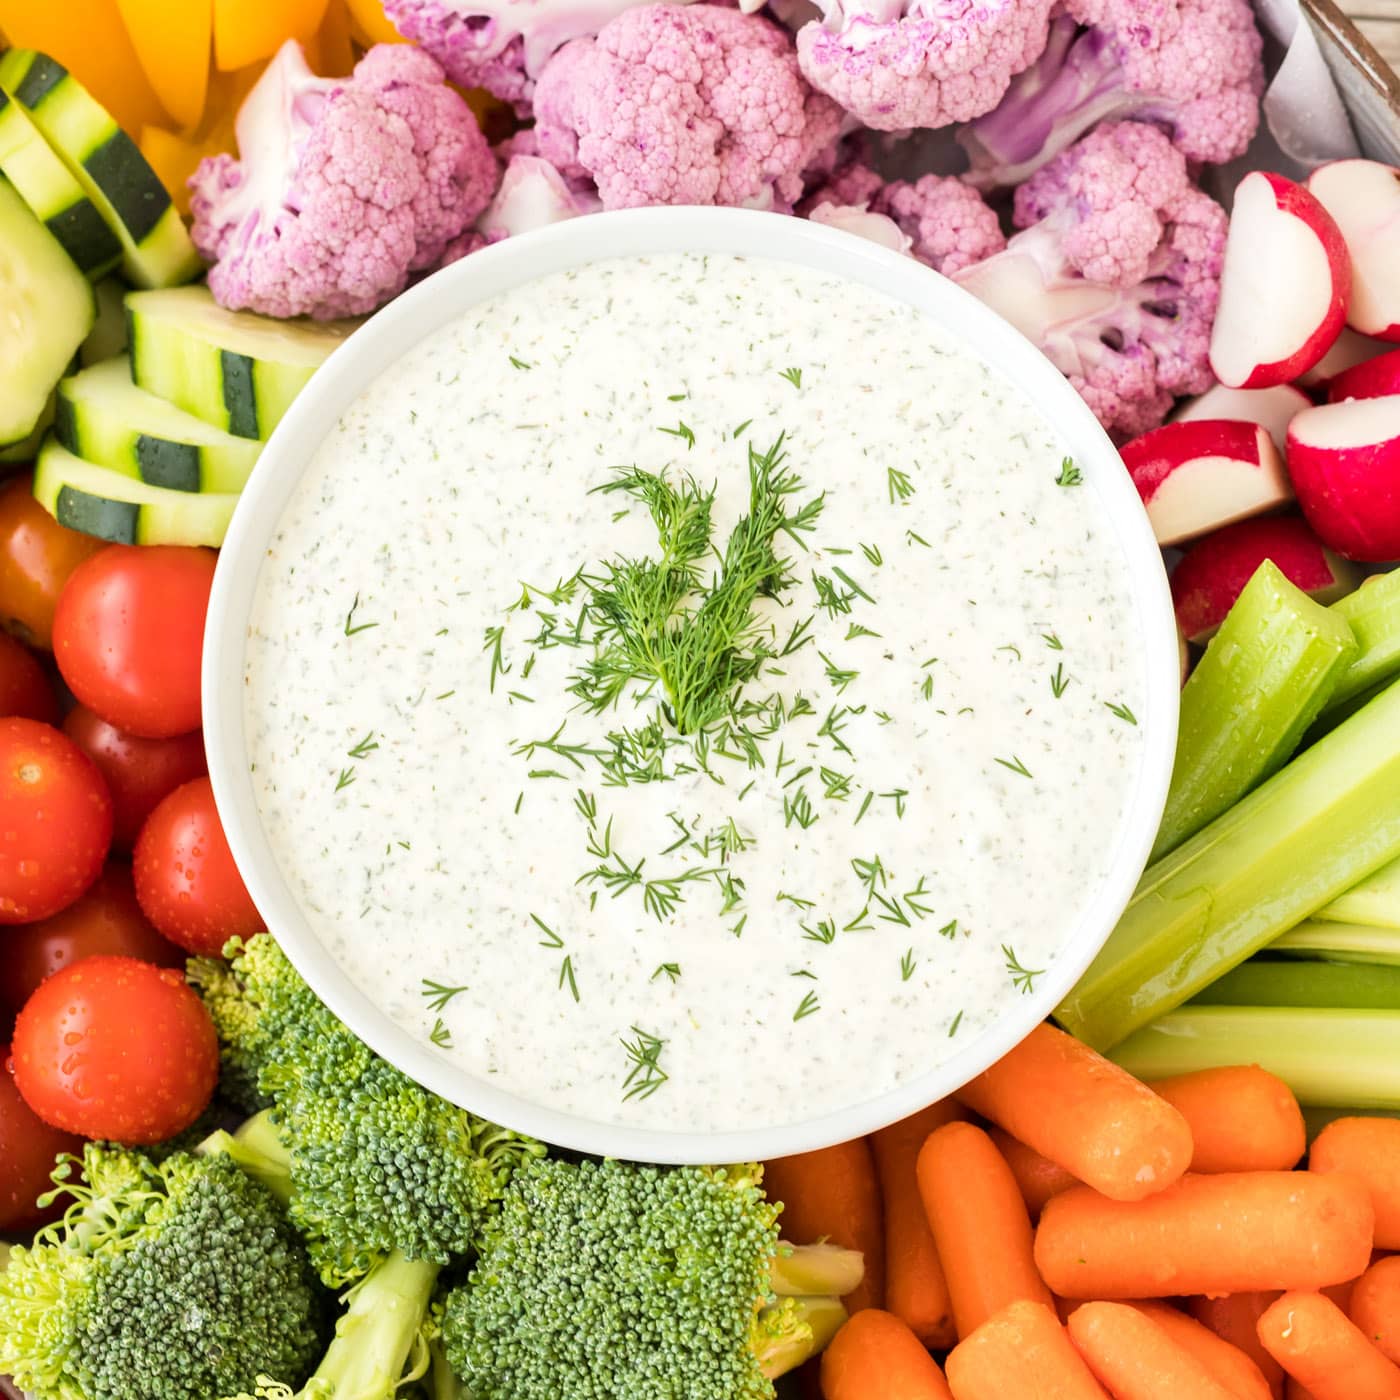
Dill Dip
Our creamy dill dip begins with a sour cream and mayo base that’s…