Mummy Pops
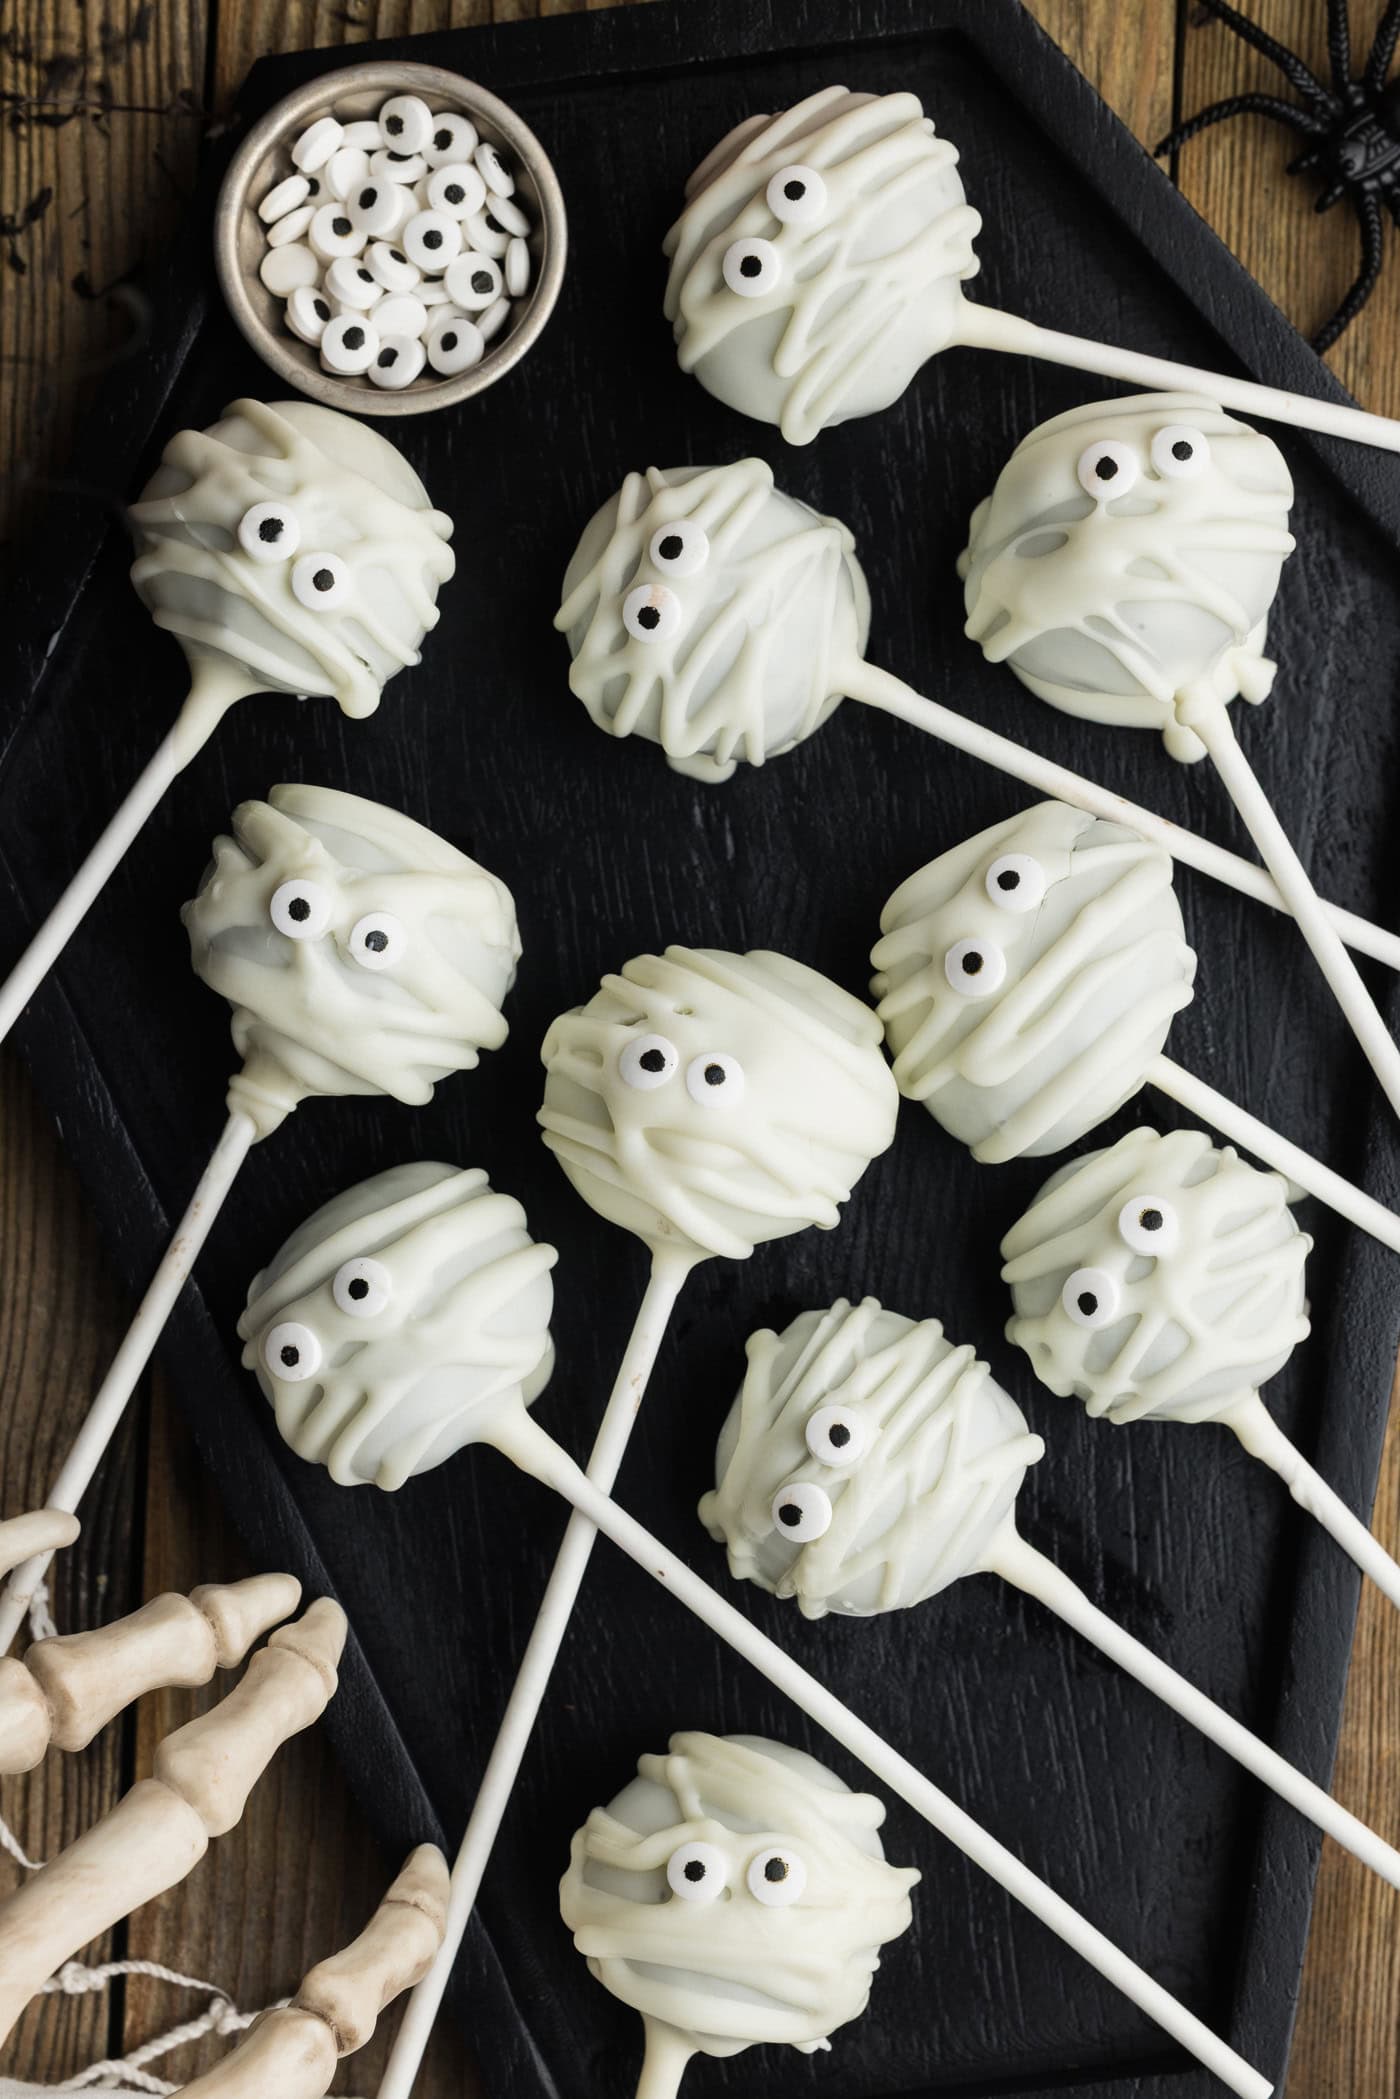
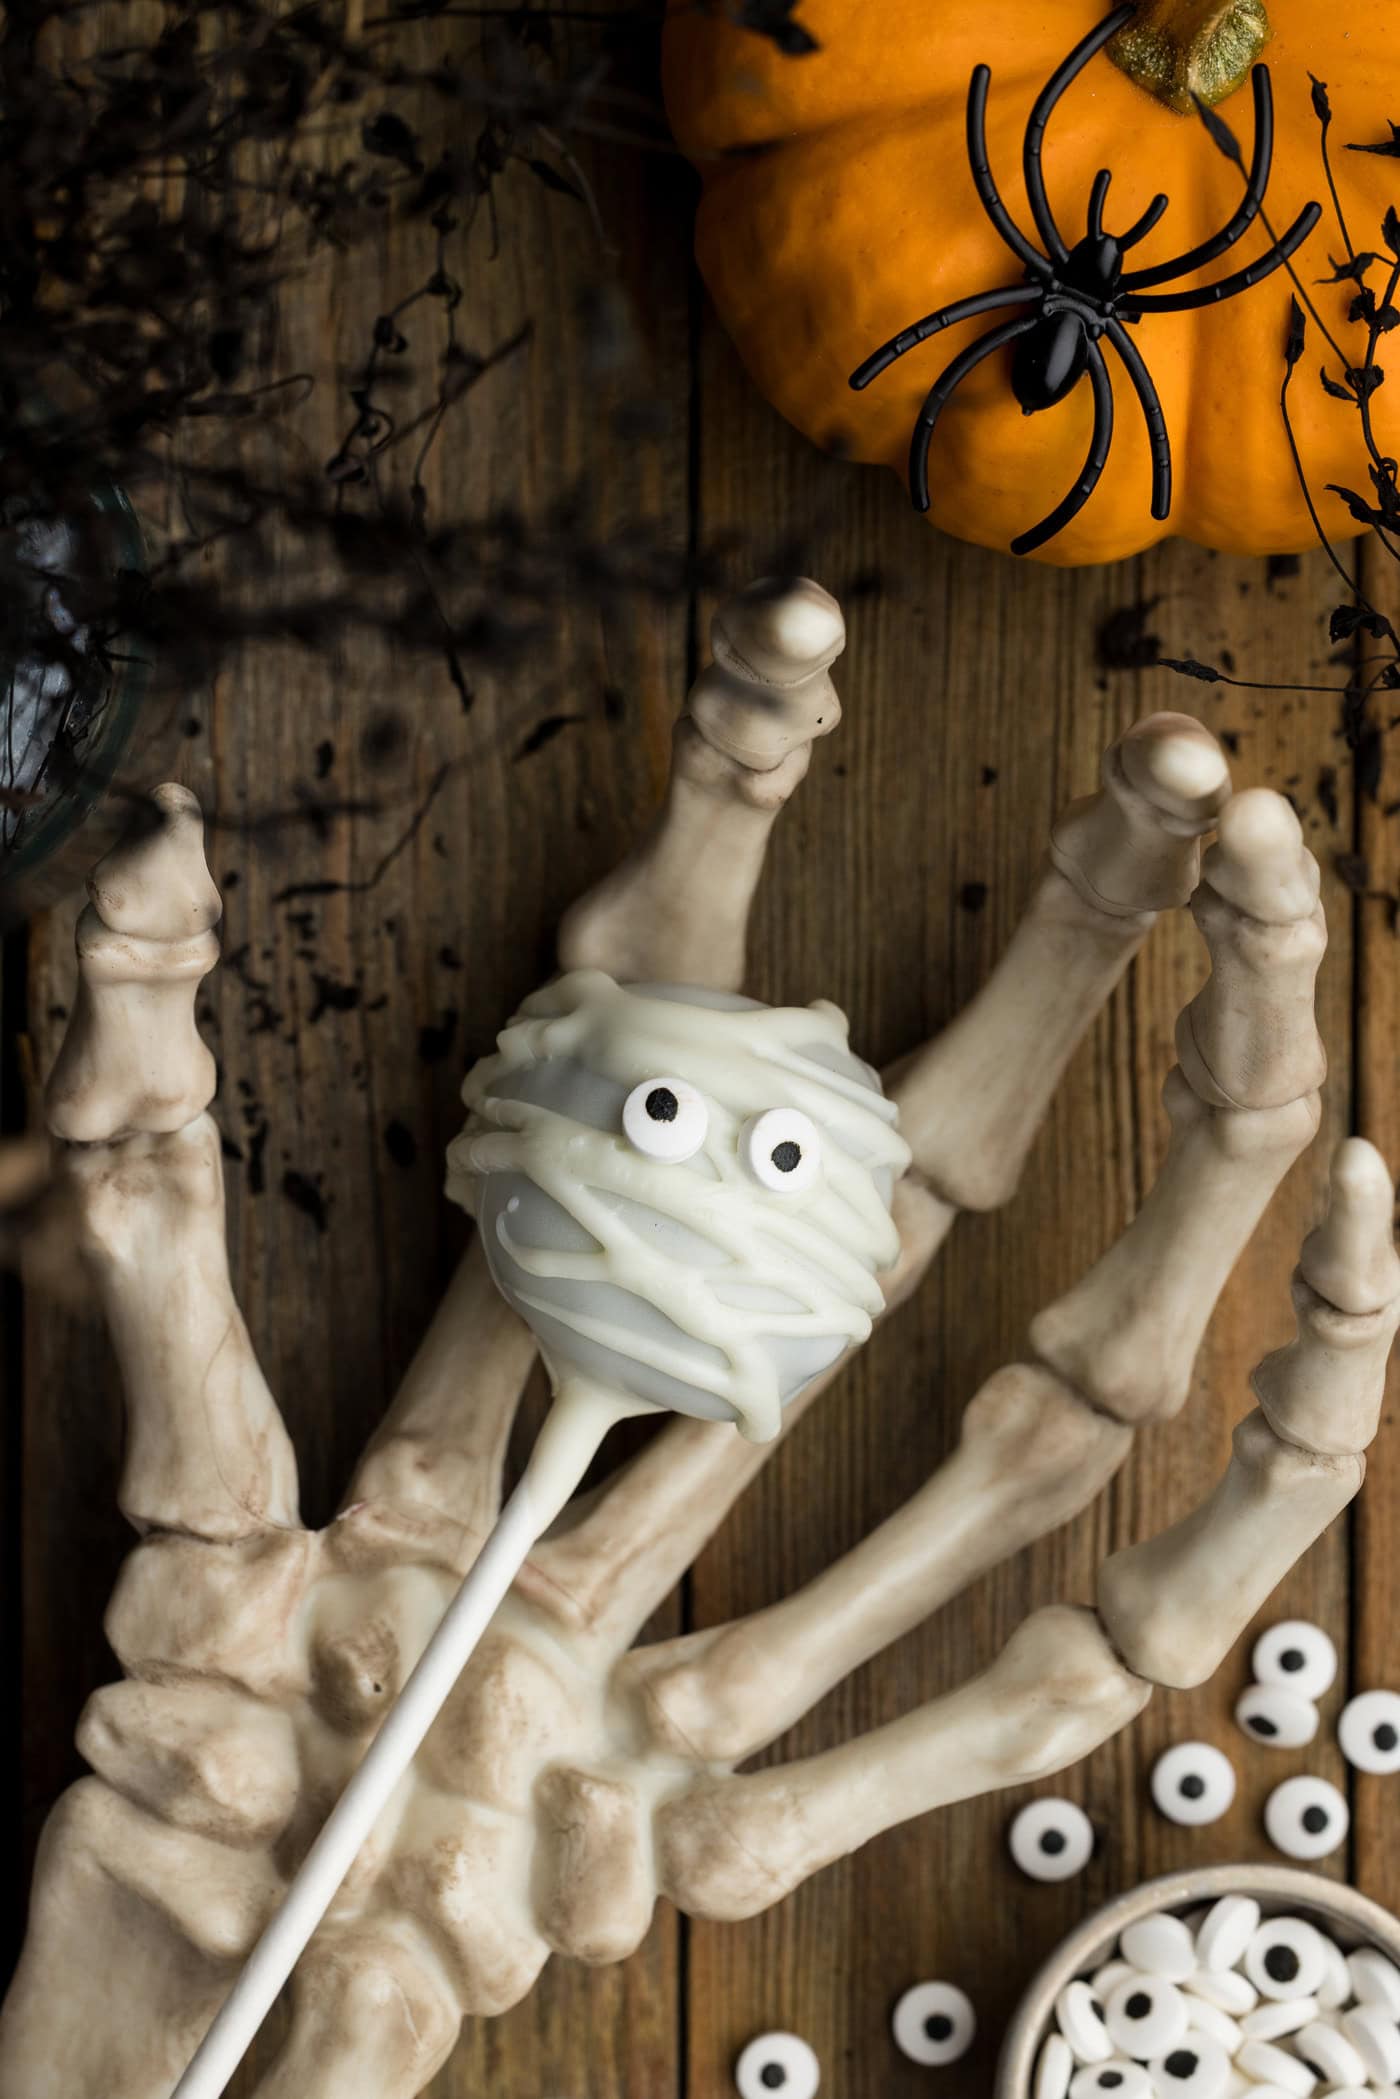
Four ingredient mummy pops start with a rich Oreo truffle base that’s blanketed in white chocolate, drizzled with bandages, and topped with mini candy eyeballs!
- Total 1 hour
- Serves 26 mummy pops
- Dessert
- American
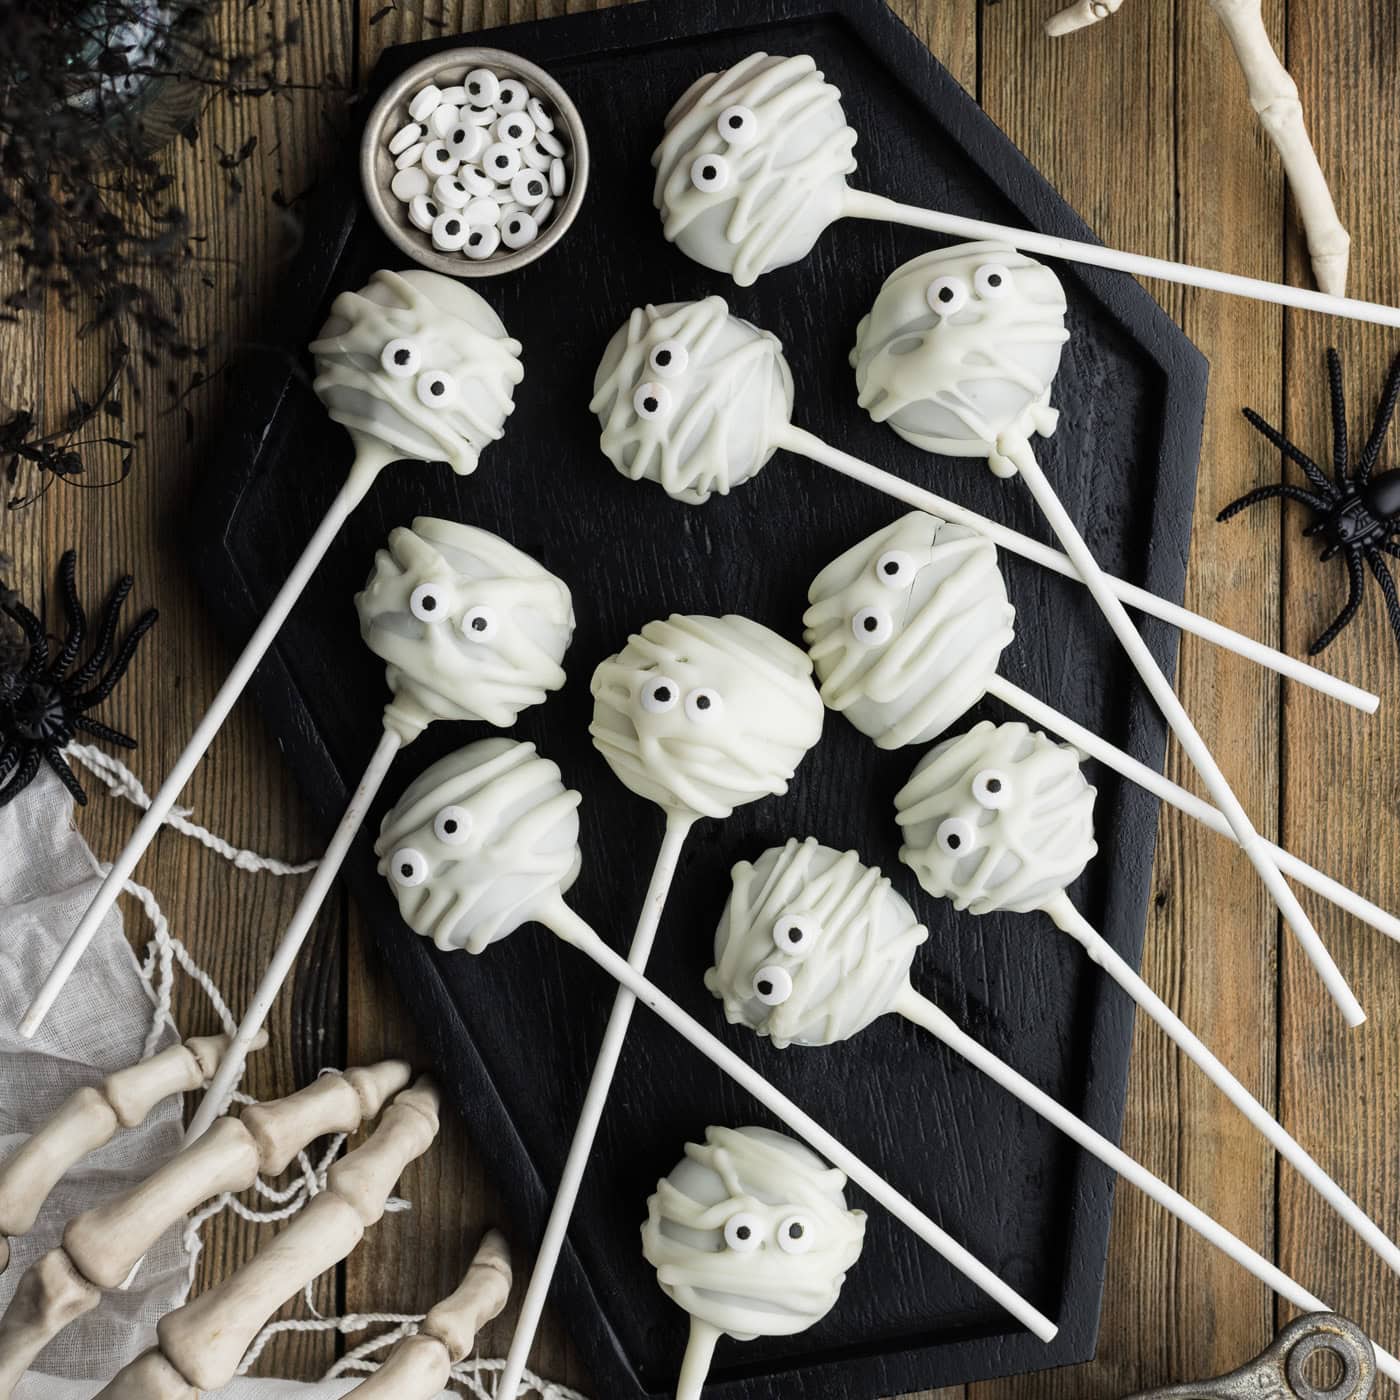
Four ingredient mummy pops start with a rich Oreo truffle base that’s blanketed in white chocolate, drizzled with bandages, and topped with mini candy eyeballs!
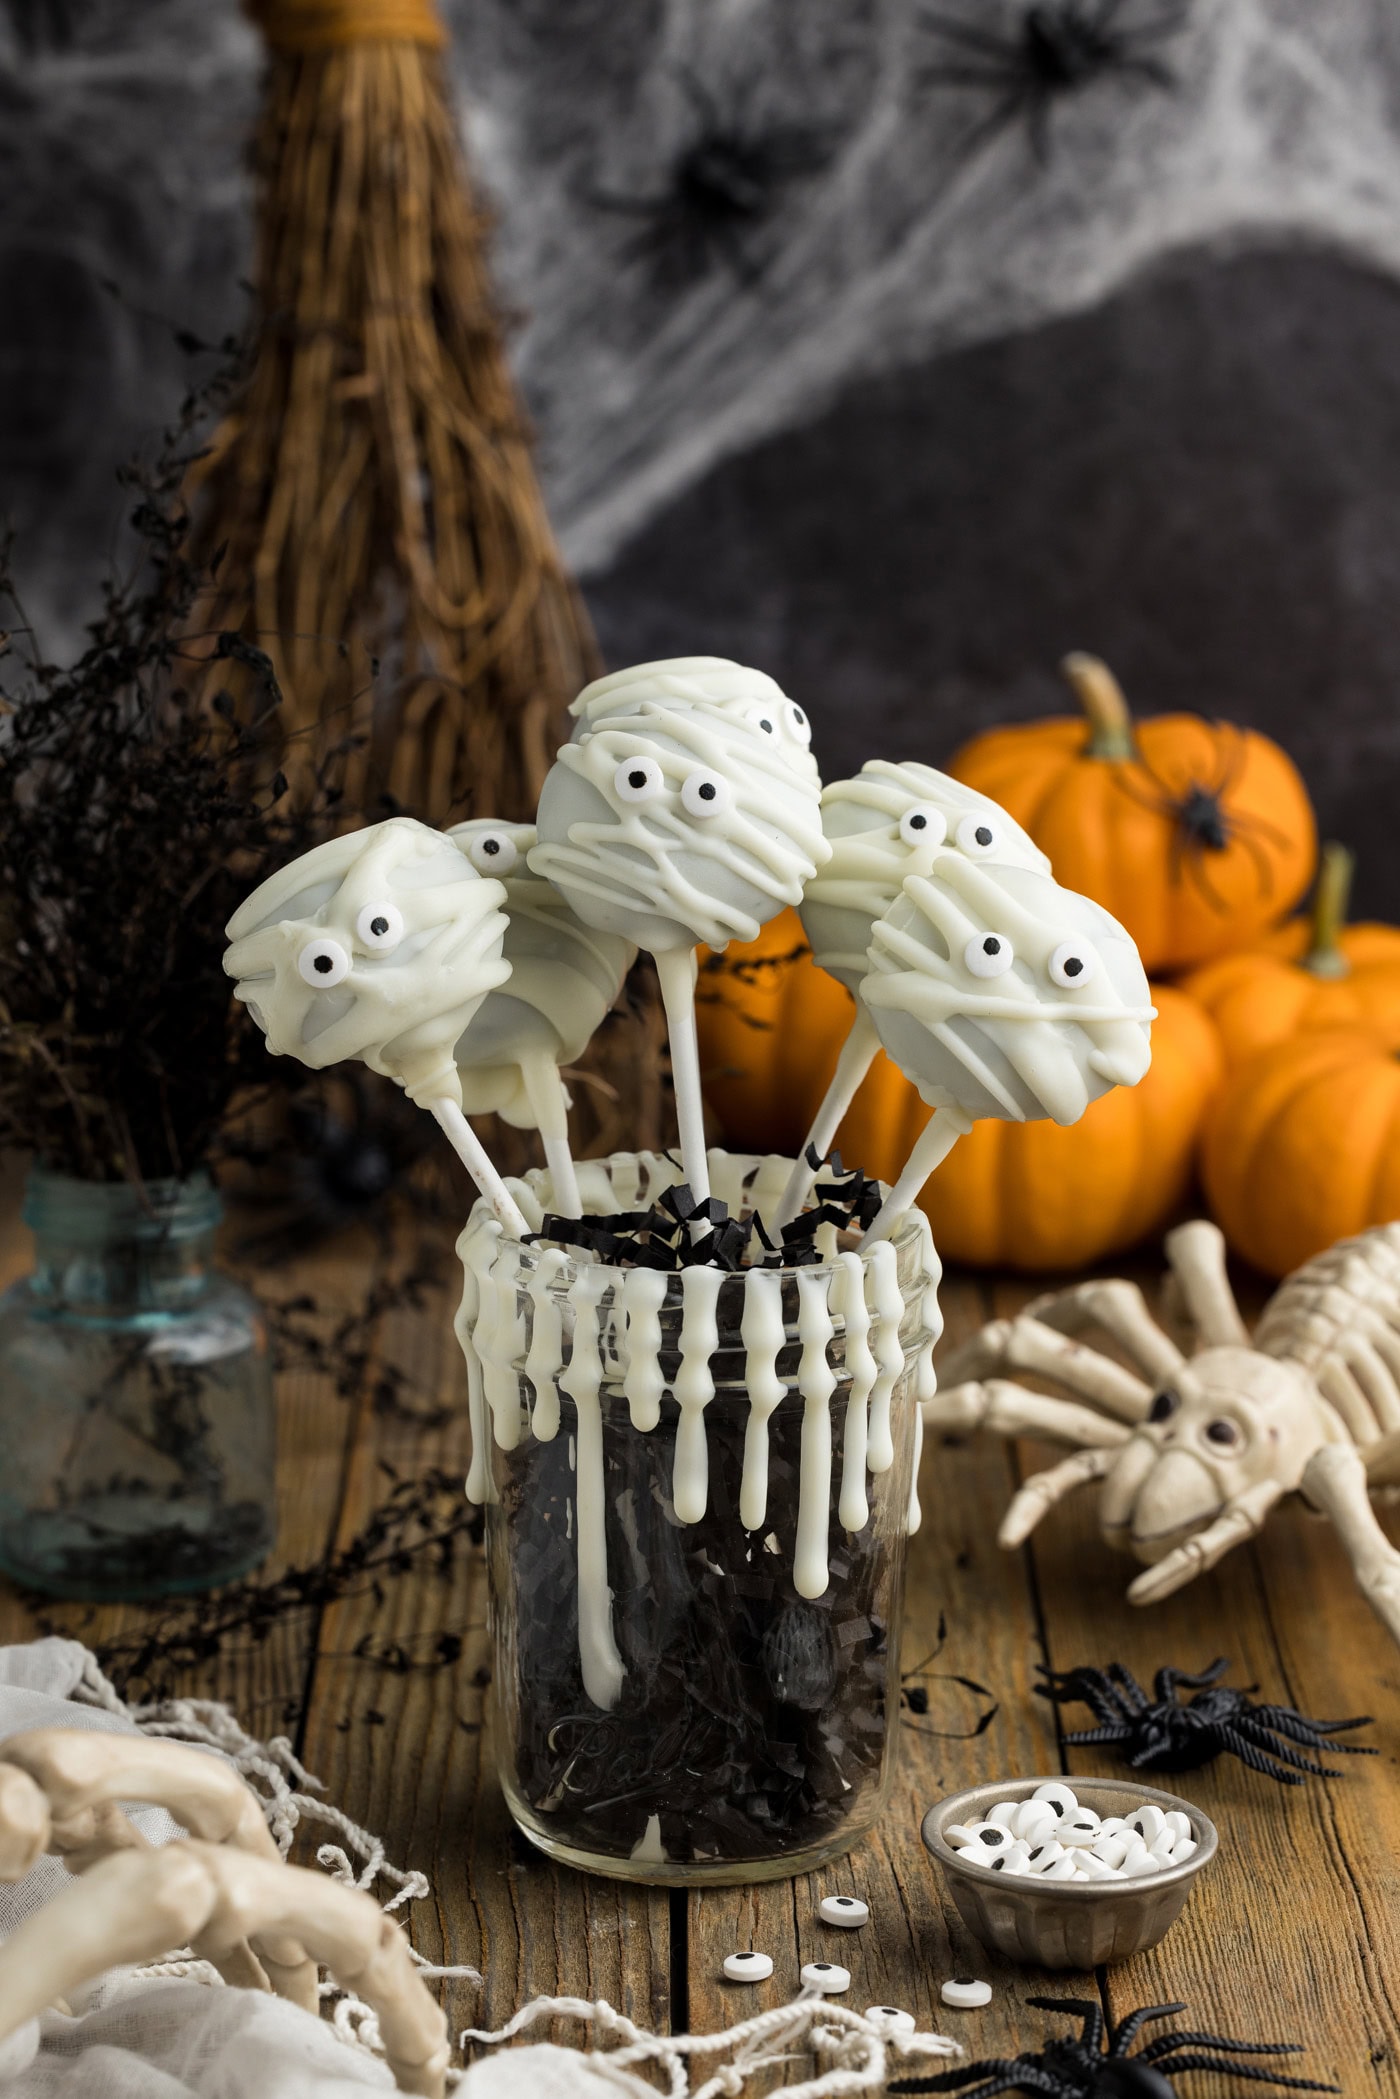 more
more
Why this recipe works
Oreo truffles blanketed in a white chocolate coating, drizzled with bandages, and topped with mini candy eyeballs. Could these mummy pops seriously be any cuter? White chocolate melting wafers make these mummy pops really easy to prep because it doesn’t take forever to harden. Which, of course, means you can start eating them sooner.
Halloween Oreo truffles are my favorite little treat to take to parties, but I might argue that they’re even better when presented on a stick.
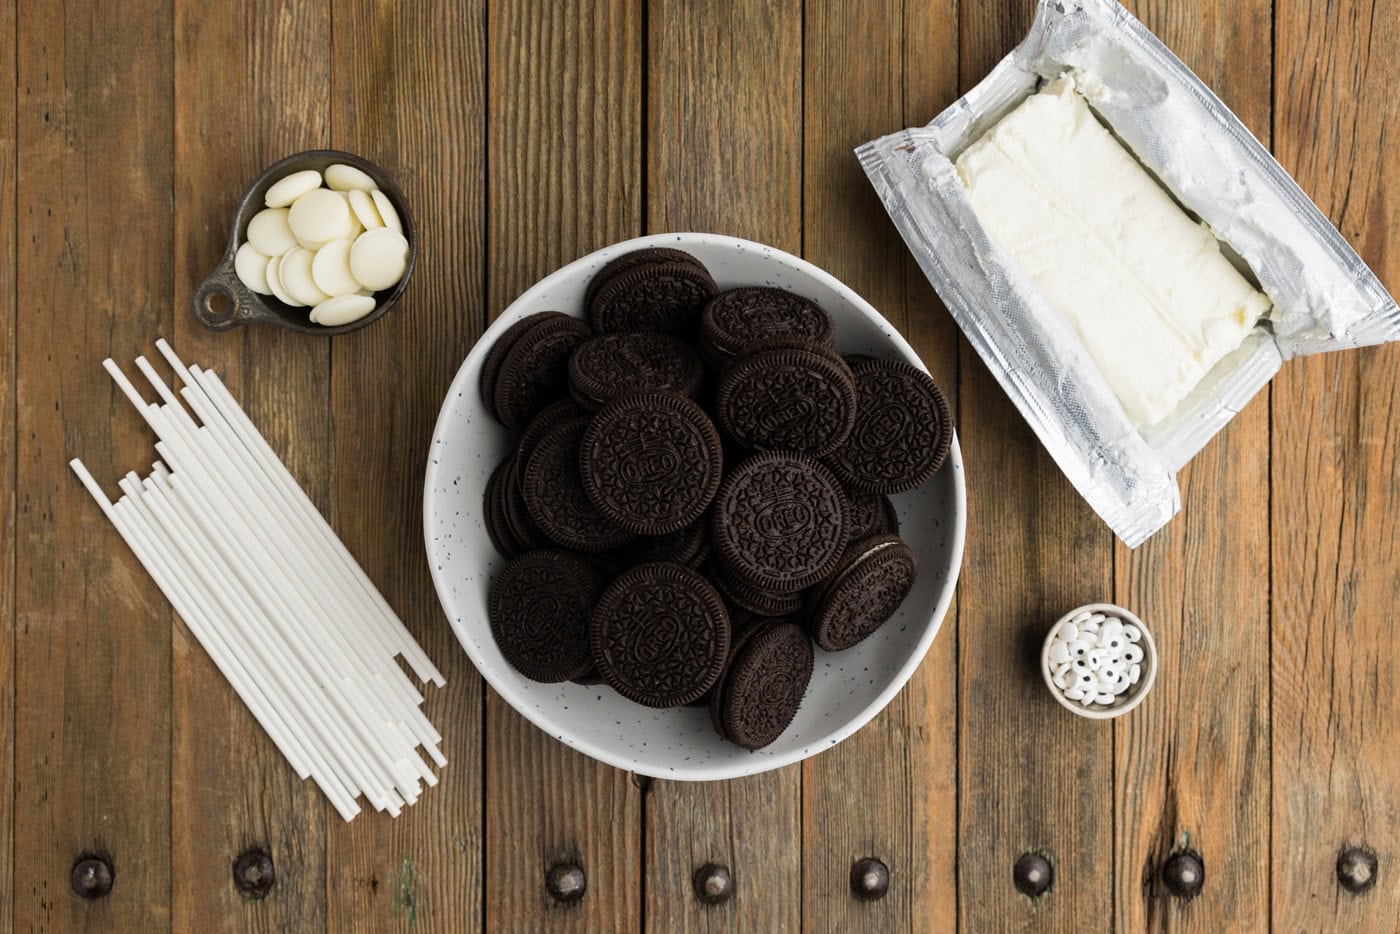
Ingredients you will need
Get all measurements, ingredients, and instructions in the printable version at the end of this post.
Ingredient Info and Substitution Suggestions
OREOS – You will need 36 regular (not double stuffed) Oreo sandwich cookies, filling included. The filling lends moisture to the mixture. You can easily substitute with golden Oreos or other flavors as you wish.
CREAM CHEESE – Make sure your cream cheese is softened at room temperature so that it blends more easily. If it is too cold, it will leave pockets of cream cheese throughout your truffle. Remove it from the refrigerator, slice it into cubes, and allow to rest at room temp for around 30-45 minutes.
CHOCOLATE COATING – I highly recommend using white melting wafers for this recipe as they are specifically designed for dipping and melt with ease. White chocolate chips will work in a pinch, but are more difficult to work with and often times end up scorched when melted. You can typically find melting wafers in the baking aisle of the grocery store. Ghirardelli and Wilton are both great brands to choose from!
How to Make Mummy Pops
These step by step photos and instructions are here to help you visualize how to make this recipe. You can Jump to Recipe to get the printable version of this recipe, complete with measurements and instructions at the bottom.
Preparing the Mummy Pops
- Place the Oreos in the bowl of a food processor and pulverize into small crumbs.
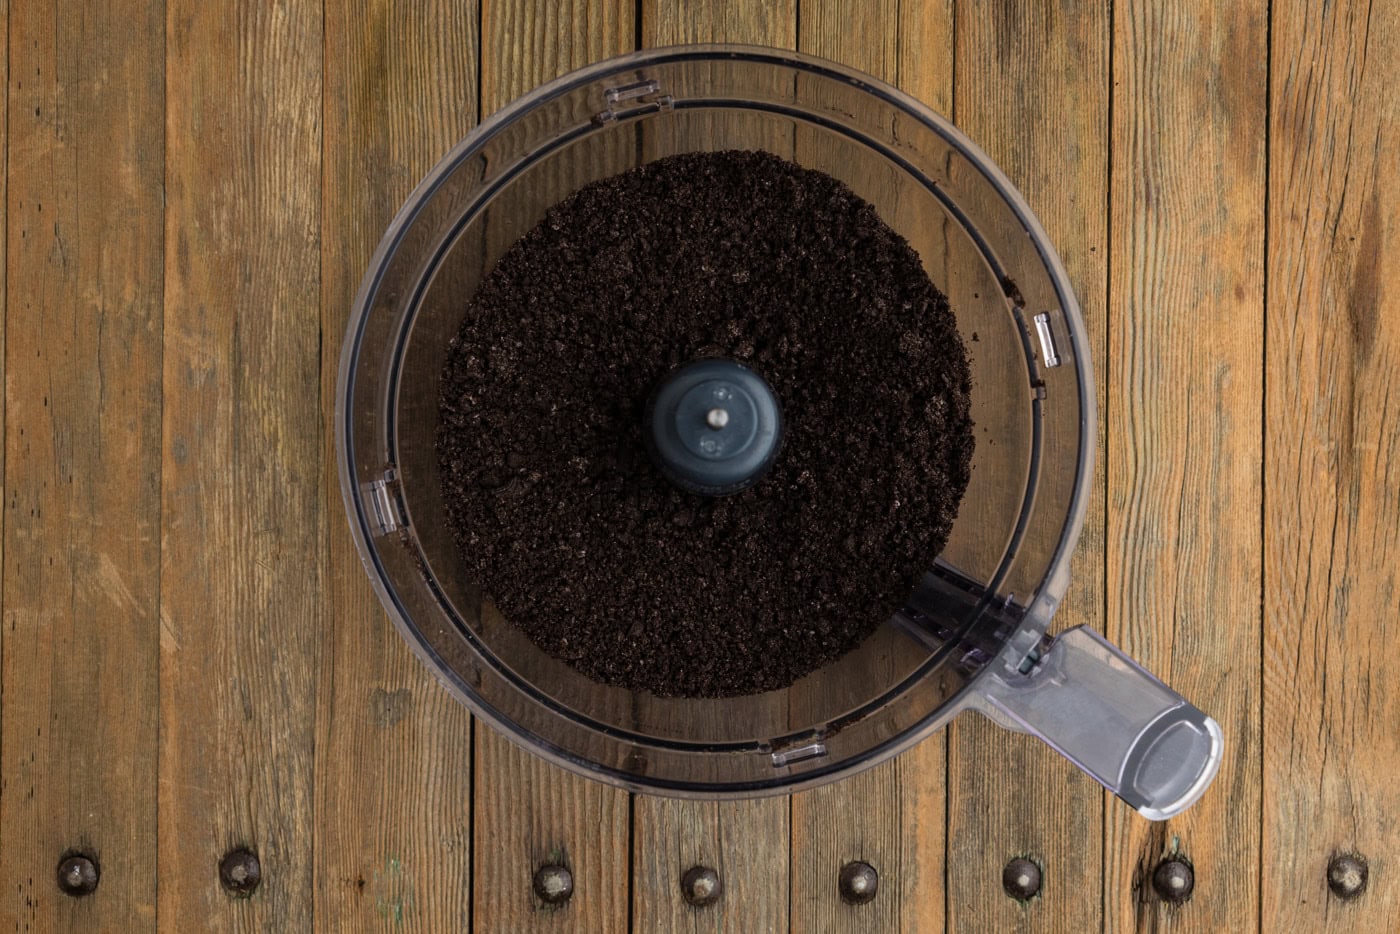
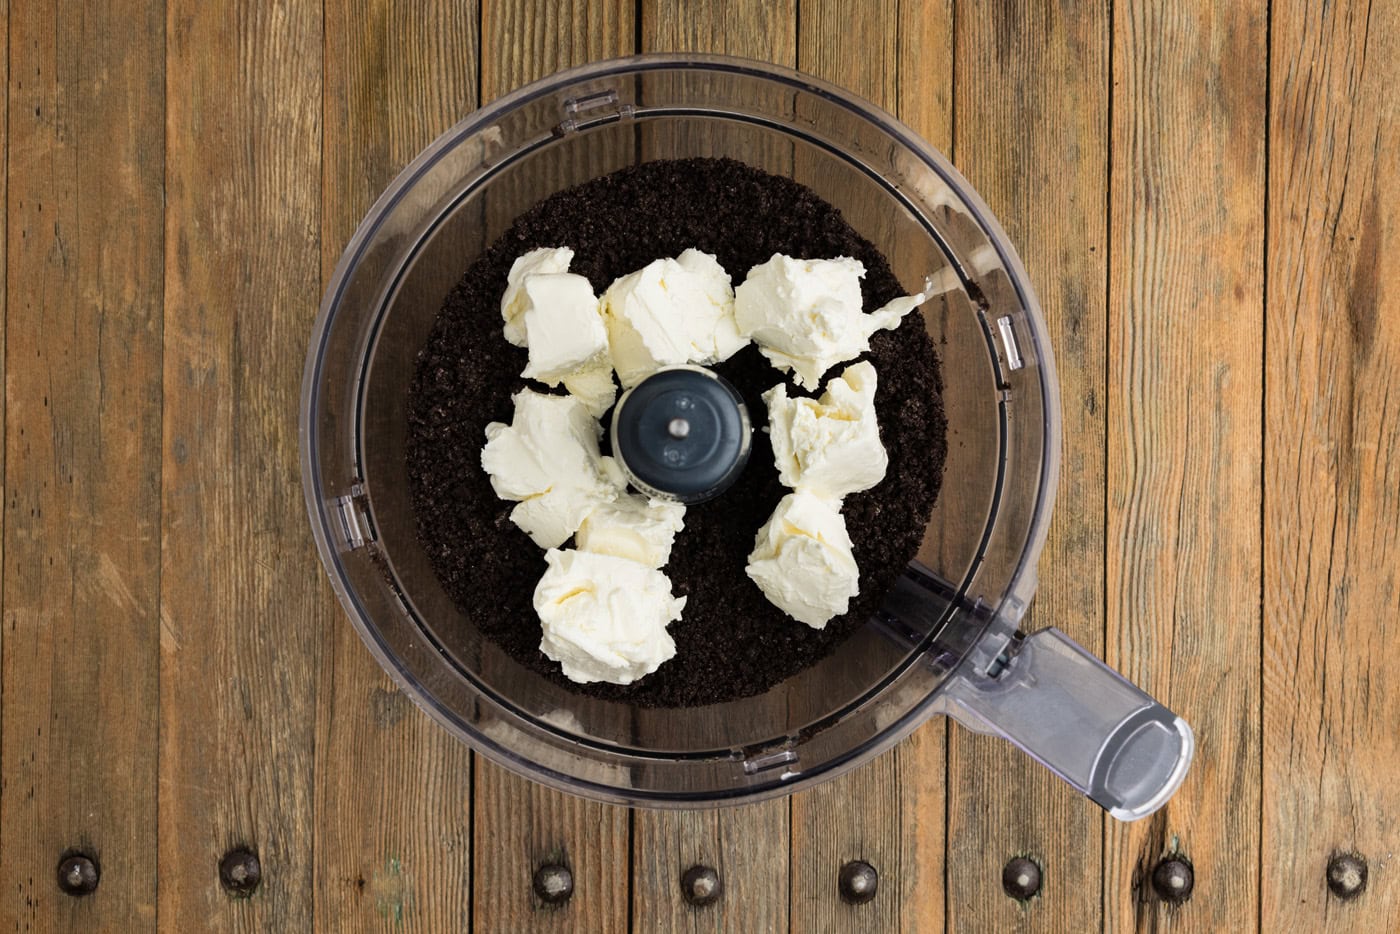
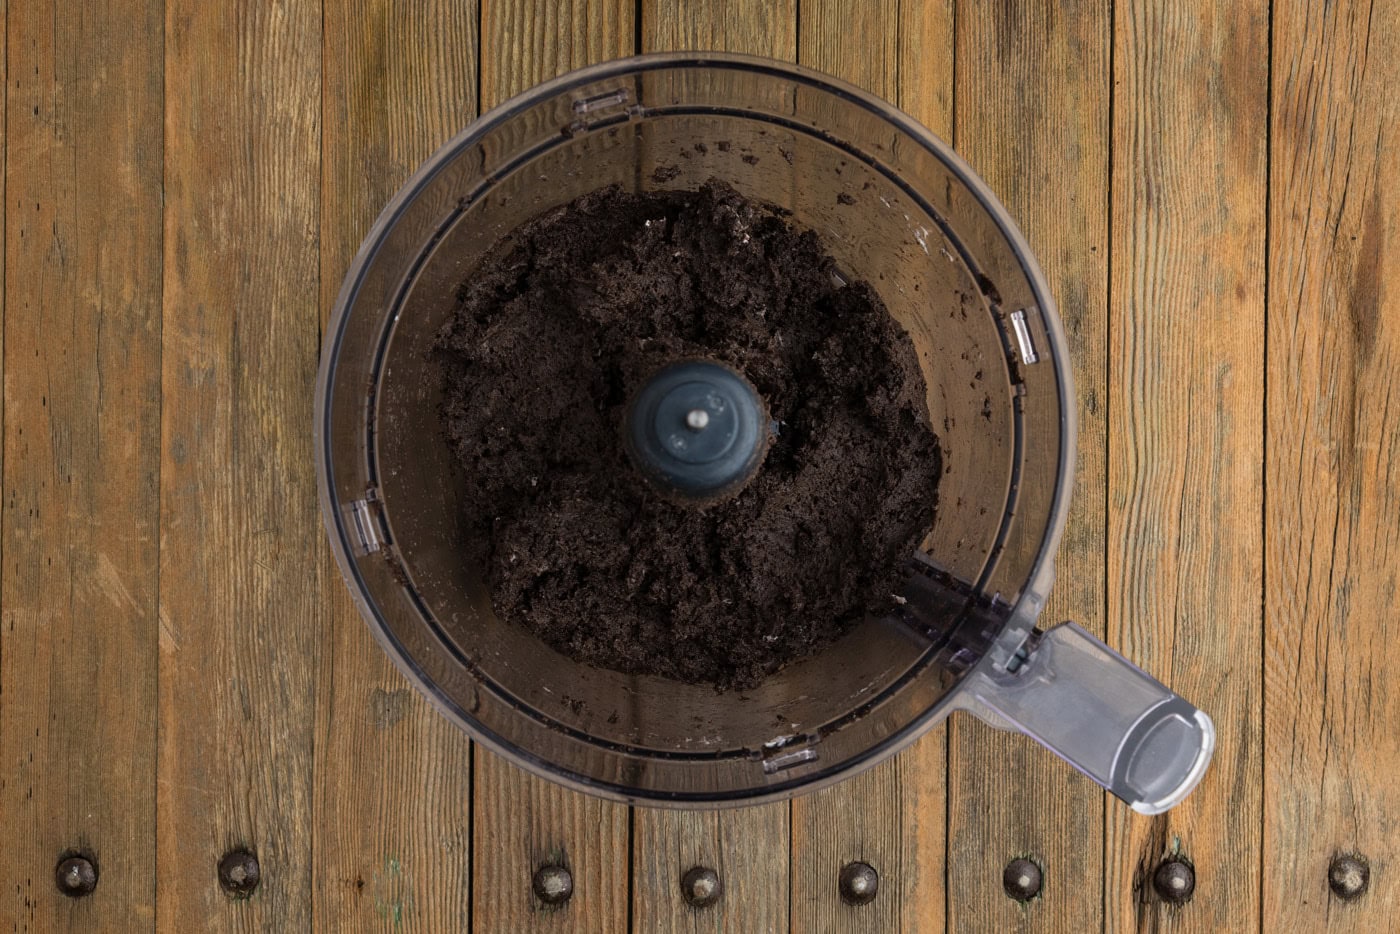
- Add the cream cheese into the food processor and process until the mixture is fully combined and clumps into a “dough”. You may need to stop and scrape the sides/give the mixture a good stir in order to achieve a smooth texture.
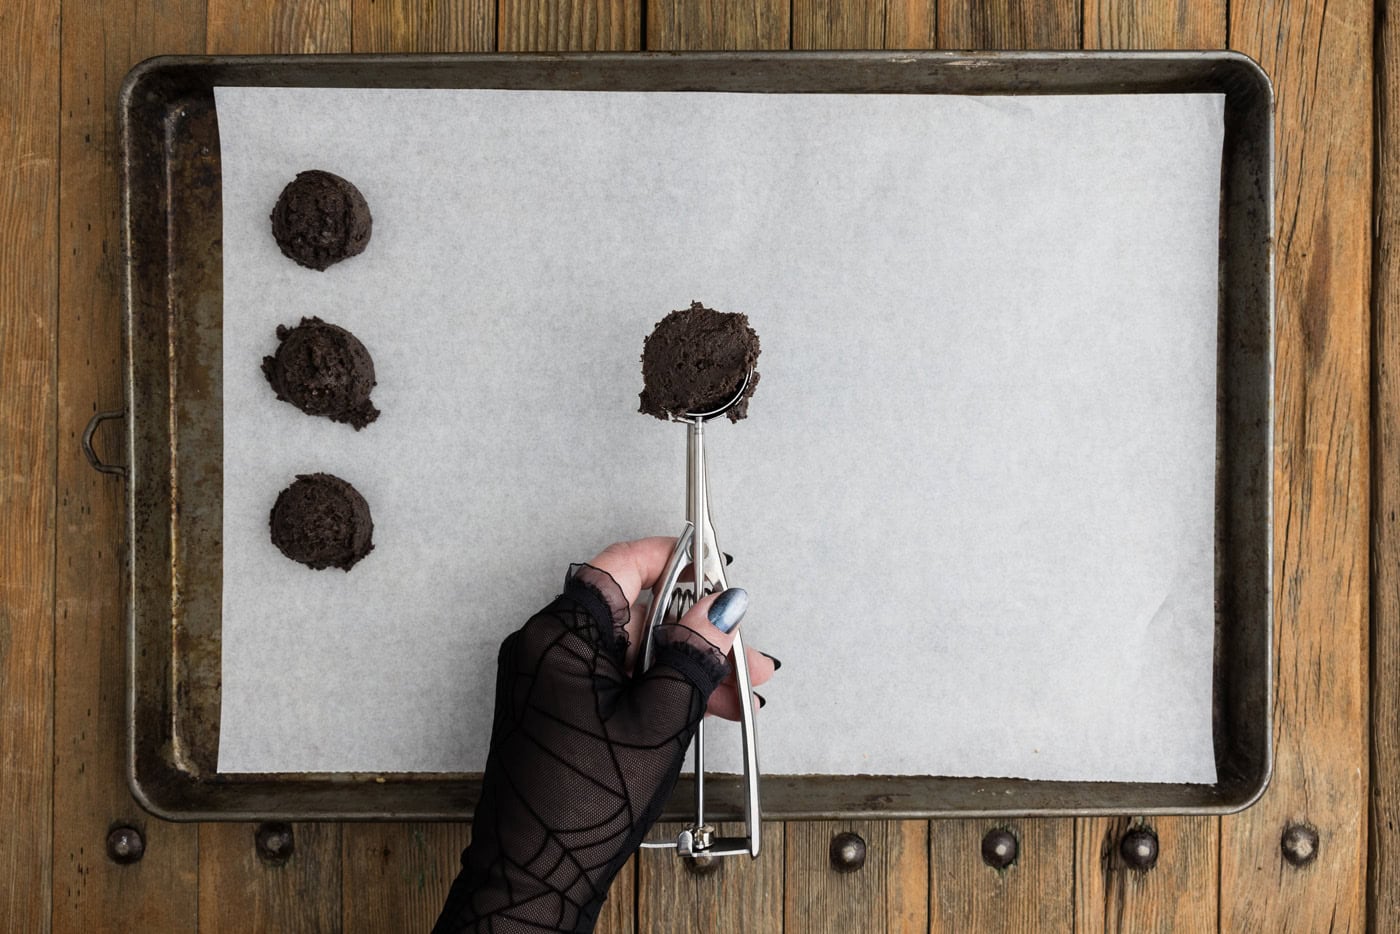
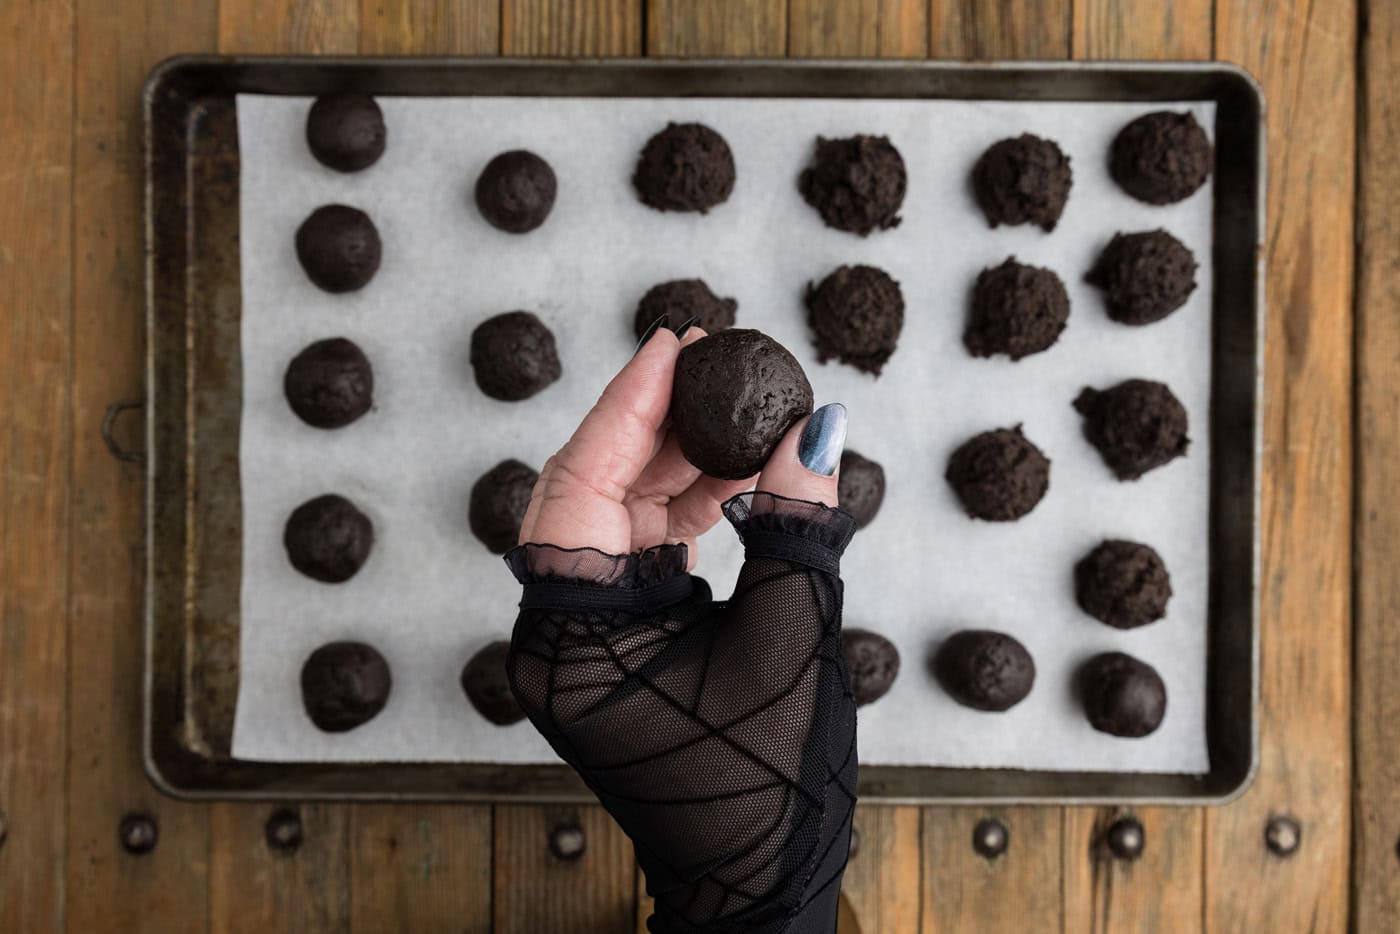
- Use a 1-tablespoon-sized scoop to make balls of the mixture, and place each ball on a parchment paper-lined baking sheet.
- Chill in the freezer for 10 minutes to firm the dough a bit. Roll each ball between the palms of your hands to form a smooth ball. Return to freezer for 10 minutes.
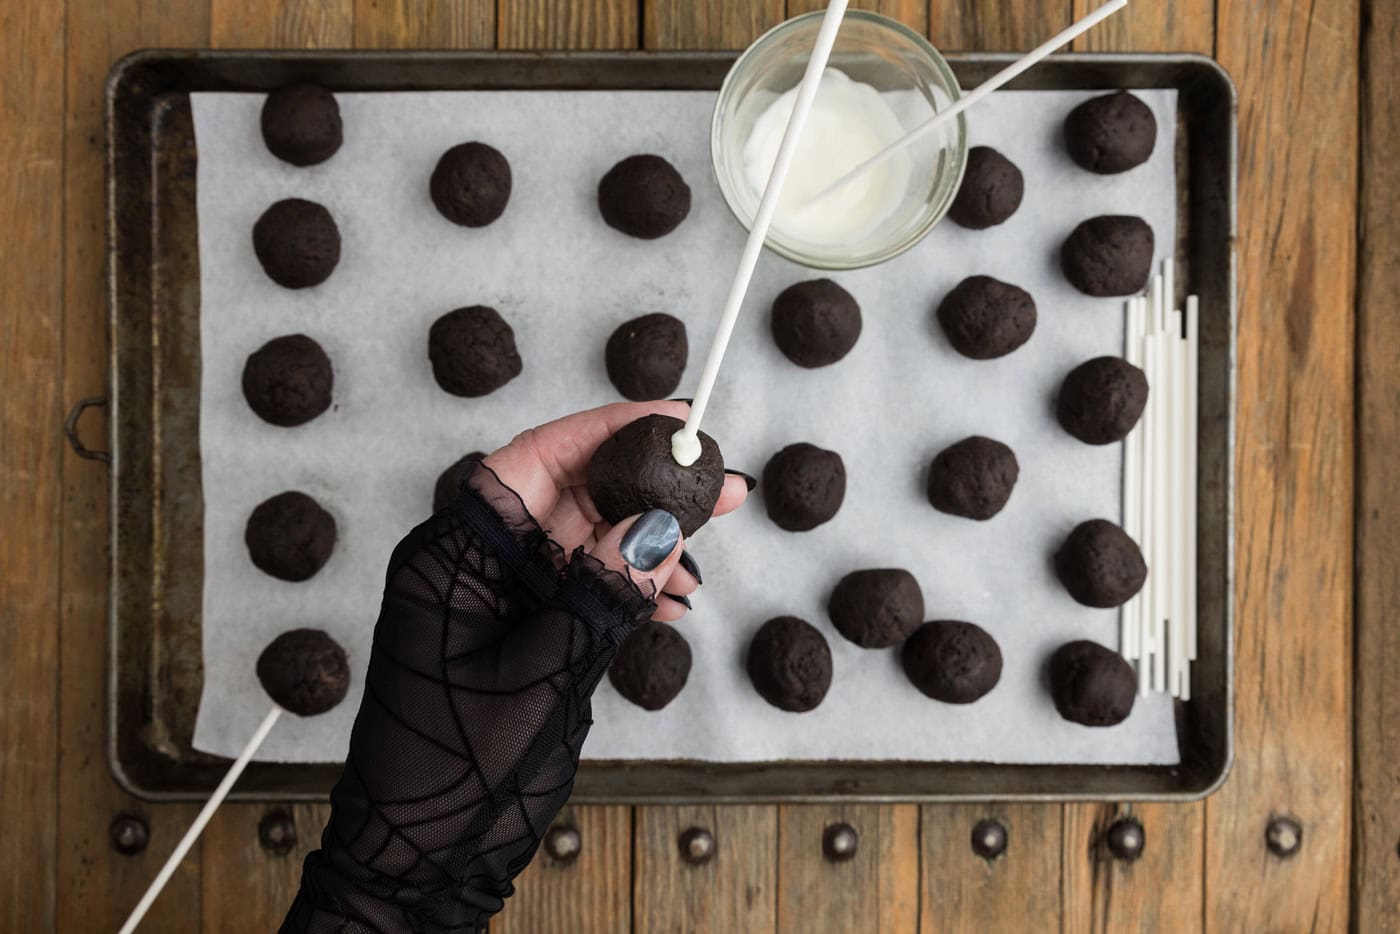
- Melt the 2 oz of melting wafers in a small bowl and dip the end of a stick into the melted chocolate, and then insert halfway into the pop. Return to freezer again for around 10 minutes.
Decorating the Mummy Pops
- Place 14 ounces of white melting wafers in a microwave-safe bowl and heat in 30-second increments, stirring between each interval, until the wafers are melted and smooth.
- Working with one ball at a time, dip the firm ball into the melted wafer, turning it gently to coat completely. Tap off the excess coating, and place the coated ball on a baking sheet lined with clean parchment paper. Continue this way until all the mummy truffles are coated.
TIP – There are specific truffle or cake pop stands that you can place the dipped sticks on in order to avoid the back of the truffle being flat, if that’s your fancy.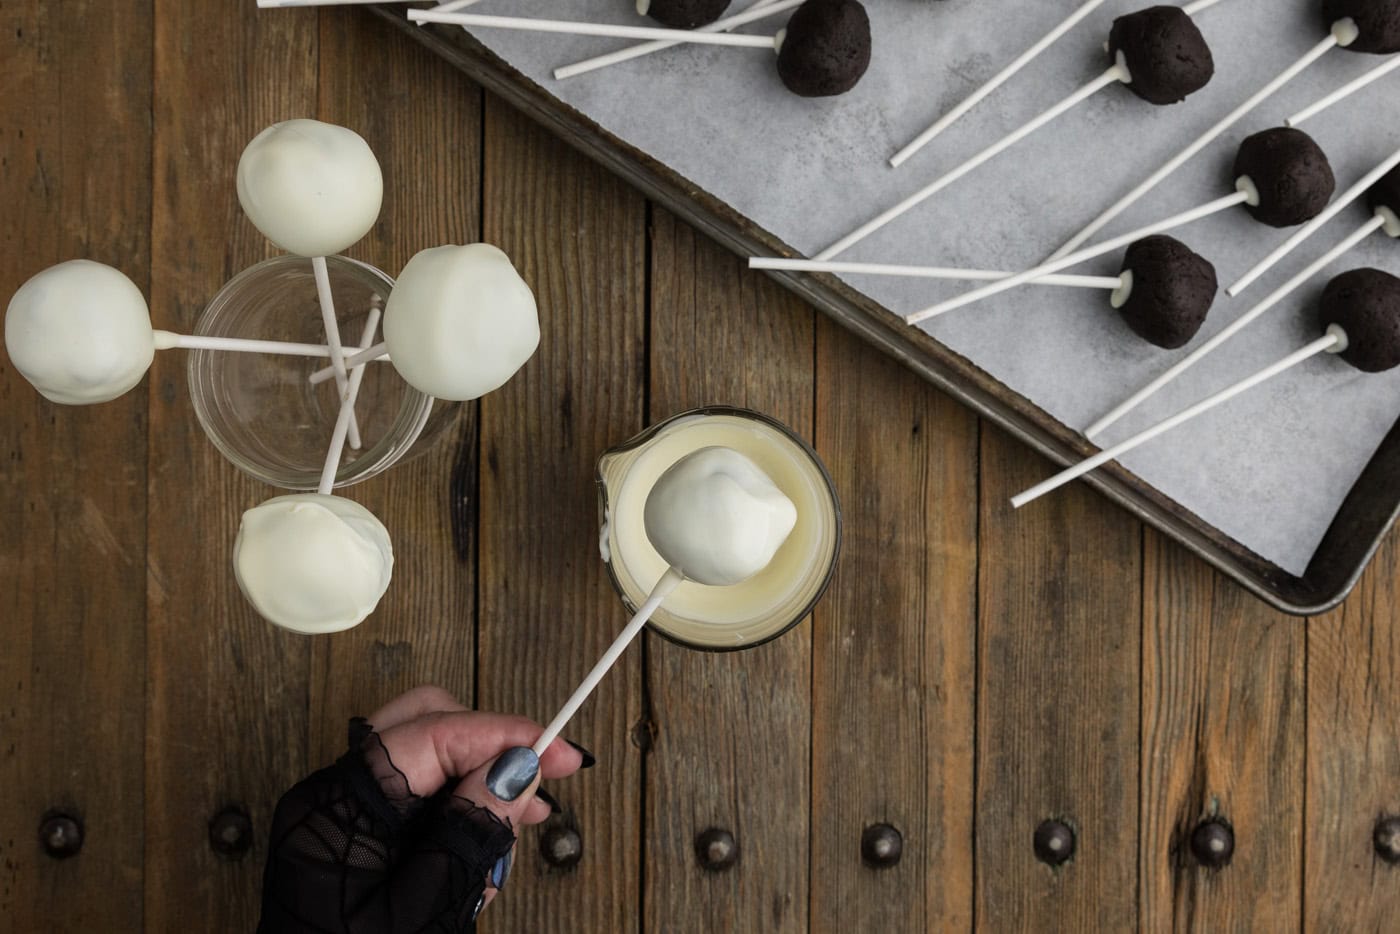
- Melt the remaining 4 ounces of white melting wafers the same way. Transfer the melted candy to a small zip-top bag, and snip off one corner of the bag. Working with one mummy pop at a time, drizzle the white melted candy across one truffle to look like mummy bandages, and immediately place on 2 candy eyes.
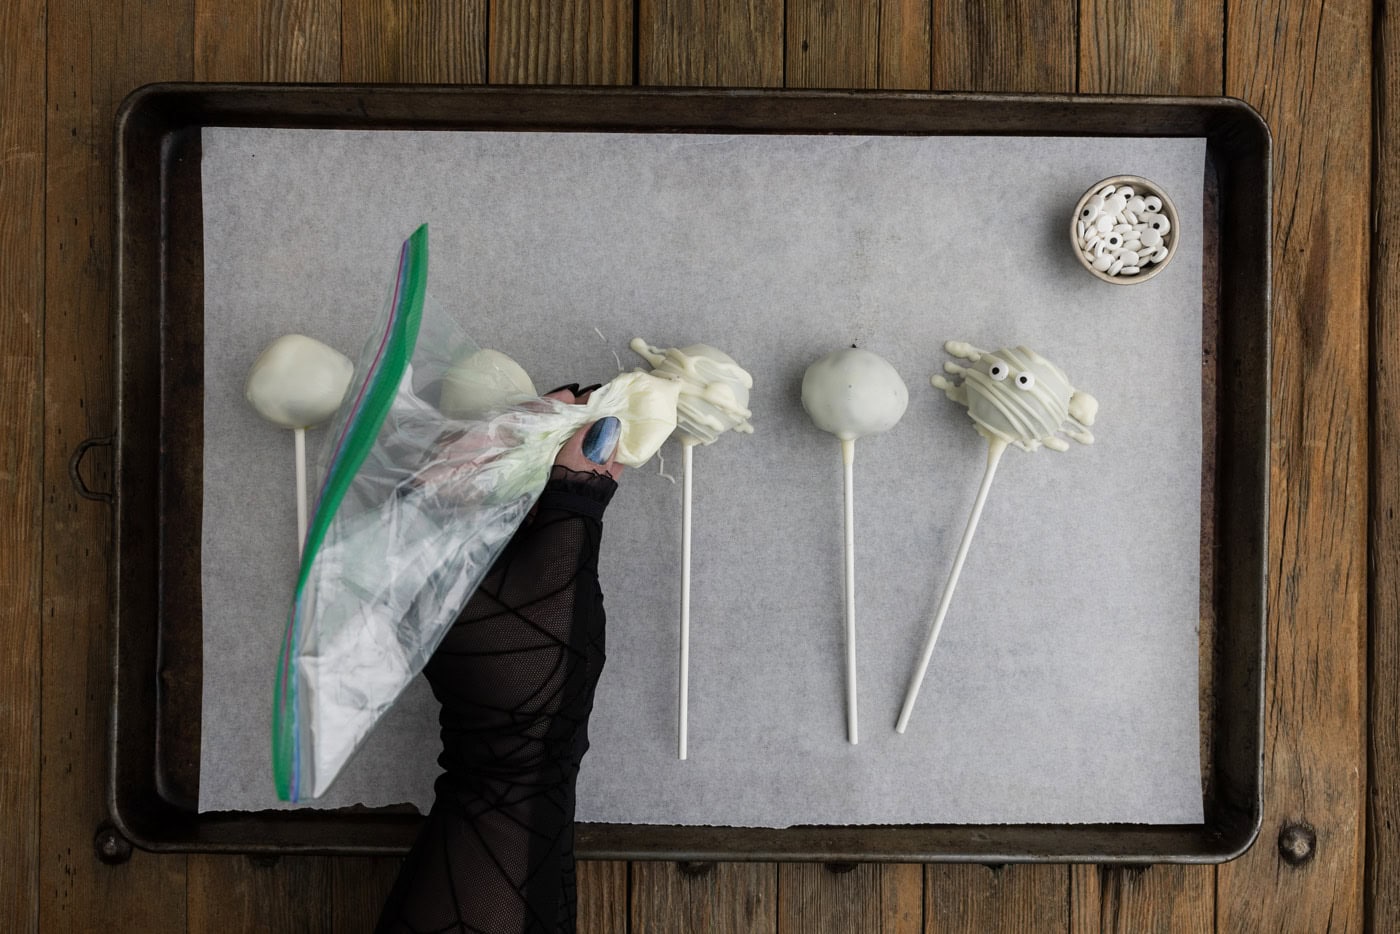
- Continue this way until all the mummy truffles are made.
Frequently Asked Questions & Expert Tips
Can I make them ahead of time?Yes, absolutely! You can prepare the mummy pops fully, decorations included, a day or two in advance and store them in an air-tight container kept in the refrigerator. You can freeze the naked Oreo truffles (without the chocolate coating) in the freezer for up to 3 months.
How do you store mummy pops?Store your mummy pops in an air-tight container kept in the refrigerator for up to 2 weeks.
Why is my chocolate coating cracking?Cracking typically happens when your Oreo truffles are too cold compared to the heat of the melted chocolate. If you leave your truffles in the freezer for too long before dipping them, it will more than likely cause the chocolate to crack. If you happen to do so, leave the truffles at room temperature for around 10-15 minutes before dipping to avoid cracks. A few cracks here and there aren’t a huge deal, as you’ll be covering most with the drizzle.
Do I have to add a lollipop stick?Of course not! We initially made these mummy pops as part of our Halloween Oreo Truffles recipe, in which no lollipop sticks were used. Simply leave the sticks out of the equation if preferred, they’ll be just as good!
Serving Suggestions
Serve your mummy cake pops at Halloween parties or have a fun night decorating them with the kids.
I personally think they would be adorable wrapped in cellophane baggies and tied with a ribbon if you’d like to hand them out, but they look just as cute on a platter or stand!
More Related Recipes
I love to bake and cook and share my kitchen experience with all of you! Remembering to come back each day can be tough, that’s why I offer a convenient newsletter every time a new recipe posts. Simply subscribe and start receiving your free daily recipes!
More recipes to try
Eight more recipes from the kitchen.
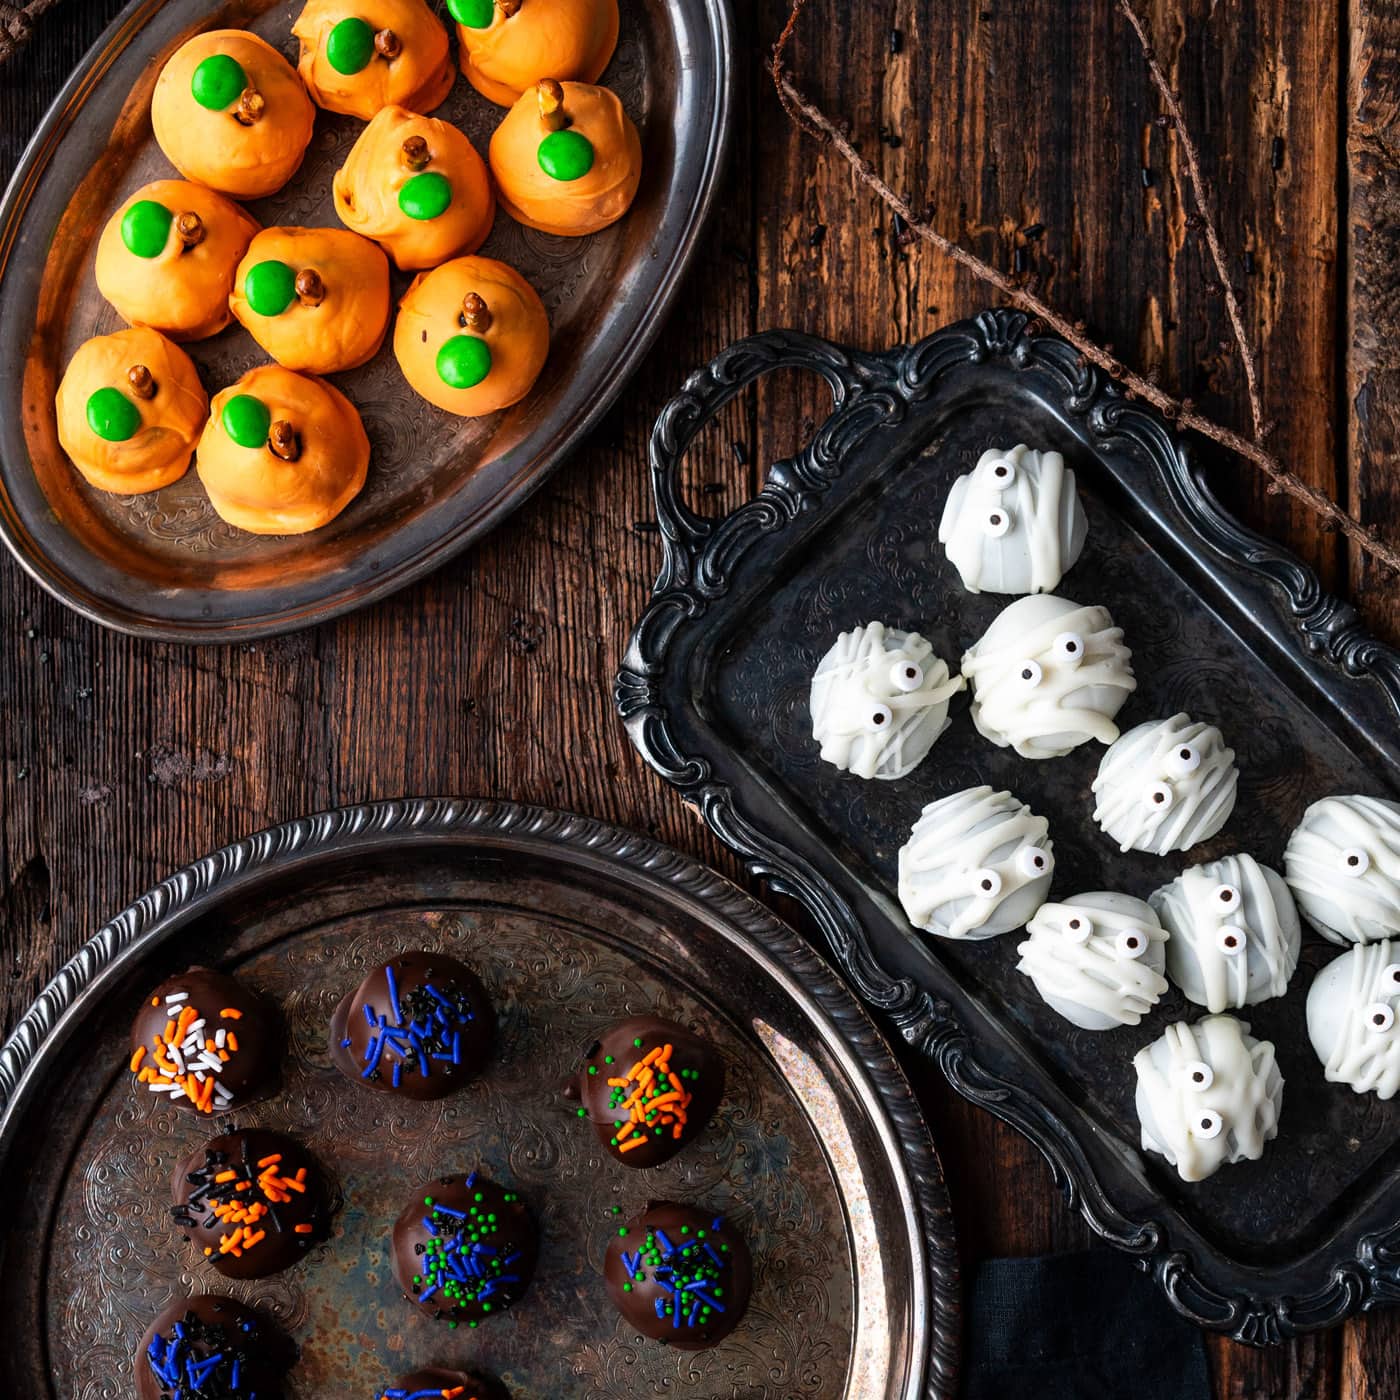
Halloween Oreo Truffles
Dunk, decorate, and devour these easy Halloween Oreo truffles 3…
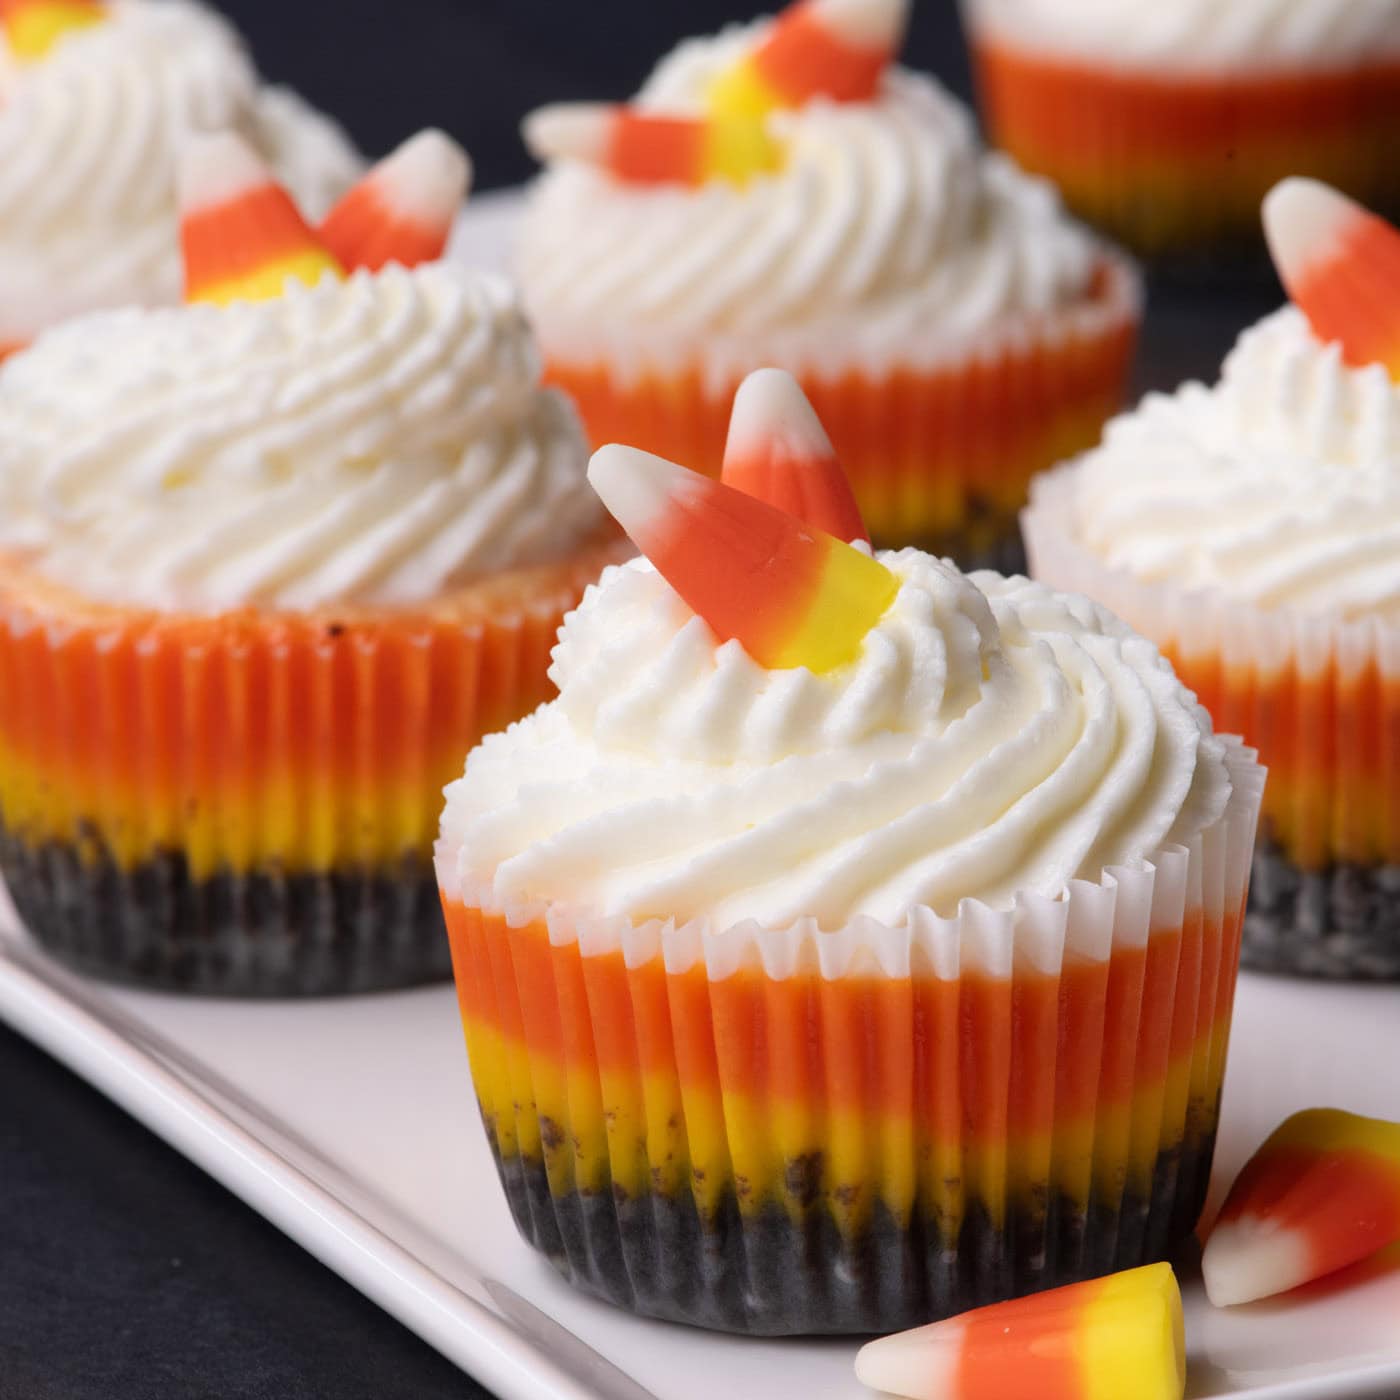
Mini Candy Corn Cheesecakes
Mini candy corn cheesecakes combine creamy vanilla cheesecake with…
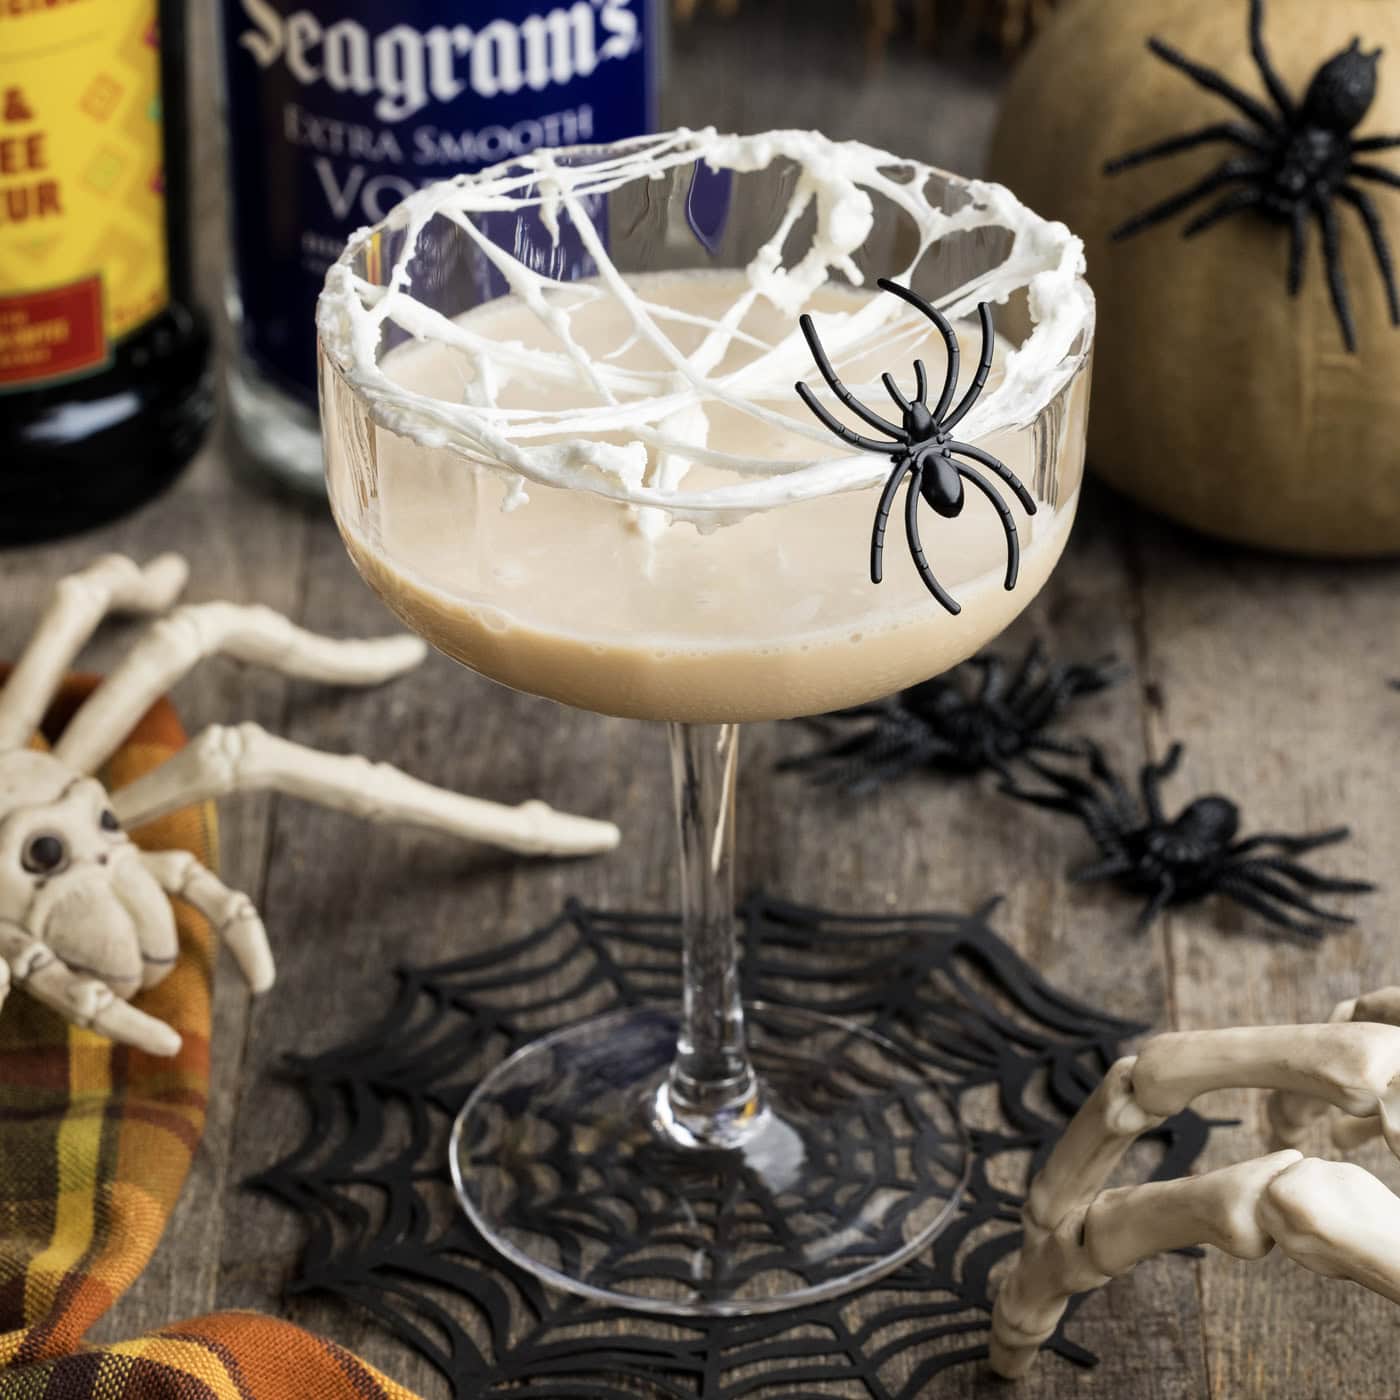
Spiderweb Cocktail
This spooky spiderweb cocktail is spun with a sticky-sweet marshmallow…
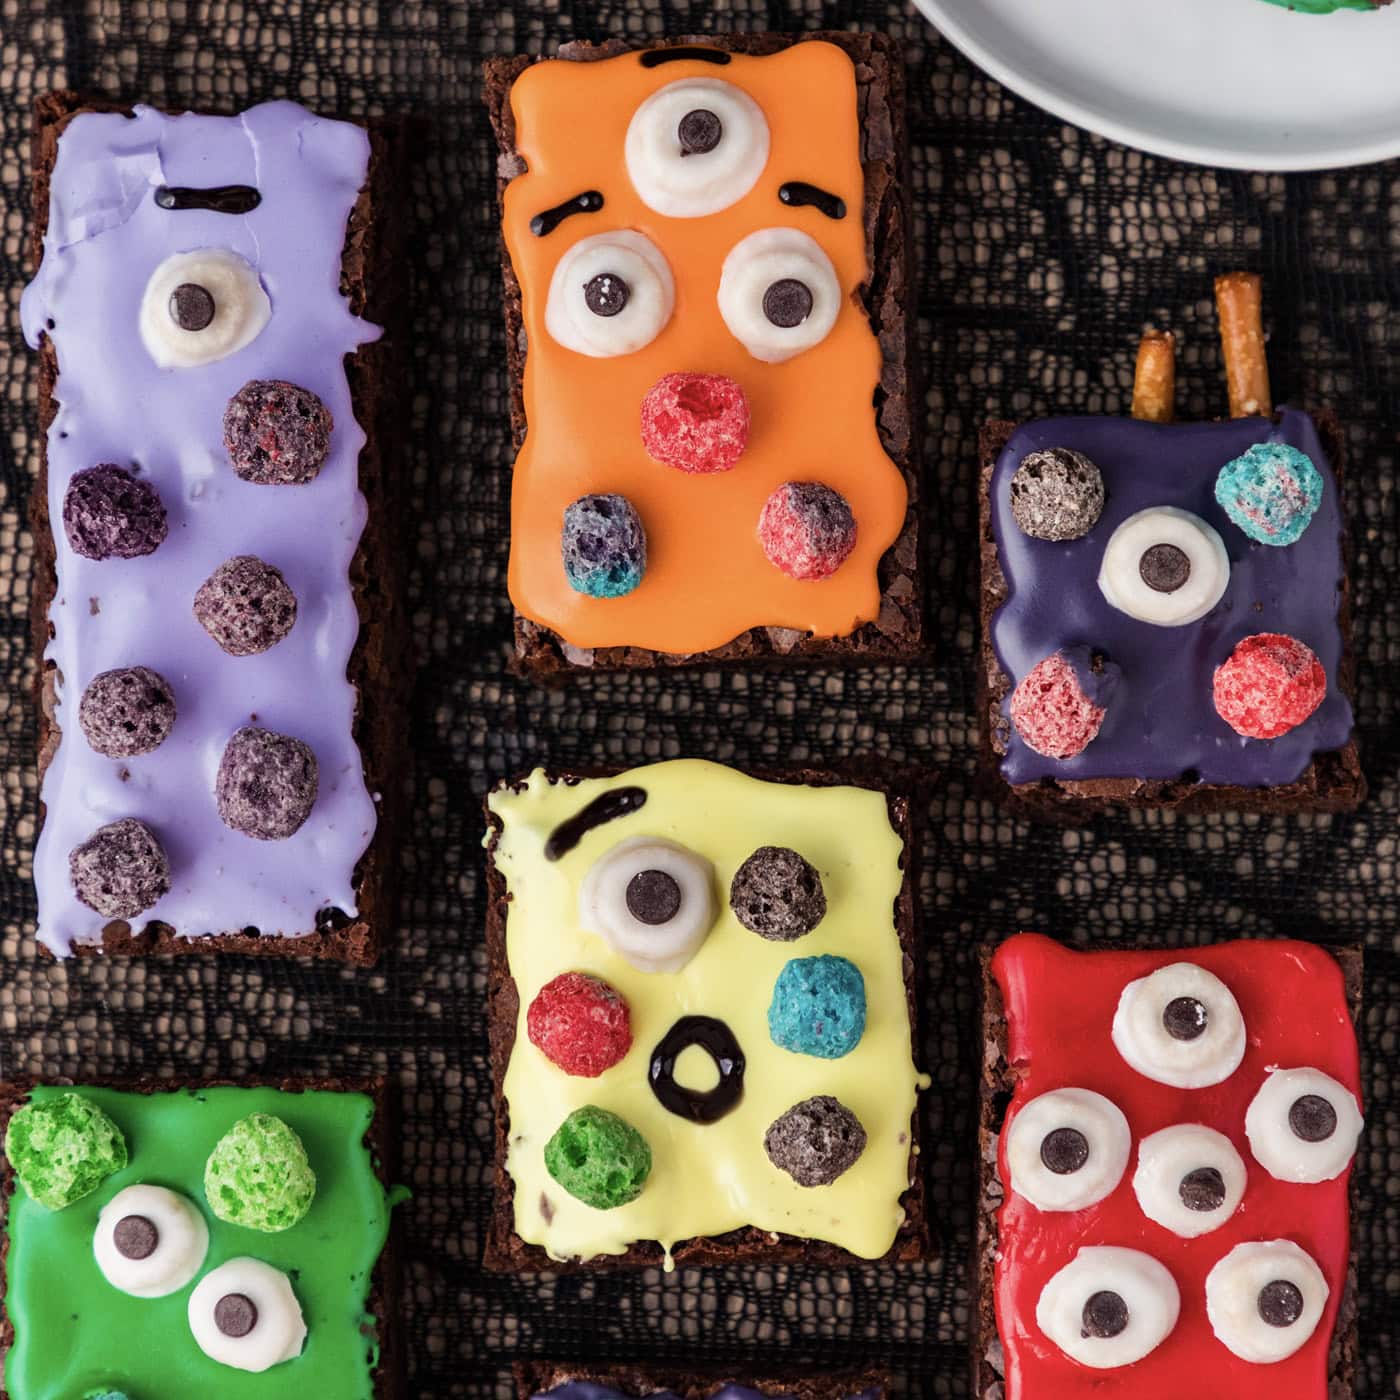
Halloween Monster Brownies
These Halloween monster brownies are tricked out with everything from…
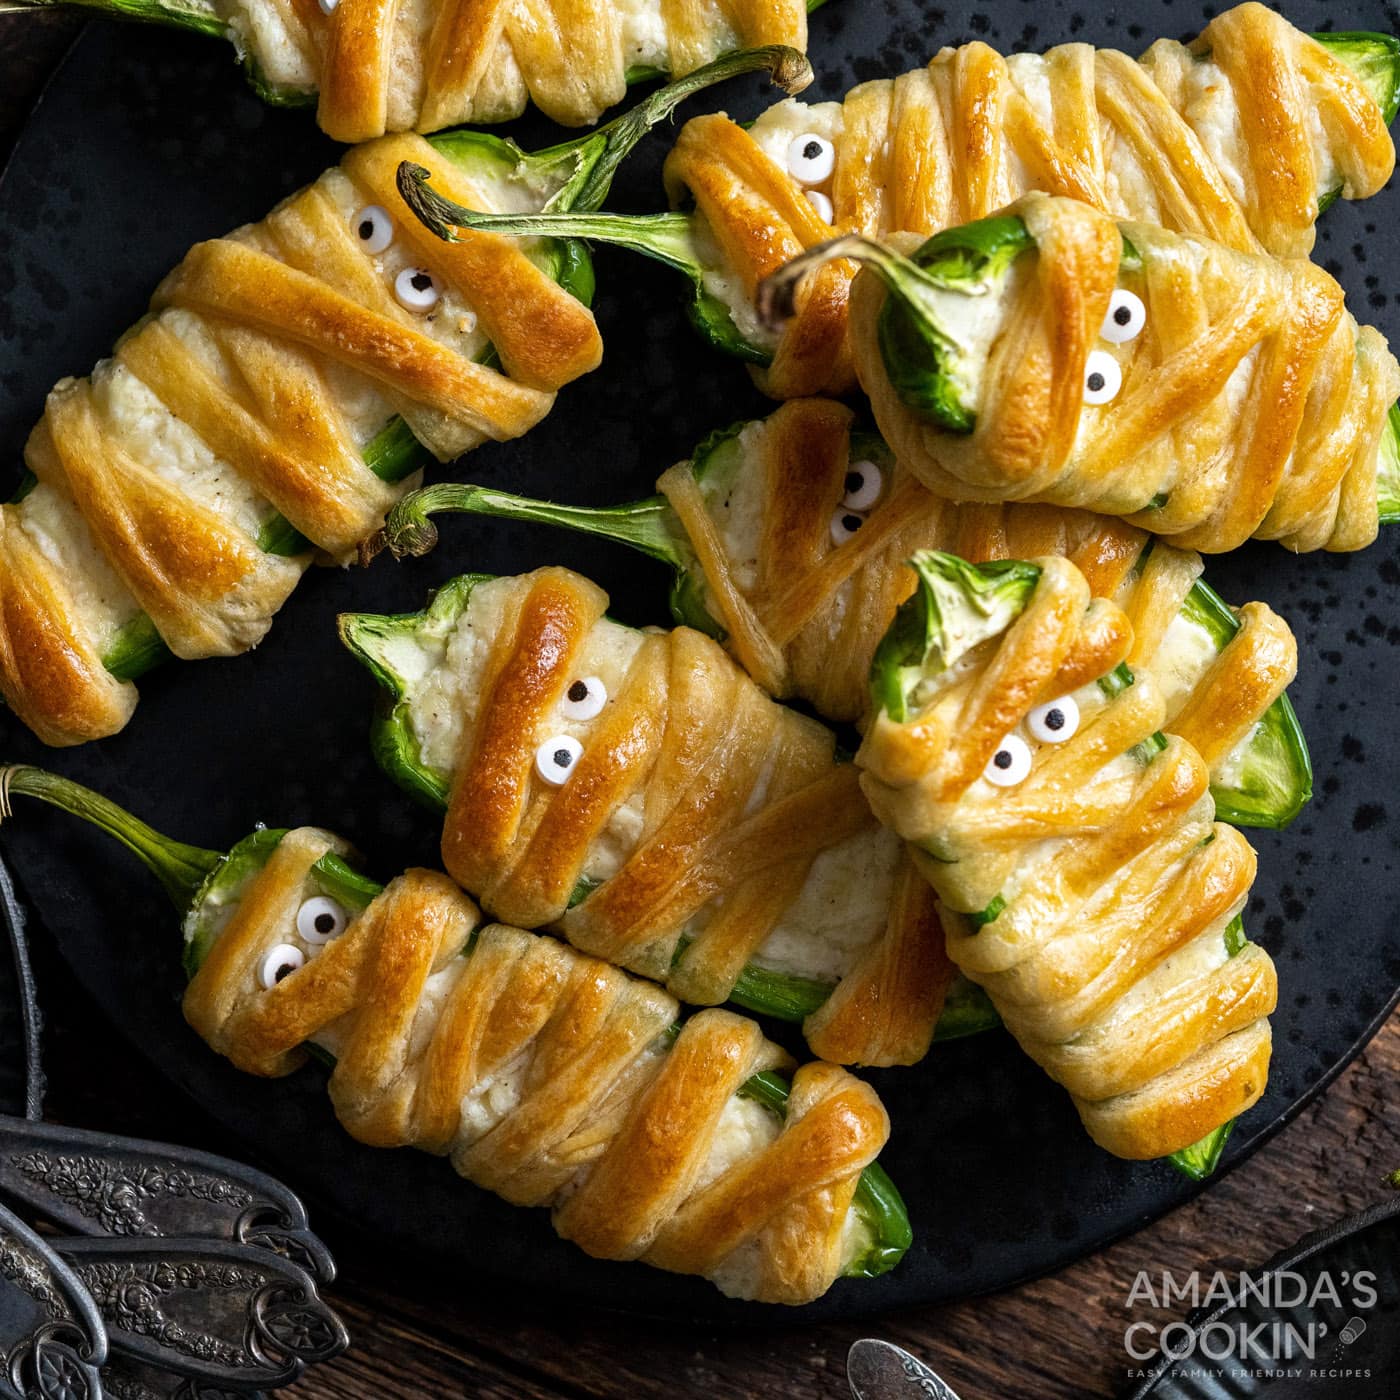
Jalapeno Popper Mummies
Adorably spooky jalapeno popper mummies are super easy to make with a…
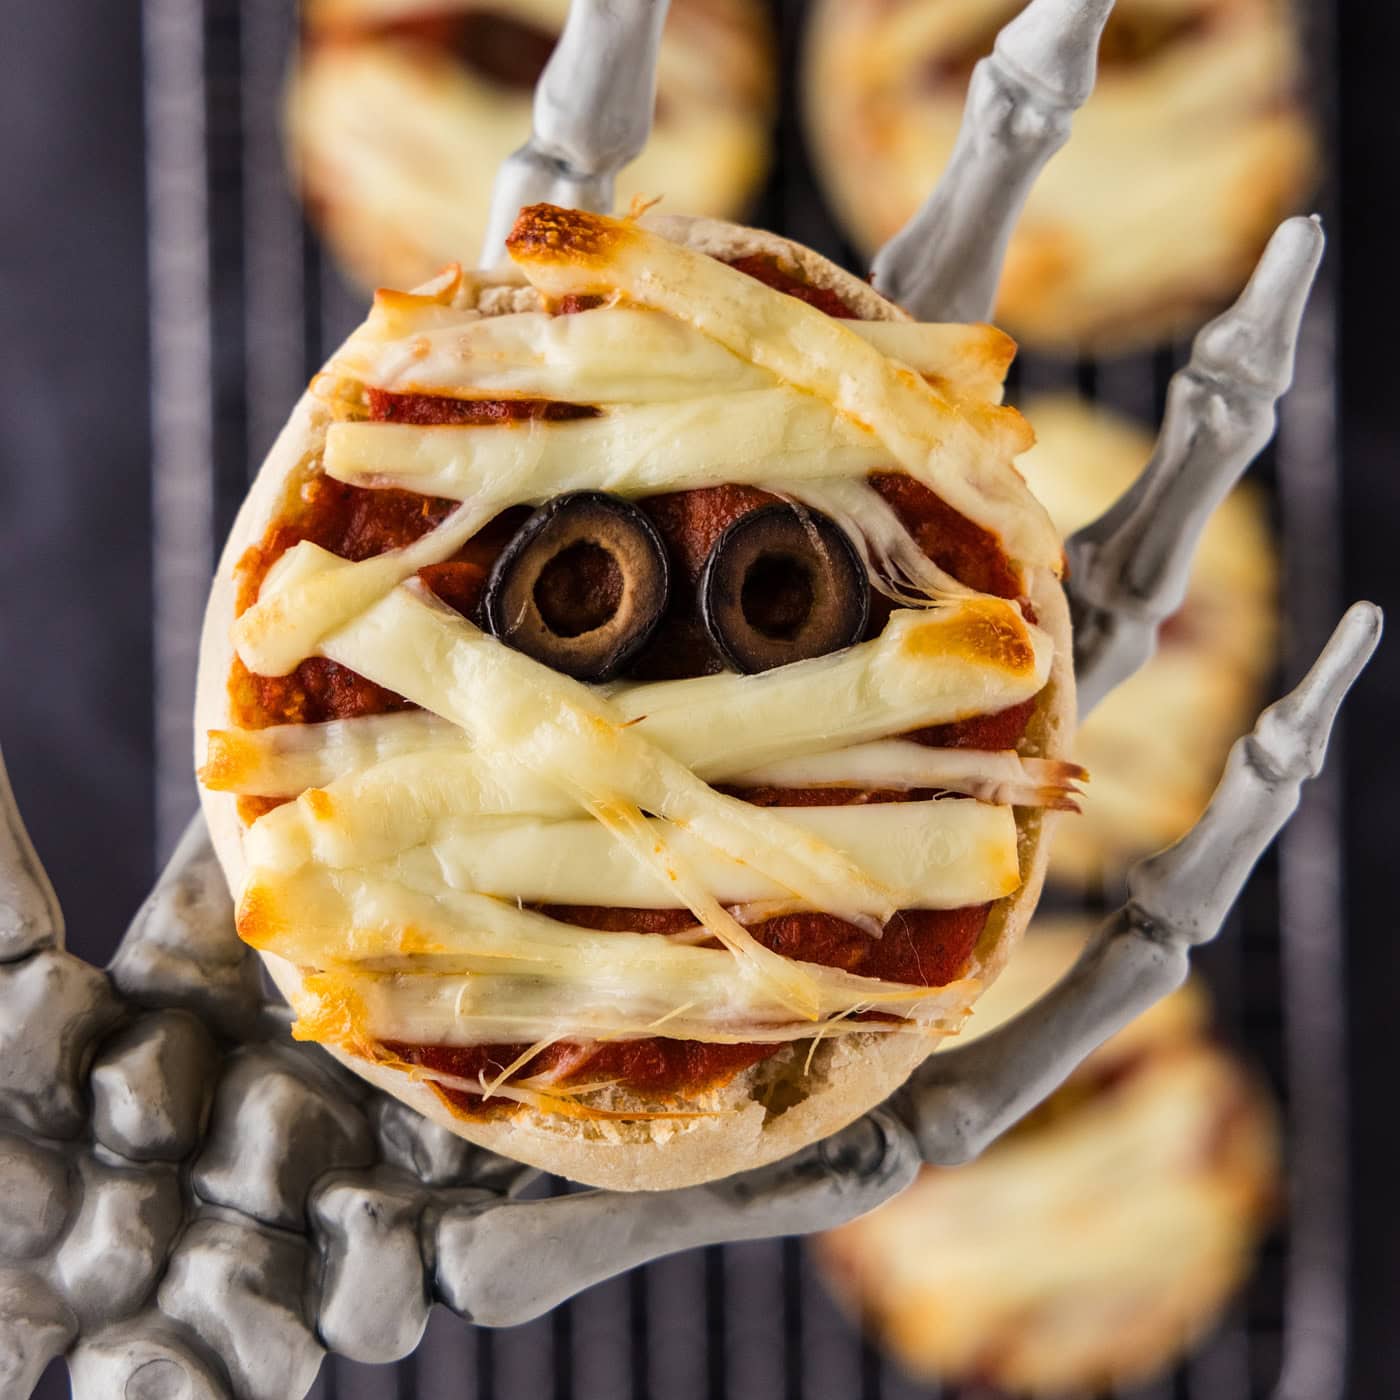
Mini Mummy Pizzas
Mini mummy pizzas are a cadaverous creation made with English muffins…
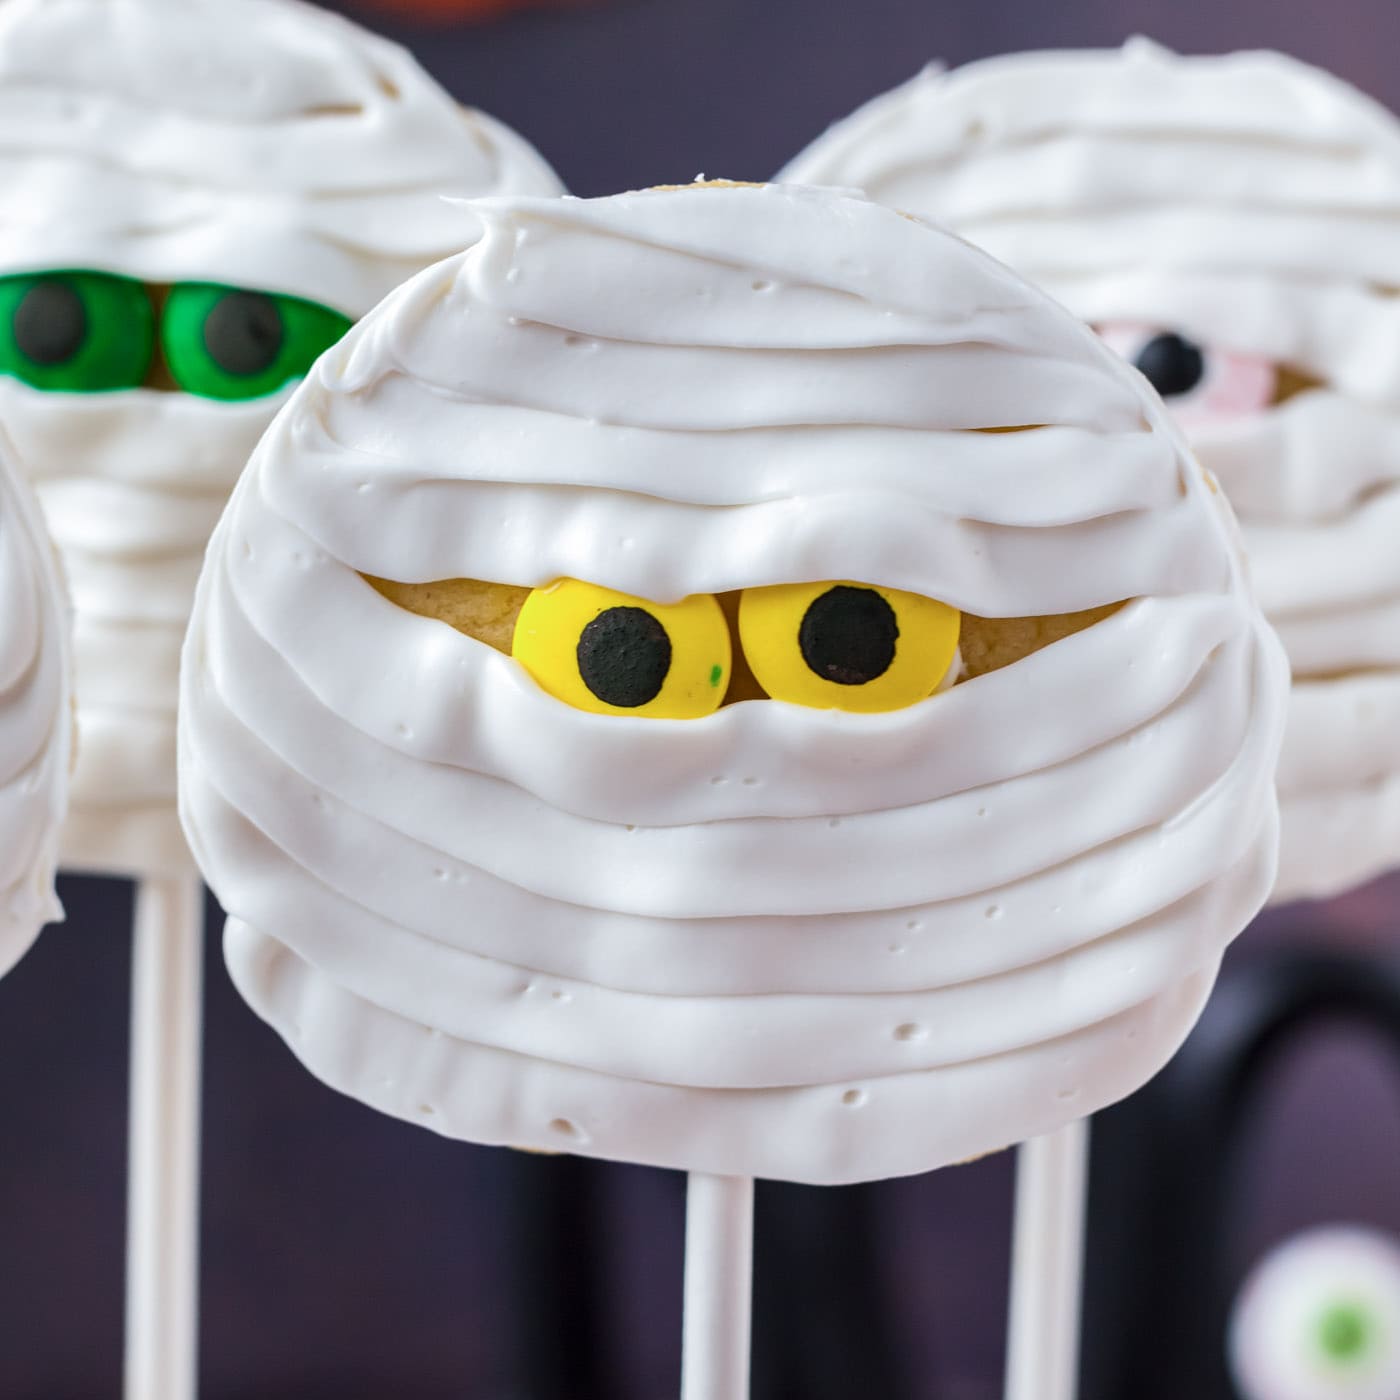
Mummy Cookies
Quick, easy, and a touch spooky, these mummy cookies come together…
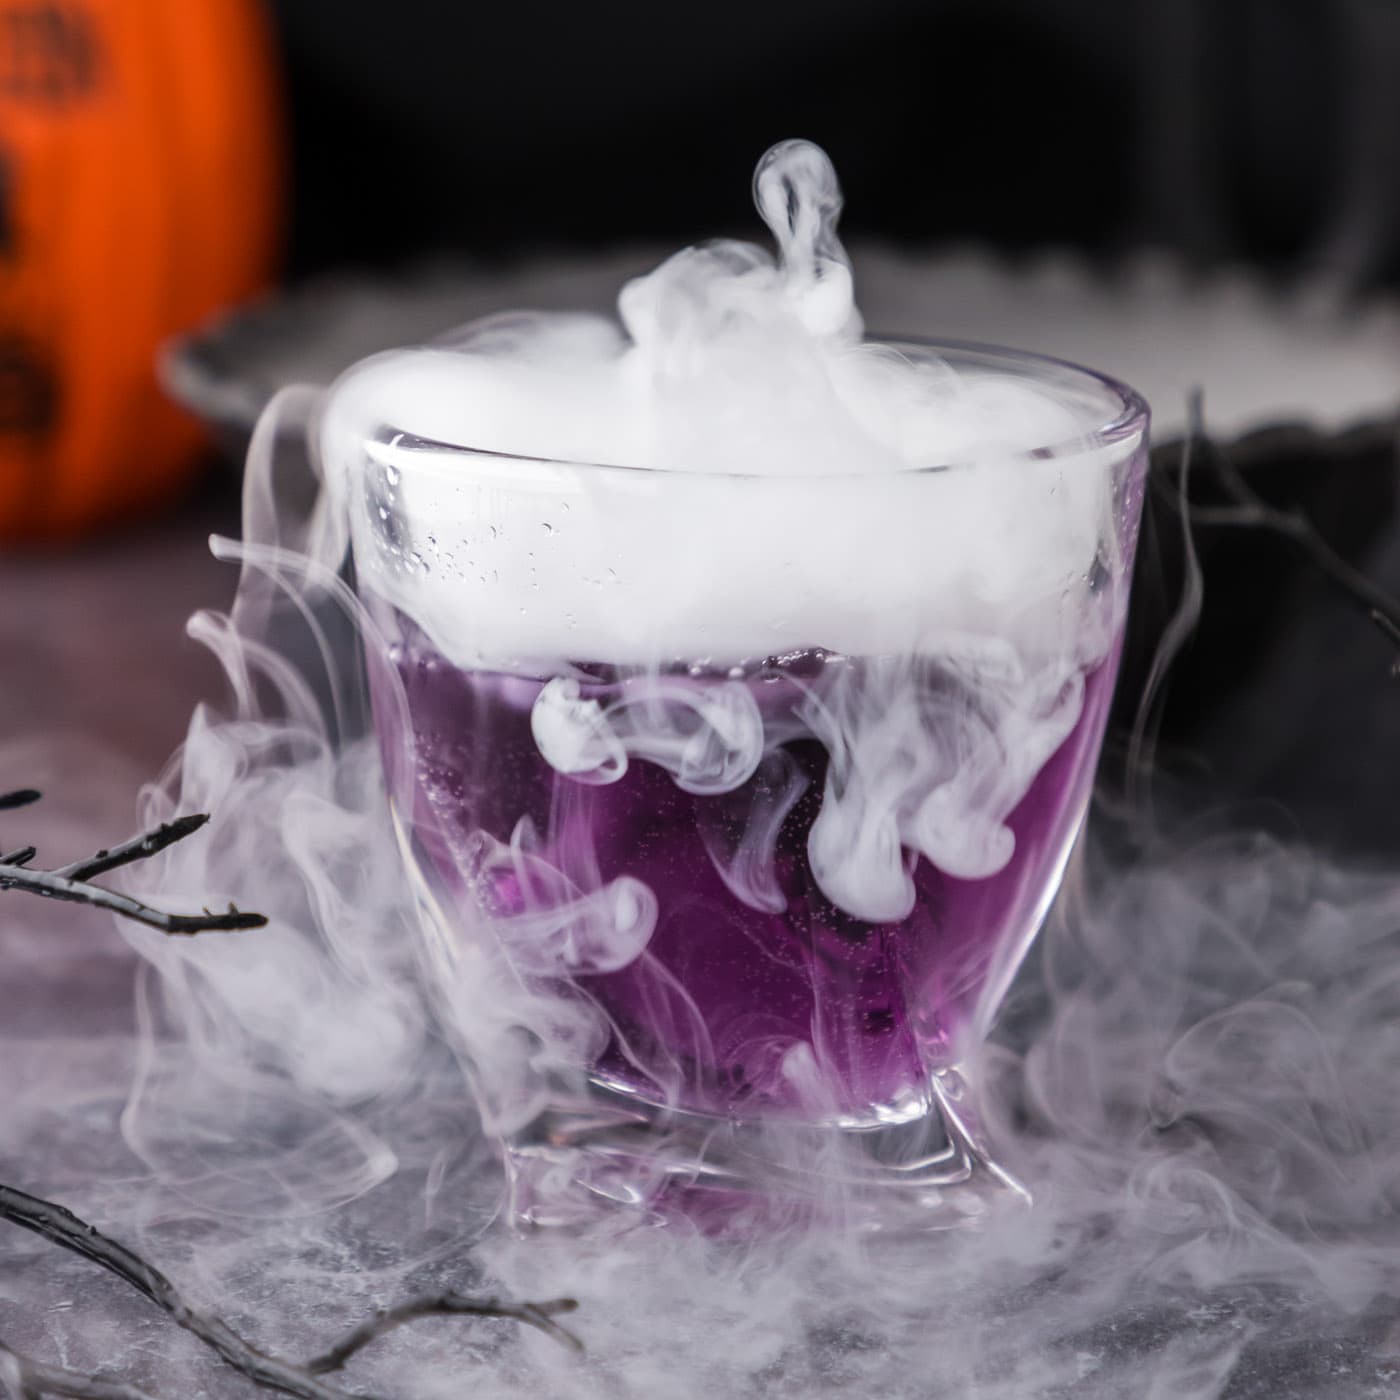
Purple People Eater Cocktail
The purple people eater cocktail is here to serve up the frights just…