Mummy Hand Pies
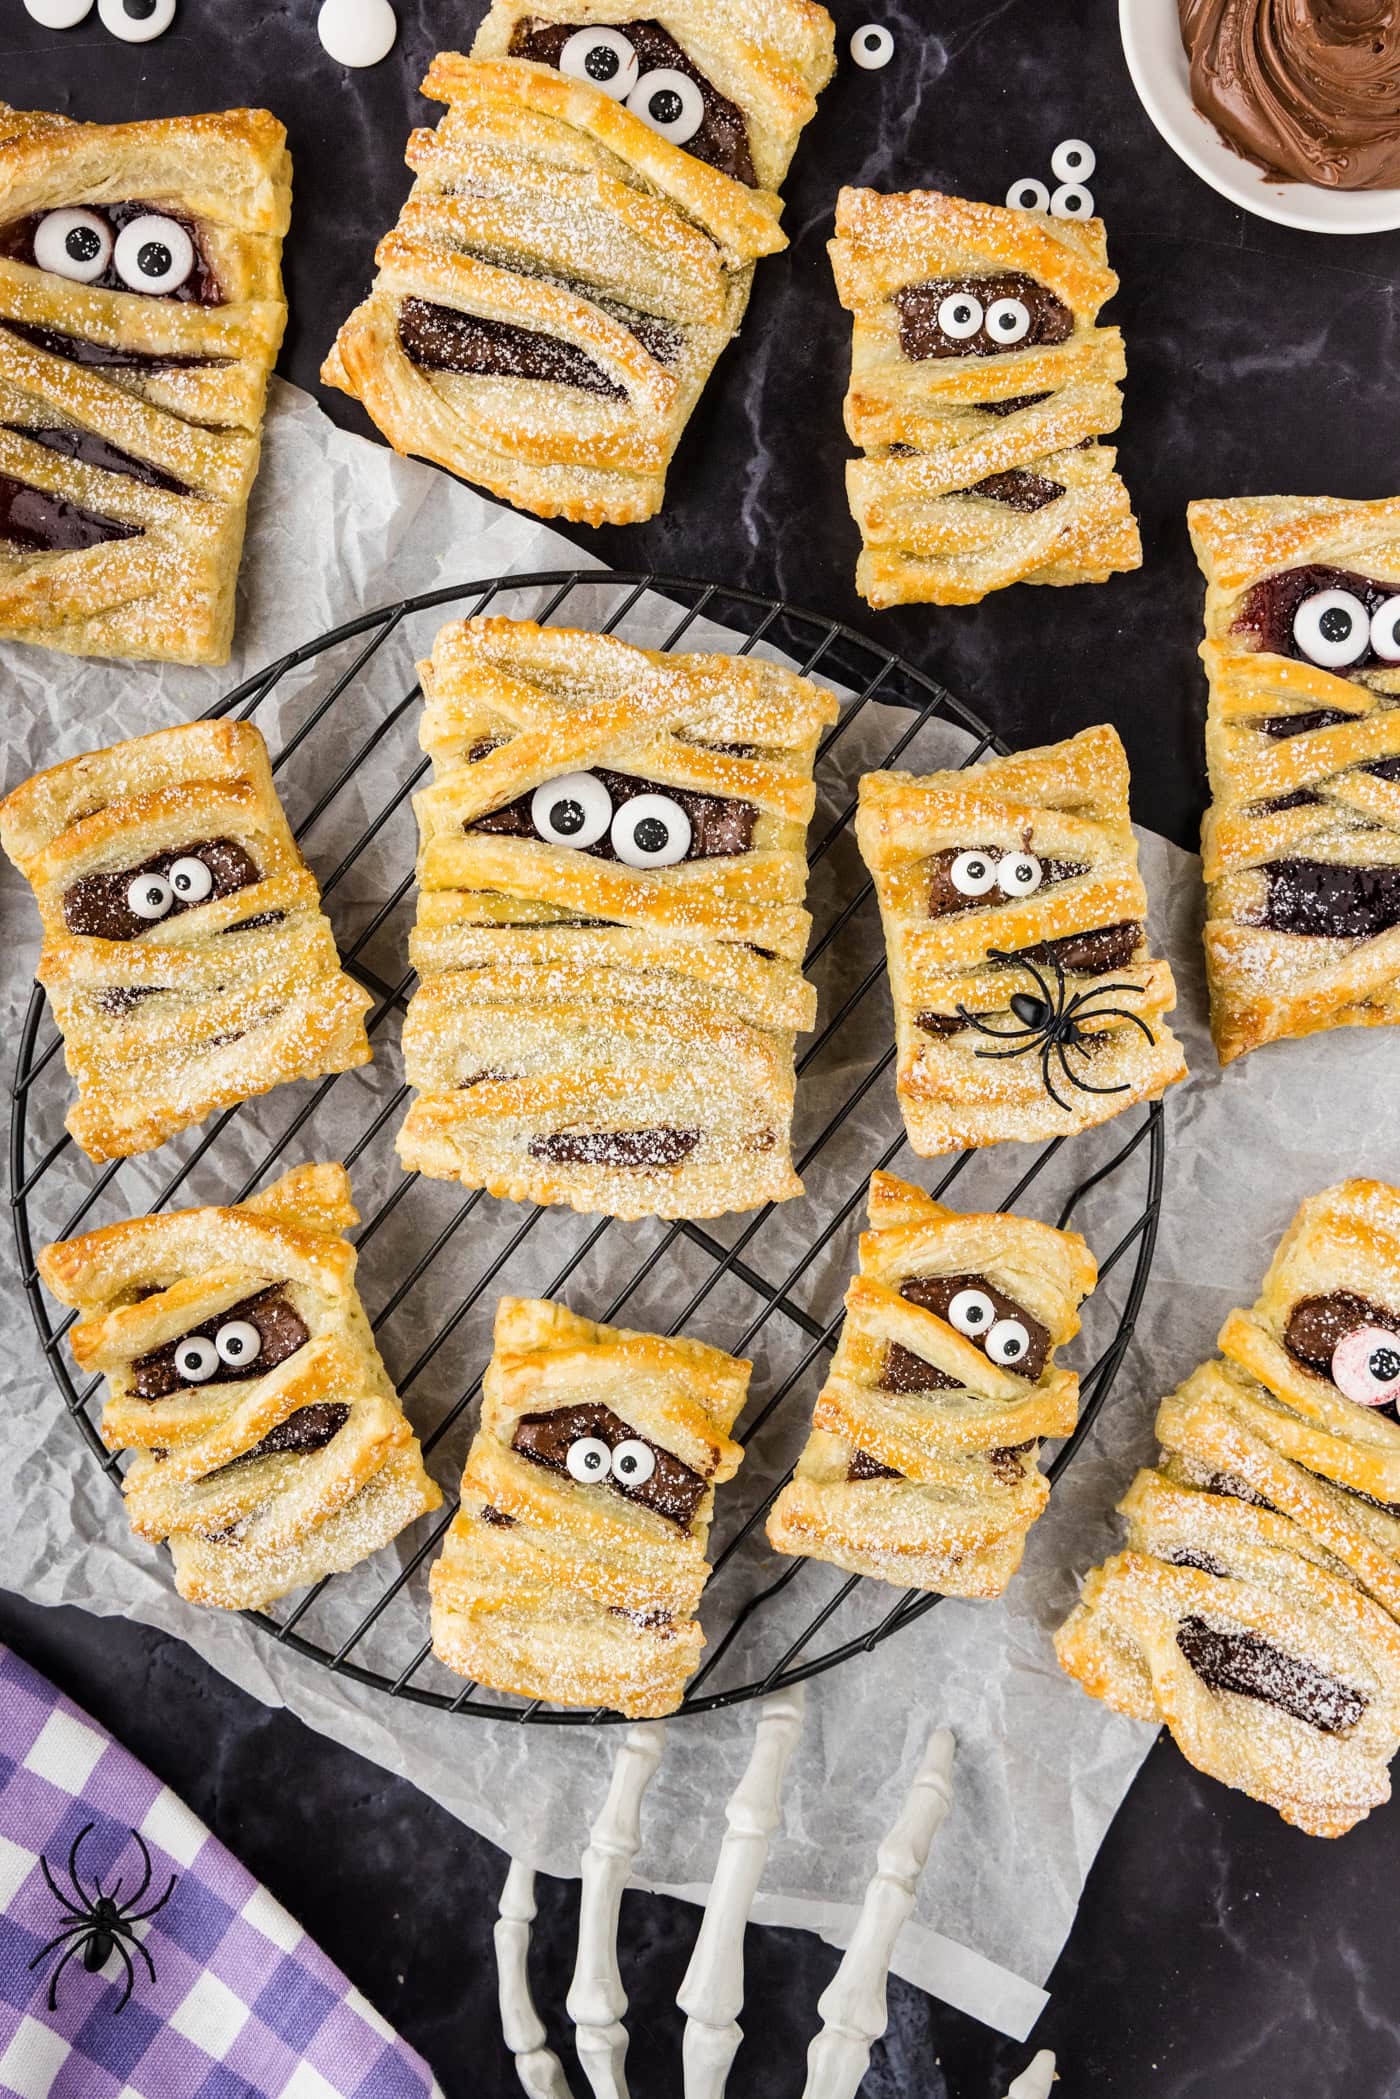
A sweet jam or Nutella filling lies beneath the flaky puff pastry bandages in these adorably spooky mummy hand pies!
- Total 45 minutes
- Serves 6 servings (6 hand pies)
- Breakfast, Dessert, Snack
- American
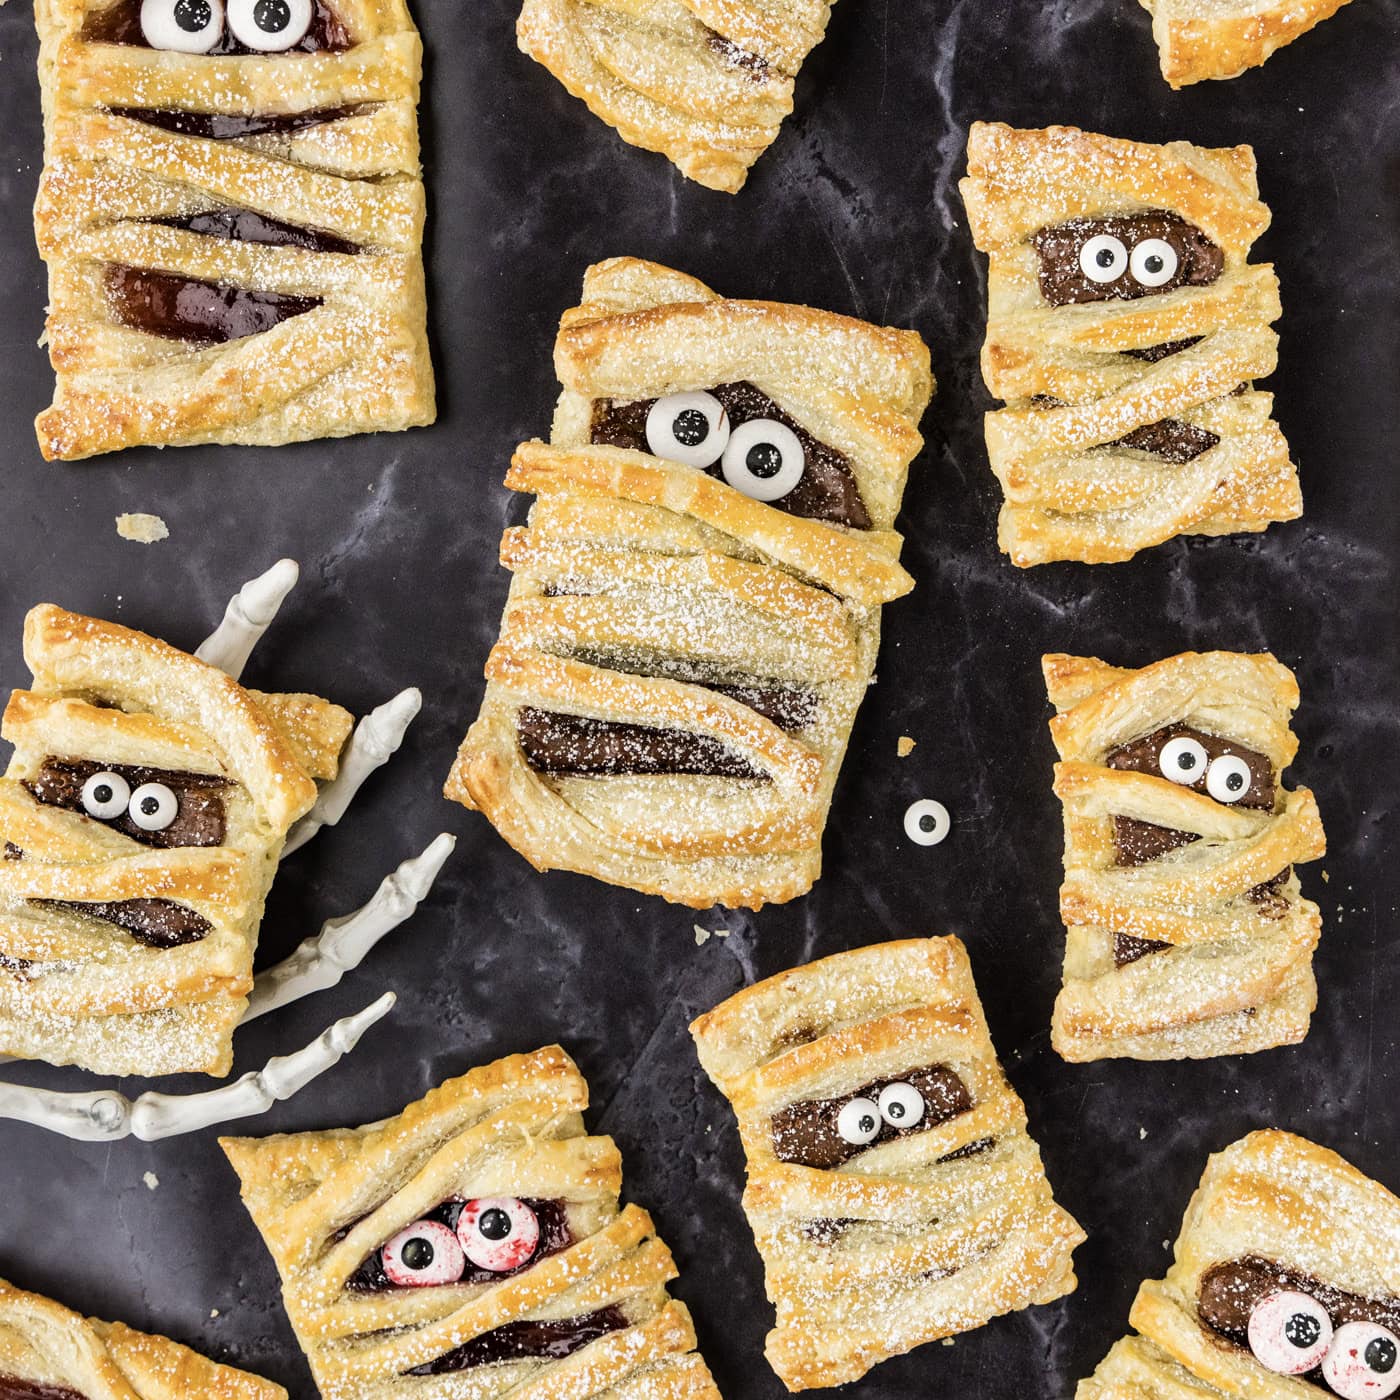
A sweet jam or Nutella filling lies beneath the flaky puff pastry bandages in these adorably spooky mummy hand pies!
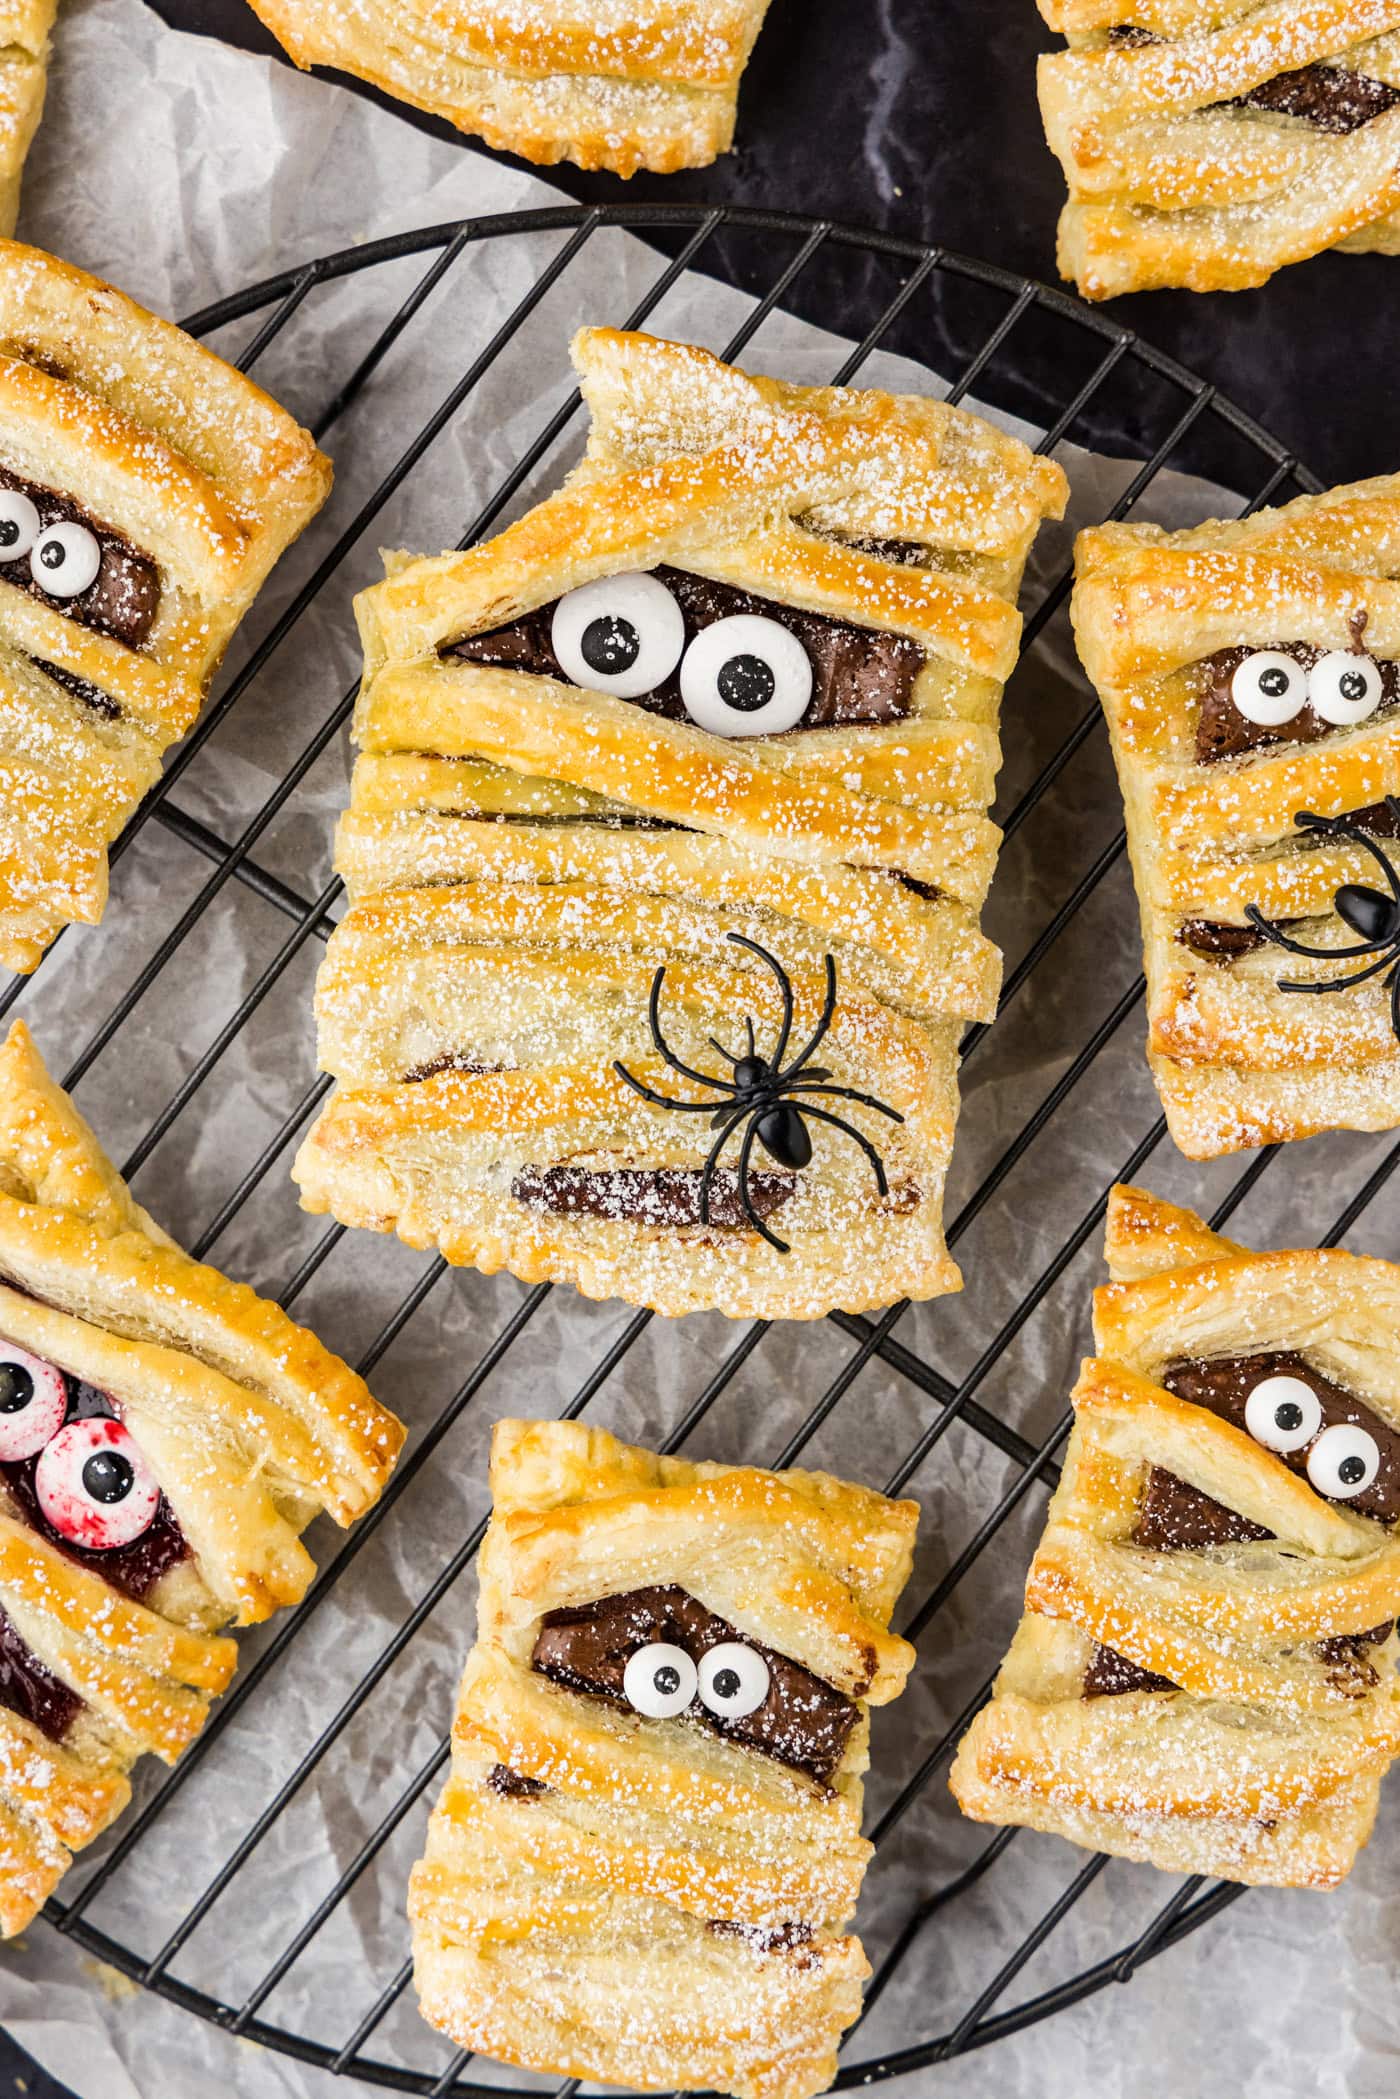 more
more
Why this recipe works
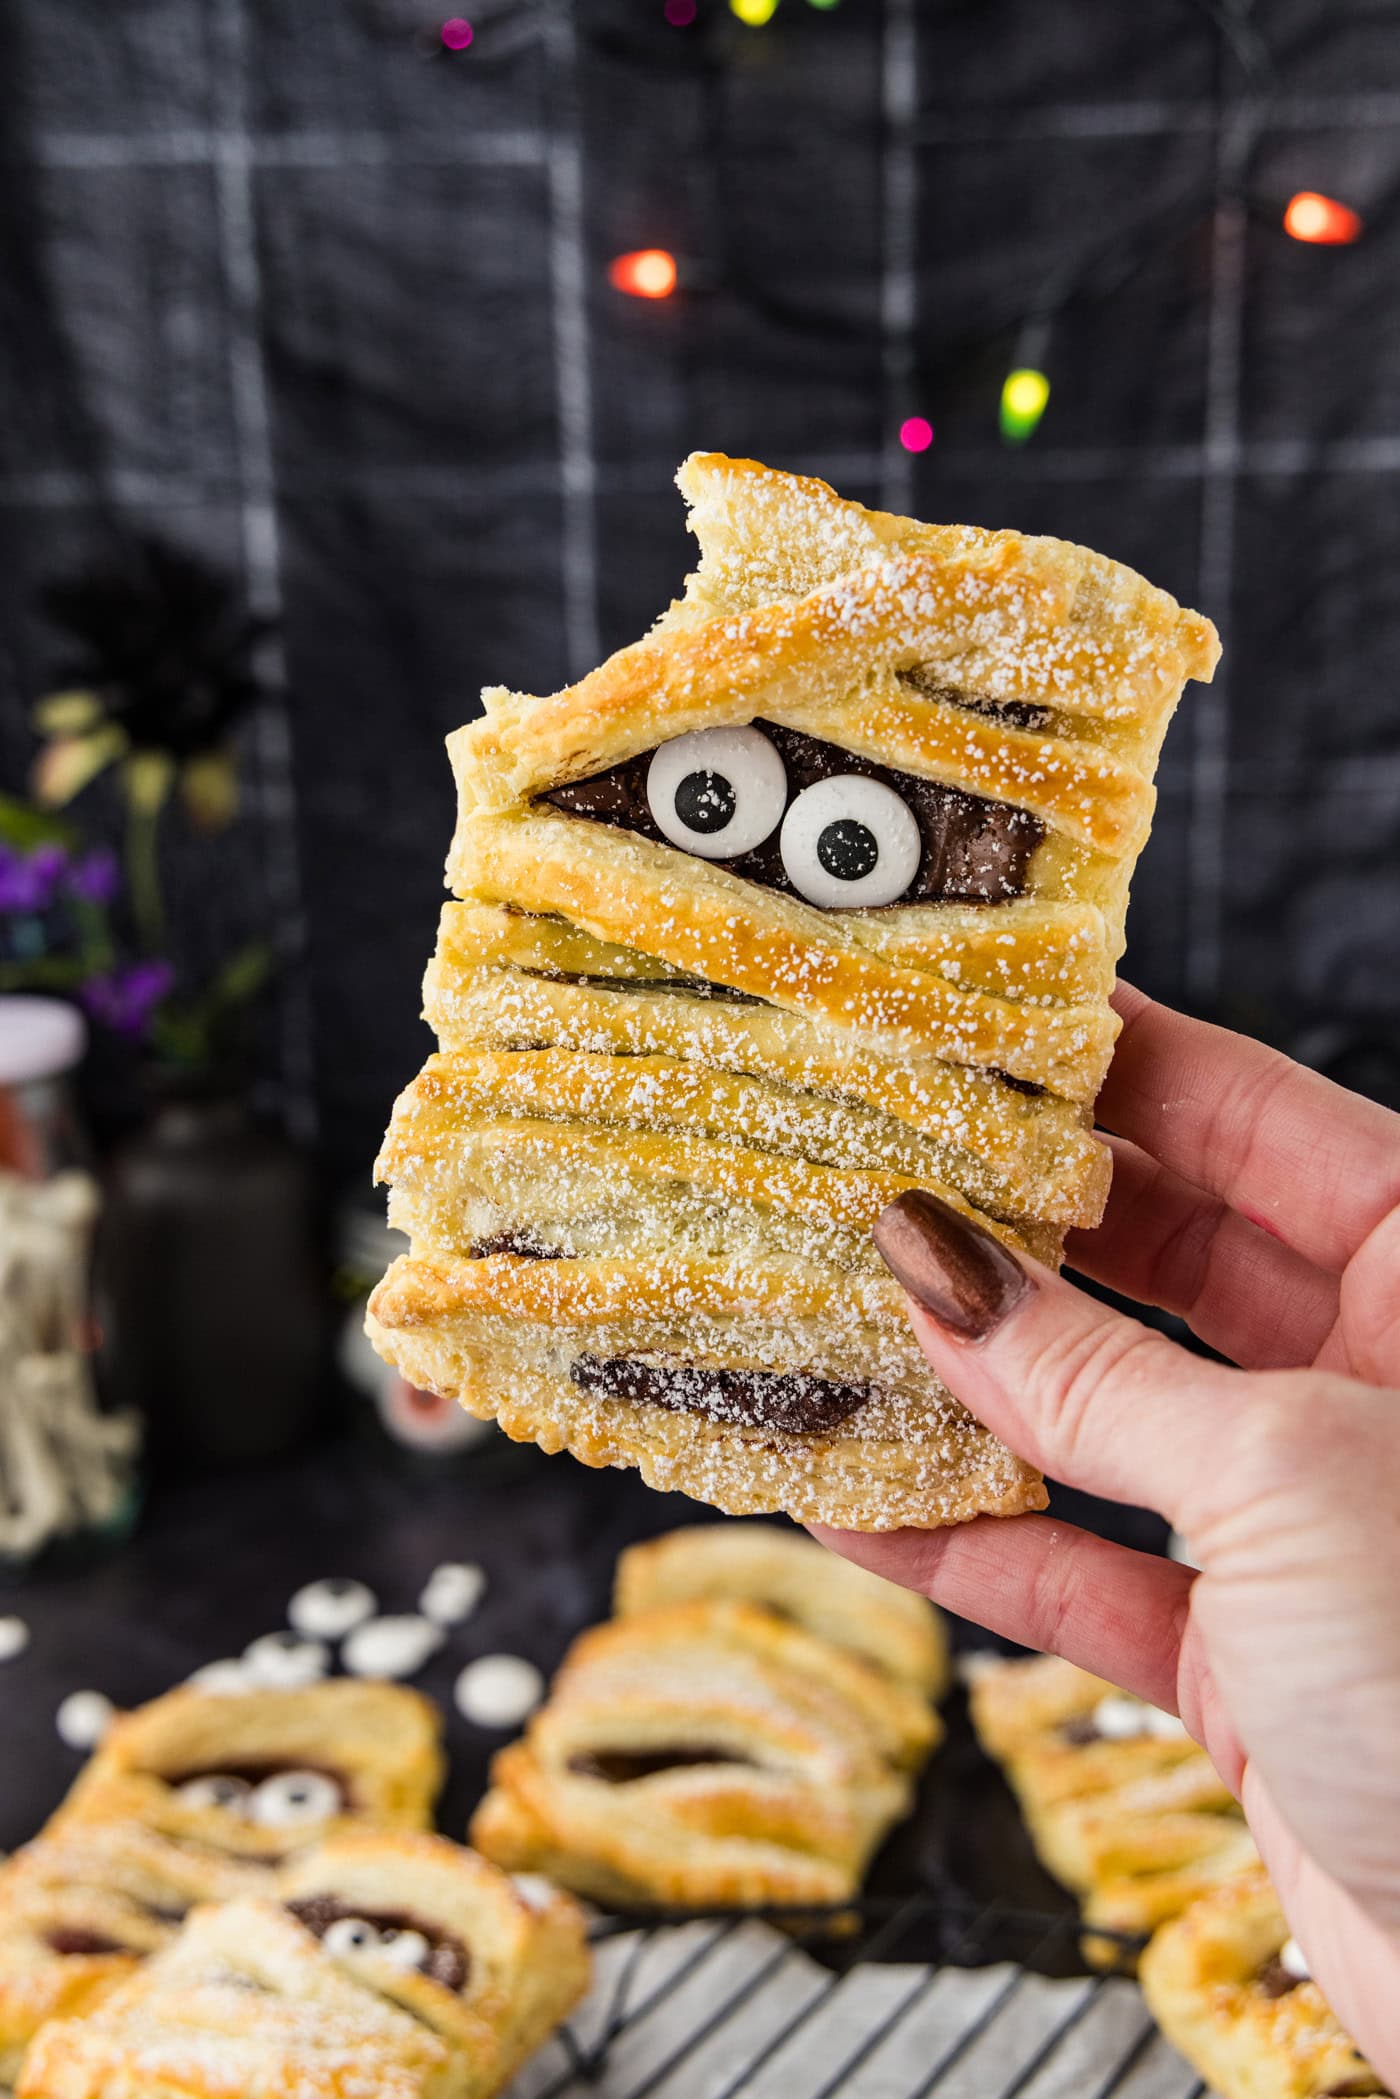
A soft, crackly bite into a mummy hand pie reveals a sticky red interior of… jam! Or, Nutella, if that’s more your style. These mummy hand pies can be stuffed with all sorts of jams or preserves, heck, you can even layer them with chocolate chips and peanut butter. They’re made even easier with a box of premade puff pastry. Dust the cobwebs on with some powdered sugar, and you have yourself a cute Halloween hand pie.
My stepdaughter really loved these! She actually helped me while I was putting them together, even when I was taking the photos. And that definitely didn’t stop her from asking when she could have one! She even asked if she could take a few to school to share with her friends.
What about for dinner, you say? Well, mummy meatloaf, of course.
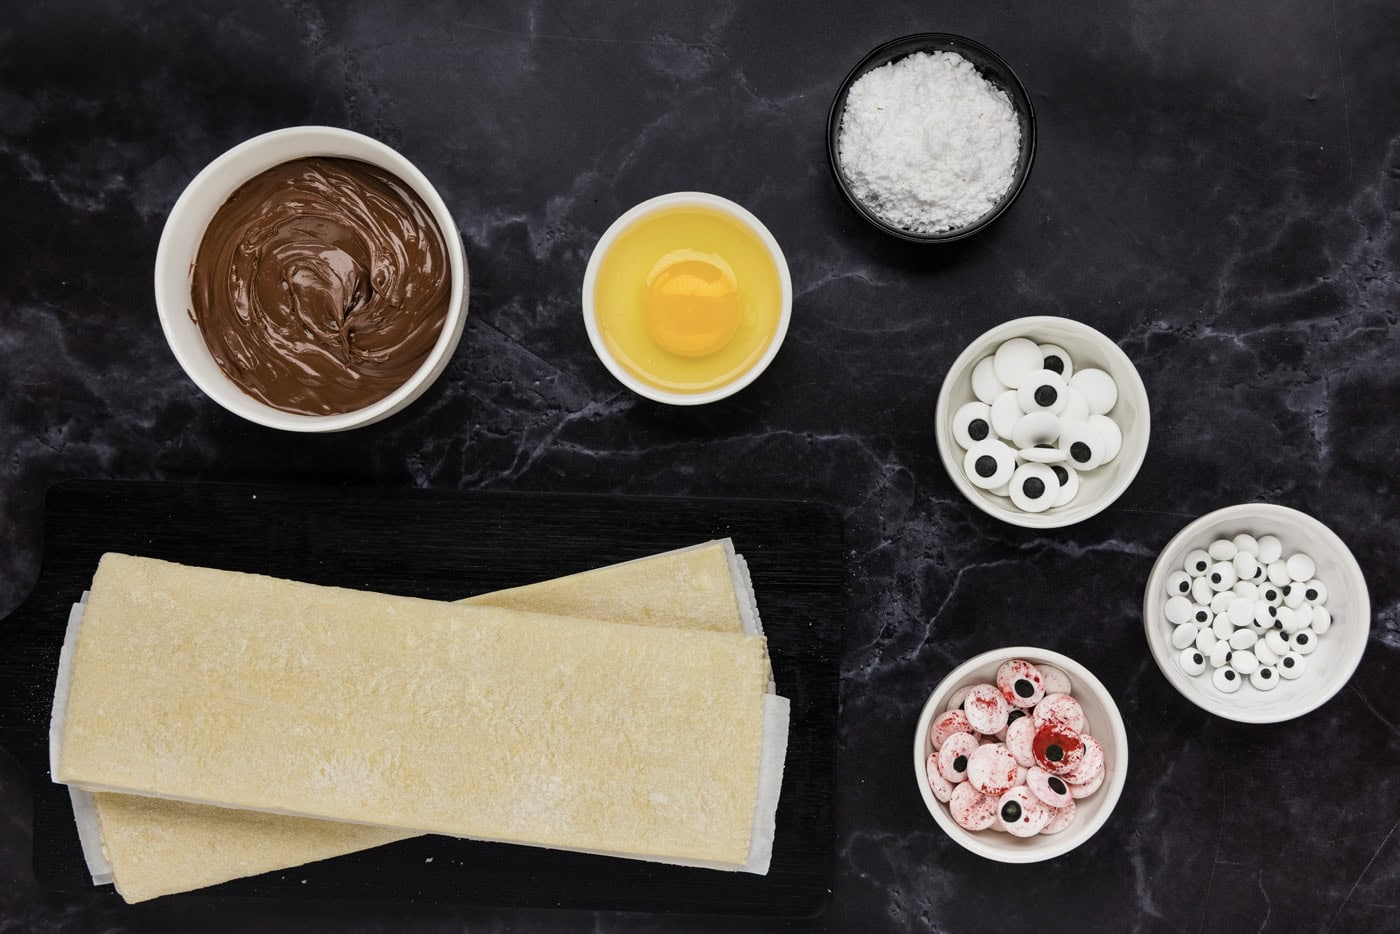
Ingredients you will need
Get all measurements, ingredients, and instructions in the printable version at the end of this post.
Ingredient Info and Substitution Suggestions
PASTRY – These mummy hand pies are made extra simple with a box of frozen puff pastry sheets. Be sure to remove the pastry from the package early enough, especially if it’s in the freezer. You don’t want it to get too soft as that will make it hard to work with. If you experience any cracking from trying to use it too soon, simply wet your finger and “mend” the cracks.
FILLING – We used Nutella, strawberry jam, and blackberry seedless jam. Other options include peanut butter, apricot preserves, any jam, pie fillings, and apple, peanut, or pumpkin butter.
EYEBALLS – Candy eyeballs are perfect for these mini hand pies. These are the small eyeballs, regular eyeballs, and bloodshot candy eyeballs we used.
How to Make Mummy Hand Pies
These step by step photos and instructions are here to help you visualize how to make this recipe. You can Jump to Recipe to get the printable version of this recipe, complete with measurements and instructions at the bottom.
- Preheat oven to 400 F and line a baking sheet with parchment paper.
- Remove puff pastry from refrigerator and allow to sit at room temperature for 20-30 minutes, or until easy to handle.
- Unfold the puff pastry and cut into thirds (we used a pizza cutter), then cut those in half.
- You will have 6 rectangles. Cut 3 of them into strips for the mummy bandages.
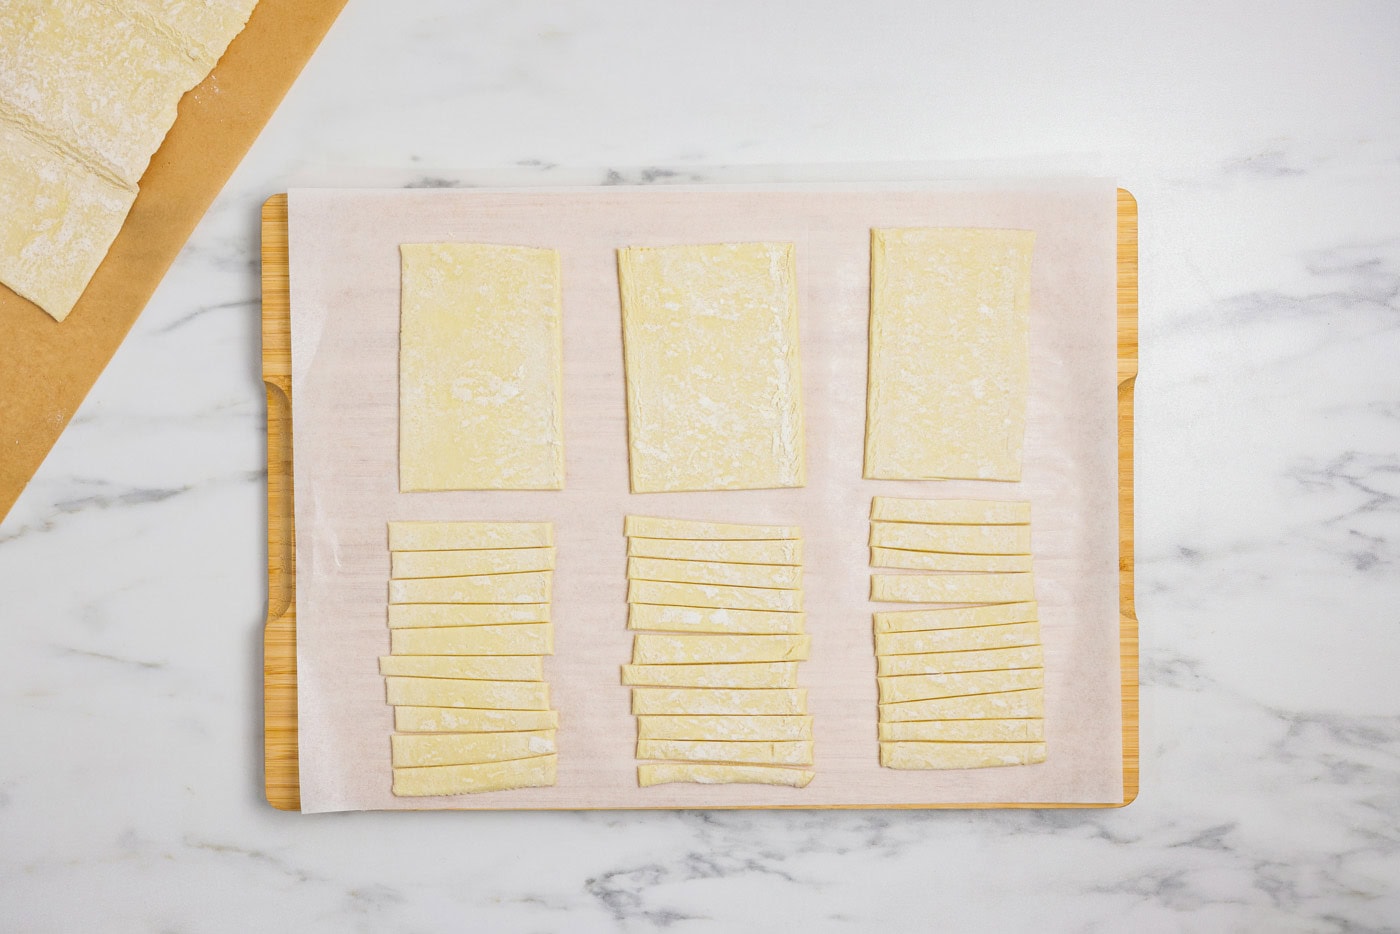
- Lightly brush the edges of the rectangles with water using a pastry brush.
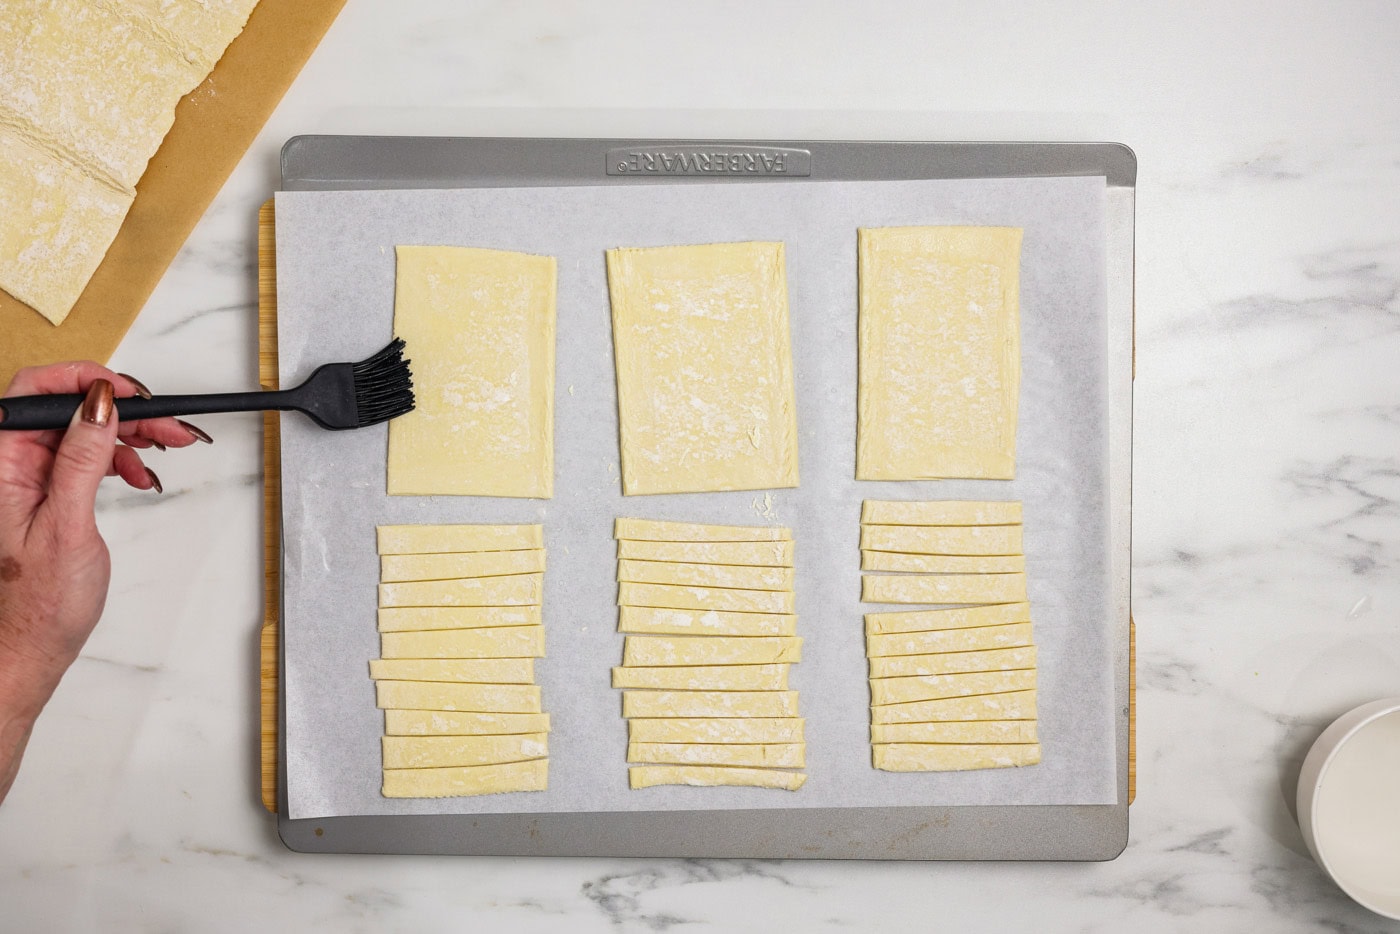
- Add 1 tablespoon of Nutella or jam to the center of each rectangle. Spread it out, but don’t go all the way to the edge.
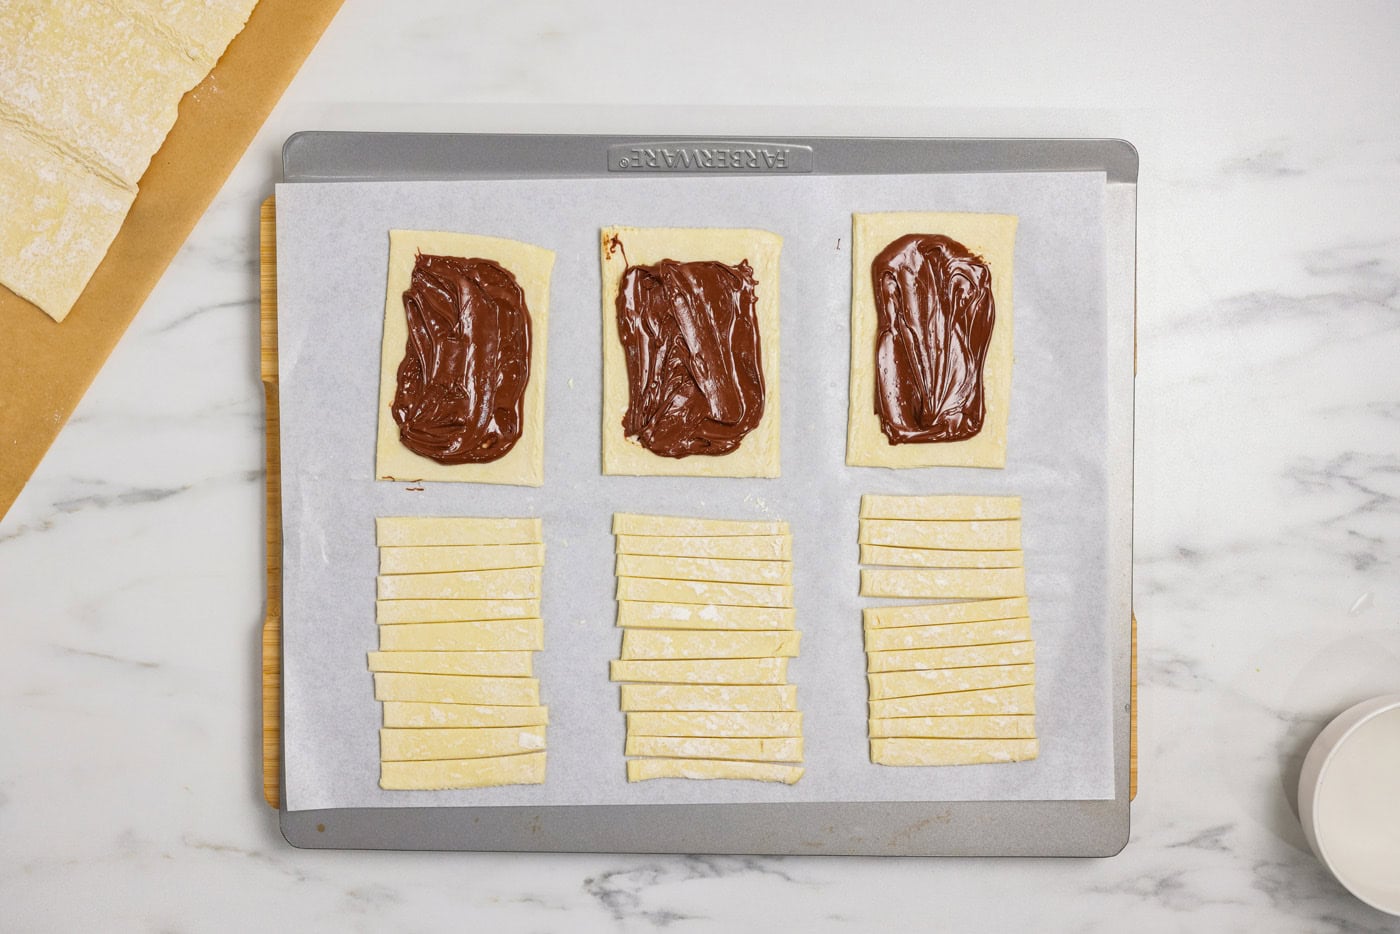
- Place the strips across the Nutella to form bandages, criss-crossing as you go. Leave room for the eyes in the top third.
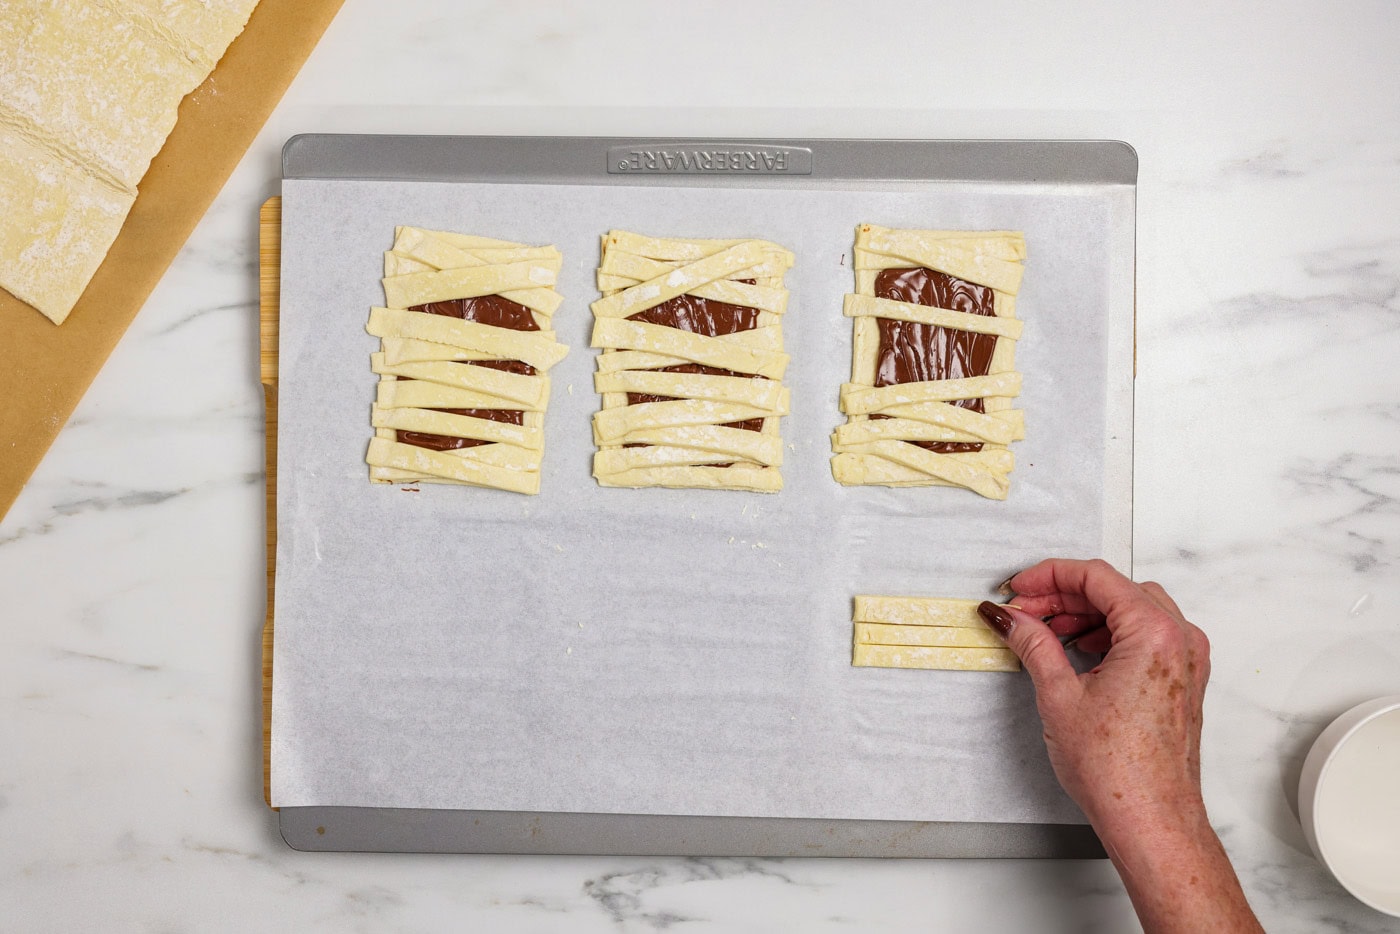
- Use the back of a fork to crimp the edges. If you like, you can trim any excess pastry pieces.
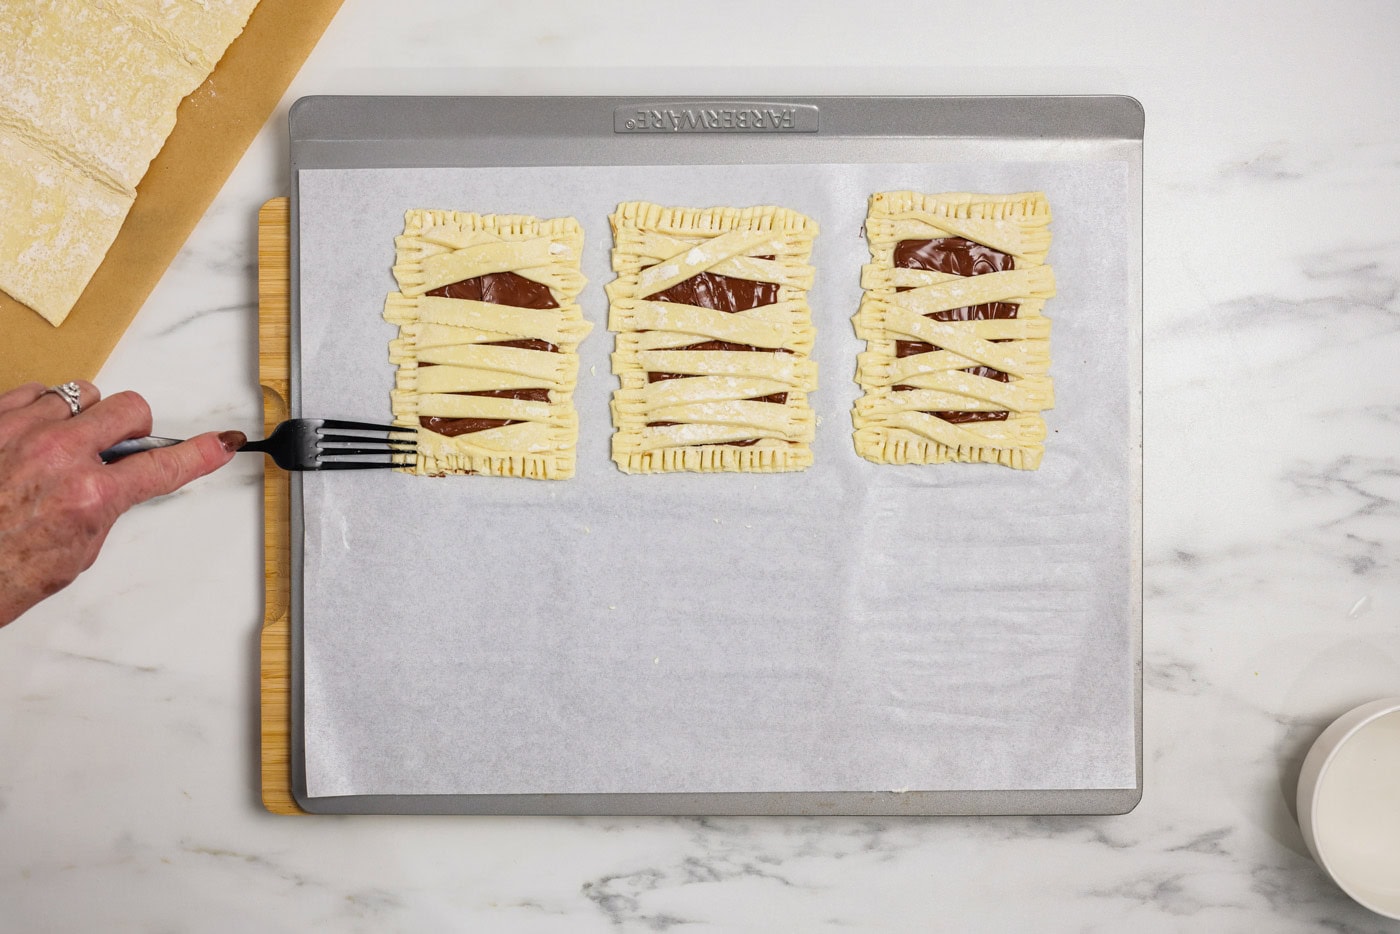
- Beat the egg well and brush it onto the pastry.
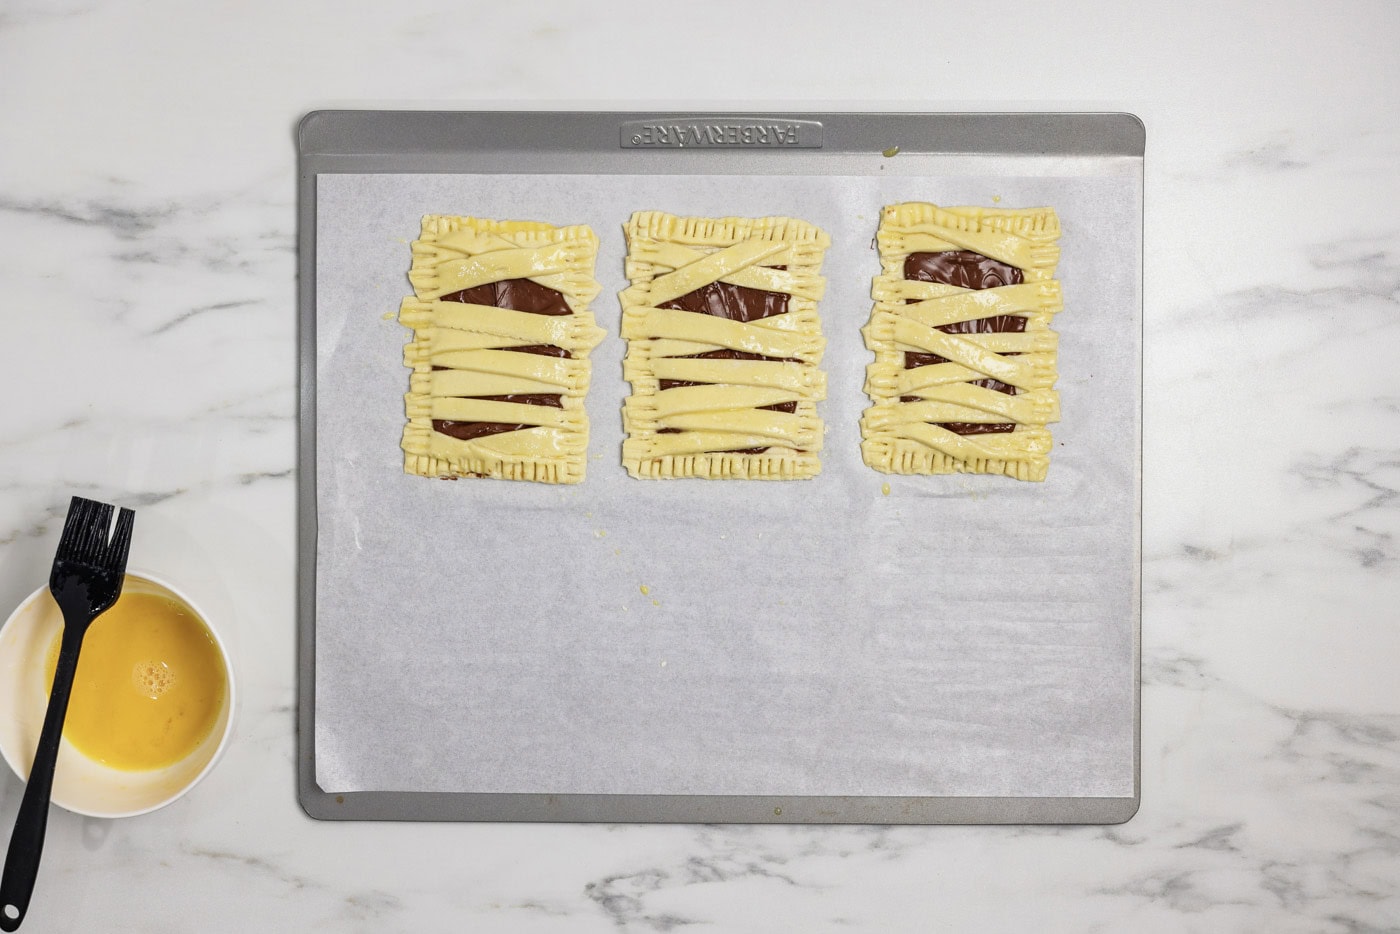
- Bake in preheated oven for 12-15 minutes. Pastry will puff up and be a nice golden brown.
- Remove from oven and place on a wire rack to cool.
- Add a little Nutella or jam to the back of a candy eyeball and place on exposed Nutella/jam on the hand pie.
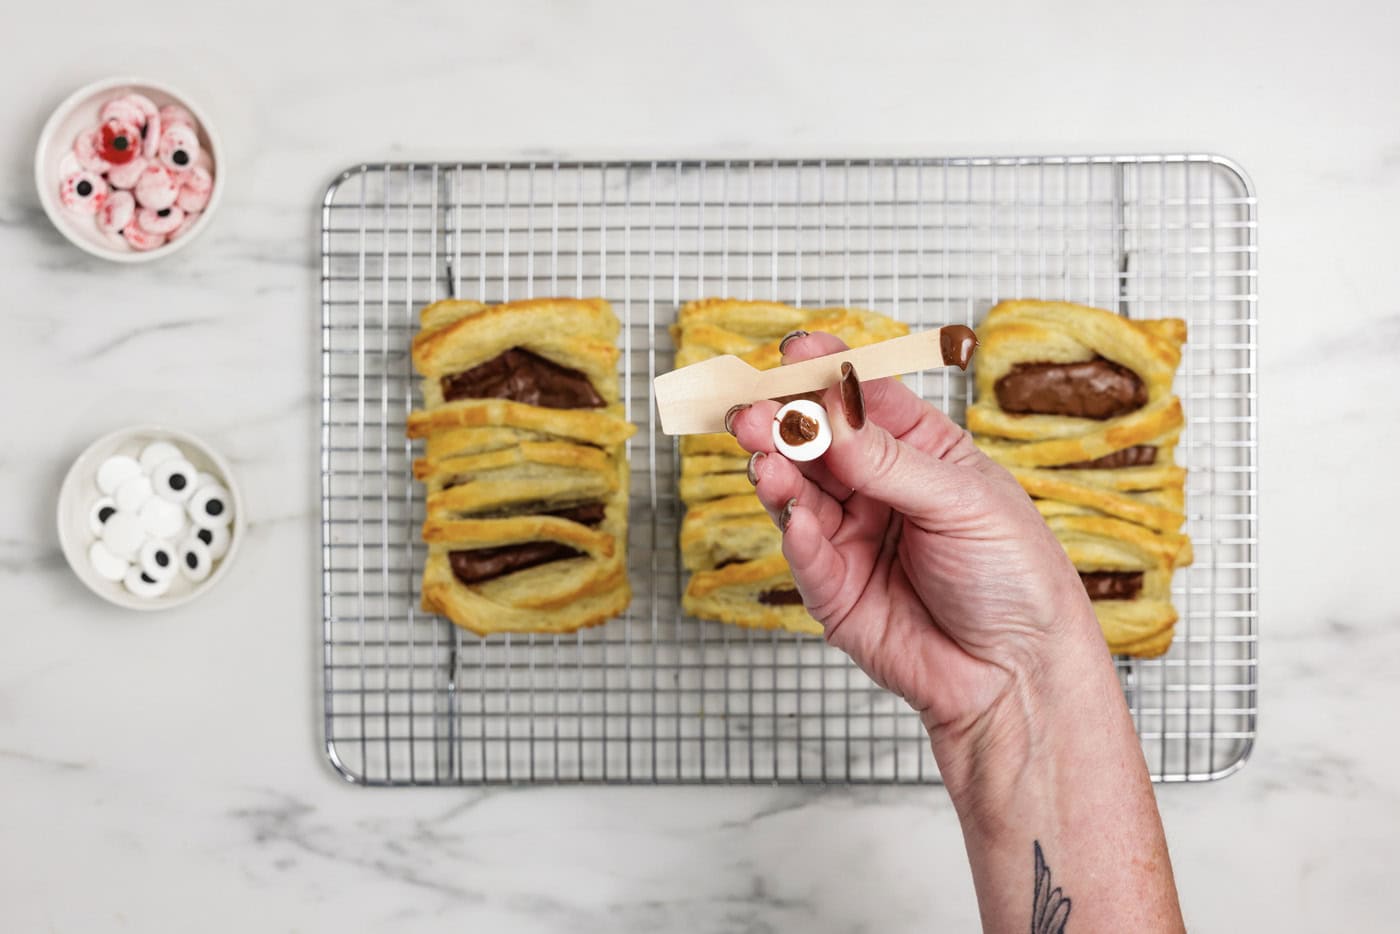
- Dust powdered sugar onto the mummies using a fine mesh strainer.
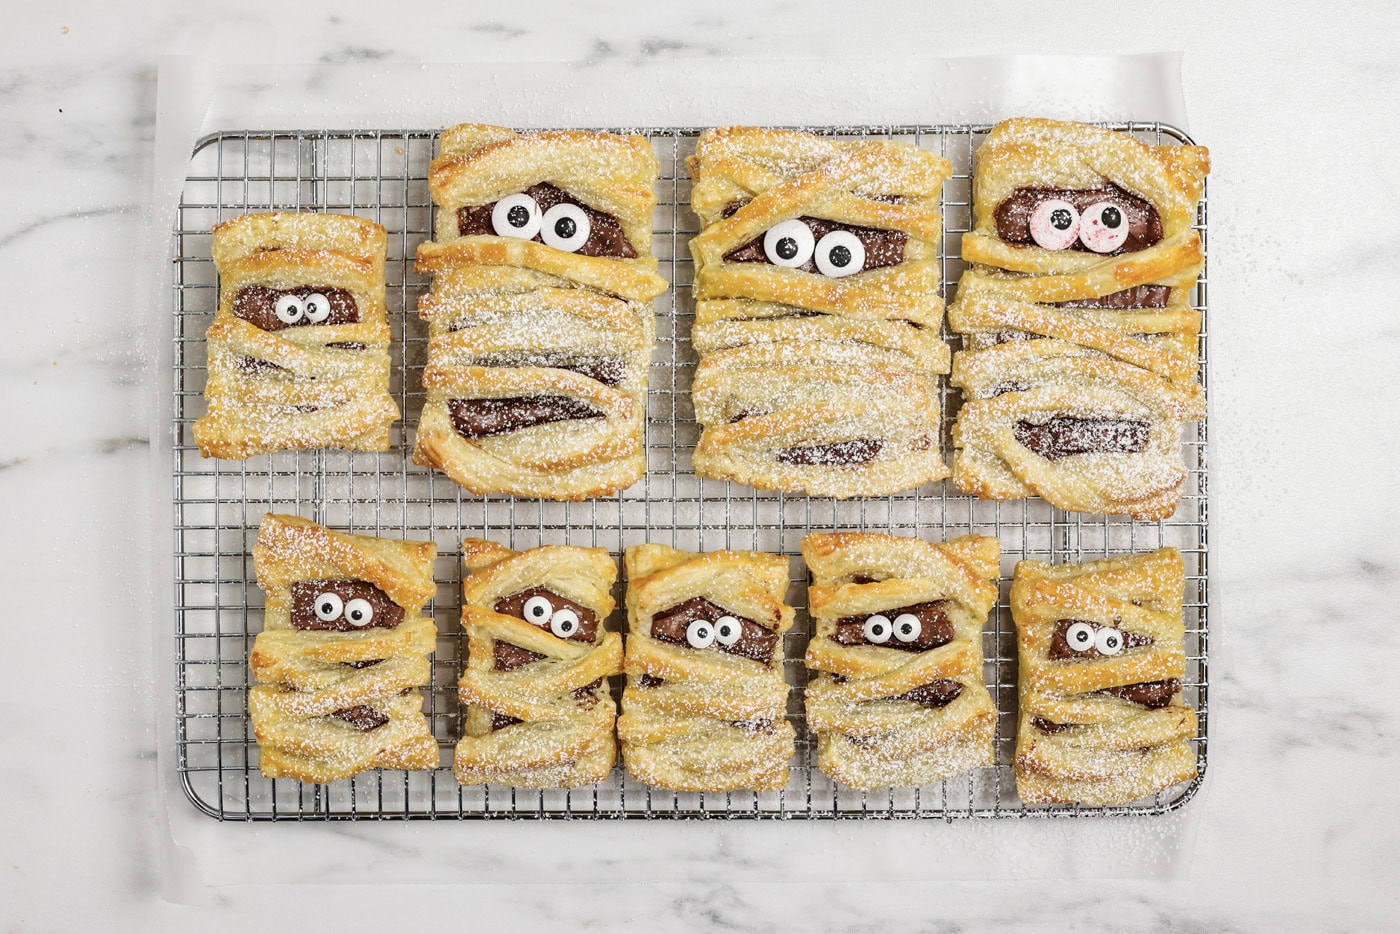
- To make mini mummies, follow instructions above but cut the pastry into 12 pieces instead of 6. Everything else remains the same.
Frequently Asked Questions & Expert Tips
How do you store leftovers?Store cooled leftovers in an air-tight container kept at room temperature for up to 2 days or in the refrigerator for up to 4. Optionally reheat in a toaster, air fryer, or toaster oven. Be careful of the candy eyeballs falling off if you put them in the toaster! I would recommend removing them before reheating.
Serving Suggestions
Personally, I think a dusting of powdered sugar makes these mummy hand pies look even more like mummies! But that’s completely optional. Serve for breakfast, as a snack, or as an after-dinner treat.
Enjoy warmed, toasted, or at room temperature. That’s up to you to decide!
More Halloween Recipes
I love to bake and cook and share my kitchen experience with all of you! Remembering to come back each day can be tough, that’s why I offer a convenient newsletter every time a new recipe posts. Simply subscribe and start receiving your free daily recipes!
More recipes to try
Eight more recipes from the kitchen.
Pumpkin Deviled Eggs
These cute little pumpkin deviled eggs are a festive spin on a classic…
Witch Finger Cookies
Although these witch finger cookies look completely grotesque, they…
Ghost Brownies
These cute and spooky ghost brownies are made with a decadent fudge…
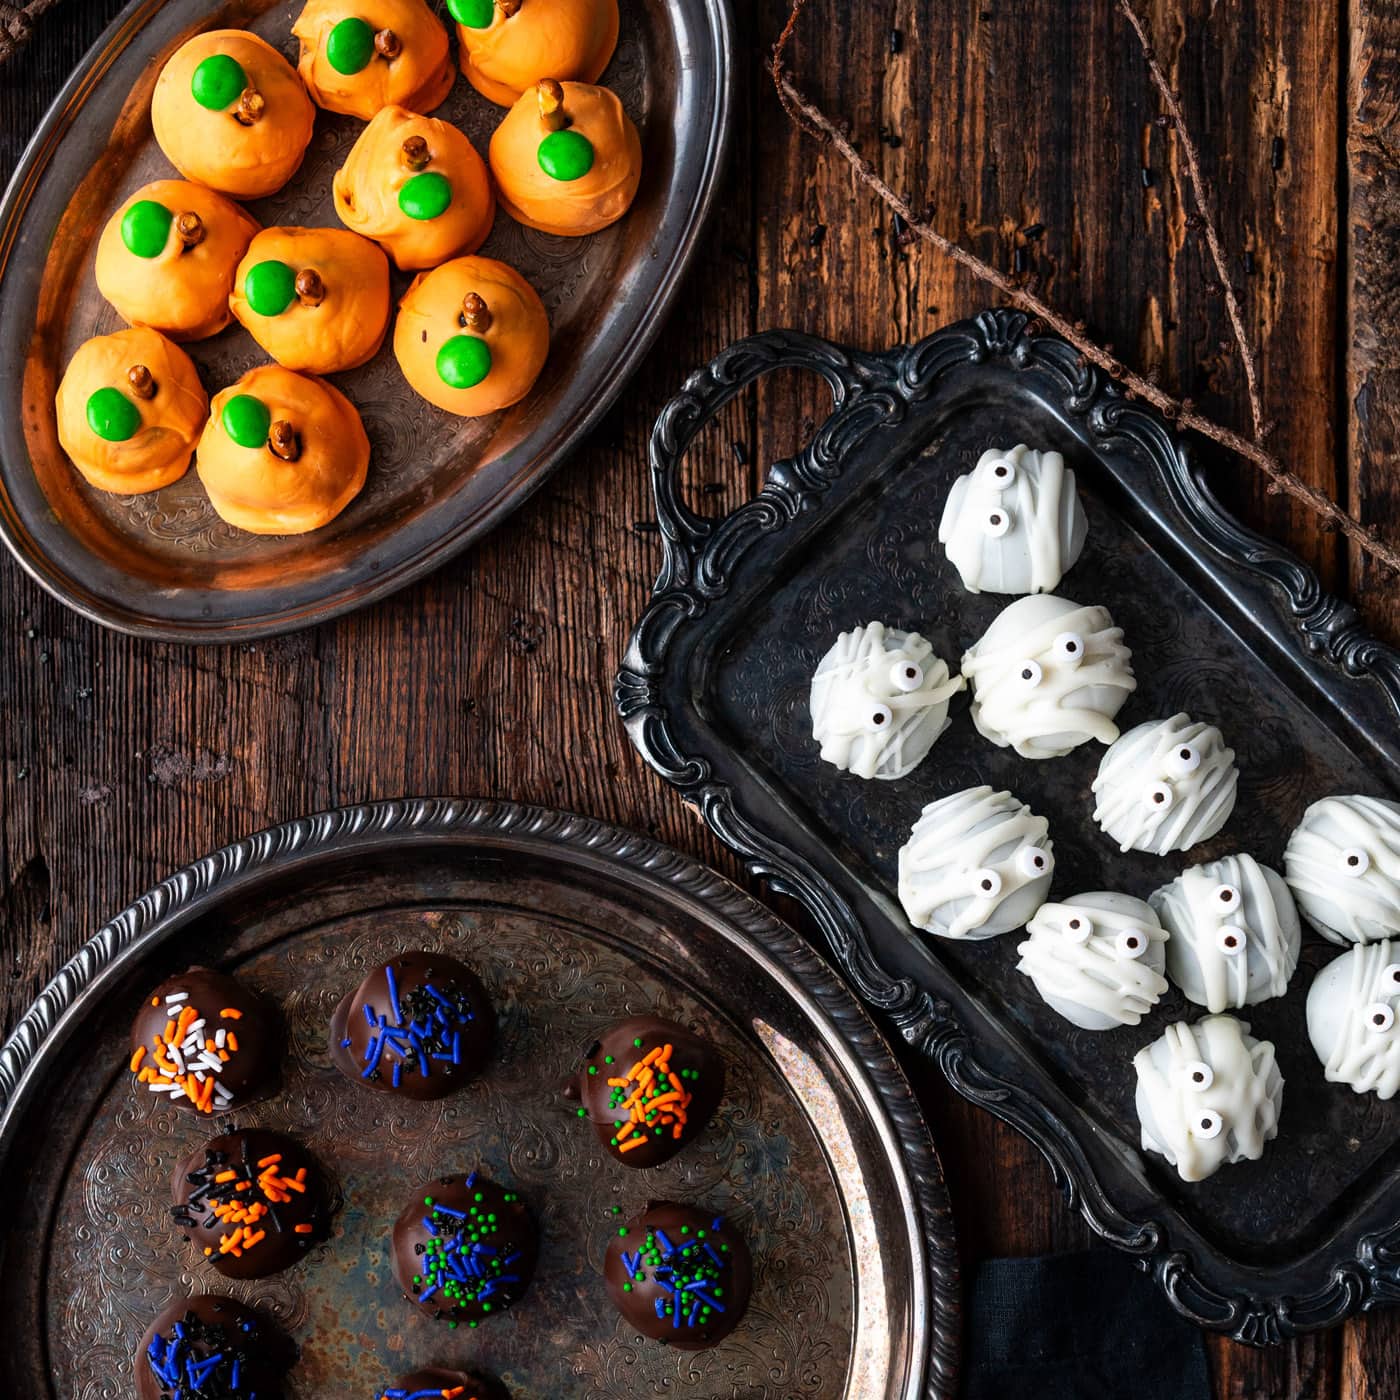
Halloween Oreo Truffles
Dunk, decorate, and devour these easy Halloween Oreo truffles 3…
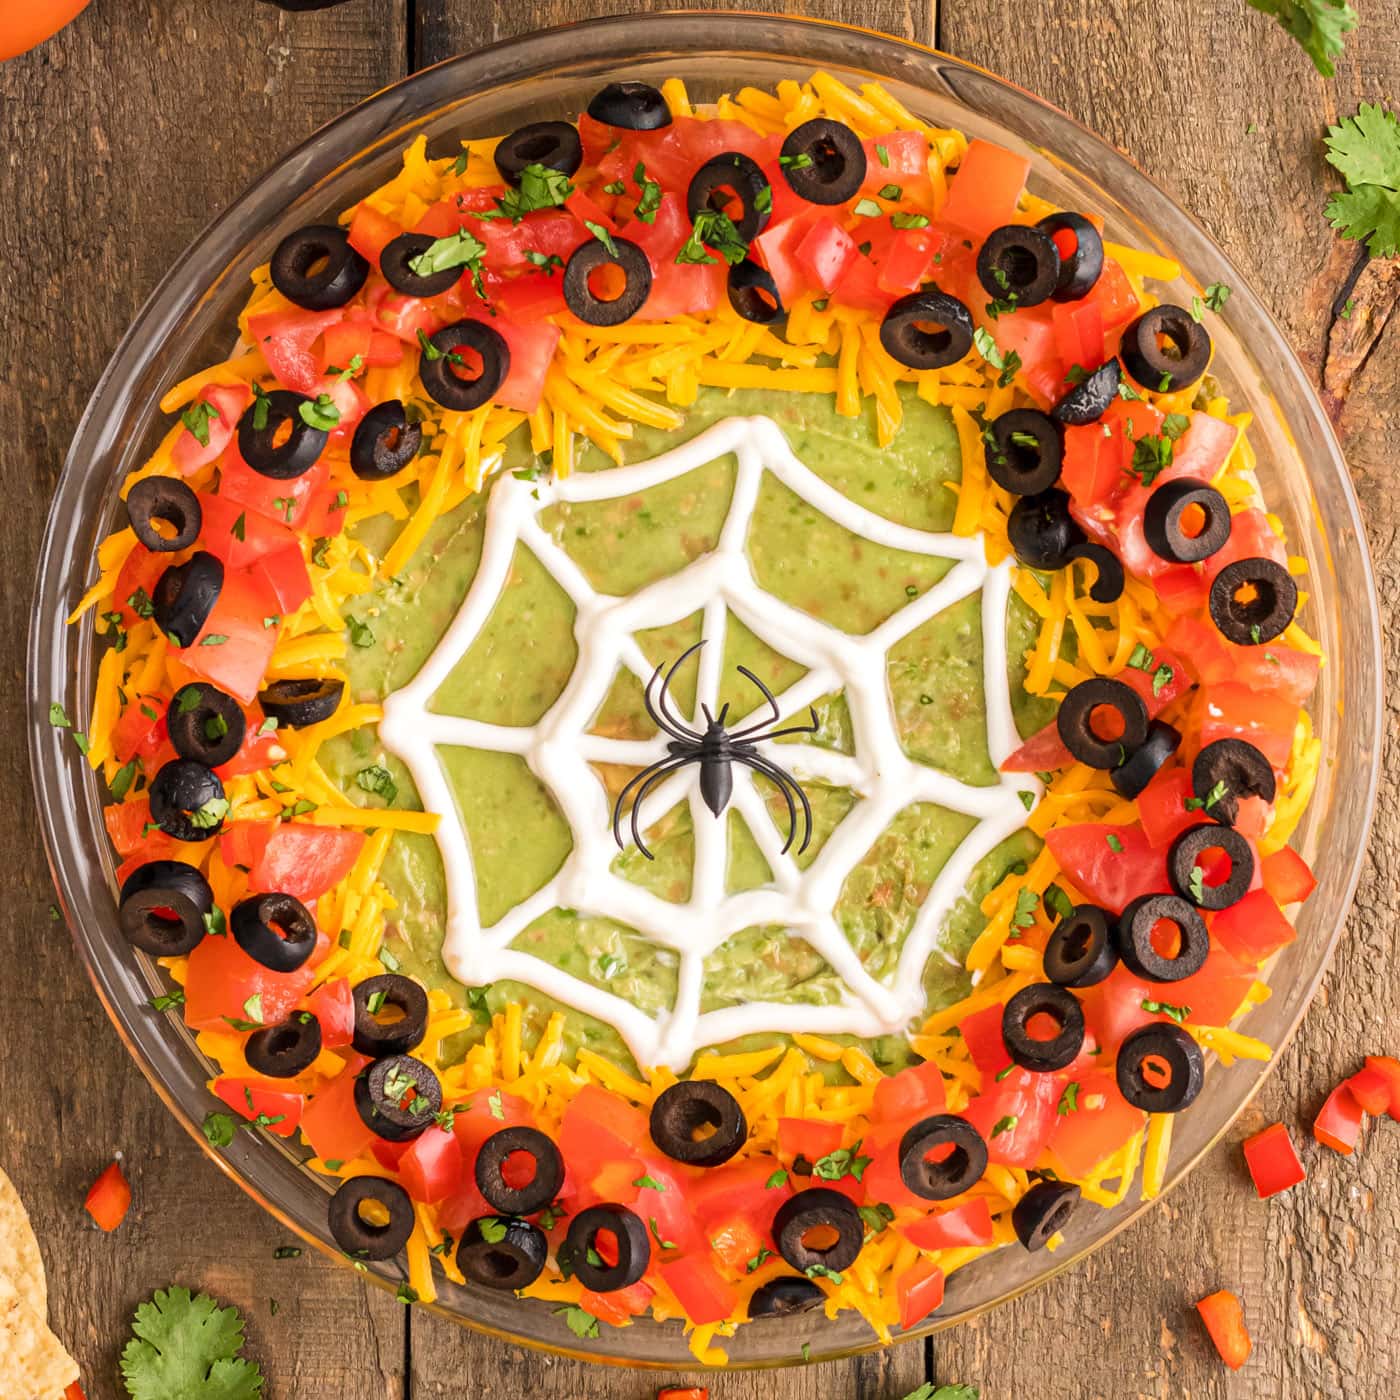
Spider Web Taco Dip
This spider web taco dip is layered with refried beans, a mixture of…
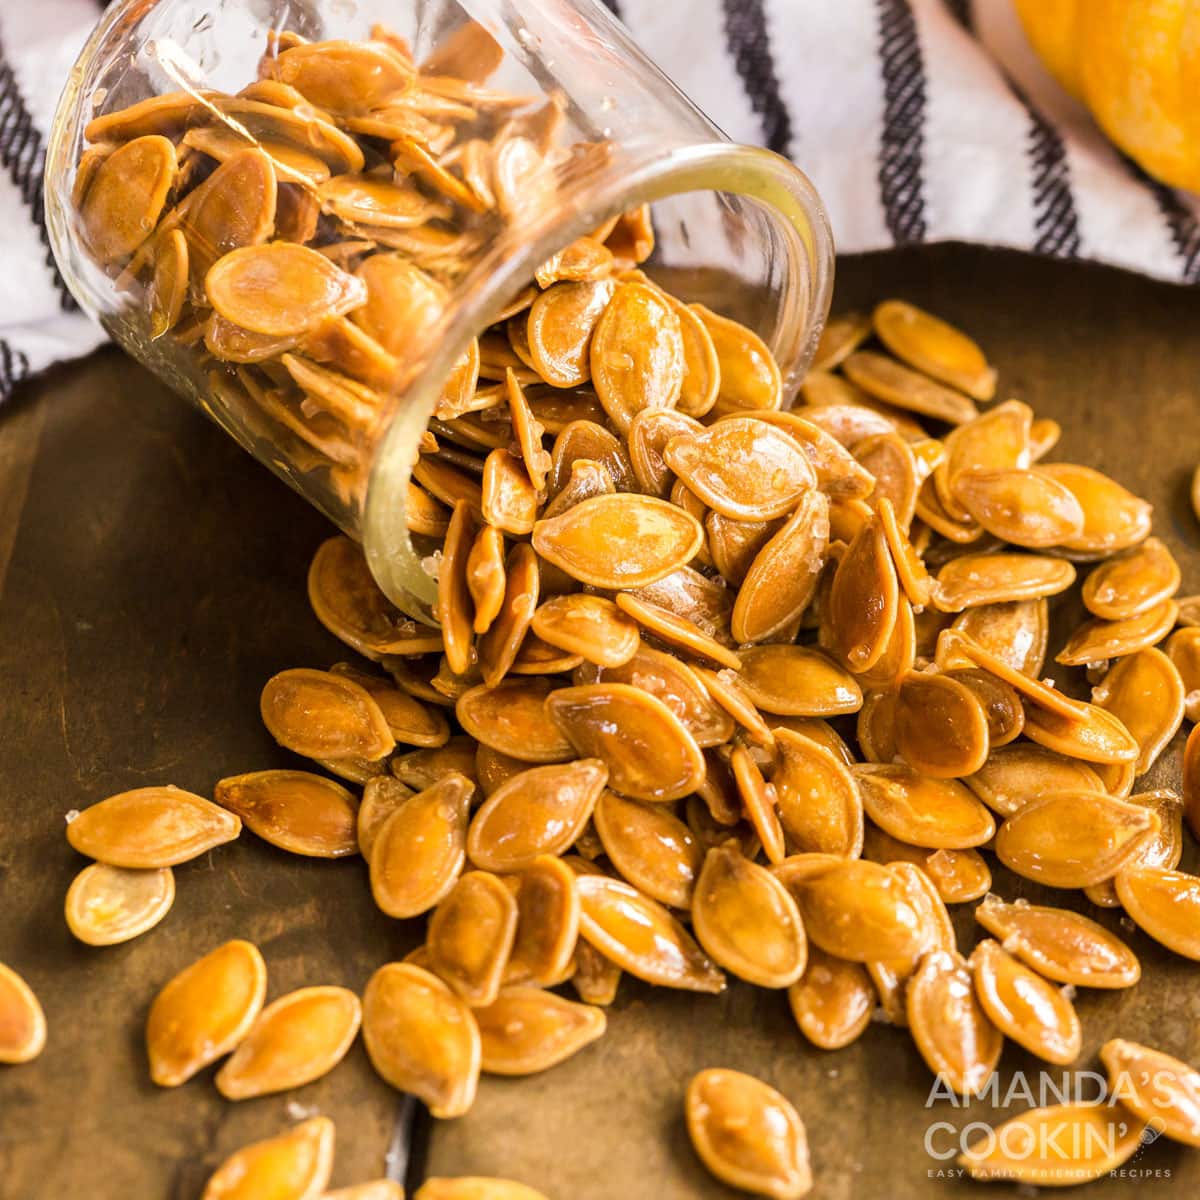
Roasted Pumpkin Seeds
There’s something nostalgic about a pan full of salty roasted pumpkin…
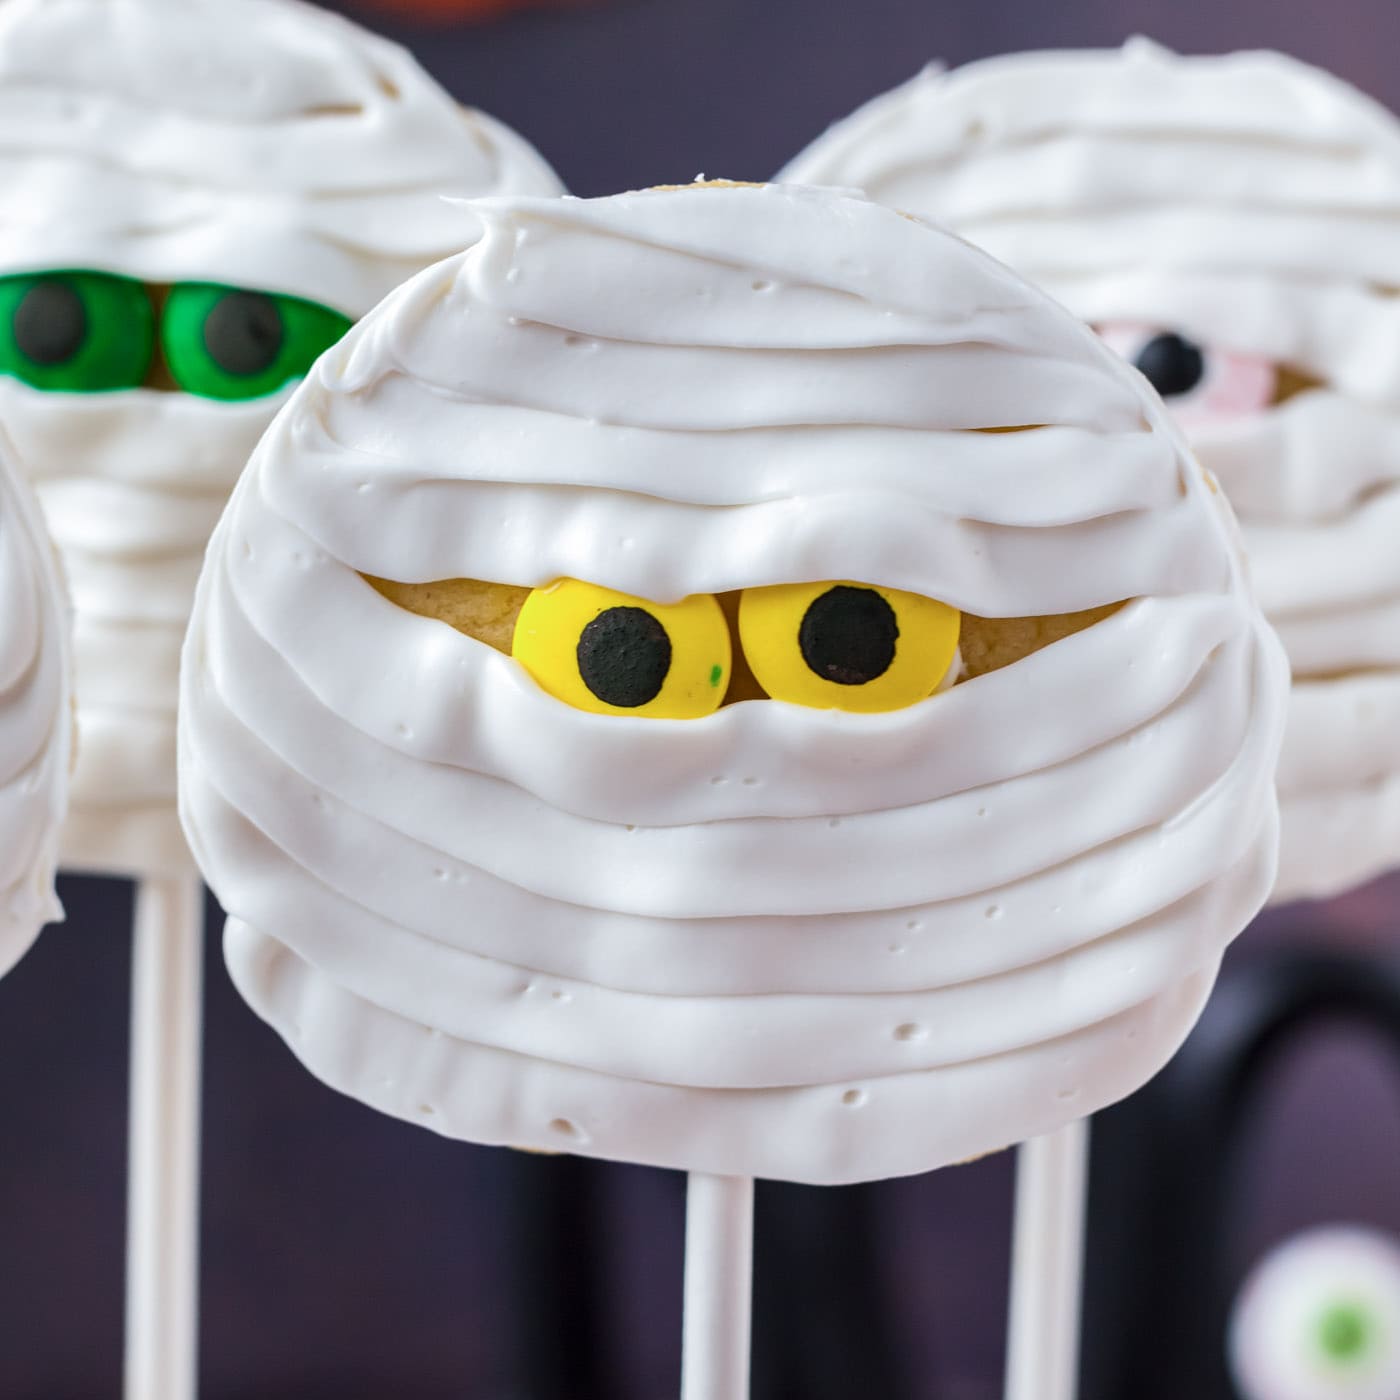
Mummy Cookies
Quick, easy, and a touch spooky, these mummy cookies come together…

Candy Corn Jello Shots
With sweet layers of orange, lemon, sweetened condensed milk, and cake…