Halloween Monster Brownies
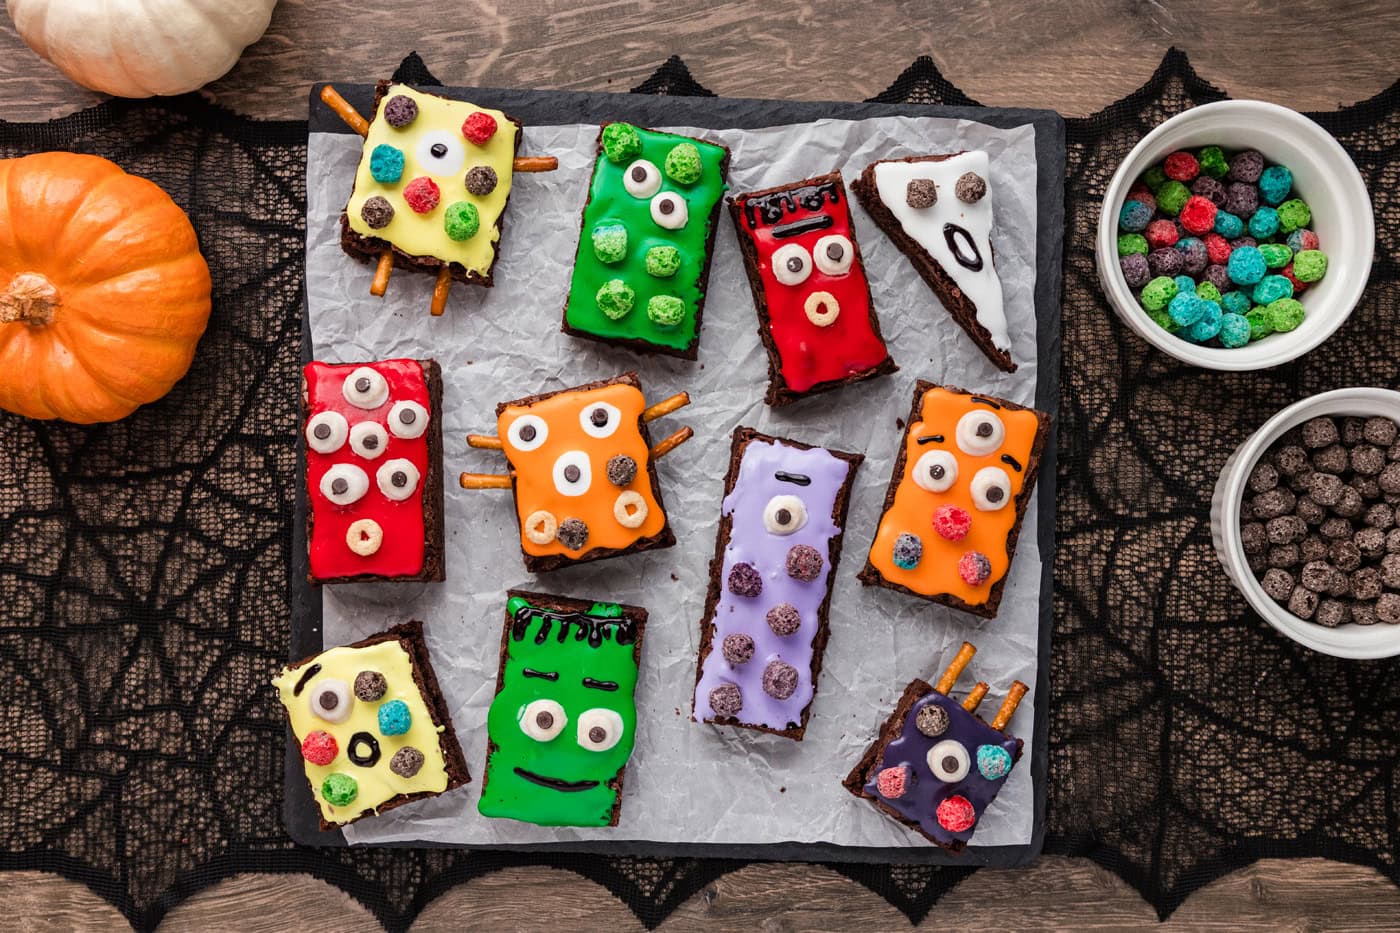
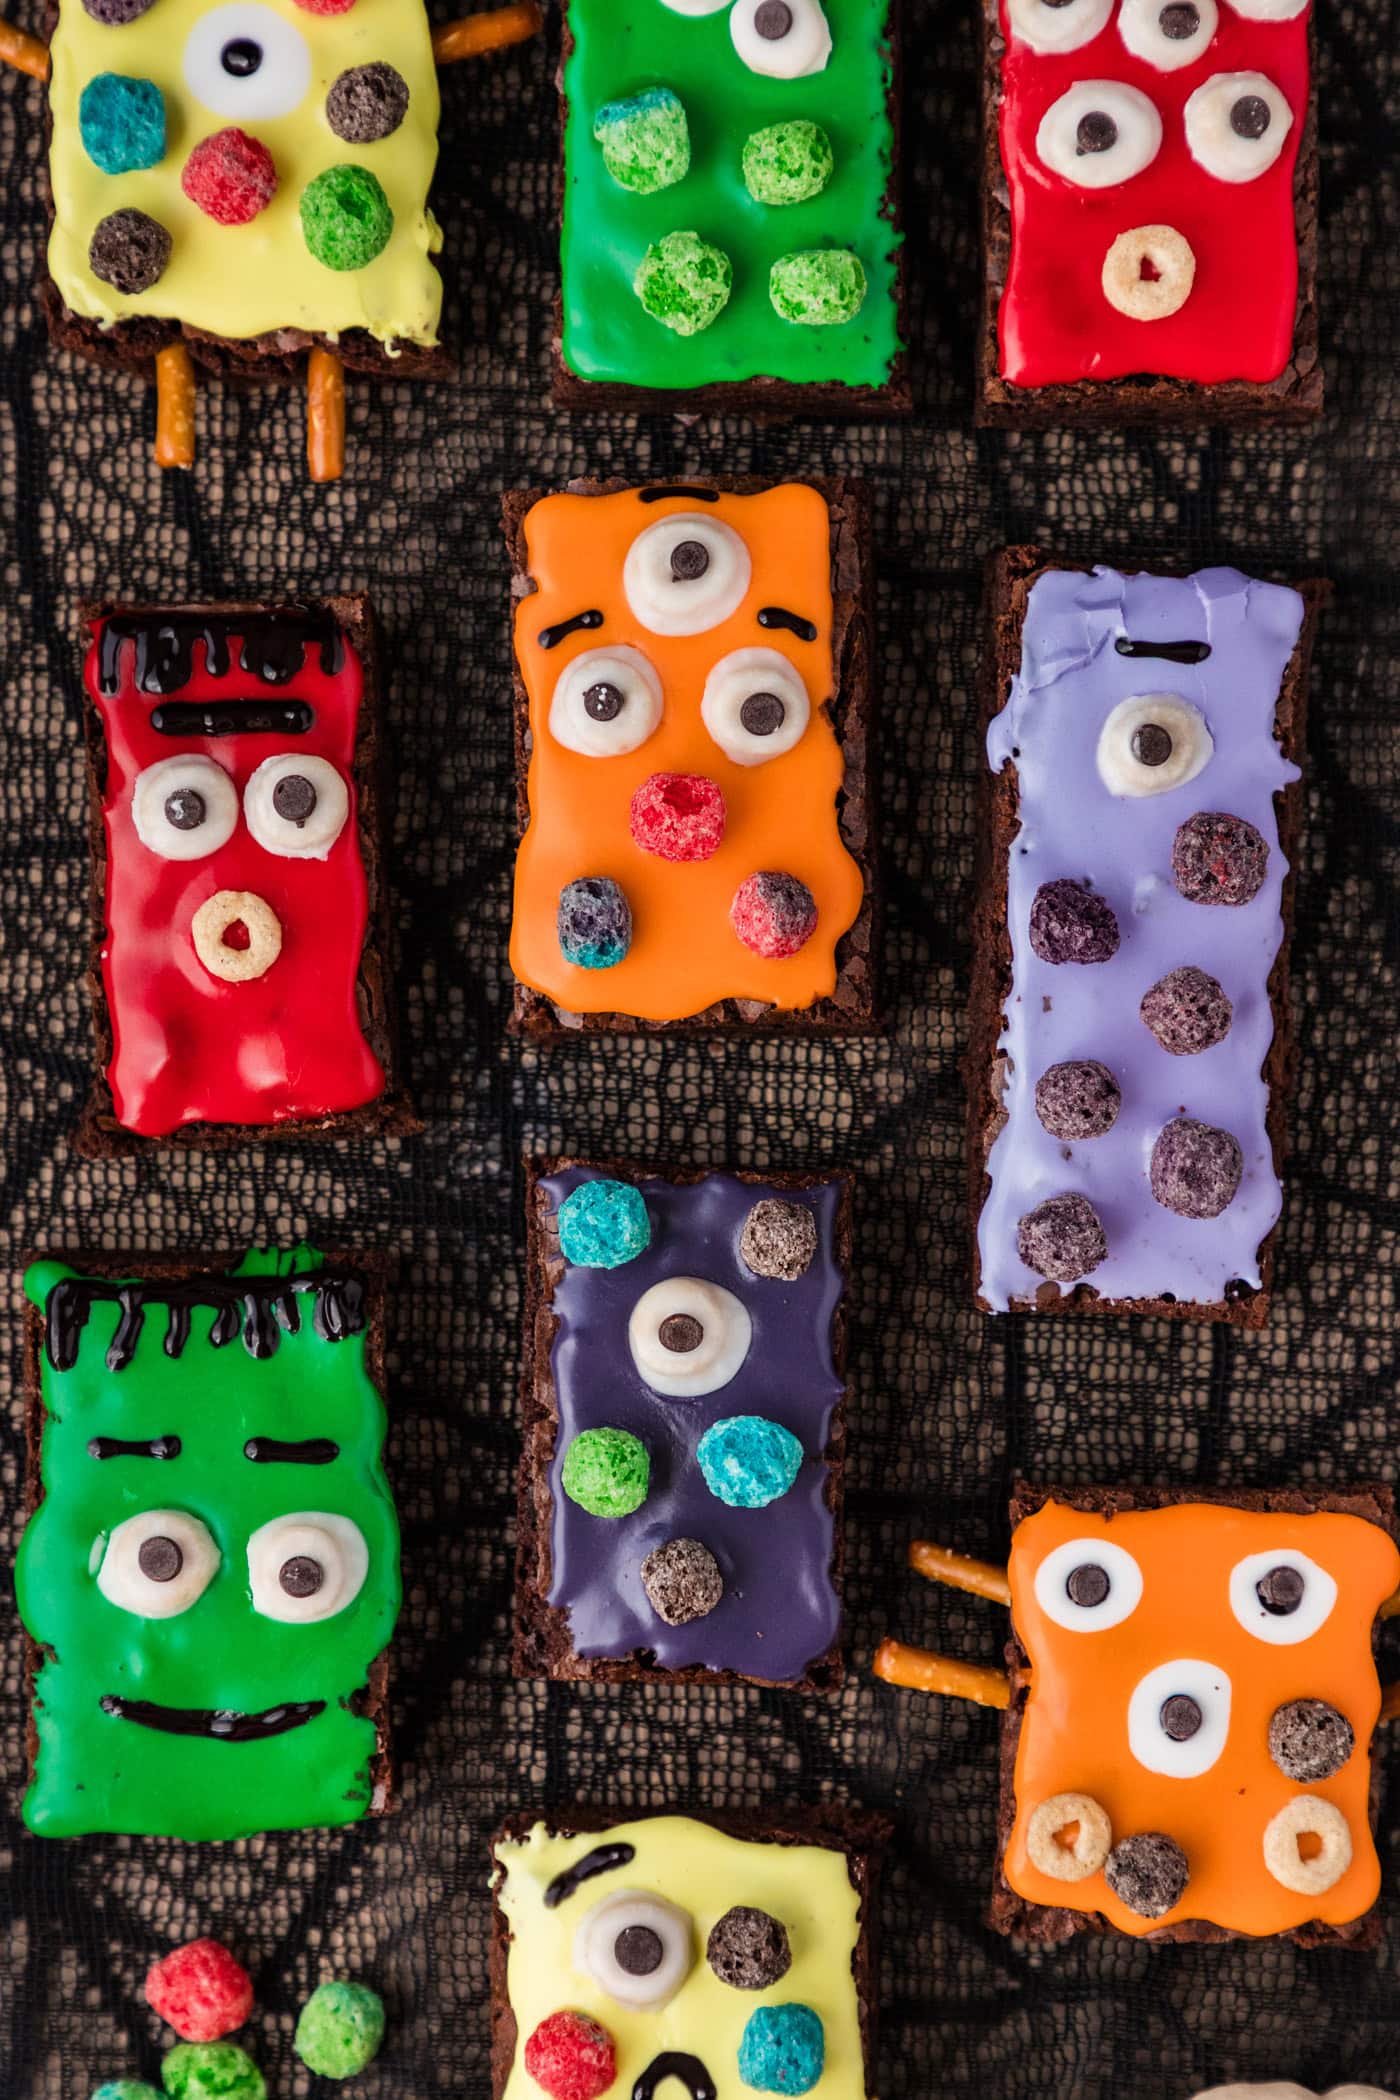
These Halloween monster brownies are tricked out with everything from colorful icing to edible cereal eyeballs. They start with a box of brownie mix, which means almost all of the effort goes where it should: into the decorating.
- Total 1 hour 40 minutes
- Serves 16 brownies
- Dessert
- American
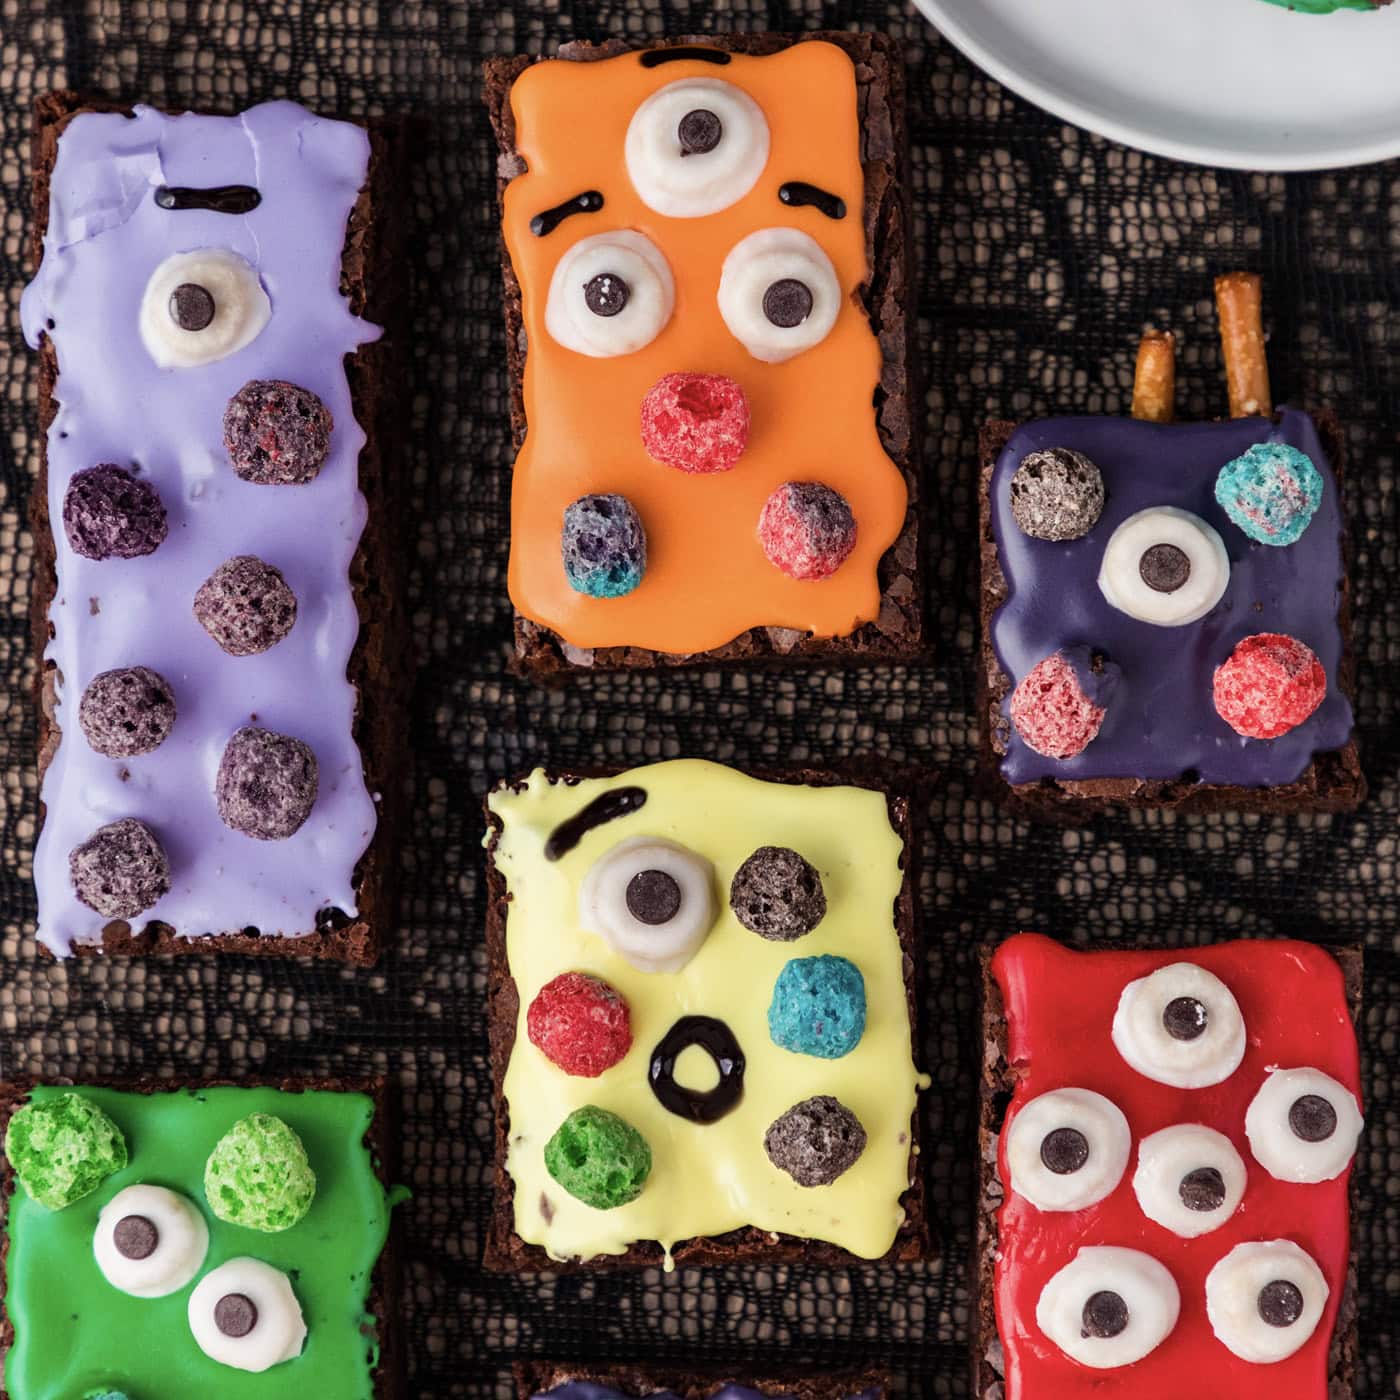
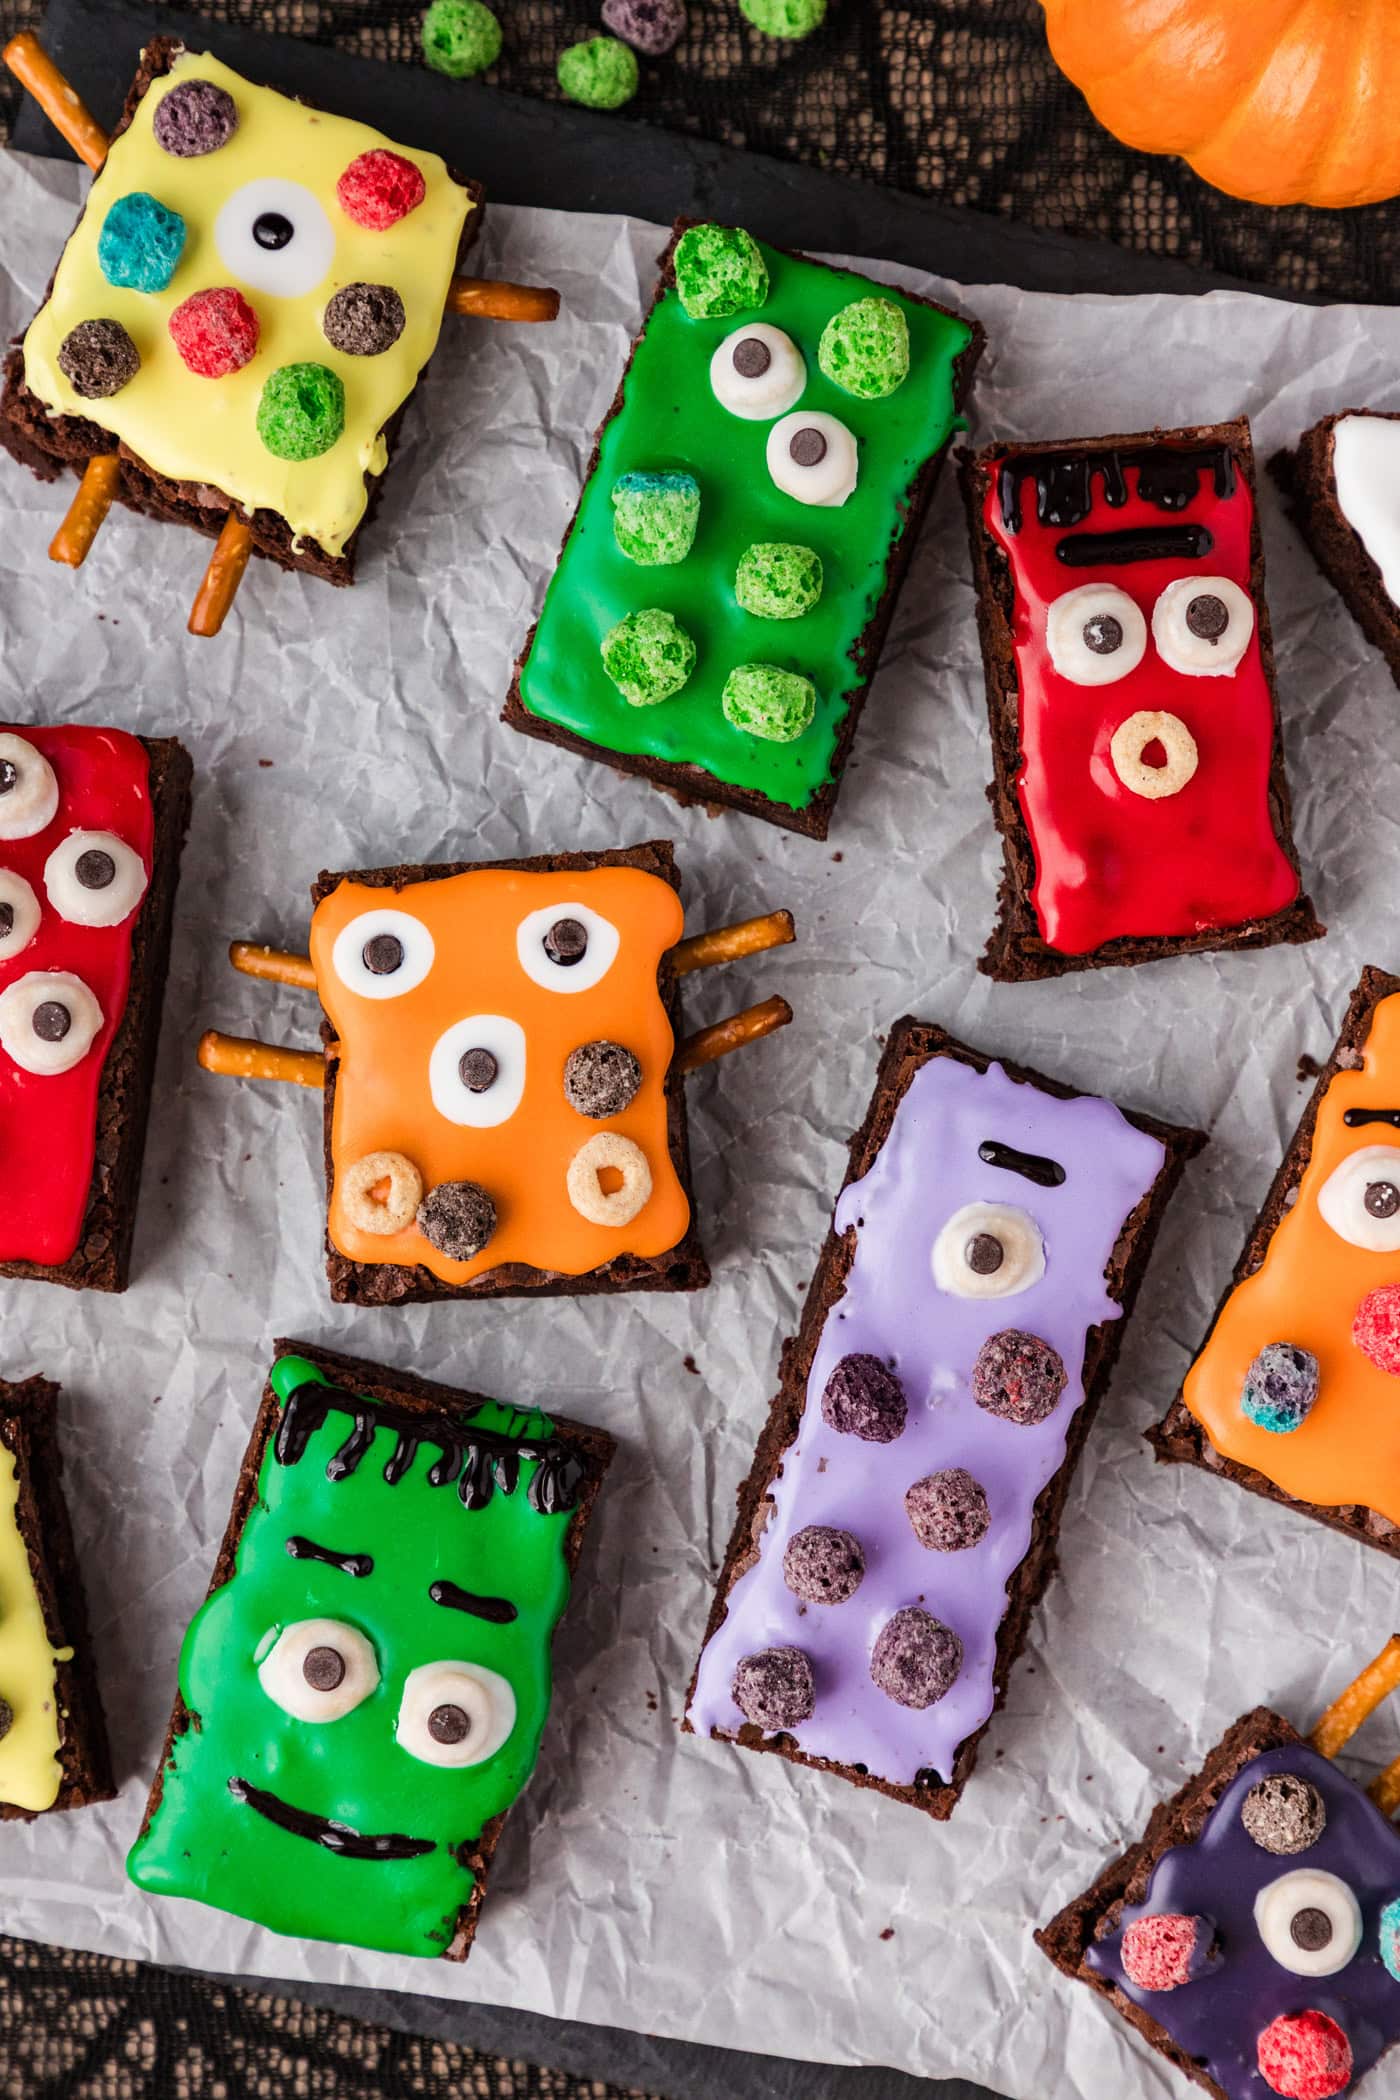
These Halloween monster brownies are tricked out with everything from colorful icing to edible cereal eyeballs. They start with a box of brownie mix, which means almost all of the effort goes where it should: into the decorating. Set out bowls of cereal, pretzels, and candy, hand the kids a spatula, and let every monster turn out a little different.
 more
more
Why this recipe works
Since monster brownies are a kid-friendly Halloween recipe, as well as one where most of the effort should go into the decorating process, we took quite a few shortcuts to make them easier to prepare.
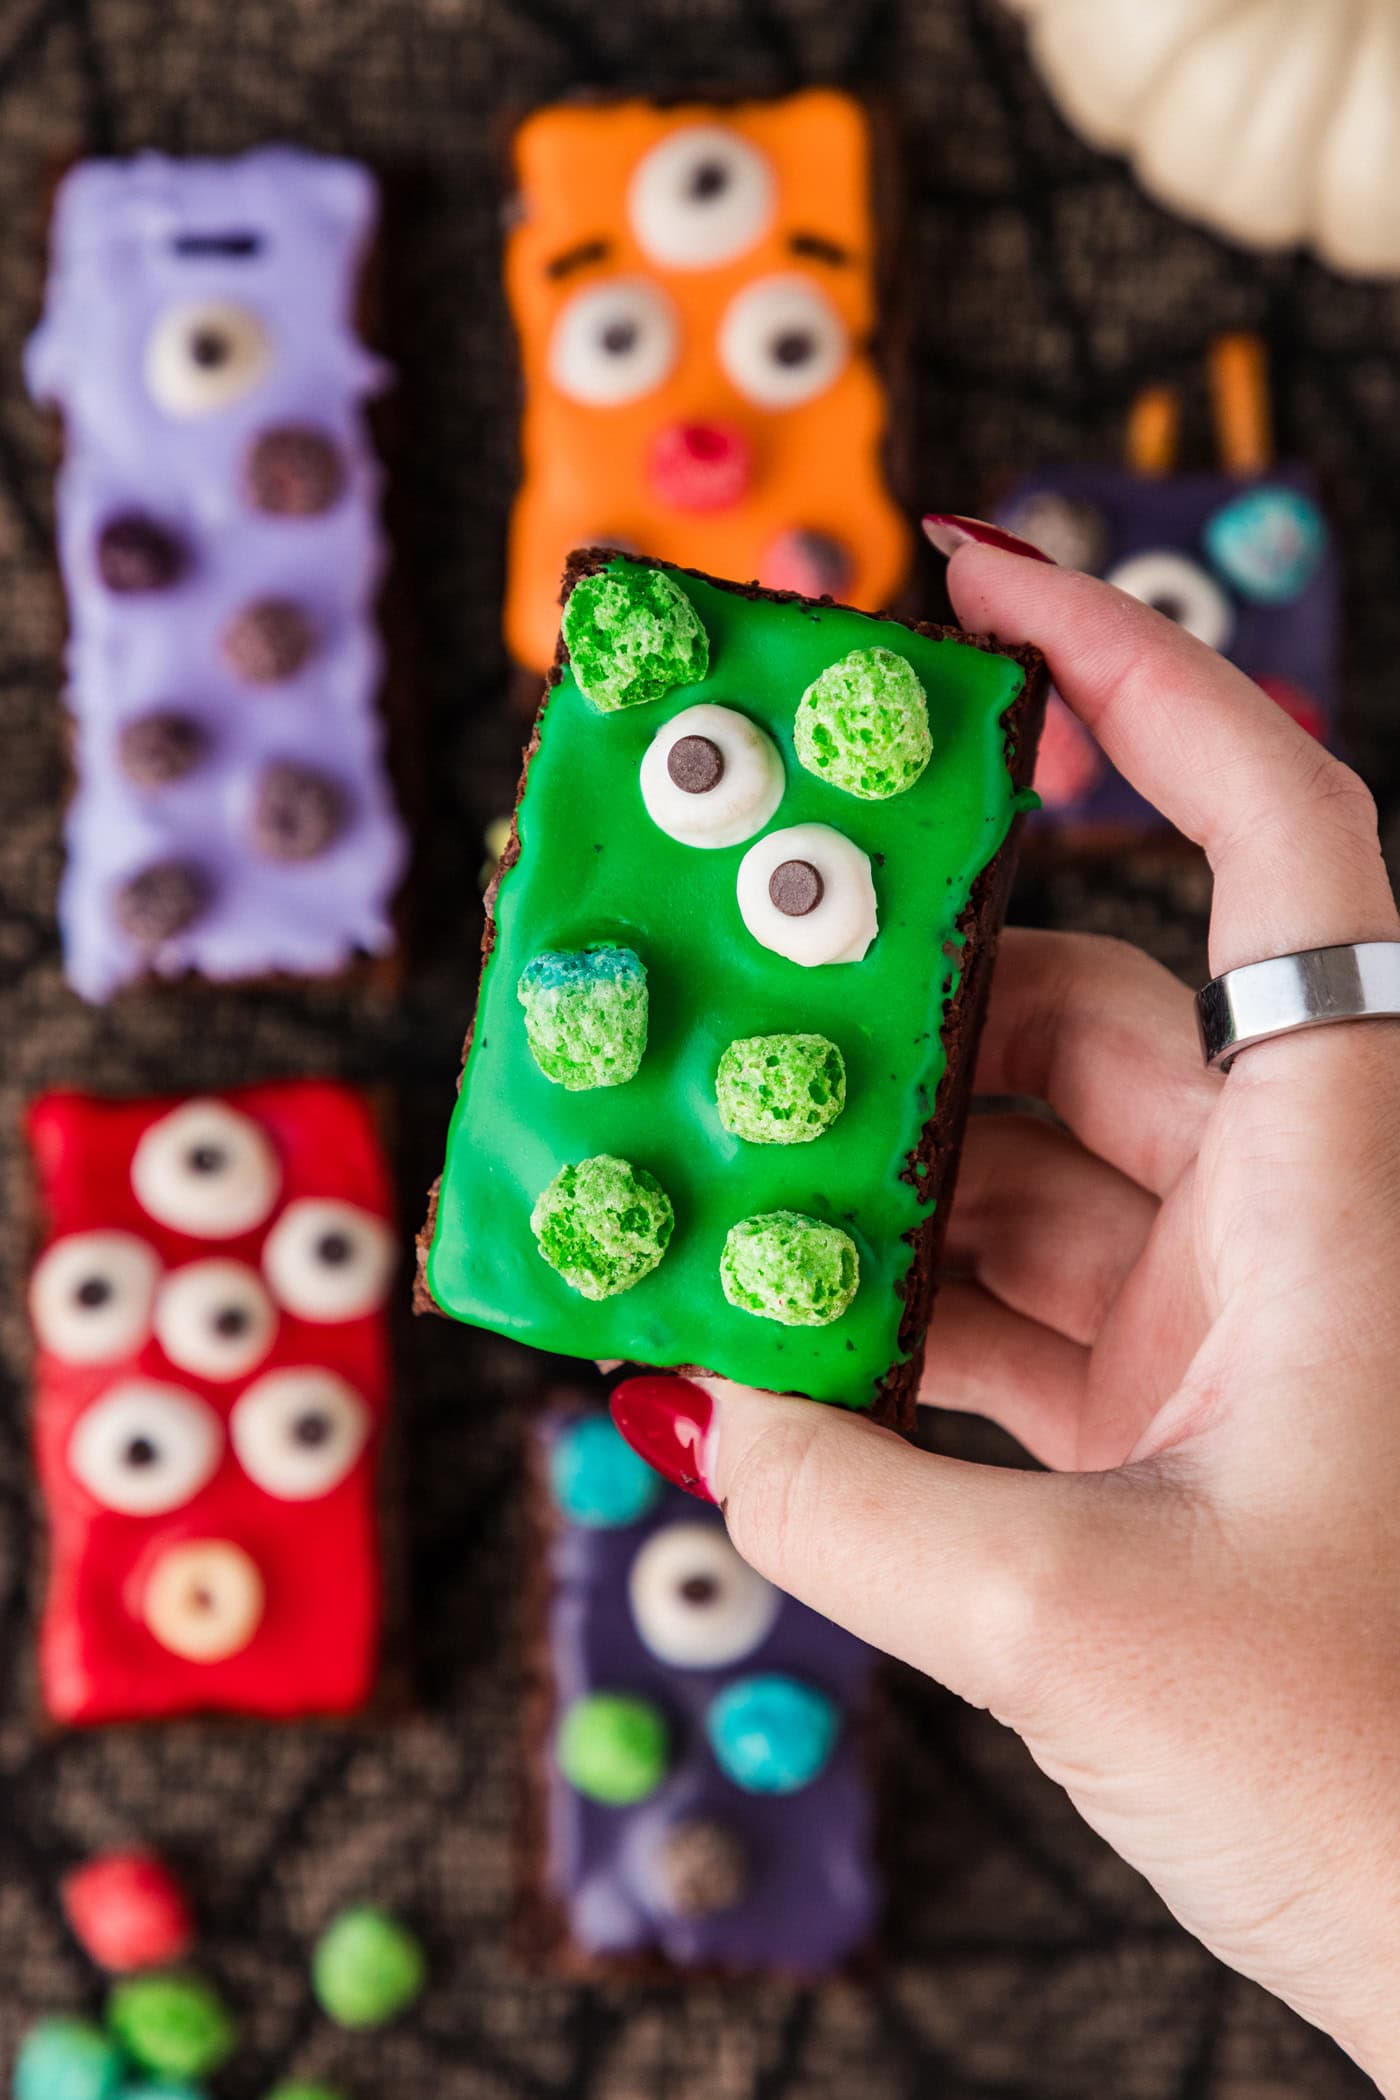
A brownie box mix, prepackaged cookie icing, and decorator gel make them a lot more manageable. Monster brownies are a fun Halloween dessert that kids can have full creative freedom over. Set up a station with all sorts of goodies to choose from and see what they come up with!
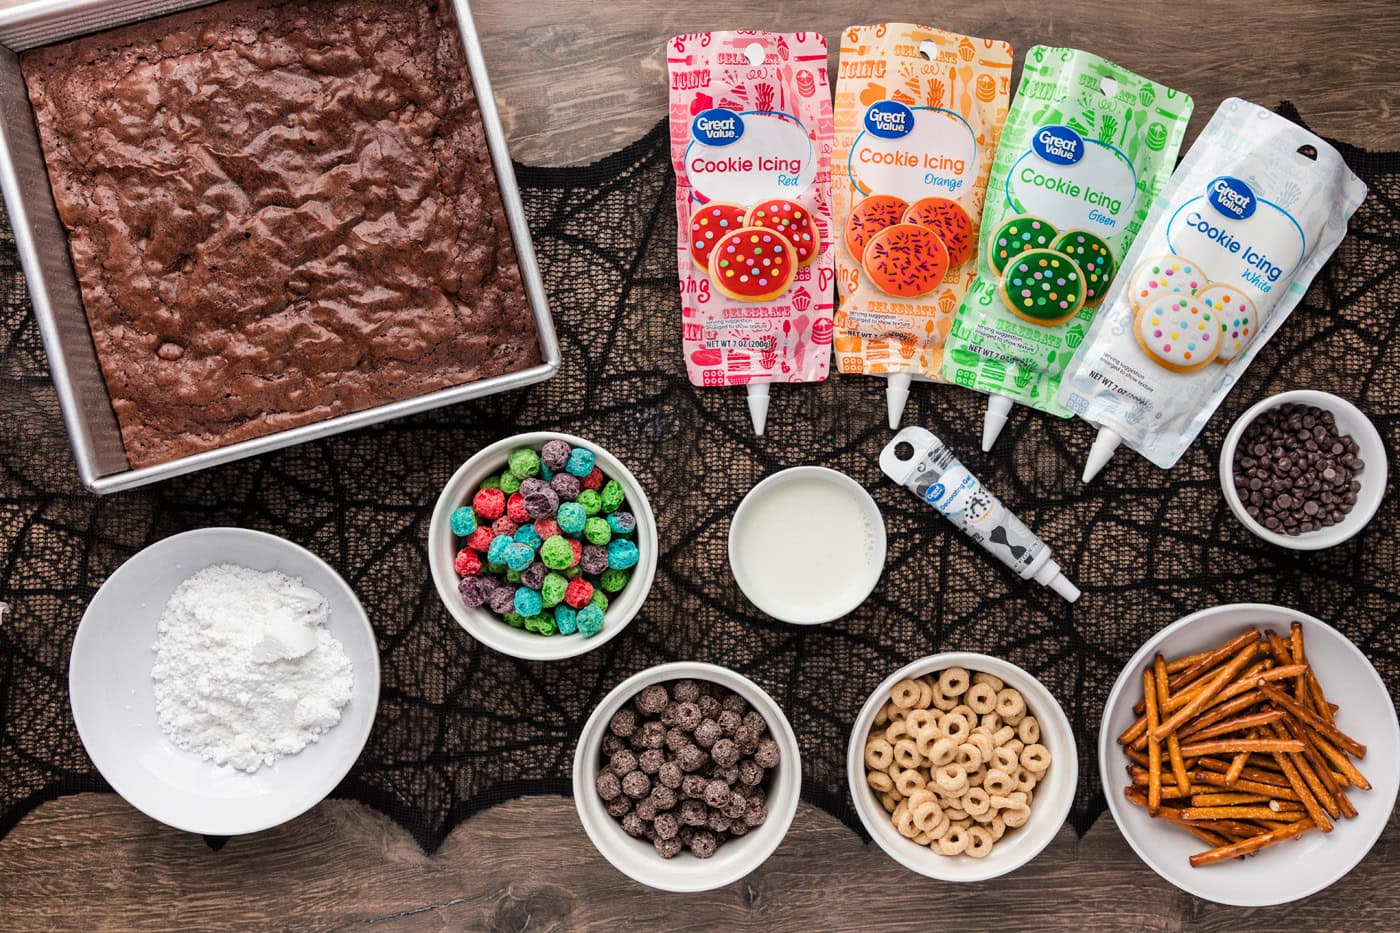
Ingredients you will need
Get all measurements, ingredients, and instructions in the printable version at the end of this post.
Ingredient Info and Substitution Suggestions
BROWNIES – I kept the brownie prep nice and simple by using a box mix, as most of the work will be put into decorating. Here I used Ghirardelli double chocolate brownie mix. You can of course make homemade fudge brownies if preferred!
EYES – The eyeballs on these monster brownies are made with white chocolate dipped cereal topped with a mini chocolate chip. You can just as easily substitute with candy eyeballs to make the process quicker.
ICING – Again, to make things quicker, I used cookie icing, which you can typically find in the baking aisle at the grocery store. Or, substitute with homemade royal icing if you are willing to put in the effort! To add fine lines, such as hair, eyebrows, or smiles, use black decorator gel.
DECORATIONS – Get creative with the edible decorations here! I used various cereals to decorate – Cocoa Puffs, Cheerios, Captain Crunch All Berries, and Oreo Puffs. Pretzels, cookies, nuts, or assorted candies are also great options to decorate with.
How to Make Monster Brownies
These step by step photos and instructions are here to help you visualize how to make this recipe. You can Jump to Recipe to get the printable version of this recipe, complete with measurements and instructions at the bottom.
- First, prepare your brownies and allow them to cool. I refrigerated mine so that I could get nice clean cuts. When your brownies are ready to be cut, slice off the edges. Cut the brownies into different sized rectangles and squares. I cut some of the odd shaped leftovers into triangles too.
Make the Eyes
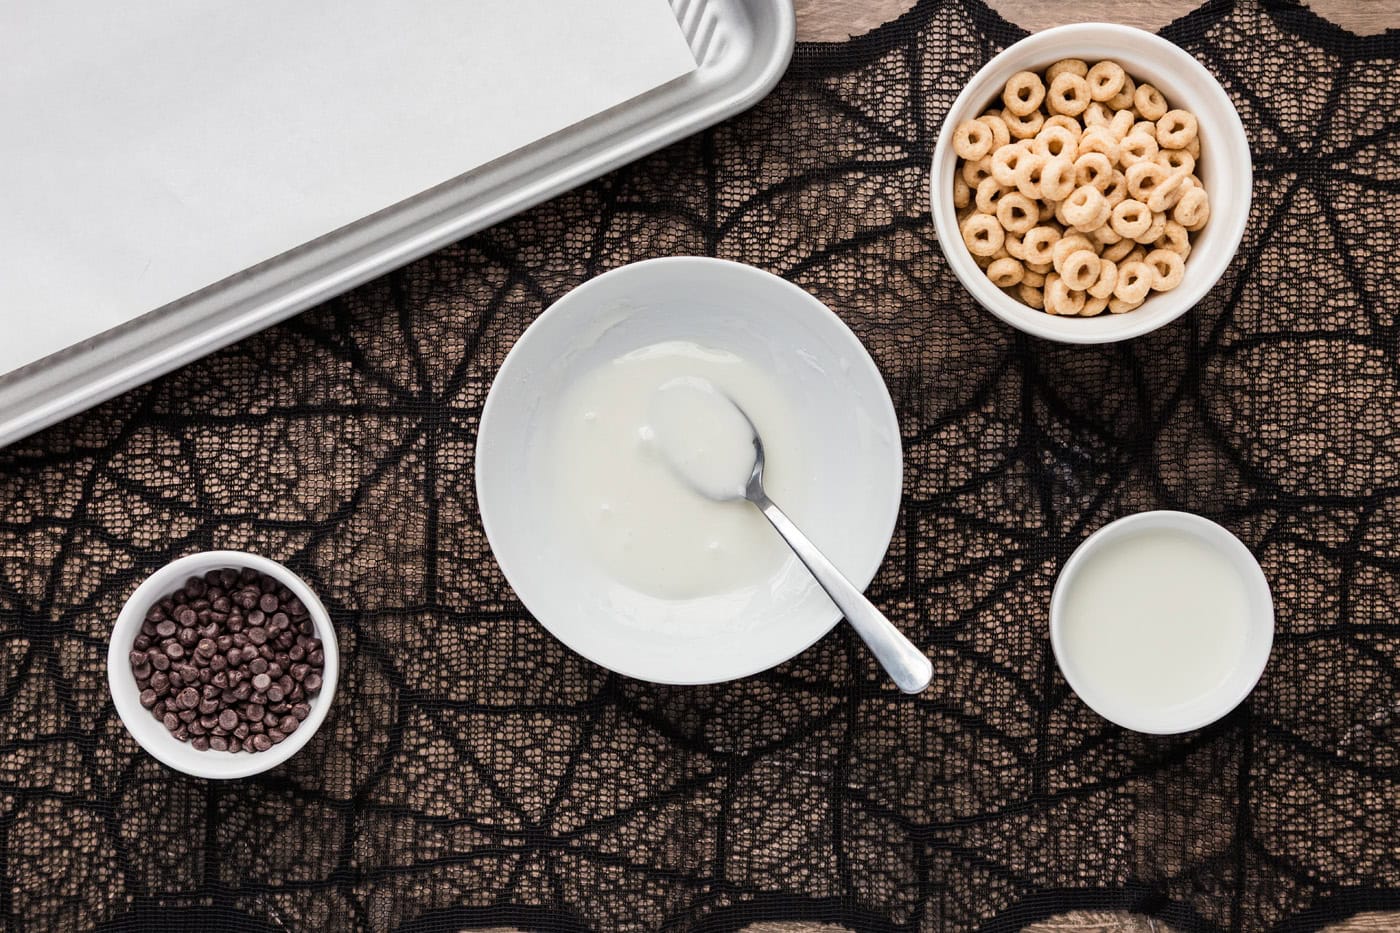
- It’s important to do this step first (after preparing the brownies) to allow adequate time for the glaze to dry. To make the eyes you’ll need any variety of Cheerios, some mini chocolate chips, powdered sugar and a little milk. Place the powdered sugar into a small bowl. Using a spoon, stir in some milk, a little bit at a time, until the consistency is good enough for dipping. Start with about a teaspoon and add a couple drops at a time until you get it where you want it.
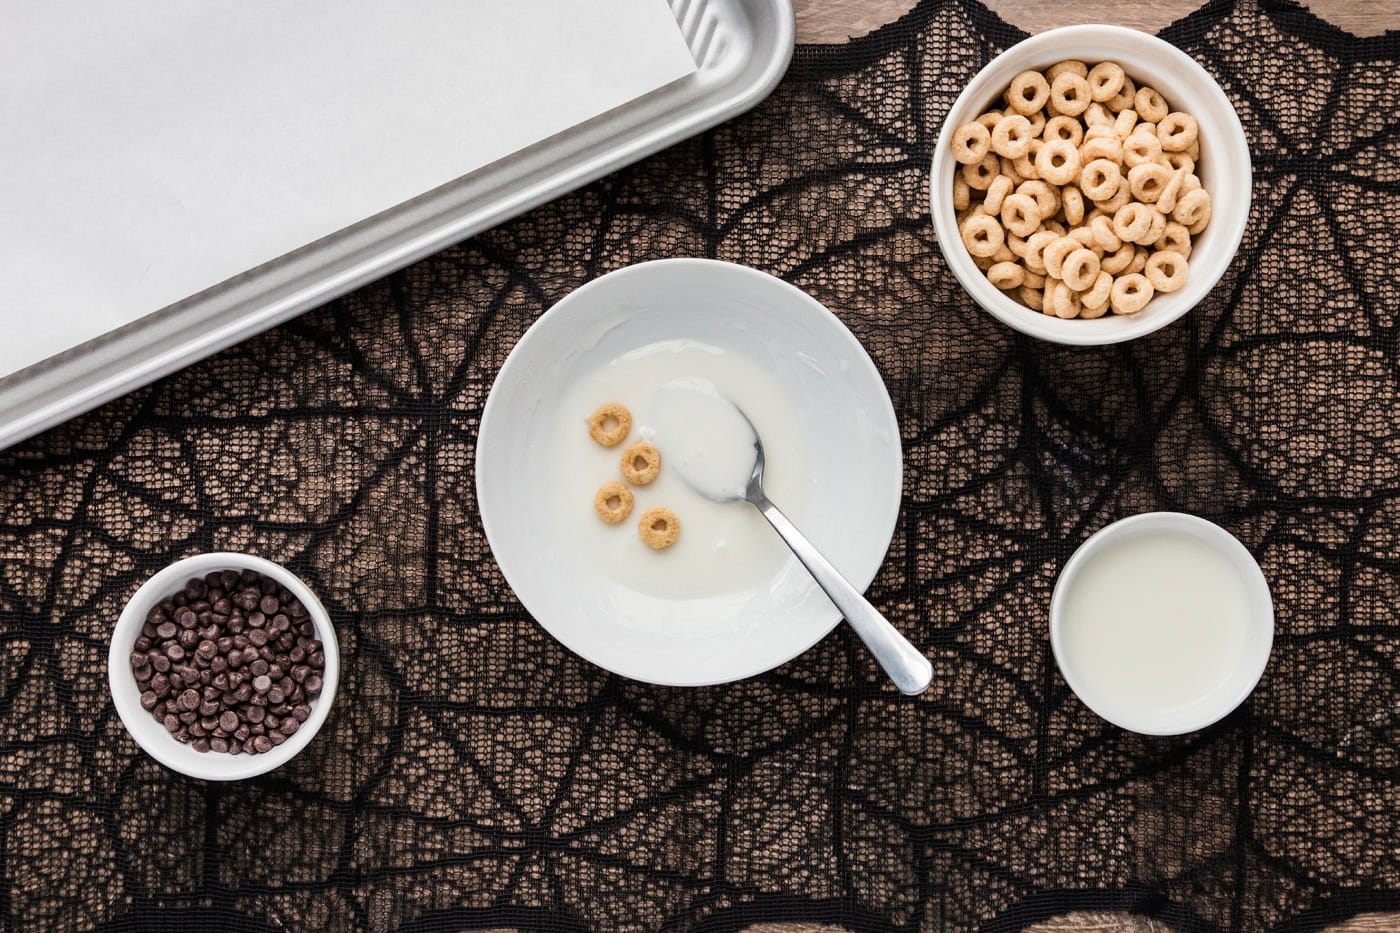
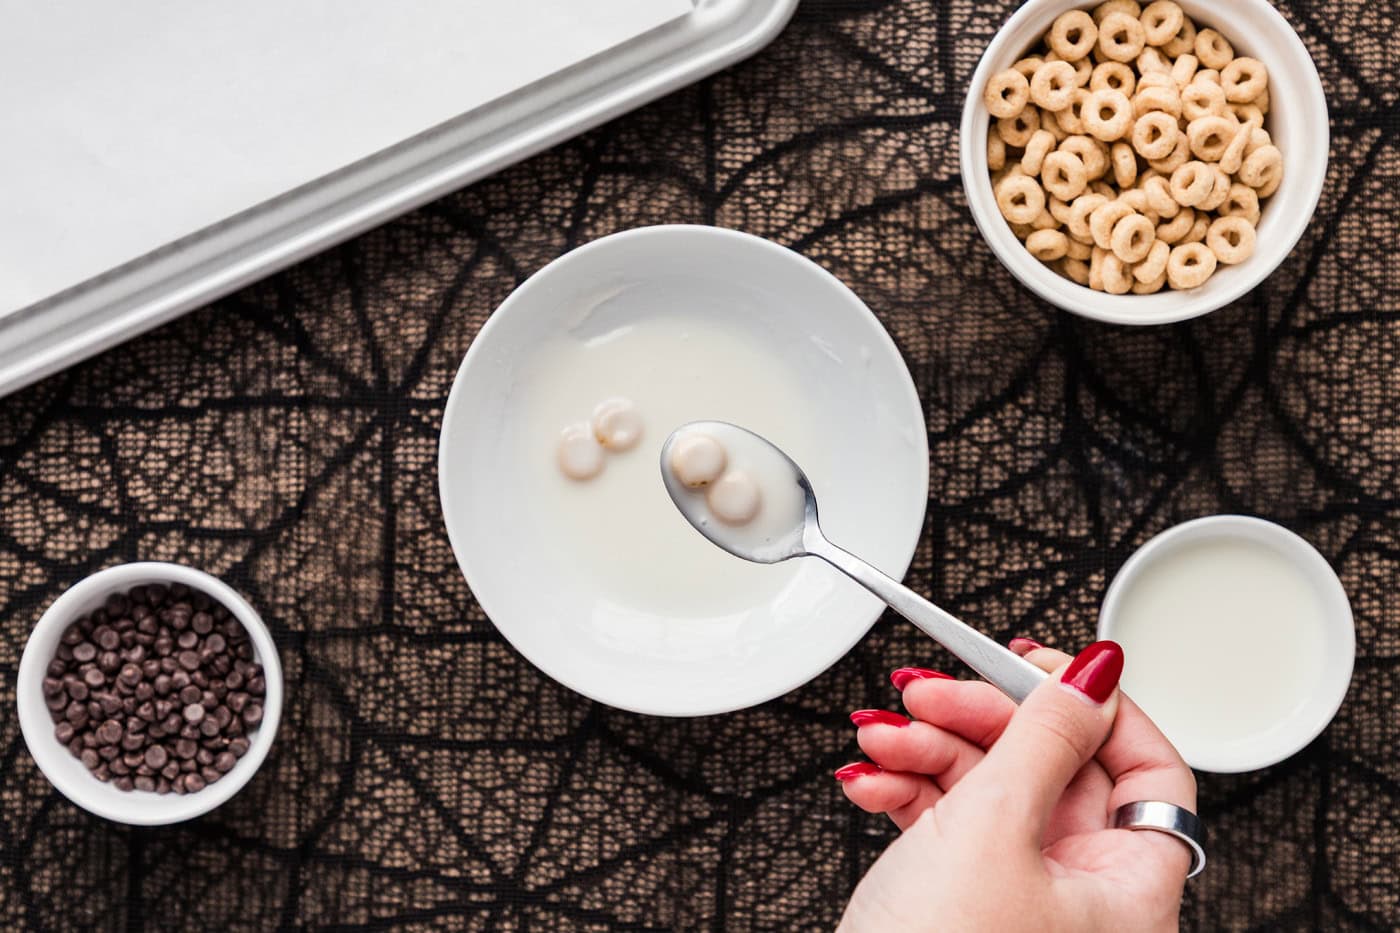
- Drop a few Cheerios into the glaze coating the cereal. Use a spoon to lift the cereal out of the glaze and place on a wax paper lined cookie sheet.
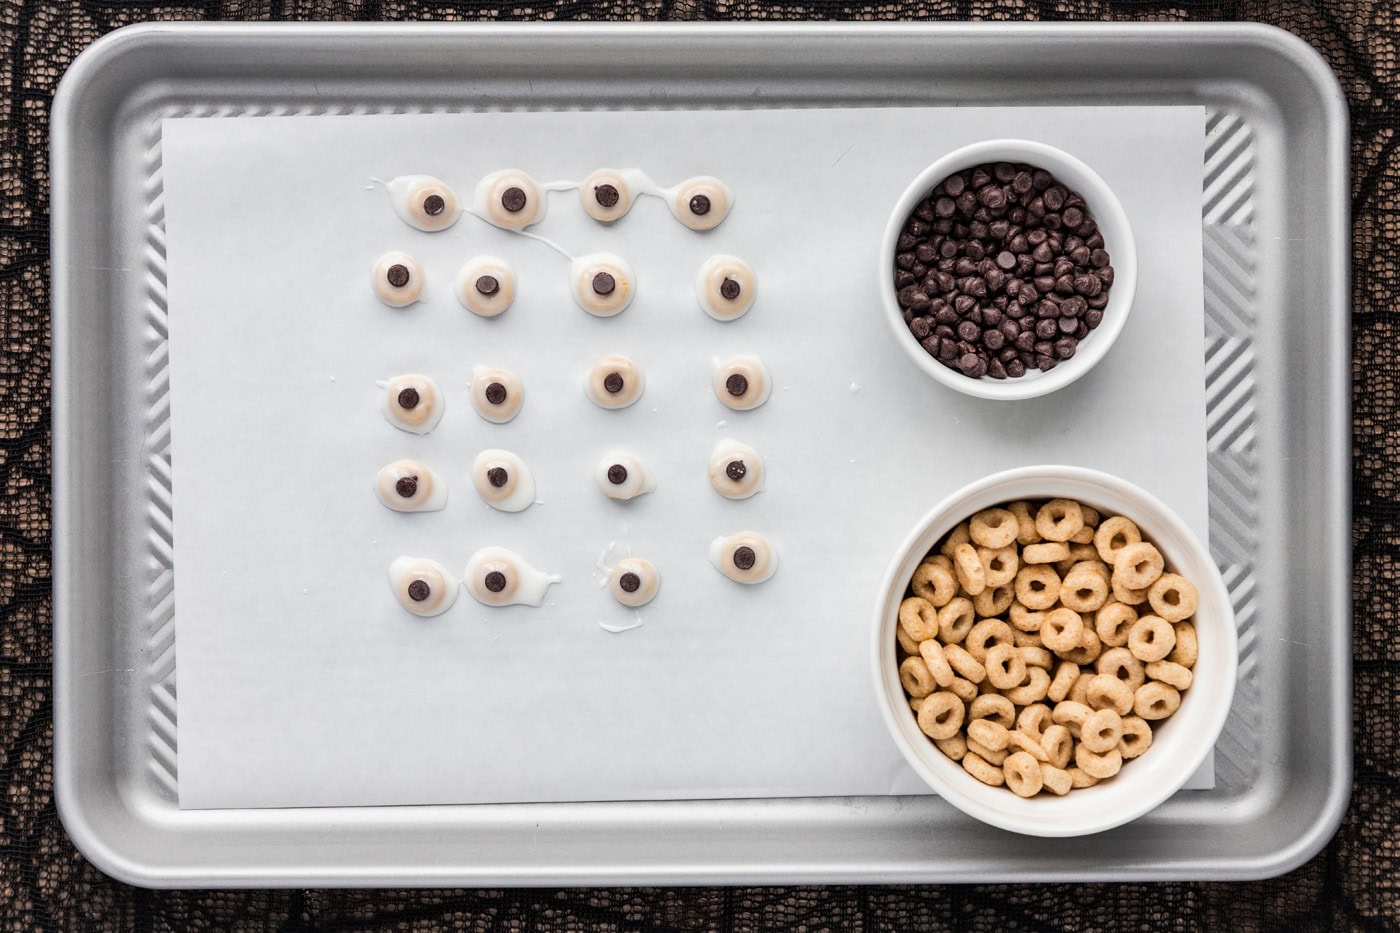
- Place a mini chocolate chip, upside down, in the center of each glazed Cheerio. Gently press the mini chip to set. Set aside.
Decorate the Brownies
- Use an icing spatula, a rubber spatula, or the back of a spoon to spread the royal icing over the top of each brownie.
- Gently press assorted cereals into the frosted brownies for the monsters’ polka dots. Do so while the frosting is still wet so that your decorations stick.
- Lift the eyes from the waxed paper using a toothpick and gently press onto the frosted brownie. You can use pretzel sticks for arms and legs, and add eyebrows, mouths and hair using decorator gel.
Frequently Asked Questions & Expert Tips
I can’t find the frosting colors I need, what should I do?If you can’t find the prepackaged royal icing colors you are looking for, but are able to get your hands on the white icing, you can simply color it yourself with a bit of gel food coloring. The icing from the bag dried much smoother, so I would definitely recommend buying the colors you want over mixing it yourself. Alternatively, you can use the frosting method I use in my easy decorated sugar cookies recipe by simply warming up a tub of store bought frosting until it’s thinned enough to spread. This method won’t harden, however, so keep that in mind.
How far ahead can I decorate monster brownies?You can make and decorate these brownies 2 or even 3 days ahead. I would recommend 1-2 days for the freshest brownies, especially since cut edges can begin to dry out.
Will the decorations survive being transported to a party?Cookie icing hardens as it dries, so brownies decorated with icing alone travel better than ones finished with decorator gel, which stays soft. Once the icing and decorations have completely set, place them into the refrigerator for an hour. Then you can stack these in a container with parchment or wax paper between each layer. If you used decorator gel, a single layer of monster brownies placed in a pastry box or in a single layer in a baking pan or sheet is better as the gel does not harden.
What size box of brownie mix should I use?Brownie mixes are sold in ranges from 13 – 18 ounces, and any one of those will work just fine!
How long do the cereal eyes need to dry?Just until they set, which is usually within 10-20 minutes, depending on the temperature of your kitchen or workspace.
Storage and Freezing Information
Store decorated monster brownies in an airtight container, separated by layers of parchment paper so the icing does not stick. They will keep at room temperature for up to 4 days.
Serving Suggestions
Monster brownies look great wrapped in cellophane gift bags and tied with a Halloween ribbon as party favors. Wrapping works well if you finish them with cookie icing, which hardens as it dries. Decorator gel stays soft, so if you have used it for eyebrows or mouths you may want to send them in a pastry box instead.
On a party table they sit well next to something with a different shape and color. My monster cupcakes use the same candy-eye trick in a completely different format, and halloween dirt cupcakes bring in gummy worms and crushed cookies for texture. If you want the whole spread planned out, my halloween food ideas roundup covers savory and sweet together.
For a classroom party or a bake sale, cut the brownies smaller than you would at home. A tray of little monsters in mismatched shapes reads better than a few large ones, and mummy cookies travel well alongside them if you want a second option on the plate.
More Halloween Recipes
I love to bake and cook and share my kitchen experience with all of you! Remembering to come back each day can be tough, that’s why I offer a convenient newsletter every time a new recipe posts. Simply subscribe and start receiving your free daily recipes!
More recipes to try
Eight more recipes from the kitchen.
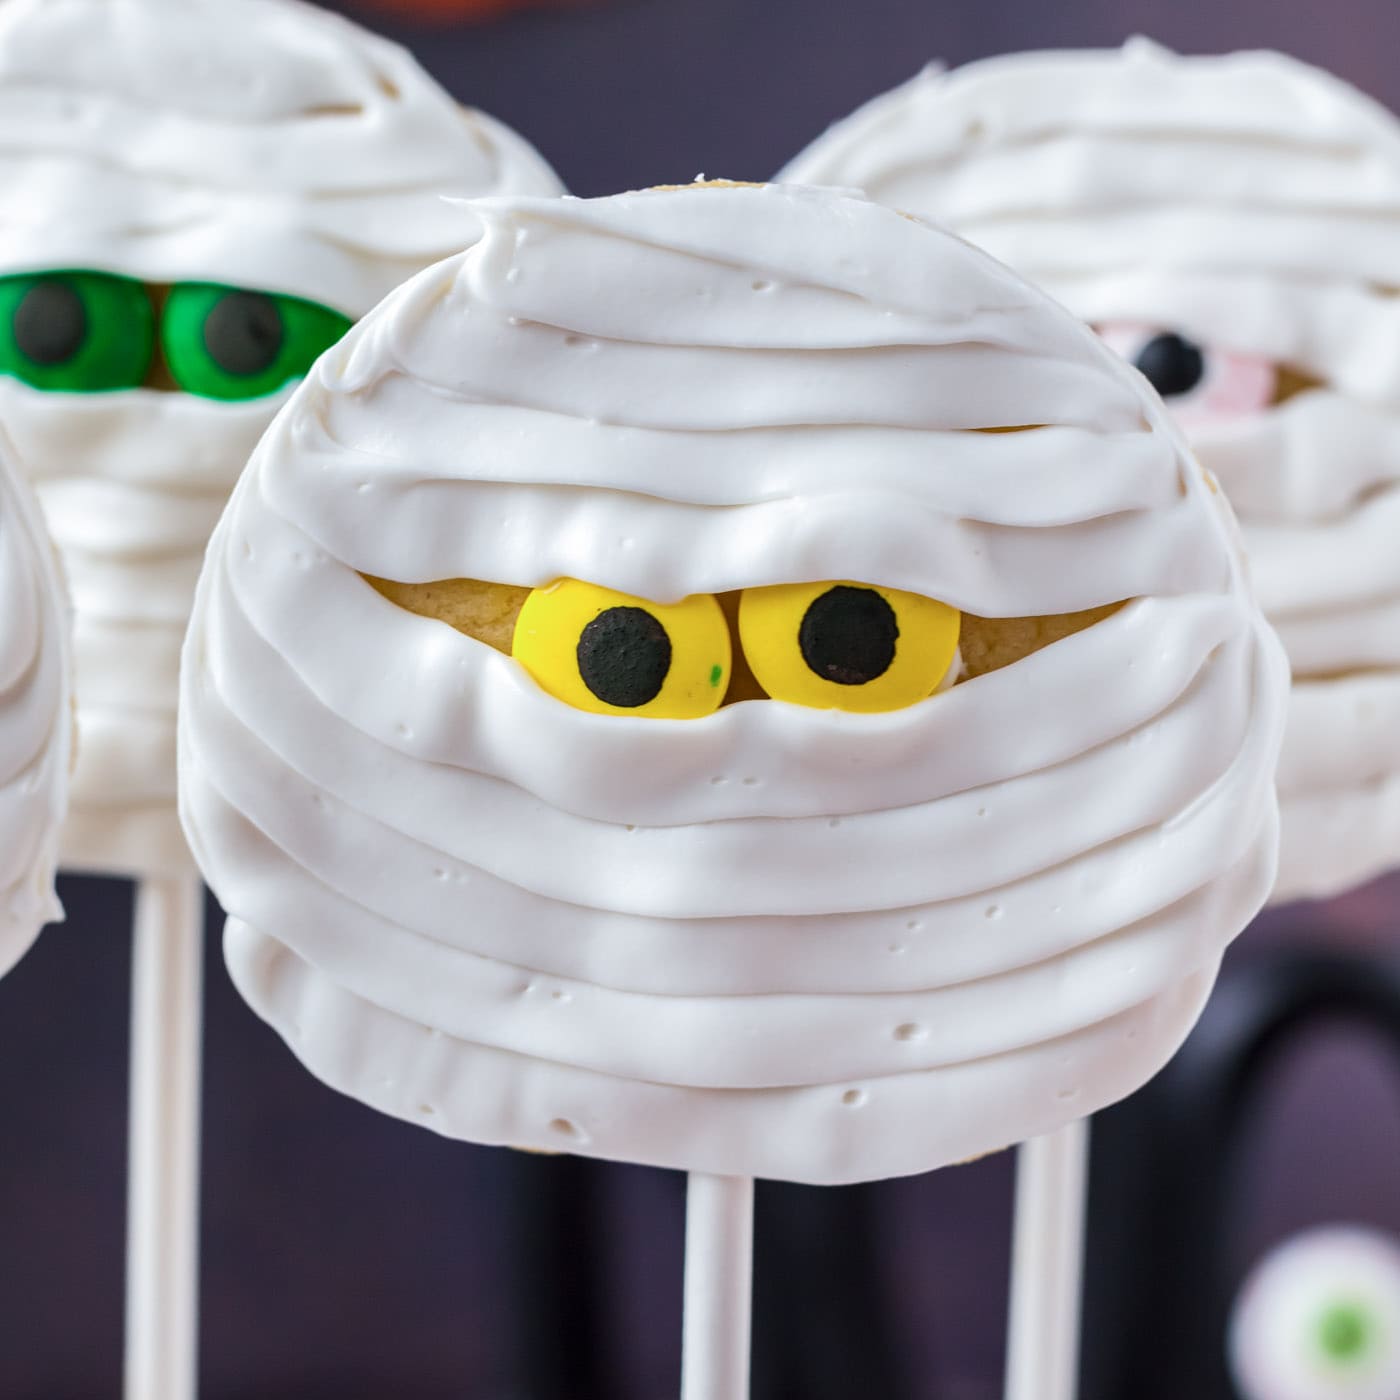
Mummy Cookies
Quick, easy, and a touch spooky, these mummy cookies come together…
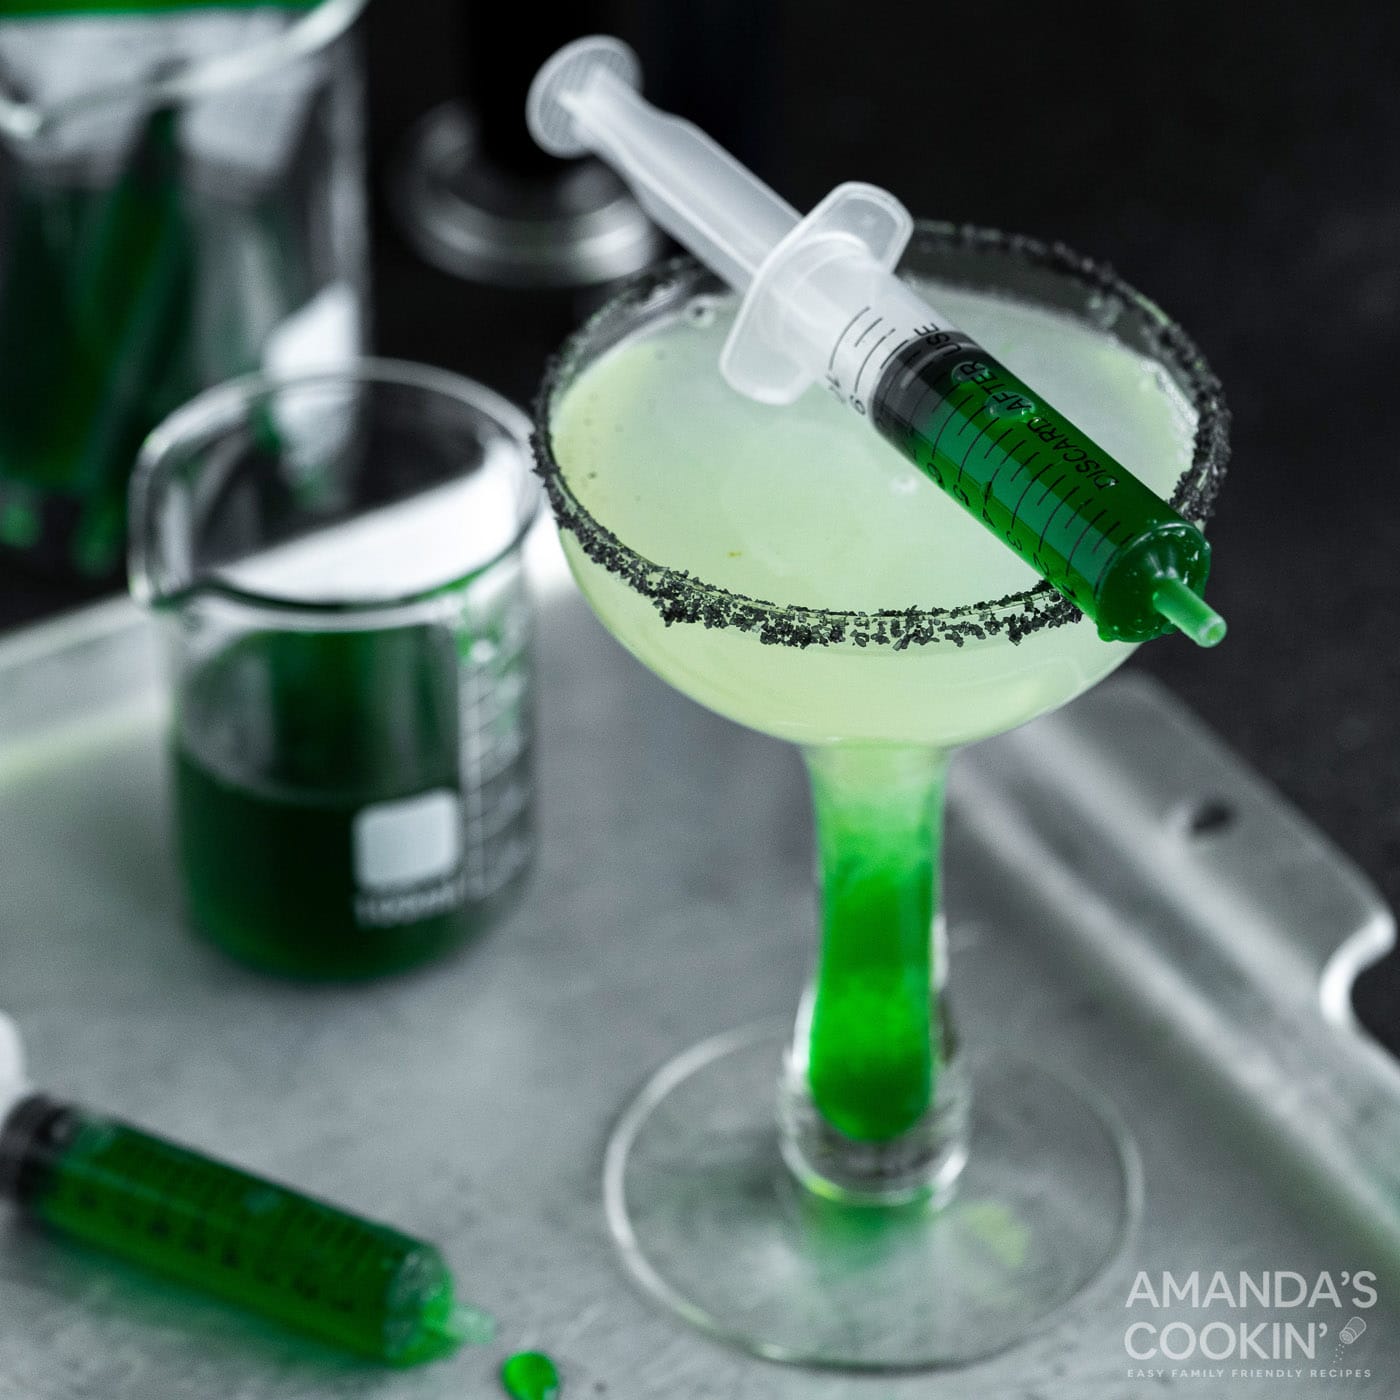
Frankenstein Margarita
Bring the chills to your Halloween party with this freaky Frankenstein…
Roasted Pumpkin Seeds
There’s something nostalgic about a pan full of salty roasted pumpkin…
Ghost Brownies
These cute and spooky ghost brownies are made with a decadent fudge…
Mini Candy Corn Cheesecakes
Mini candy corn cheesecakes combine creamy vanilla cheesecake with…
Monster Eyeball Cookie Pops
I’ve taken my favorite chocolate chip cookie recipe and given it a…
Candy Corn Jello Shots
With sweet layers of orange, lemon, sweetened condensed milk, and cake…
Halloween Oreo Truffles
Dunk, decorate, and devour these easy Halloween Oreo truffles 3…