
Unlock a World of Safe Indulgence: How to Heat Treat Flour for Delicious No-Bake Desserts!
Do you ever crave that irresistible taste of raw cookie dough or brownie batter but hold back due to concerns about food safety? You’re not alone! Many beloved no-bake recipes and homemade treats call for heat-treated flour, a simple yet crucial step that ensures your delicious creations are not only delightful but also completely safe to eat. Learning how to heat treat flour is a game-changer for any home baker or dessert enthusiast, allowing you to enjoy your guilty pleasures without a second thought. This essential kitchen hack transforms ordinary flour into a safe ingredient, opening up a world of possibilities for decadent, egg-free, and worry-free desserts.
Imagine effortlessly whipping up a batch of Edible Sugar Cookie Dough, knowing every spoonful is perfectly safe. Or perhaps you dream of scooping luscious Edible Peanut Butter Cookie Dough or diving into a bowl of Easy Edible Monster Cookie Dough. These treats, often ready in 15 minutes or less using common pantry staples, become truly worry-free when you take the small but significant step of heat treating your flour. Even a rich, three-ingredient Edible Brownie Batter can be enjoyed safely, making those impromptu dessert cravings a reality. No more hesitation when licking the spatula clean!
The Critical Importance of Heat Treating Flour for Food Safety
While often overlooked, consuming raw flour can pose significant health risks. Flour, being an agricultural product, comes directly from grains grown in fields, which can sometimes be exposed to various bacteria like E. coli and Salmonella. These harmful microorganisms are typically destroyed during the baking process when flour is cooked to high temperatures in cookies, cakes, and breads. However, when you use raw flour in no-bake recipes like edible cookie dough or dessert dips, these bacteria remain active and can cause foodborne illnesses. This is precisely why heat treating flour is not just a suggestion, but a crucial step for ensuring the safety of your raw and no-bake creations.
By exposing flour to a high enough temperature before incorporating it into your recipes, you effectively sterilize it. The goal is to reach an internal temperature of at least 160°F (71°C). This temperature threshold is sufficient to kill off any potential E. coli, Salmonella, or other harmful bacteria that might be lurking in the flour. Just as you wouldn’t consume raw eggs due to the risk of Salmonella (which many edible dough recipes address by simply omitting eggs), you should also treat raw flour with caution. Taking these few extra minutes to heat treat your flour provides invaluable peace of mind, allowing you and your loved ones to enjoy delicious, safe treats without any health concerns.
Simple Methods to Heat Treat Flour at Home
Fortunately, heat treating flour is a straightforward process that requires minimal effort and time. There are two primary methods you can use, both quick and effective, ensuring your flour is ready for your favorite edible dough recipe in no time. Whether you prefer using your oven or microwave, the key is to ensure the flour reaches and maintains the safe temperature of 160°F (71°C).
Method 1: Heat Treating Flour in the Oven
The oven method is arguably the most common and often preferred way to heat treat flour, especially if you need to process a larger quantity. It’s simple, efficient, and ensures even heat distribution.
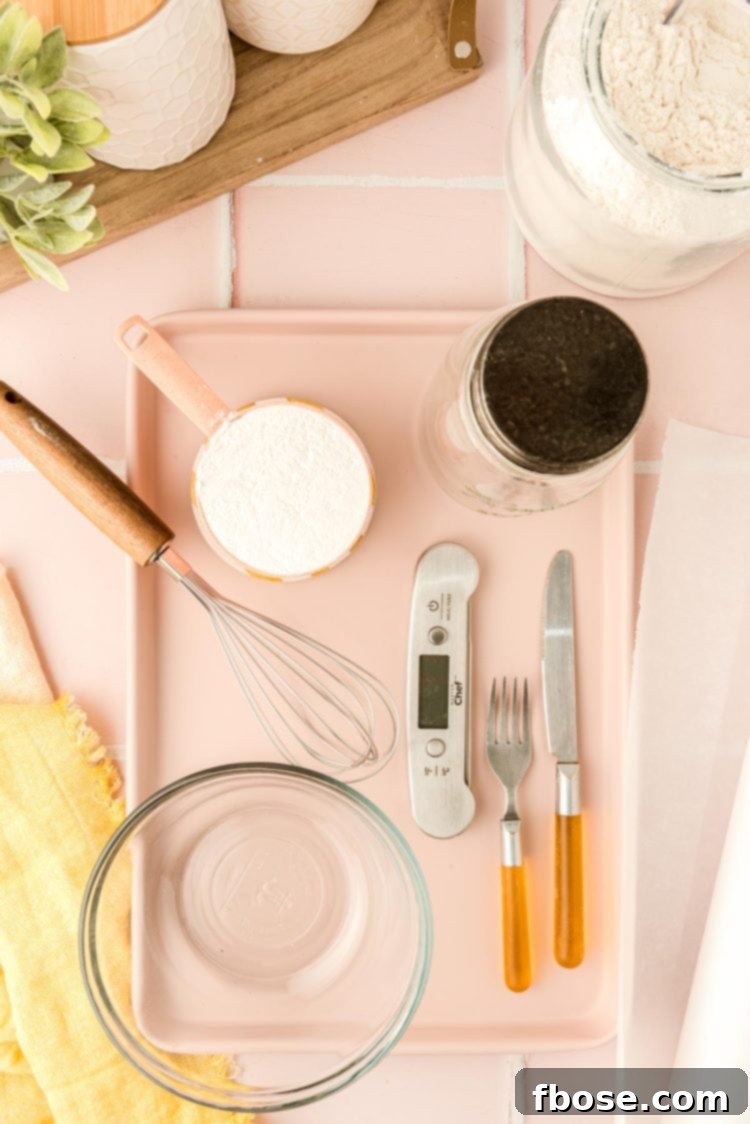
- Preparation: Preheat your oven to 350°F (175°C). While the oven heats up, grab a rimmed baking sheet. A rimmed sheet is essential to prevent the flour from spilling over the sides as you spread it.
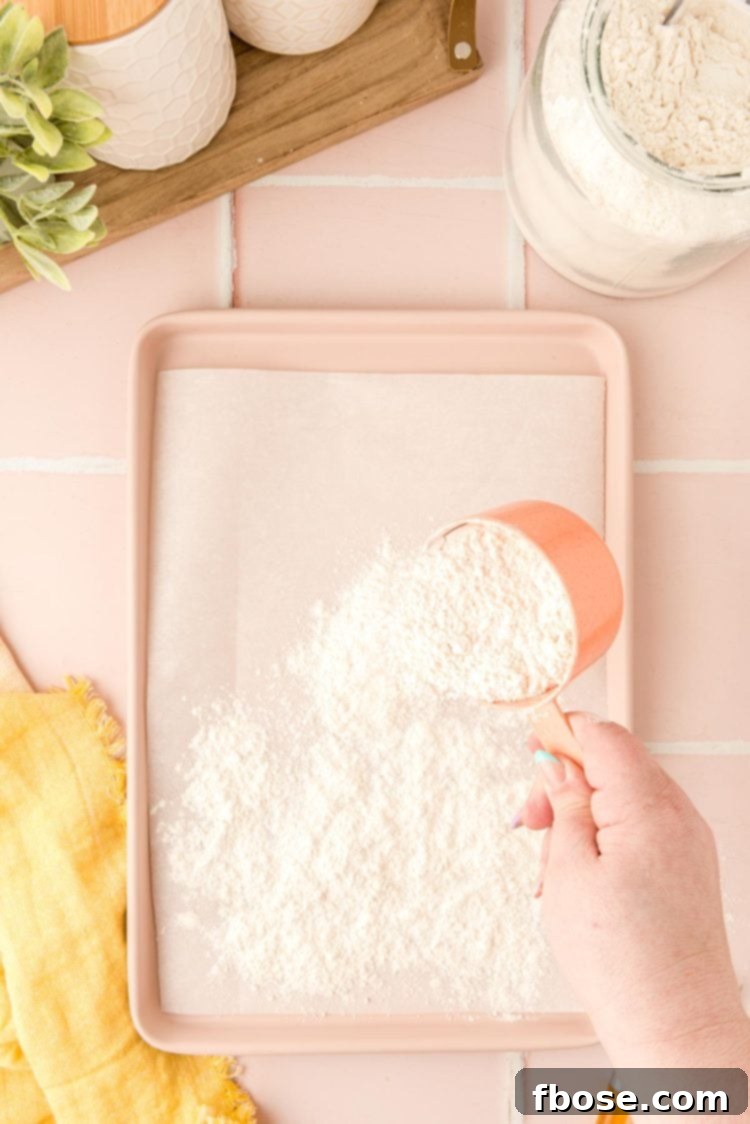
- Spread the Flour: Measure out the amount of flour your recipe requires. Spread this flour evenly in a thin layer across the prepared baking sheet. The thinner the layer, the more uniformly and quickly it will heat up. Avoid piling the flour too high, as this can lead to uneven heating.
- Baking Time: Place the baking sheet in the preheated oven and bake for approximately 5 to 6 minutes. The exact time may vary slightly depending on your oven and the thickness of the flour layer. Keep a close eye on it to prevent burning.
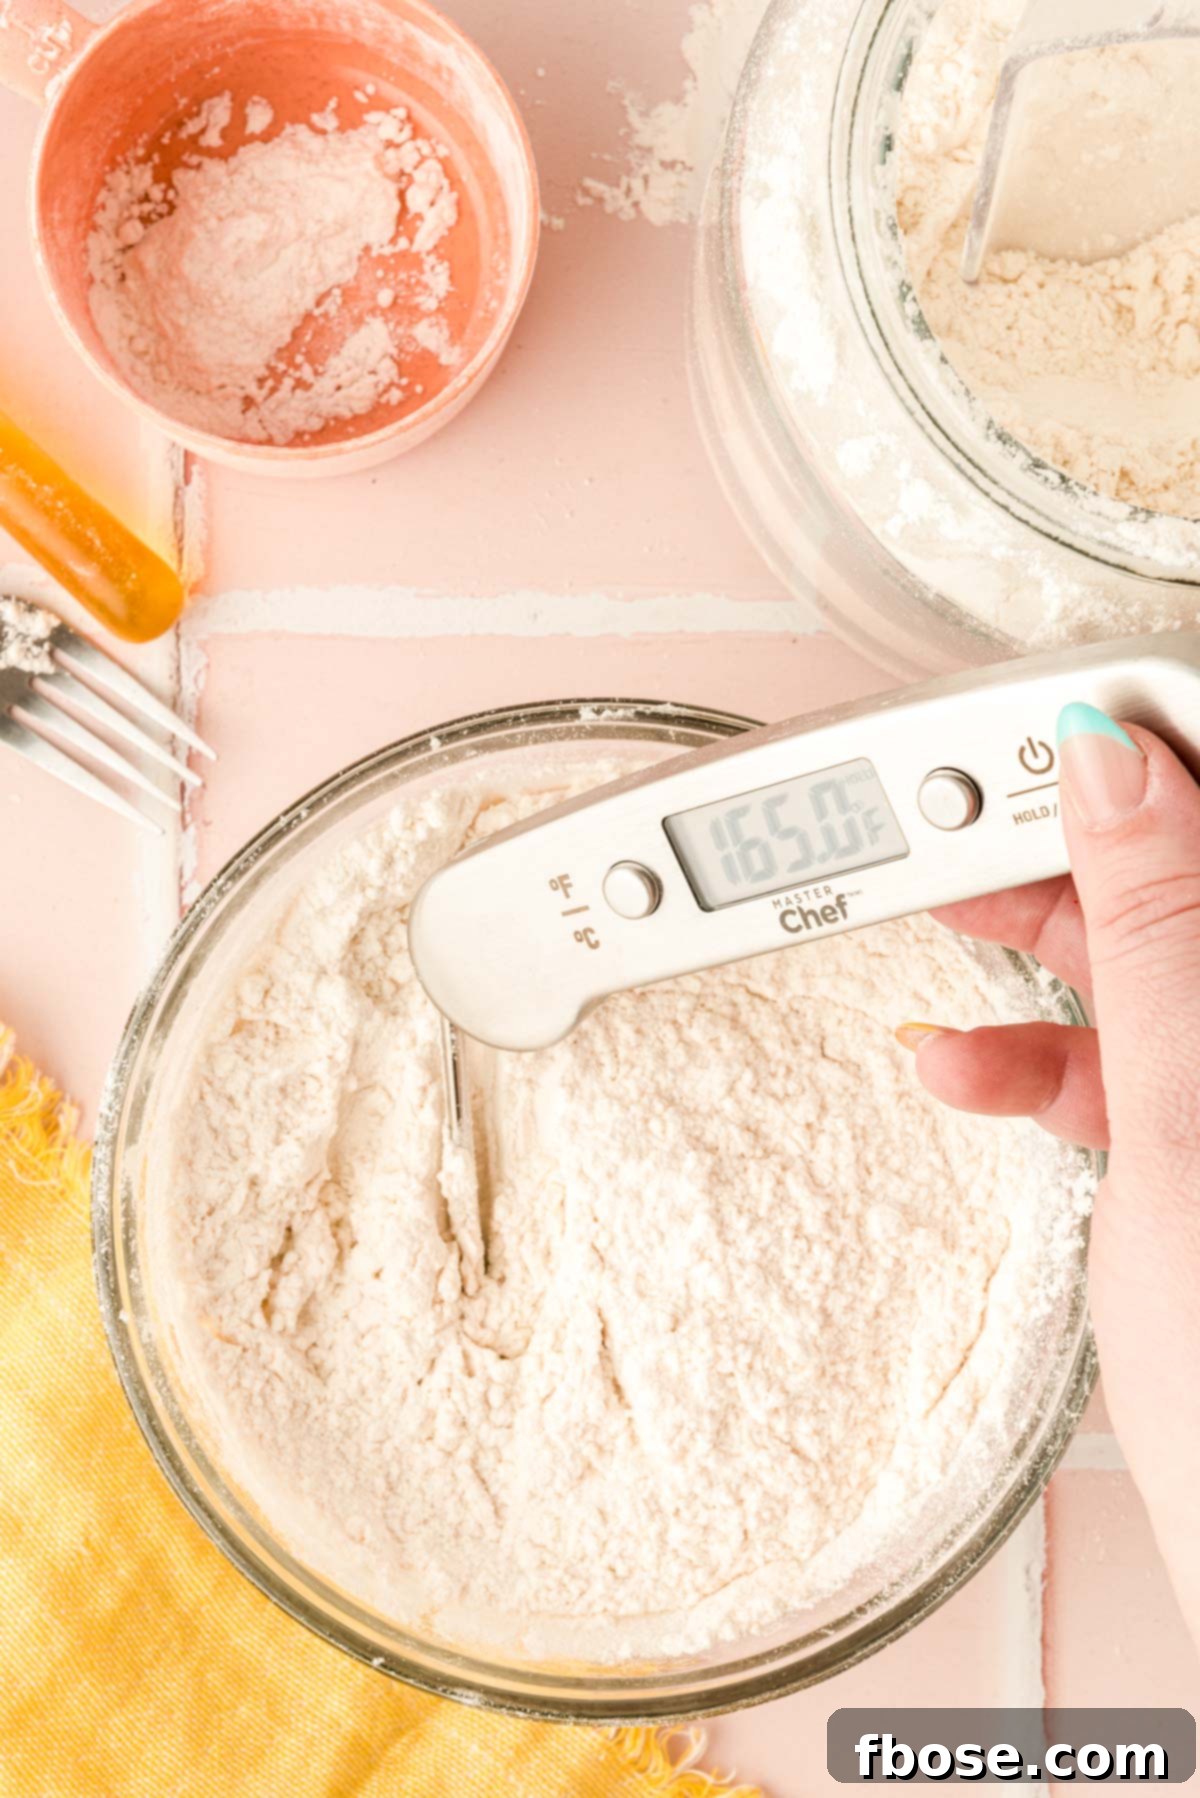
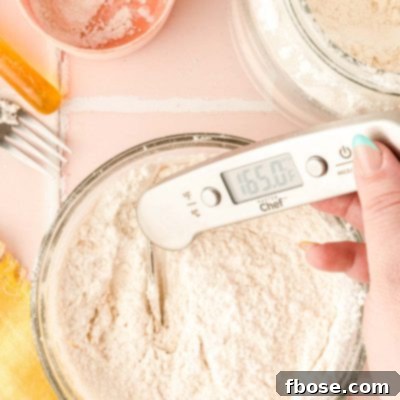
- Check Temperature: Immediately after removing the flour from the oven, use an instant-read kitchen thermometer to check its internal temperature. Insert the thermometer into several spots in the flour to ensure all areas have reached at least 160°F (71°C). If it hasn’t, return it to the oven for another minute or two, then recheck.
- Cooling and Whisking: Once the flour has reached the safe temperature, remove it from the oven. You may notice some slight clumping due to the heat; this is normal. Allow the flour to cool completely before using it in your recipe. As it cools, whisk it gently to break up any clumps and restore its fine, powdery consistency. Cooling is essential to prevent it from melting fats like butter or chocolate chips in your no-bake dough.
Method 2: Heat Treating Flour in the Microwave
For smaller quantities of flour or when you’re in a hurry, the microwave method is incredibly convenient. It’s just as easy as using the oven, if not simpler.
- Preparation: Place the desired amount of flour into a microwave-safe bowl. Choose a bowl large enough to allow for easy stirring without spillage.
- Microwave in Intervals: Microwave the flour on high power in 30-second intervals. After each interval, remove the bowl from the microwave and give the flour a thorough stir. Stirring is crucial in the microwave method to prevent hot spots and ensure the heat is distributed evenly throughout the flour.
- Check Temperature: Continue microwaving and stirring until the flour consistently reaches an internal temperature of at least 160°F (71°C) when checked with an instant-read food thermometer. This usually takes about 1 to 2 minutes total for a small amount (like 1 cup), but times will vary depending on your microwave’s wattage and the quantity of flour.
- Cooling: Just like with the oven method, once the flour is safely heated, allow it to cool completely before incorporating it into your edible dough recipe. This prevents any unwanted melting or changes in consistency for your other ingredients.
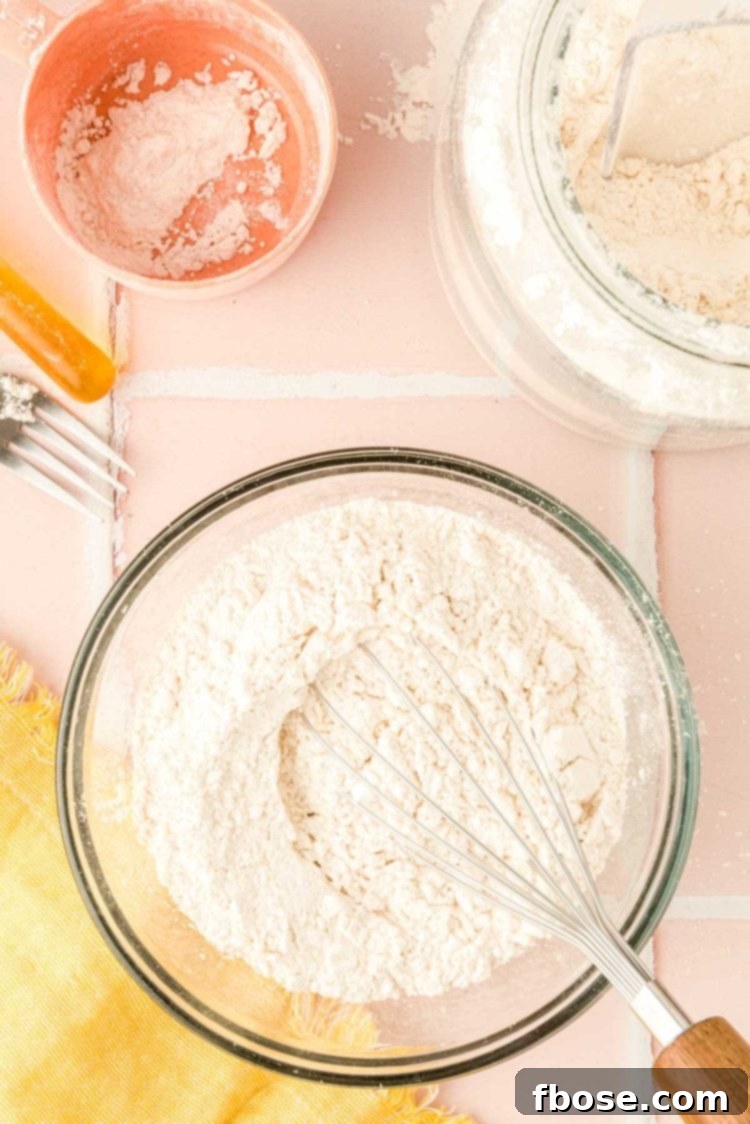
Now that you’re equipped with the knowledge of how to heat treat flour using both oven and microwave methods, you’re all set to make delectable and safe edible cookie doughs! I highly recommend trying it with my Irish Cream Edible Cookie Dough, Edible Gingerbread Cookie Dough, or Cookie Dough Truffles. These recipes capture everything you adore about raw cookie dough, but with the added assurance of being free from harmful bacteria. Get ready for flavors so rich and satisfying, you might just find yourself making a second batch!
Frequently Asked Questions About Heat Treating Flour
How Do I Know When The Flour Reaches The Right Temperature?
The most accurate and reliable way to ensure your flour has reached a safe temperature is by using an instant-read kitchen thermometer. This essential tool allows you to measure the internal temperature of the flour directly. Once it consistently reads 160°F (71°C) in multiple spots, your flour is officially safe to use in no-bake recipes. Guessing isn’t an option when it comes to food safety!
Can I Save Heat Treated Flour?
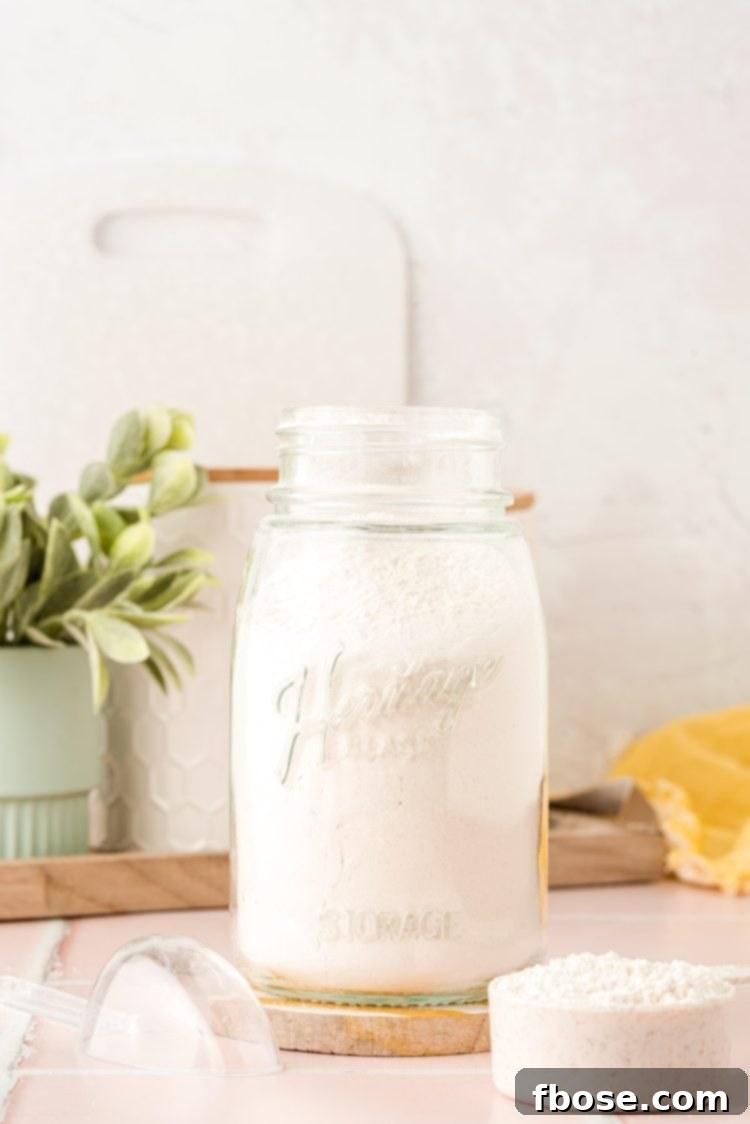
Absolutely! You can prepare a batch of heat-treated flour ahead of time for future use. Once the flour has completely cooled after treatment, transfer it to an airtight container. Store it at room temperature in a cool, dry pantry, just as you would with untreated flour. It will remain fresh and safe for an extended period, generally matching the shelf life of raw flour. While it takes only a few minutes to heat treat, having a pre-treated batch on hand can save you even more time when a sudden craving strikes. However, for optimal freshness and texture, I often prefer to heat treat a fresh batch as needed.
How Will I Know If I Over-Baked The Flour?
Over-baking flour primarily occurs when the temperature becomes excessively high, or it’s heated for too long, especially in the oven. While it won’t necessarily make the flour unsafe, it can definitely impact the taste and texture of your final recipe. Over-baked flour might develop a slightly toasted, nutty, or even a subtly burnt flavor. It can also cause the flour to dry out too much, potentially altering the consistency of your dough. This is another reason why monitoring the temperature with a thermometer and adhering to the recommended heating times is vital for a perfect result.
Does This Method Work For Cake Or Brownie Mixes?
Yes, these heat-treating methods are incredibly versatile and work wonderfully for other flour-based baking mixes too! Many dessert dip recipes, including my popular Edible Brownie Batter, specifically instruct you to heat treat the dry mix first. This is because these mixes, much like plain flour, contain raw flour as a primary ingredient. By applying the same oven or microwave techniques, you can ensure that your ready-made cake or brownie mixes are perfectly safe for any no-bake application, broadening your repertoire of safe, delicious treats.
What Types of Flour Can Be Heat-Treated?
These methods are primarily designed for all-purpose flour, which is the most common type used in baking and no-bake recipes. You can also successfully heat treat other wheat-based flours like whole wheat flour. For gluten-free flours, many varieties such as rice flour, almond flour, or oat flour are often already processed in a way that makes them safe for raw consumption, or they inherently carry a lower risk. Always check the packaging for specific instructions or indications of whether a gluten-free flour is considered safe for raw use. When in doubt, applying these heat-treating methods to any flour will provide an extra layer of safety.
Heat Treating Flour Recipe
How To Heat Treat Flour
Ingredients
- 1 cup all-purpose flour or as much as your recipe requires
Instructions
Oven Method
-
Preheat oven to 350°F (175°C). Spread the flour out on a rimmed cookie sheet in a thin, even layer.
-
Bake for 5 to 6 minutes.
-
Immediately check the internal temperature of the flour with a kitchen thermometer. Ensure it reaches at least 160°F (71°C). If not, return to the oven for another minute or two.1 cup all-purpose flour
-
Whisk the flour after baking to break up any clumps. Allow it to cool completely before using it in a recipe to prevent melting other ingredients.
Microwave Method
-
Place flour in a microwave-safe bowl. Microwave on high in 30-second intervals.
-
After each interval, stir the flour thoroughly. Continue microwaving and stirring until the flour reaches an internal temperature of 160°F (71°C), checked with a food thermometer.
-
Allow it to cool completely before using it in a recipe to avoid melting other ingredients.
Notes
- Temperature Check: Always use a kitchen thermometer to ensure the flour reaches 160°F (71°C) for safety.
- Storage: Heat-treated flour can be stored in an airtight container at room temperature.
- Over-baking: Over-baked flour may develop a toasted or slightly burnt flavor, affecting your recipe’s taste. Monitor closely and use a thermometer.
- Other Mixes: This method works for cake and brownie mixes too, making them safe for no-bake recipes and dips.
Nutrition
Did You Make This Recipe?
Don’t forget to share it with me on Instagram @sugarandsoulco and follow on Tiktok @sugarandsoulco and Pinterest @sugarandsoulco for more!
Pin Recipe
Share Recipe