Peppermint Ice Cream
This easy pink peppermint ice cream recipe is churned to creamy, dreamy perfection and studded with peppermint crunch in every spoonful.
- Total 4 hours 50 minutes
- Serves 8 servings (makes 2 quarts total)
- Dessert
- American
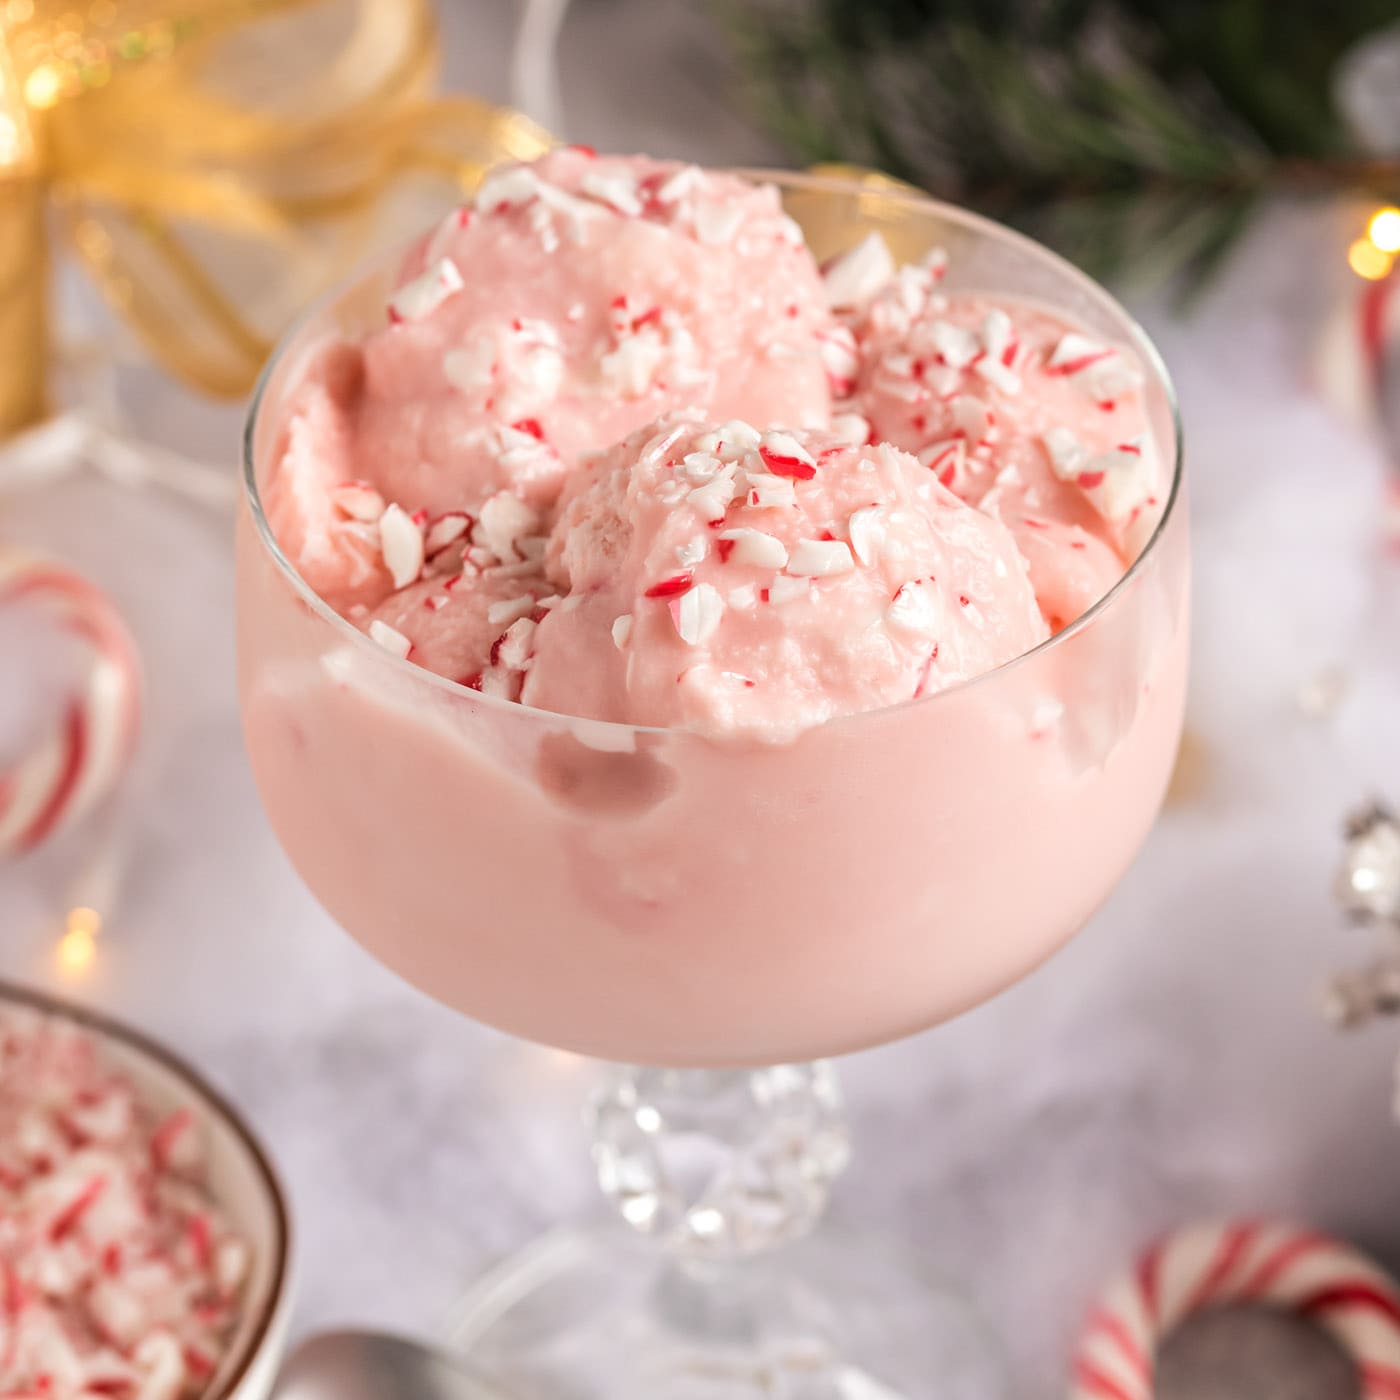
This easy pink peppermint ice cream recipe is churned to creamy, dreamy perfection and studded with peppermint crunch in every spoonful.
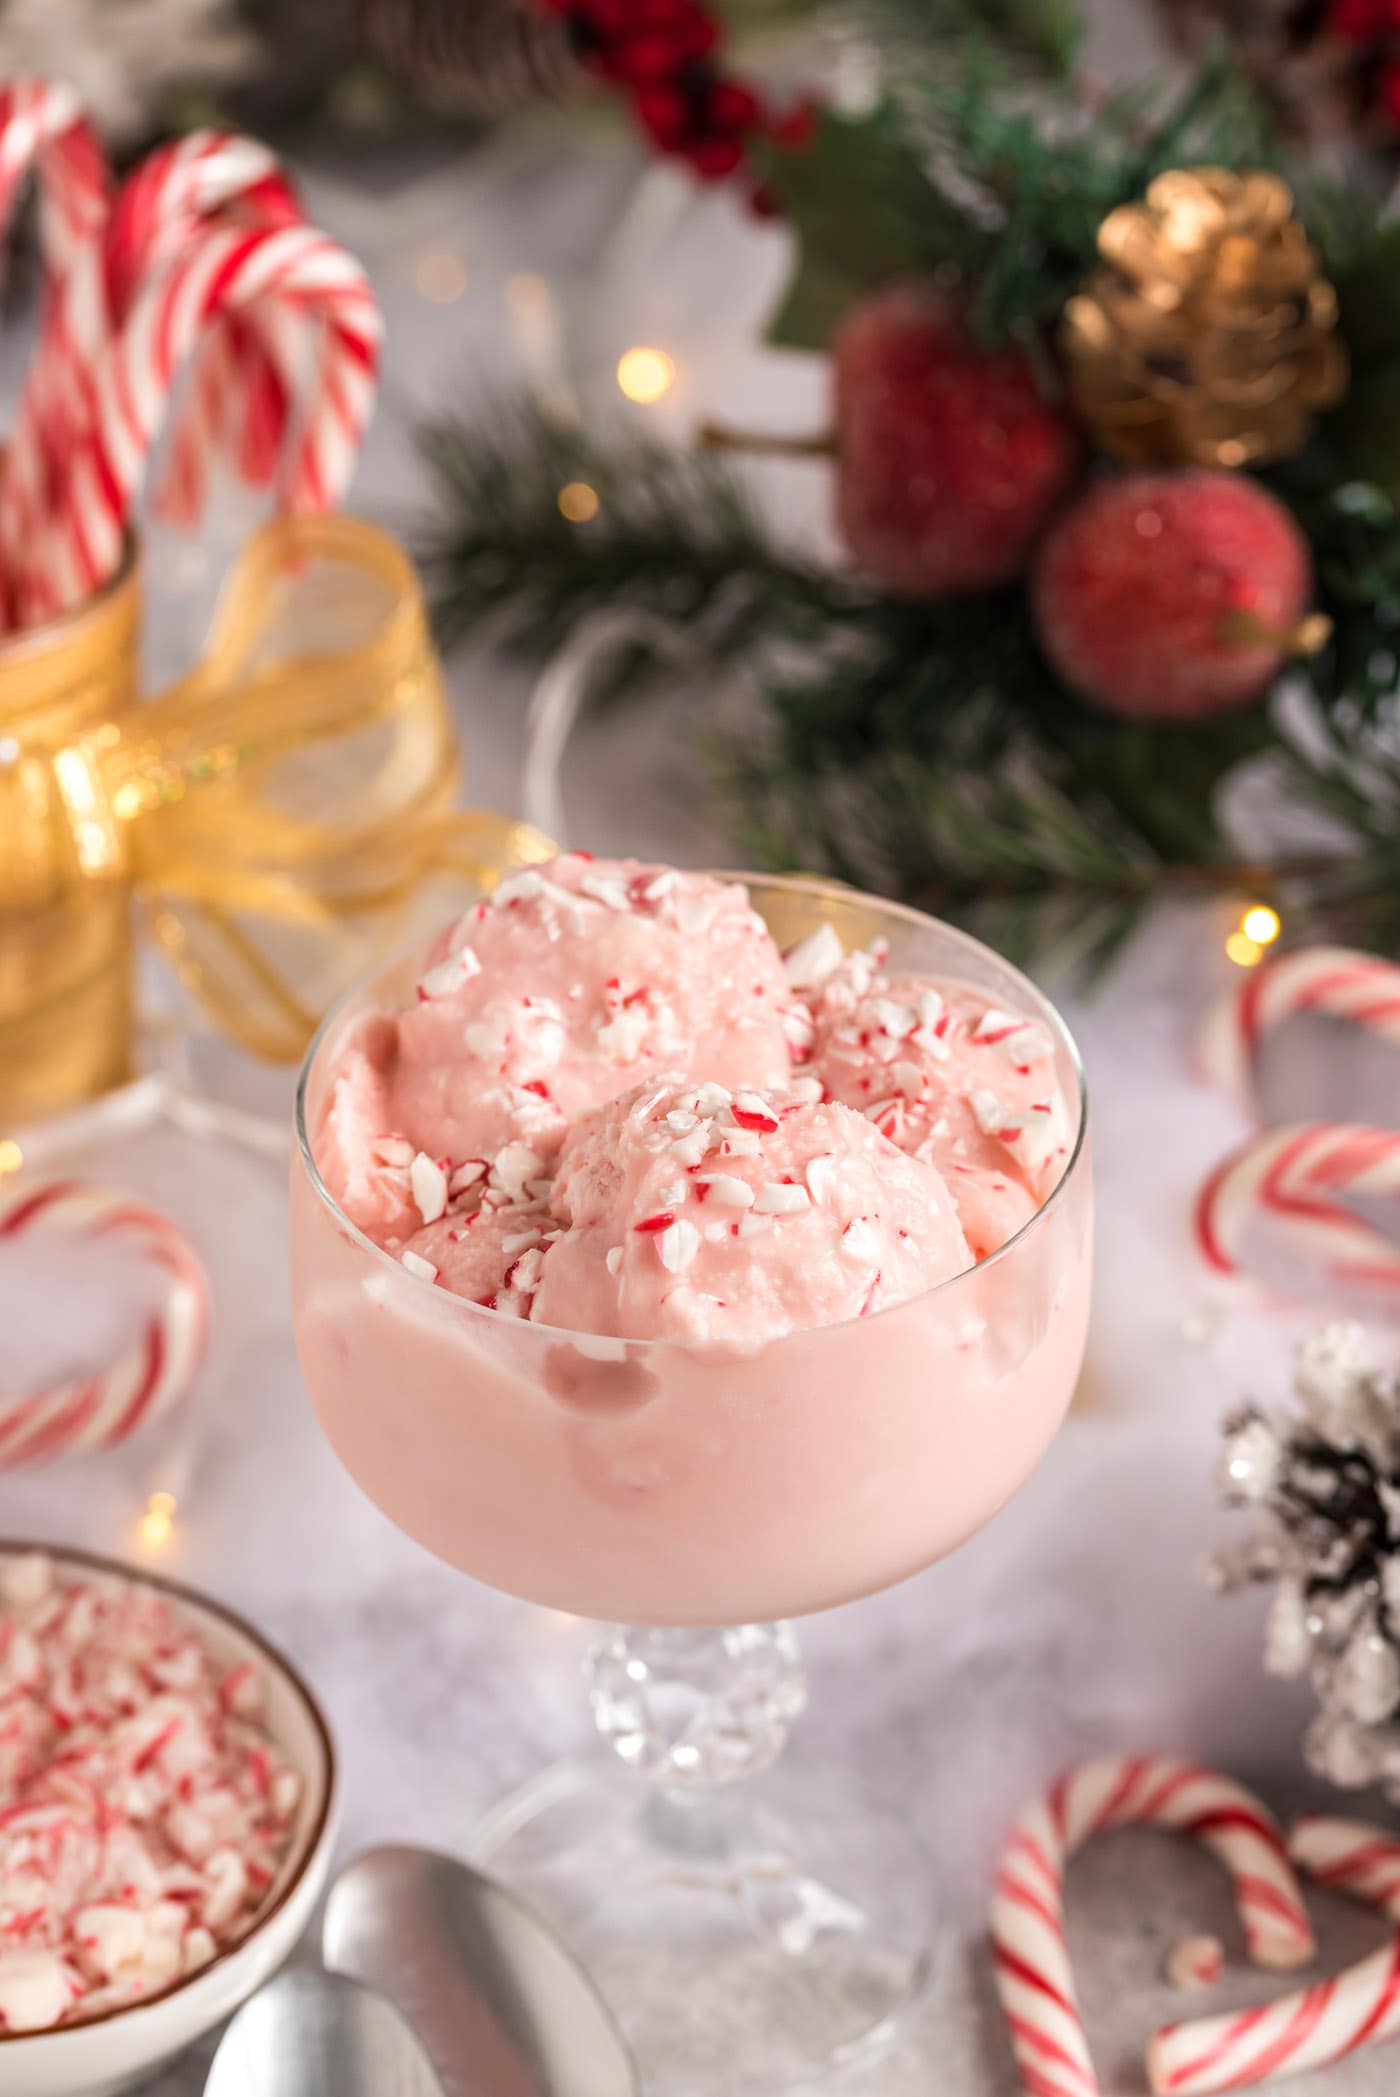 more
more
Why this recipe works
Peppermint ice cream is a great festive sweet treat to whip together around the holidays. The smooth and creamy ice cream base is complemented with crushed peppermint candies that add a welcome touch of texture and a burst of minty flavor. This ice cream comes together easily using an ice cream maker, the hardest part is waiting for it to set in the freezer!
Save any peppermint candies you might have left over for sprinkling over frosted peppermint cookies or dipping on the rim of a chocolate peppermint martini.
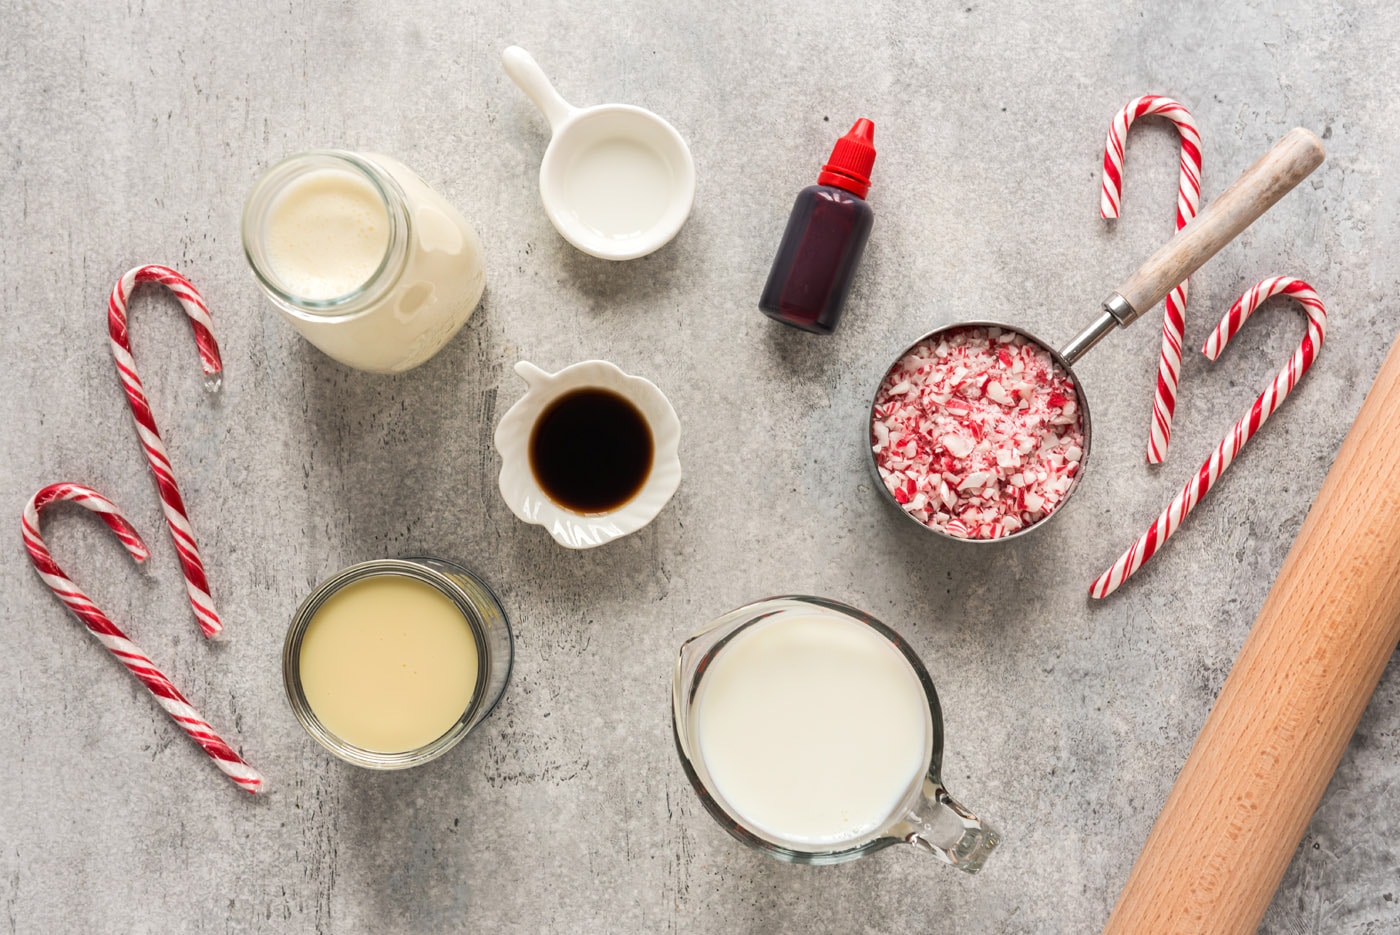
Ingredients you will need
Get all measurements, ingredients, and instructions in the printable version at the end of this post.
Ingredient Info and Substitution Suggestions
SWEETENED CONDENSED MILK – Do NOT use evaporated milk, it is not the same thing. Sweetened condensed milk is important in this recipe as it adds sweetness and helps create a creamy consistency.
HEAVY CREAM – Heavy whipping cream does have a higher fat content than half-and-half or milk. You can cut the fat down by using half and half in equal parts. Ice cream gets its creamy texture from its fat content. Therefore, if you substitute milk for the heavy cream, the texture of the finished ice cream will be less smooth and rich. I highly recommend sticking to heavy whipping cream for the best results.
PEPPERMINT – You can use candy canes or those little round peppermint candies, commonly known as Starlight Mints. Put them in a plastic zipper gallon bag and squeeze out the air. Zip it shut and crush the candy with a meat mallet or hammer. You’ll need around 15 or so candy canes or a couple of handfuls of the round candies. Just crush until you have a cup’s worth. I prefer to crush my candies finer, but if you want to leave larger chunks that’s fine as well.
How to Make Peppermint Ice Cream
These step by step photos and instructions are here to help you visualize how to make this recipe. You can Jump to Recipe to get the printable version of this recipe, complete with measurements and instructions at the bottom.
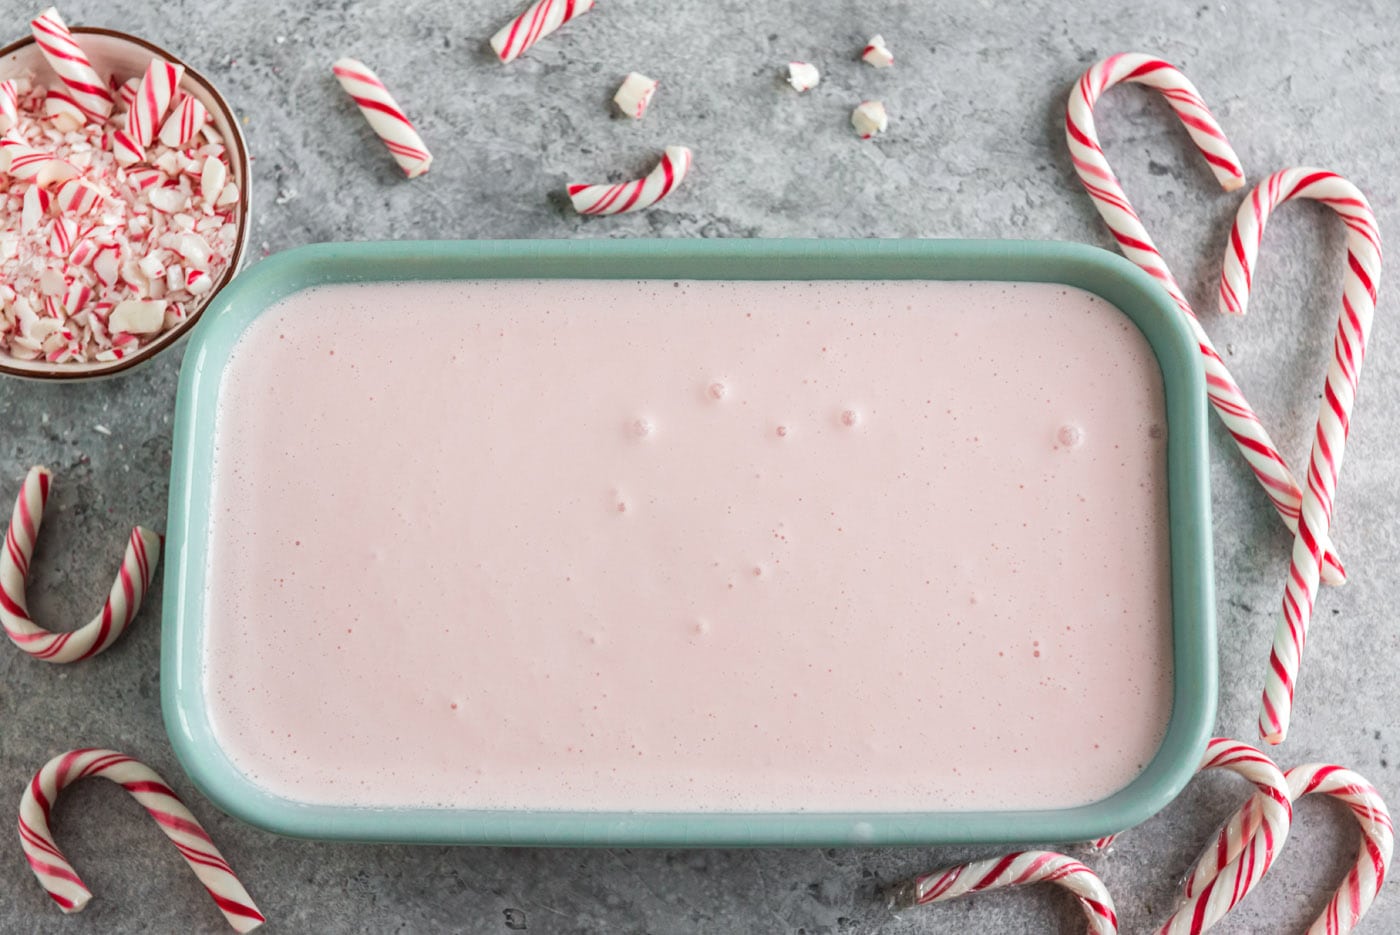
- Combine all ingredients except for the crushed peppermint candies in a large bowl and whisk until well combined. Pour into your ice cream maker and process according to the manufacturer’s instructions.
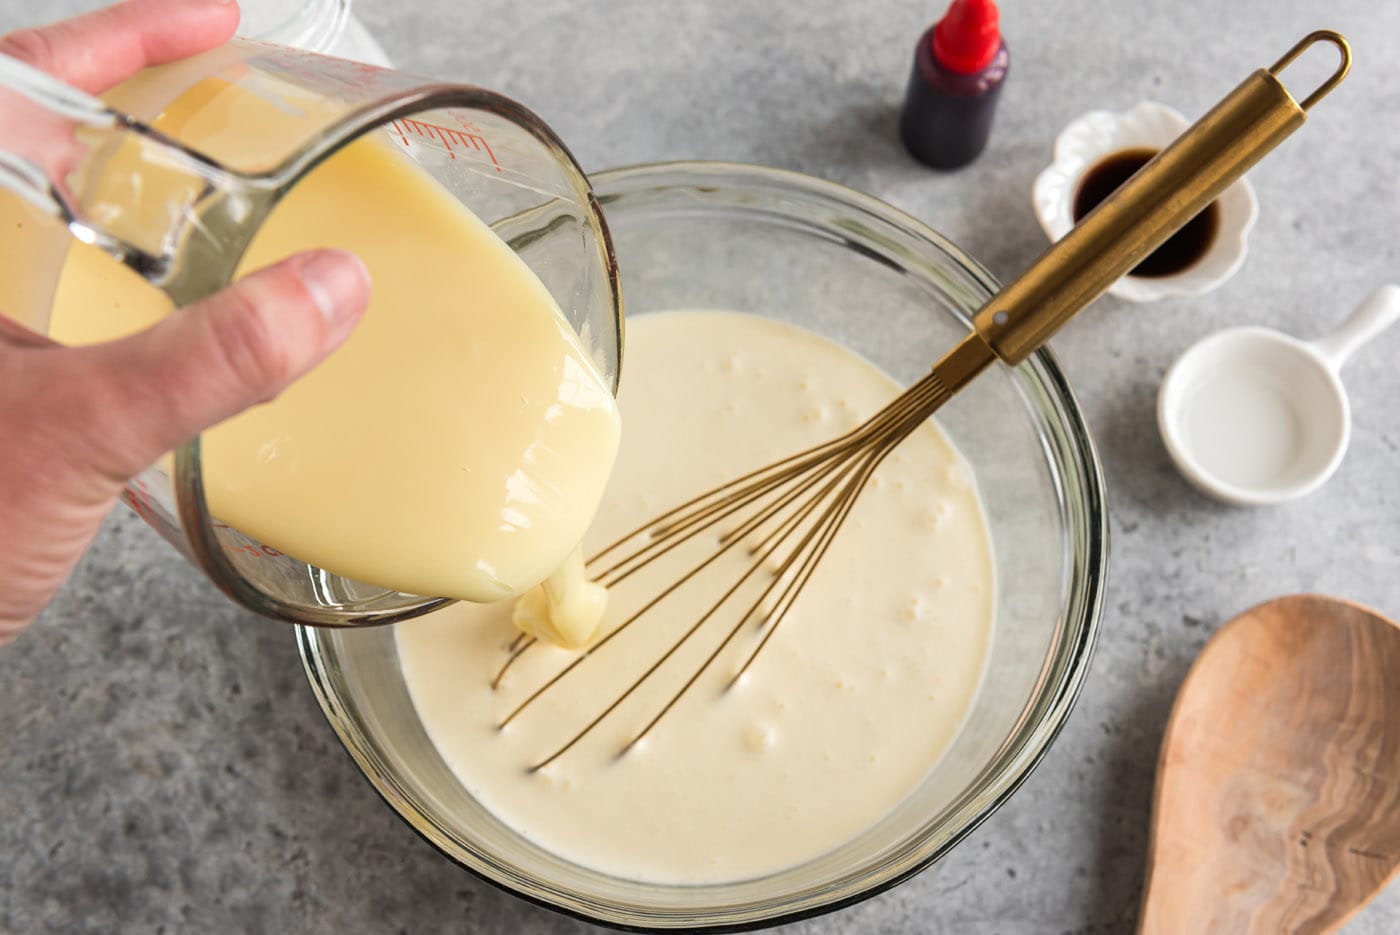
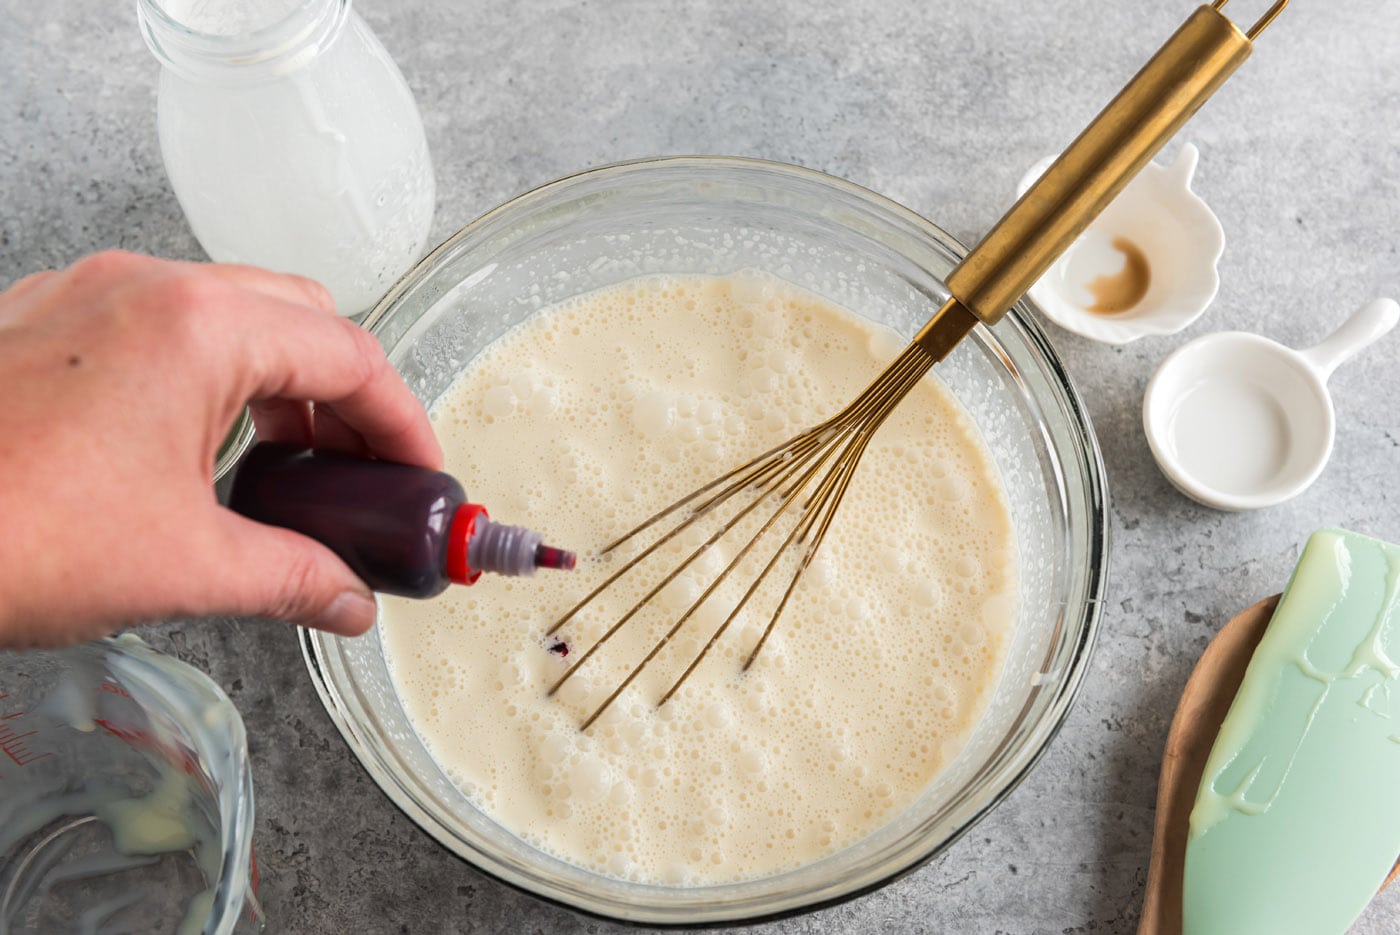
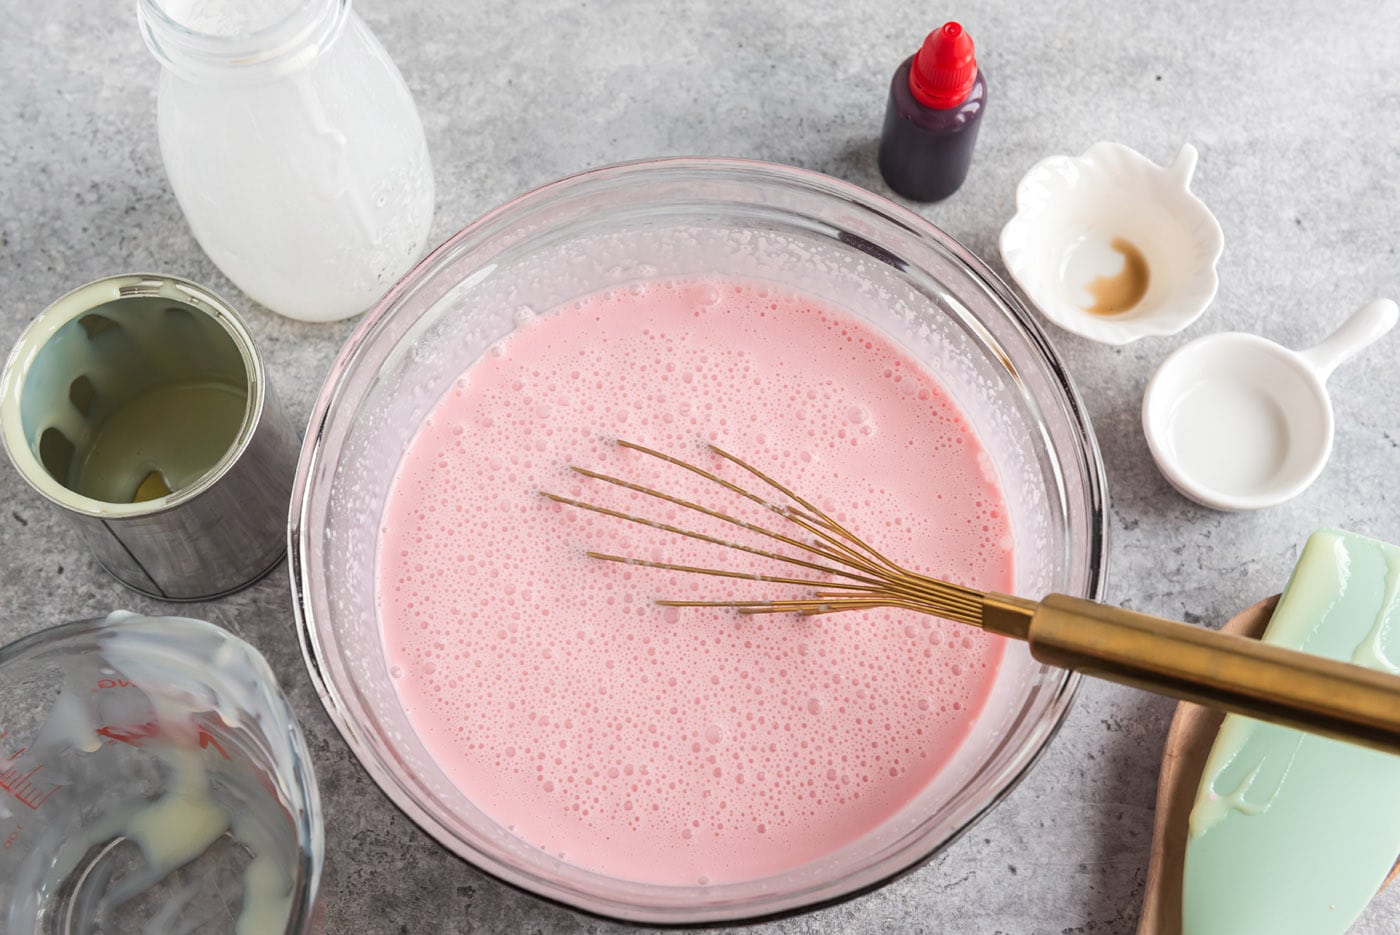
- Just before churning is complete, add the crushed candies to the ice cream maker to combine.
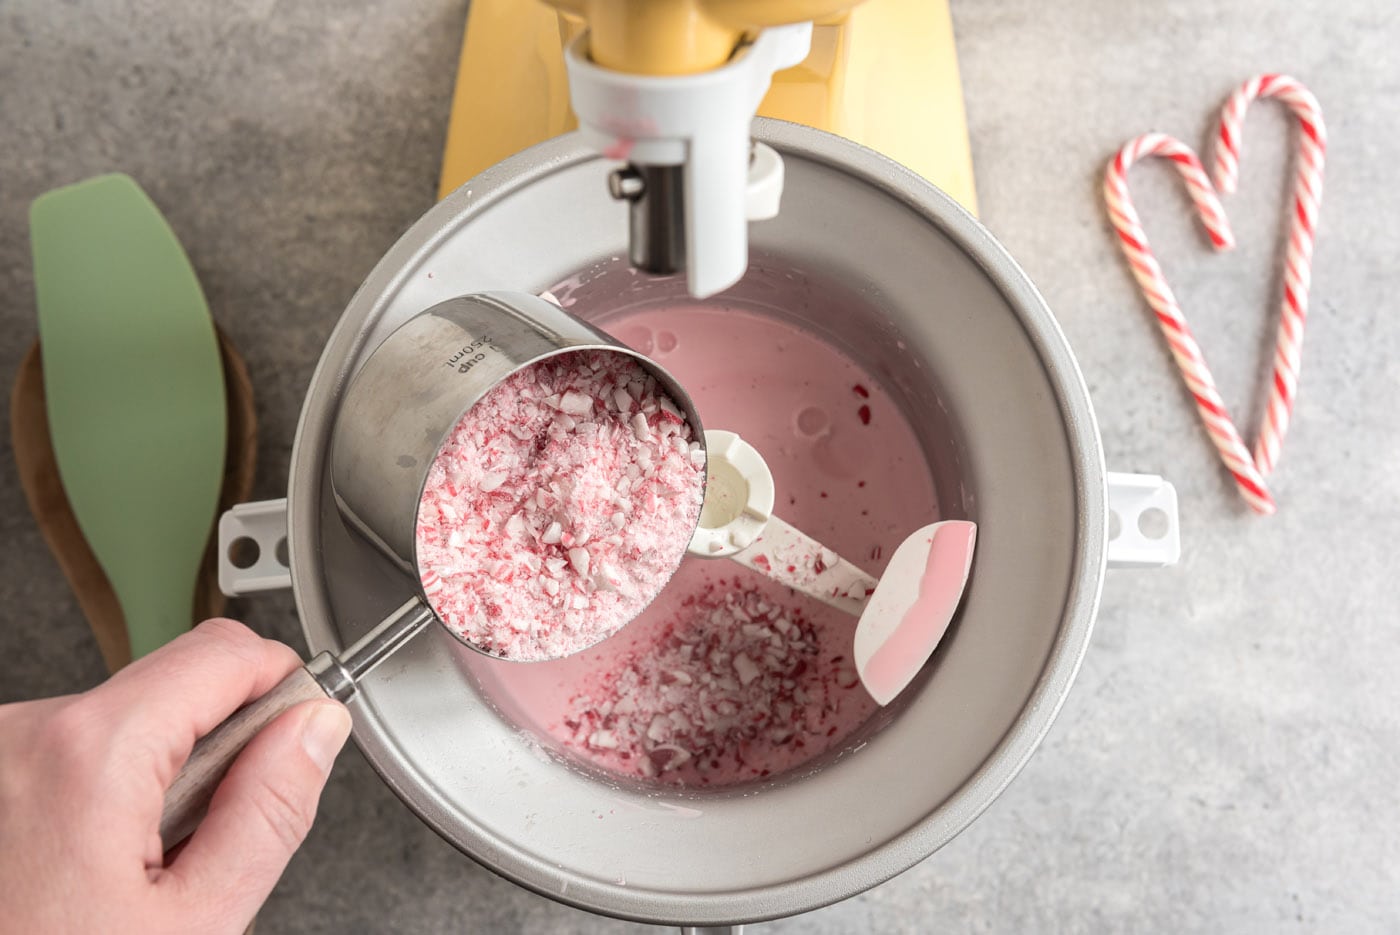
- Turn the ice cream out into a 2-quart freezer container and freeze until hard, usually a few hours or so, but overnight is best.
Frequently Asked Questions & Expert Tips
How do you store homemade peppermint ice cream?Store the peppermint ice cream in an air-tight container kept in the freezer for up to 4 weeks. Homemade ice cream does not last as long as store-bought because it does not contain preservatives.
Can I use regular milk instead of heavy whipping cream?I would highly suggest sticking to heavy whipping cream as opposed to using all milk in this recipe. Ice cream gets its creamy texture from its fat content. Therefore, if you substitute milk for the heavy cream, the texture of the finished ice cream will be less smooth and rich. With that being said, you can substitute with 2% milk or half-and-half but expect the texture to not be as creamy.
How long does it take for homemade ice cream to set in the freezer?Homemade ice cream will need at least 4 to 4 1/2 hours in the freezer to properly set but overnight is best.
Serving Suggestions
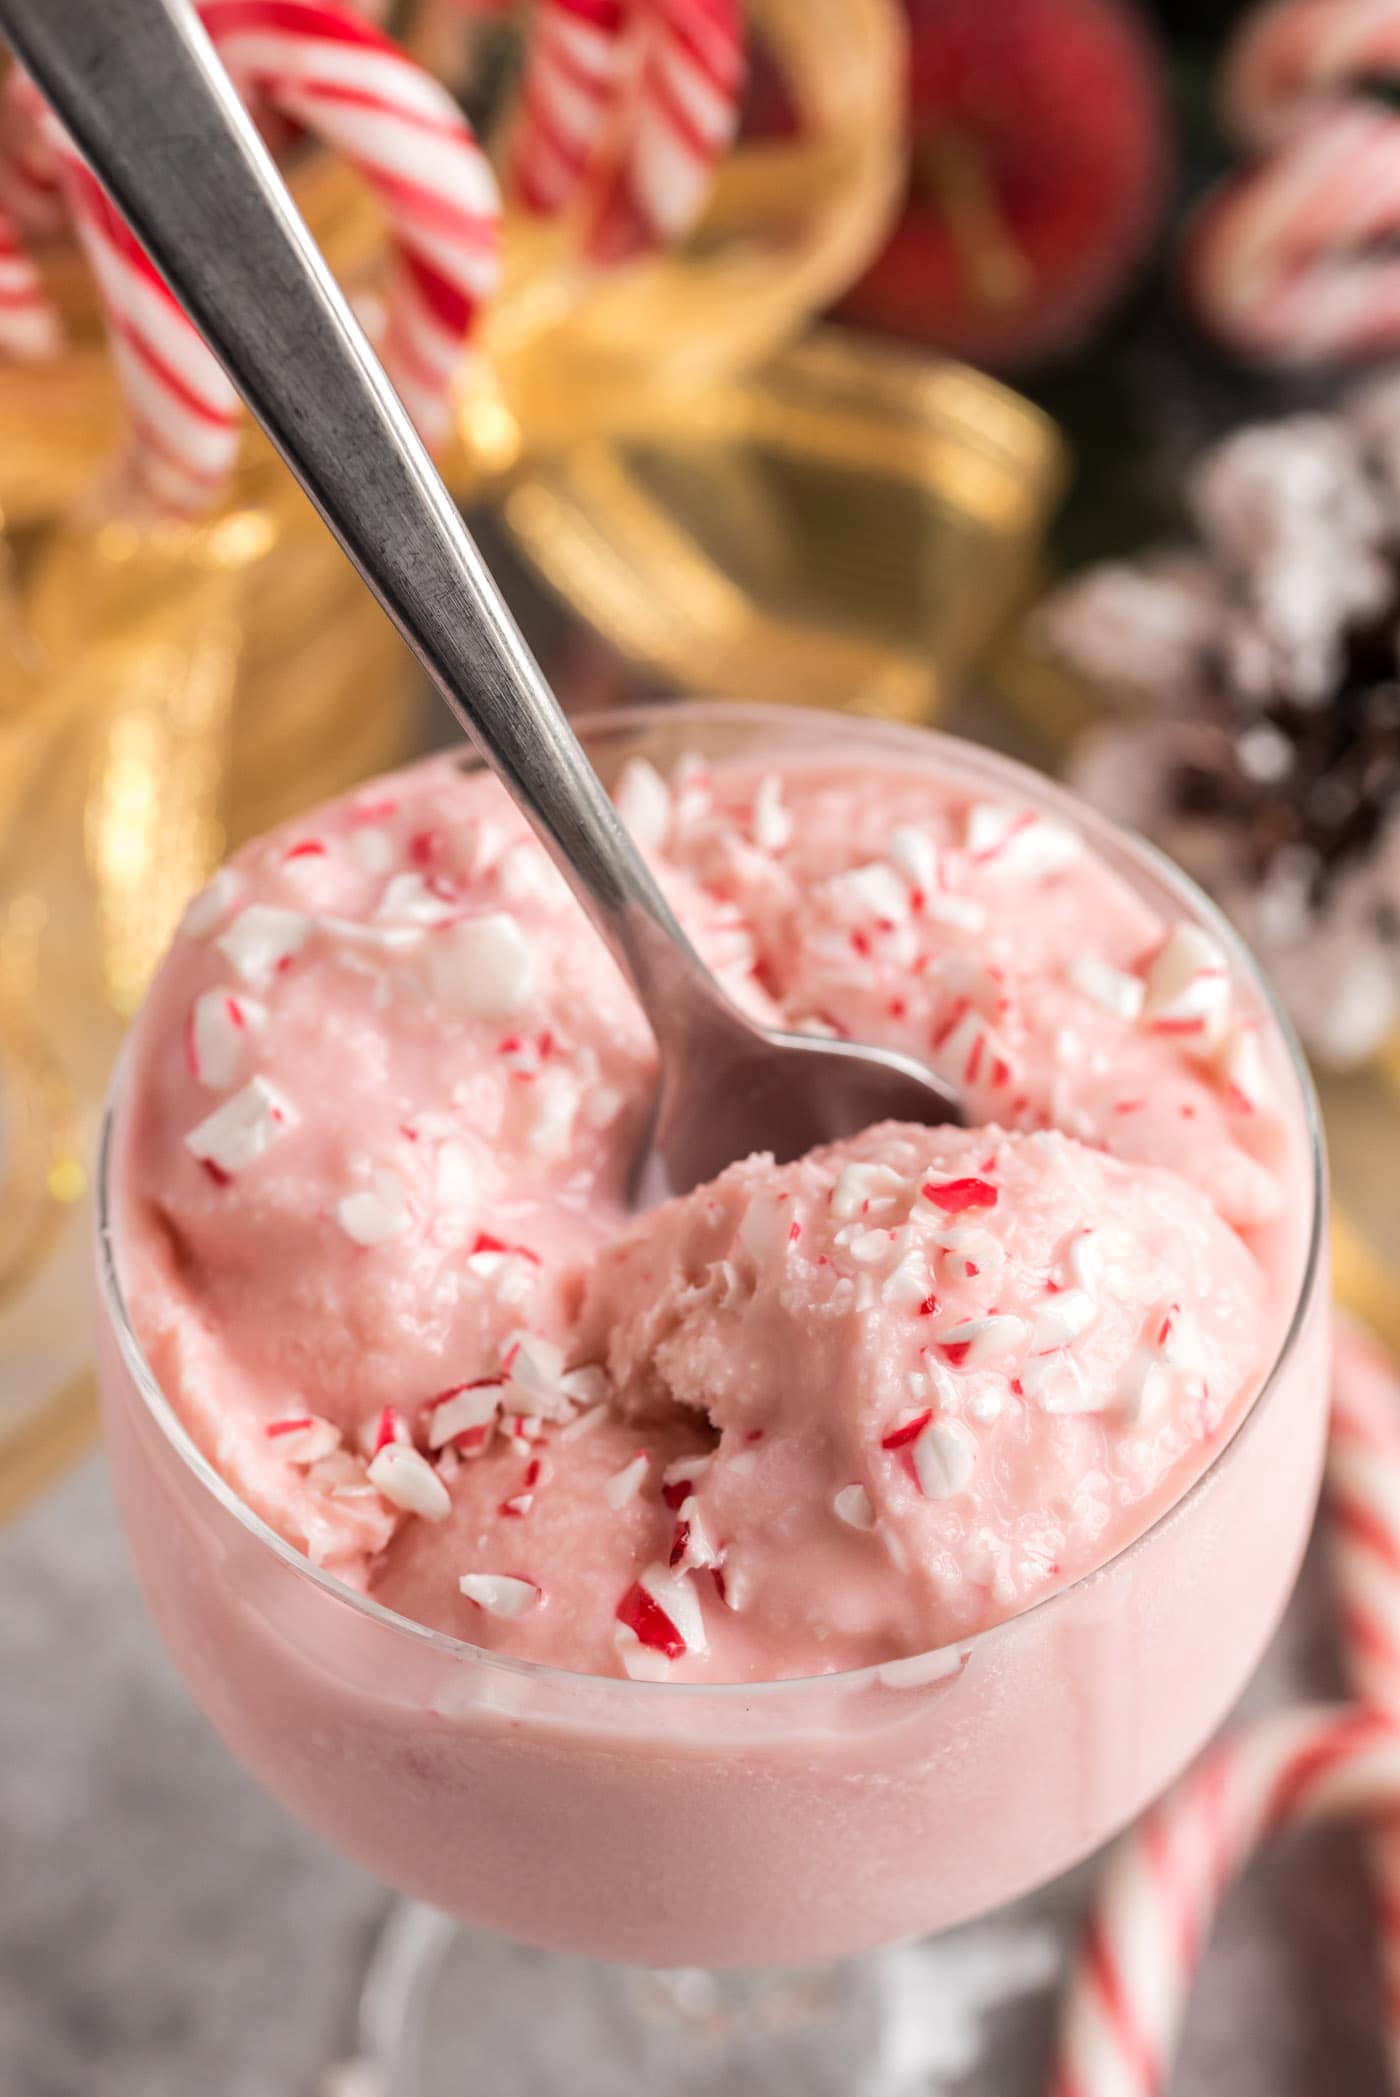
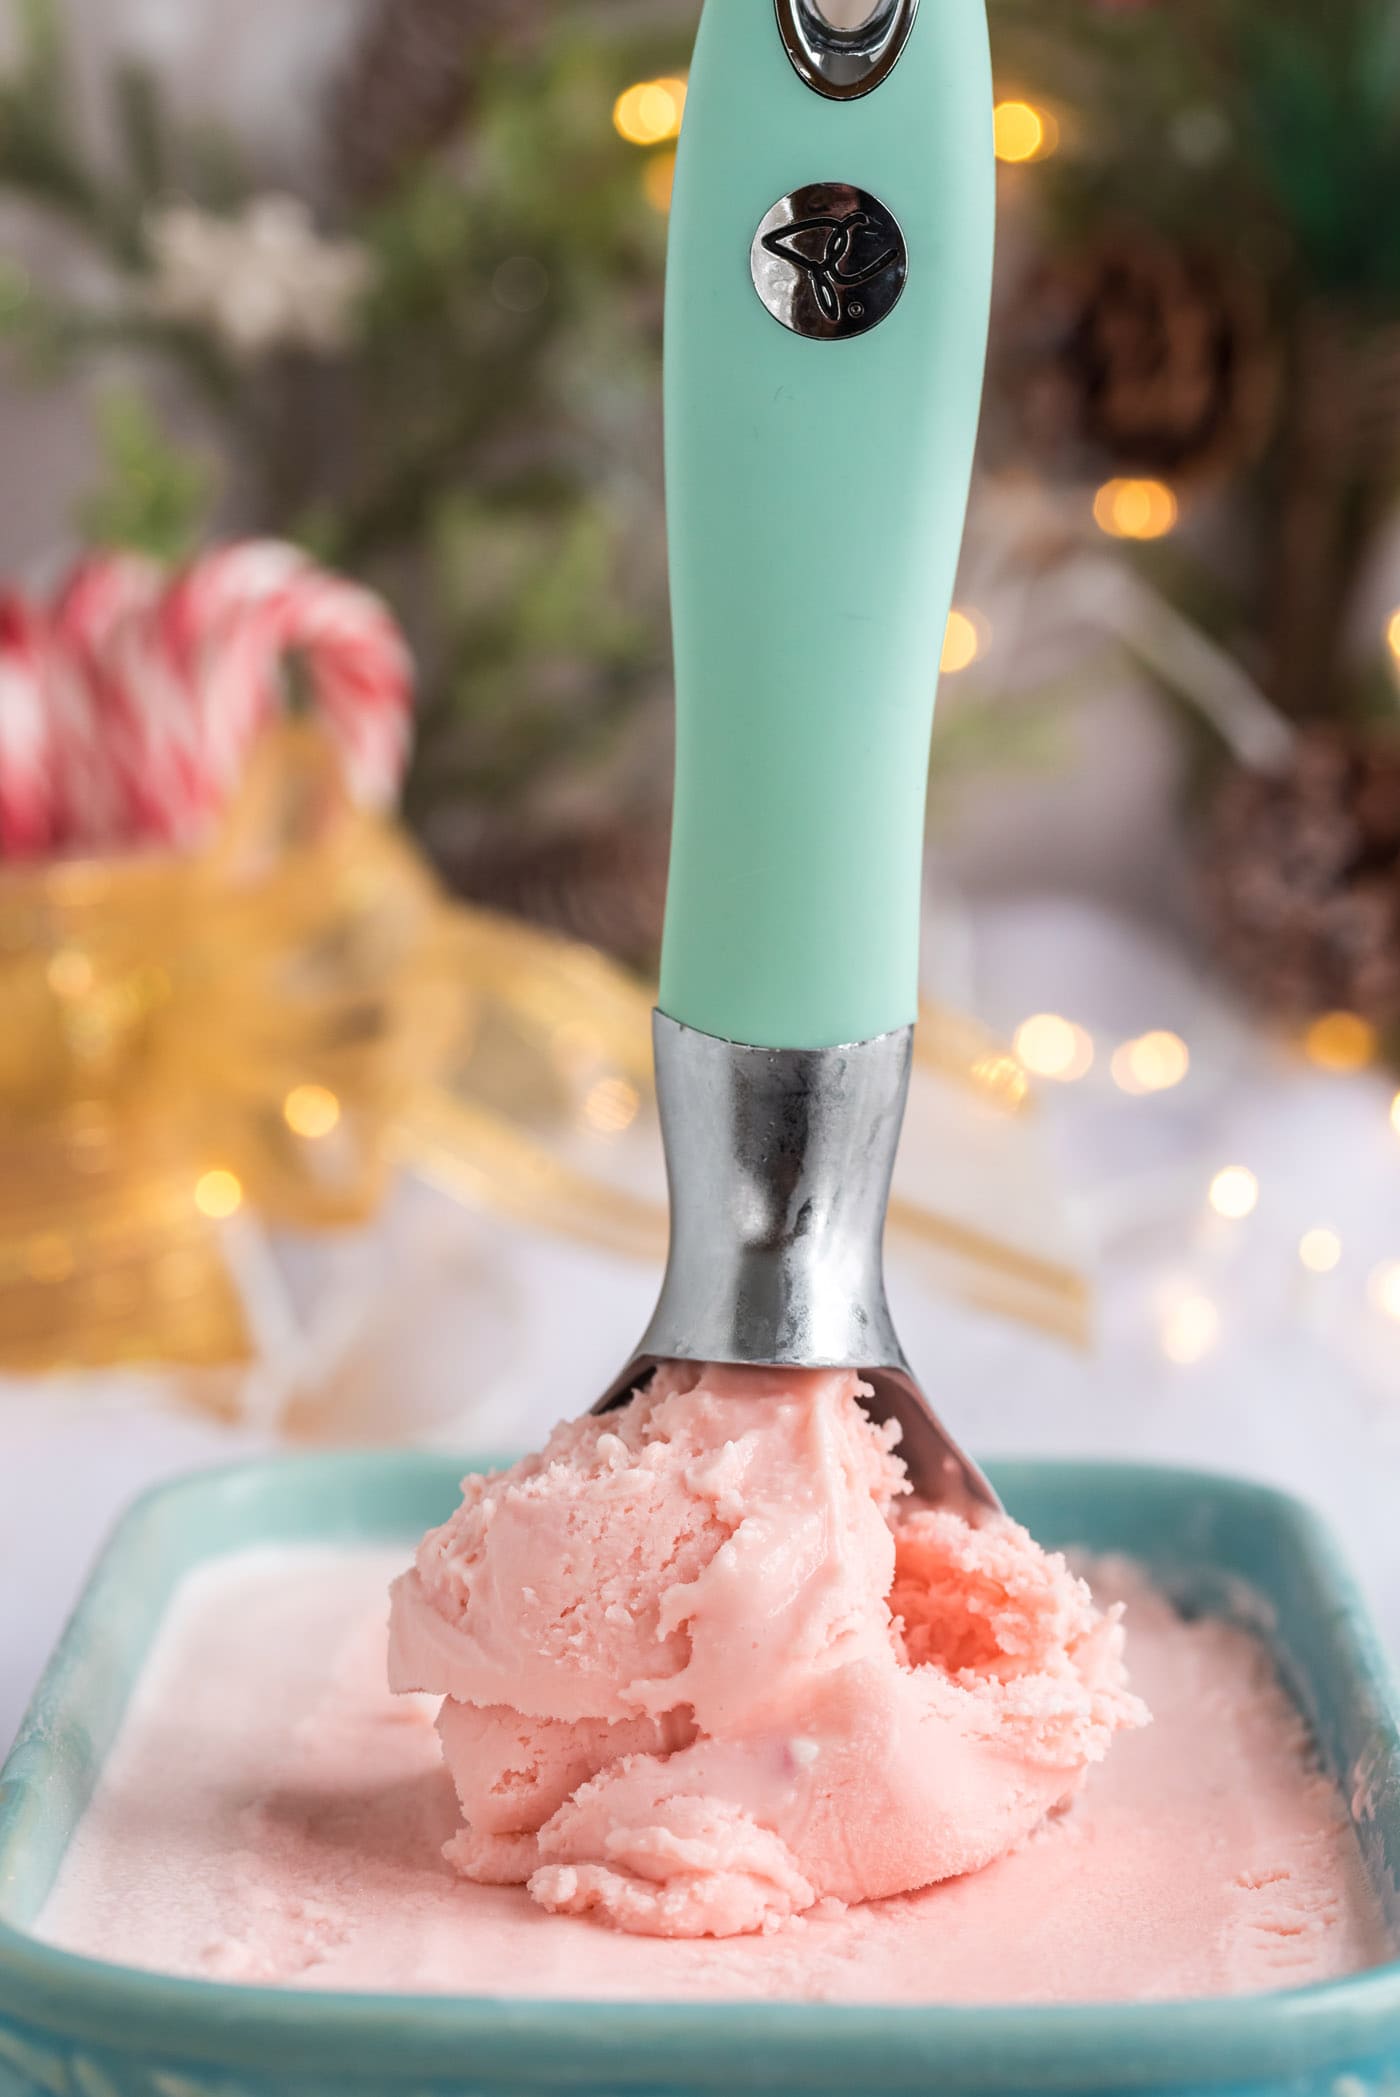
Serve peppermint ice cream scooped into a bowl with additional crushed peppermint candies or toppings of choice.
Pink peppermint ice cream doesn’t have to be restricted to only Christmas time, especially now that you can make it yourself at home any time of the year. Enjoy!
More Ice Cream Recipes
I love to bake and cook and share my kitchen experience with all of you! Remembering to come back each day can be tough, that’s why I offer a convenient newsletter every time a new recipe posts. Simply subscribe and start receiving your free daily recipes!
This post originally appeared here on September 21, 2012 and has since been updated with new photos and expert tips.
More recipes to try
Eight more recipes from the kitchen.
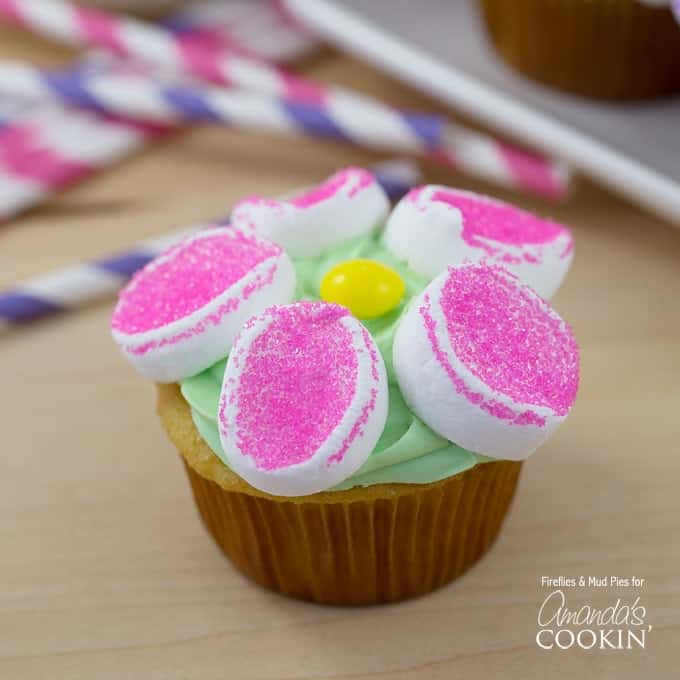
Marshmallow Flower Cupcakes
These adorable Marshmallow Flower Cupcakes are perfect for summer…
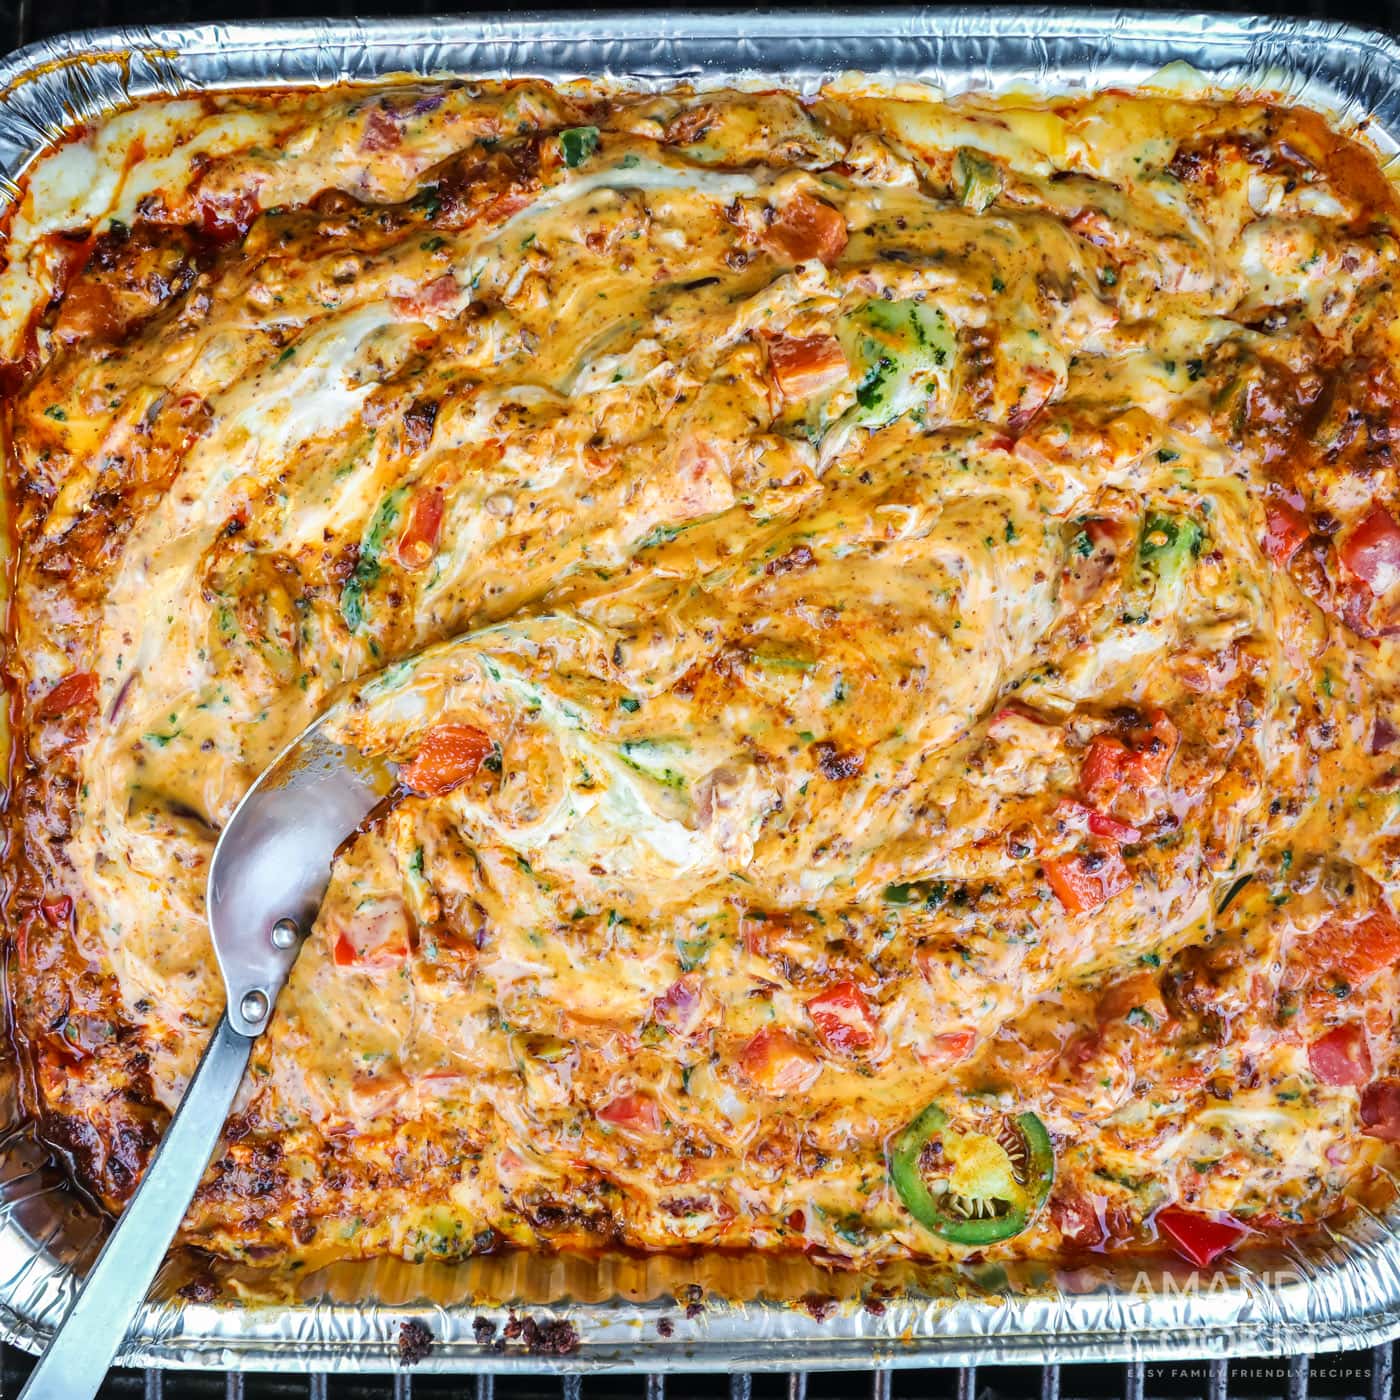
Smoked Queso Dip
Making smoked queso dip is easier than you might think, and it’s…
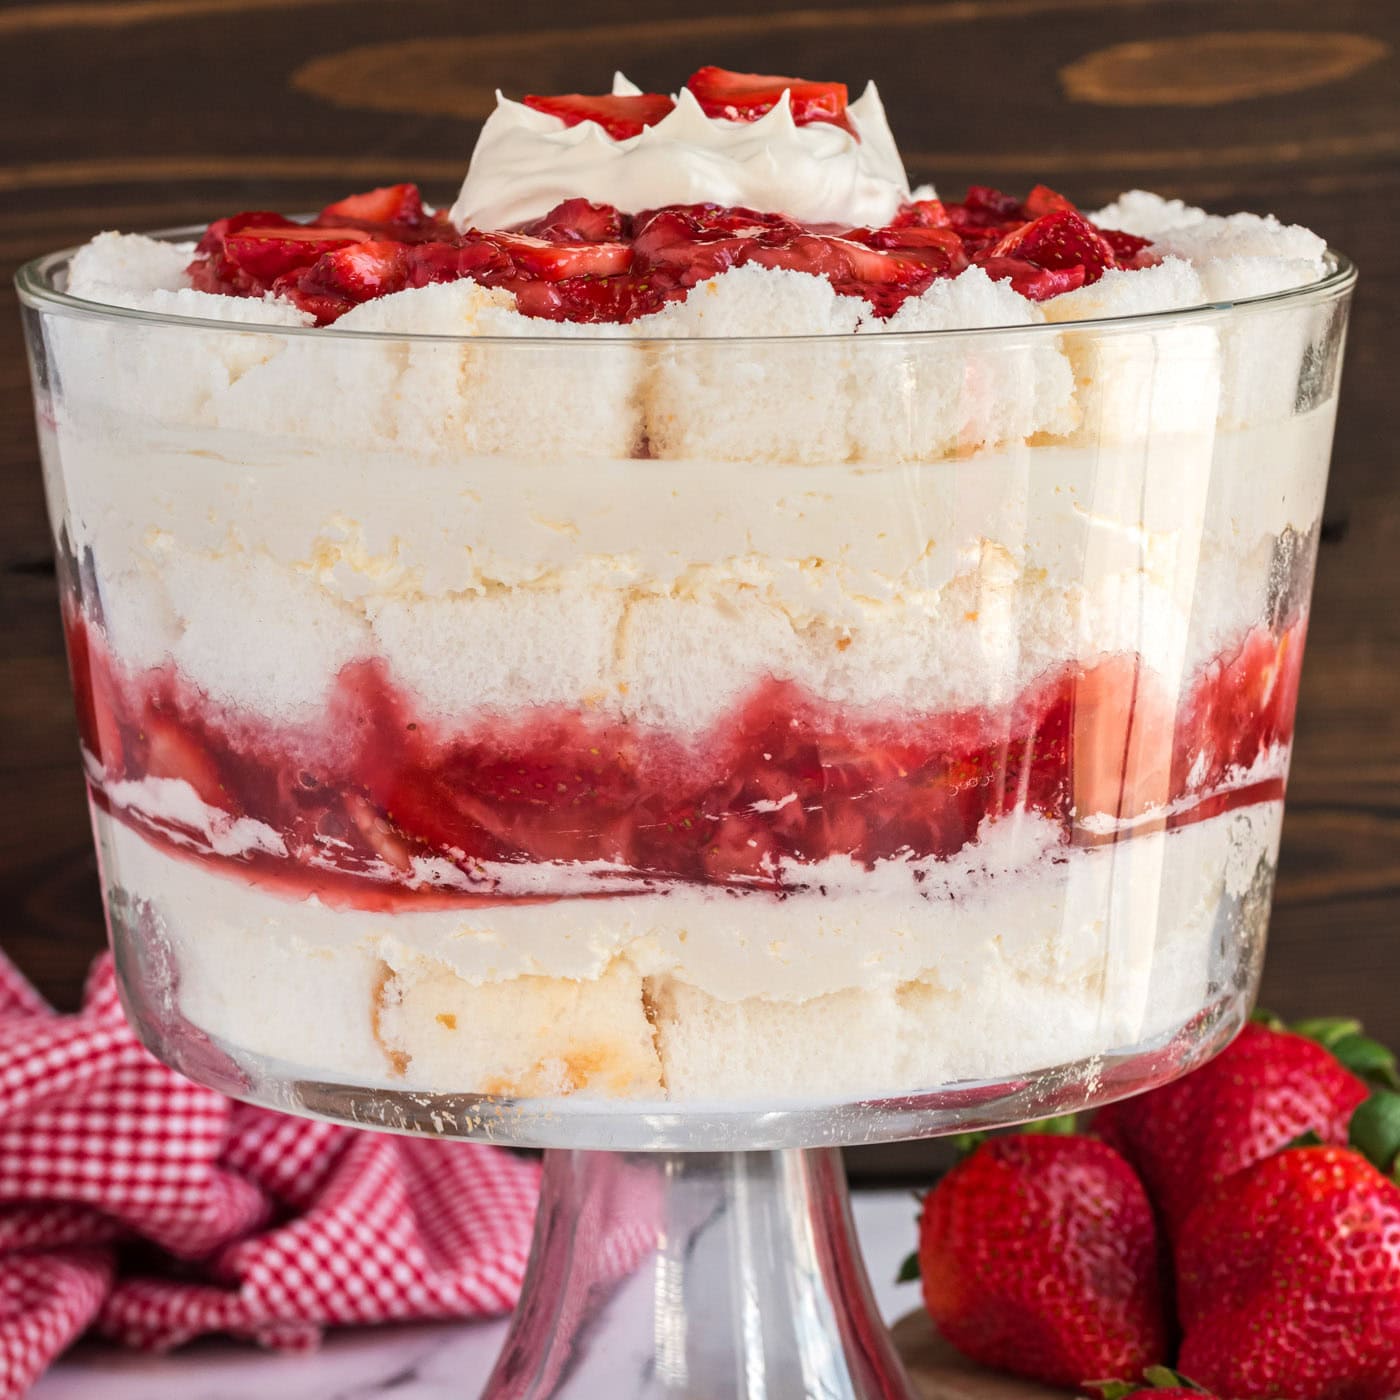
Strawberry Shortcake Trifle
Strawberry shortcake trifle is layered with homemade strawberry sauce…

Lobster Roll
Tender lobster chunks tossed in a delicate, creamy dressing mixed with…
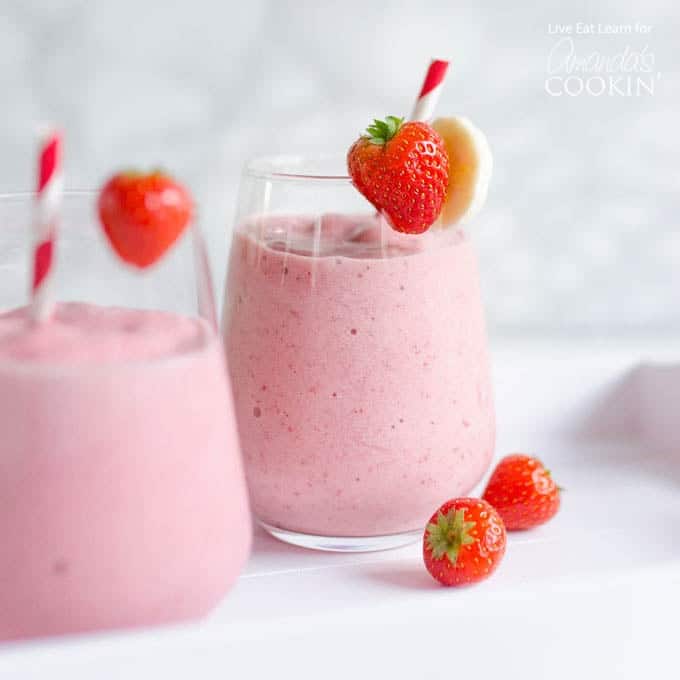
Strawberry Banana Smoothie
This Strawberry Banana Smoothie is a classic flavor that’s both…
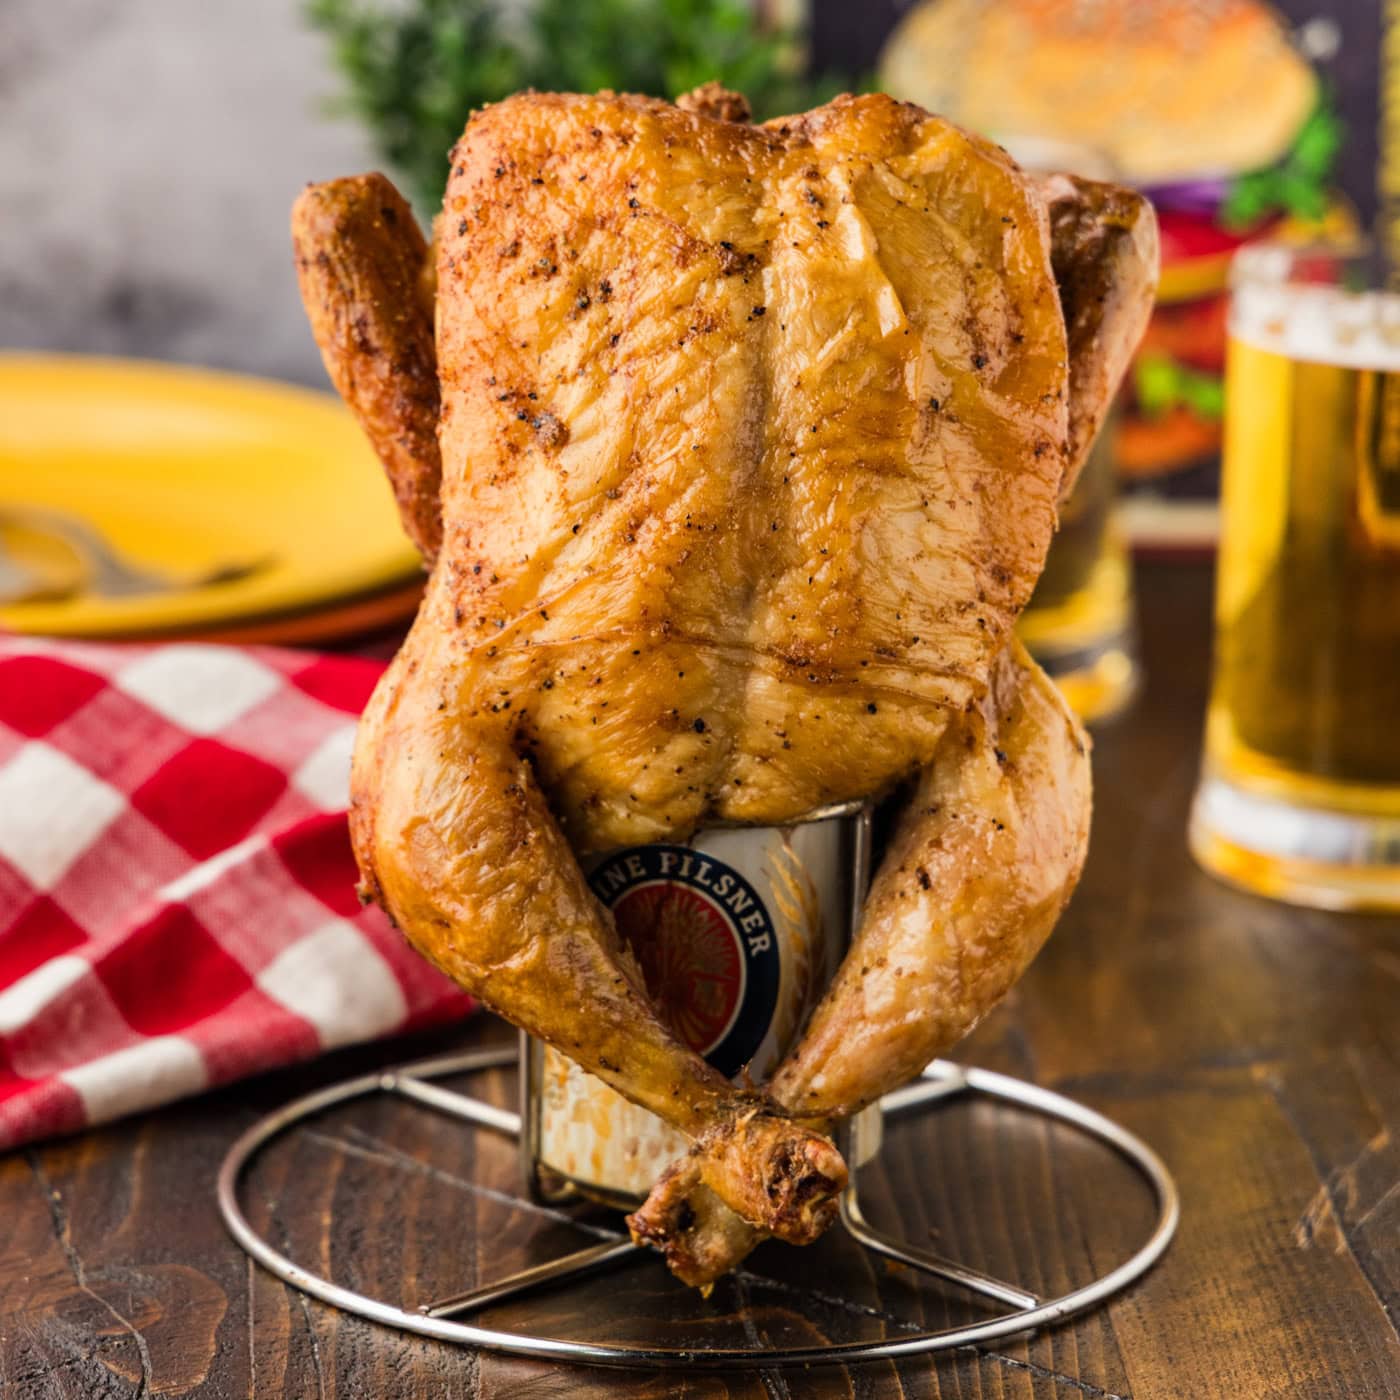
Smoked Beer Can Chicken
This smoked beer can chicken recipe has crisp golden skin and the…
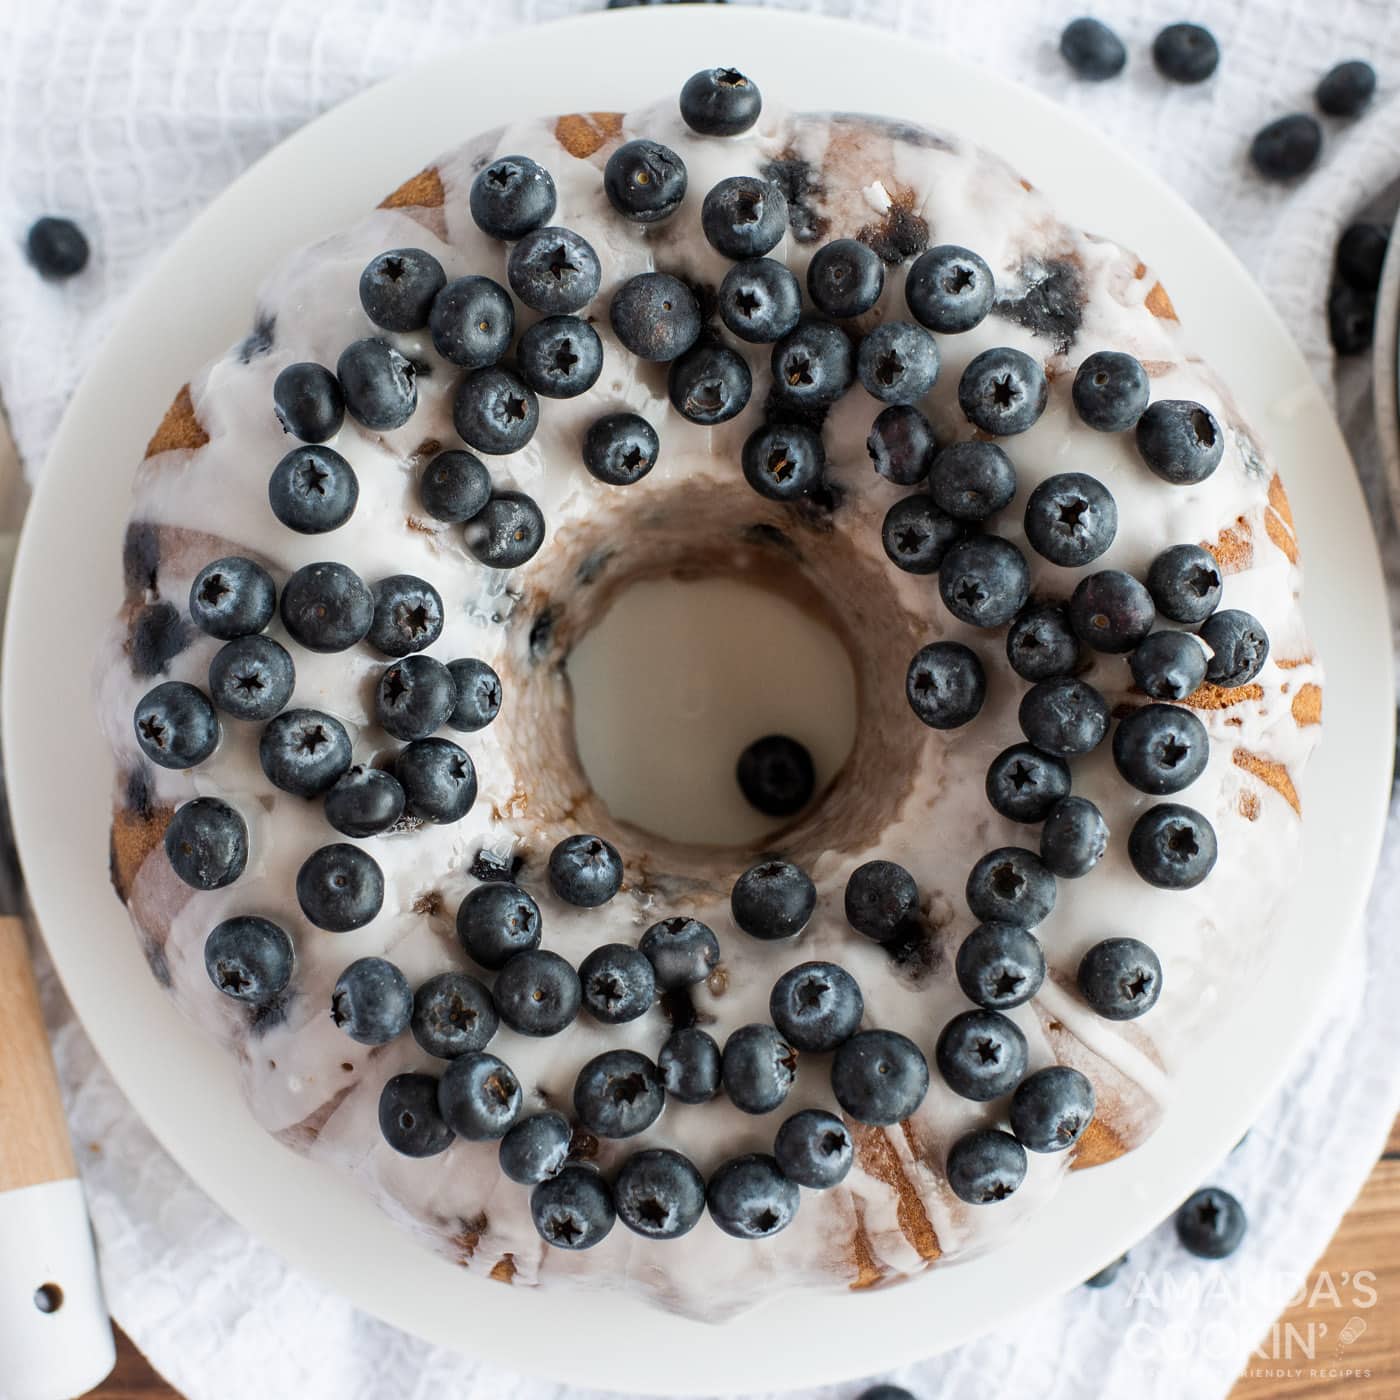
Blueberry Bundt Cake
A super moist blueberry bundt cake topped with a sweet and simple…
Chocolate Peanut Butter Lasagna
This easy no-bake chocolate peanut butter lasagna is bursting with…