White Chocolate Ice Cream
This rich and creamy white chocolate ice cream is what dreams are made of. Smooth scoops, easy enough prep, and only 6 ingredients make this recipe a winner!
- Total 25 minutes
- Serves 8 servings
- Desserts
- American
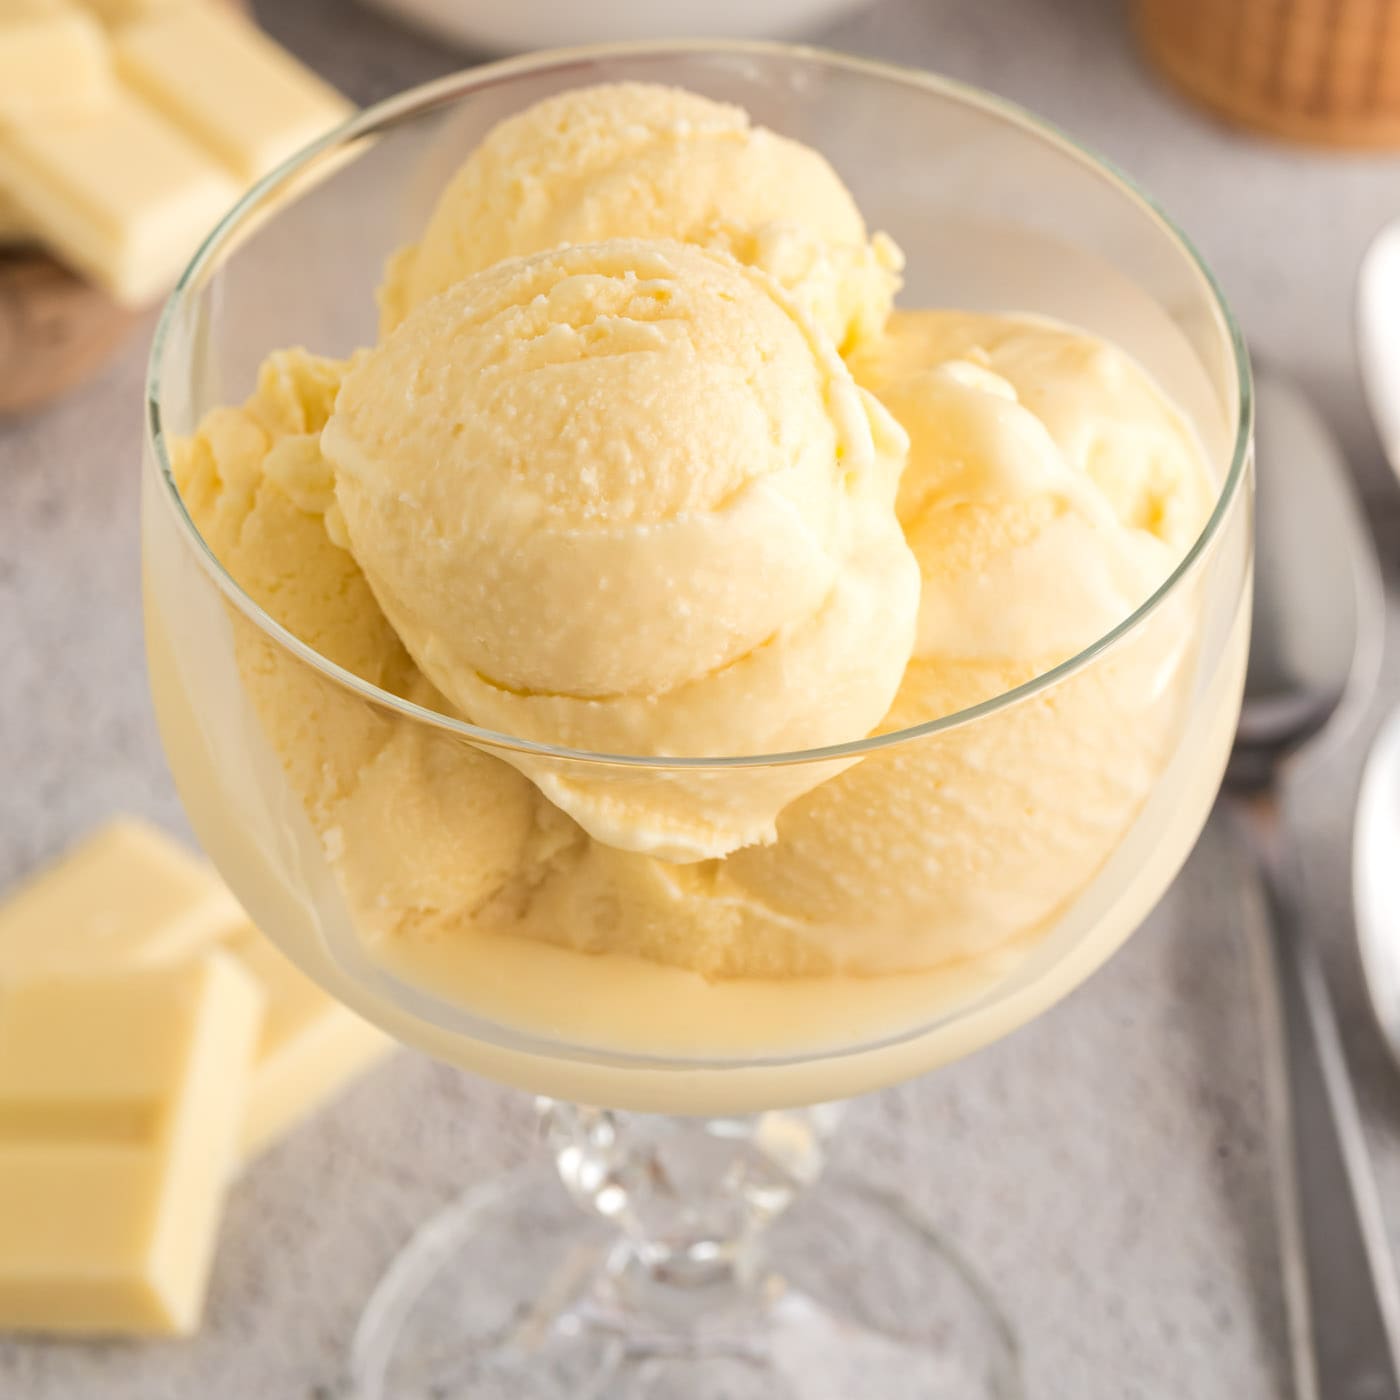
This rich and creamy white chocolate ice cream is what dreams are made of. Smooth scoops, easy enough prep, and only 6 ingredients make this recipe a winner!
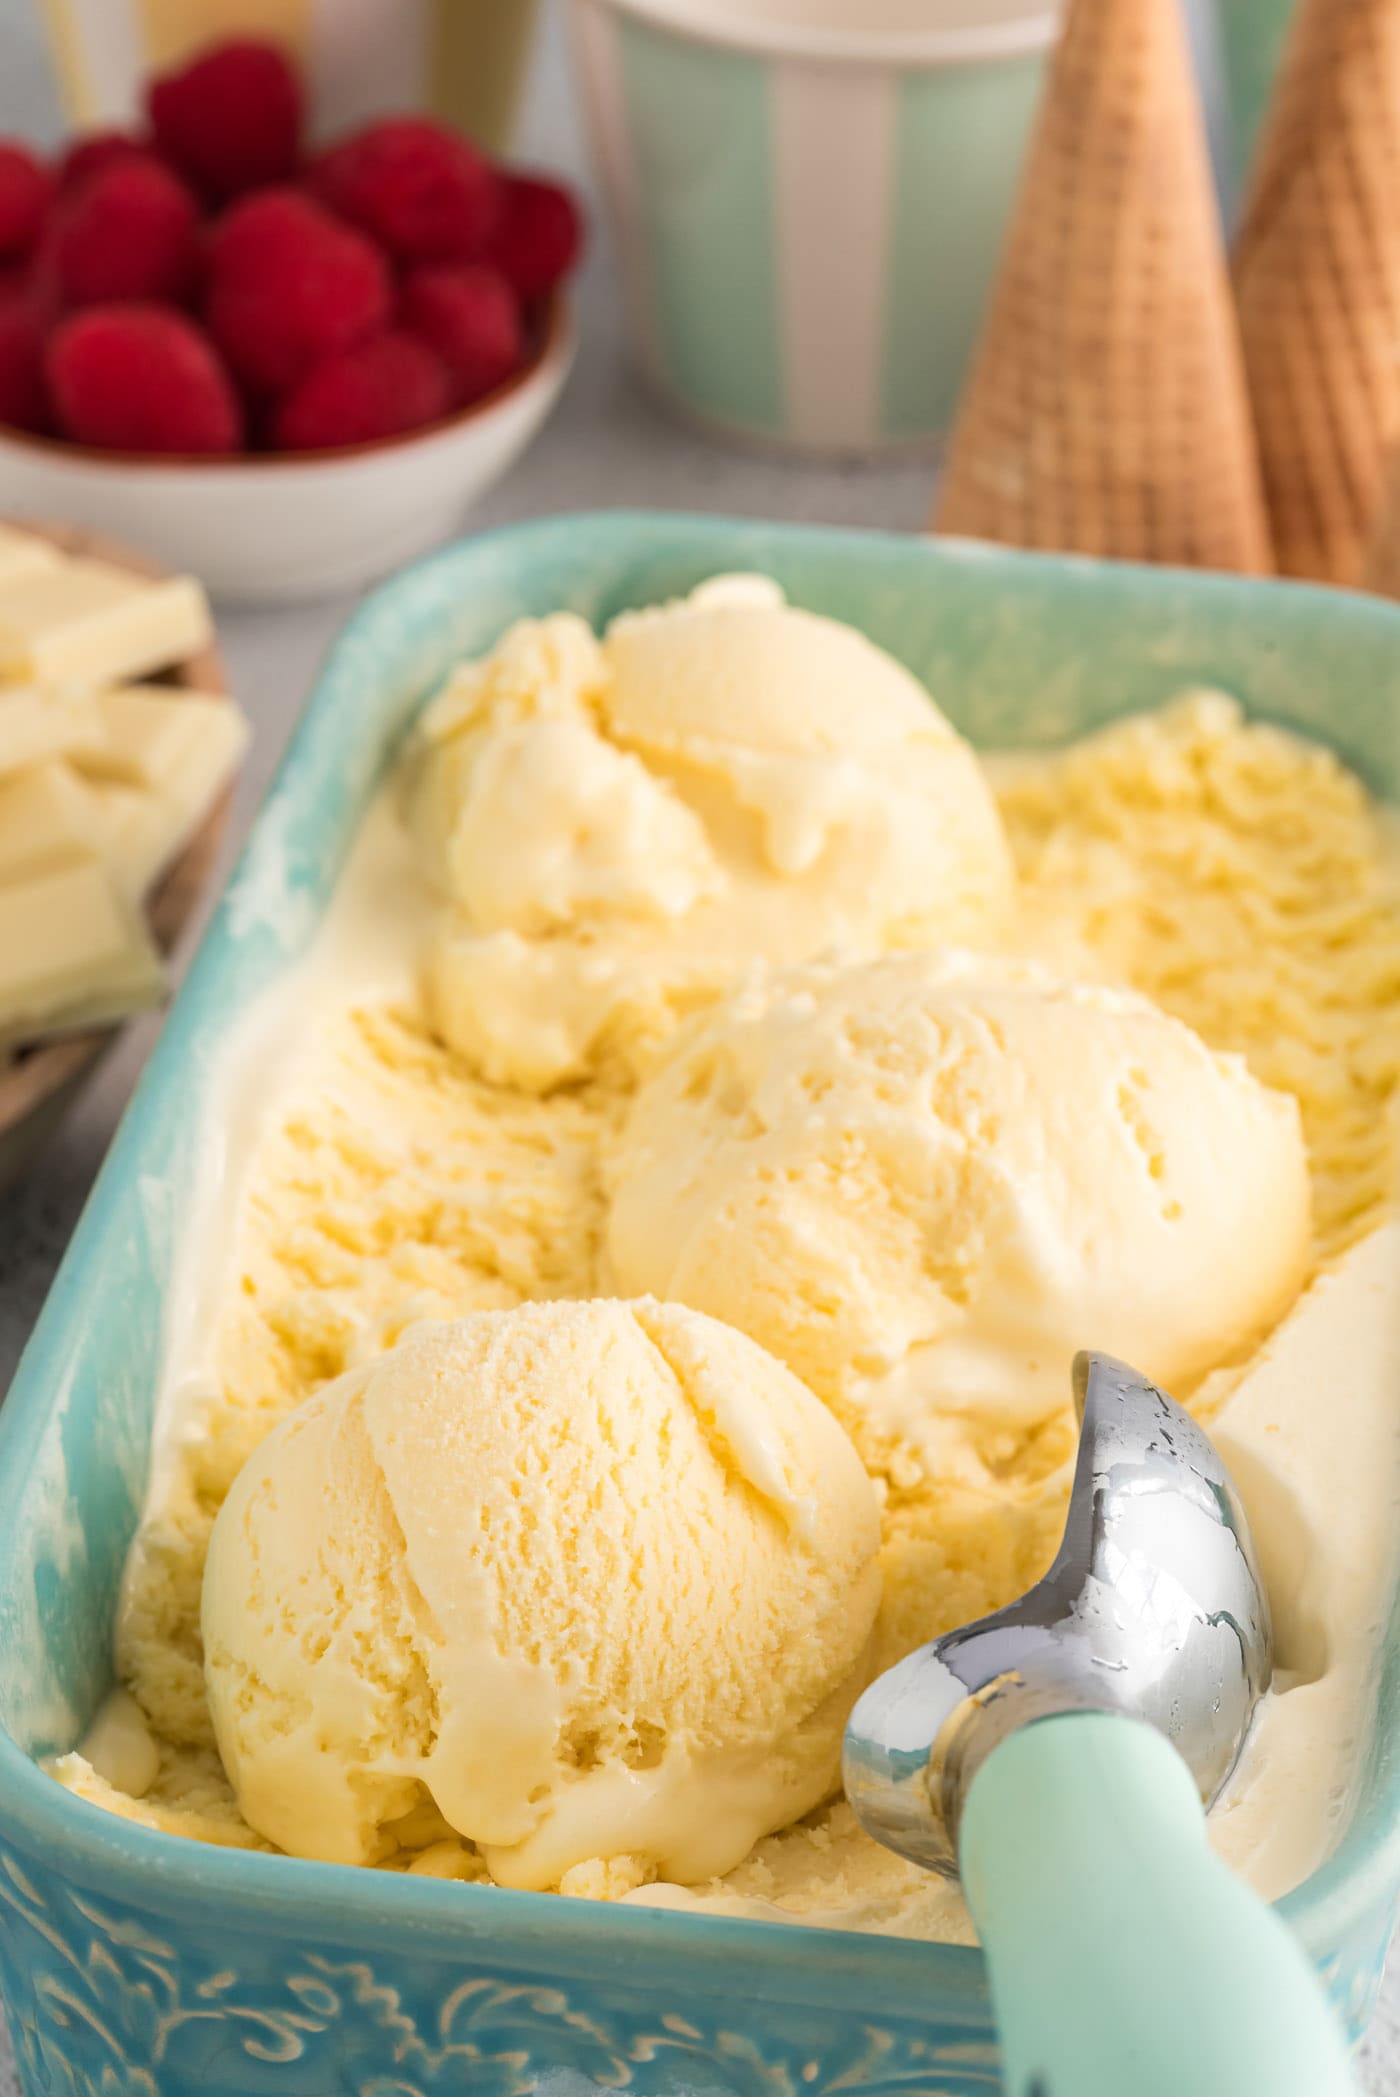 more
more
Why this recipe works
This white chocolate ice cream recipe involves the use of an ice cream mixer to create dreamy, creamy scoops of white chocolate bliss which is a nice switch up from your classic everyday chocolate ice cream.
I stumbled upon this recipe from David Lebovitz’s Perfect Scoop and knew immediately I had to give it a try myself. Mind you, that was back in 2009 and I still reach for this recipe to this day – that’s how much we love it around here.
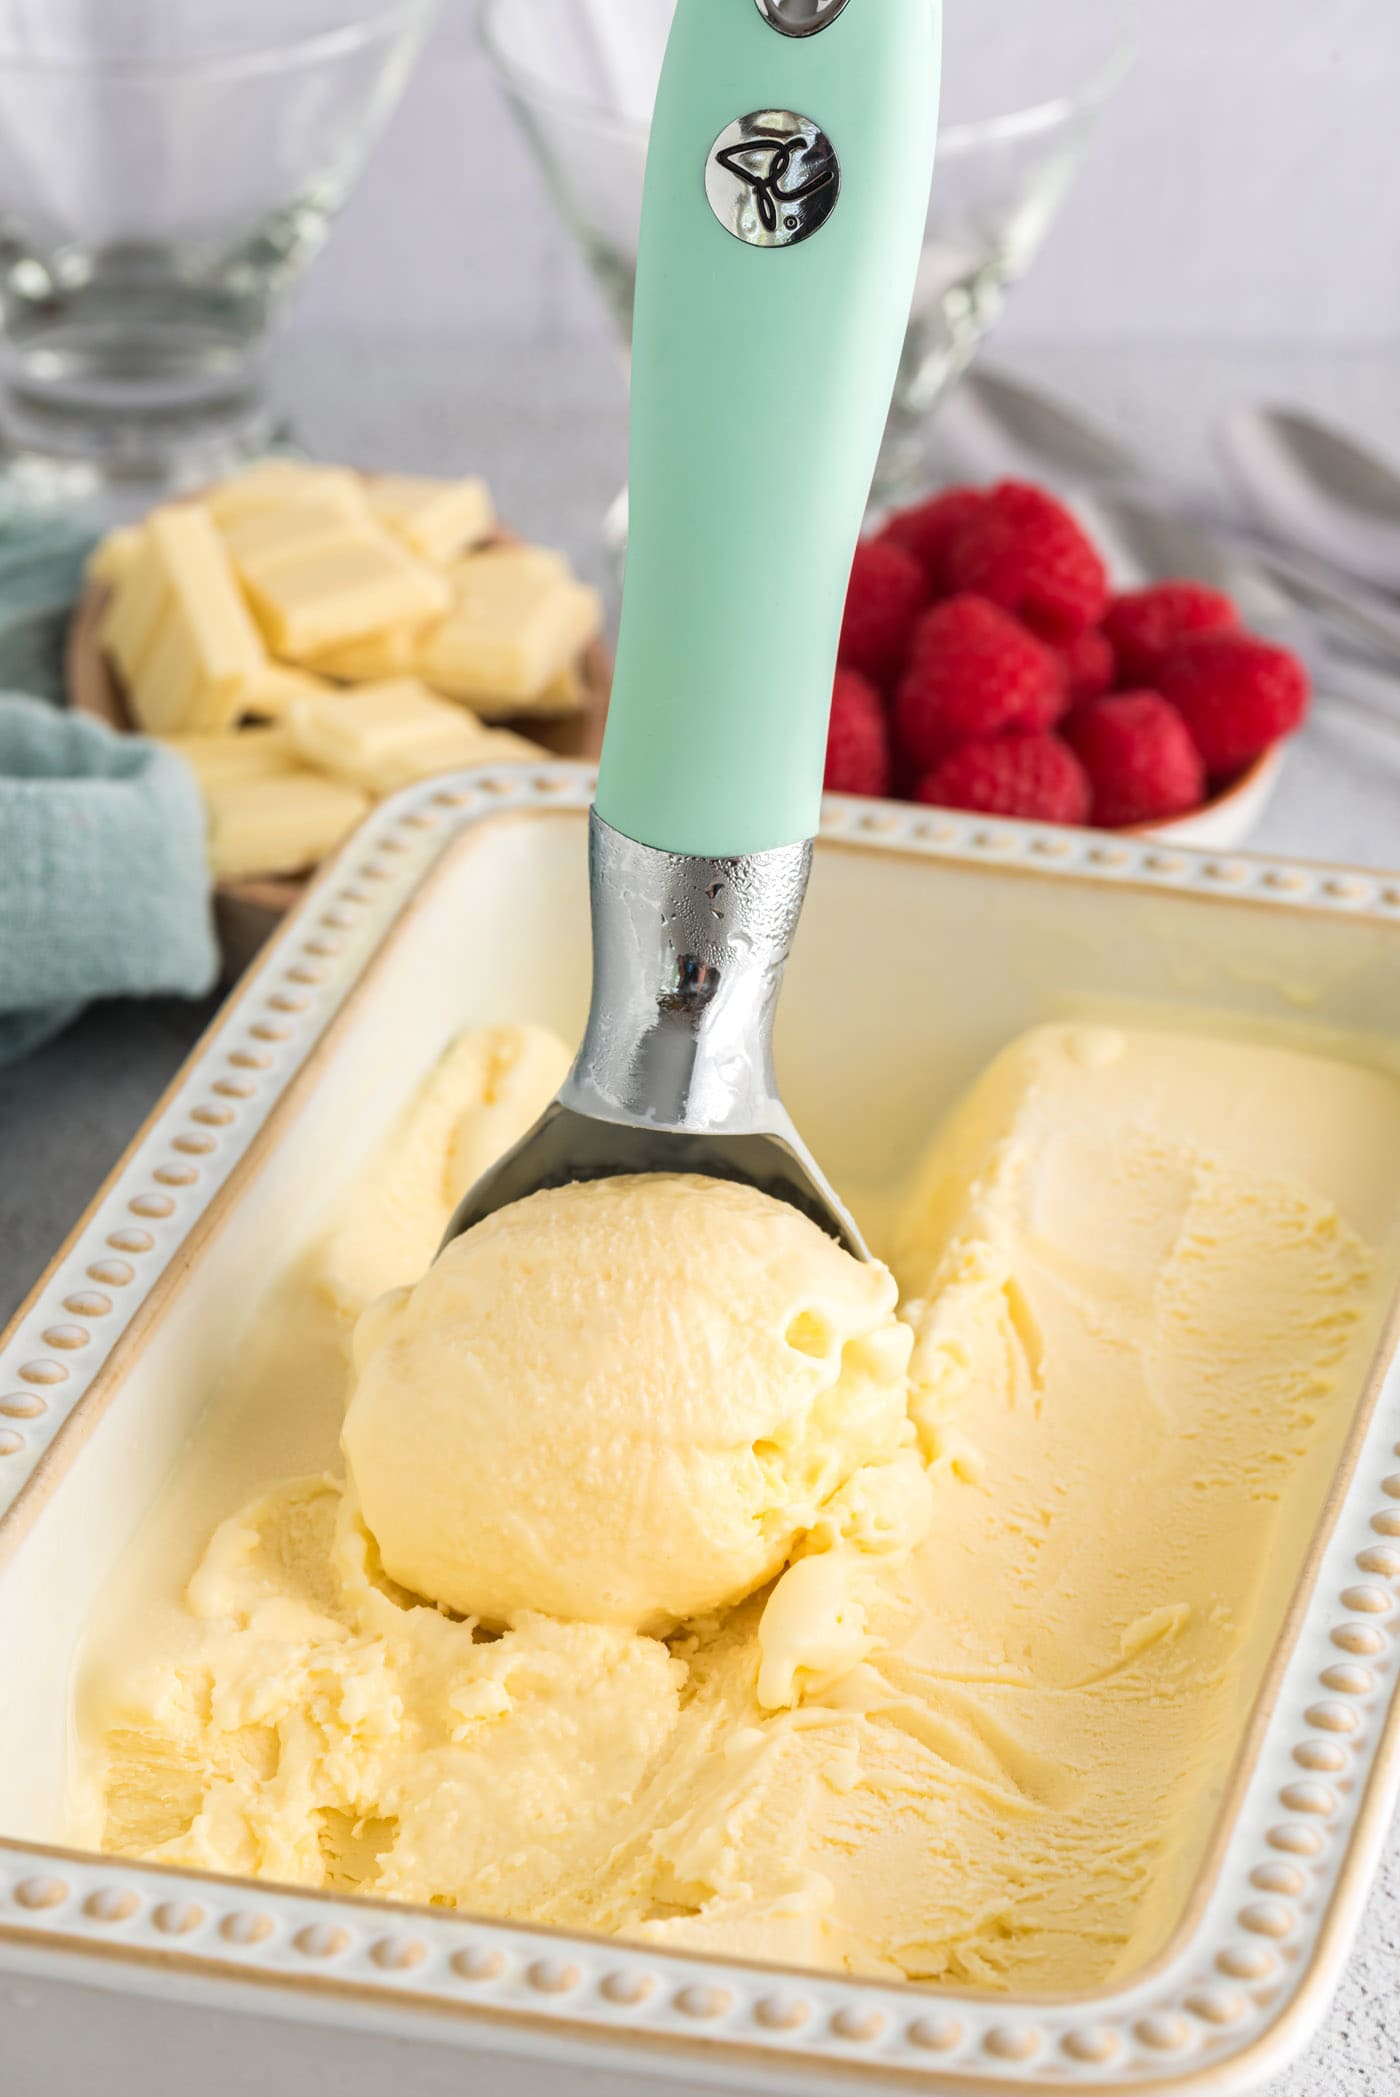
Ingredients you will need
Get all measurements, ingredients, and instructions in the printable version at the end of this post.
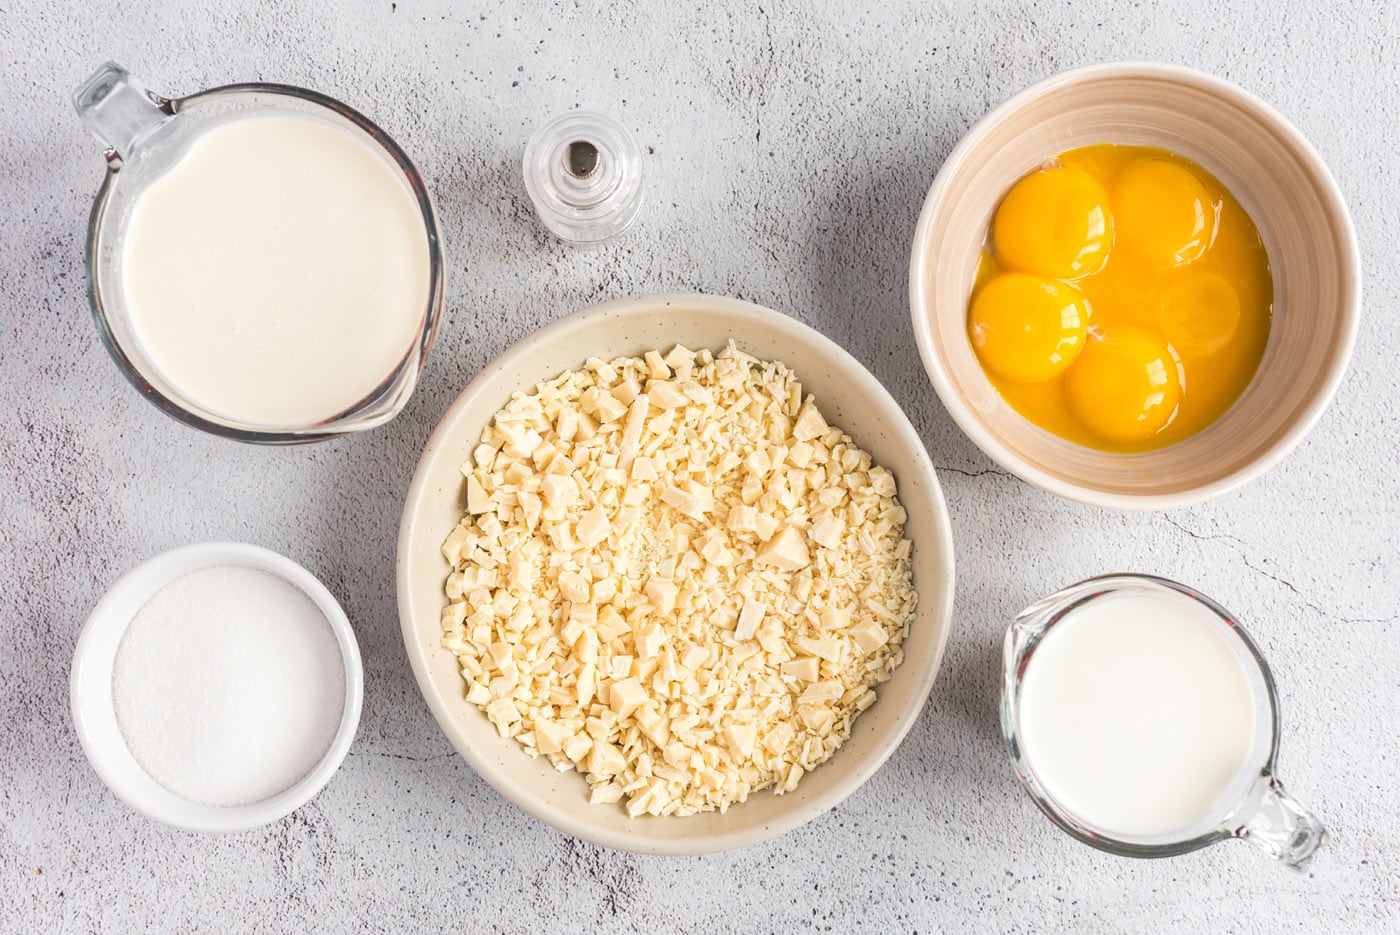
Ingredient Info and Substitution Suggestions
CHOCOLATE – You don’t have to use fancy white chocolate for this recipe, but you certainly can if you want. I used white chocolate baker’s squares and it came out beautifully.
HEAVY CREAM – Ice cream gets its creamy texture from its fat content. Therefore, if you substitute milk for the heavy cream, the texture of the finished ice cream will be less smooth and rich. I would suggest sticking to heavy cream for this recipe, but you can experiment if you wish.
How to Make White Chocolate Ice Cream
These step by step photos and instructions are here to help you visualize how to make this recipe. You can Jump to Recipe to get the printable version of this recipe, complete with measurements and instructions at the bottom.
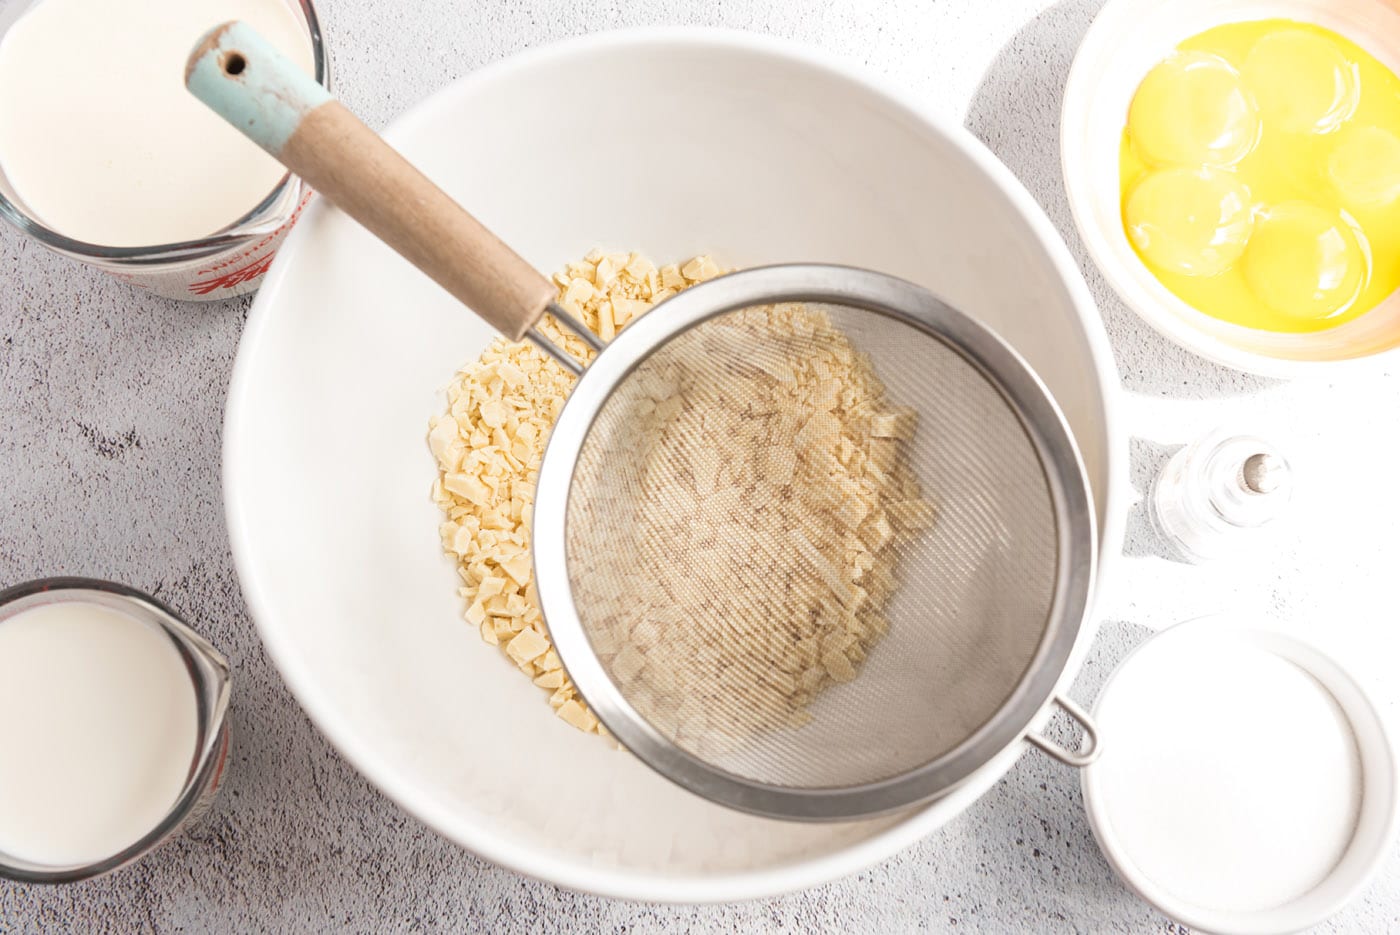
- Put the white chocolate pieces in a large bowl and set a mesh strainer over the top.
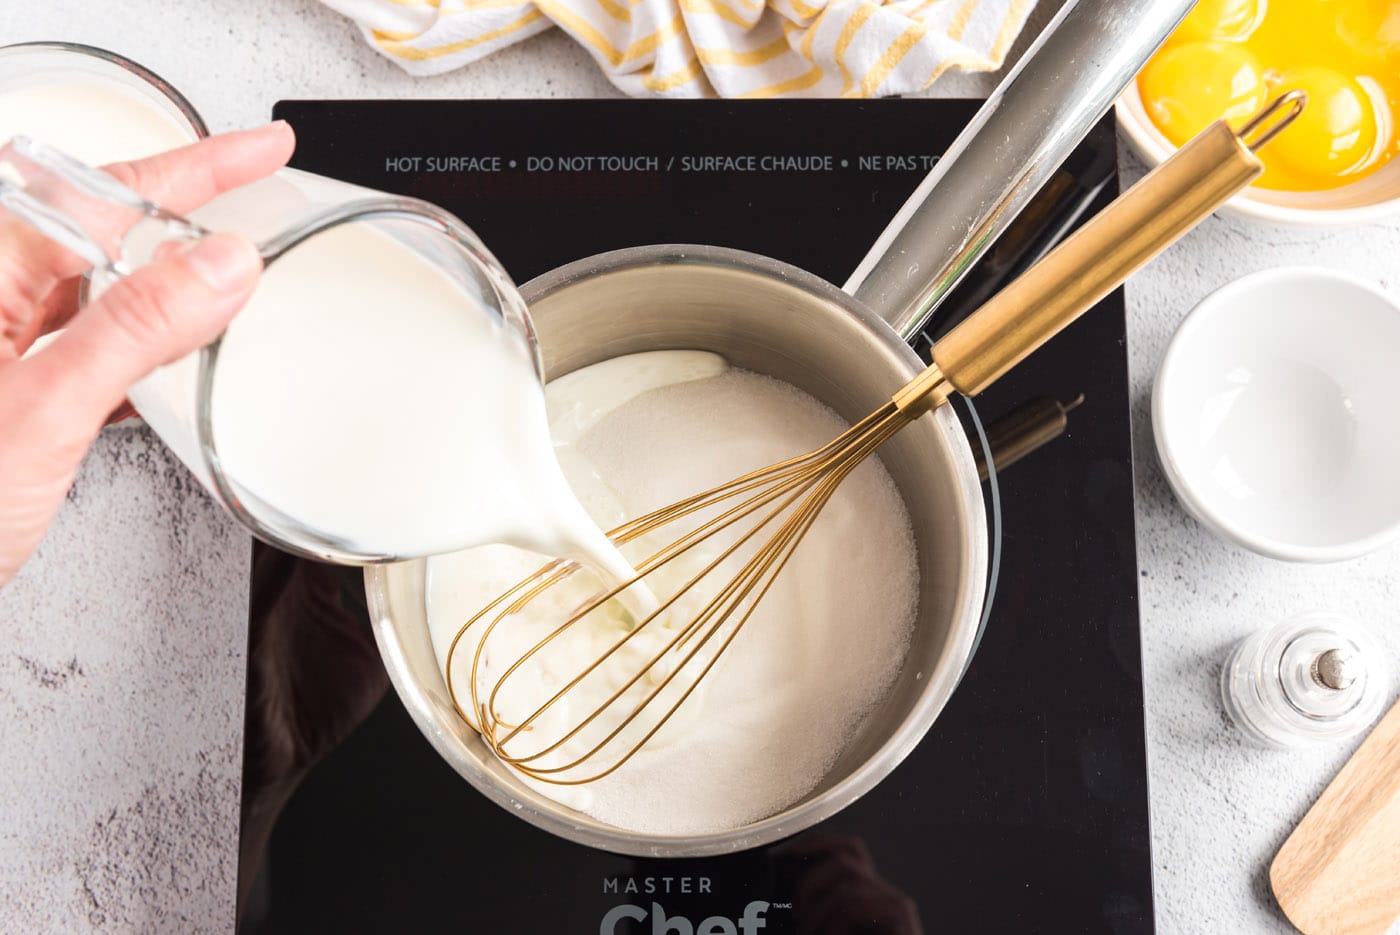
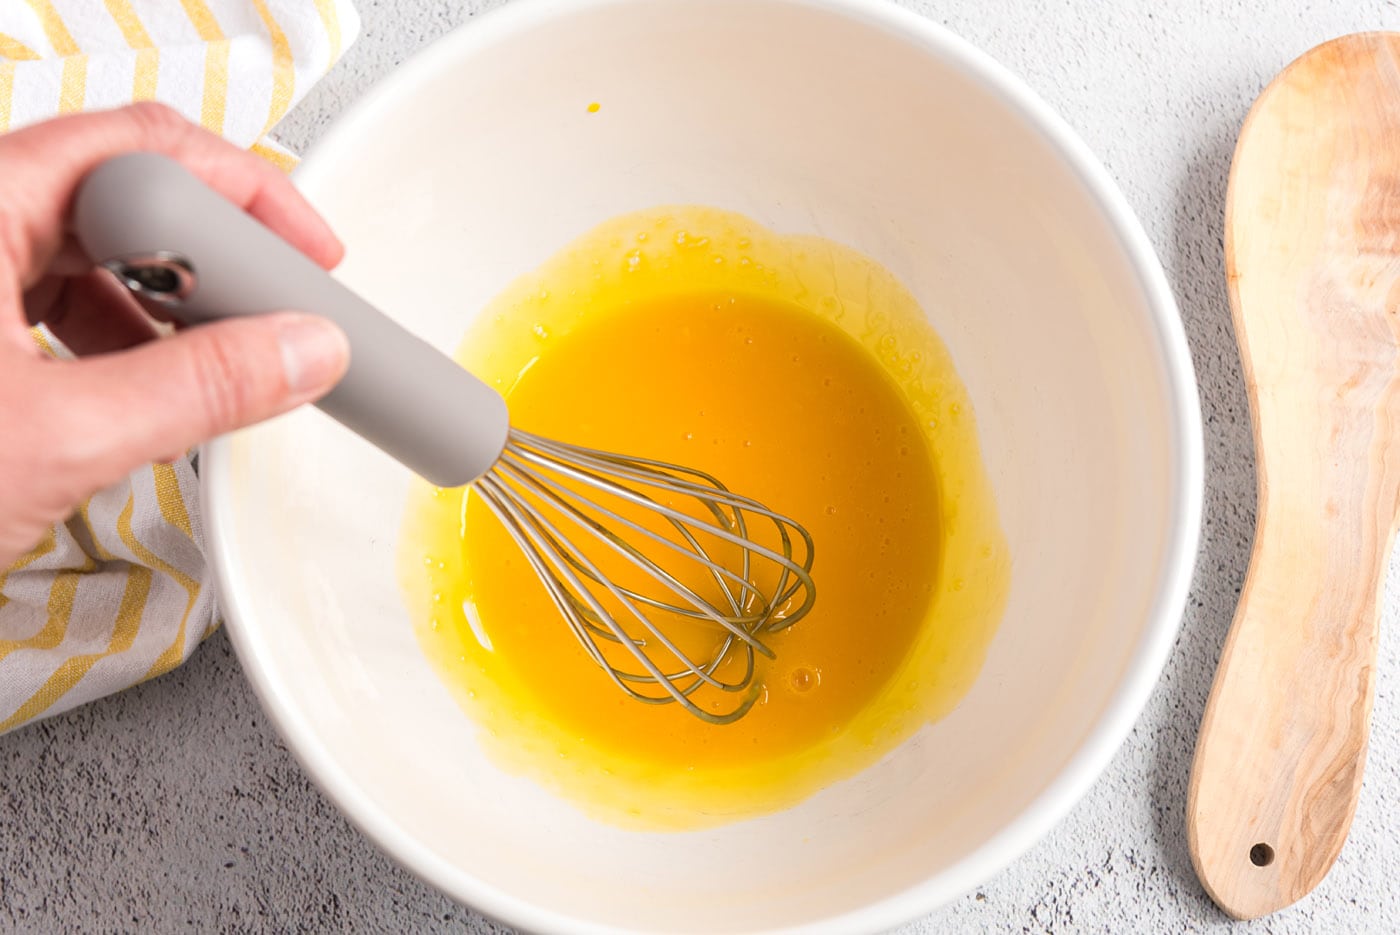
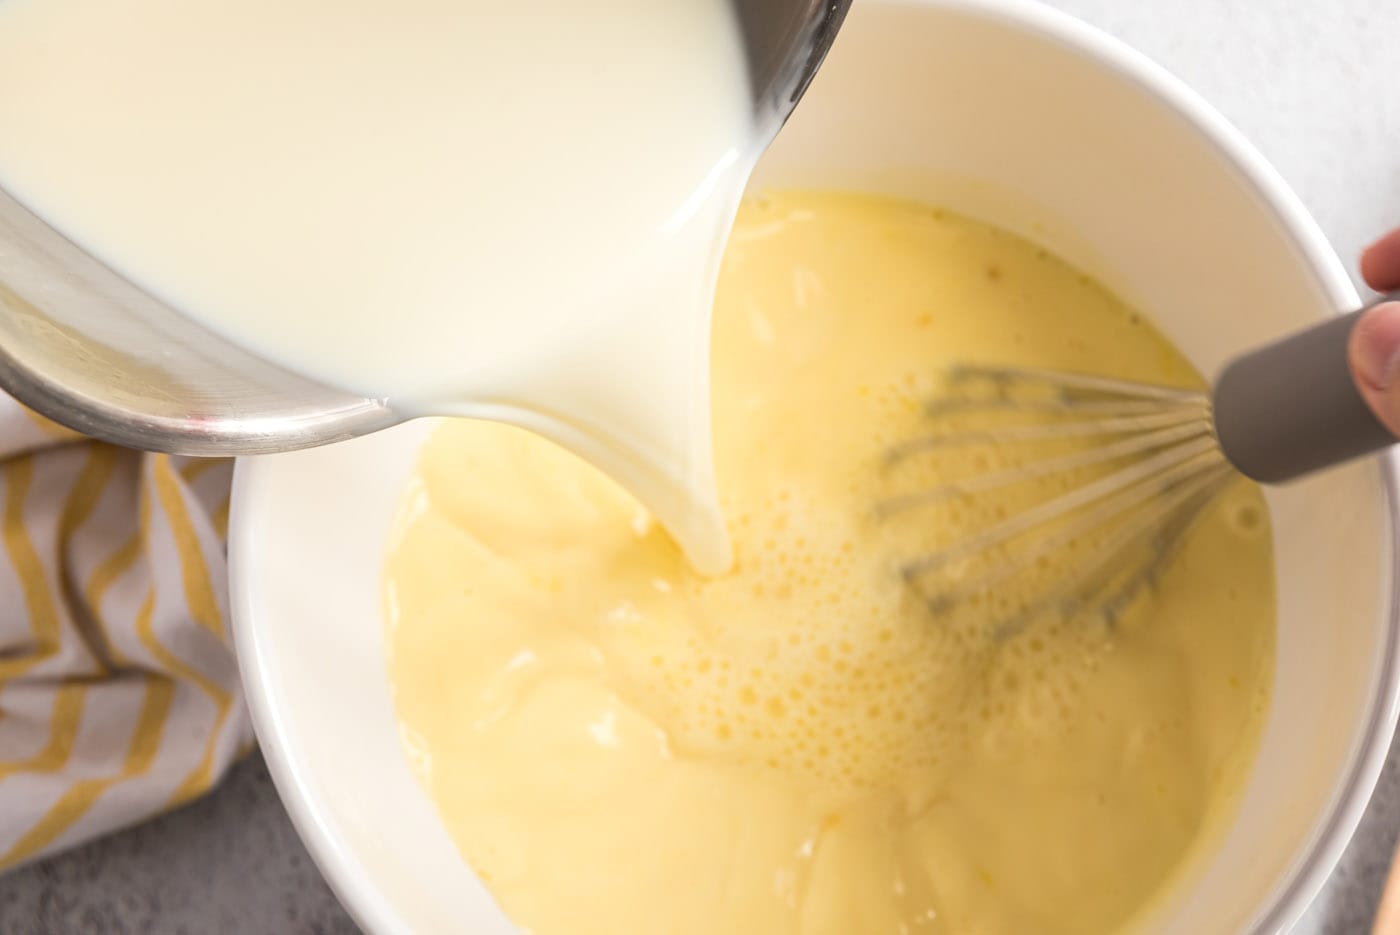
- Warm the milk, sugar, and salt in a medium saucepan. In a separate medium bowl whisk together the egg yolks. Slowly pour the warm milk mixture into the egg yolks, whisking constantly, then scrape the warmed egg yolks back into the saucepan.
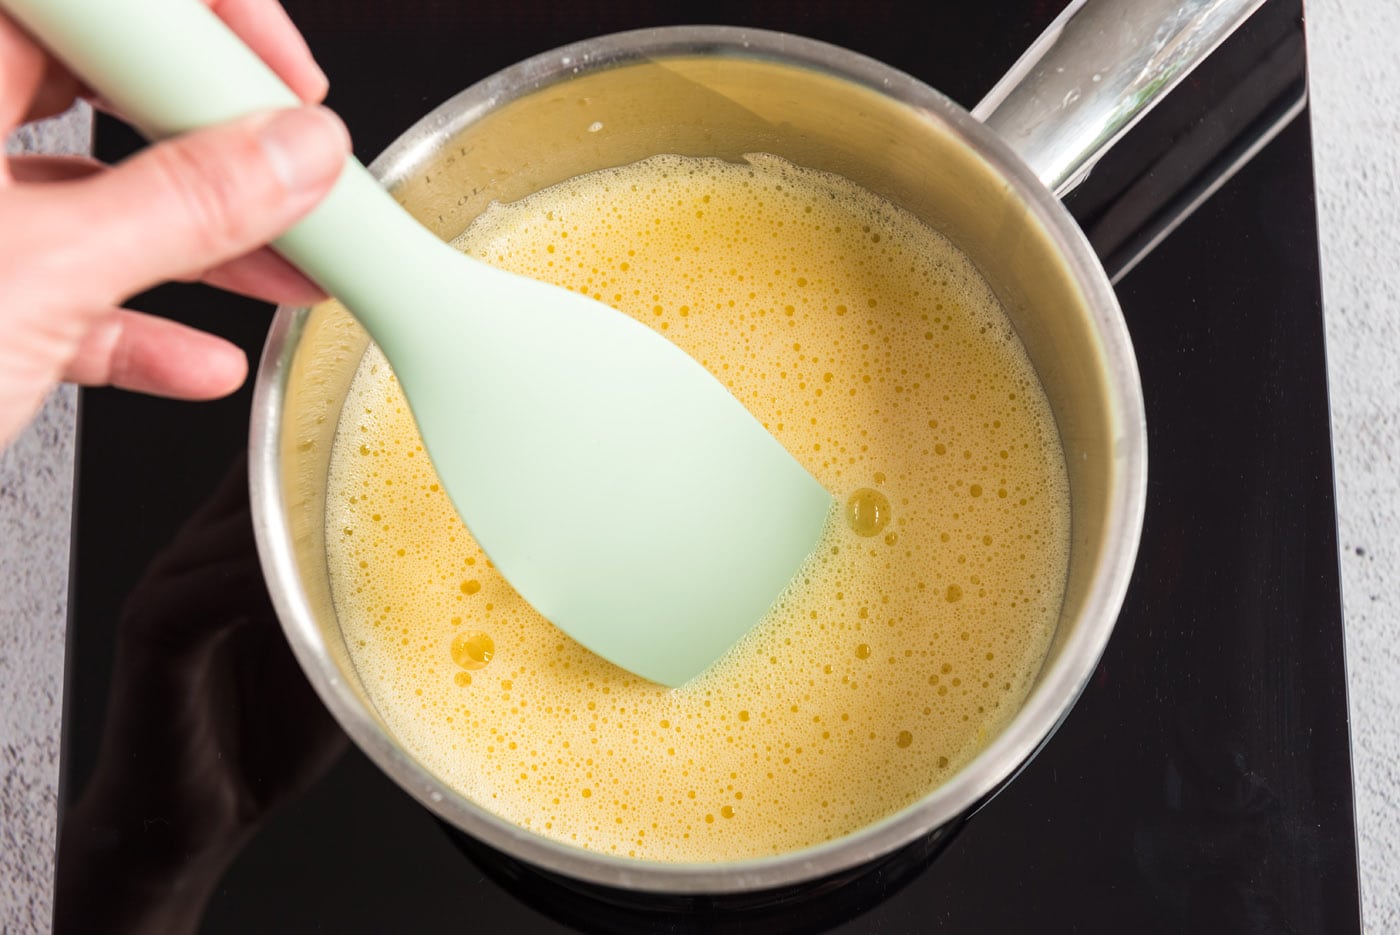
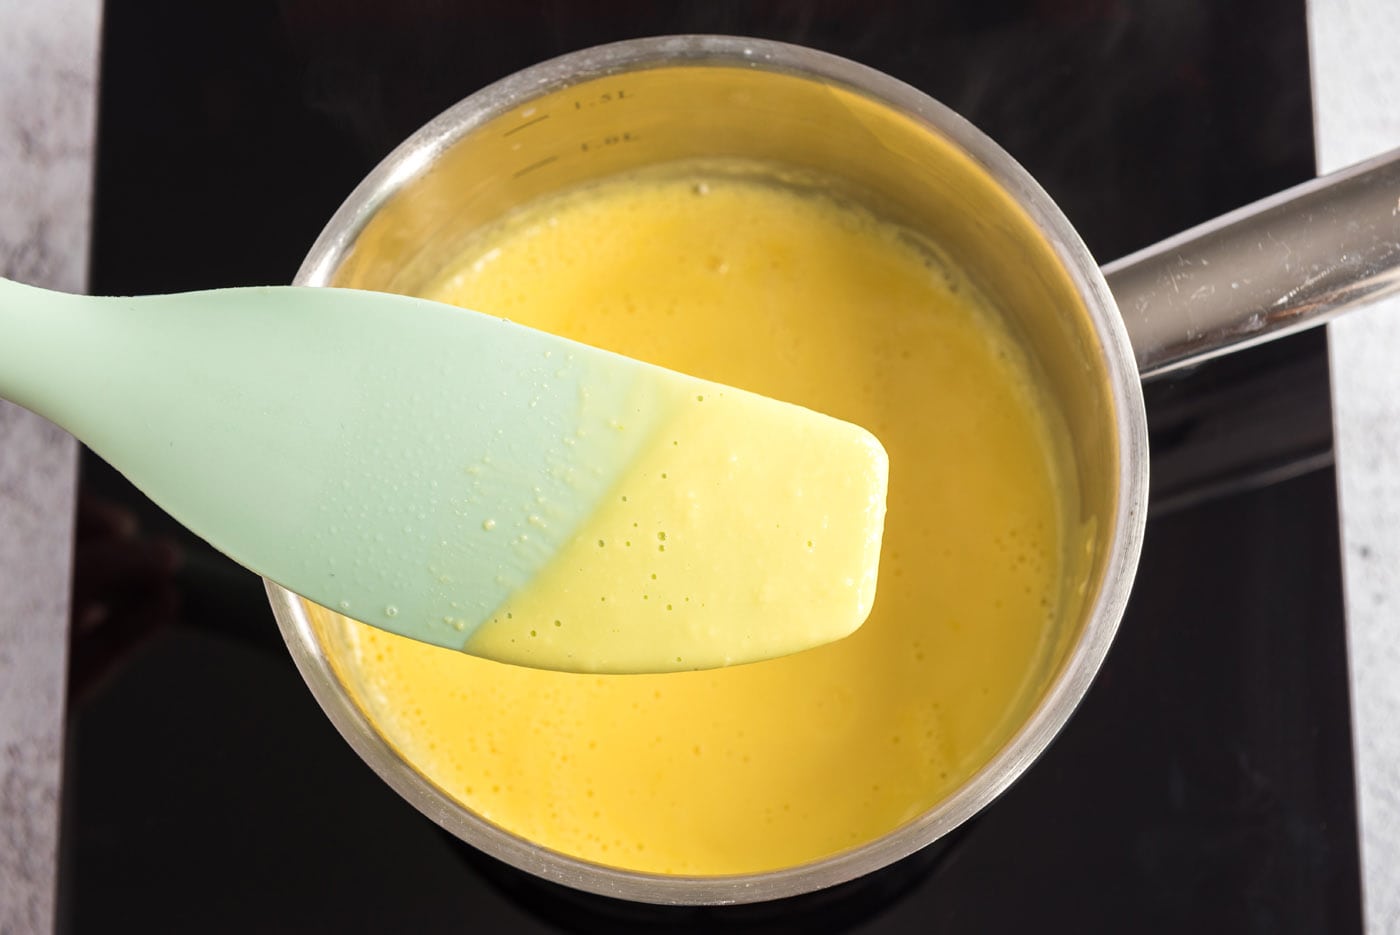
- Stir the mixture constantly over medium heat with a heatproof spatula, scraping the bottom as you stir, until the mixture thickens and coats the spatula.
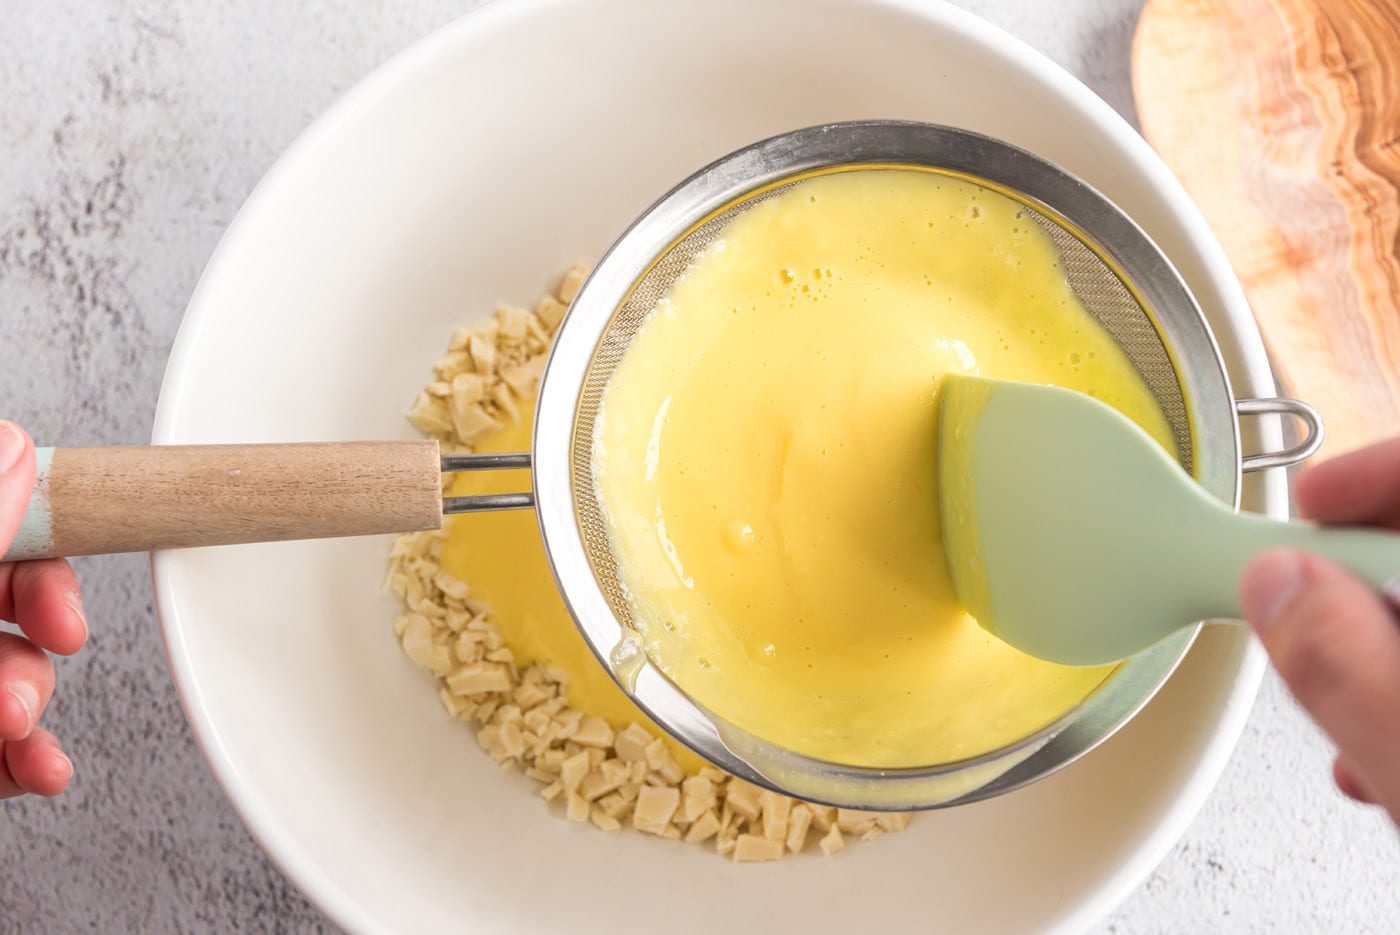
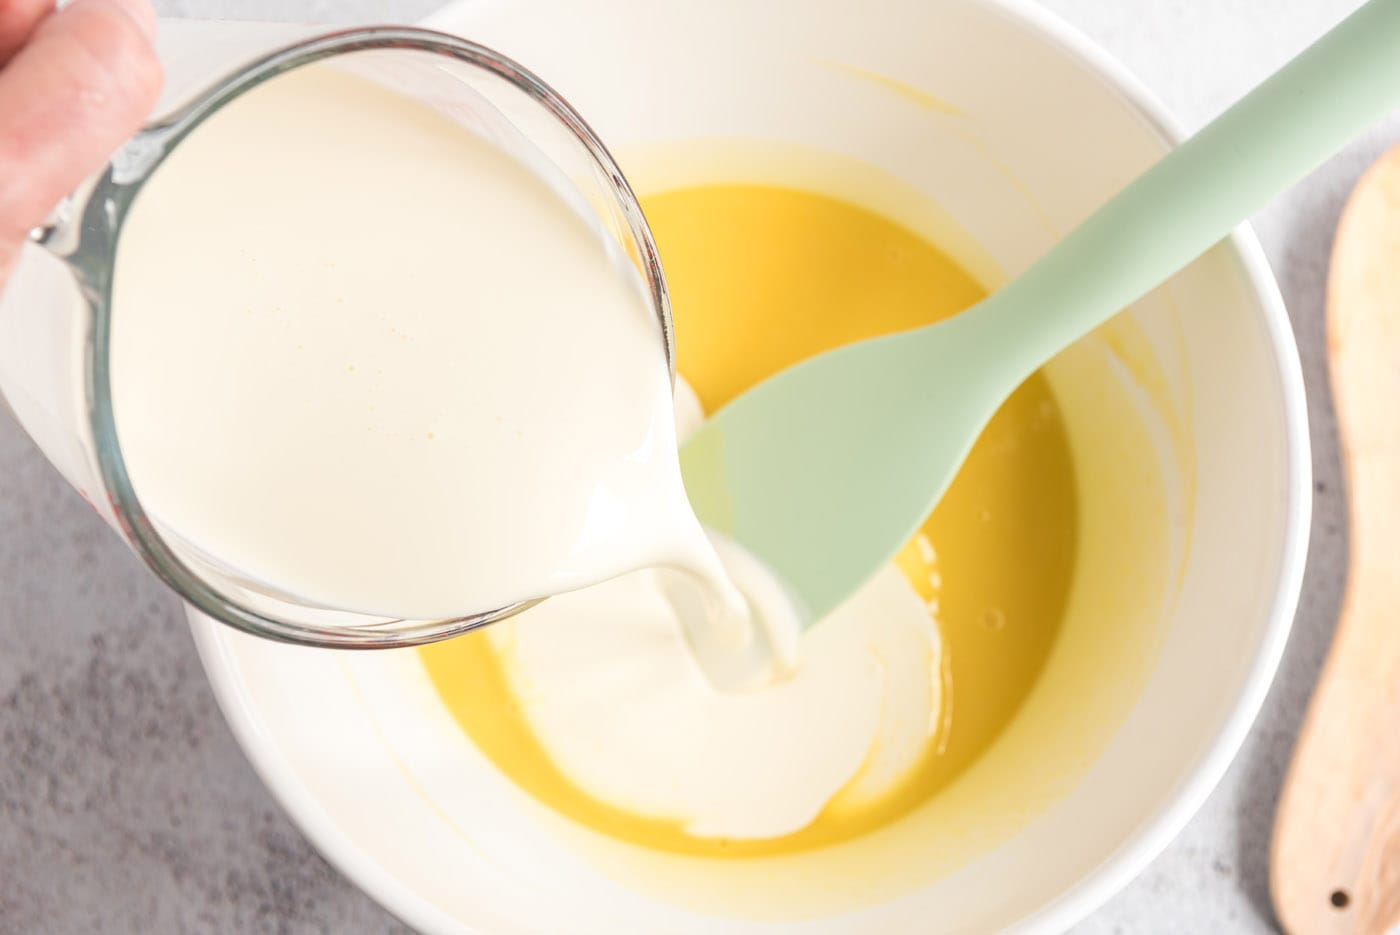
- Pour the custard through the strainer over the white chocolate. Stir until the white chocolate is completely melted and the mixture is smooth, then stir in the cream.
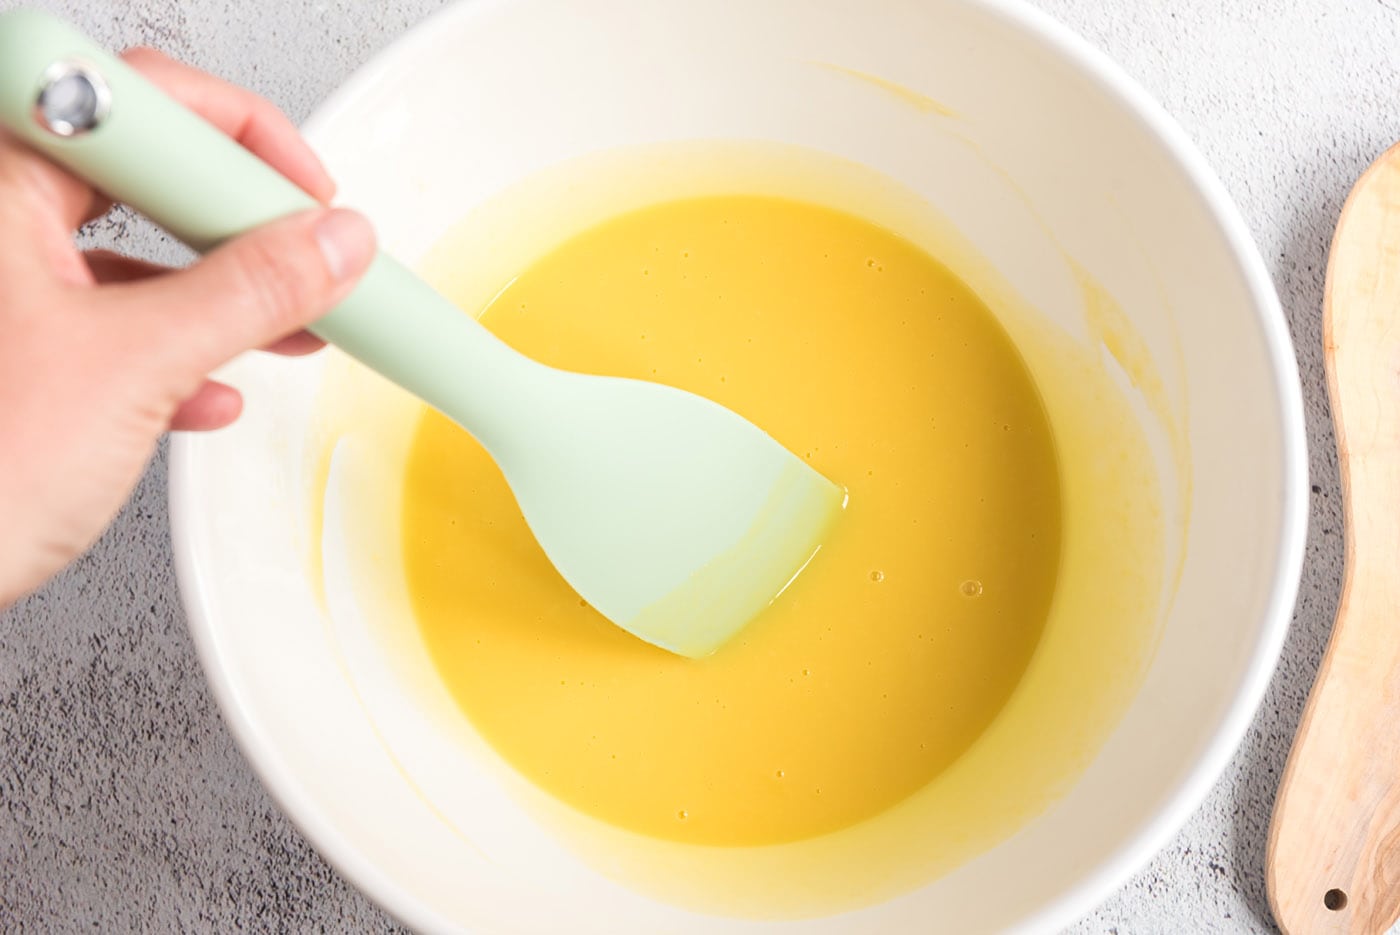
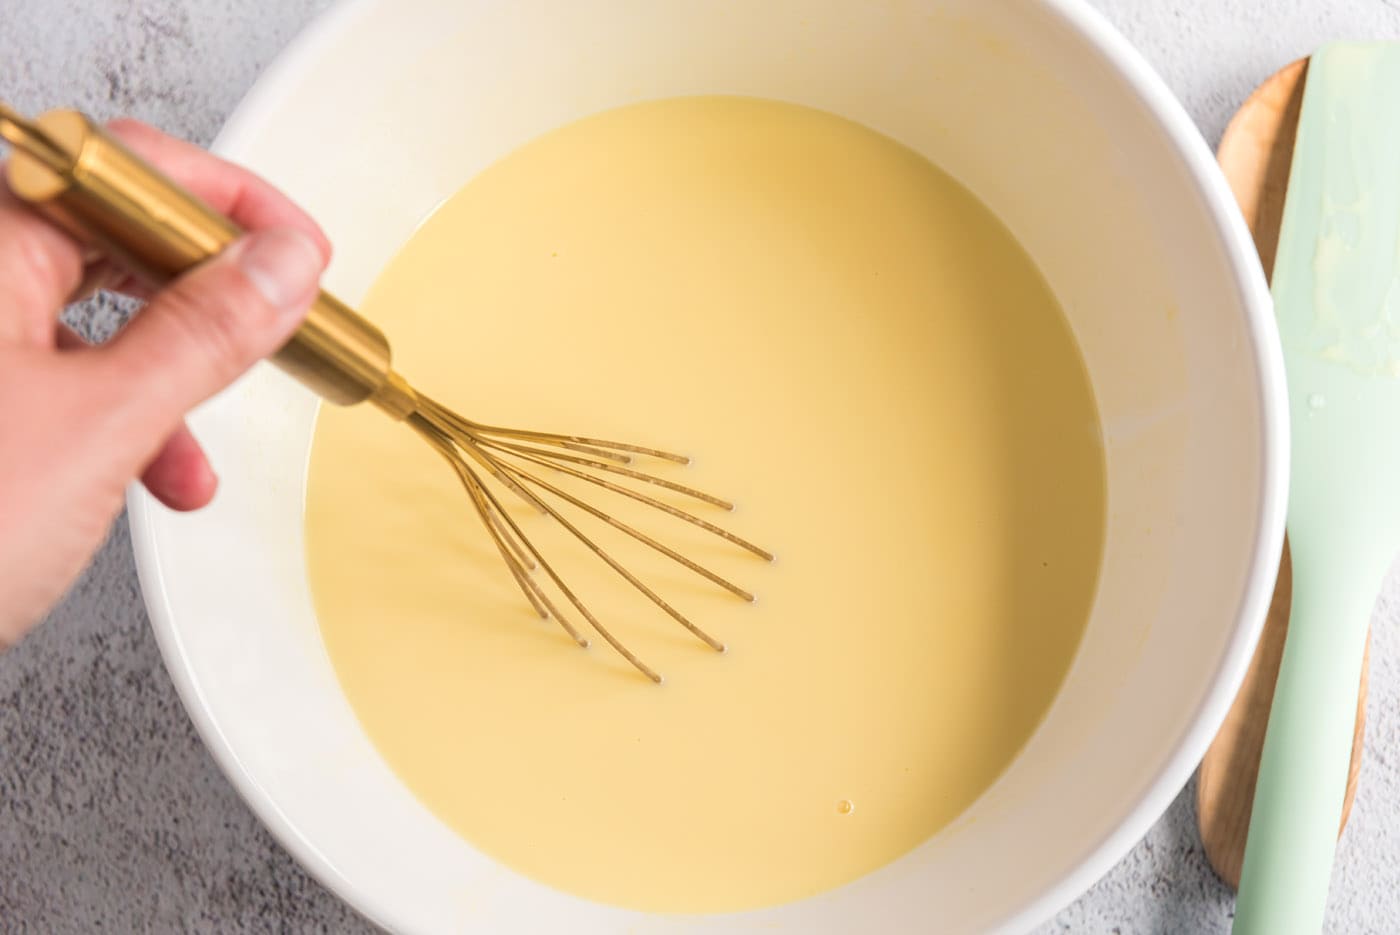
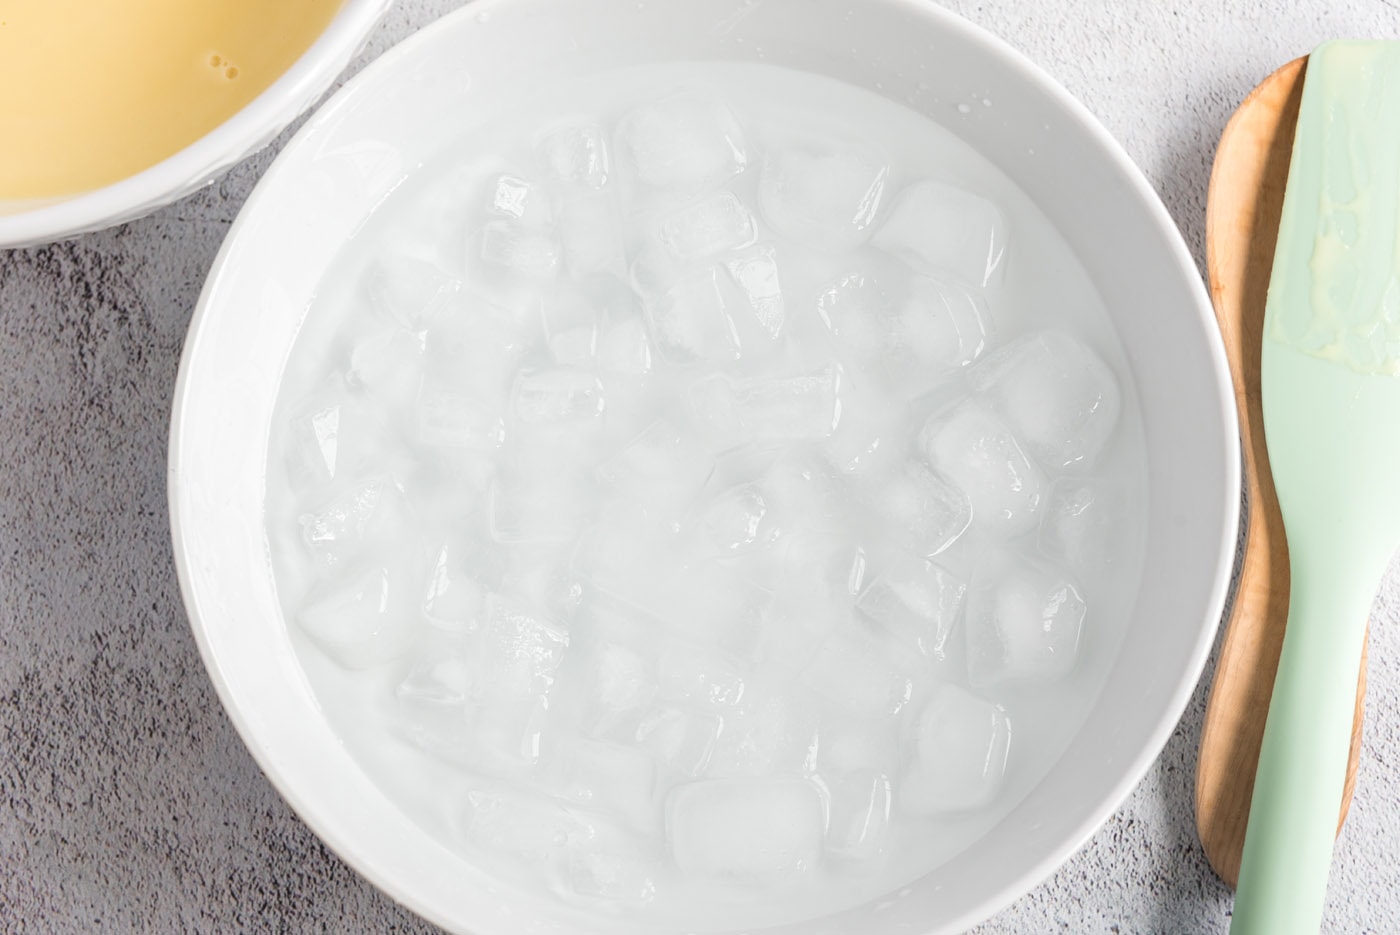
- Stir until cool over an ice bath.
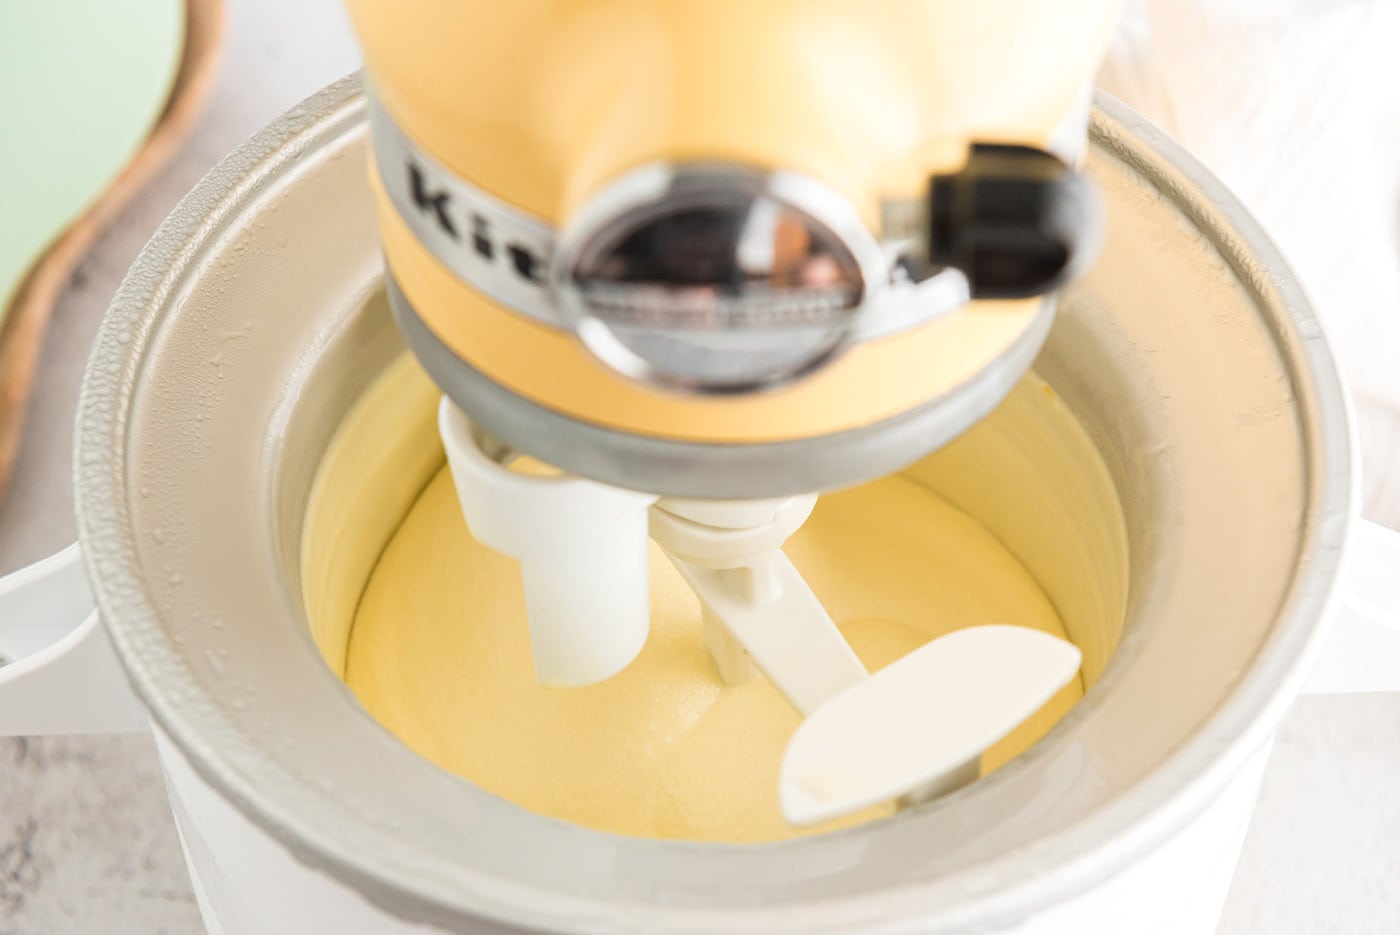
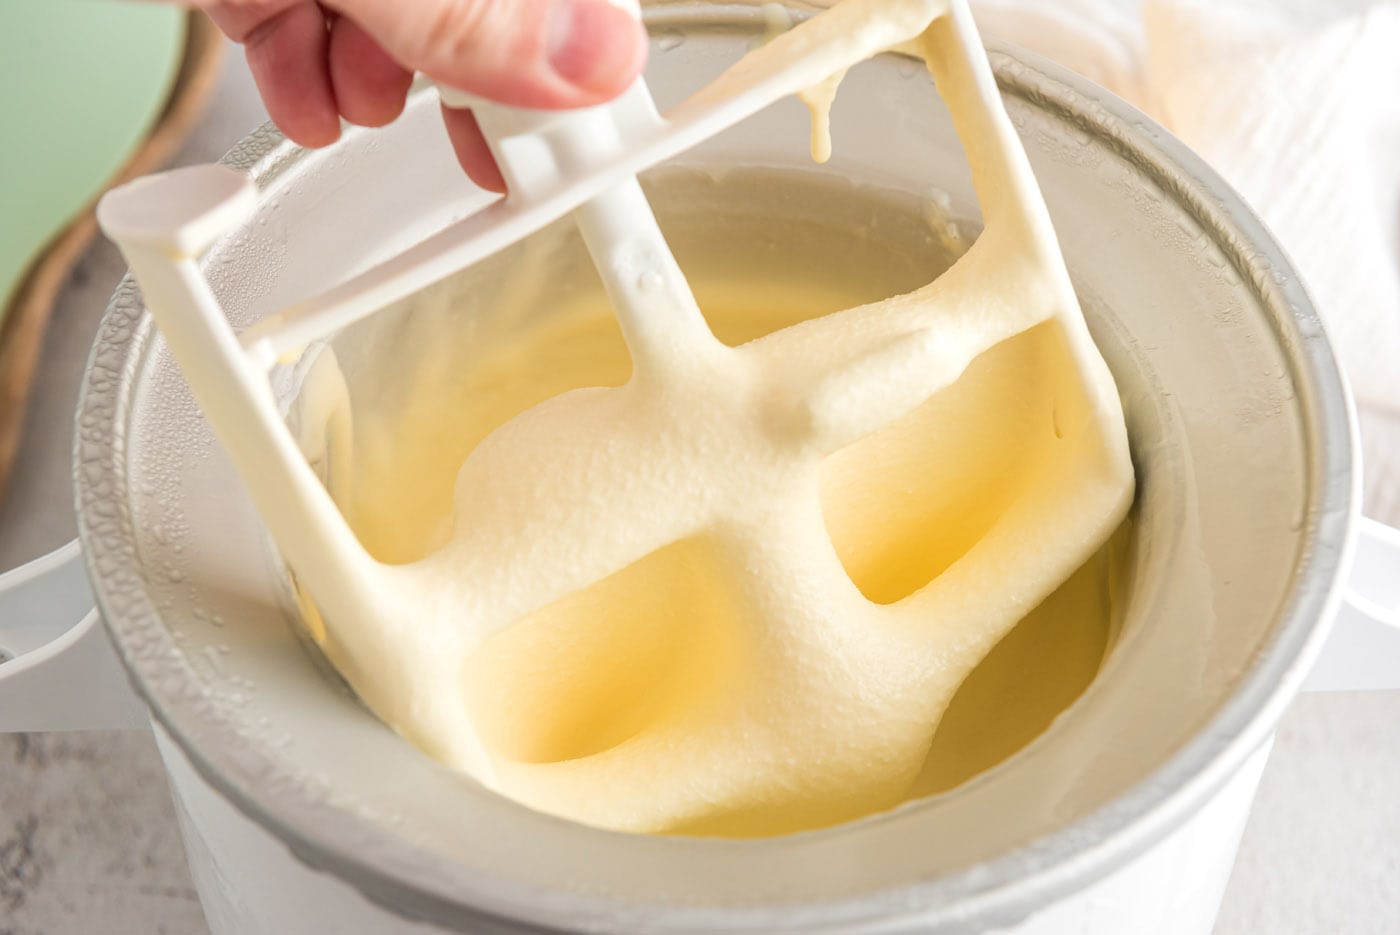
- Chill the mixture thoroughly in the refrigerator, then freeze it in your ice cream maker according to the manufacturer’s instructions.
Frequently Asked Questions & Expert Tips
What does white chocolate ice cream taste like?White chocolate ice cream is milky sweet and creamy in texture. It’s similar to vanilla ice cream but has more of a milky taste to it. If you enjoy white chocolate-coated goodies, you’ll love the flavor of this ice cream.
How long is homemade white chocolate ice cream good for?Homemade white chocolate ice cream will last for up to 2 weeks if stored properly in an air-tight container kept in the freezer. The shelf life of homemade ice cream is shorter compared to store-bought because there are no preservatives.
Serving Suggestions
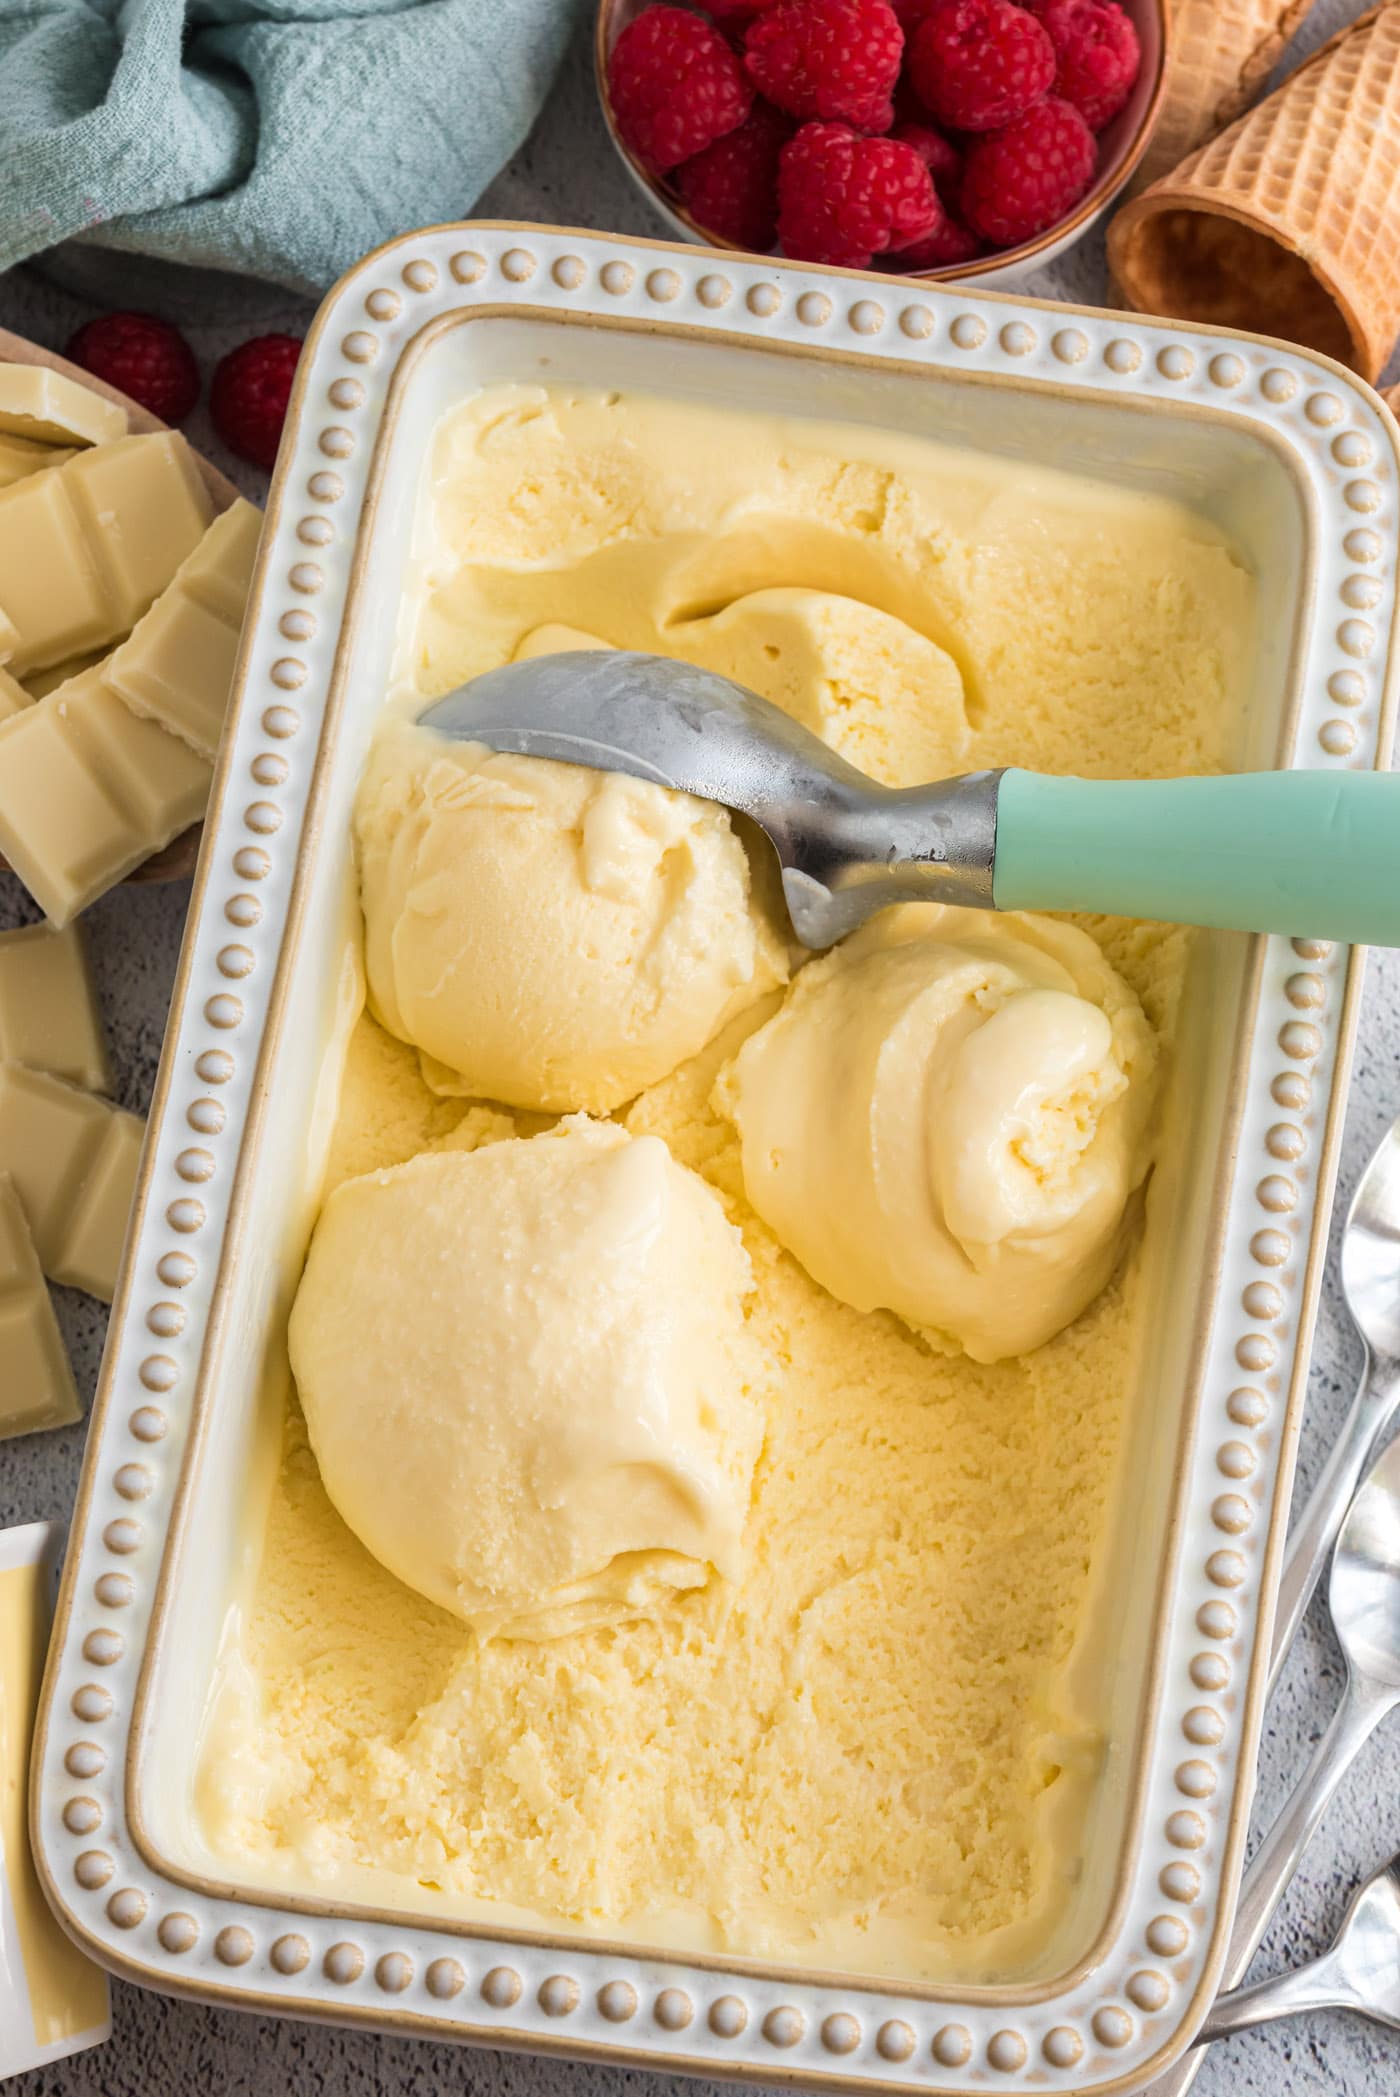
White chocolate ice cream is the perfect base for a plethora of additions or toppings. It would be fantastic with a drizzle of strawberry, raspberry, or cherry syrup as well as fresh fruit like blueberries, blackberries, raspberries, and strawberries. More tasty toppings include mini chocolate chips, crushed wafers, or crumbled cake or brownie bits.
More Ice Cream Recipes
- No Churn Ice Cream
- Jam Ice Cream
- Rocky Road Ice Cream
- Mint Chocolate Chip Ice Cream
- Nutella Swirl Cheesecake Ice Cream
- Peanut Butter Chocolate Chip Ice Cream
- Homemade Chocolate Ice Cream
I love to bake and cook and share my kitchen experience with all of you! Remembering to come back each day can be tough, that’s why I offer a convenient newsletter every time a new recipe posts. Simply subscribe and start receiving your free daily recipes!
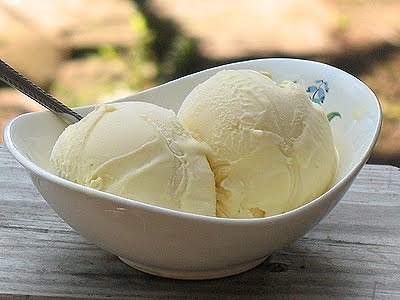
This post originally appeared here on Sep. 17th, 2009 and has since been updated with new photos and expert tips. You may know this recipe from the photo below.
More recipes to try
Eight more recipes from the kitchen.
Blueberry Cheesecake Popsicles
These Blueberry Cheesecake Popsicles are a simple and delicious treat…
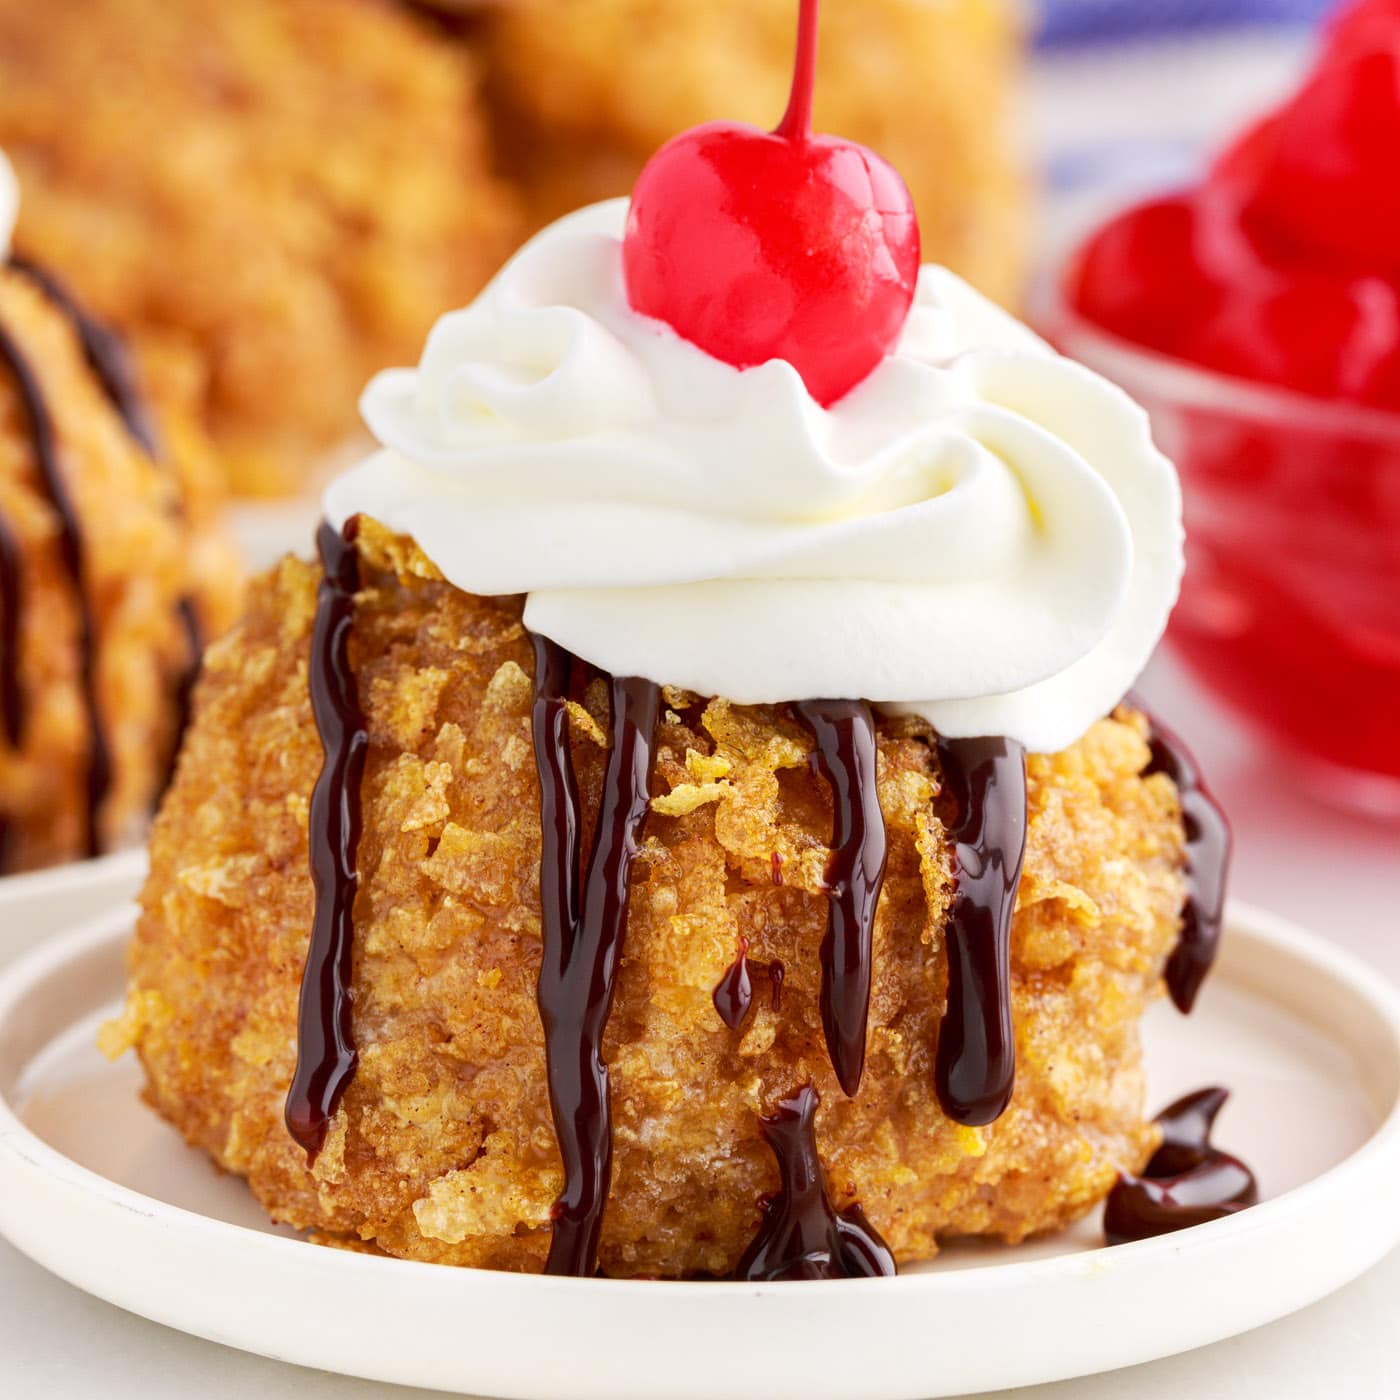
Fried Ice Cream
Sweet vanilla ice cream balls are rolled in a crispy crunchy cinnamon…
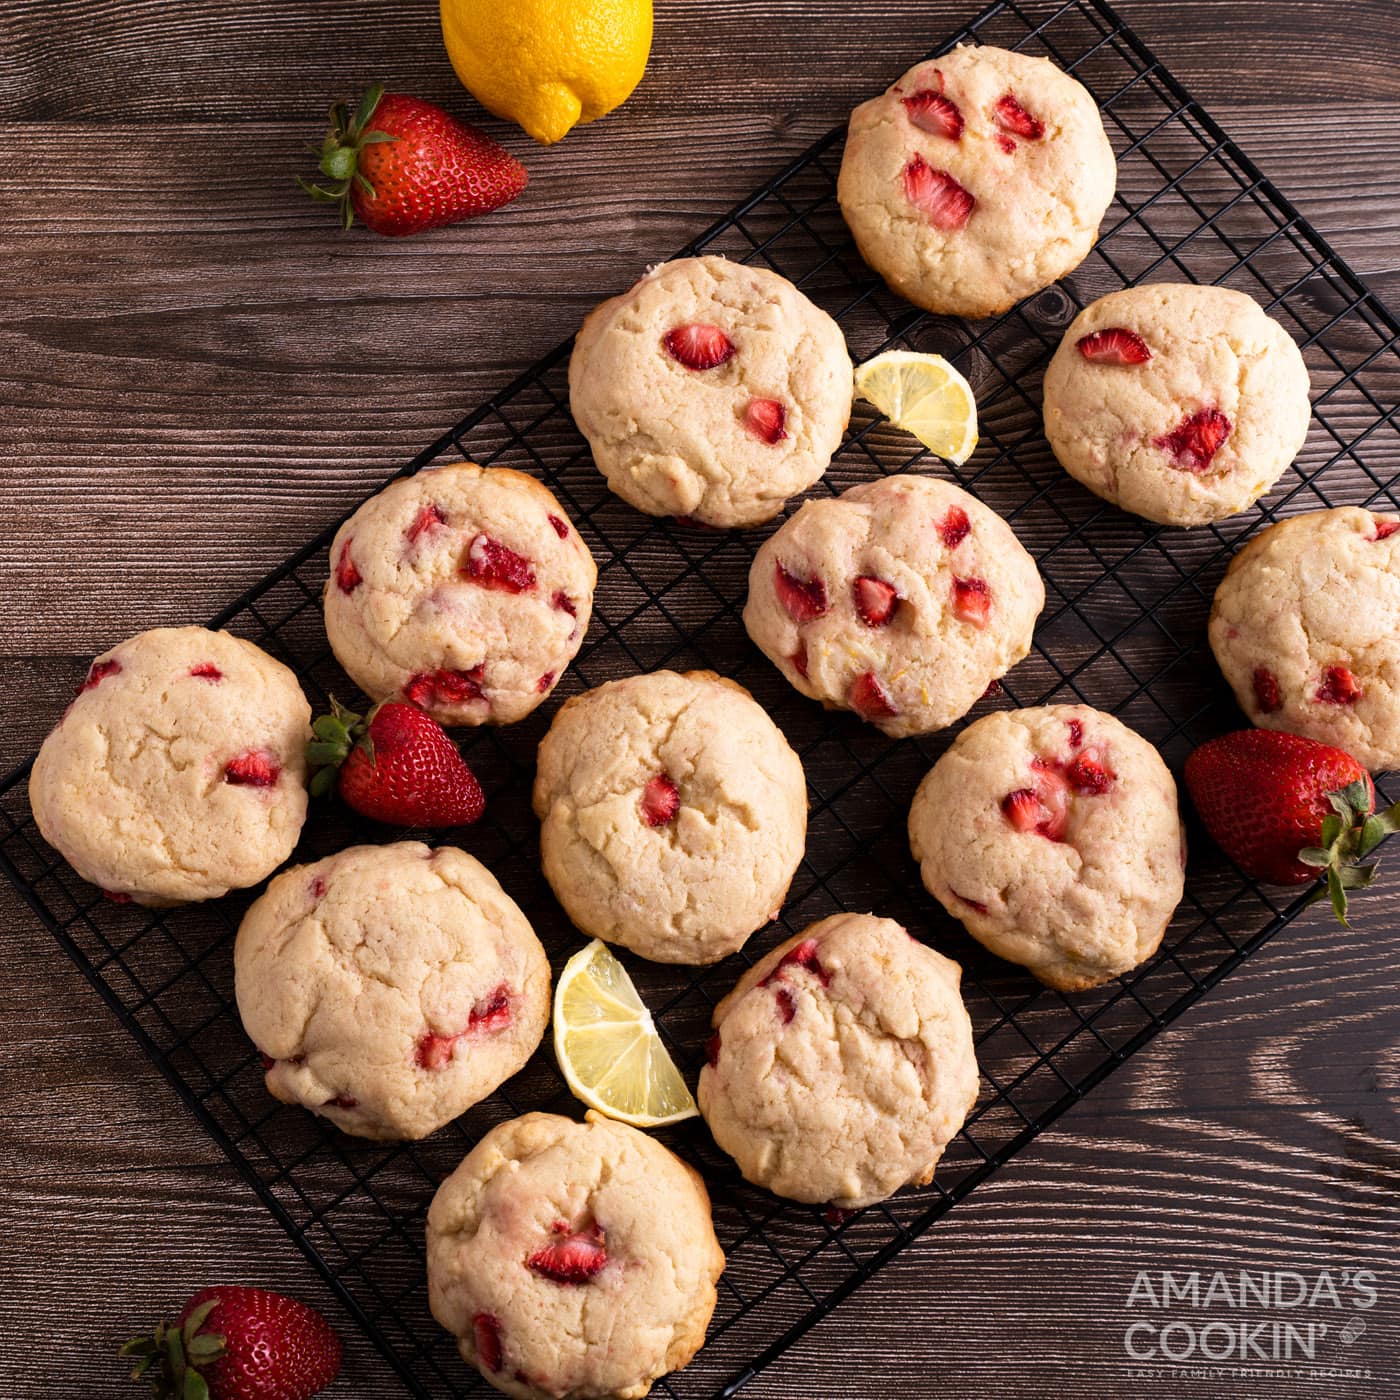
Strawberry Lemonade Cookies
Strawberry lemonade cookies offer the perfect balance between chewy…
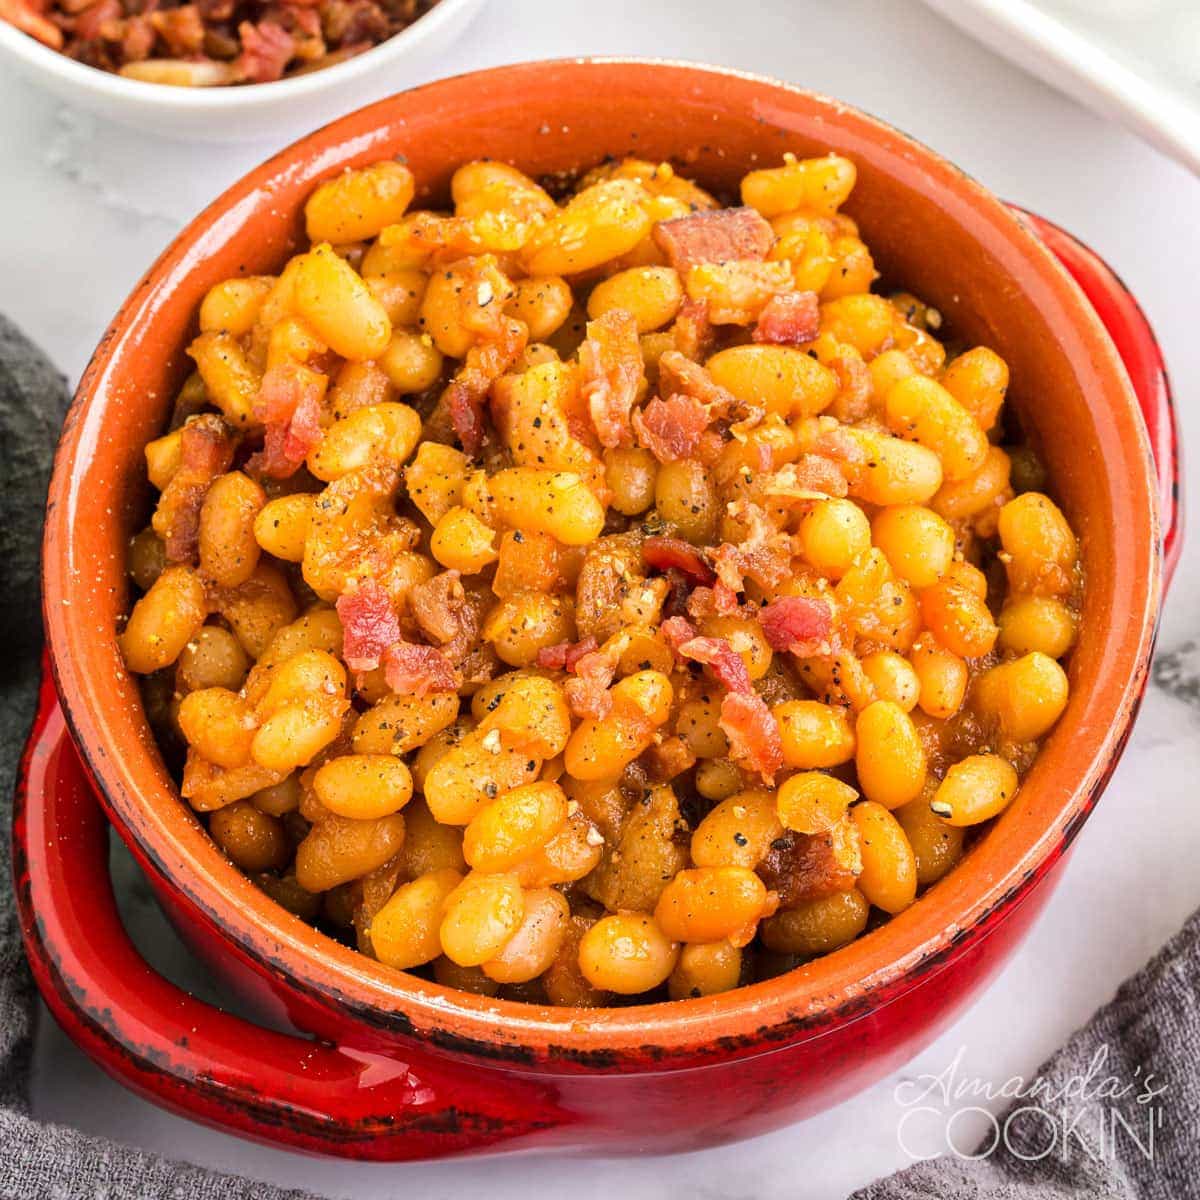
Homemade Baked Beans
These homemade baked beans are made from scratch in a delicious tangy…

White Sangria
Do you love a sweet and fruity wine sangria, especially at a party or…
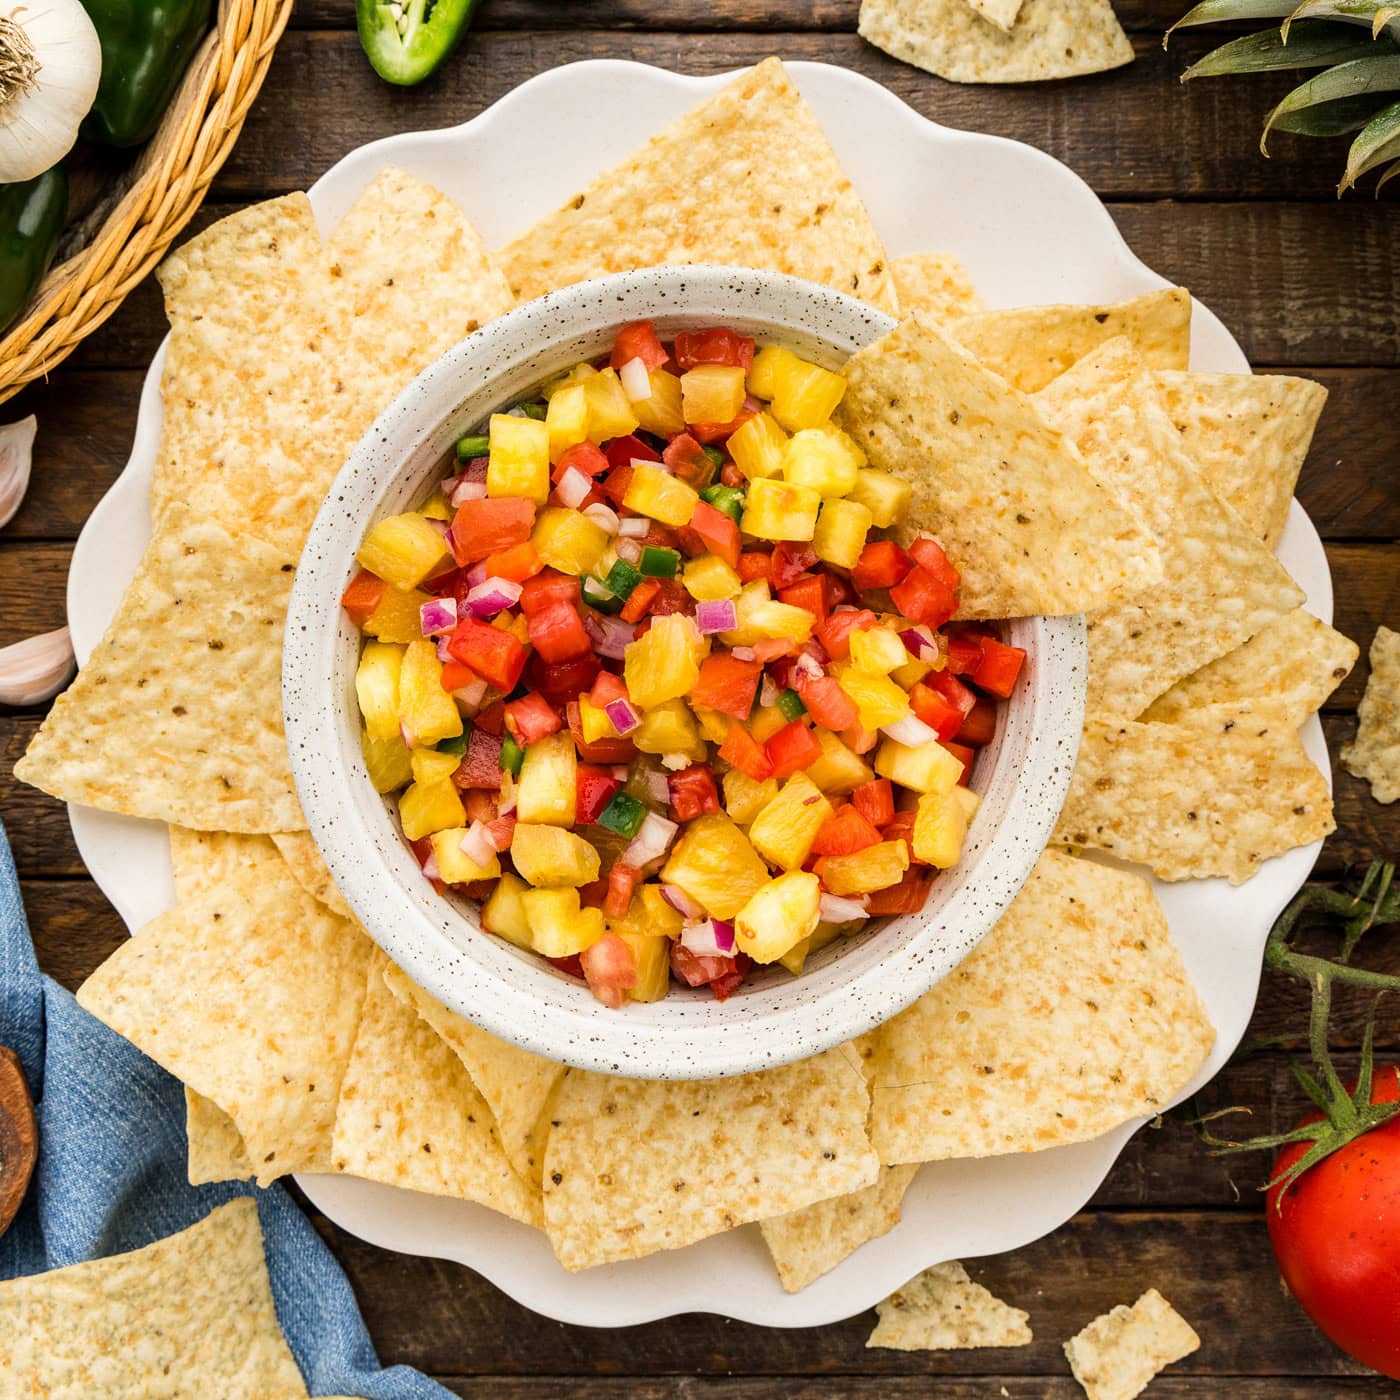
Pineapple Salsa
Easy 8 ingredient fresh pineapple salsa comes together in around 10…
Mango Lassi Smoothie
This classic Mango Lassi Smoothie is deliciously creamy and sweet…
Homemade Cherry Pie Filling
I did it, I conquered my fear of canning and was able to preserve 9…