Homemade Chocolate Ice Cream
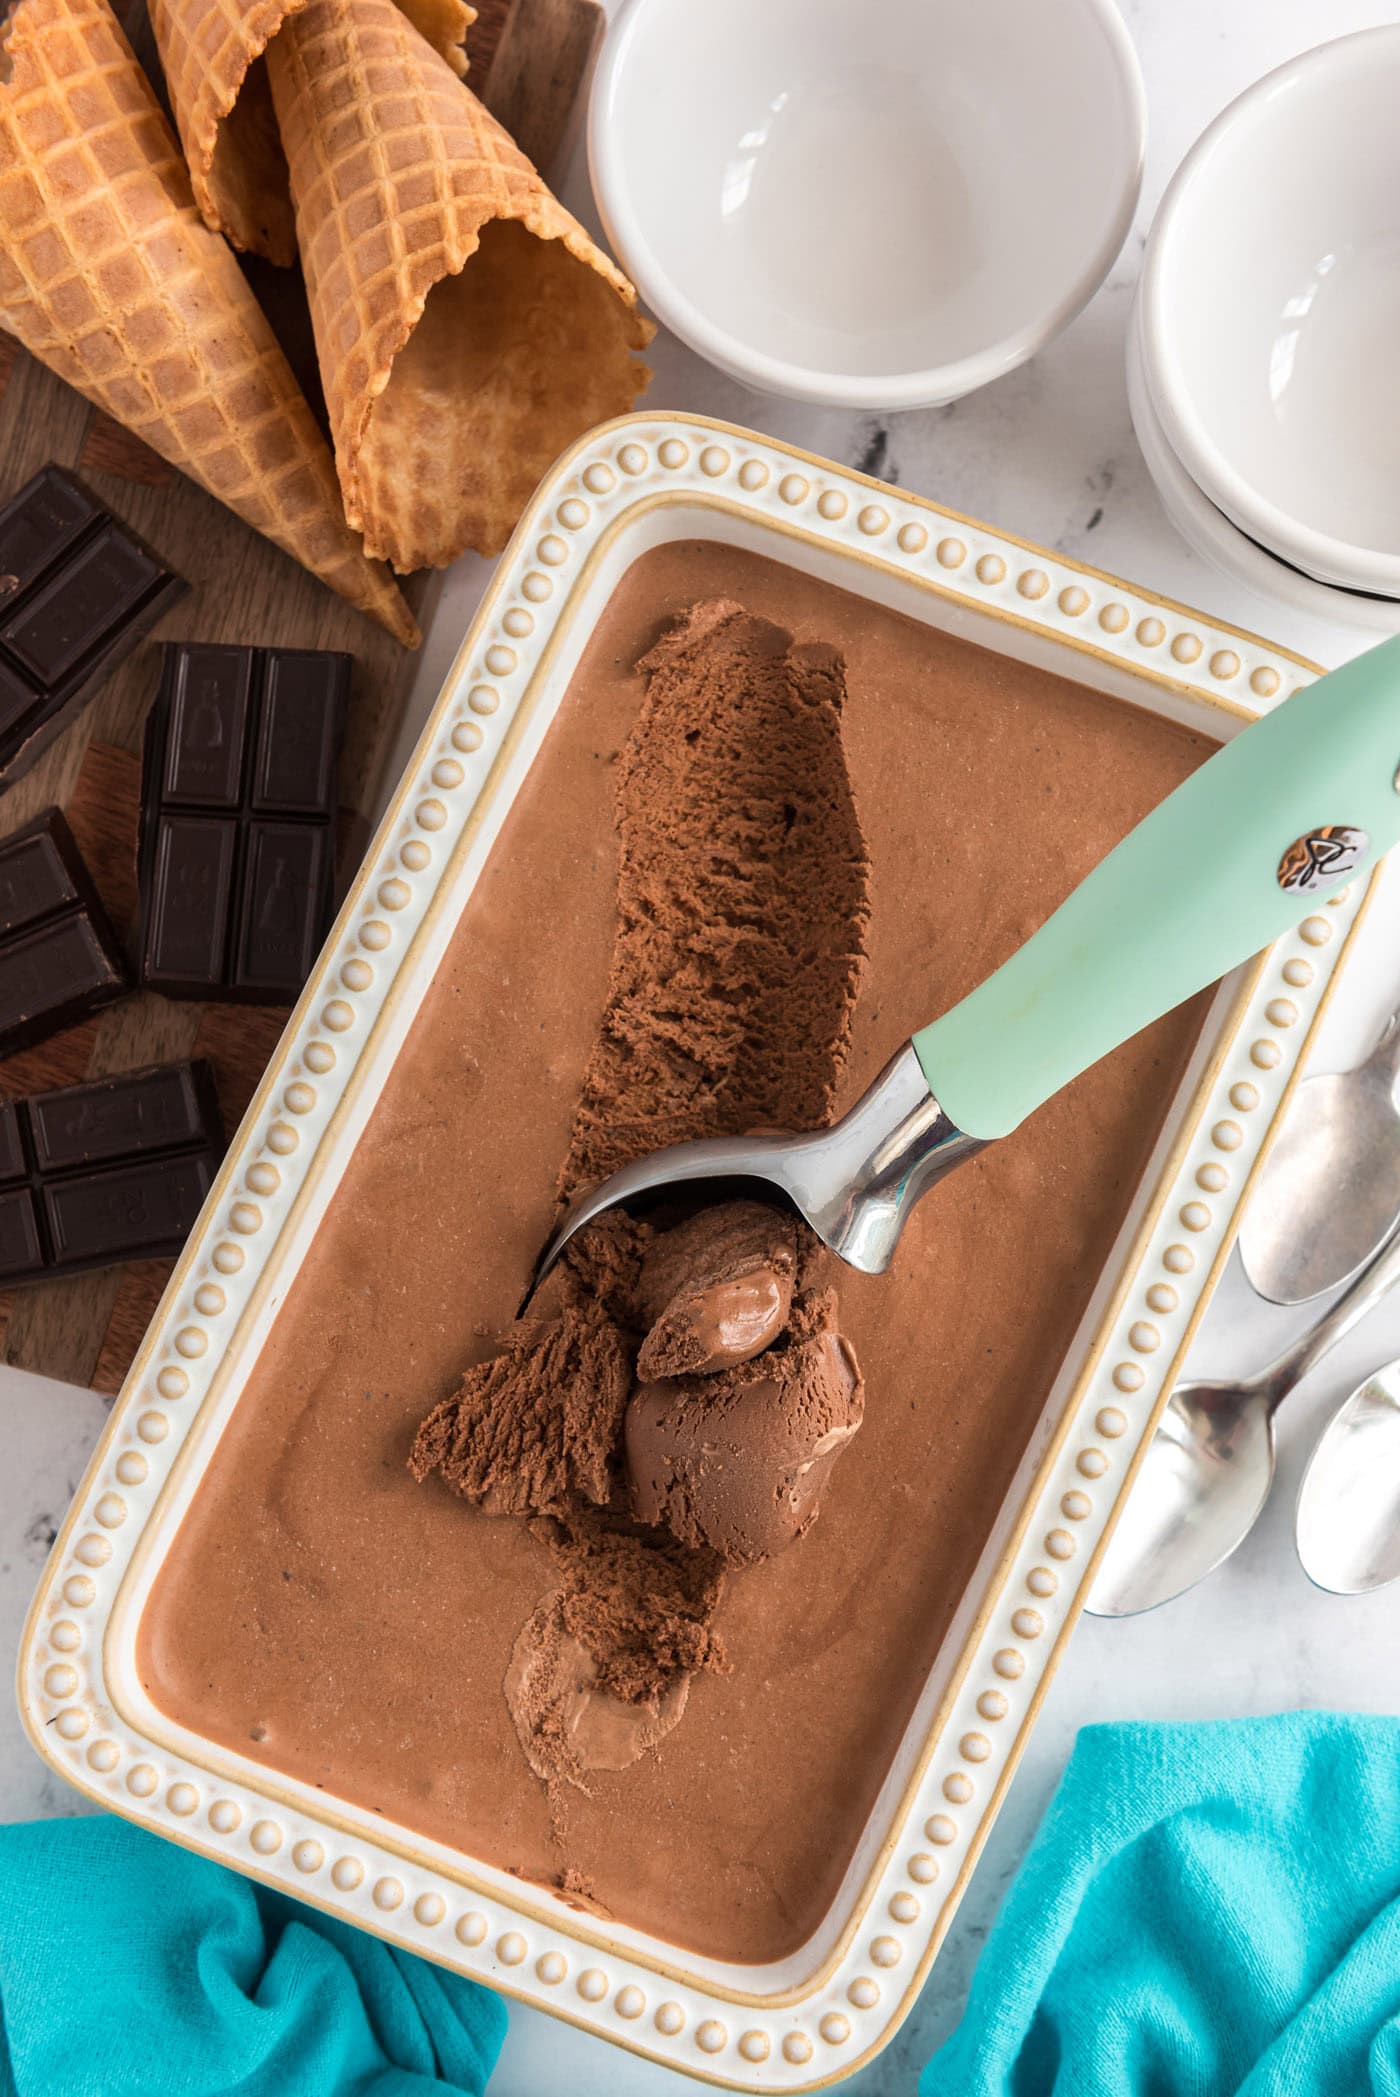
This is the best homemade chocolate ice cream on the block! With homey old-fashioned flavor, it’s rich, decadent, and creamy plus it only requires 7 ingredients to churn.
- Total 3 hours 25 minutes
- Serves 8 servings (makes 1 quart)
- Dessert
- American
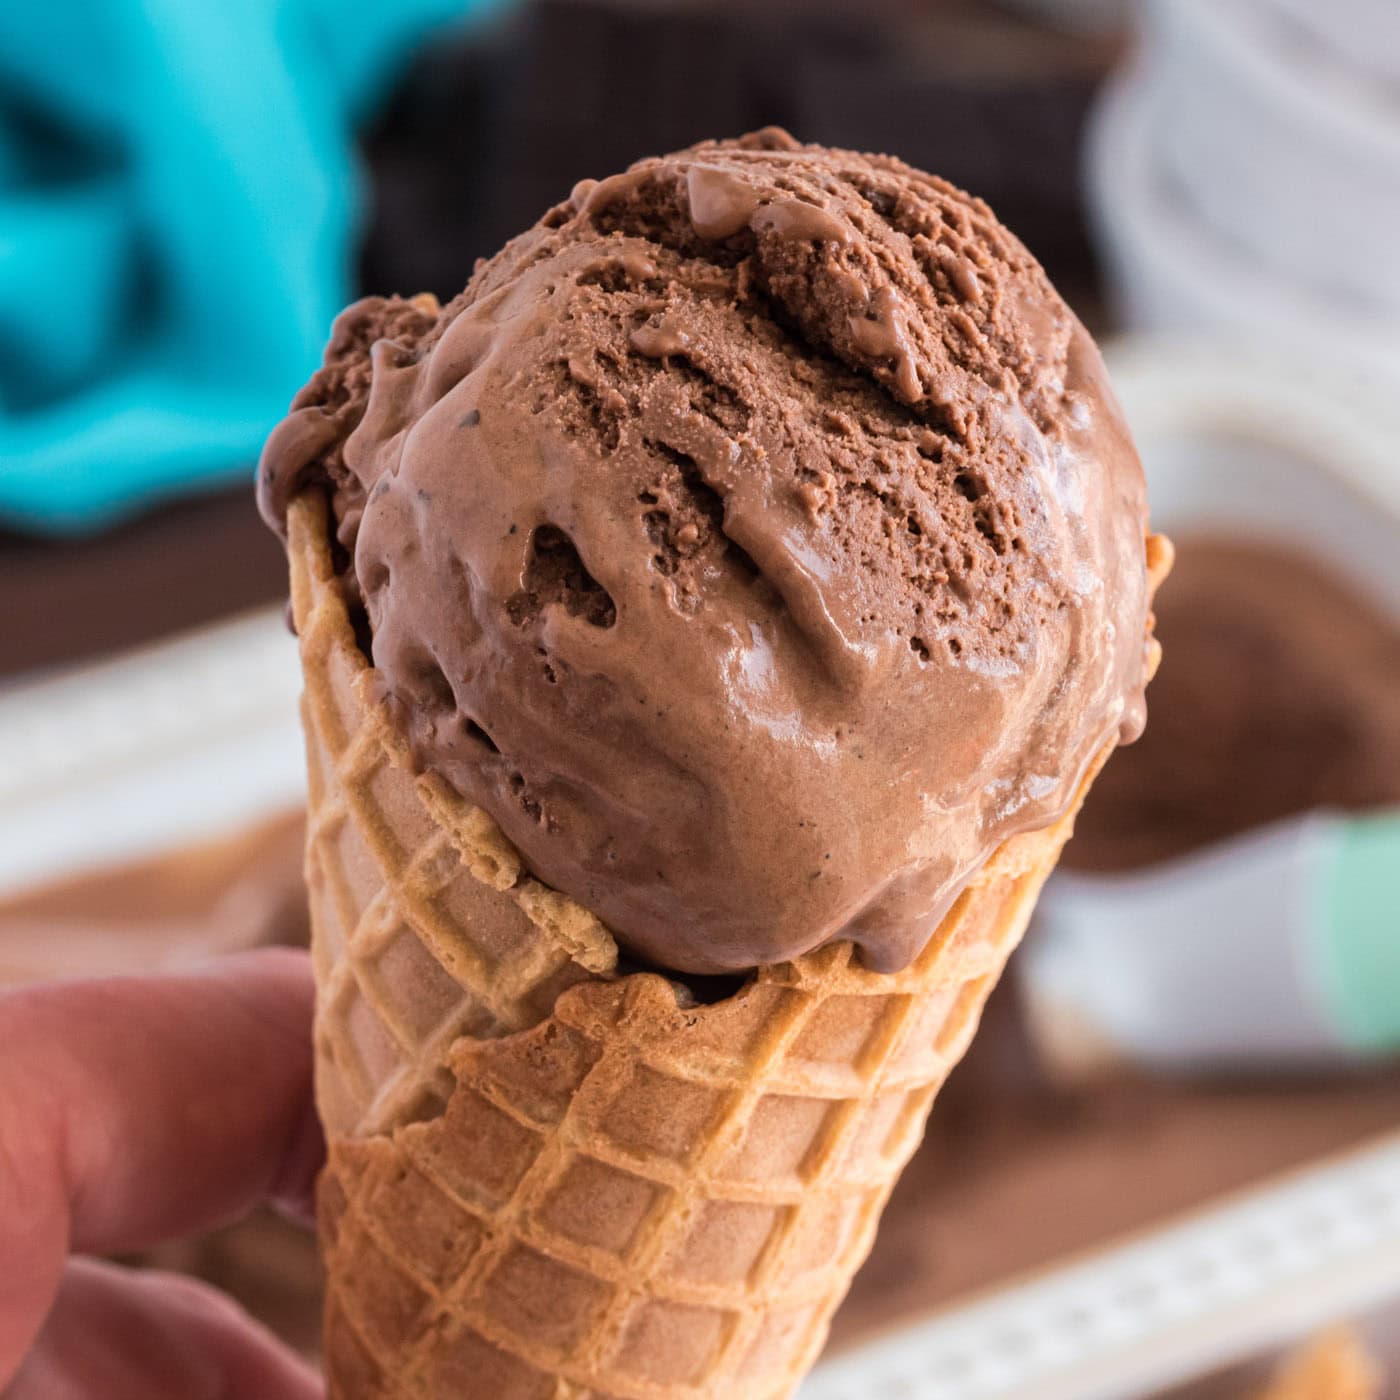
This is the best homemade chocolate ice cream on the block! With homey old-fashioned flavor, it’s rich, decadent, and creamy plus it only requires 7 ingredients to churn.
 more
more
Why this recipe works
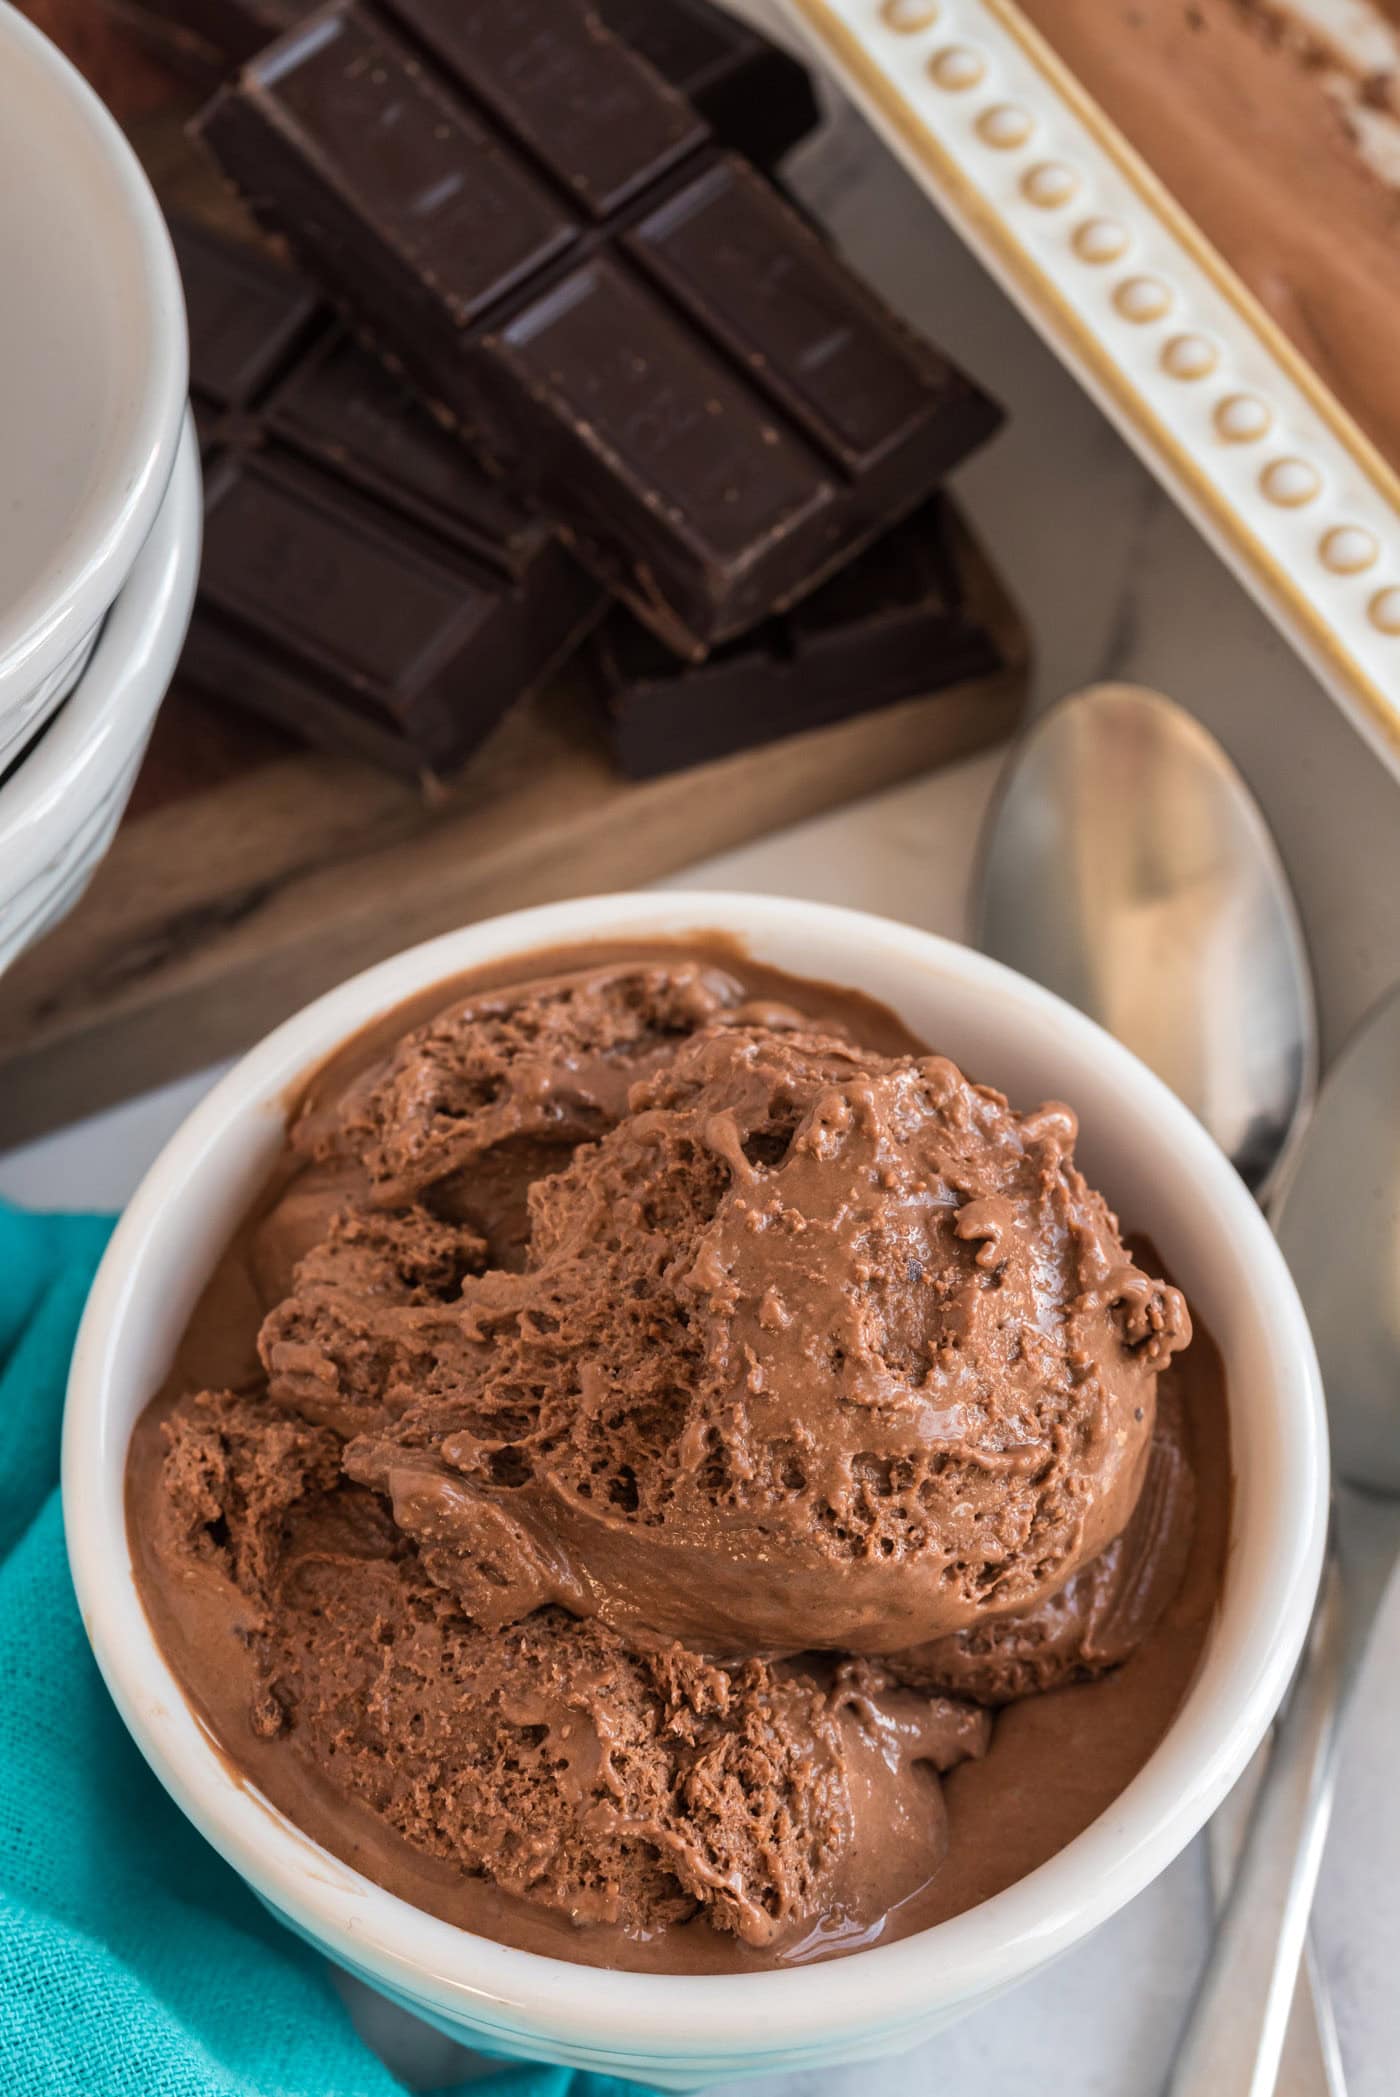
This homemade chocolate ice cream recipe is decadent, silky, creamy, and one hundred percent scoopable. What more could you want from classic old-fashioned chocolate ice cream? It’s about as rich as they come. The pinch of salt added helps the chocolate flavor shine even more. I’ve been making this ice cream 2008 without fail, I think you’re going to love it just as much as us!
You will in fact need an ice cream maker for this recipe, but if you’re looking for a no-churn version, check out our chocolate ice cream recipe.
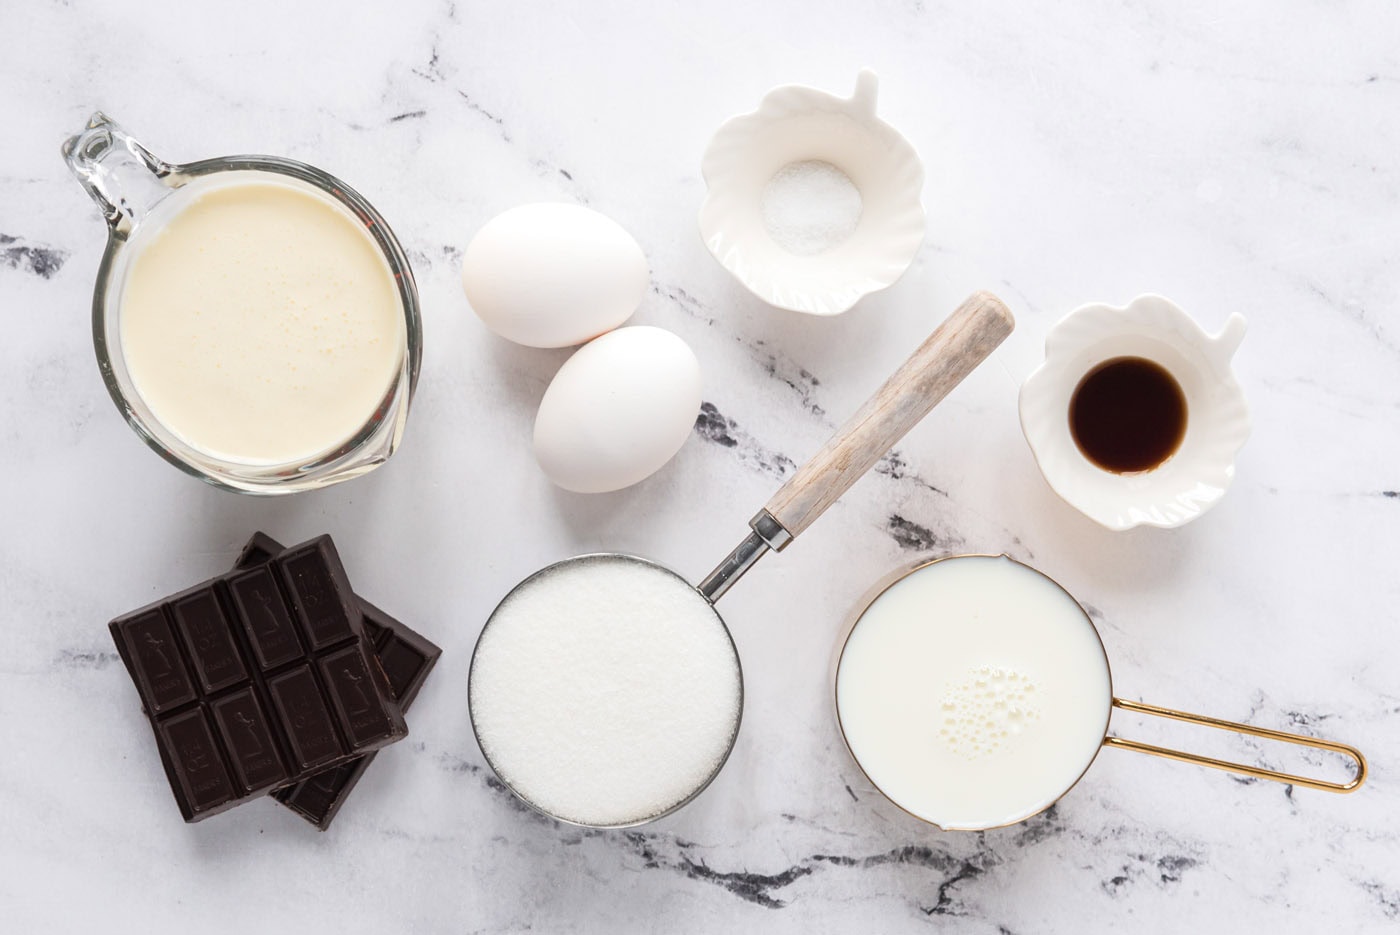
Ingredients you will need
Get all measurements, ingredients, and instructions in the printable version at the end of this post.
Ingredient Info and Substitution Suggestions
HEAVY CREAM – Ice cream gets its creamy texture from its fat content. Therefore, if you substitute milk for the heavy whipping cream, the texture of the finished ice cream will be less smooth and rich. I would suggest sticking to heavy cream for this recipe, but you can experiment if you wish.
EGGS – The eggs bring a bit of body to ice cream helping it become creamy and rich. They work to emulsify the mixture. If you are nervous about using them in ice cream, I would suggest opting for pasteurized eggs.
CHOCOLATE – Choose a good quality bar of unsweetened chocolate for this recipe.
How to Make Homemade Chocolate Ice Cream
These step by step photos and instructions are here to help you visualize how to make this recipe. You can Jump to Recipe to get the printable version of this recipe, complete with measurements and instructions at the bottom.
- Melt the unsweetened chocolate in the top of a double boiler over hot, not boiling water.
EXPERT TIP – Don’t have a double boiler? You can use a heat-safe boil, such as a stainless steel bowl, instead. Be sure it fits over your saucepan. You do not want the water to touch the bottom of the bowl.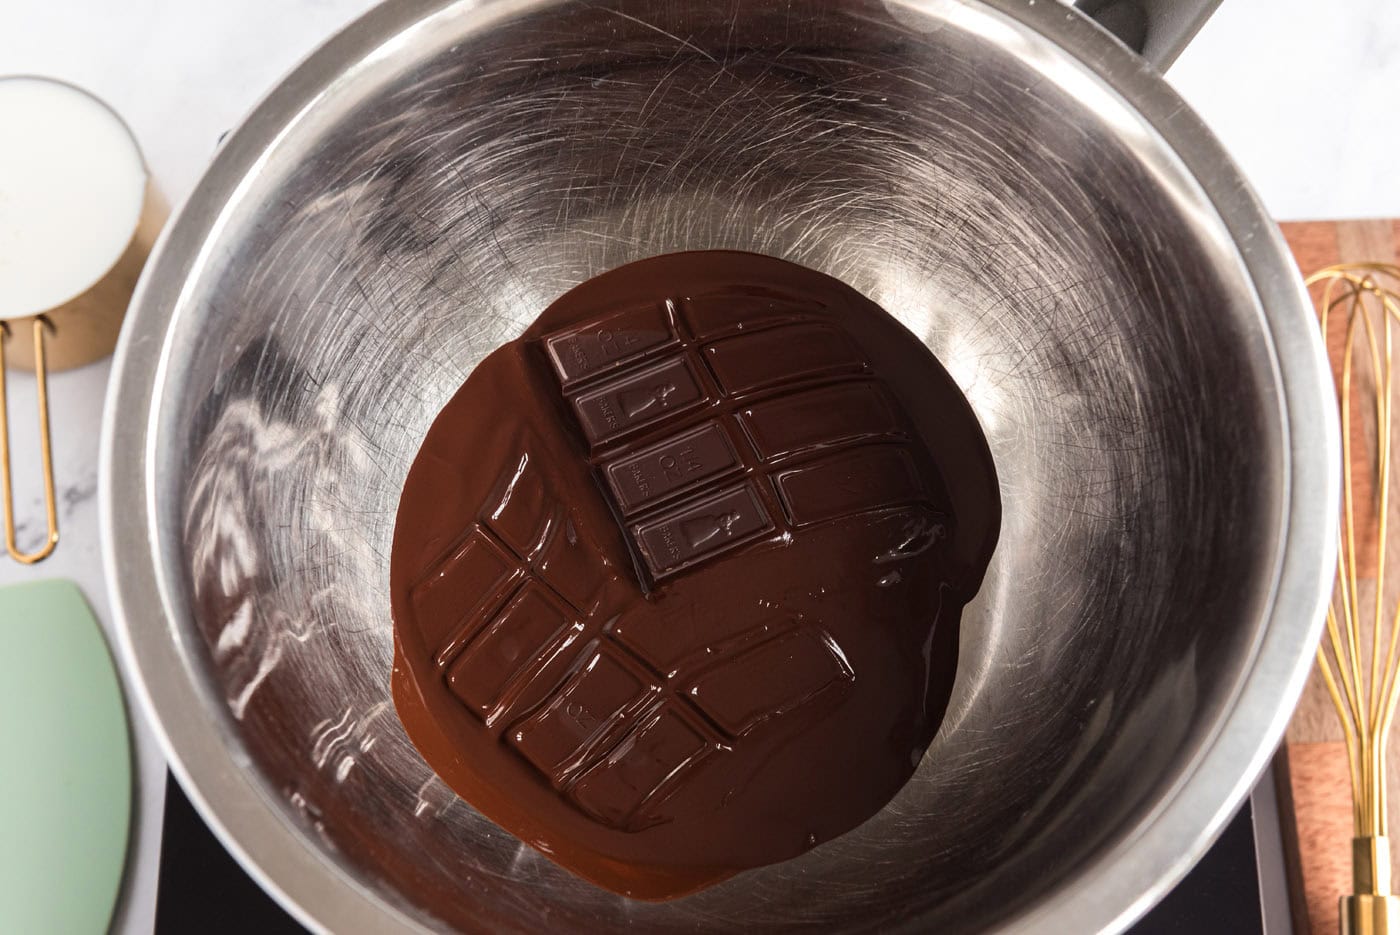
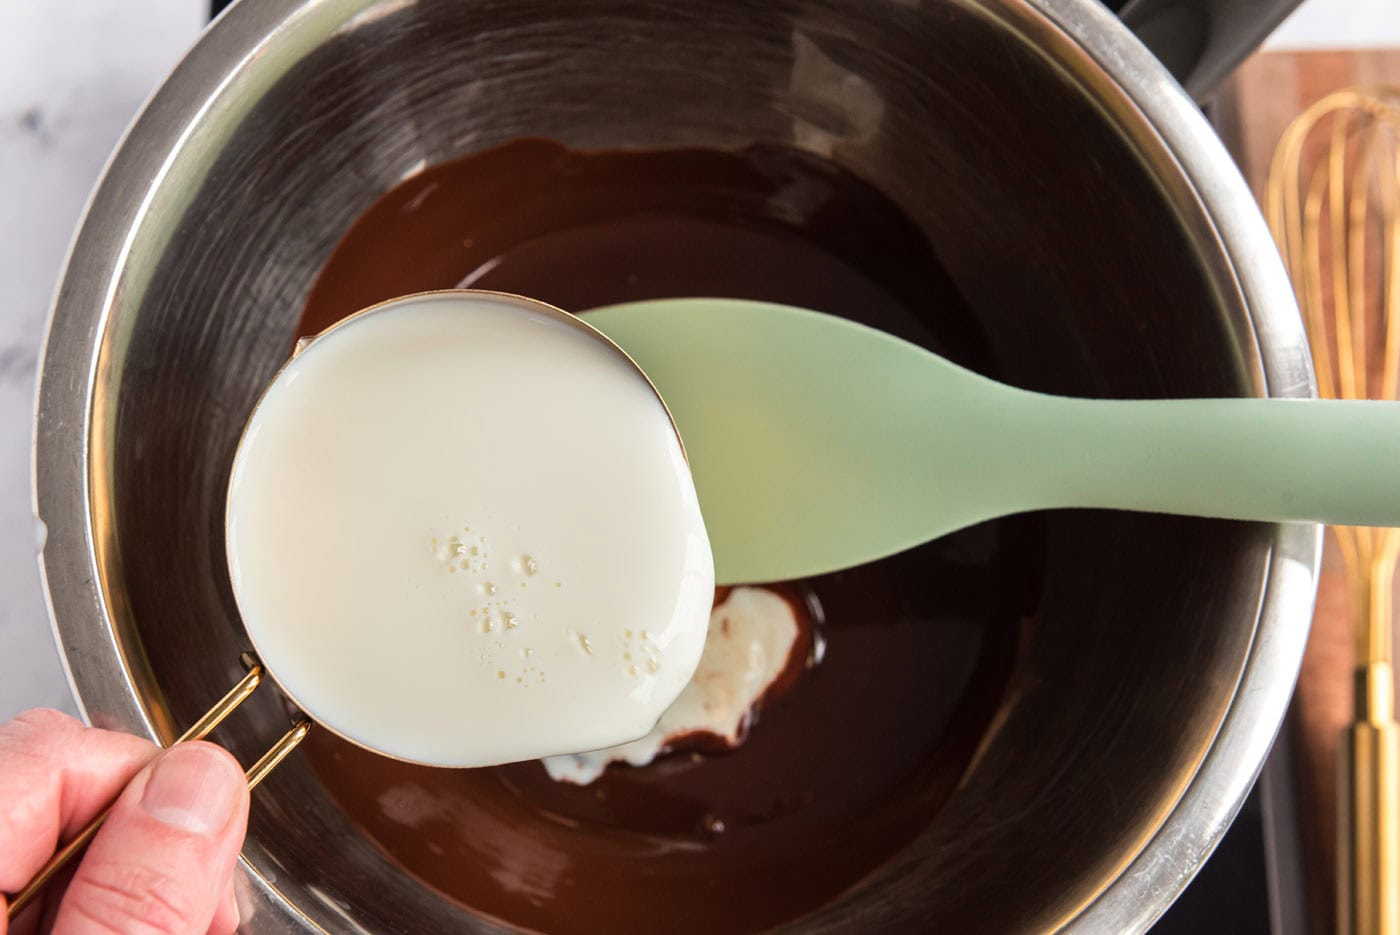
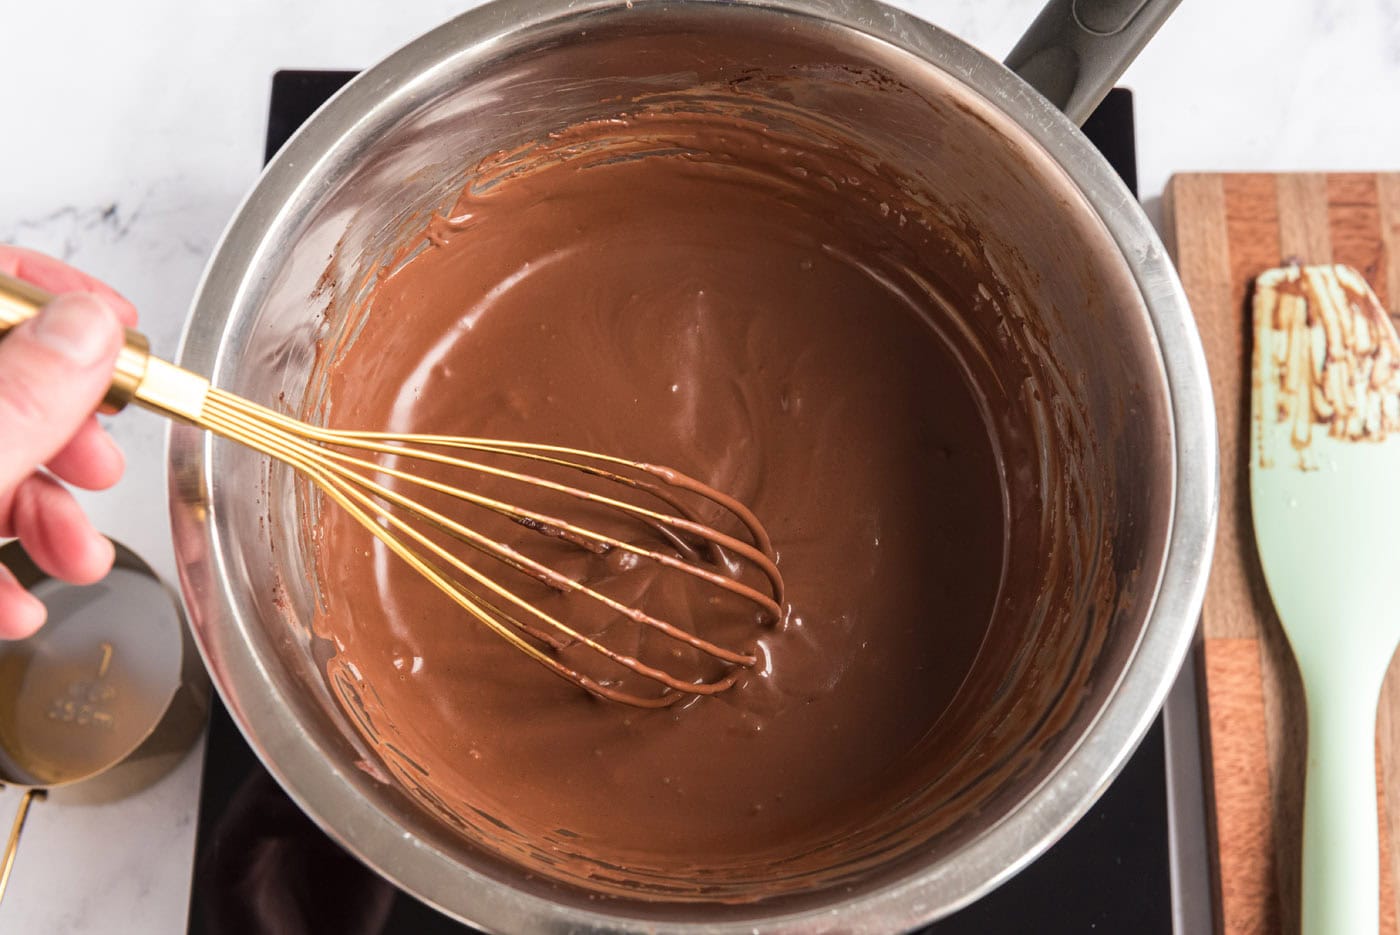
- Gradually whisk in the milk and heat, stirring constantly, until smooth. Remove from the heat and let cool.
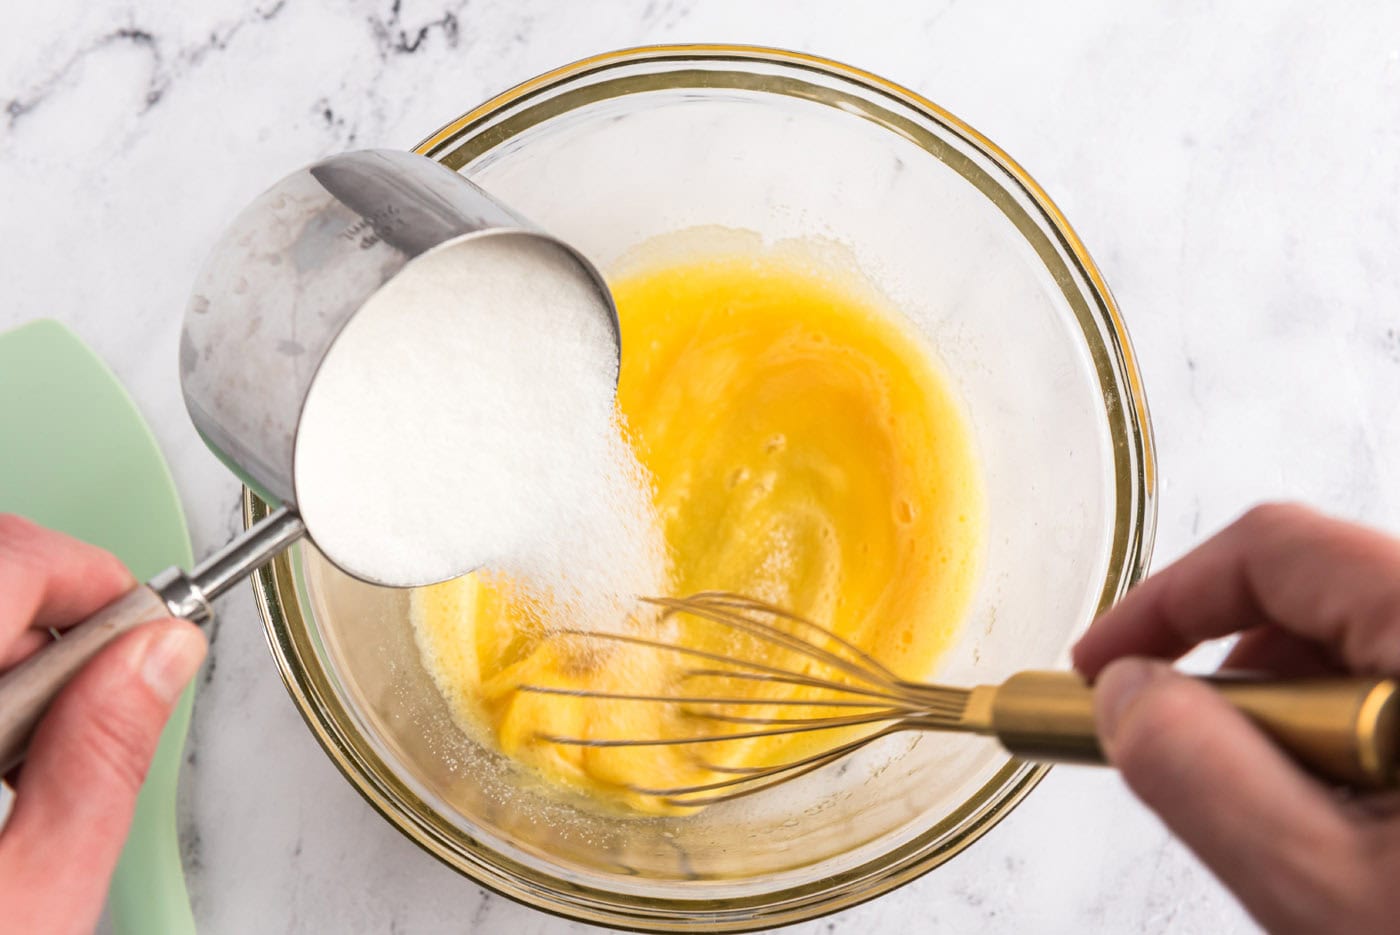
- Whisk the eggs in a mixing bowl until light and fluffy, 1-2 minutes. Whisk in the sugar, a little at a time, then continue whisking until completely blended, about 1 minute more.
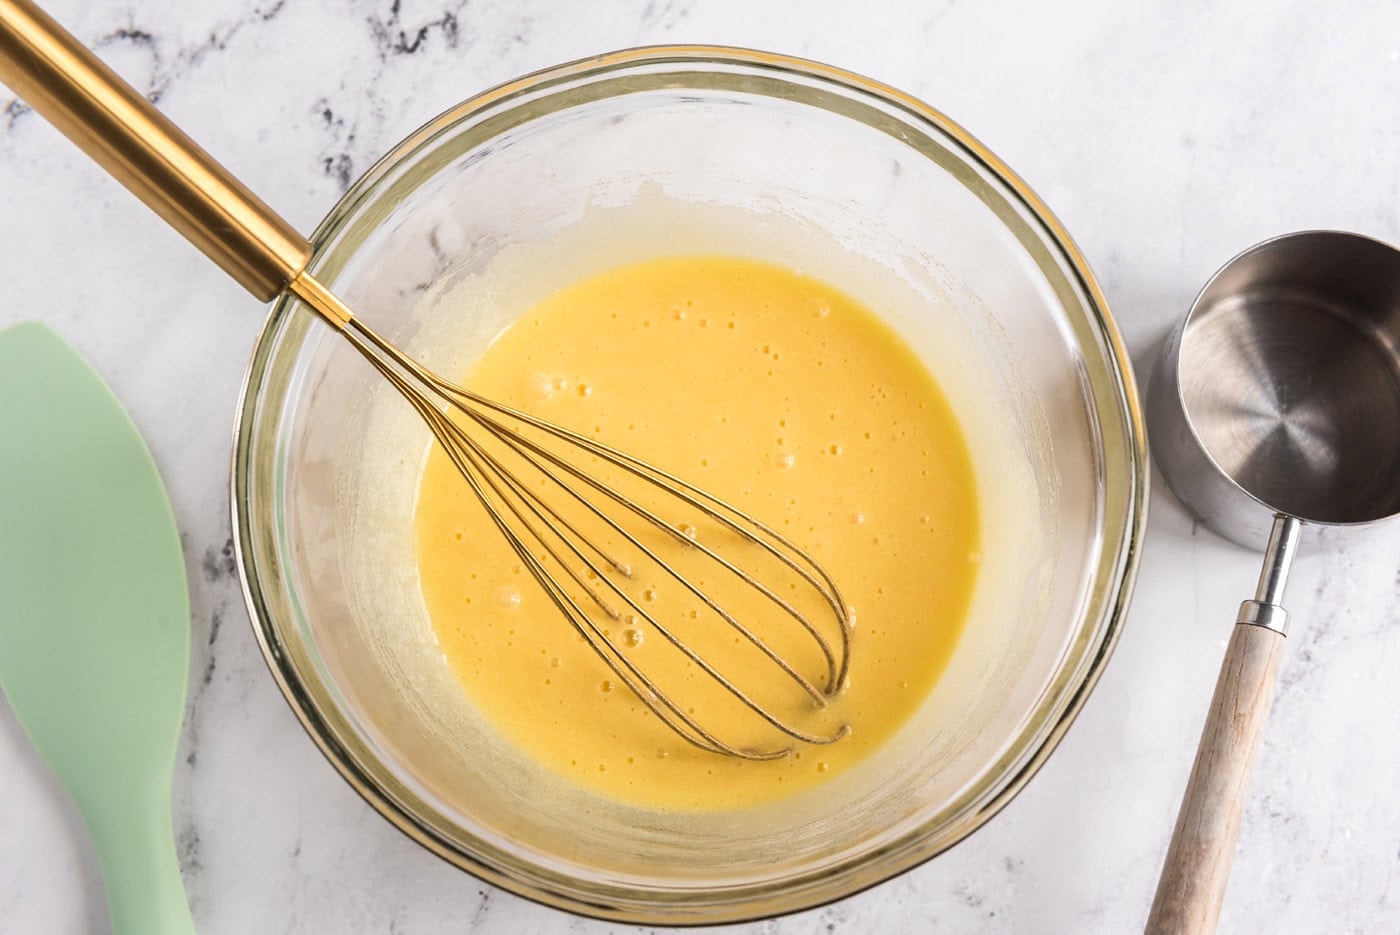
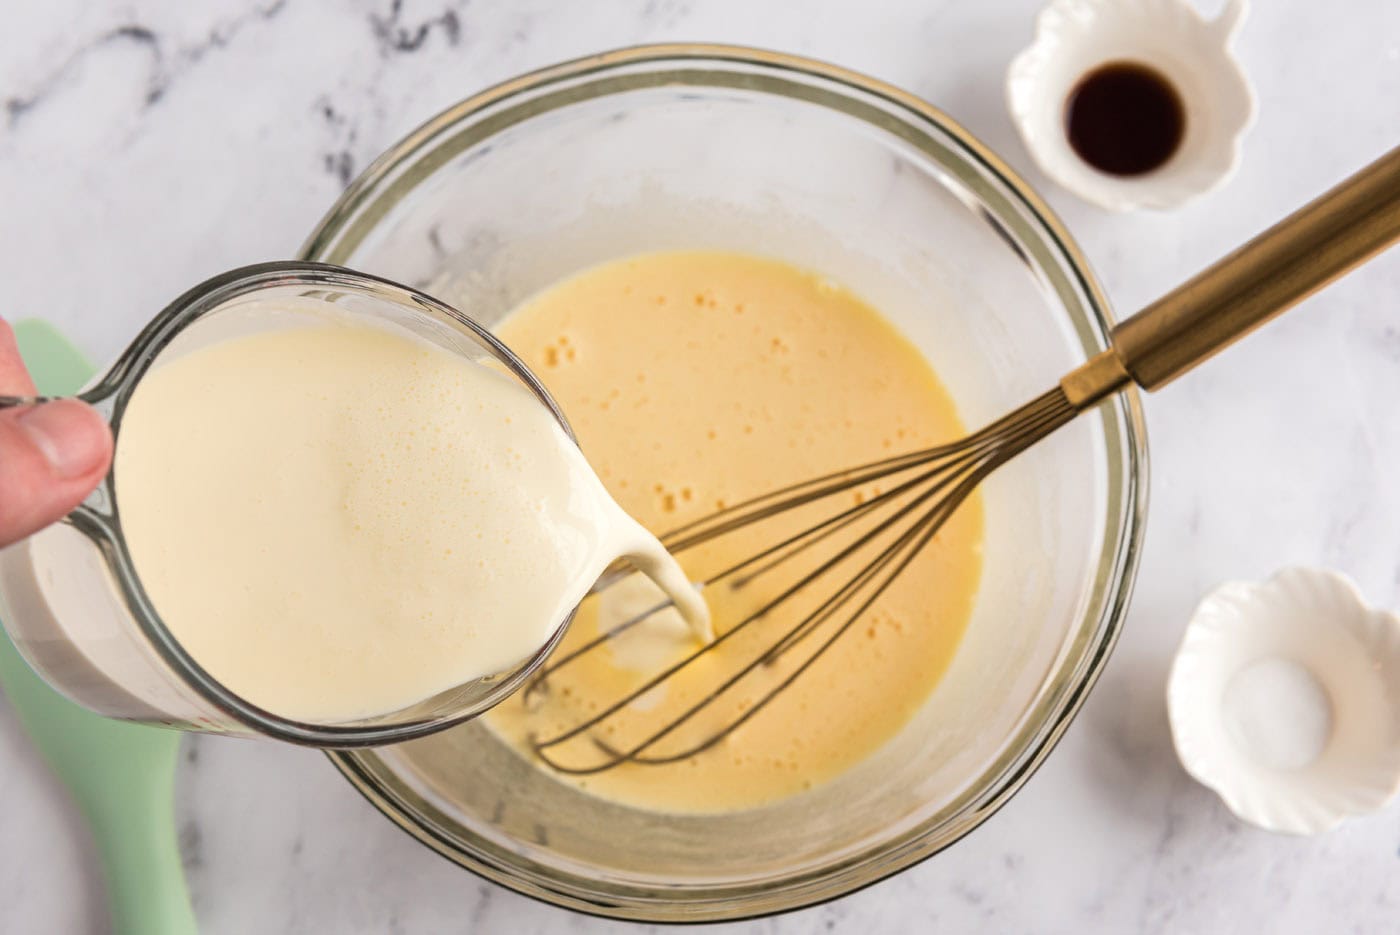
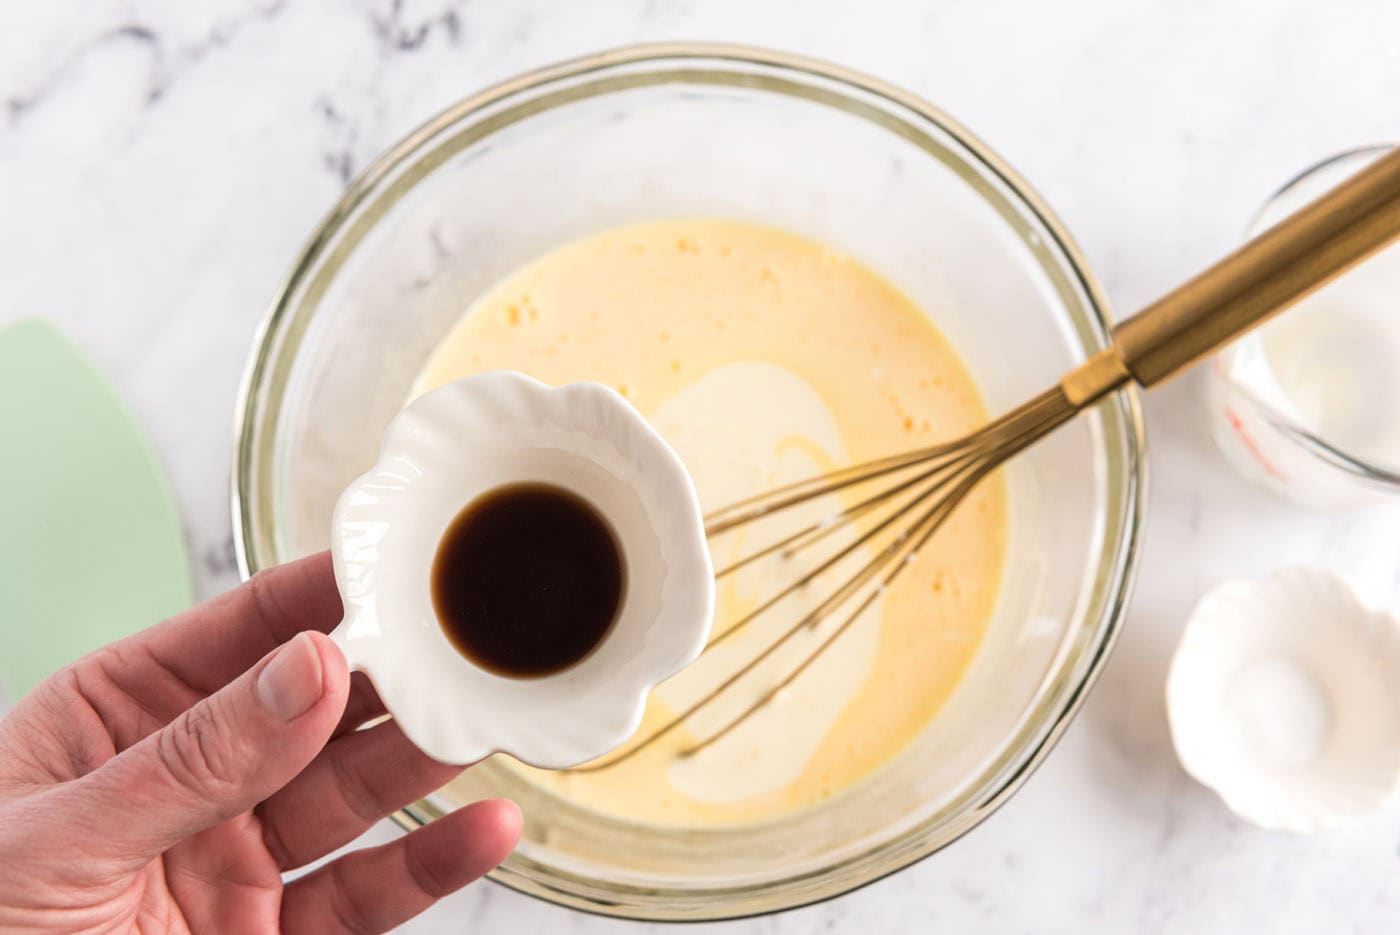
- Add the cream, vanilla, and salt and whisk to blend.
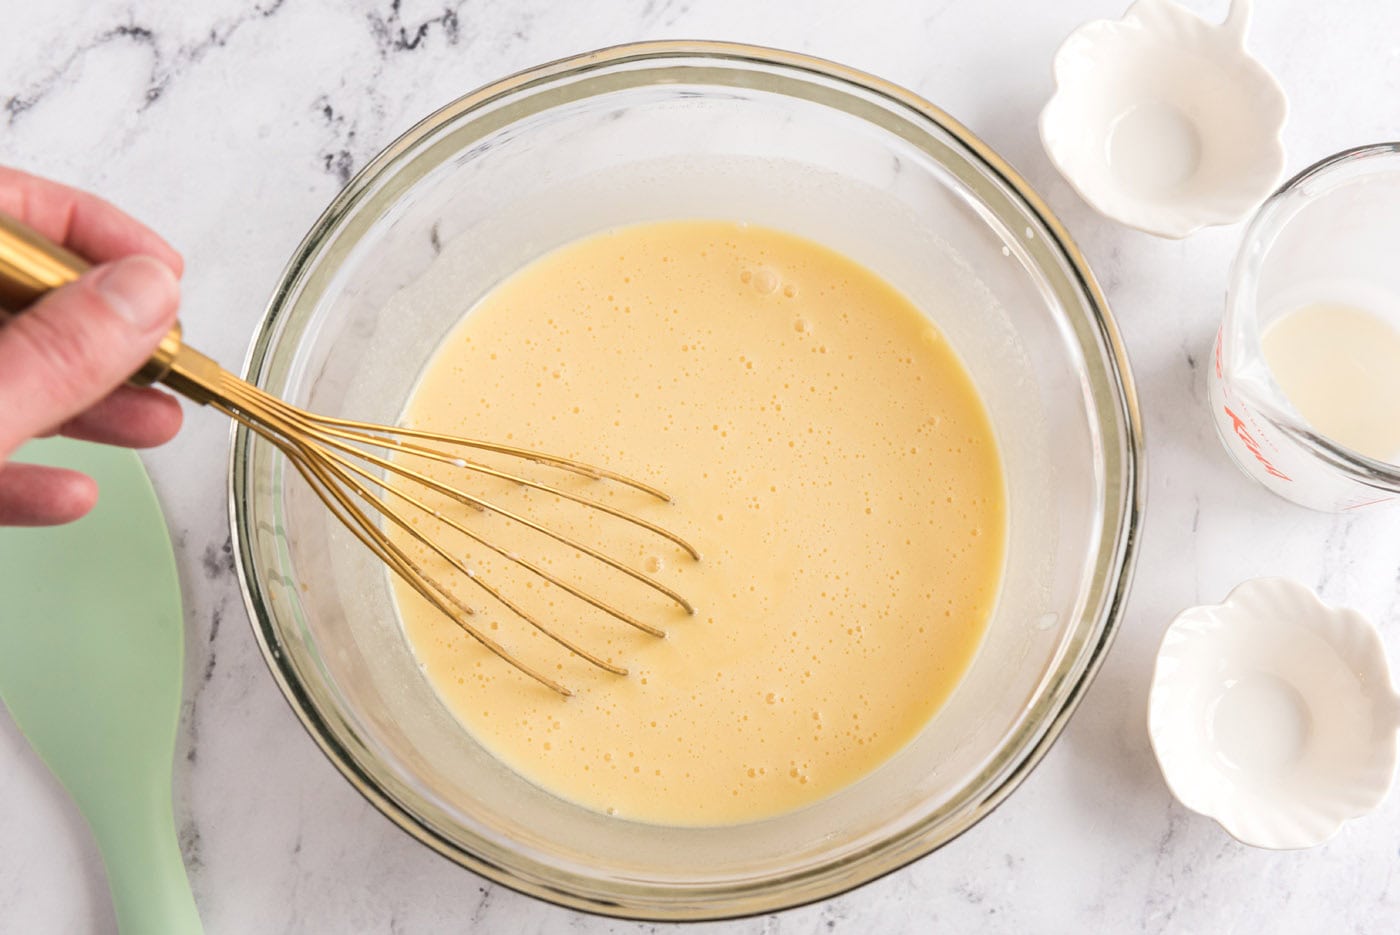
- Pour the chocolate mixture into the cream mixture and blend.
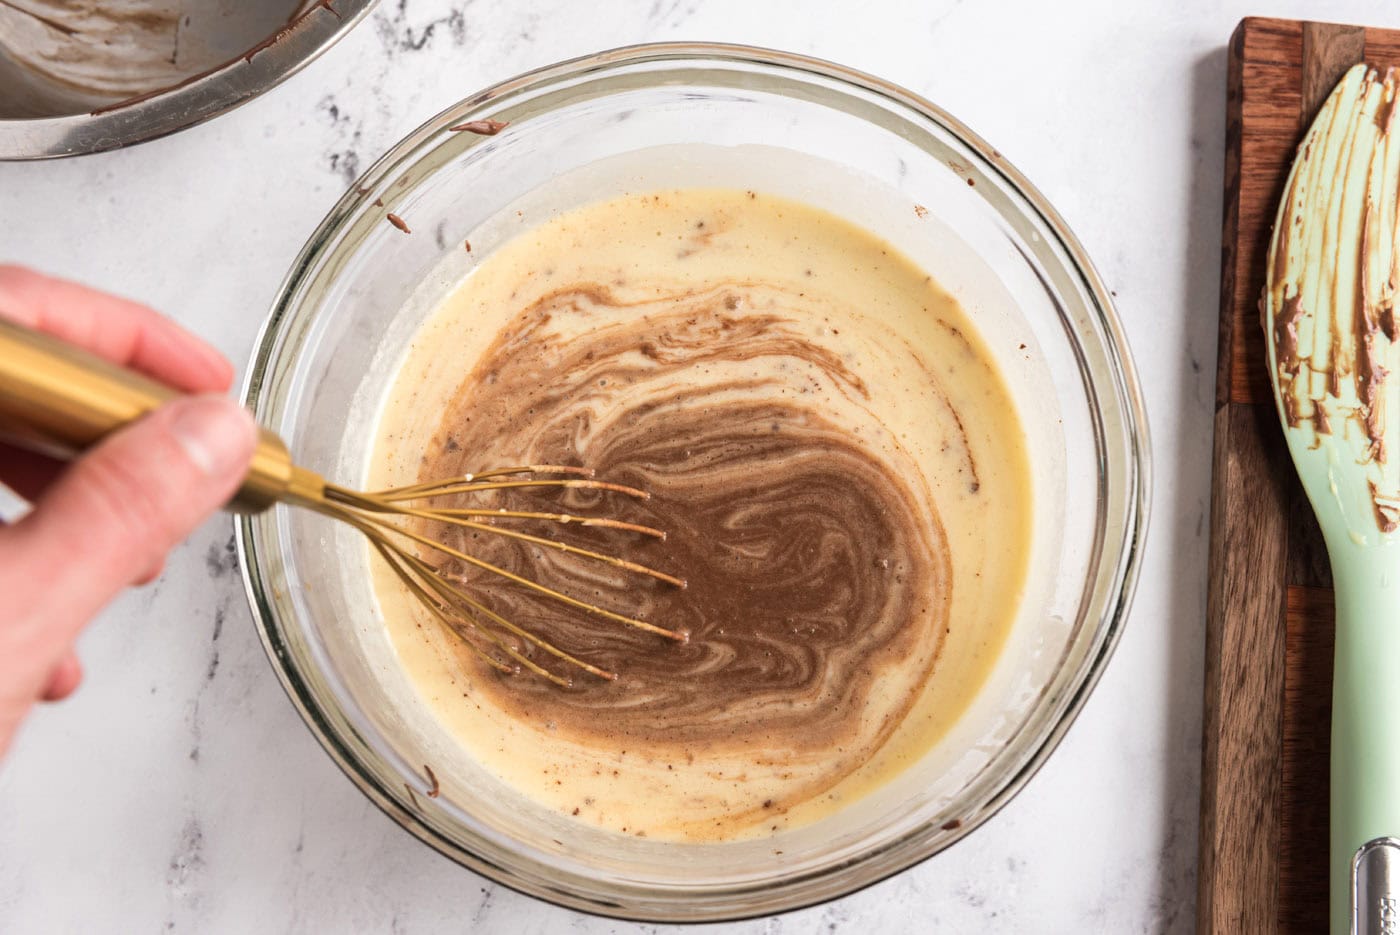
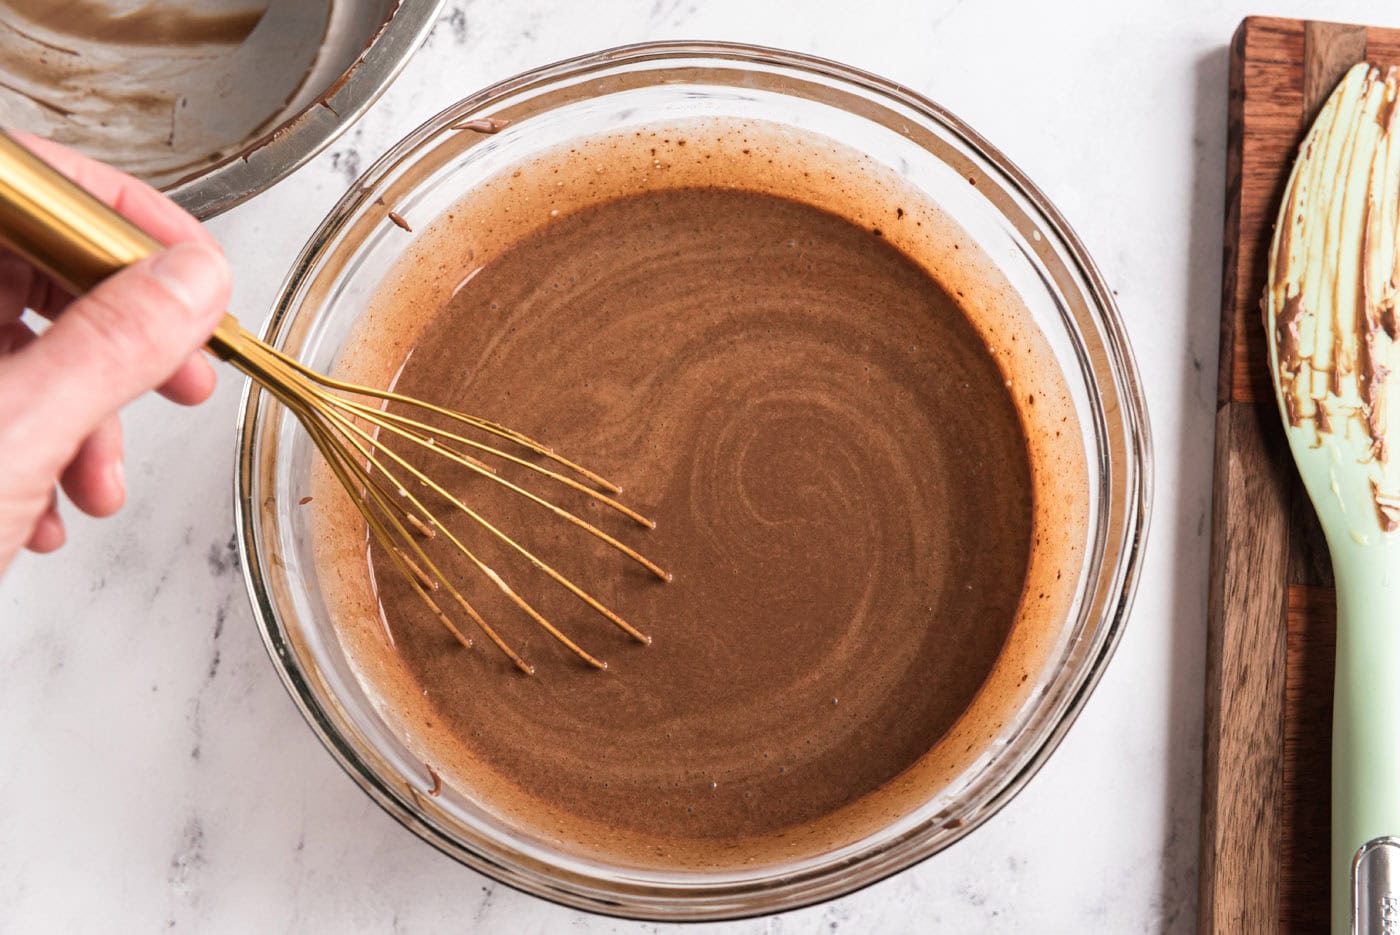
- Cover and refrigerate until cold, about 1-3 hours, depending on your refrigerator.
- Transfer the mixture to an ice cream maker and freeze following the manufacturer’s instructions. Makes 1 generous quart.
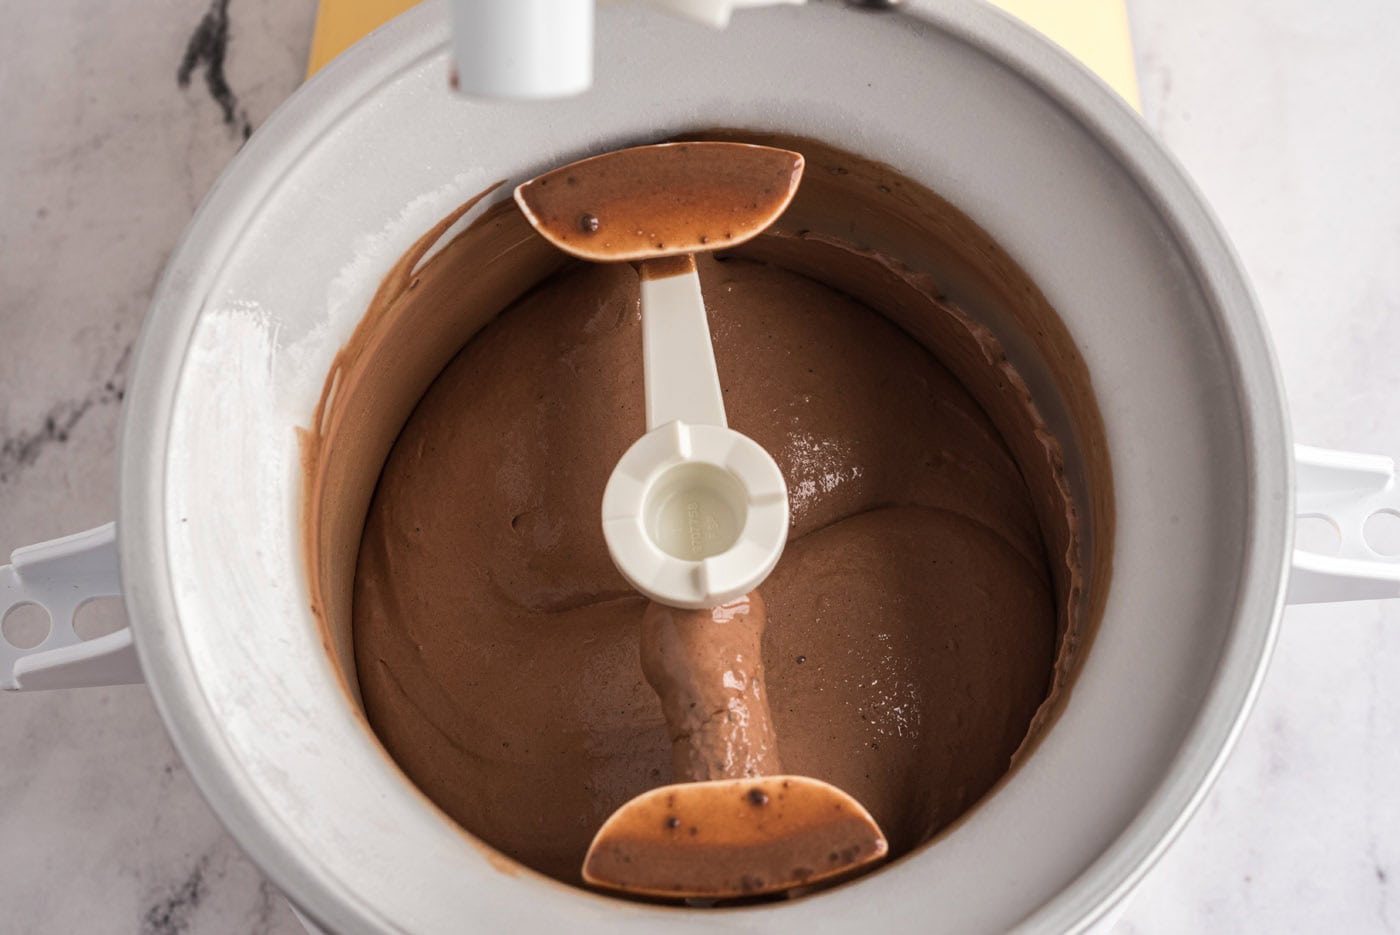
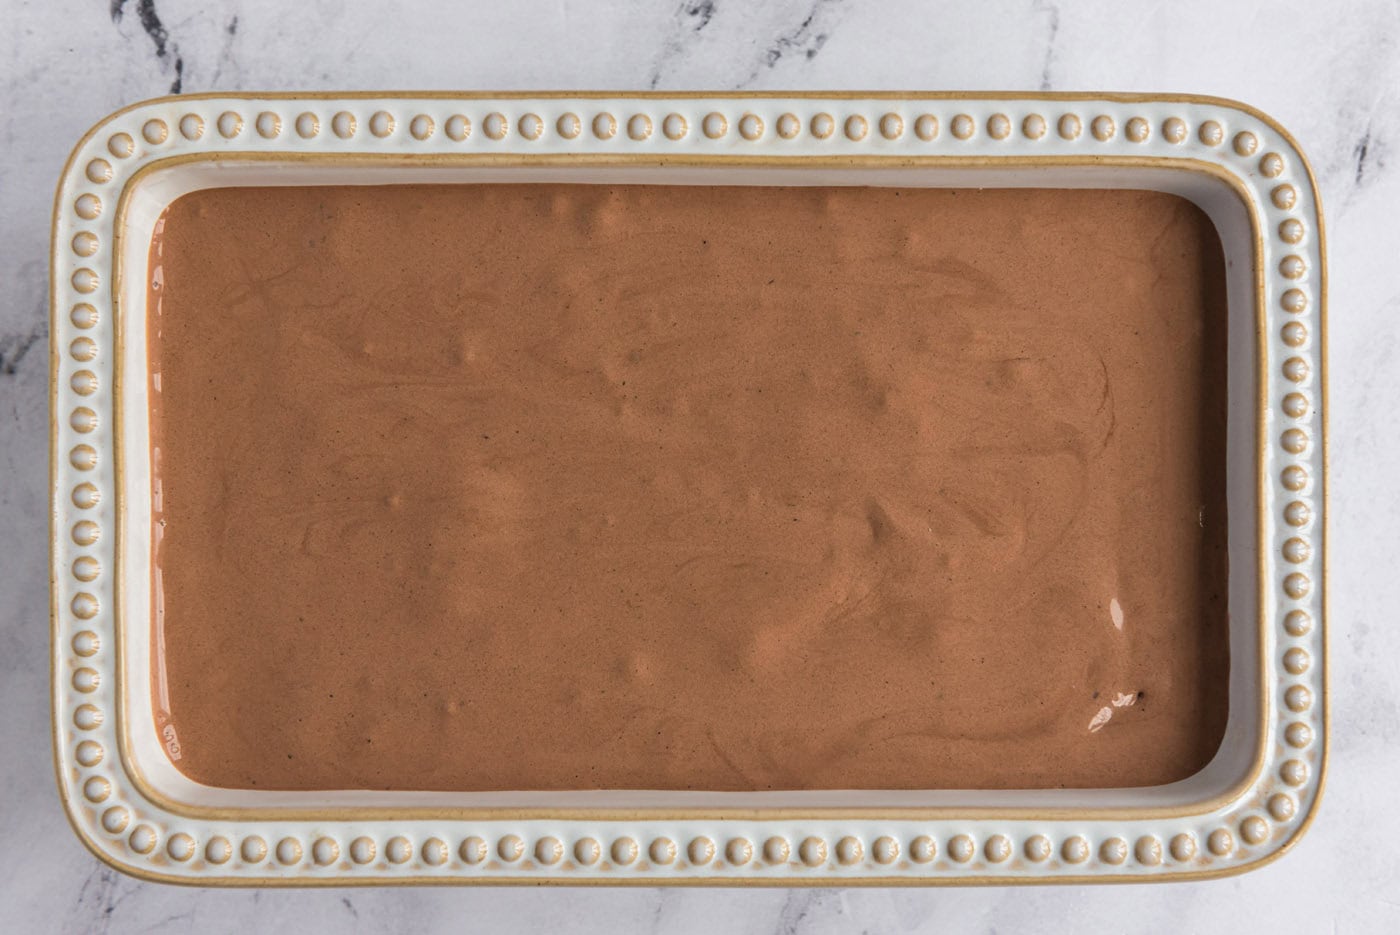
Frequently Asked Questions & Expert Tips
Can I make it without an ice cream maker?Making this recipe into a no-churn recipe requires quite a few substitutions. Hop over to our no churn chocolate ice cream recipe to see how to make it without an ice cream maker.
How long is homemade chocolate ice cream good for?Homemade chocolate ice cream can be stored in the freezer, covered, for 2-3 weeks. Because it does not contain any preservatives, it does not last as long as store-bought ice cream.
Can I add stuff to this chocolate ice cream recipe?Yes, you can add chopped nuts such as almonds or walnuts, marshmallows, brownie chunks, chocolate chips, candy pieces, you name it. Add any extra ingredients in during the last minute of churning.
Serving Suggestions
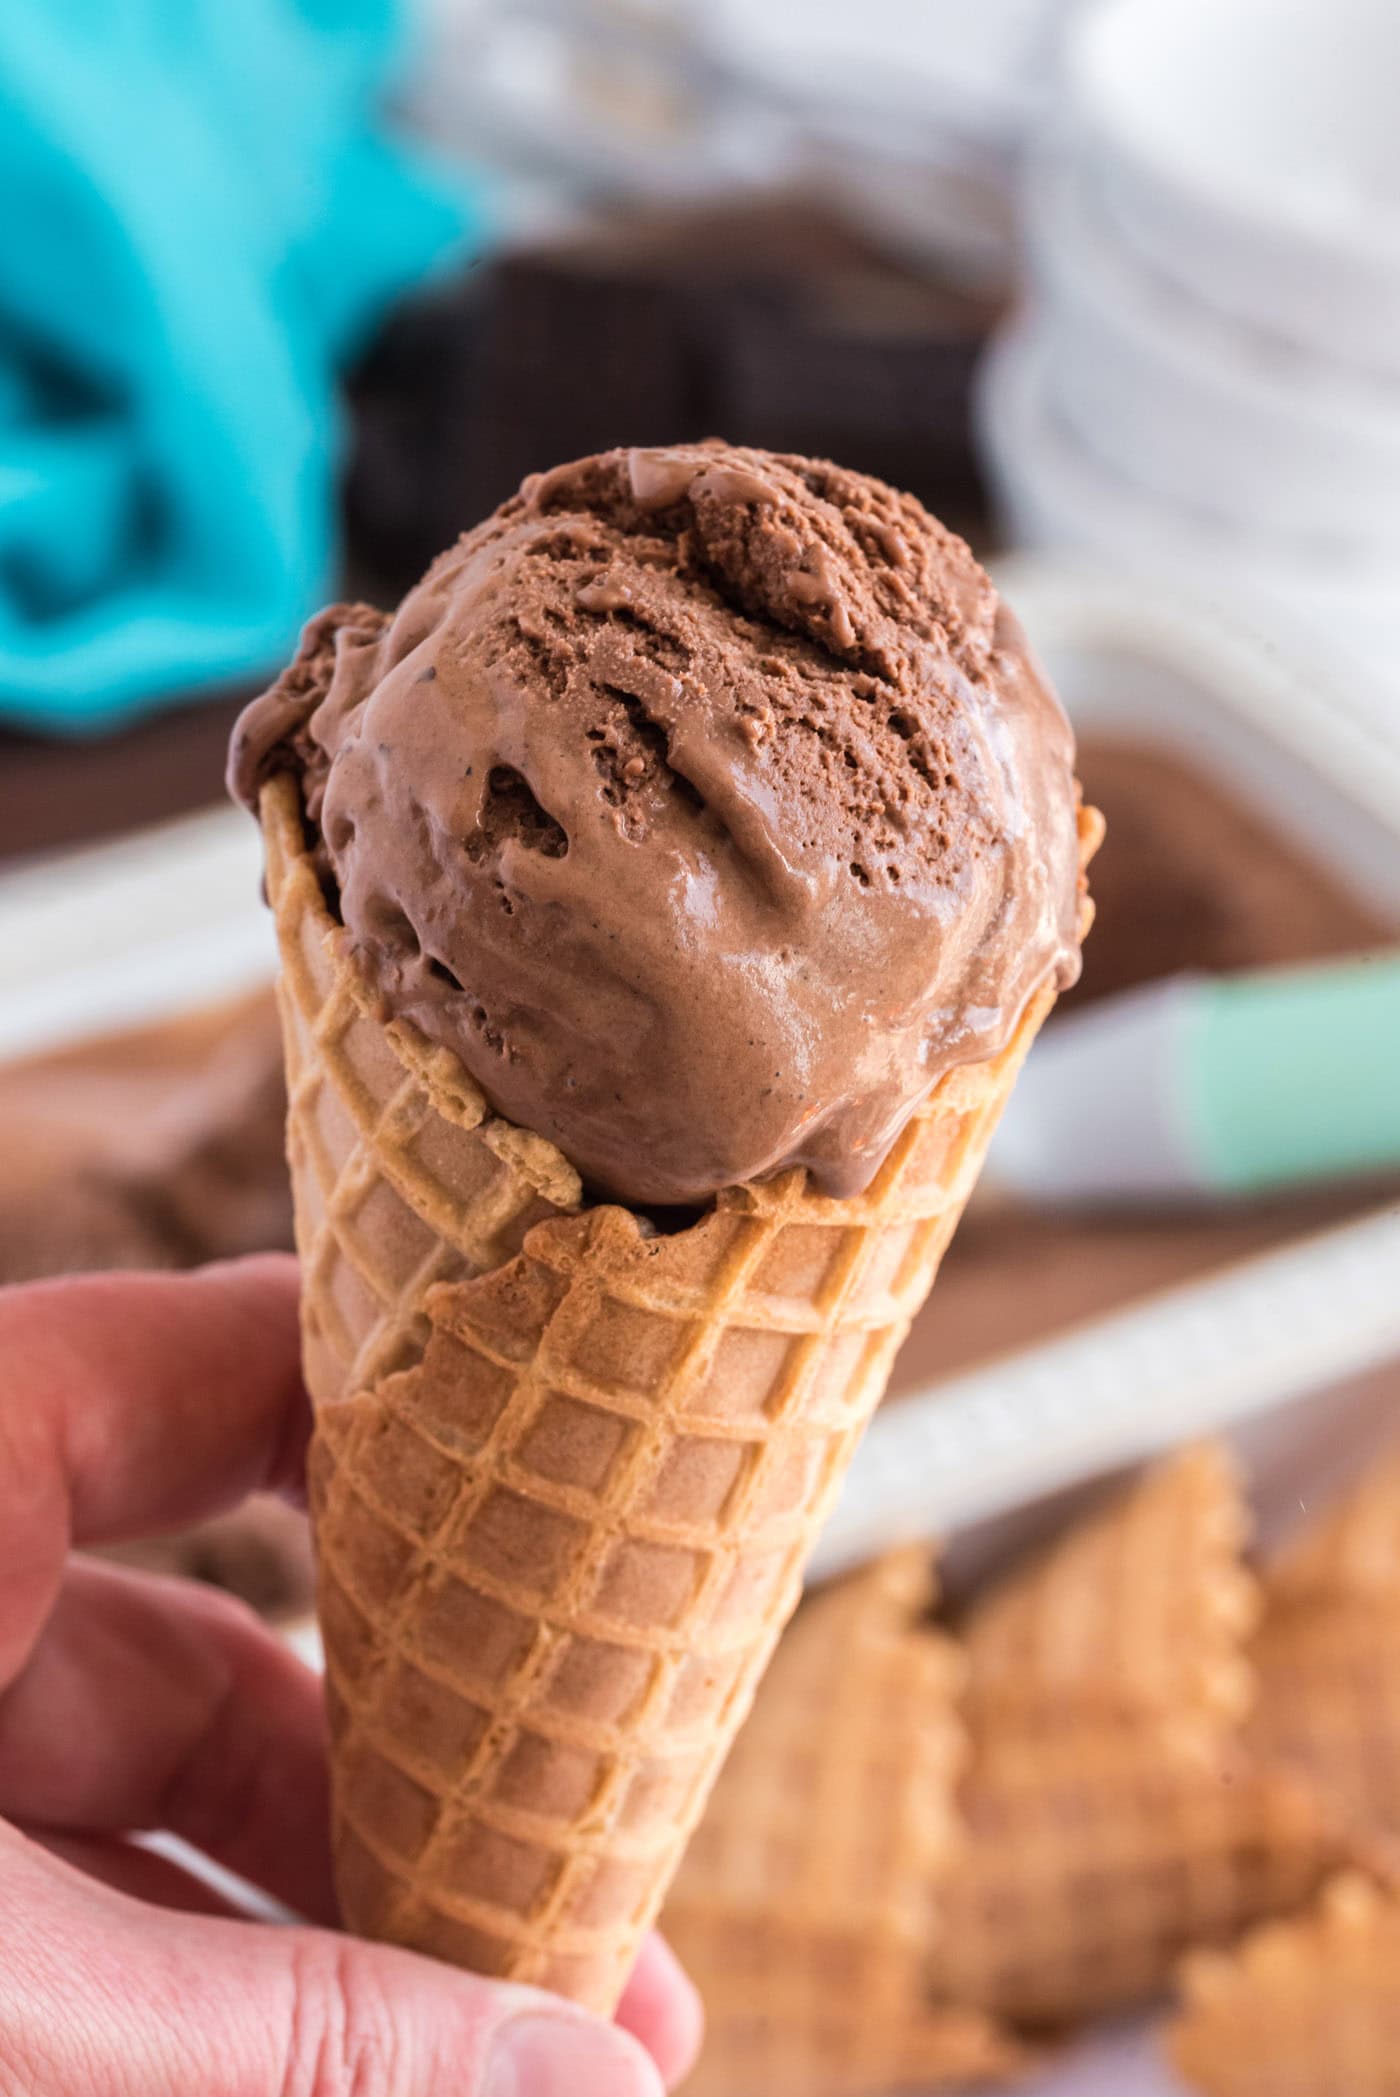
When ready to serve, allow the homemade chocolate ice cream to sit at room temperature for 5-10 minutes to soften before scooping. Top with your favorite ice cream additions such as caramel, fruit, or hot fudge drizzle as well as sprinkles, nuts, chopped candy bars, mini chocolate chips, whipped cream, and beyond!
However, this ice cream is perfectly satisfying all on its own. Scoop it into a bowl or onto a cone and enjoy!
More Ice Cream Recipes
- Rocky Road Ice Cream
- White Chocolate Ice Cream
- Peanut Butter Chocolate Chip Ice Cream
- Homemade Mint Chocolate Chip Ice Cream
I love to bake and cook and share my kitchen experience with all of you! Remembering to come back each day can be tough, that’s why I offer a convenient newsletter every time a new recipe posts. Simply subscribe and start receiving your free daily recipes!
This post originally appeared here on Dec 15, 2008 and has since been updated with new photos and expert tips.
More recipes to try
Eight more recipes from the kitchen.

Grilled Mahi Mahi
Tender grilled mahi mahi comes out perfectly in under 30 minutes every…
Raspberry Trifle
This raspberry trifle creates a grand display of fresh berries…
Peach Upside Down Cake
Buttery caramelized peaches atop a light and fluffy cake base, this…
Strawberry Banana Fizzy Float
This deliciously refreshing strawberry banana fizzy float recipe only…
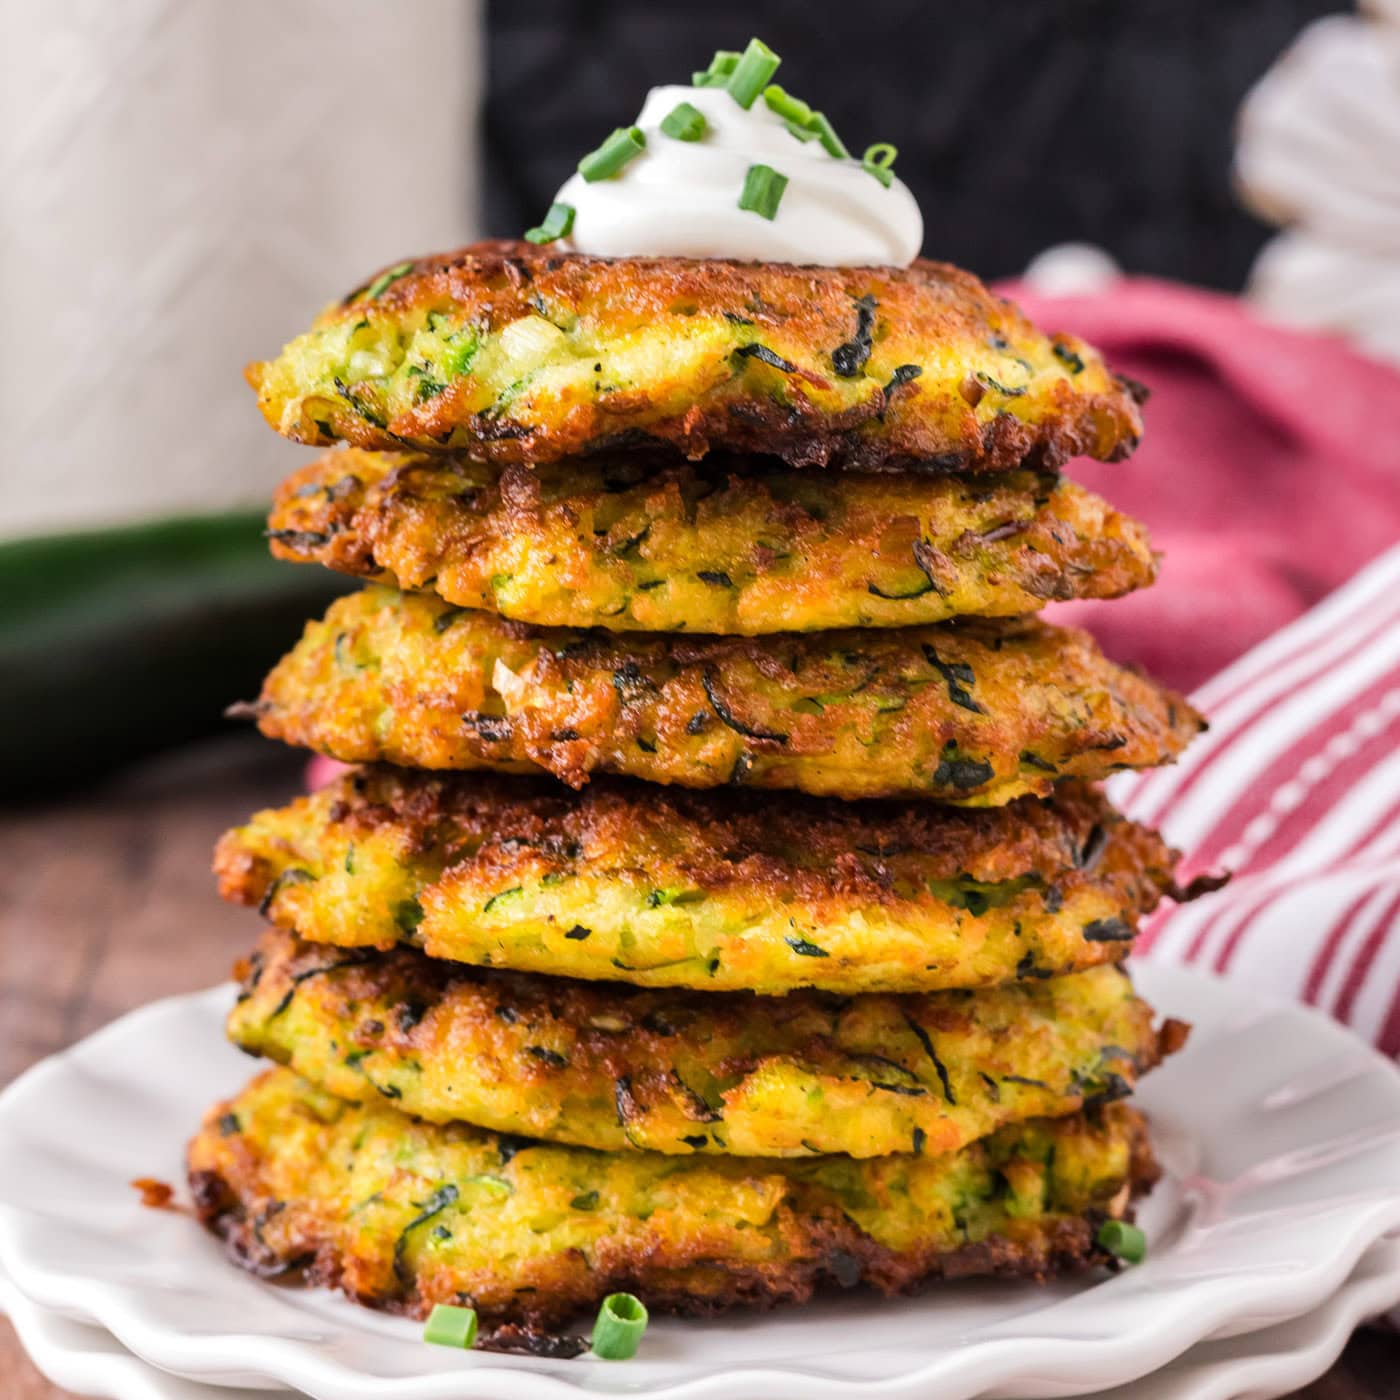
Zucchini Fritters
This easy zucchini fritters recipe has a perfectly crisp golden crust…
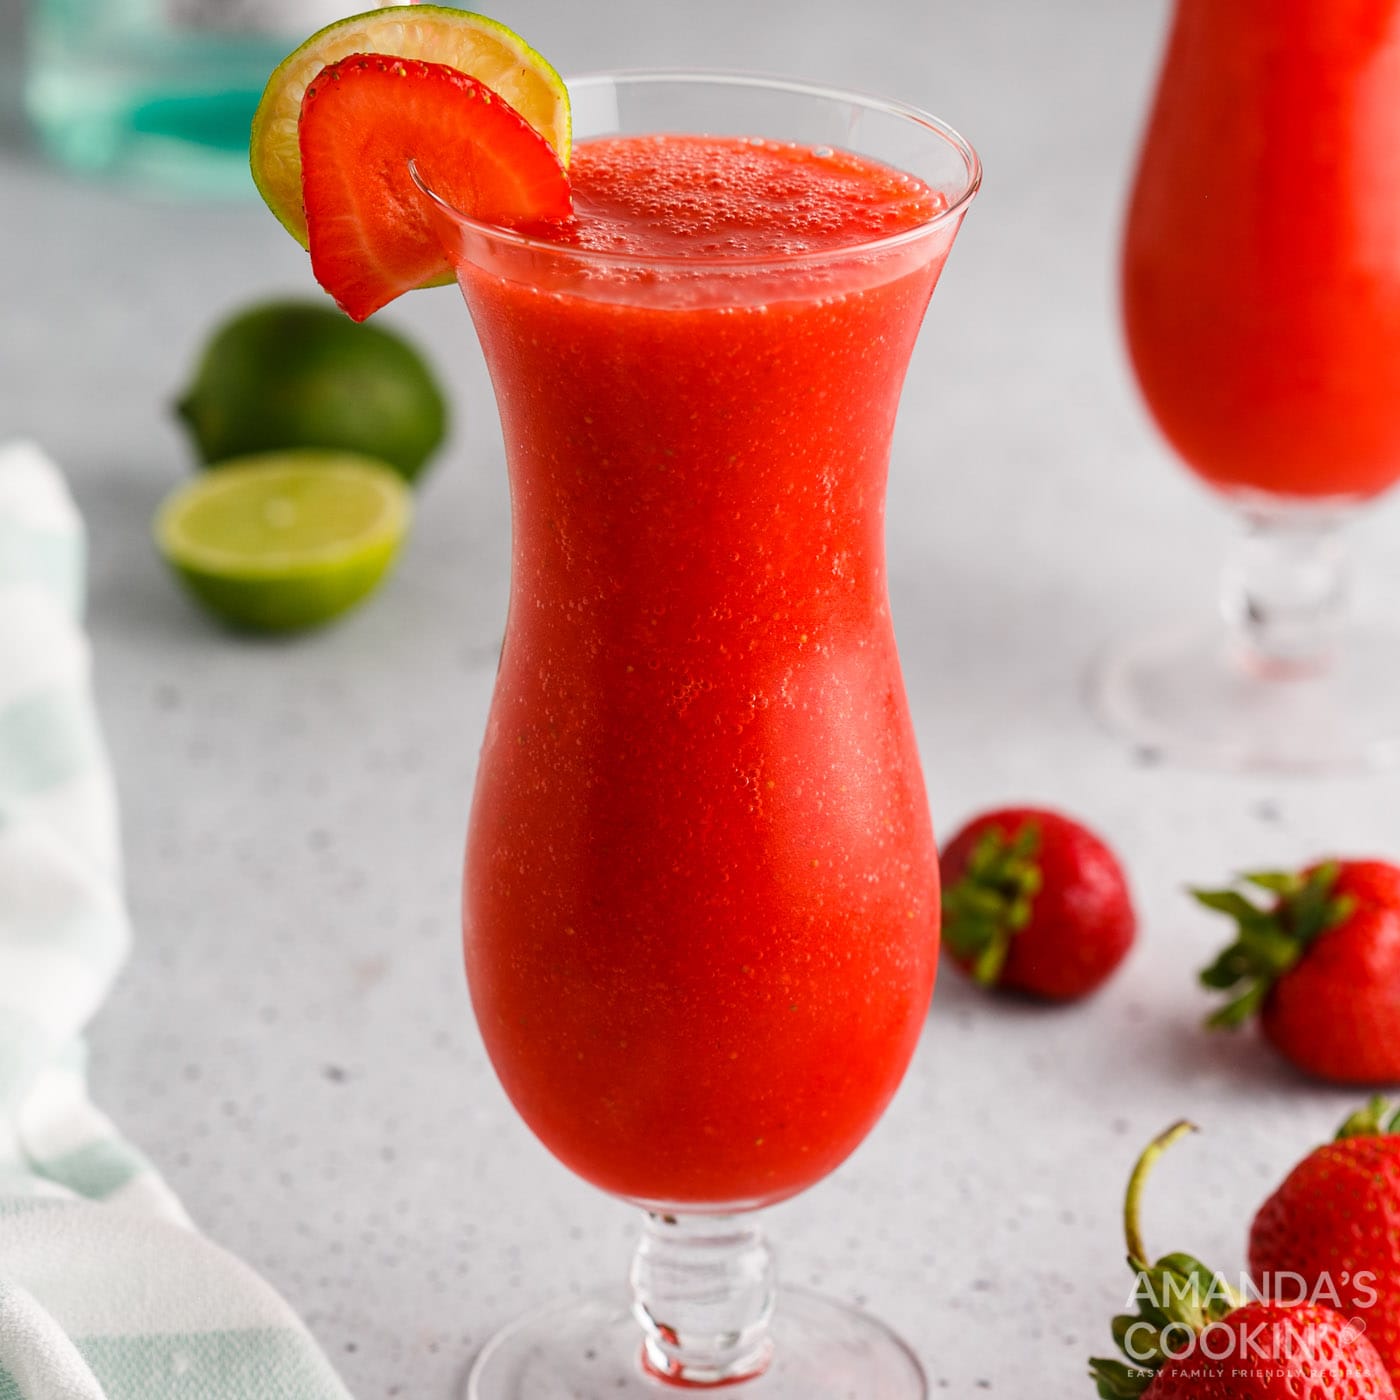
Strawberry Daiquiri
Fresh and frozen strawberries blended together with white rum give you…
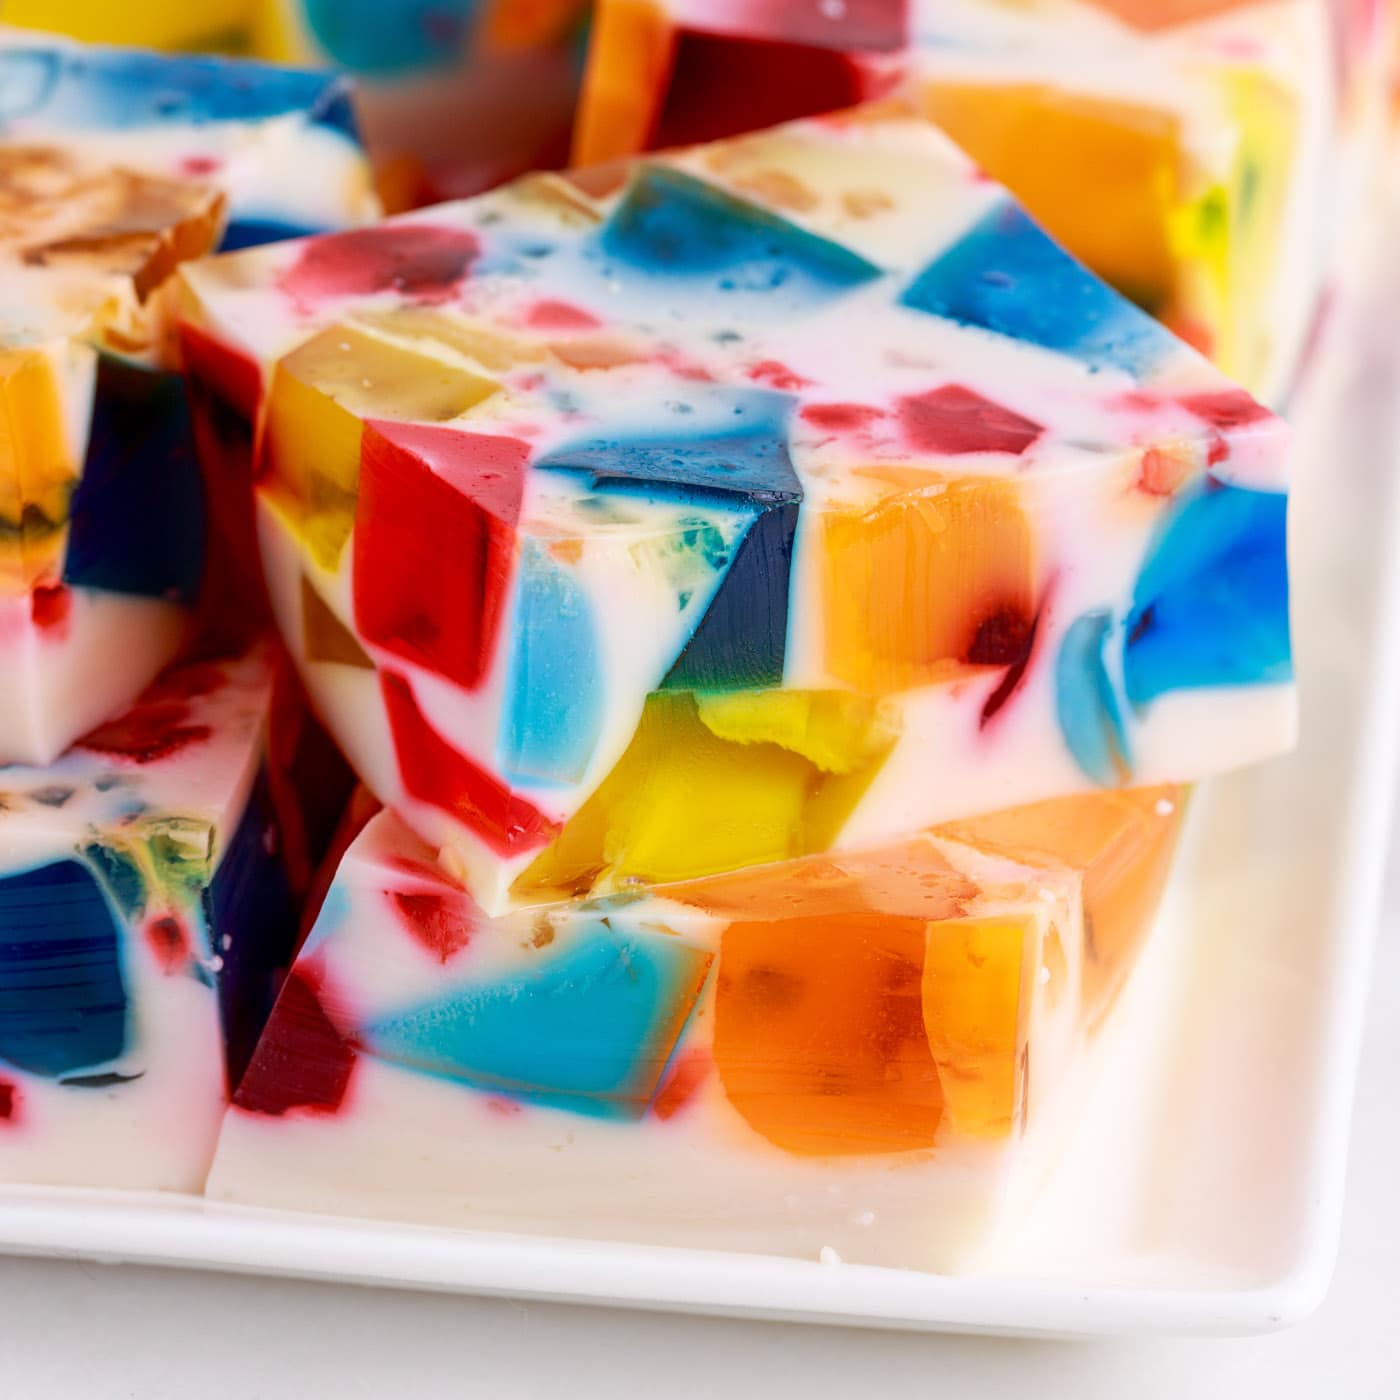
Broken Glass Jello
Broken glass jello is made with 4 different flavors of colorful jello…
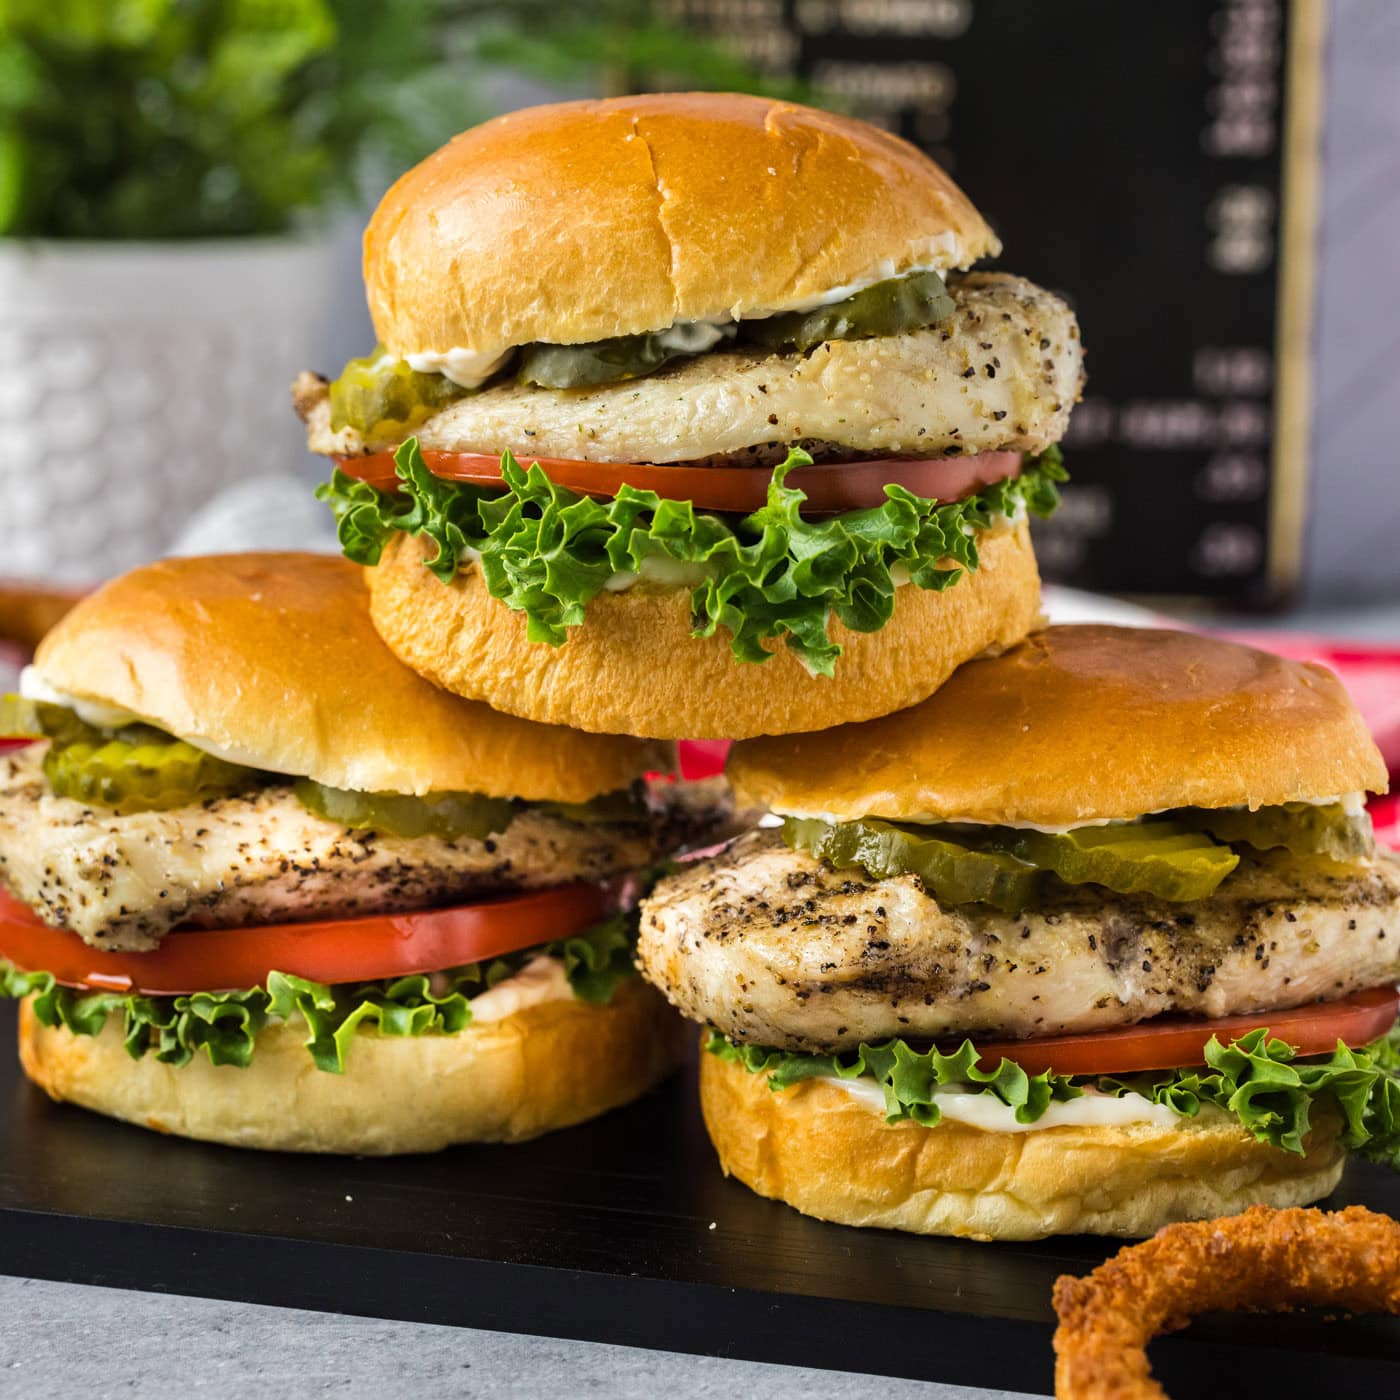
Chicken Sandwich
Juicy grilled chicken wedged between a burger bun and your favorite…