
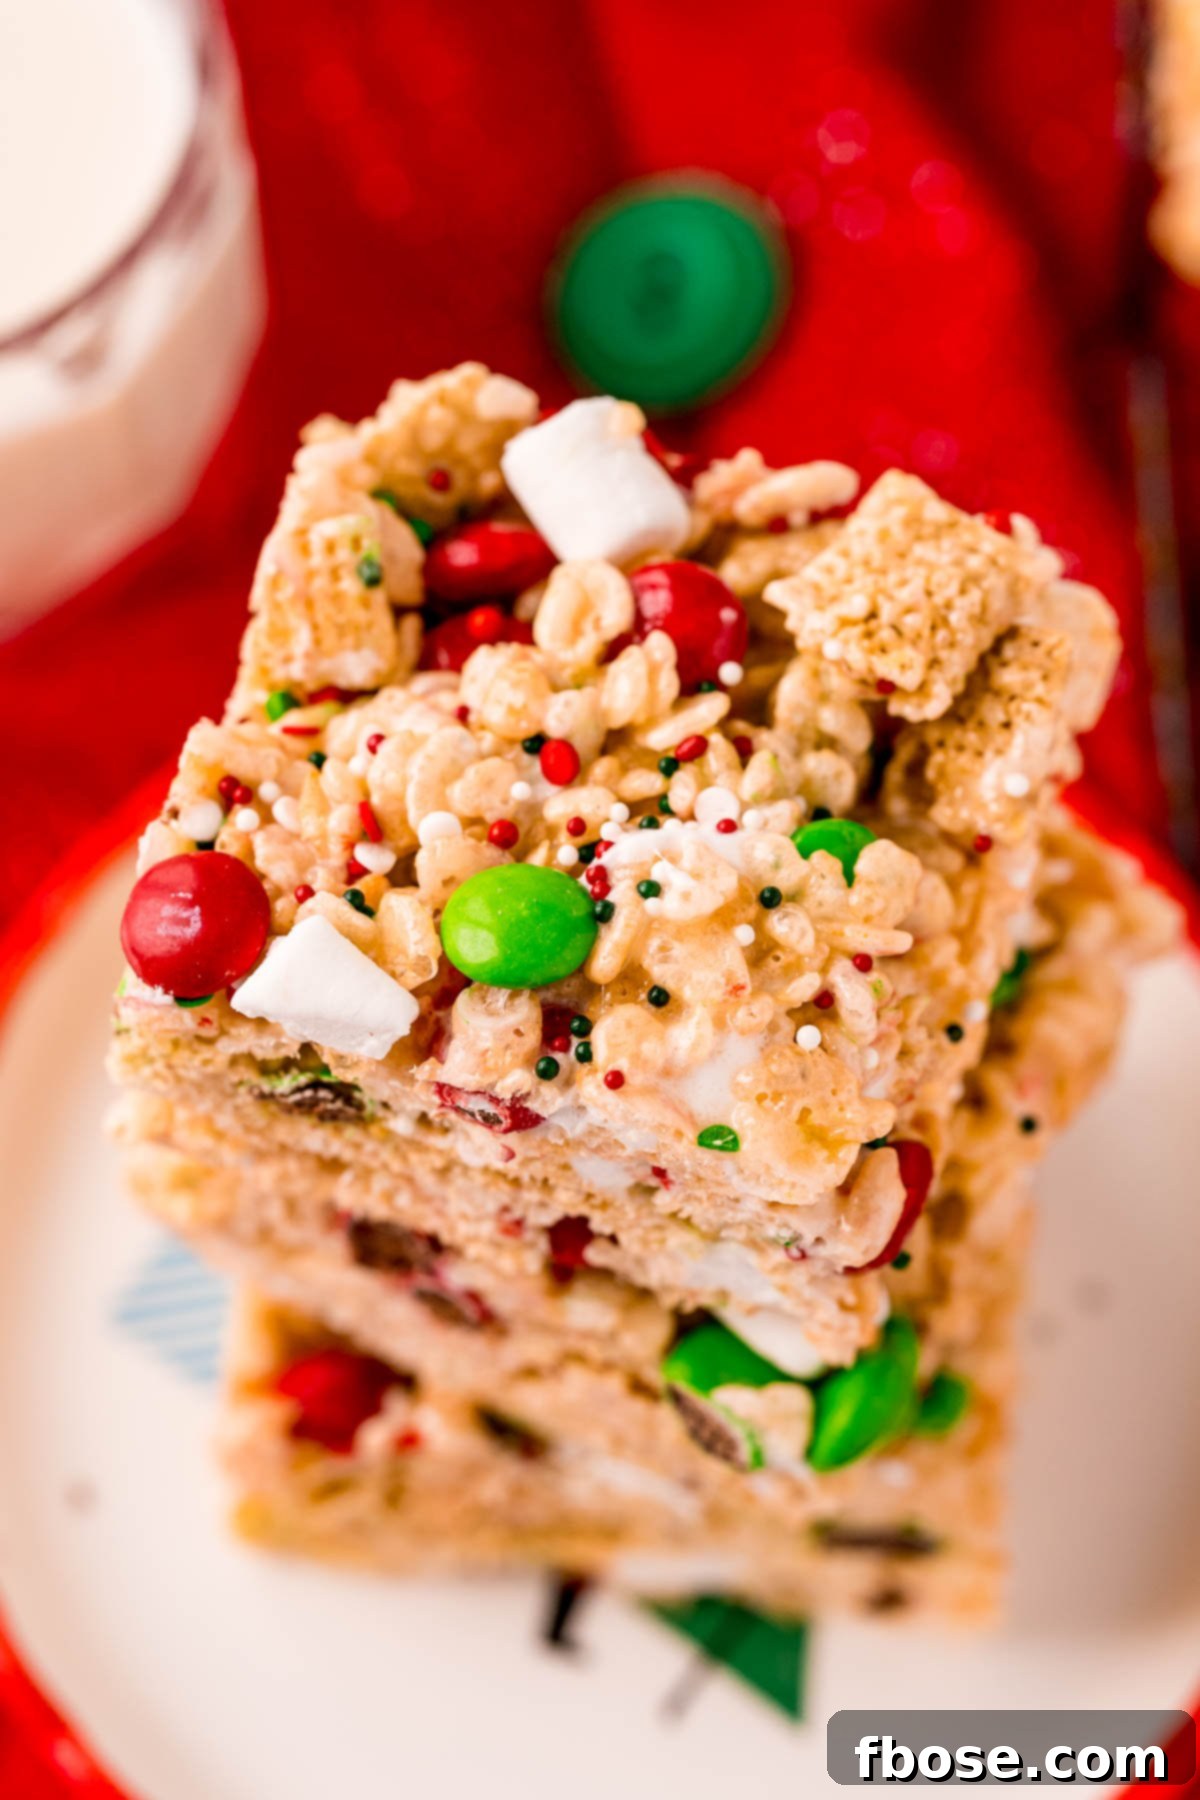
Welcome to the holiday season, where every moment is an opportunity to create cherished memories and indulge in delightful treats. Among the countless festive desserts, there’s one classic that consistently brings smiles and a touch of nostalgic magic: Christmas Rice Krispie Treats. This incredibly easy, no-bake recipe is crafted with simple ingredients like butter, fluffy marshmallows, crisp cereal, and a vibrant medley of festive candies, resulting in a show-stopping dessert that’s ready in record time. Perfect for busy holiday schedules, these treats combine convenience with irresistible charm, making them an essential addition to your seasonal celebrations.
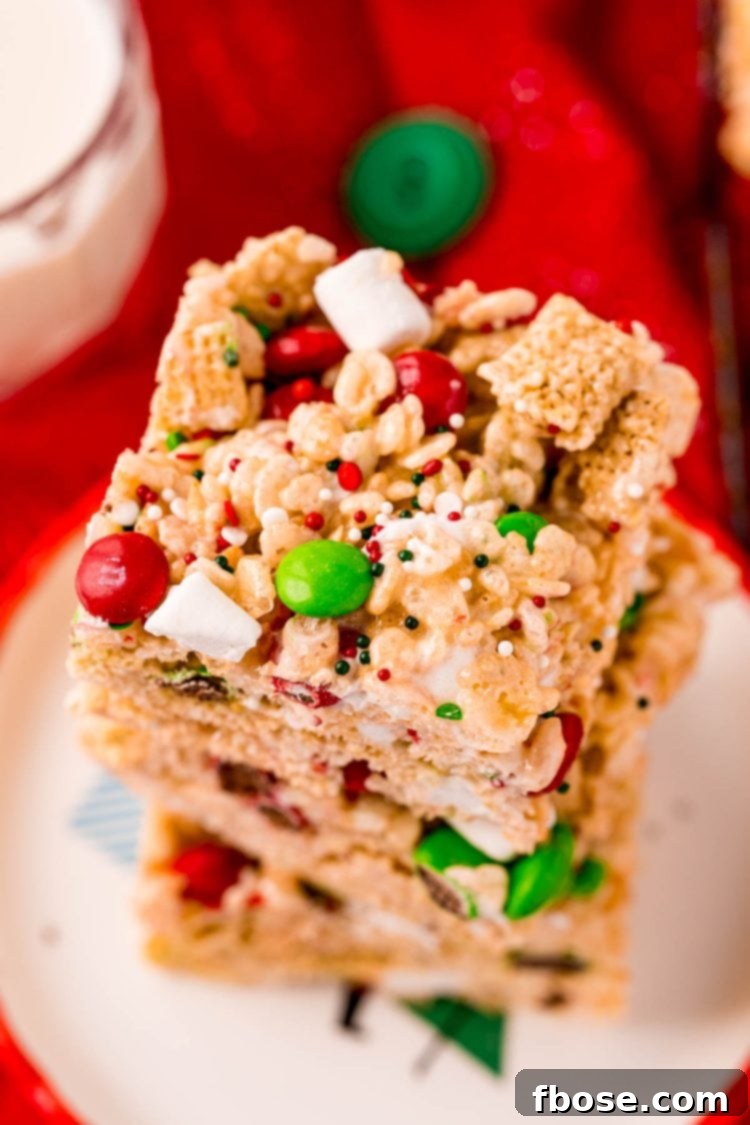
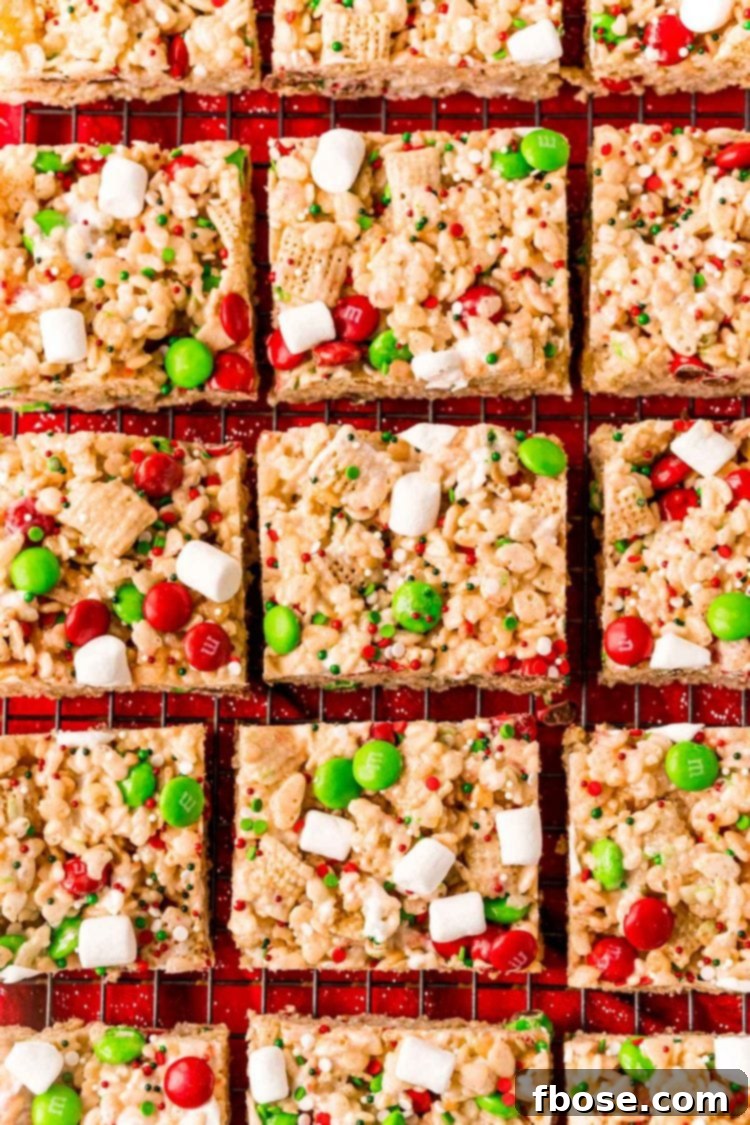
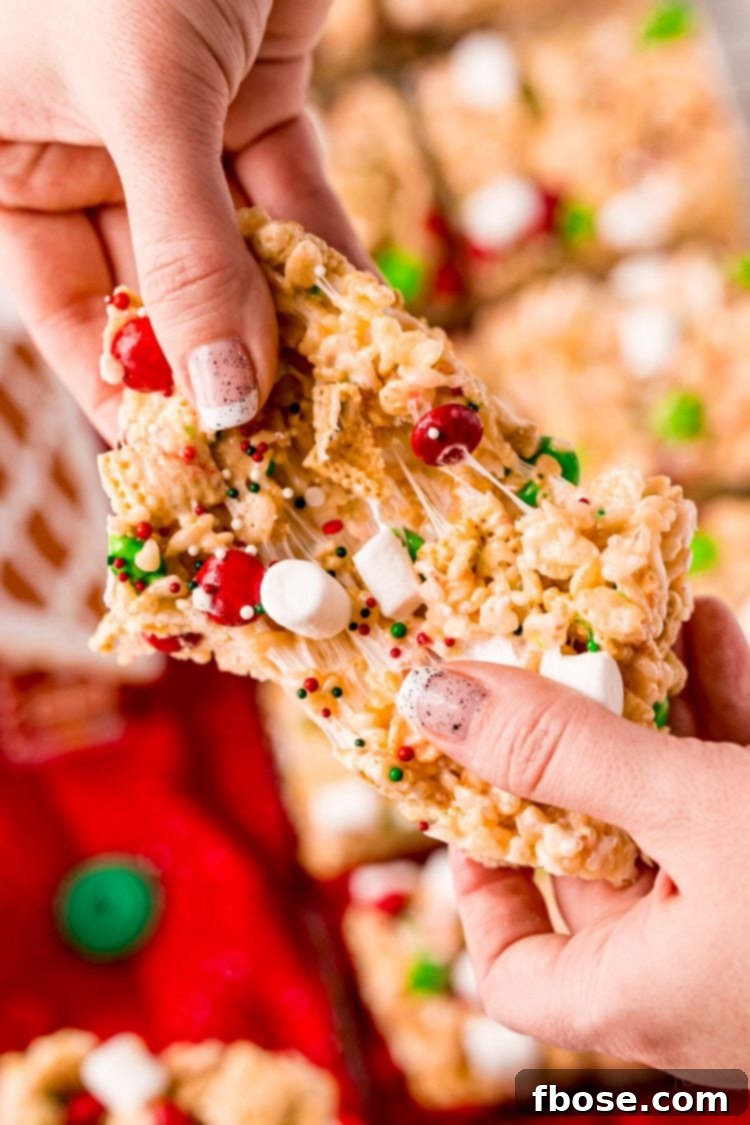
No Christmas holiday party is truly complete without a platter of these incredibly delicious and visually appealing cereal treats. Whether you’re the host of your own festive gathering, in need of a quick yet impressive contribution to a dessert table, or preparing a delightful classroom treat for your child’s school party, there’s no doubt these vibrant squares will spread joy to everyone lucky enough to enjoy a bite! Their festive appearance and comforting flavor make them an instant hit, appealing to both children and adults alike. The best part? They require absolutely no baking, freeing up your oven for other holiday dishes and significantly reducing prep time.
Crafting this simple holiday dessert with readily available, store-bought ingredients like fluffy mini marshmallows, classic Rice Krispies cereal, crisp Rice Chex cereal, and a generous scattering of festive Christmas M&Ms, means you’ll have plenty of time to focus on other important holiday preparations. You can even use the extra time to curate the perfect Christmas Party Playlist to enjoy throughout the entire magical holiday season! These treats are not just a dessert; they are a festive experience, an invitation to gather, share, and savor the simple pleasures of the holidays.
Why These Christmas Rice Krispie Treats Are a Holiday Must-Make
These aren’t just any cereal treats; they’re a holiday tradition waiting to happen. The beauty of Christmas Rice Krispie Treats lies in their unparalleled simplicity and universal appeal. They are:
- Effortlessly Easy: With no baking involved and minimal steps, even novice cooks can master this recipe. It’s a fantastic project for kids to help with too, fostering wonderful holiday memories in the kitchen.
- Quick to Prepare: From start to finish, you’re looking at less than an hour, including cooling time. This makes them ideal for last-minute party invitations or when you need a sweet fix without a fuss.
- Perfectly Festive: The addition of Christmas-themed M&Ms and holiday sprinkles instantly transforms a classic into a dazzling holiday delight. The red and green hues pop, adding cheer to any dessert spread.
- Crowd-Pleasing: Who doesn’t love a gooey, crispy marshmallow treat? This recipe is a guaranteed hit at any gathering, from casual family dinners to grand holiday parties.
- Highly Customizable: While the basic recipe is stellar, there are endless ways to personalize these treats, from adding different extracts to various toppings, making them truly your own.
- Great for Gifting: Package these festive squares in decorative bags or boxes, and you’ve got a thoughtful, homemade gift that friends, neighbors, and teachers will adore.
Essential Christmas Rice Krispie Treats Ingredients
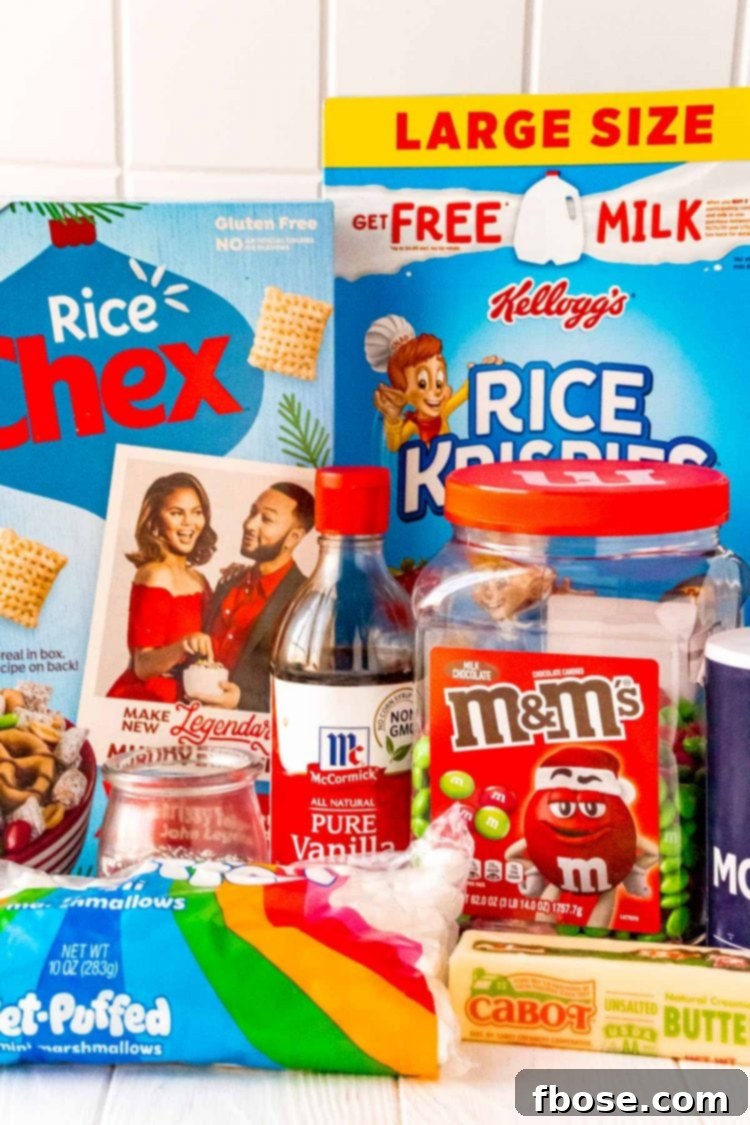
This delightful Christmas recipe is essentially a dressed-up, extra-festive version of the traditional Rice Krispie Treats recipe. It maintains the comforting foundation of classic ingredients while elevating them with holiday flair. To achieve that perfect balance of sweet, crispy, and chewy, you’ll need:
- Unsalted Butter: The unsung hero that adds richness and helps create that wonderful chewy texture. Using unsalted butter allows you to control the salt content precisely.
- Mini Marshmallows: The magical binder that holds everything together, providing that signature gooey chewiness. Divided marshmallows ensure some melt into a smooth base, while others remain slightly intact for textural interest. Fresh marshmallows are key for the best results!
- Vanilla Extract: A touch of pure vanilla extract enhances all the sweet flavors, adding depth and warmth to the treats.
- Rice Krispies Cereal: The original crisp, airy base that gives these treats their beloved crunch.
- Rice Chex Cereal: An excellent addition that introduces another layer of crispiness and a slightly different texture, making each bite even more engaging.
- Salt: Just a pinch of salt is crucial. It perfectly balances the sweetness of the marshmallows and candy, preventing the treats from being overwhelmingly sugary and enhancing all the other flavors.
- Christmas M&Ms: These vibrant red and green candies are not only a feast for the eyes but also add a delightful chocolatey crunch and burst of color.
- Holiday Sprinkles: A final touch of festive sparkle that makes these treats truly irresistible and photo-ready.
To truly take this cute Christmas dessert to the next level, consider a dazzling drizzle! Melt some white chocolate and tint half of it with red food coloring and the other half with green. Then, drizzle both colors artfully over the cooled treats before they set. This not only adds another layer of flavor but also creates a stunning visual appeal that’s sure to impress your guests.
How To Make Delicious Christmas Rice Krispies Treats
Making these festive treats is incredibly straightforward, involving just a few simple steps. The key to success is preparation and working efficiently once the marshmallow mixture is ready. Follow these instructions for a perfect batch:
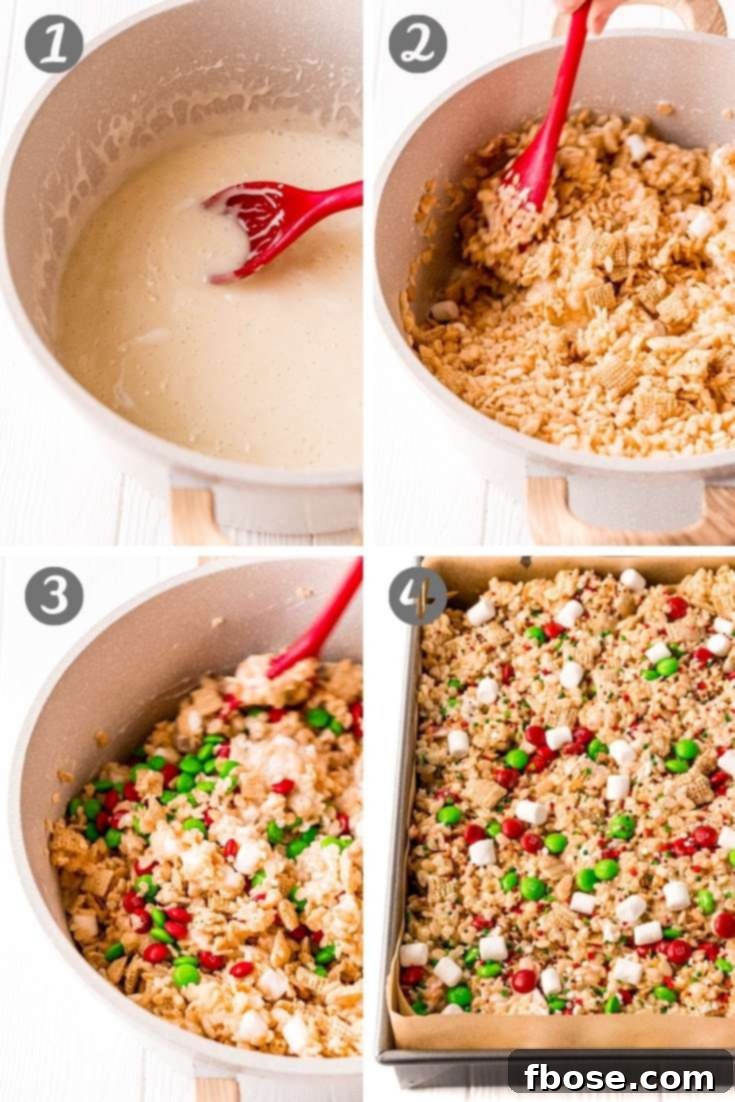
- Prepare Your Pan: Begin by precisely measuring out all your ingredients. This ‘mise en place’ approach ensures a smooth cooking process, as things move quickly once you start melting. Line a 9×13-inch baking sheet with parchment paper, leaving an overhang on the sides for easy removal later. Then, lightly coat the parchment paper with a generous amount of non-stick cooking spray. This prevents sticking and ensures your treats come out perfectly. Set the prepared pan aside.
- Melt the Gooey Base: In a large, heavy-bottomed saucepan, melt the butter over medium-low heat. Once the butter is mostly melted, add 8 cups of the mini marshmallows and the salt. Continue to stir continuously until the mixture is smooth and completely melted, ensuring no marshmallow lumps remain. Remove the saucepan from the heat immediately to prevent the marshmallows from becoming too hard later. Overcooked marshmallows are the primary cause of hard Rice Krispie treats.
- Infuse Flavor and Texture: Quickly stir in the vanilla extract into the melted marshmallow mixture. Then, add the remaining 2 cups of mini marshmallows along with both the Rice Krispies cereal and Rice Chex cereal. Stir gently but thoroughly until all the cereal is evenly coated with the warm marshmallow mixture. The goal is to coat without crushing the cereal, maintaining its crispness. The addition of the unmelted marshmallows adds an extra dimension of chewiness.
- Add the Festive Flair: At this stage, it’s time to incorporate your Christmas M&Ms and holiday sprinkles. Gently and swiftly fold them into the cereal mixture. Work quickly here; if the mixture cools too much, it will be hard to incorporate, and if you mix them in too early or too vigorously when hot, the colors from the M&Ms can bleed, creating a muddy appearance. Aim for an even distribution of the colorful candies and sprinkles throughout the mixture.
- Press into Pan and Cool: Transfer the warm mixture immediately into your prepared baking dish. To press the mixture into the pan without it sticking to your hands, lightly grease your hands with butter or non-stick spray, or use another piece of parchment paper to gently press it down. Do NOT press too firmly, as compacting the mixture too much will result in hard, dense treats instead of light and chewy ones. Just gently spread and level it.
- Set and Serve: If desired, sprinkle a few extra M&Ms and sprinkles on top for an even more visually appealing finish. Allow the treats to sit undisturbed at room temperature for at least 30 minutes to set completely. Once cooled and firm, use the parchment paper overhang to lift the entire slab from the pan. Place it on a cutting board and use a large, greased knife to cut the Christmas treats into perfect squares. Enjoy!
Expert Tips for Perfect Christmas Rice Krispie Treats
Achieving the perfect balance of chewy, crispy, and soft is an art, but with these tips, your Christmas Rice Krispie Treats will be exceptional every time:
- Use Fresh Marshmallows: This is perhaps the most crucial tip. Older marshmallows tend to be drier and don’t melt as smoothly, leading to tough treats. Always opt for fresh, soft mini marshmallows for the best gooey consistency.
- Low and Slow Melting: When melting the butter and marshmallows, keep the heat on medium-low. High heat will cause the sugar in the marshmallows to crystallize and harden, resulting in rock-hard treats once cooled. Patience is key here.
- Don’t Overcook: As soon as the marshmallows are smooth and completely melted, remove them from the heat. Continuing to cook them will make them brittle.
- Gentle Mixing: Once the cereal is added, mix just until combined. Over-mixing can break up the cereal, leading to a less appealing texture.
- Light Pressing: When transferring the mixture to the pan, resist the urge to press it down firmly. Lightly and evenly press the mixture into the pan using a piece of greased parchment paper or buttered hands. Too much pressure results in dense, hard treats.
- Timing for Add-Ins: Add M&Ms and sprinkles right after removing the marshmallow mixture from the heat, but before it cools too much. This allows them to incorporate without melting excessively or bleeding colors.
- Grease Your Tools: Generously grease your spatula, hands, and knife with butter or non-stick spray when handling and cutting the treats to prevent stickiness.
- Proper Cooling: Allow the treats to cool completely at room temperature before cutting. Rushing this step can lead to messy, misshapen squares.
Creative Variations and Customization Ideas
While the classic Christmas Rice Krispie Treat is perfect as is, feel free to unleash your creativity and try these delightful variations:
- Peppermint Twist: Add ½ teaspoon of peppermint extract along with the vanilla for a refreshing, minty flavor. You can also crush candy canes and sprinkle them on top.
- Chocolate Drizzle: Melt milk, dark, or white chocolate and drizzle it artistically over the cooled treats. You can even tint the white chocolate with red or green food coloring for extra holiday cheer.
- Different Candies: Instead of or in addition to M&Ms, try adding chopped chocolate covered pretzels, holiday-themed sprinkles, mini chocolate chips, or chopped nuts for different textures and flavors.
- Cookie Cutter Fun: For a truly festive presentation, instead of cutting into squares, gently press the mixture into a larger pan and then use greased Christmas-themed cookie cutters (stars, trees, gingerbread men) to create fun shapes.
- Colored Treats: For an even bolder holiday statement, add a few drops of red or green food coloring to the melted marshmallow mixture before adding the cereal.
- Nut Butter Swirl: For a richer flavor, swirl in a couple of tablespoons of peanut butter or almond butter into the melted marshmallows before adding the cereal.
Frequently Asked Questions
Why are my rice krispies treats hard?
Several factors can lead to hard rice krispies treats. The most common reasons are overcooking the marshmallow mixture (which causes the sugar to harden), pressing the treats too firmly into the baking dish (which compacts them too much), or improper storage (leaving them exposed to air will dry them out). To prevent this, melt marshmallows slowly, press gently, and store in an airtight container.
Can I use salted butter instead of unsalted?
Yes, you can absolutely use salted butter in this recipe. If you choose to do so, simply omit the additional 1 teaspoon of salt specified in the ingredient list. The salted butter will provide enough seasoning to balance the sweetness without making the treats too salty.
How long will these keep for?
When stored correctly in an airtight container at room temperature, these Christmas Rice Krispie Treats will remain fresh and delicious for up to two weeks. Avoid refrigerating them, as the cold can cause them to become hard and lose their signature chewiness. For best texture, enjoy them within the first few days.
How do I neatly cut rice krispies treats?
To achieve perfectly neat squares, ensure the treats have completely cooled and set before you begin cutting. For easier slicing, lightly spray a large, sharp knife with non-stick cooking spray before each cut. You can also run the knife under hot water and wipe it clean between cuts for an even smoother finish. If you lifted the slab out with parchment paper, place it on a sturdy cutting board.
Can I prepare these treats ahead of time?
Absolutely! These Christmas Rice Krispie Treats are an excellent make-ahead dessert, perfect for busy holiday preparations. You can prepare them up to a week in advance and store them in an airtight container at room temperature. This allows you to tackle your holiday to-do list with one less item to worry about on the day of your event.
Try Another Cereal Based Recipe!
- Easy Muddy Buddies – It’s not the holidays without munching on this crowd-pleasing chocolate and peanut butter treat!
- Bacon and Chocolate Rice Crispy Treats – Discover the perfect combination of sweet and salty in this unique twist on a classic!
- Cocoa Puffs White Russian Cocktail – Enjoy this sophisticated classic cocktail with a fun, cereal-infused twist any time of year!
- Butterscotch Cornflake Cookies – A wonderfully tasty no-bake cookie made with just three simple, store-bought ingredients!
- Homemade Chex Mix – This incredibly flavorful and satisfyingly crunchy snack is an absolute staple for entertaining guests around the holidays!
Christmas Krispie Treats
Pin It For Later
Click the button above to save this delicious recipe to your Pinterest board!
Let’s Connect!
If you’ve tried this incredible recipe, please let me know how much you loved it in the comments below and don’t forget to leave a review. I absolutely love hearing from you and seeing your delicious creations!
Remember to tag me – @sugarandsoulco – on Instagram and Pinterest with your beautiful photos of these treats, or join our Sugar & Soul Show-offs Community and share them there, where you can also participate in our fun recipe challenges!
Christmas Krispies Treats
Rebecca Hubbell
Dessert
American
10 minutes
5 minutes
30 minutes
45 minutes
Servings
15 people
Ingredients
- ½ cup unsalted butter
- 1 teaspoon salt
- 10 cups mini marshmallows divided
- 1 teaspoon vanilla extract
- 6 cups rice krispies cereal
- 3 cups rice chex cereal
- 1 cup Christmas M&Ms
- 2 teaspoons holiday sprinkles
Instructions
-
Premeasure all ingredients before you begin cooking. Line a 9×13-inch baking sheet with parchment paper and coat it thoroughly with non-stick spray; set aside.
-
In a large saucepan, melt the butter, salt, and 8 cups of the mini marshmallows together over medium-low heat until completely smooth. Remove from heat immediately.
-
Stir in the vanilla extract. Then, quickly add the remaining 2 cups of marshmallows and both cereals. Stir gently until all the cereal is fully coated.
-
Gently and quickly fold in the Christmas M&Ms and holiday sprinkles. Immediately transfer the mixture to the prepared baking dish.
-
Top with extra M&M’s and sprinkles, if desired. Use a piece of parchment paper or greased hands to gently press the mixture evenly into the pan. Do not press too hard.
-
Allow the treats to set at room temperature for at least 30 minutes before removing from the pan and cutting into squares with a greased knife.
Notes
- Salted butter may also be used. If using, omit the additional salt from the recipe.
- Corn Chex may be used in place of Rice Chex for a similar texture, but Wheat Chex is not recommended.
- Avoid adding the M&M’s too early or mixing them too vigorously while the marshmallow mixture is very hot, as their colors may bleed throughout the treats.
- Do not press the mixture into the pan too hard. Gentle pressure ensures a chewy and soft texture; firm pressing will make them tough and hard.
- For optimal freshness and texture, store the treats in an airtight container at room temperature for up to two weeks. Refrigeration is not recommended as it can dry them out.
Nutrition
Did You Make This Recipe?
Don’t forget to share it with me on Instagram @sugarandsoulco and follow on Tiktok @sugarandsoulco and Pinterest @sugarandsoulco for more!
Pin Recipe
Share Recipe