
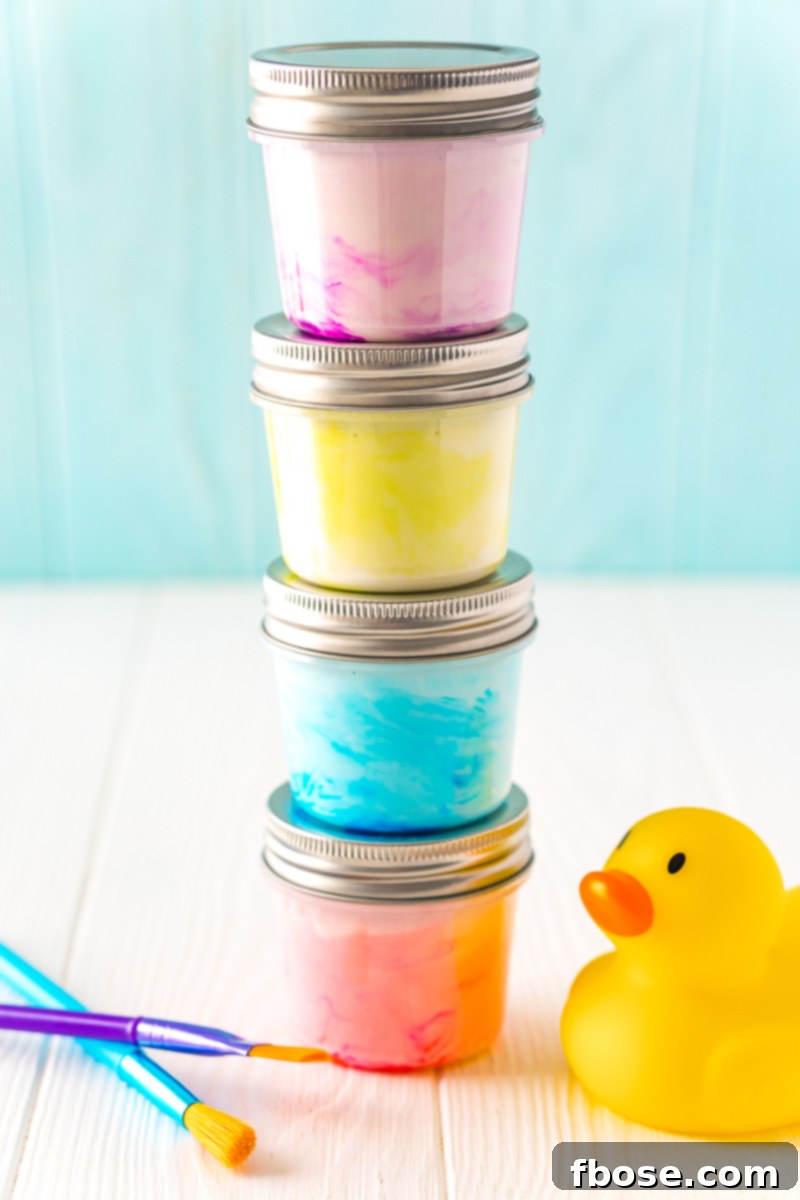
Looking for an incredibly easy, budget-friendly, and engaging activity to spark joy and creativity in your little ones? You’ve come to the right place! Discover how to make vibrant DIY Bath Paint for Kids in mere minutes using just three simple ingredients you likely already have around your home. This homemade bath paint recipe is a fantastic way to transform ordinary bath time into an extraordinary, mess-free artistic adventure that your children will adore.
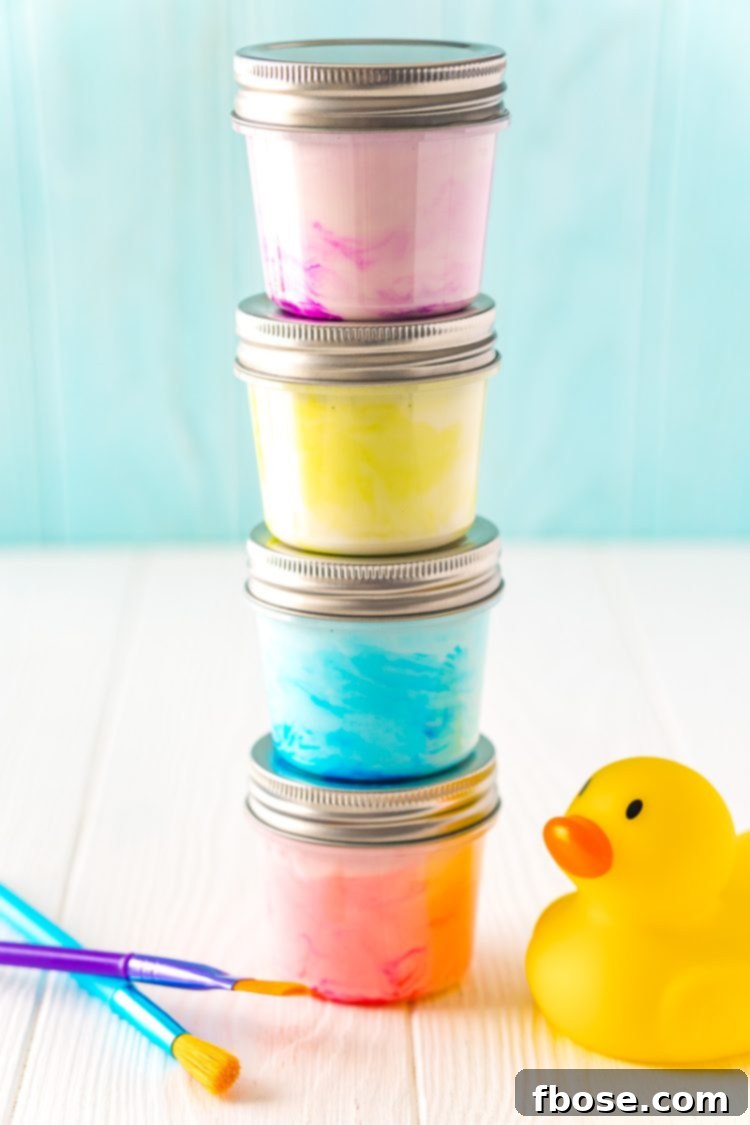
Children naturally thrive on exploration and discovery, often expressed through messy play. It’s a fundamental part of how they learn about textures, colors, and the world around them. While the thought of a “messy” activity might make some parents hesitant, this incredibly easy-to-clean DIY Bath Paint recipe is a game-changer! Crafted with just three common household ingredients, it offers all the fun of creative play without the dreaded cleanup hassle. Parents and kids alike will love this simple, satisfying project.
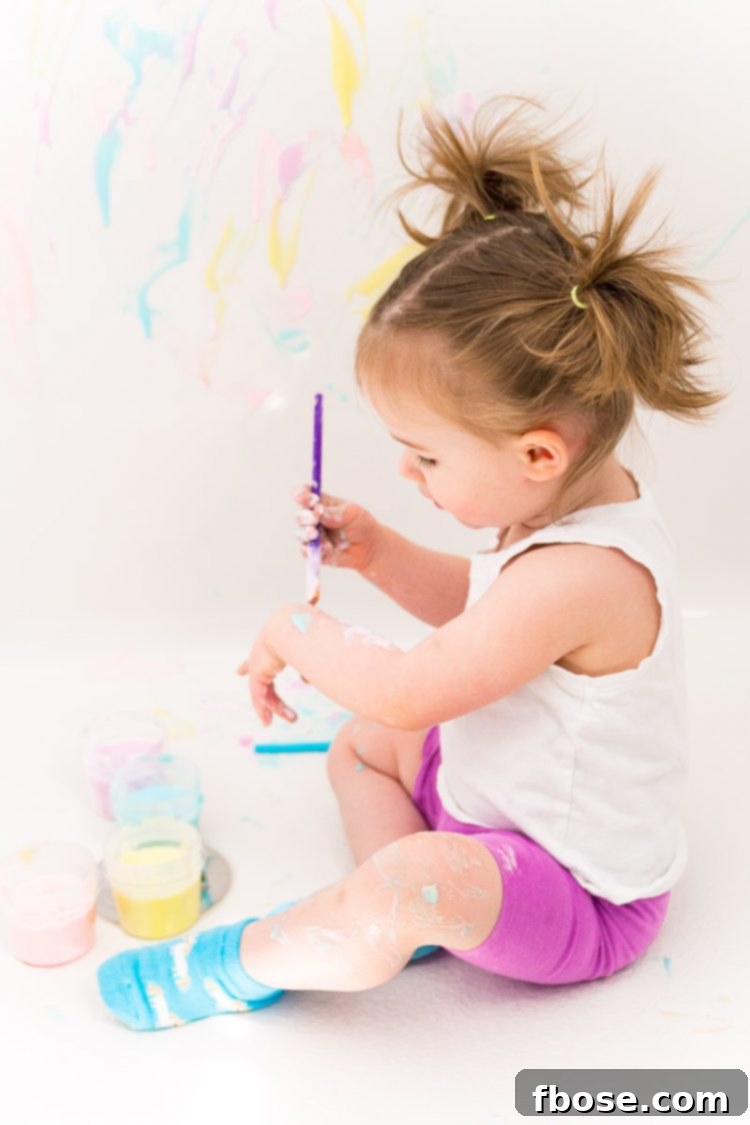
In recent weeks, finding fresh, exciting, and economical ways to entertain my toddler has been a delightful challenge. With a focus on utilizing what we already have at home and minimizing trips to the store, I’ve been experimenting with various crafts and activities. This Homemade Bath Paint for Toddlers has proven to be an absolute hit! It was remarkably simple to whip up, and watching my daughter immerse herself in a world of colorful imagination during bath time was truly priceless. It’s not just a craft; it’s an experience that fosters creativity, sensory development, and pure fun.
Why DIY Bath Paint Is a Must-Try Activity
Bath time is a daily ritual, and while it’s essential for hygiene, it can sometimes feel mundane. Introducing DIY bath paint transforms this routine into an exciting and educational opportunity. This activity offers numerous benefits for your child’s development, making it much more than just a fun diversion. From enhancing fine motor skills as they grip brushes or use their fingers, to encouraging sensory exploration with the unique texture of the paint, it’s a holistic experience.
Beyond the developmental advantages, homemade bath paint is incredibly practical for parents. It’s an affordable alternative to store-bought art supplies, leveraging items you likely already have in your kitchen or bathroom cabinet. This means less planning and fewer spontaneous trips to the craft store. Moreover, it provides a wonderful screen-free activity, encouraging imaginative play and allowing children to express themselves freely without the constraints of traditional art surfaces. Imagine the joy of seeing your child’s masterpieces adorning the bathtub walls, only to effortlessly disappear with a quick rinse!
Essential Ingredients for Your DIY Bath Paint
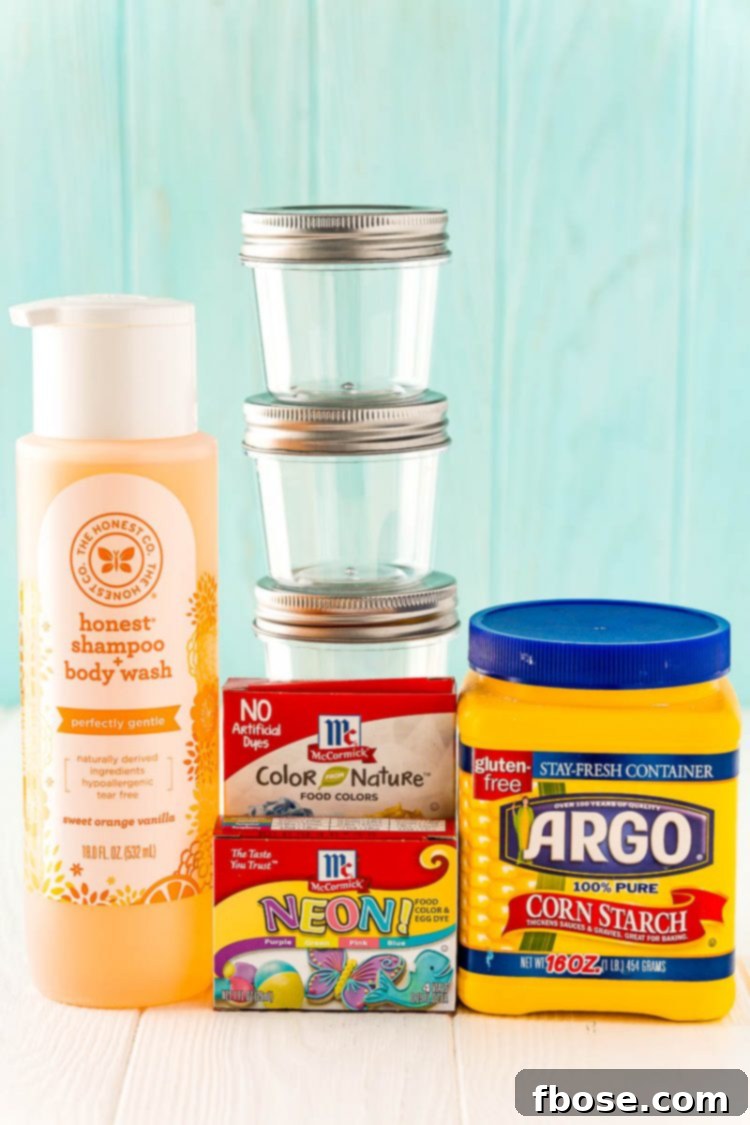
The magic of this bath paint lies in its simplicity. You only need a few basic components to create a vibrant palette for your little artist. The primary “paint” mixture is composed of gentle baby or kids’ shampoo and cornstarch. These two ingredients work in harmony: the shampoo provides the soapy base, making the paint easy to clean and giving it a pleasant scent, while the cornstarch acts as a thickener, giving the mixture a paint-like consistency that clings well to surfaces.
For the shampoo, I personally recommend using Honest Company Sweet Orange Vanilla Baby Wash because its delightful scent adds an extra layer of sensory enjoyment, and it’s a product we already trust and use for sensitive skin. However, the beauty of this recipe is its flexibility! Feel free to use any mild, tear-free baby shampoo or body wash that you prefer and have readily available at home. Just ensure it’s suitable for your child’s skin type.
To bring your bath paint to life with a rainbow of colors, you’ll need food coloring. I’ve had great success with this set of Neon Food Coloring, finding that just one or two drops are enough to achieve a vivid hue for about half a cup of the base mixture. If you’re looking for a more natural option, Nature’s Inspirations Food Coloring, derived from plant extracts, is an excellent choice. It provides beautiful, earthy tones and is perfect for parents seeking to avoid artificial dyes. Regardless of your choice, remember that a little goes a long way to avoid potential staining.
Step-by-Step Guide: Crafting Your Bath Paint
This is where the fun begins, and it’s astonishingly simple! The core process involves combining the two main ingredients to form your paint base. Once you have your smooth, consistent mixture, you can then unleash your creativity by dividing it into separate containers and adding different colors. It’s a quick, engaging process that even older children can help with, fostering a sense of accomplishment.
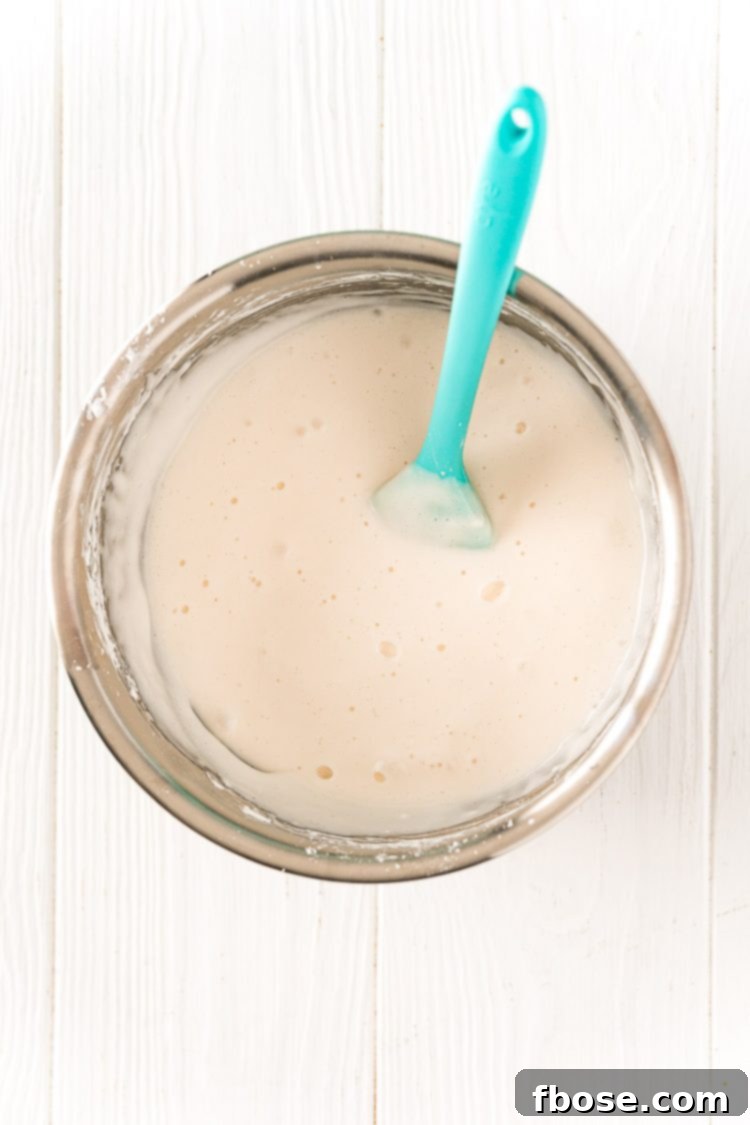
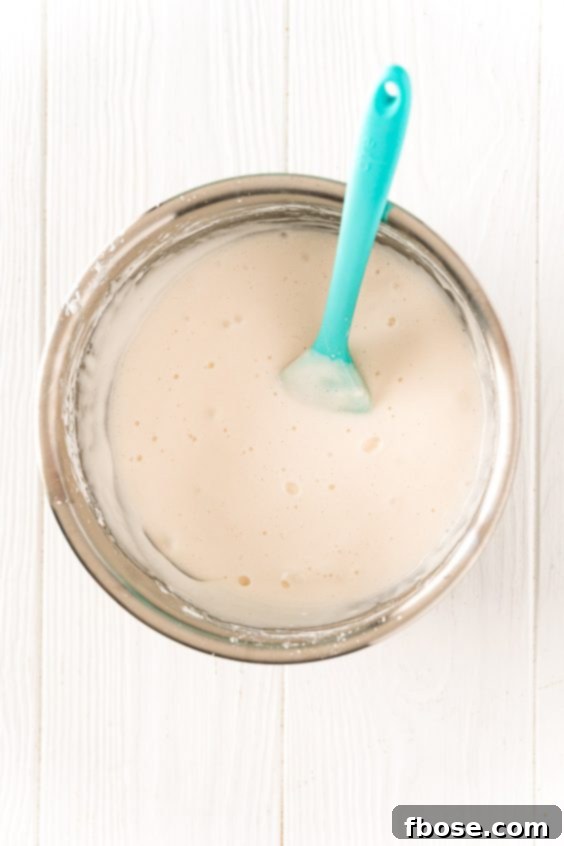
To start, measure out equal parts baby shampoo and cornstarch. A good starting ratio is 1 cup of baby shampoo to 1 cup of cornstarch, which yields a generous amount of paint. In a medium-sized mixing bowl, gradually combine the cornstarch with the baby shampoo. Stir continuously with a rubber spatula or whisk until the mixture is completely smooth and free of lumps. The consistency should resemble a thick, creamy paste – similar to tempera paint. If it seems too thick, you can add a tiny splash of water (about a teaspoon at a time) until it reaches your desired texture. If it’s too thin, add a bit more cornstarch.
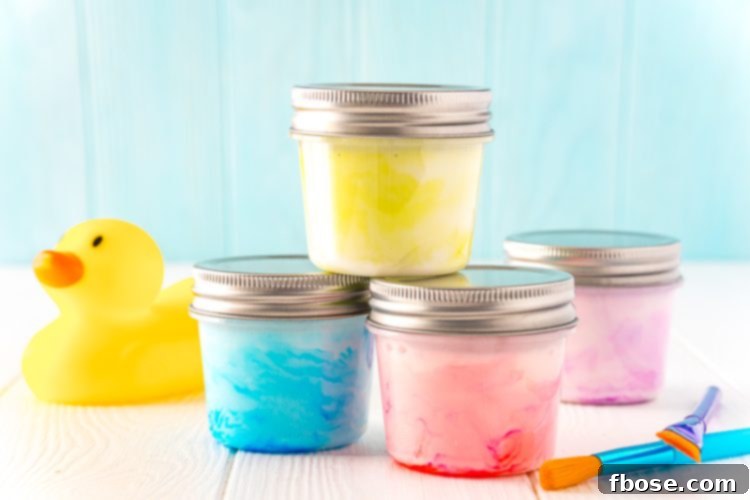
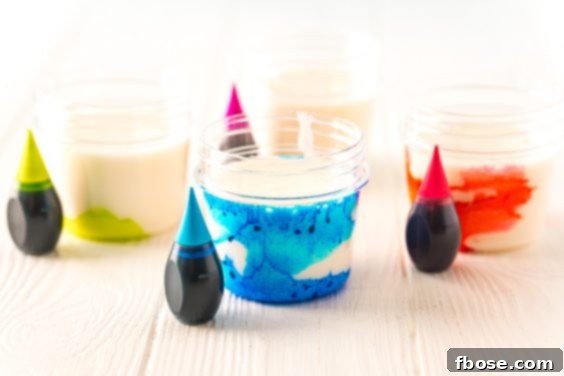
Once your base is ready, it’s time to add the magic of color! Divide the white paint base into several smaller dishes or containers. Small plastic jars with lids are ideal for this step, especially these Plastic Jars with Lids. They’re perfect because they are unbreakable if dropped by enthusiastic little hands, and the lids allow you to easily seal up any leftover paint for future use. Add one to two drops of your chosen food coloring to each container, then mix thoroughly until the color is evenly distributed and vibrant. You can create as many colors as you wish, or even mix primary colors to teach your child about color theory!
Will It Stain? Addressing Concerns About Mess and Stains
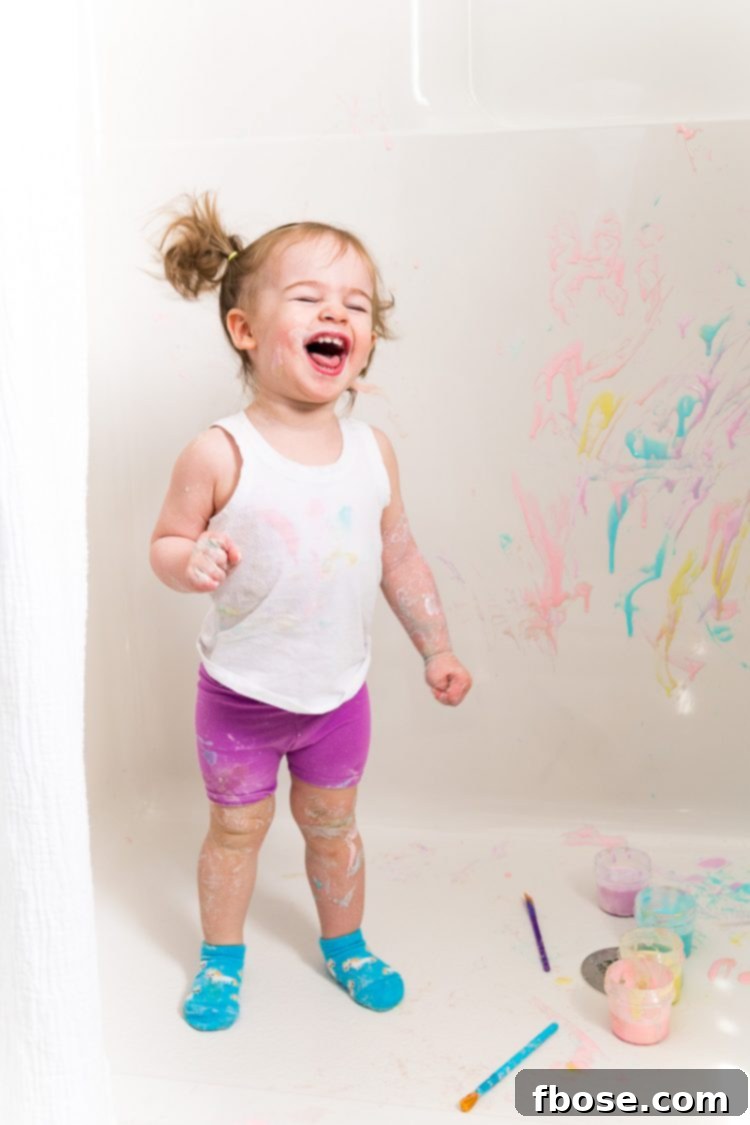
One of the most common questions parents have about any messy play activity, especially one involving color, is “Will it stain?” With this DIY bath paint, the answer is generally no, especially when used correctly. As mentioned earlier, I recommend using only one or two drops of food coloring per half cup of paint. This amount provides vibrant colors without being overly concentrated, which significantly minimizes the risk of staining. During our many bath paint sessions, we have never experienced any staining on the bathtub surfaces or on skin.
However, it’s always wise to exercise a bit of caution. While hard surfaces like tubs and tiles are usually fine, any fabric, such as bath mats, towels, or clothing, could potentially absorb concentrated dye. To be completely safe, encourage your children to use the paint directly on the bathtub walls, and consider having them wear old clothes or swimsuits if they’re particularly prone to getting paint everywhere. For peace of mind, you can always test a small, inconspicuous area of your tub with a tiny bit of colored paint before letting the creativity flow freely.
Does It Clean Off Easily? The Marvel of Soap-Based Paint
Absolutely, yes! The cleanup process for this bath paint is truly one of its best features. Despite how delightfully it sticks to the tub walls and develops a slightly hardened texture once it dries, a simple damp towel is all you need to wipe it away effortlessly. The real genius behind its easy cleanup is that it’s made with soap!
This means that as your child paints and plays, they are essentially helping you clean the tub! The soap in the shampoo base helps to lift dirt and grime, turning a creative activity into a productive chore. It’s a win-win situation: your kids have a blast, and your tub gets a preliminary scrub. For a full cleanup, just a quick rinse with water or a wipe-down with a sponge will leave your tub sparkling clean, ready for the next artistic masterpiece.
How Long Does It Last? Storage Tips for Future Fun
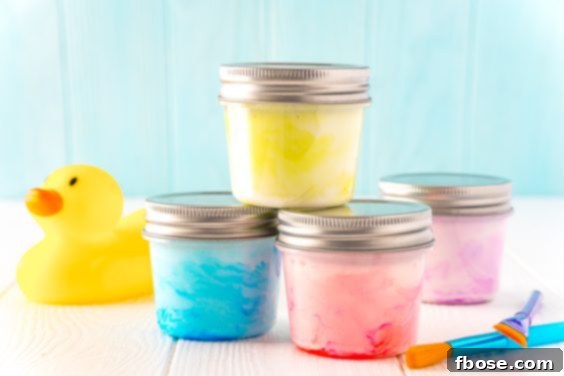
One of the great advantages of this homemade bath paint is its excellent shelf life, allowing you to prepare a batch and enjoy it over multiple playtimes. If you don’t use the entire creation in one go, simply store any remaining paint in an airtight jar or container. When properly sealed, your DIY bath paint can last for up to one month. This makes it a convenient option for spontaneous bath time fun or for preparing ahead of time for playdates or quiet activities.
Make sure to keep the containers in a cool, dry place to maintain consistency and prevent any premature spoilage. If you notice any changes in texture or smell, it’s best to discard the old batch and whip up a fresh one – it only takes 5 minutes after all!
Unleashing Creativity with Bath Paint: Play Ideas
I absolutely adore this easy DIY activity because it’s genuinely accessible to everyone, regardless of their artistic inclination. You don’t need a crafty bone in your body to enjoy some wonderfully creative playtime with your children. The beauty of bath paint is its versatility. You can provide your kids with a variety of paint brushes of different sizes and textures, allowing them to experiment with various strokes and techniques. Alternatively, and often more popular with younger children, is the pure joy of finger painting! This sensory experience is incredibly beneficial for tactile development and allows for direct, uninhibited artistic expression.
Beyond traditional painting, encourage your children to use sponges cut into fun shapes, creating stamps on the tub walls. Bath toys can also double as unique stamping tools! For an educational twist, use the paint to practice writing letters, numbers, or drawing shapes. You can even encourage color mixing by asking them what happens when they combine blue and yellow. This activity isn’t just limited to bath time; on a warm day, you can take the paint outdoors for some splash pad or kiddie pool art, which adds another dimension to sensory water play.
Imagine the delight of using this as a unique DIY party favor or a hands-on activity for birthday parties! Instead of generic goodie bags, send guests home with a small jar of homemade bath paint and a brush. Or, set up a bath paint station during the party for a truly memorable experience. Seriously, this is such a fun thing to do – my daughter absolutely loved it and asks for it constantly. It’s an inexpensive way to make lasting memories and foster a love for creative expression.
Finger Painting Fun
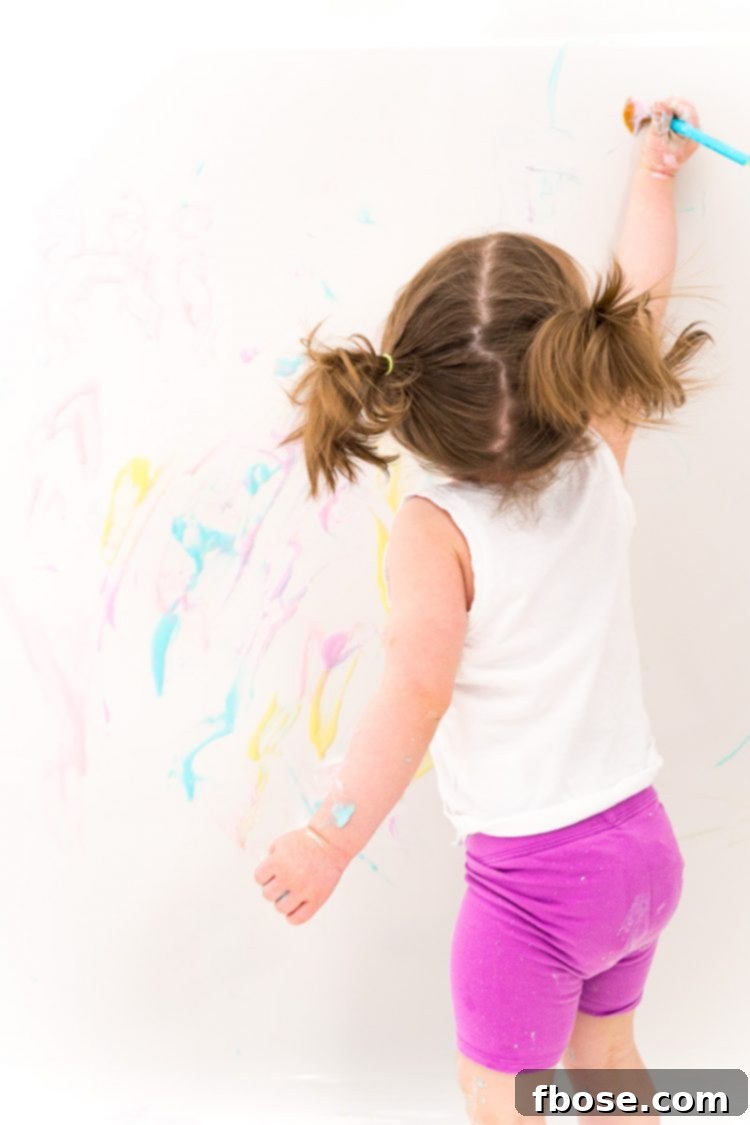
For toddlers and younger children, finger painting with bath paint is an incredibly rich sensory experience. It allows them to feel the cool, smooth texture of the paint directly on their skin, engaging their sense of touch in a delightful way. There’s no “right” or “wrong” way to finger paint, which encourages total freedom of expression and helps build confidence in their creative abilities. Plus, it’s great for developing hand-eye coordination and strengthening those small hand muscles. Just remember to use tear-free shampoo for maximum enjoyment!
More Creative Kid Activities
- Magic Reindeer Food
- Halloween Coloring Pages
- Christmas Coloring Pages
Kids Bath Paint
Pin It For Later
Click the button above to save this DIY Activity to your board!
Kids Bath Paint Recipe
Prep Time
5 minutes
Yields
2 cups
Equipment
- Mixing Bowl
- Rubber Spatula
- Measuring Cups
- Small Containers with Lids
- Paint Brushes (optional, for specific tools)
Ingredients
- 1 cup baby shampoo (tear-free formula recommended)
- 1 cup cornstarch
- Food coloring (neon or plant-based options)
Instructions
-
In a medium mixing bowl, combine the baby shampoo and cornstarch. Stir vigorously with a rubber spatula or whisk until the mixture is fully combined and smooth, with no lumps. The consistency should be similar to a thick, creamy paint.

-
Divide the white paint mixture into several smaller containers. Add 1-2 drops of your chosen food coloring to each container, then mix thoroughly until you achieve your desired color vibrancy.
-
Your homemade bath paint is now ready for use! Enjoy creative bath time right away. Any leftover paint can be stored in airtight containers for up to 1 month.
Notes
- For a thinner paint consistency, you can reduce the cornstarch by about 1/4 cup and add 1 tablespoon of water, adjusting as needed until you reach your desired texture.
- Always supervise children during bath paint play. Ensure ingredients are non-toxic and tear-free.
- Test a small, inconspicuous area of your tub if you are concerned about staining, although generally, it washes off easily with water.
Let’s Connect!
If you’ve tried this delightful DIY activity, please let me know how you liked it in the comments below and feel free to leave a review. Your feedback is always appreciated!
Don’t forget to tag me – @sugarandsoulco – on Instagram and Pinterest with your photos of your kids’ masterpieces! Or, join our Sugar & Soul Show-offs Community and share your creative moments there, where you can also participate in our fun recipe challenges!
Did You Make This Fun Activity?
Share your colorful creations with us! Don’t forget to tag @sugarandsoulco on Instagram, follow us on Tiktok @sugarandsoulco, and check out more inspiration on Pinterest @sugarandsoulco!
Pin This Recipe
Share on Facebook