
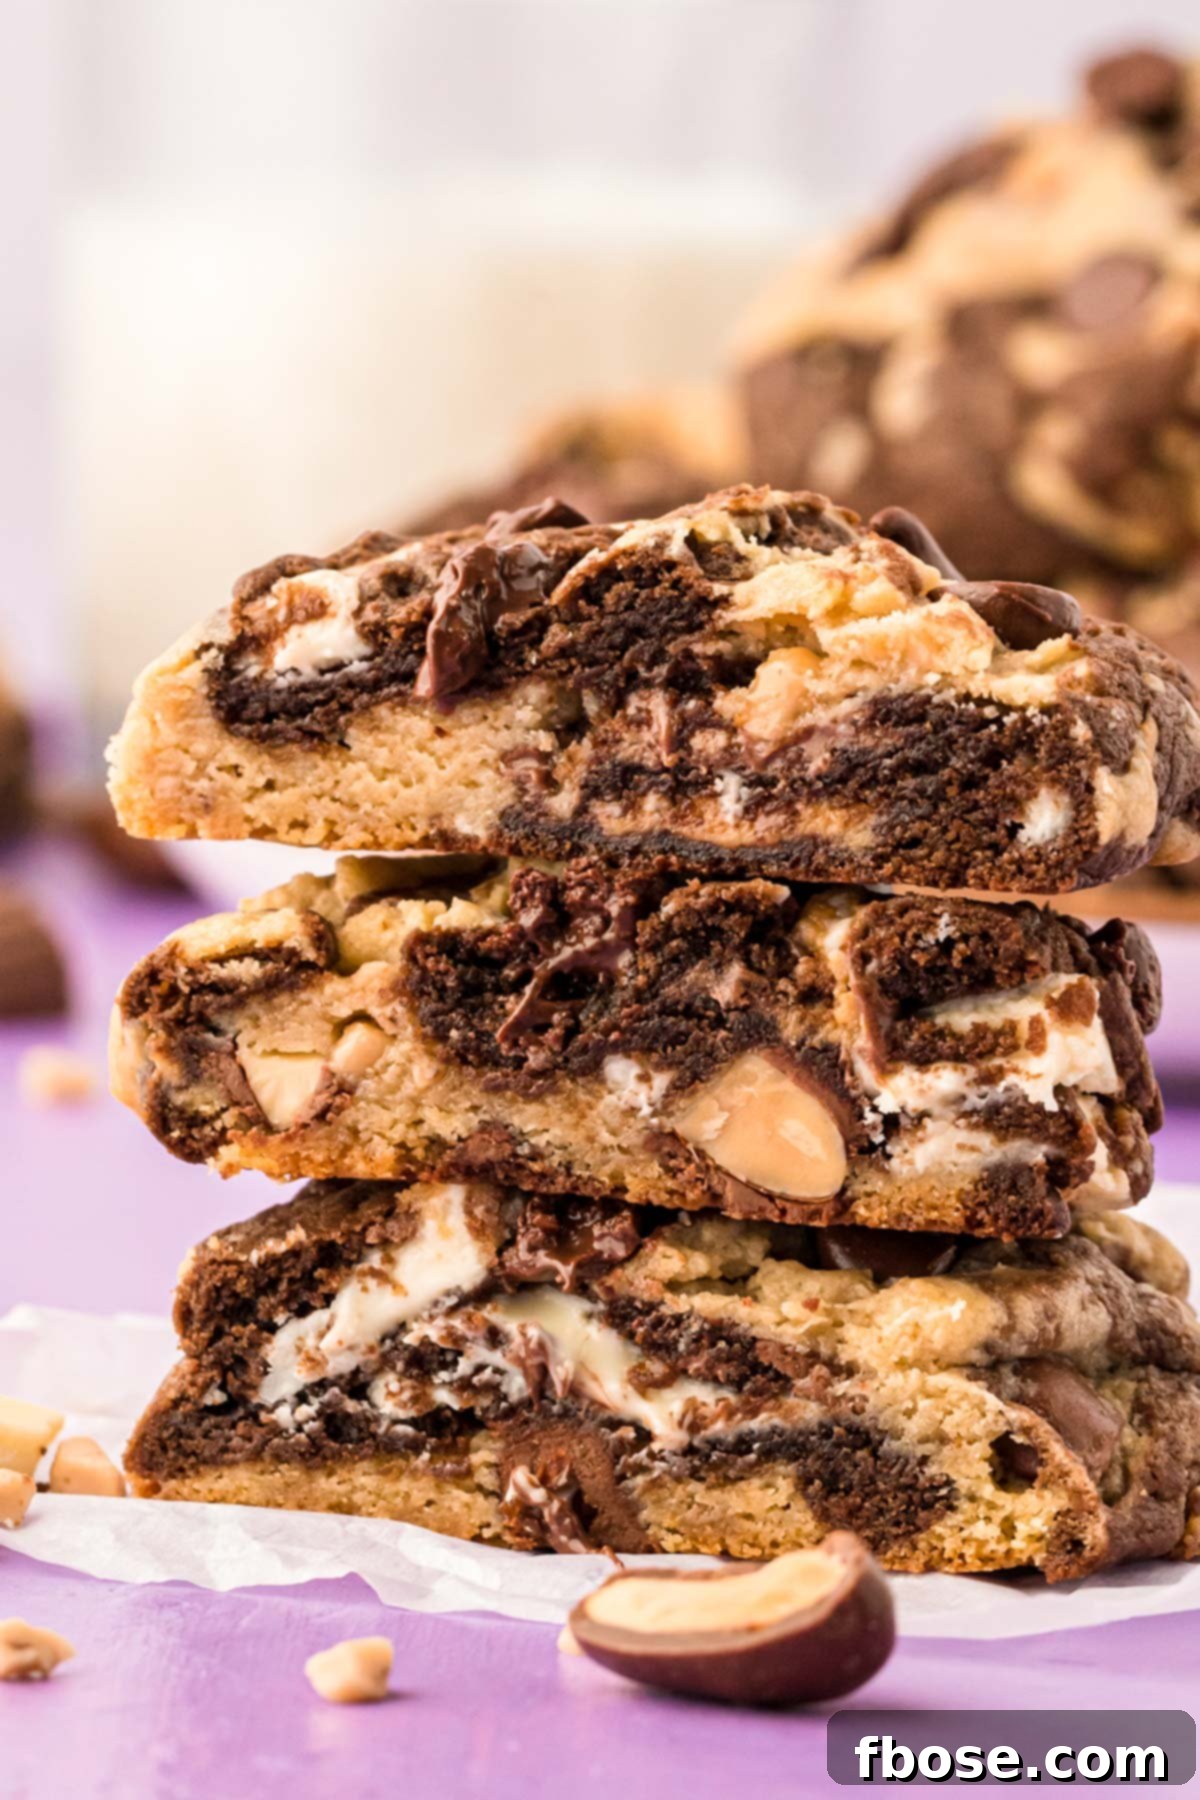
Kitchen Sink Cookies are a delightful culinary adventure, bringing together an irresistible medley of sweet and salty flavors in one perfect bite. Inspired by the legendary Ben & Jerry’s ice cream, these homemade cookies feature beautifully marbled white chocolate and classic chocolate cookie doughs. Each bite is packed with delicious surprises like crunchy peanut butter cups, savory almonds, chewy toffee bits, and rich white chocolate chunks, making them a truly unforgettable treat. This recipe promises an indulgent experience that satisfies every craving, blending diverse textures and tastes into a harmonious symphony of flavor.
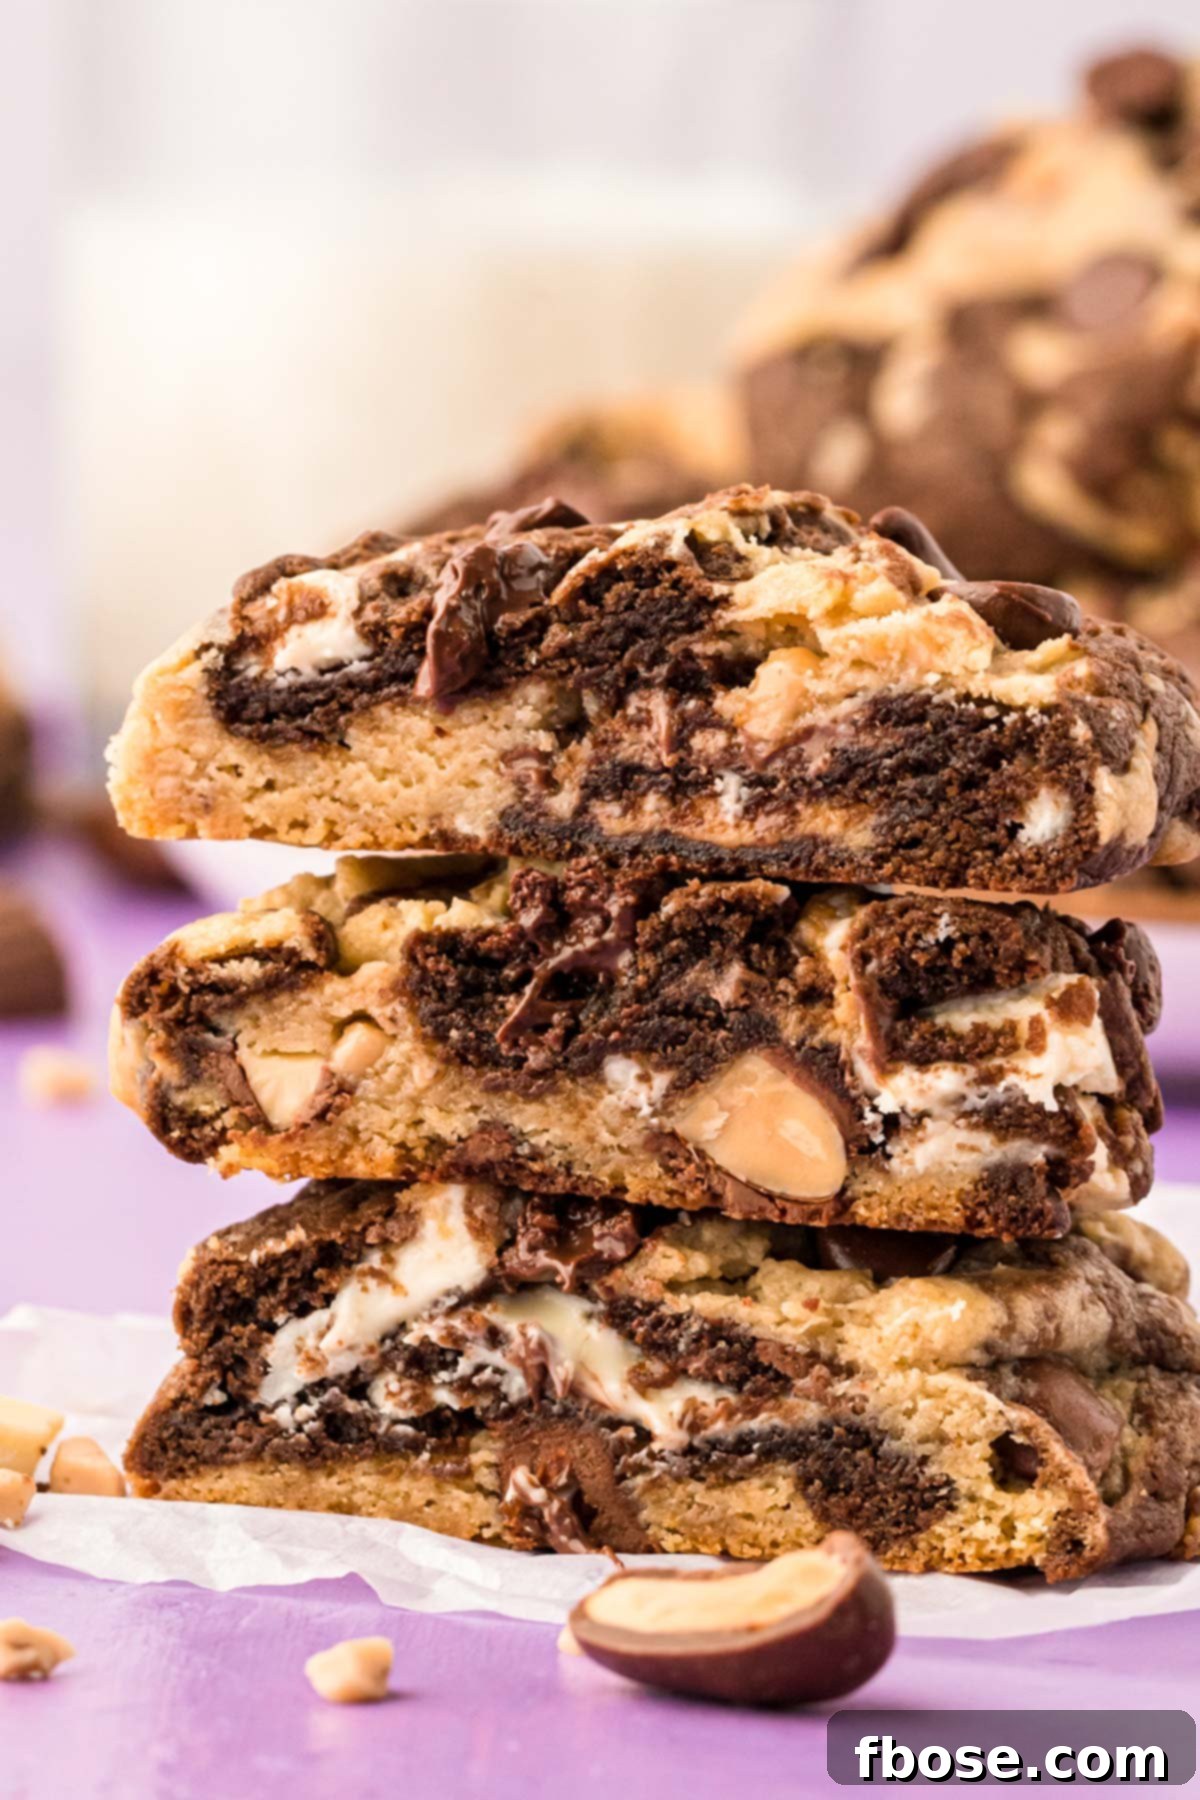
Kitchen Sink Cookies: A Symphony of Sweet and Salty Flavors
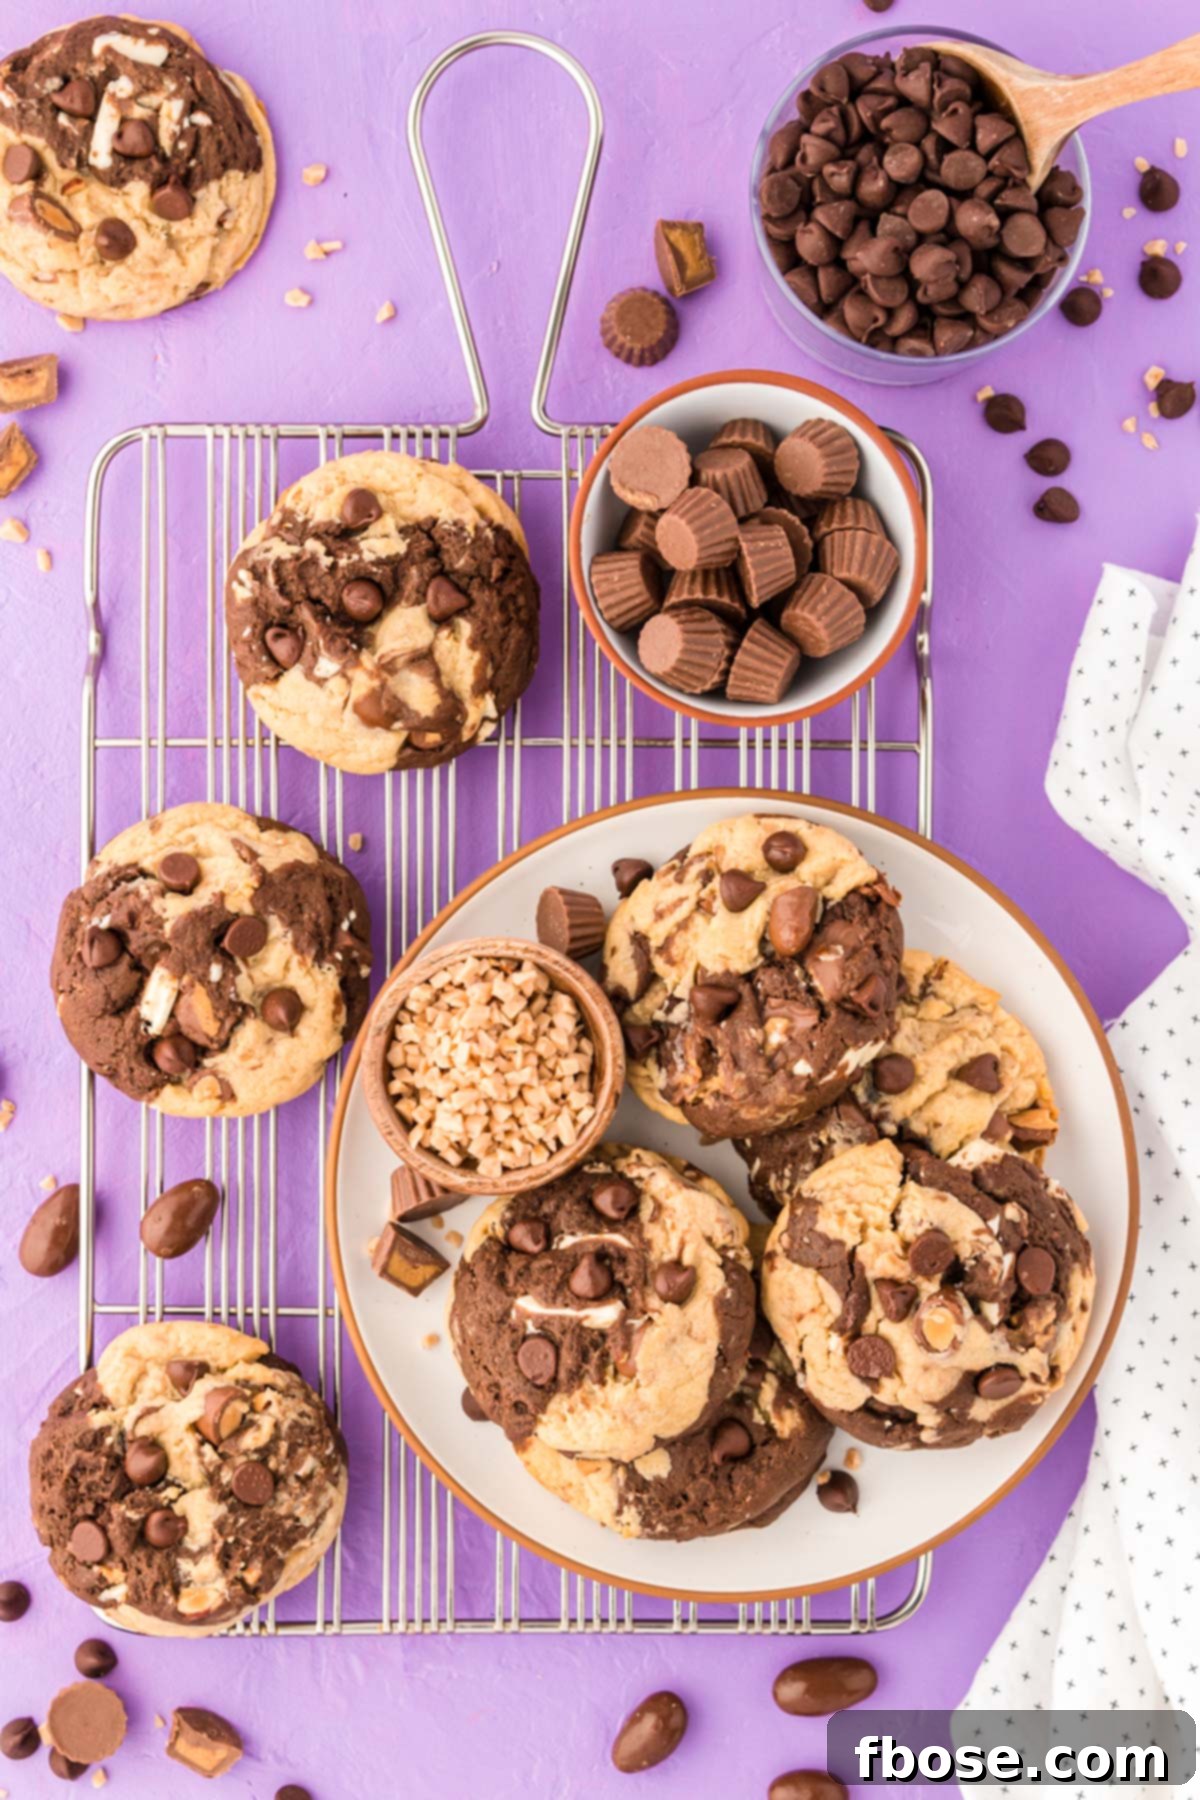
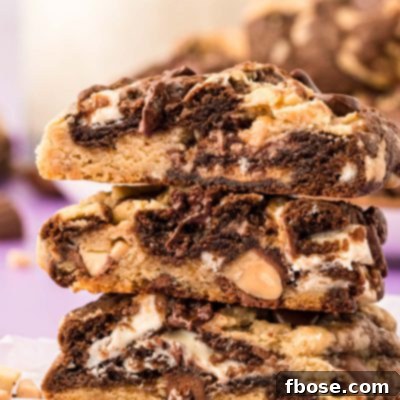
There’s a reason these cookies are called “Kitchen Sink” – they literally contain everything you could dream of for a truly epic dessert experience! We’ve meticulously translated the beloved salty, sweet, chocolate, and vanilla notes from the famous Ben & Jerry’s ice cream into these incredible homemade cookies. Imagine sinking your teeth into a tender cookie brimming with creamy peanut butter cups, crunchy toffee bits, luscious white chocolate chunks, and perfectly chocolate-covered almonds – just like the ice cream that inspired them!
What truly elevates these to the best Kitchen Sink Cookies you’ll ever bake is our unique approach to the dough. We don’t just mix everything in; we craft two distinct cookie doughs. One half boasts a rich chocolate flavor, while the other is infused with creamy white chocolate. These two delightful doughs are then artfully marbled together before baking, creating not only a stunning visual appeal but also an intricate flavor profile that will captivate your taste buds. This extra step ensures every cookie is a masterpiece, baking up to golden-brown perfection with swirls of light and dark, sweet and savory.
Chef’s Tip for Enhanced Flavor: For an exceptional sweet and salty balance, consider sprinkling a pinch of flaky sea salt over the cookie dough right before it goes into the oven. This simple addition intensifies the flavors and adds a gourmet touch, but rest assured, they are equally delicious baked without it!
Pin This Recipe For Later

Essential Ingredients for Your Kitchen Sink Cookies
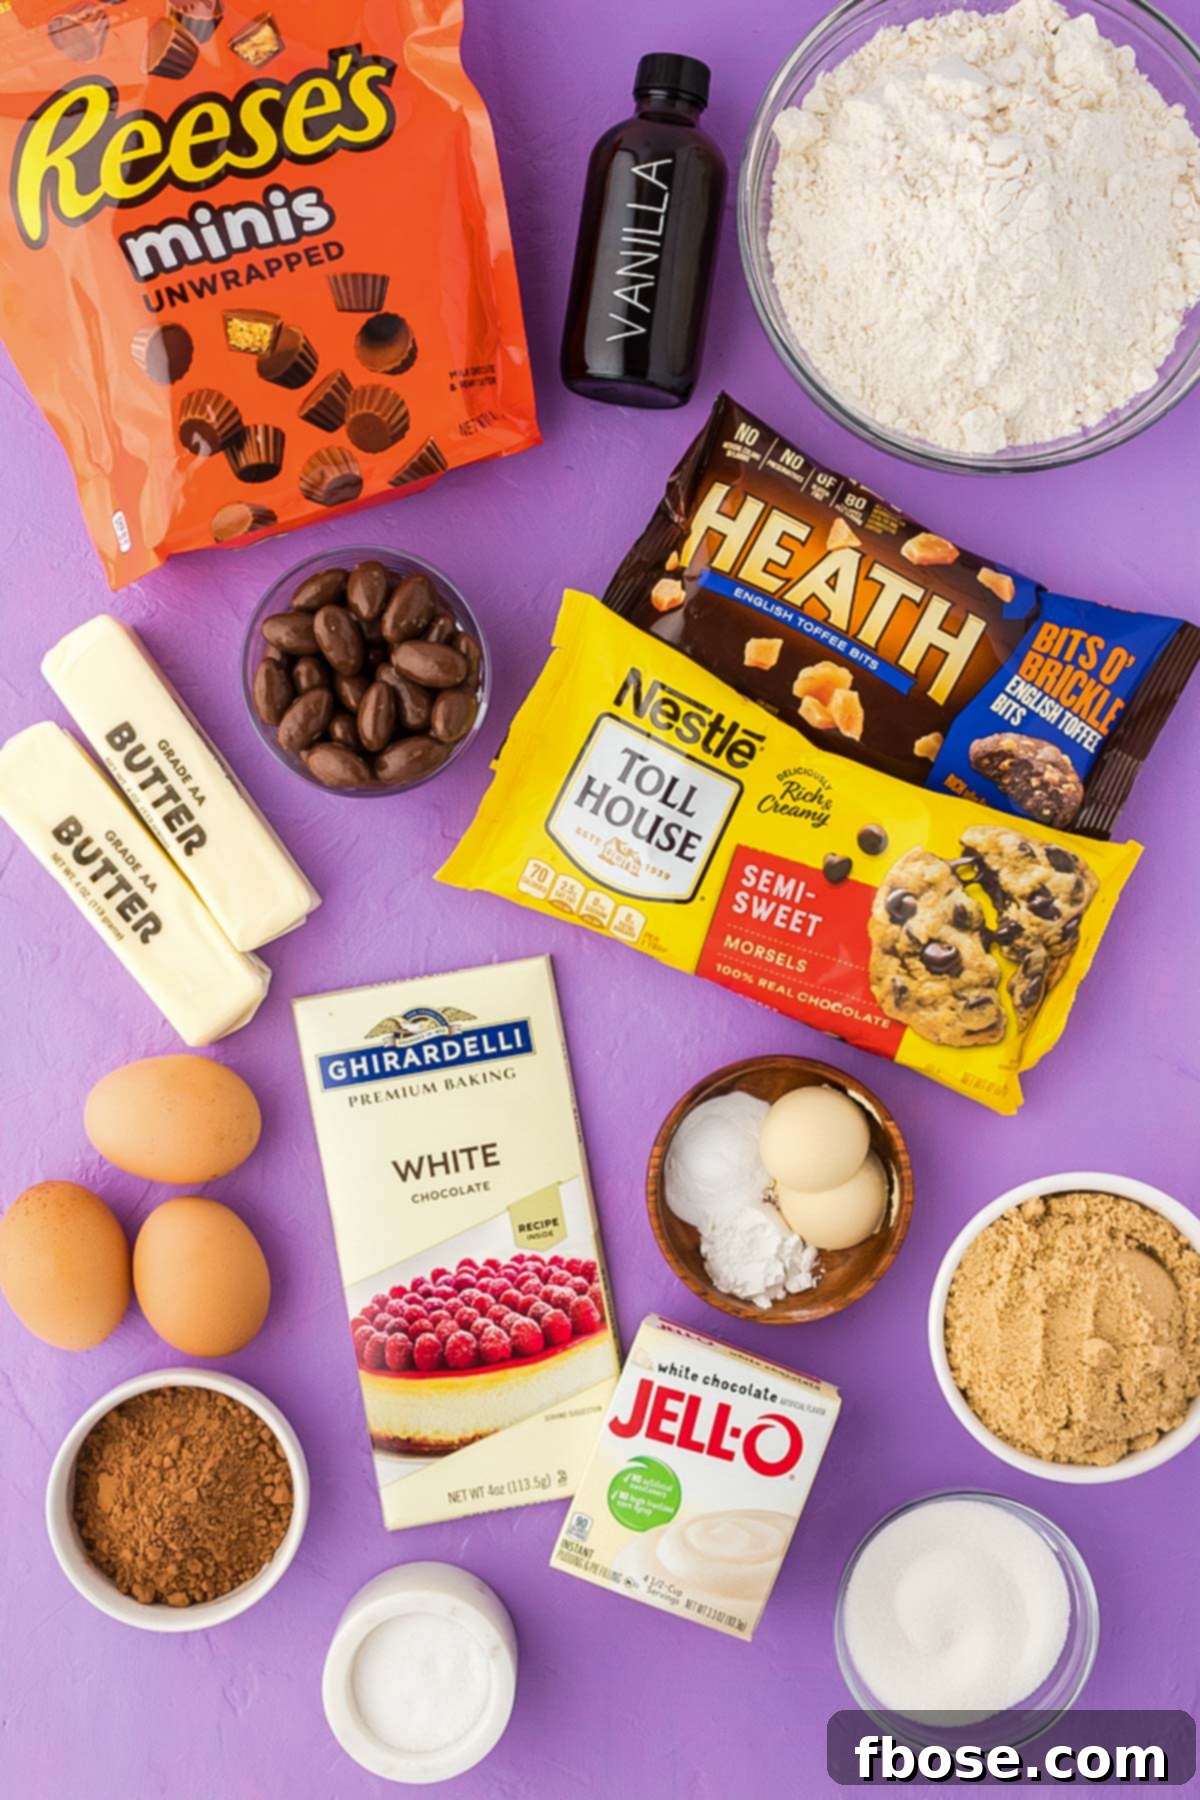
Crafting these extraordinary Kitchen Sink Cookies requires a careful selection of ingredients, each playing a vital role in achieving that perfect balance of flavor and texture. Here’s what you’ll need to gather:
- Salted Butter: Provides a rich, foundational flavor and aids in moisture.
- Light Brown Sugar: Essential for that signature chewy cookie texture and a deeper, caramel-like sweetness.
- Granulated Sugar: Contributes to crisp edges and overall sweetness.
- Large Eggs: Acts as a binder, adding richness and helping the cookies rise.
- Pure Vanilla Extract: A flavor enhancer that brings warmth and depth to both doughs.
- All-Purpose Flour: The structural base of your cookies.
- Instant Vanilla Pudding Mix: A secret ingredient that ensures incredibly soft and moist cookies, adding a subtle vanilla note.
- Malted Milk Powder: This is a game-changer, imparting a unique, nostalgic flavor that enhances the overall sweetness and complexity.
- Baking Powder: Provides lift and a tender crumb.
- Baking Soda: Reacts with the brown sugar to create spread and chewiness.
- Salt: Balances the sweetness and enhances all the other flavors.
- Cocoa Powder: Transforms half of your dough into a rich, decadent chocolate masterpiece.
- Chocolate Covered Almonds: Adds a delightful crunch and intense chocolatey goodness.
- Heath Bits Of Brickle Toffee Pieces: Offers a buttery, caramel crunch and a hint of English toffee flavor.
- Reese’s Minis Unwrapped: Introduces that beloved peanut butter and chocolate combination that’s simply irresistible.
- White Chocolate: Melts into creamy pockets, adding a contrasting sweetness and smooth texture.
- Semi-Sweet Chocolate Chips: Perfect for pressing into the tops for an extra chocolate boost and a classic cookie aesthetic.
Ingredient Spotlight: Malted Milk Powder
If you find yourself without malted milk powder, don’t fret! Powdered milk or powdered coffee creamer can serve as suitable alternatives, though the malted milk powder truly offers an unparalleled, unforgettable depth of flavor that’s worth seeking out. While not critical for the cookie’s structure, it contributes a subtle richness and complex sweetness that you won’t want to miss. I often incorporate this magical ingredient into my baking, just like in my immensely popular Chunky Monkey Pudding Cookies, proving its power to turn good cookies into truly great ones!
Unleash Your Creativity: Everything But The Kitchen Sink Cookie Mix-In Variations
The beauty of the Kitchen Sink Cookie lies in its versatility and adaptability. This recipe is incredibly forgiving and encourages experimentation, allowing you to truly make it your own! Feel free to incorporate any delightful morsels you have in your pantry or skip those on the recipe card that aren’t readily available. The possibilities are endless when it comes to customizing these cookies. Here are some fantastic mix-in variations to spark your imagination and help you create your signature Kitchen Sink masterpiece:
- Salty Crunch: Add chopped pretzels for a delightful salty counterpoint and an extra layer of crunch. Alternatively, lightly crushed potato chips (any flavor!) can introduce an unexpected yet welcome savory texture that enhances the sweet elements.
- Chip Extravaganza: Don’t limit yourself to just semi-sweet chocolate chips! Explore other chip varieties like creamy butterscotch chips, rich peanut butter chips, classic milk chocolate chips, or even larger chocolate chunks for bigger pockets of melty goodness.
- Nutty Additions: Elevate the earthy notes and texture with various nuts. Chopped pecans offer a buttery richness, walnuts provide a slightly bitter counterpoint, and peanuts amplify the salty-sweet dynamic, especially when paired with peanut butter cups.
- Fruity Zing: Introduce a touch of tang and chewiness with dried fruits. Sweet cranberries, tart cherries, or classic raisins can provide a wonderful burst of flavor and a softer texture contrast.
- Candy & Sprinkles: This is where creativity truly shines! Any leftover candies from holidays or sprinkles waiting in your pantry can find a happy home in these cookies. Think M&Ms, chopped caramels, or even mini gummy bears for a fun surprise.
- Texture Boosters: For an irresistible chewy and gooey element, fold in some mini marshmallows that will slightly melt during baking, or add caramel bits for pockets of buttery sweetness.
Remember, the goal is to create a cookie that is uniquely yours, so have fun with your choices and enjoy the process of discovering your perfect “everything but the kitchen sink” combination!

Step-by-Step: How To Make Kitchen Sink Cookies
Creating these incredible Kitchen Sink Cookies is a rewarding process. Follow these detailed steps to ensure your cookies turn out perfectly moist, chewy, and bursting with flavor:
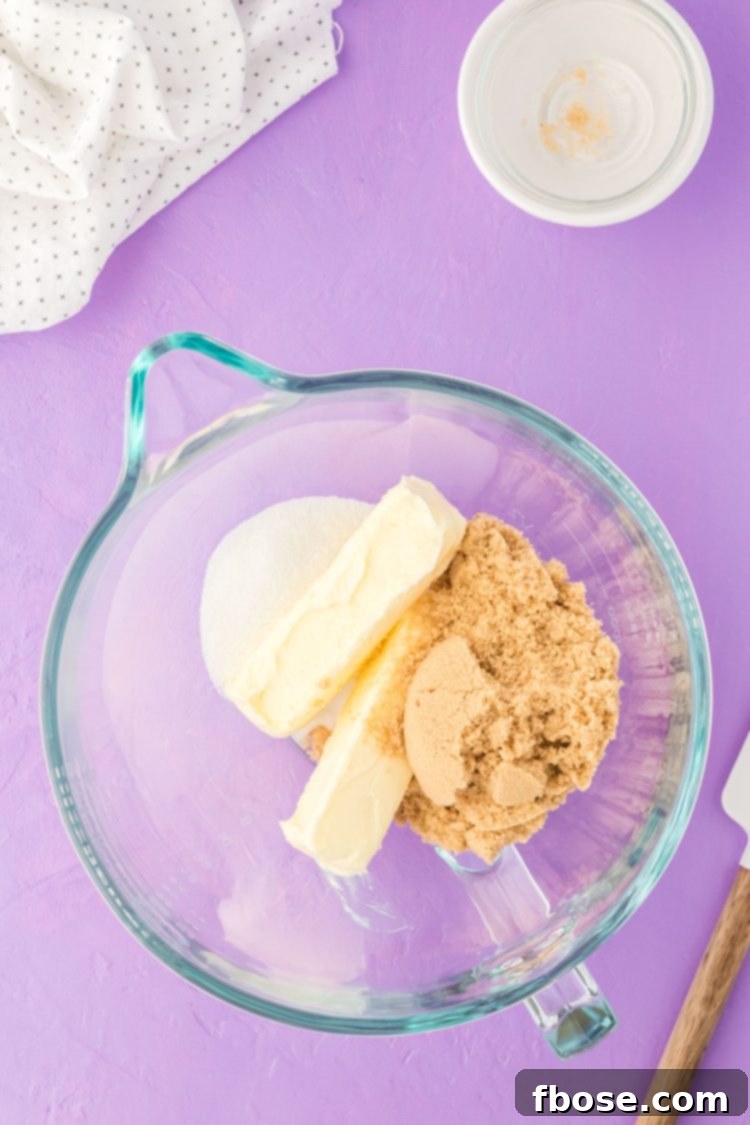
1. Cream the Wet Ingredients: In a large mixing bowl or the bowl of a stand mixer, combine the softened salted butter, light brown sugar, and granulated sugar. Beat these together at medium-high speed for approximately 2 minutes until the mixture is light, fluffy, and well combined. Make sure to stop at least once, about halfway through, to scrape down the sides of the bowl with a spatula, ensuring all ingredients are thoroughly incorporated.
2. Incorporate Eggs and Vanilla: Add the large eggs and the additional large egg yolk to the creamed mixture, one at a time. Mix thoroughly after each addition until fully incorporated. This staggered approach helps to emulsify the ingredients, resulting in a smoother dough.
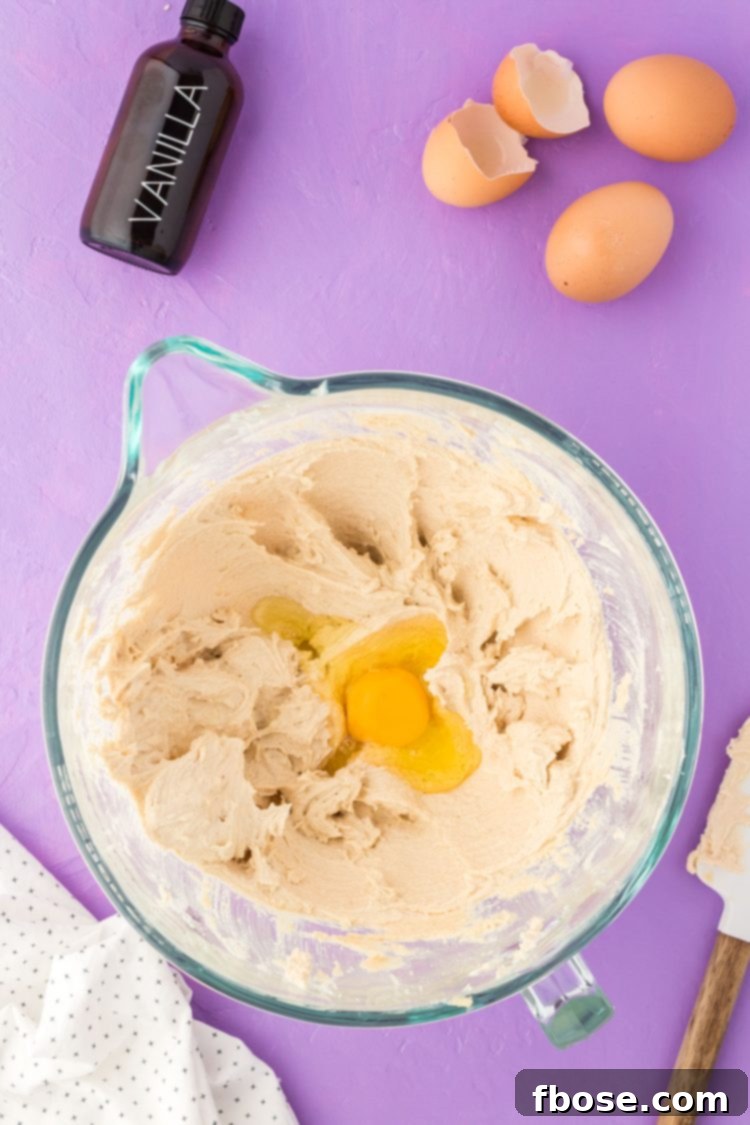
3. Add Vanilla Extract: Pour in the pure vanilla extract and beat the mixture on medium speed for one full minute. This helps distribute the vanilla flavor evenly throughout the dough.
4. Whisk Dry Ingredients: In a separate, medium-sized bowl, whisk together the all-purpose flour, instant vanilla pudding mix, malted milk powder, baking powder, baking soda, and salt. Whisking ensures these dry ingredients are evenly distributed, which is crucial for uniform baking.

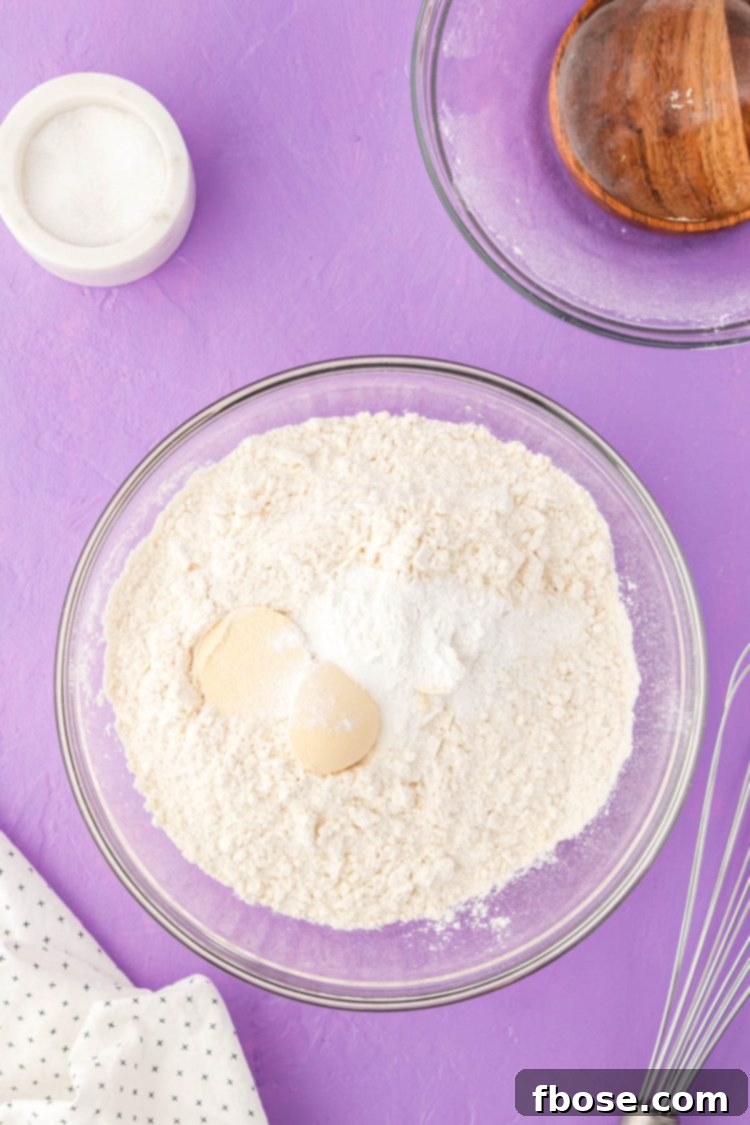
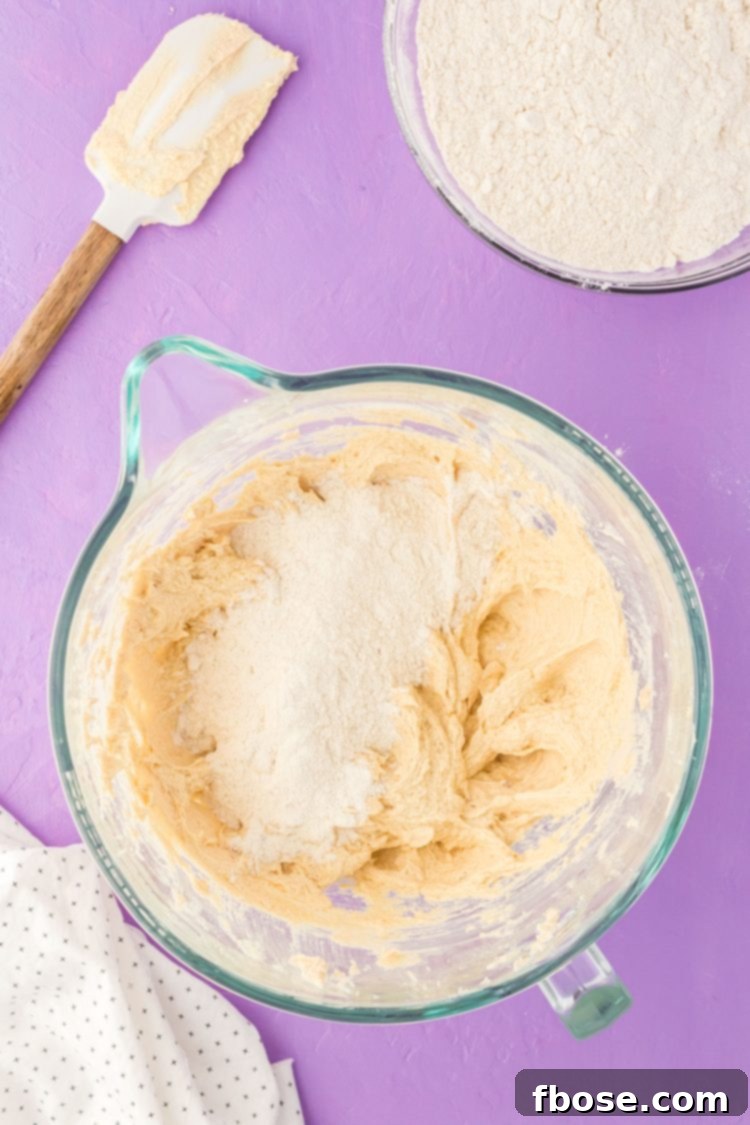
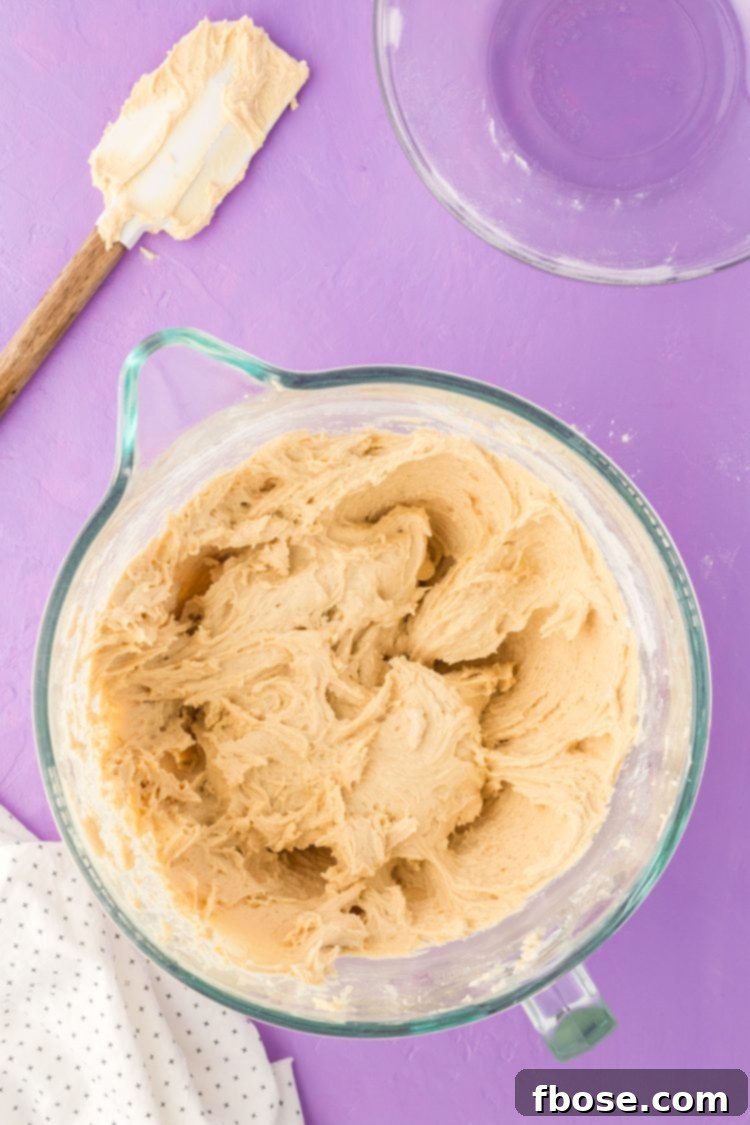
5. Combine Dry and Wet Ingredients: Gradually add the dry ingredient mixture to the wet ingredients in the stand mixer. Mix on low speed until just combined. Be careful not to overmix, as this can lead to tough cookies. The dough will appear quite soft at this stage, which is perfectly normal; its structure will firm up once the mix-ins are added.
6. Divide the Dough: Carefully divide the prepared cookie dough into two equal halves. Transfer one half into a separate bowl, leaving the other half in the mixing bowl. This is a crucial step for creating our signature marbled effect.
7. Flavor the Vanilla Dough: To the first half of the dough (your vanilla base), add the chopped chocolate-covered almonds and the Heath bits of brickle toffee pieces. Gently fold these mix-ins until they are just incorporated. Remove this vanilla dough from the mixing bowl and set it aside.
8. Create the Chocolate Dough: Transfer the second half of the dough back into the mixing bowl. Add the unsweetened cocoa powder and mix until the powder is fully combined and the dough is a uniform rich chocolate color. Then, gently fold in the halved Reese’s Minis unwrapped and the chopped white chocolate until evenly distributed.
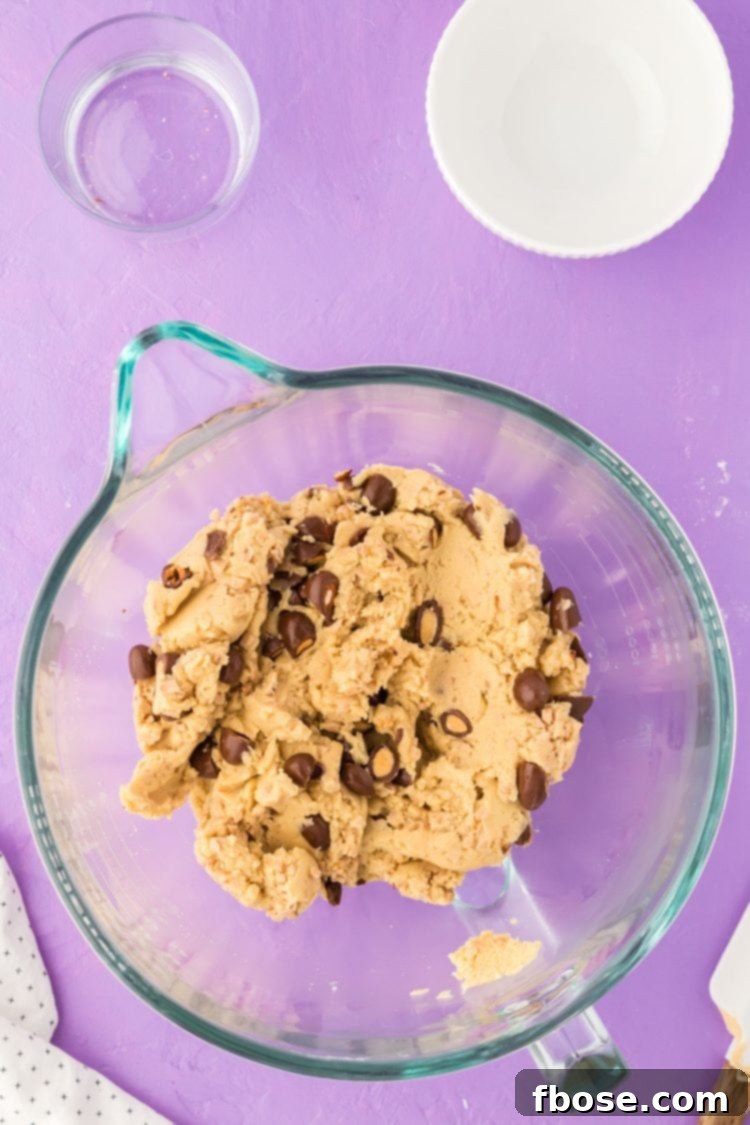
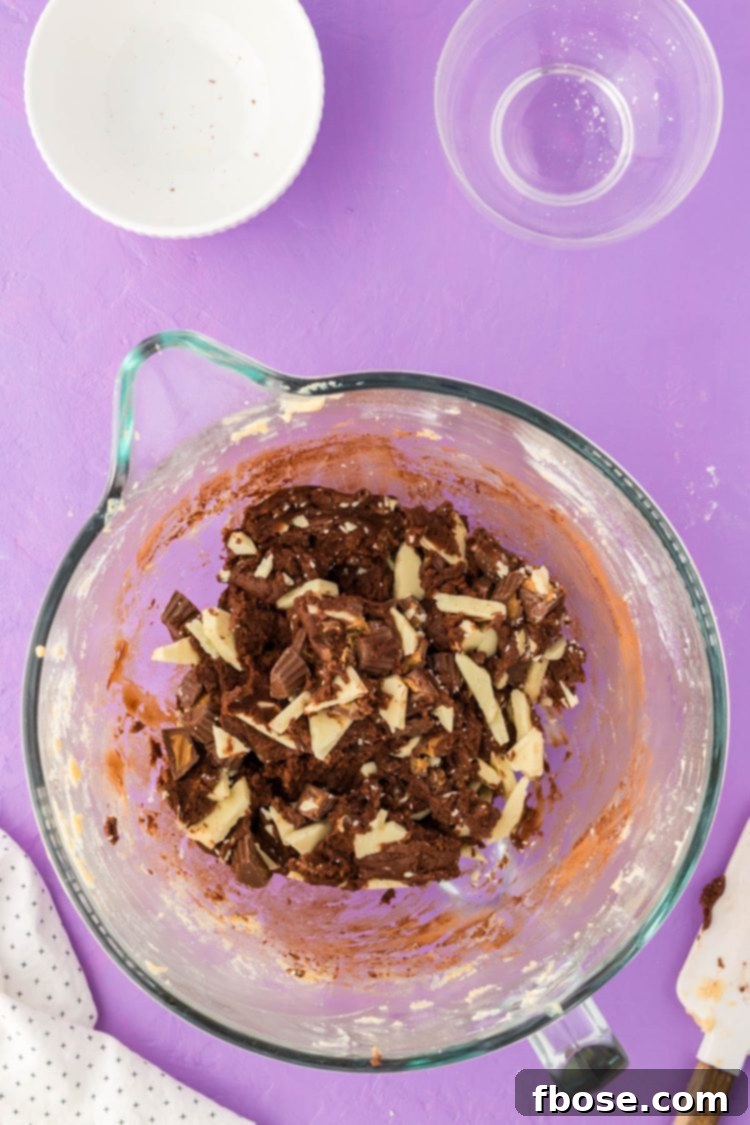
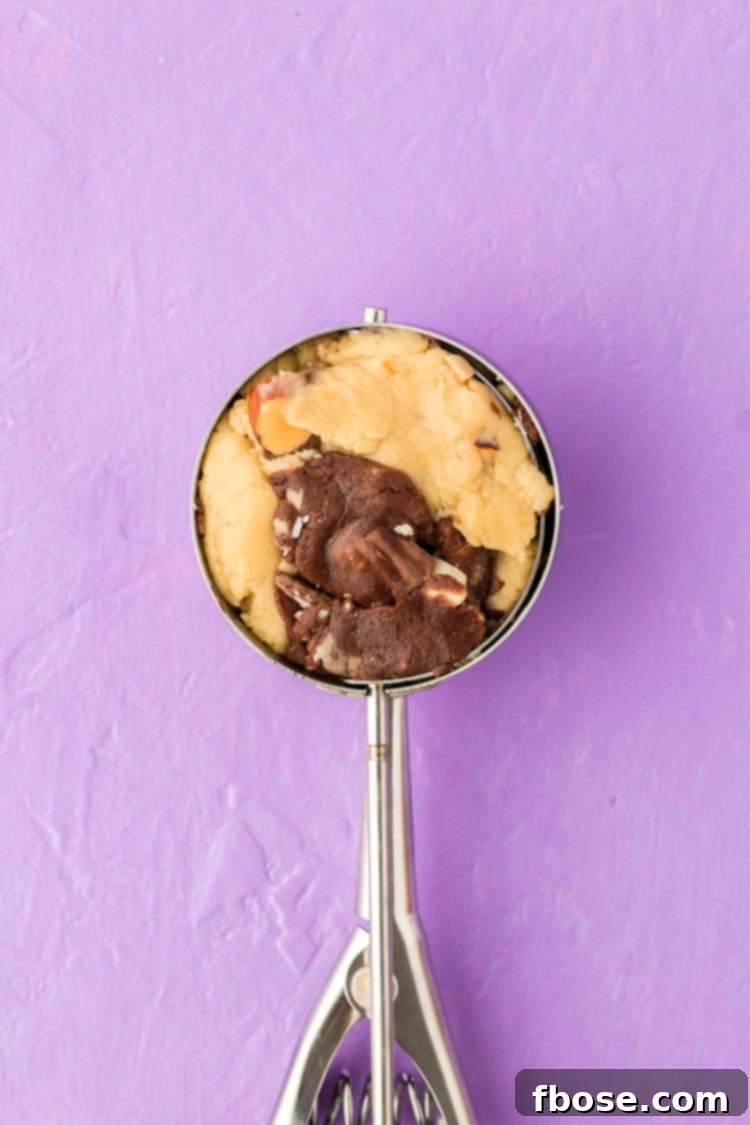
9. Marble the Dough: This is where the “Kitchen Sink” magic truly comes alive! Take small, alternating portions of both the vanilla and chocolate doughs. Press them gently into a #16 cookie scoop (which holds about 3 ounces of dough) to create a beautiful marbled effect. You’re aiming for distinct swirls of light and dark dough within each cookie ball.
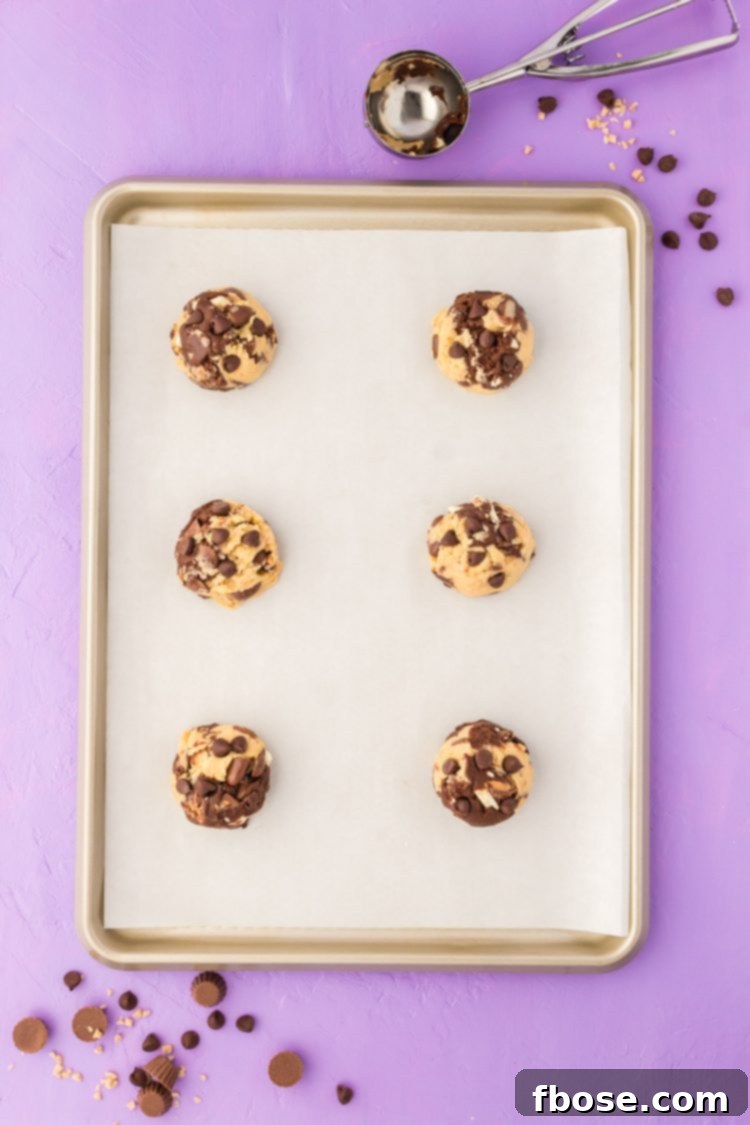
10. Prepare for Baking: Place the scooped, marbled cookie dough balls onto your prepared baking sheets, ensuring they are spaced approximately 4 inches apart. Before baking, gently press a few semi-sweet chocolate chips into the tops of each cookie dough ball. This adds a visual appeal and extra chocolatey goodness.
11. Bake to Perfection: Bake the cookies in your preheated oven until their edges are golden brown and the centers are set yet still slightly soft. Once baked, allow the cookies to cool on the baking sheet for a couple of minutes to let them set. Then, carefully transfer them to a wire rack to cool completely to room temperature. This gradual cooling prevents them from becoming too crisp and ensures a perfect chewy texture.
Rebecca’s Expert Baking Tips for Perfect Cookies
Achieving bakery-quality cookies at home is entirely possible with a few insider tips. Here are Rebecca’s essential recommendations to ensure your Kitchen Sink Cookies turn out flawless every time:
- Accurate Flour Measurement is Key: The most common mistake in baking is incorrect flour measurement. To achieve the best chewy cookies with the right texture, it’s crucial to measure your flour correctly. Avoid scooping directly from the bag, as this compacts the flour, leading to too much dry ingredient and a dense, dry cookie. Instead, use the “spoon and level” method: lightly spoon flour into your measuring cup until it overflows, then level off the excess with the straight edge of a knife. This minimal effort makes a monumental difference in the final product!
- Utilize Two Baking Sheets for Optimal Results: I cannot stress enough the importance of using two baking sheets when baking any homemade cookie recipe. This simple trick prevents your cookie dough from being dropped onto a hot baking sheet that’s just come out of the oven. Placing dough on a warm or hot sheet can prematurely melt the butter, causing the cookies to spread excessively and result in thin, overly crisp (or even burnt) cookies. By rotating between two cool sheets, you maintain the dough’s temperature and structure, promoting even baking and that desirable thick, chewy center.
- Mind Your Cookie Spacing: For perfectly baked cookies that don’t merge into one giant, flat entity, I highly recommend baking no more than six cookies per standard 15×17-inch baking sheet. This generous spacing allows each cookie ample room to spread and bake evenly without crowding. Proper airflow around each cookie is essential for achieving that consistent golden-brown finish and ensures they maintain their individual, beautiful shape.
- The Trick to Perfectly Round Cookies: Want your homemade cookies to look like they came straight from a professional bakery? Here’s a quick and easy kitchen hack: immediately after removing your cookies from the oven, while they are still warm and pliable, take an extra-large cookie cutter (or even the rim of a glass or mug) that is slightly larger than your cookies. Place it around each warm cookie and gently swirl it in a circular motion on the baking sheet. This pushes the edges inward, creating beautifully defined, perfectly round cookies every single time!
Troubleshooting: What Can Cause A Cookie To Spread Too Much?
One of the most common challenges in cookie baking is excessive spreading, which can lead to thin, crispy (and sometimes disappointing) results. For these Kitchen Sink Cookies, and many others, understanding the culprits behind over-spreading is key to success. Here are the primary reasons your cookies might be spreading too much and how to prevent it:
Butter Consistency: The most frequent offender is butter that is too soft, or even worse, melted. Butter acts as a leavening agent by creating steam in the oven and contributes to the cookie’s structure. If your butter is too warm, it will melt too quickly before the other ingredients have a chance to set, causing your cookies to spread out rather than rise. To prevent this, ensure your butter is merely softened to room temperature – it should be pliable enough to leave an indentation when pressed, but still hold its shape, not greasy or melted. If you accidentally let your butter get too soft or it melts, simply pop it back into the fridge for 10-15 minutes until it firms up again.
Hot Baking Sheets: Placing cookie dough onto a hot baking sheet that has just come out of the oven is another major cause of spreading. The residual heat from the pan will immediately start melting the butter in your dough before it even enters the oven, leading to rapid and excessive spreading. This is precisely why the “two baking sheets” tip (mentioned above) is so crucial! Always use cool baking sheets for each batch, or allow your baking sheet to cool completely between batches before placing new dough on it.
Other Contributing Factors:
- Incorrect Flour Measurement: As discussed in the tips, too little flour means less structure to hold the cookie’s shape, leading to spreading.
- Oven Temperature: An oven that isn’t hot enough can cause cookies to spread because they take longer to set. Always preheat your oven thoroughly and consider using an oven thermometer to verify accuracy.
- Over-creaming Butter and Sugar: While creaming is important, over-creaming can incorporate too much air, which can cause cookies to puff up and then collapse, leading to spreading.
By being mindful of these factors, especially butter temperature and baking sheet temperature, you can easily avoid overly spread cookies and enjoy perfectly formed, chewy Kitchen Sink masterpieces every time!

Optimal Storage Instructions For Your Delicious Kitchen Sink Cookies
To keep your freshly baked Kitchen Sink Cookies at their peak deliciousness, proper storage is essential. For room temperature enjoyment, place the cooled cookies in an airtight container or a Ziploc bag, making sure to gently press out any excess air before sealing. Stored this way, your cookies will remain wonderfully fresh and soft for up to 4 days, ready to be enjoyed whenever a craving strikes.
How To Freeze Homemade Cookies for Future Enjoyment
Planning ahead or simply want to savor your Kitchen Sink Cookies for longer? Freezing them is a fantastic option! Here’s how to properly freeze your homemade cookies to maintain their incredible flavor and texture:
First, ensure your baked cookies have completely cooled to room temperature. This is a critical step, as freezing warm cookies can lead to condensation and ice crystals, compromising their texture. Once fully cooled, arrange the cookies in a single layer on a baking sheet. Place the baking sheet in the freezer for about 1-2 hours, or until the cookies are solid. This “flash freezing” technique prevents the cookies from sticking together when transferred for long-term storage.
After flash freezing, transfer the solid cookies into a freezer-safe Ziploc bag, squeezing out as much excess air as possible, or into an airtight container. If using a container, it’s a good idea to separate layers of cookies with parchment paper to prevent them from freezing into a solid block. Properly stored, these cookies will keep beautifully in the freezer for up to 3 months.
When you’re ready to indulge, simply remove the desired number of cookies from the freezer and let them thaw at room temperature. They’ll be just as soft, chewy, and flavorful as the day they were baked!

Explore More Irresistible Cookie Recipes with Exciting Mix-Ins:
- Cowboy Cookies – A hearty and satisfying cookie, generously stuffed with shredded coconut, crunchy pecan pieces, and rich chocolate chips for a robust flavor profile!
- Mama Kelce’s Chocolate Chip Cookies – Experience a fan-favorite recipe featuring the perfect blend of two types of chocolate and the delightful crunch of pecans!
- Salted Pistachio Toffee Chocolate Chip Cookies – Indulge in a sophisticated treat that perfectly marries the salty notes of pistachios with sweet, buttery toffee and classic chocolate.
- Serenity Cookies (Sweet Magnolias) – A comforting recipe inspired by the beloved series, featuring a rich brown butter dough filled with decadent dark chocolate and crunchy walnuts!
- Rocky Road Pudding Cookies – Dive into these deeply satisfying cookies, loaded with an abundance of chocolate chips, toasted almonds, and gooey marshmallows, reminiscent of the classic ice cream flavor!
Everything But The Kitchen Sink Cookies
Ingredients
- 1 cup salted butter 224g, softened
- ¾ cup light brown sugar 170g, packed
- ¼ cup granulated sugar 55g
- 2 large eggs
- 1 additional large egg yolk
- 1 teaspoon pure vanilla extract
- 3 cups all-purpose flour 380g
- 1 (3.3oz.) box Instant white chocolate pudding mix 93g, unprepared
- 2 tablespoons malted milk powder 22g, or powdered milk or coffee creamer
- 1 teaspoon baking powder 4g
- 1 teaspoon baking soda 6g
- ½ teaspoon salt
- ¼ cup unsweetened cocoa powder 23g
- ½ cup chocolate covered almonds 134g, chopped
- ½ cup bits of brickle toffee pieces 78g
- ⅔ cup Reese’s Minis unwrapped 106g, about 32, halved
- 4 ounces white chocolate 113g, chopped
- ⅓ cup semi-sweet chocolate chips for topping
Instructions
-
Preheat the oven to 350°F and line two baking sheets with parchment paper and set aside.
-
In a large bowl or stand mixer, cream together 1 cup salted butter , ¾ cup light brown sugar, and ¼ cup granulated sugar on medium-high speed for 2 minutes. Scrape down at least once, about halfway through.
-
Add the 2 large eggs and 1 additional large egg yolk one at a time, mixing after each addition.
-
Add 1 teaspoon pure vanilla extract and beat for 1 minute on medium speed.
-
In a separate bowl, whisk together 3 cups all-purpose flour, 1 (3.3oz.) box Instant white chocolate pudding mix, 2 tablespoons malted milk powder, 1 teaspoon baking powder, 1 teaspoon baking soda, and ½ teaspoon salt.
-
Add the dry ingredients to the wet ingredients a little at a time and mix until combined.
-
Divide the dough in half, transferring half to the bowl that had the flour in it and leaving the rest in the mixing bowl.
-
Add ½ cup chocolate covered almonds and ½ cup bits of brickle toffee pieces to the vanilla dough and mix just until incorporated. Remove the vanilla dough from the bowl and set aside.
-
Transfer the remaining dough back to the mixing bowl and mix with the ¼ cup unsweetened cocoa powder until fully combined.
-
Add the ⅔ cup Reese’s Minis unwrapped to the chocolate dough.
-
Fold in ⅔ cup Reese’s Minis unwrapped and the chopped 4 ounces white chocolate.
-
Add small portions of each kind of dough to a #16 cookie scoop, alternating as you add to the scoop so you have a sort of marble look. The balls of dough should weigh about 3 ounces each.
-
Place the scoop of dough about 4 inches apart on the prepared baking pans. I recommend 6 cookies per 15×17-inch baking sheet.
-
Press ⅓ cup semi-sweet chocolate chips into the tops of the cookies before baking, about 5 chips per cookie.
-
Bake for 10 to 12 minutes.
-
Cool on pan for a couple of minutes before transferring to a cooling rack.
Notes
- We also tested this recipe with a #24 scoop when baked for 9 to 10 minutes and made about 32 cookies.
Nutrition
Did You Make This Recipe?
Don’t forget to share it with me on Instagram @sugarandsoulco and follow on Tiktok @sugarandsoulco and Pinterest @sugarandsoulco for more!
Pin Recipe
Share Recipe