
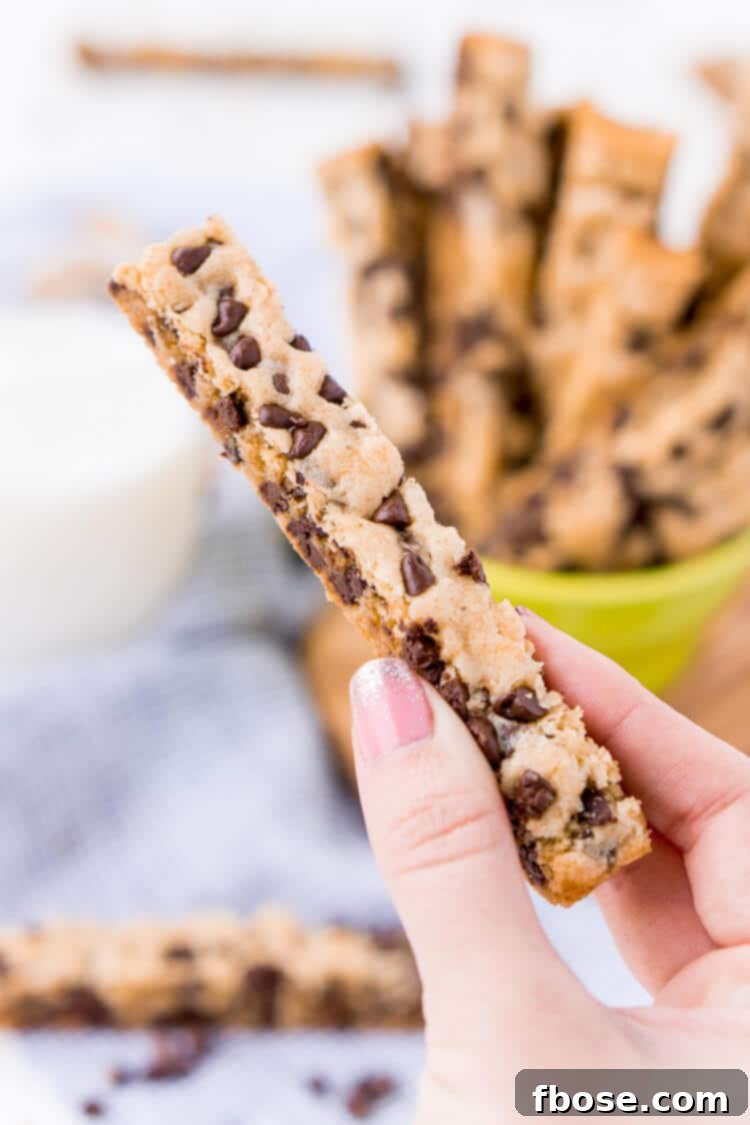
Irresistible Chocolate Chip Cookie Sticks: Your New Favorite Dippable Dessert
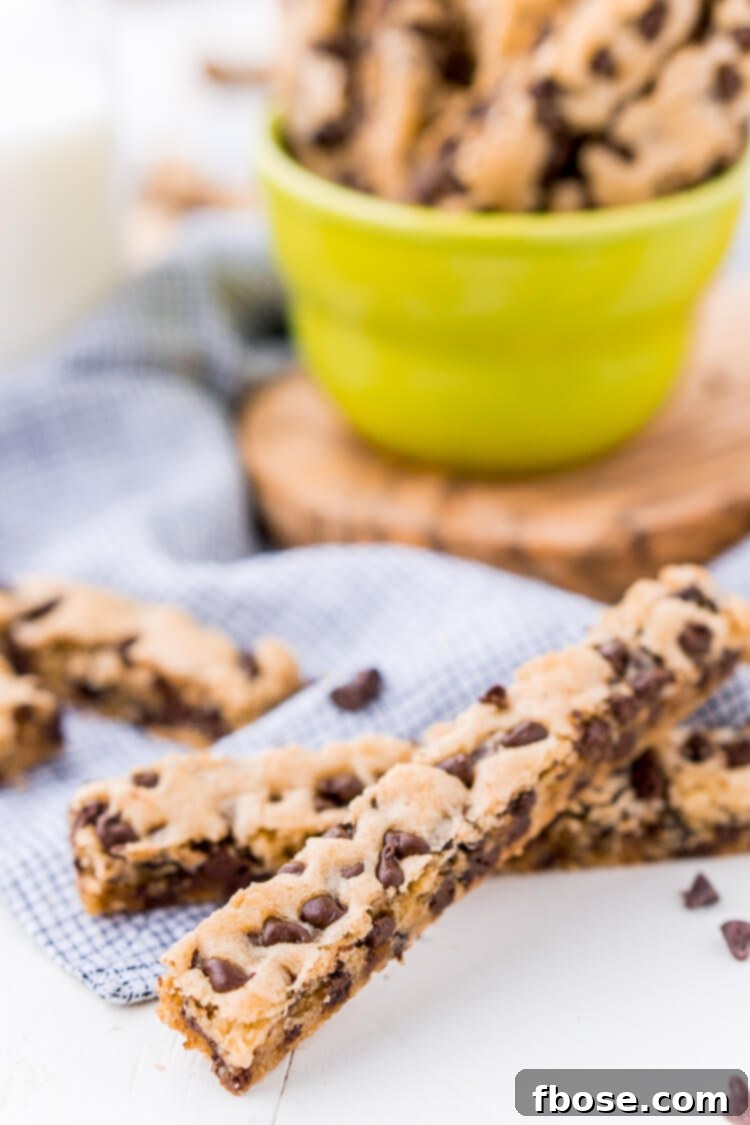
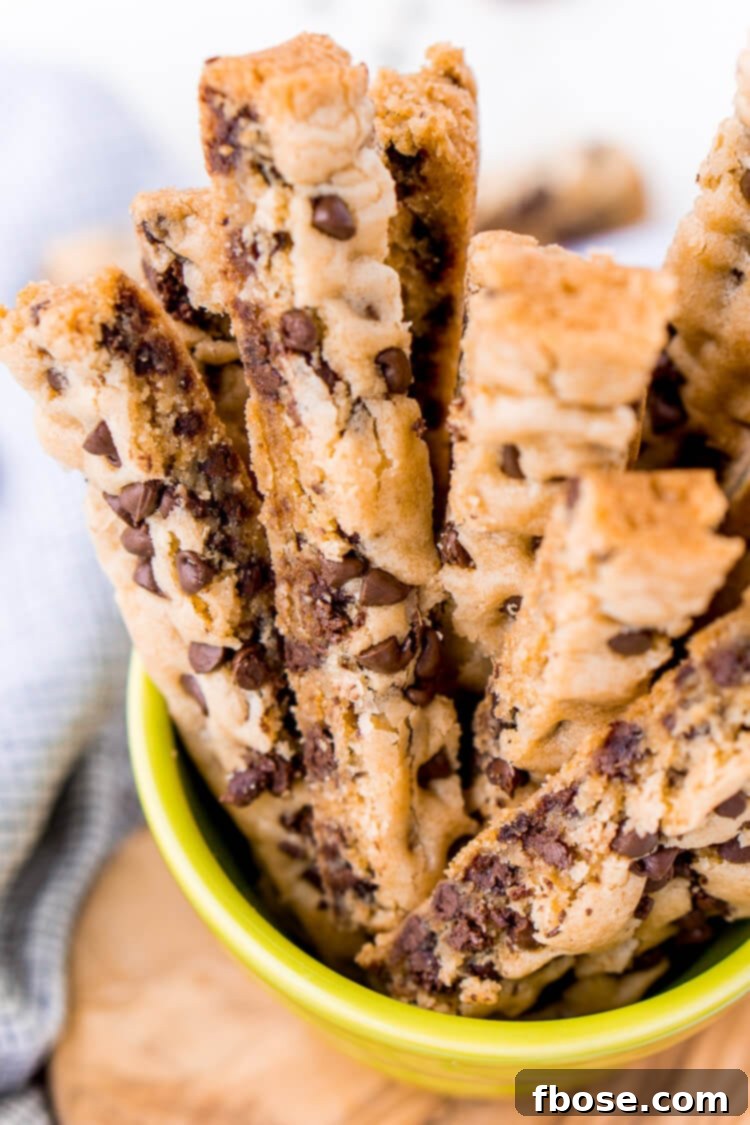
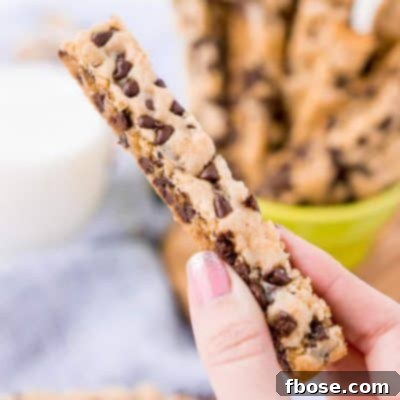
Get ready to redefine your cookie experience with these incredible Chocolate Chip Cookie Sticks! Imagine everything you love about a classic chocolate chip cookie – the warm, rich flavor, the perfect balance of crisp edges and a soft, chewy center, and an abundance of melty chocolate chips – but in a fun, elongated shape designed specifically for dipping. Baked conveniently in a 9×13-inch pan, these cookie sticks are not only effortless to make but also offer a delightful, mess-free way to enjoy your favorite sweet treat. Whether it’s a cozy evening in, a holiday gathering, or simply a craving for something deliciously dippable, these cookie sticks are an absolute game-changer.
As the holiday season draws near, the quest for the perfect festive dessert begins. While traditional round cookies always have a special place, why not add a unique twist to your dessert spread this year? These chocolate chip cookie sticks are an ideal candidate, offering a playful and practical alternative to serve alongside a steaming mug of hot cocoa or a tall glass of milk. They’re sure to be a hit with both kids and adults, making them a fantastic addition to any cookie platter or holiday party.
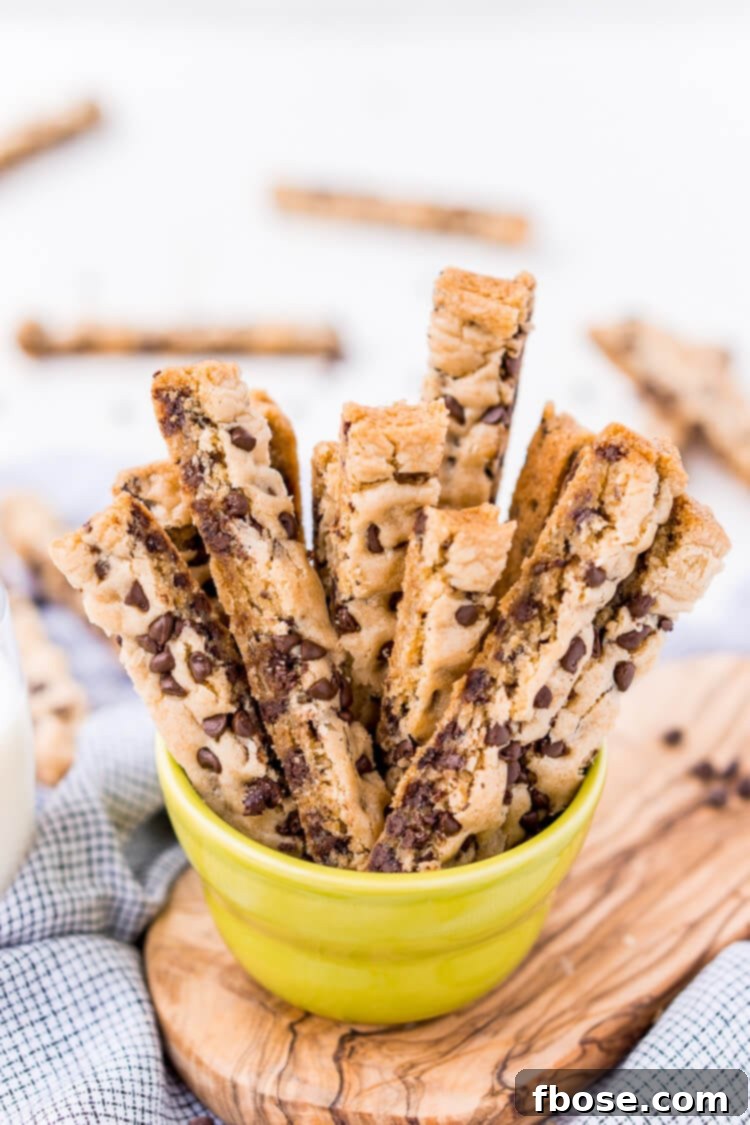
What Are Chocolate Chip Cookie Sticks?
Cookie sticks are a delightful innovation that takes the beloved chocolate chip cookie and transforms it into an elongated, finger-friendly shape. This design makes them inherently perfect for dipping into your favorite beverages or sweet sauces. While the concept might be new to some, the appeal is universal: a cookie specifically crafted for maximum dunking pleasure! They offer a charmingly unique spin on the timeless classic chocolate chip cookie, elevating a familiar treat into an exciting new format. If you’ve never experienced the joy of a cookie designed for dipping, prepare to fall in love!
The beauty of cookie sticks lies in their versatility and ease. They maintain the quintessential chewiness and rich flavor profile of a traditional chocolate chip cookie, but their shape offers a sturdier, more manageable bite, especially for little hands. Plus, baking them in a single pan simplifies the entire process, eliminating the need to scoop individual cookies. It’s a fantastic solution for feeding a crowd, preparing for a bake sale, or simply satisfying a deep craving for chocolate chip goodness with minimal fuss.
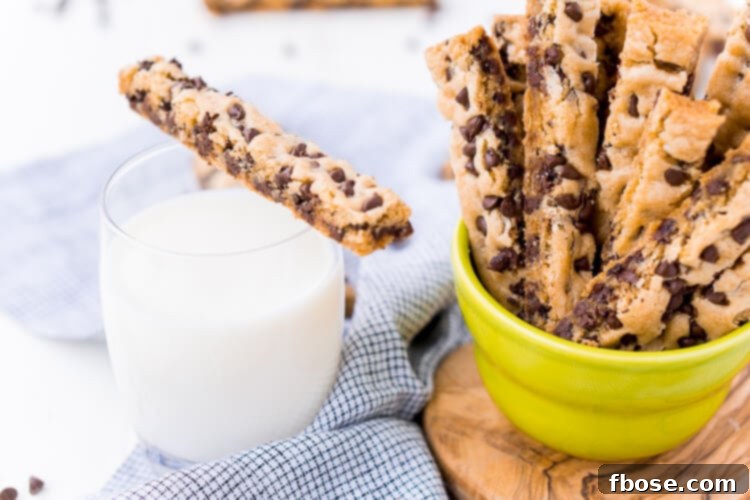
Why You’ll Love This Easy Cookie Stick Recipe
This chocolate chip cookie stick recipe isn’t just another cookie; it’s an experience! Here’s why it’s bound to become a staple in your baking repertoire:
- Effortless Baking: Forget scooping dozens of individual cookies. This recipe is made in a single 9×13-inch pan, making prep and clean-up a breeze.
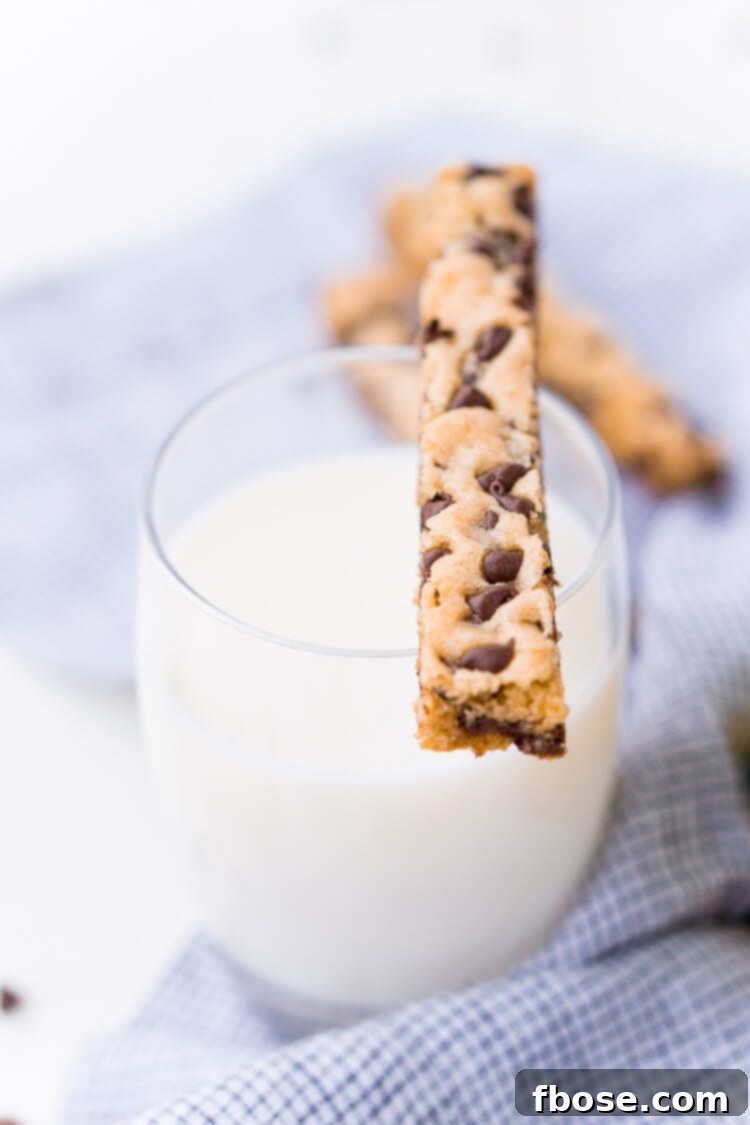
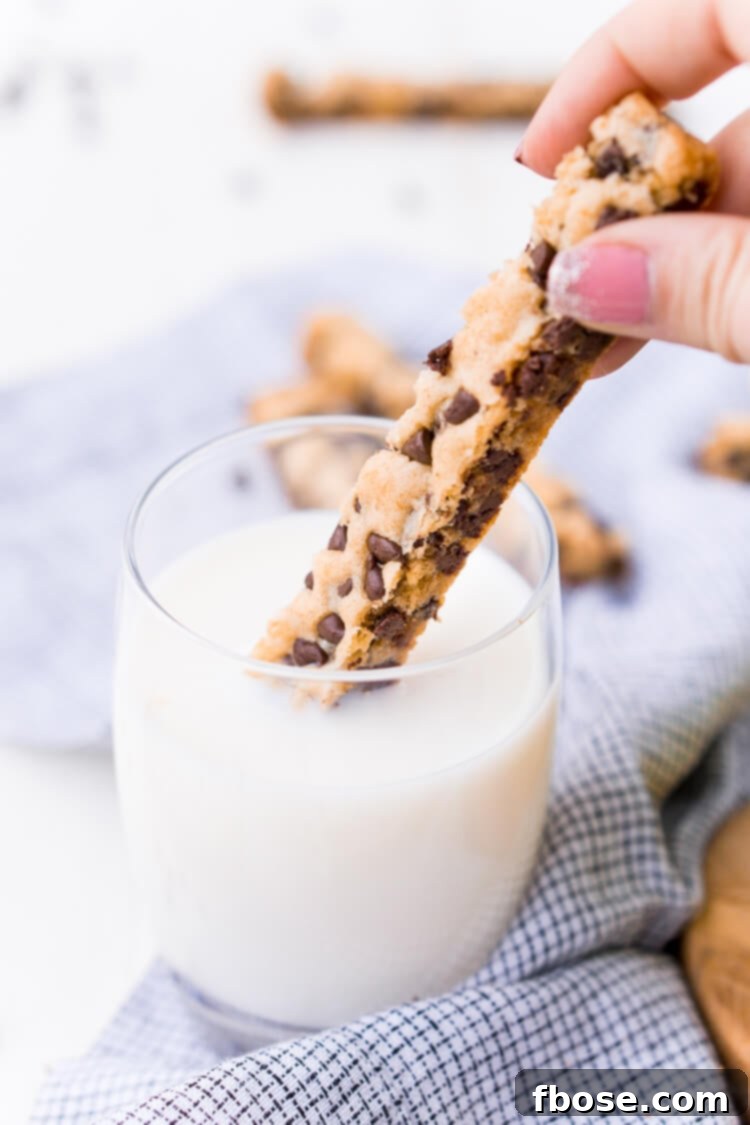
- Perfect for Dipping: Their stick shape is engineered for optimal dunking. Pair them with milk, coffee, hot chocolate, or even a delightful dessert dip!
- Irresistible Texture: Enjoy a cookie that’s wonderfully thick, slightly crispy on the edges, and delightfully chewy in the middle, packed with chocolate chips in every bite.
- Crowd-Pleasing: These cookie sticks are a hit at parties, potlucks, and family gatherings. They’re easy to serve and even easier to enjoy!
- Year-Round Delight: While perfect for holiday cheer, their universal appeal makes them suitable for any season or occasion, satisfying your sweet tooth whenever a craving strikes.
- Kid-Friendly: A fun shape that kids adore, both for eating and potentially helping to prepare.
Ingredients for Perfect Chocolate Chip Cookie Sticks
Crafting these irresistible cookie sticks requires a handful of common baking ingredients, each playing a crucial role in achieving that perfect texture and flavor. Using high-quality ingredients will always yield the best results.
- Unsalted Butter (softened): The foundation of any great cookie. Softened butter creams beautifully with sugars, contributing to a tender crumb and rich flavor. Ensure it’s not melted, as this can affect the cookie’s structure.
- Granulated Sugar & Light Brown Sugar: The combination of both sugars is key. Granulated sugar provides crispness, while light brown sugar adds moisture, chewiness, and a subtle caramel note that deepens the flavor profile of the cookie sticks.
- Large Egg: Acts as a binder, providing structure and richness to the dough. It helps create that desirable chewy texture.
- Vanilla Extract: Essential for enhancing the classic cookie flavor. Opt for pure vanilla extract for the best aroma and taste.
- All-Purpose Flour: The primary dry ingredient that gives the cookie sticks their body and structure. Measure it correctly by spooning it into a measuring cup and leveling it off.
- Baking Soda: A leavening agent that helps the cookies rise slightly and contributes to their soft, chewy texture.
- Salt: Balances the sweetness and enhances all the other flavors in the cookie. Don’t skip it!
- Semi-Sweet Chocolate Chips (divided): The star of the show! Mini chocolate chips work exceptionally well in cookie sticks as they distribute more evenly, ensuring chocolate in every bite. Dividing them means some are mixed into the dough, and some are sprinkled on top for a beautiful finish.
How To Make Chocolate Chip Cookie Sticks: A Step-by-Step Guide
Making these delightful cookie sticks is surprisingly straightforward. Follow these simple steps for a batch of perfectly dippable treats:
- First, prepare your oven and pan. Preheat your oven to 350 degrees F (175 degrees C). Line a 9×13-inch baking pan with aluminum foil, making sure the foil extends over the sides to create “handles.” Lightly spray the bottom and sides of the foil with cooking spray. This crucial step will make lifting the baked cookie slab out of the pan incredibly easy.
- In a large mixing bowl, either with a hand mixer or in a stand mixer fitted with a paddle attachment, cream together the softened butter, granulated sugar, and light brown sugar until the mixture is light and fluffy. Beat in the egg and vanilla extract until fully combined, scraping down the sides of the bowl as needed.
- In a separate, medium-sized bowl, whisk together the dry ingredients: all-purpose flour, baking soda, and salt. Gradually add this flour mixture to the wet ingredients in two separate additions, mixing on low speed until just combined after each addition. Be careful not to overmix the dough, as this can lead to tough cookies.
- Stir in 1 cup of the mini chocolate chips until they are evenly distributed throughout the dough.
- Transfer the cookie dough into your prepared 9×13-inch baking pan. Use your hands, which you might want to lightly dampen, to gently press and spread the dough out evenly to cover the entire bottom of the pan. Ensure the thickness is consistent for even baking.
- Sprinkle the remaining 1/4 cup of mini chocolate chips over the top of the pressed dough. Lightly press them into the dough with the palms of your hands to help them adhere.
- Bake for 18 to 22 minutes, or until the edges are golden brown and the center appears set. The exact baking time may vary based on your oven, so keep an eye on them.
- Once baked, carefully remove the pan from the oven. Using the foil overhang, gently lift the entire cookie slab out of the pan and transfer it to a solid, flat surface, such as a cutting board or wire rack.
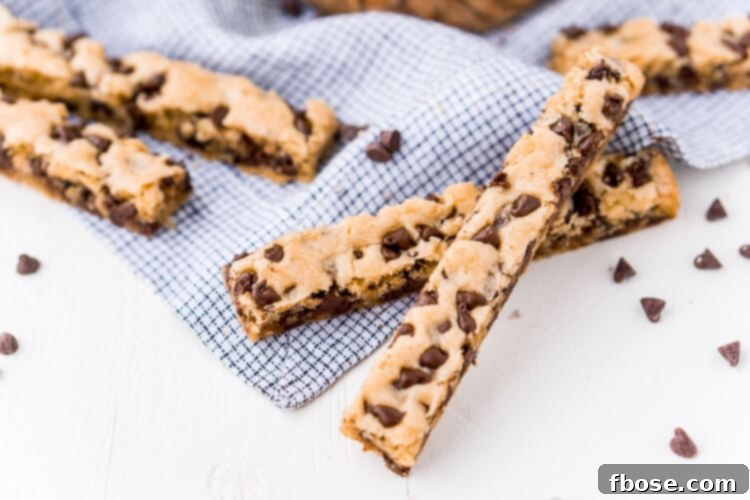
- Allow the cookie slab to cool for at least 15-20 minutes. While still warm but stable, use a pizza cutter to cut 18 even strips along the 13-inch side of the cookie slab. Then, run the cutter once down the middle of the 9-inch side to create a total of 36 delicious cookie sticks. Let them cool completely for the best texture and dippability.
Tips for Achieving Perfect Chocolate Chip Cookie Sticks
While this recipe is straightforward, a few key tips can ensure your cookie sticks turn out absolutely perfect every time:
- Don’t Overmix: Overmixing the dough after adding the flour can develop too much gluten, resulting in tough, dry cookie sticks. Mix just until the ingredients are combined.
- Properly Softened Butter: Your butter should be soft enough to indent with a finger but not greasy or melted. This allows it to cream properly with the sugars, creating air pockets for a light texture.
- Use Mini Chocolate Chips: While regular chocolate chips work, mini chips distribute more evenly across the smaller surface area of the sticks, ensuring chocolate in every bite. They also melt beautifully.
- Press Dough Evenly: Take a moment to ensure the dough is spread uniformly in the pan. This promotes even baking and consistent texture across all cookie sticks.
- Don’t Overbake: For that perfect chewy center, avoid overbaking. The edges should be golden brown, but the center might still look slightly soft. They will continue to set as they cool.
- Cool Before Cutting: While the temptation to cut immediately is strong, letting the cookie slab cool for 15-20 minutes before slicing allows it to firm up. This prevents crumbling and ensures clean, well-defined sticks.
- For Crispier Sticks: If you prefer a crunchier cookie stick, after cutting, you can transfer them to a parchment-lined baking sheet and bake for an additional 10 minutes until they reach your desired crispness.
Serving Suggestions for Your Dippable Delights
These chocolate chip cookie sticks are designed for dipping, opening up a world of delicious serving possibilities:
- Classic Milk Dunk: Nothing beats the timeless pairing of a warm cookie with a cold glass of milk.
- Coffee or Tea: Enjoy them with your morning coffee or an afternoon cup of tea for a delightful pick-me-up.
- Hot Chocolate Companion: The ultimate cozy treat! Dunk them into rich hot chocolate for a decadent experience.
- Ice Cream & Hot Fudge: If you’re not in the mood for sticks, cut them into squares and serve them warm with a scoop of vanilla ice cream and a generous drizzle of hot fudge.
- Sweet Dips: Offer a variety of dessert dips like caramel sauce, chocolate ganache, or even a cream cheese fruit dip.
- Breakfast Treat: They make a wonderful, indulgent addition to a breakfast or brunch spread, especially for a special occasion.
Storing and Freezing Chocolate Chip Cookie Sticks
To keep your cookie sticks fresh and delicious, proper storage is key:
- Room Temperature: Store cooled cookie sticks in an airtight container at room temperature for up to 3-4 days.
- Freezing Dough: You can prepare the dough and press it into the foil-lined pan. Cover tightly with plastic wrap and then foil, and freeze for up to 2-3 months. When ready to bake, thaw in the refrigerator overnight or bake from frozen, adding a few extra minutes to the baking time.
- Freezing Baked Sticks: Once completely cooled, arrange the cookie sticks in a single layer on a baking sheet and freeze until solid. Then transfer them to an airtight, freezer-safe container or bag. They can be frozen for up to 2-3 months. Thaw at room temperature or warm briefly in the oven.
Frequently Asked Questions About Cookie Sticks
- Can I use different types of chocolate chips?
Absolutely! While semi-sweet mini chocolate chips are recommended for even distribution and classic flavor, feel free to experiment with milk chocolate, dark chocolate, white chocolate, or even a mix. - Can I add other mix-ins to the dough?
Yes! Get creative with additions like chopped nuts (walnuts, pecans), toffee bits, shredded coconut, or even a sprinkle of sea salt before baking for a sweet and salty twist. - My cookie sticks are crumbly, what went wrong?
This often happens if the dough was overmixed, too much flour was added, or they were overbaked. Ensure you measure ingredients accurately, avoid overmixing, and keep an eye on baking time. - How do I get clean cuts?
A pizza cutter is truly the best tool for this. Make sure the cookie slab has cooled for at least 15-20 minutes to allow it to firm up before cutting. - Can I make these gluten-free?
While this recipe uses all-purpose flour, you can often substitute with a 1:1 gluten-free baking flour blend (ensure it contains xanthan gum) for a gluten-free version. Results may vary slightly in texture. - How long do these cookie sticks stay fresh?
When stored in an airtight container at room temperature, they will stay fresh and delicious for about 3-4 days.
Essential Baking Tools for This Recipe
Having the right tools makes baking these cookie sticks even easier and more enjoyable:
- 9×13-inch Baking Pan: A sturdy pan with a good lip is essential. You can use a lipped baking sheet or a high-lipped cake pan.
- Pizza Cutter: The easiest and most efficient way to get perfectly straight and even cookie sticks. A large sharp knife can also work.
- Measuring Cups and Spoons: Accurate measurements are crucial for baking success. High-quality dry and wet measuring cups make a big difference.
- Aluminum Foil: Lining the pan with heavy-duty foil ensures easy removal of the baked cookie slab without any sticking or tearing.
- Mixing Bowls: A large bowl for wet ingredients and a separate bowl for dry ingredients streamline the process.
- Hand or Stand Mixer: For creaming butter and sugars until light and fluffy.
These chocolate chip cookie sticks are more than just a holiday treat; they’re a year-round delight perfect for satisfying your sweet tooth, indulging in a moment of chocolatey bliss, or sharing with loved ones. Their unique shape makes them an instant favorite for anyone who loves a good dunk!
More Delicious Cookie Recipes to Explore
- Guinness No Bake Cookies
- Monster Cookies
- No Bake Peanut Butter Cookies
- Vanilla Chai Shortbread Cookies
- Peanut Butter Cookies
- Chocolate Chip Pan Cookies
Chocolate Chip Cookie Sticks
Pin It For Later
Click the button above to save this delicious recipe to your board!
Let’s Connect!
If you’ve tried this recipe, please let me know how you liked it in the comments below and leave a review. I love hearing from you!
Don’t forget to tag me – @sugarandsoulco – on Instagram and Pinterest with your photos or join our Sugar & Soul Show-offs Community and share them there, where you can join our recipe challenges!
Chocolate Chip Cookie Sticks
Ingredients
- 1/2 cup unsalted butter, softened
- 1/2 cup granulated sugar
- 1/2 cup light brown sugar
- 1 large egg
- 2 teaspoon vanilla extract
- 1 1/2 cups all-purpose flour
- 1/2 teaspoon baking soda
- 3/4 teaspoon salt
- 1 1/4 cup semi-sweet chocolate chips divided
Instructions
-
Preheat oven to 350 degrees F. Line a 9 x 13-inch pan with aluminum foil and spray the bottom and sides with cooking spray and set aside.
-
In a large bowl with a hand mixer or in a stand mixer fitted with a paddle attachment, cream together the butter, sugars, egg, and vanilla.
-
In a separate bowl, combine the flour, baking soda, and salt, then add the flour mix to the wet ingredients in two separate additions, mixing until combined after each addition.
-
Mix in 1 cup of the mini chocolate chips.
-
Transfer the cookie dough to the prepared baking pan and use your hands to press and spread the dough out evenly to cover the entire pan.
-
Sprinkle the remaining 1/4 cup of mini chocolate chips over the dough and gently press into the dough using the palms of your hands.
-
Bake for 18 to 22 minutes until edges are golden brown.
-
Remove from oven and gently lift the cookie out of the pan by using the aluminum foil, transfer to a solid, flat surface.
-
Use a pizza cutter to cut 18 strips along the 13-inch side and then run the cutter once up the middle of the 9-inch side to create 36 cookie sticks.
Video
Notes
- If you want crisper, harder cookies, follow the instructions above and then transfer the cut cookie sticks to a parchment lined baking sheet and bake for an additional 10 minutes.
Nutrition
Did You Make This Recipe?
Don’t forget to share it with me on Instagram @sugarandsoulco and follow on Tiktok @sugarandsoulco and Pinterest @sugarandsoulco for more!
Pin Recipe
Share Recipe