
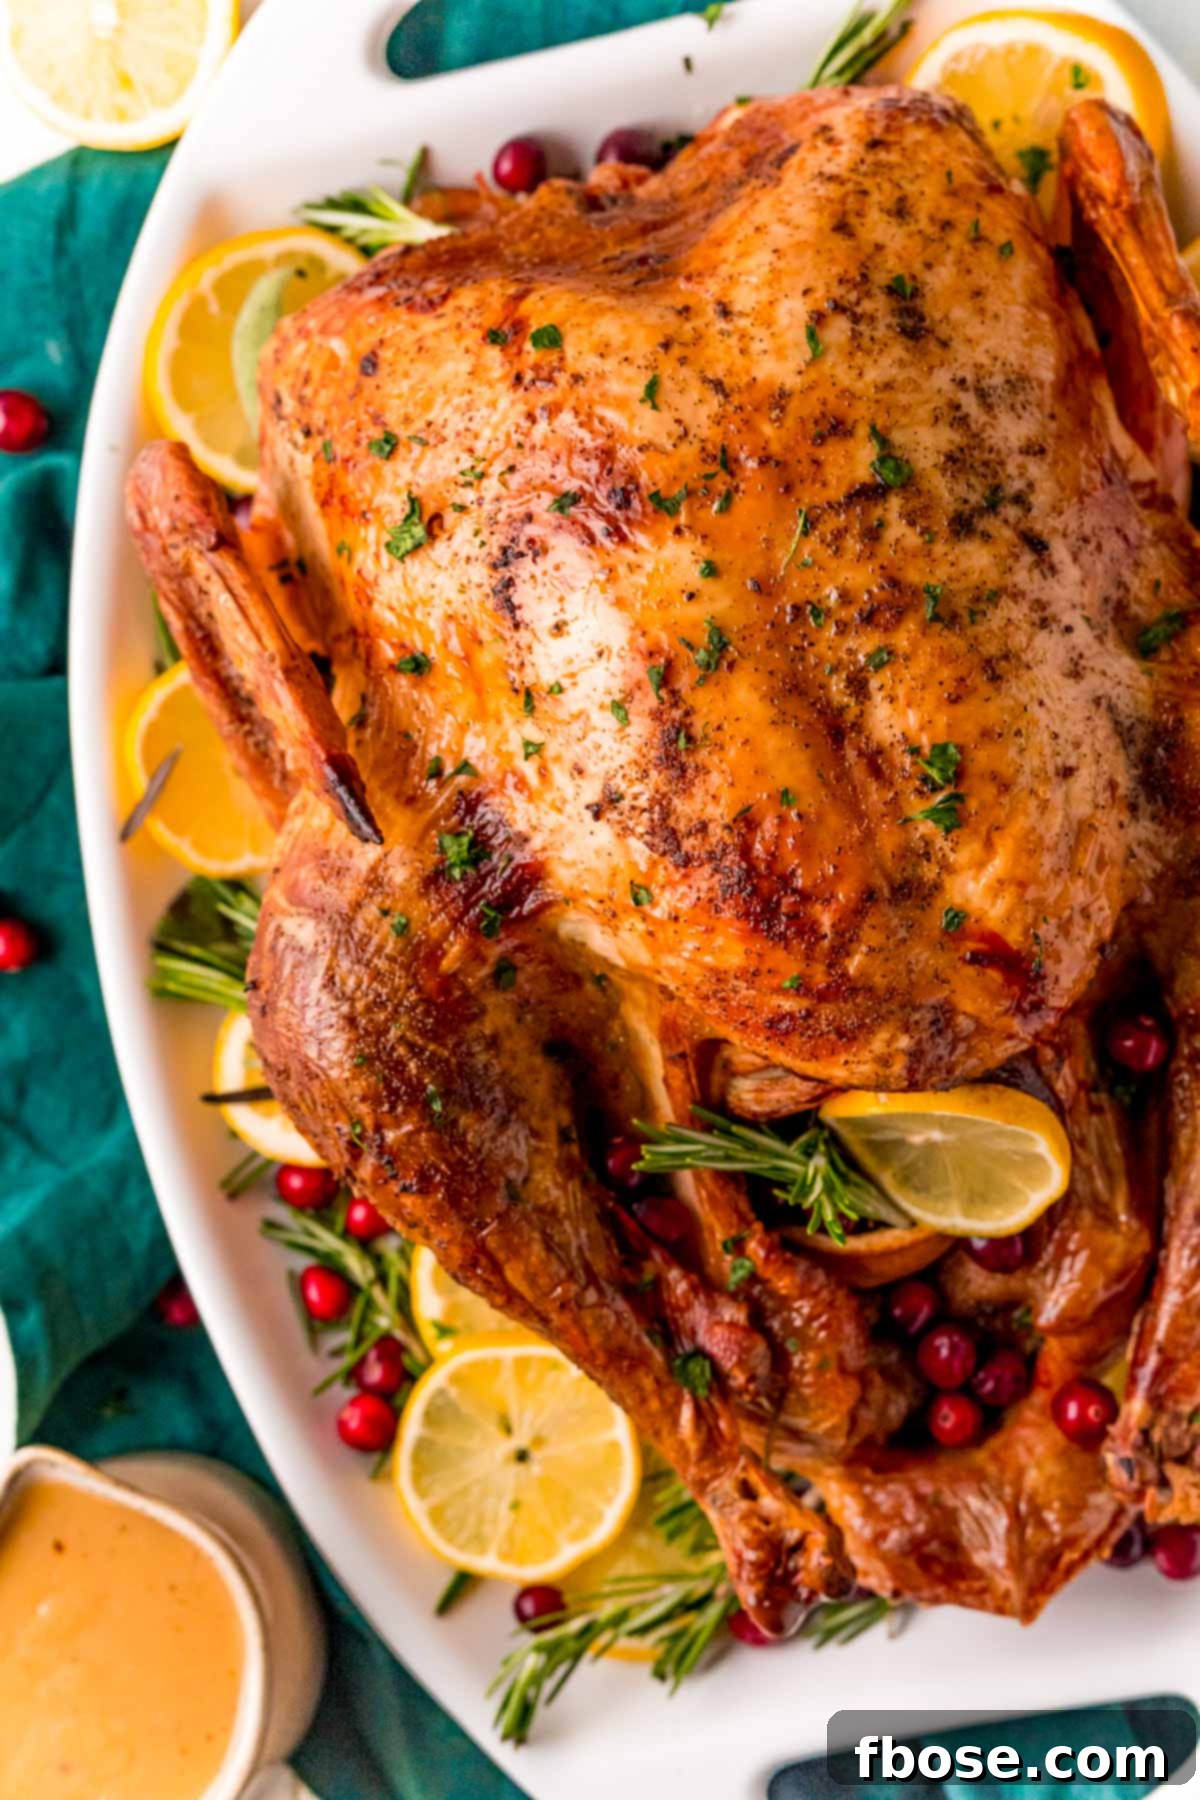
Mastering the Art of Roasting a Turkey has never been simpler! Discover my expertly crafted recipe for preparing and roasting an irresistibly delicious and incredibly juicy Thanksgiving Turkey that promises to be the centerpiece of your holiday feast and truly impress every guest at your table. Forget the stress; this year, effortless perfection is on the menu!
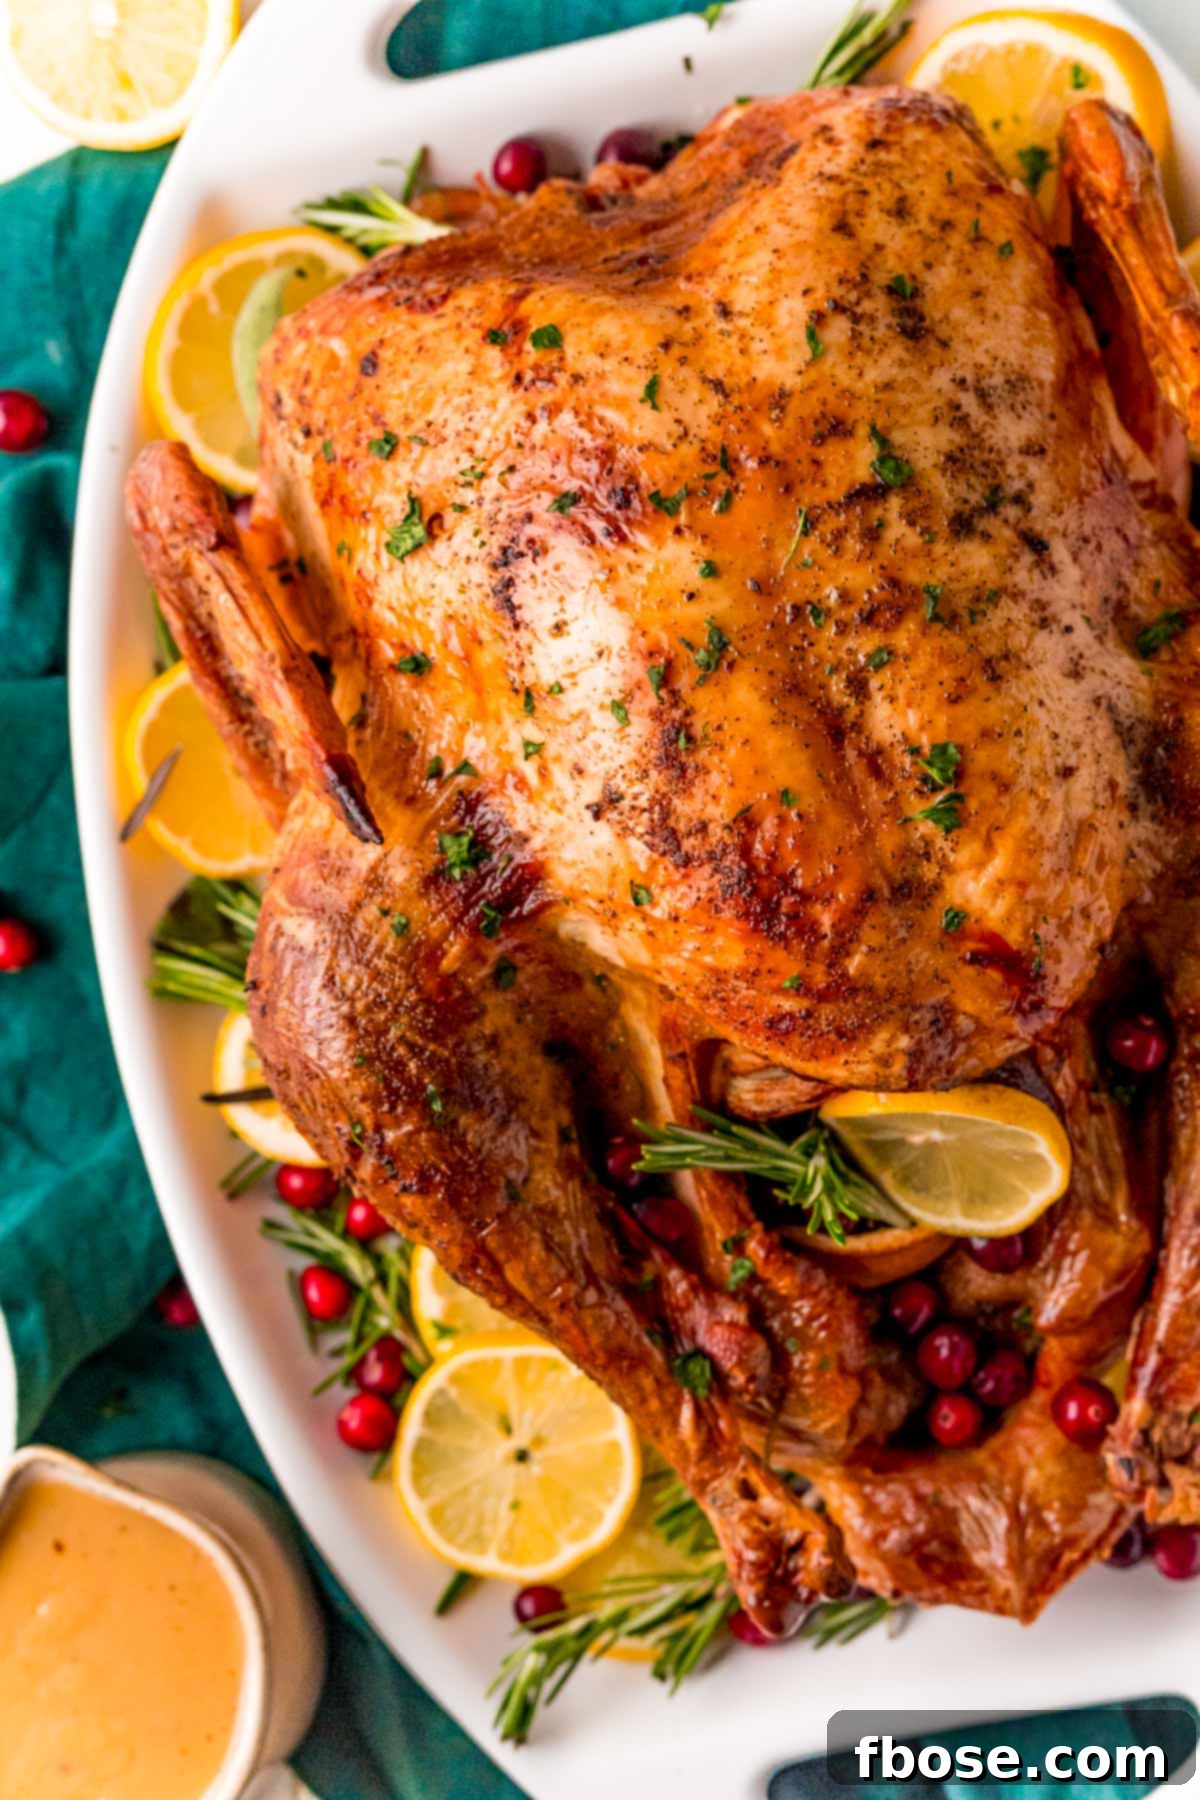
Unlock Unforgettable Flavor with Our Signature Turkey Injection Marinade
Transform your holiday turkey from good to extraordinary with this remarkable roasting method. Our secret lies in a dynamic lemon butter injection marinade, designed to penetrate deep into the turkey meat, ensuring every bite is bursting with moisture and rich flavor. This intensive internal seasoning is perfectly complemented by a straightforward yet effective dry rub, applied to the skin, guaranteeing an irresistible crispy texture. Coupled with a few expert tricks, this recipe consistently delivers a tender, juicy, and perfectly cooked bird.
Hosting Thanksgiving can often feel like a monumental task, especially when the responsibility of cooking the star attraction – the turkey – falls on your shoulders. Visions of dry, bland meat can be daunting, but I’m here to tell you that creating a perfectly juicy, incredibly flavorful, and beautifully roasted turkey is far easier than you might imagine. While it involves a few distinct steps and some specialized kitchen tools, I promise that even the most novice home cook can achieve spectacular results with this foolproof turkey recipe. Prepare to impress your family and friends with a turkey that tastes like it came straight from a gourmet kitchen.
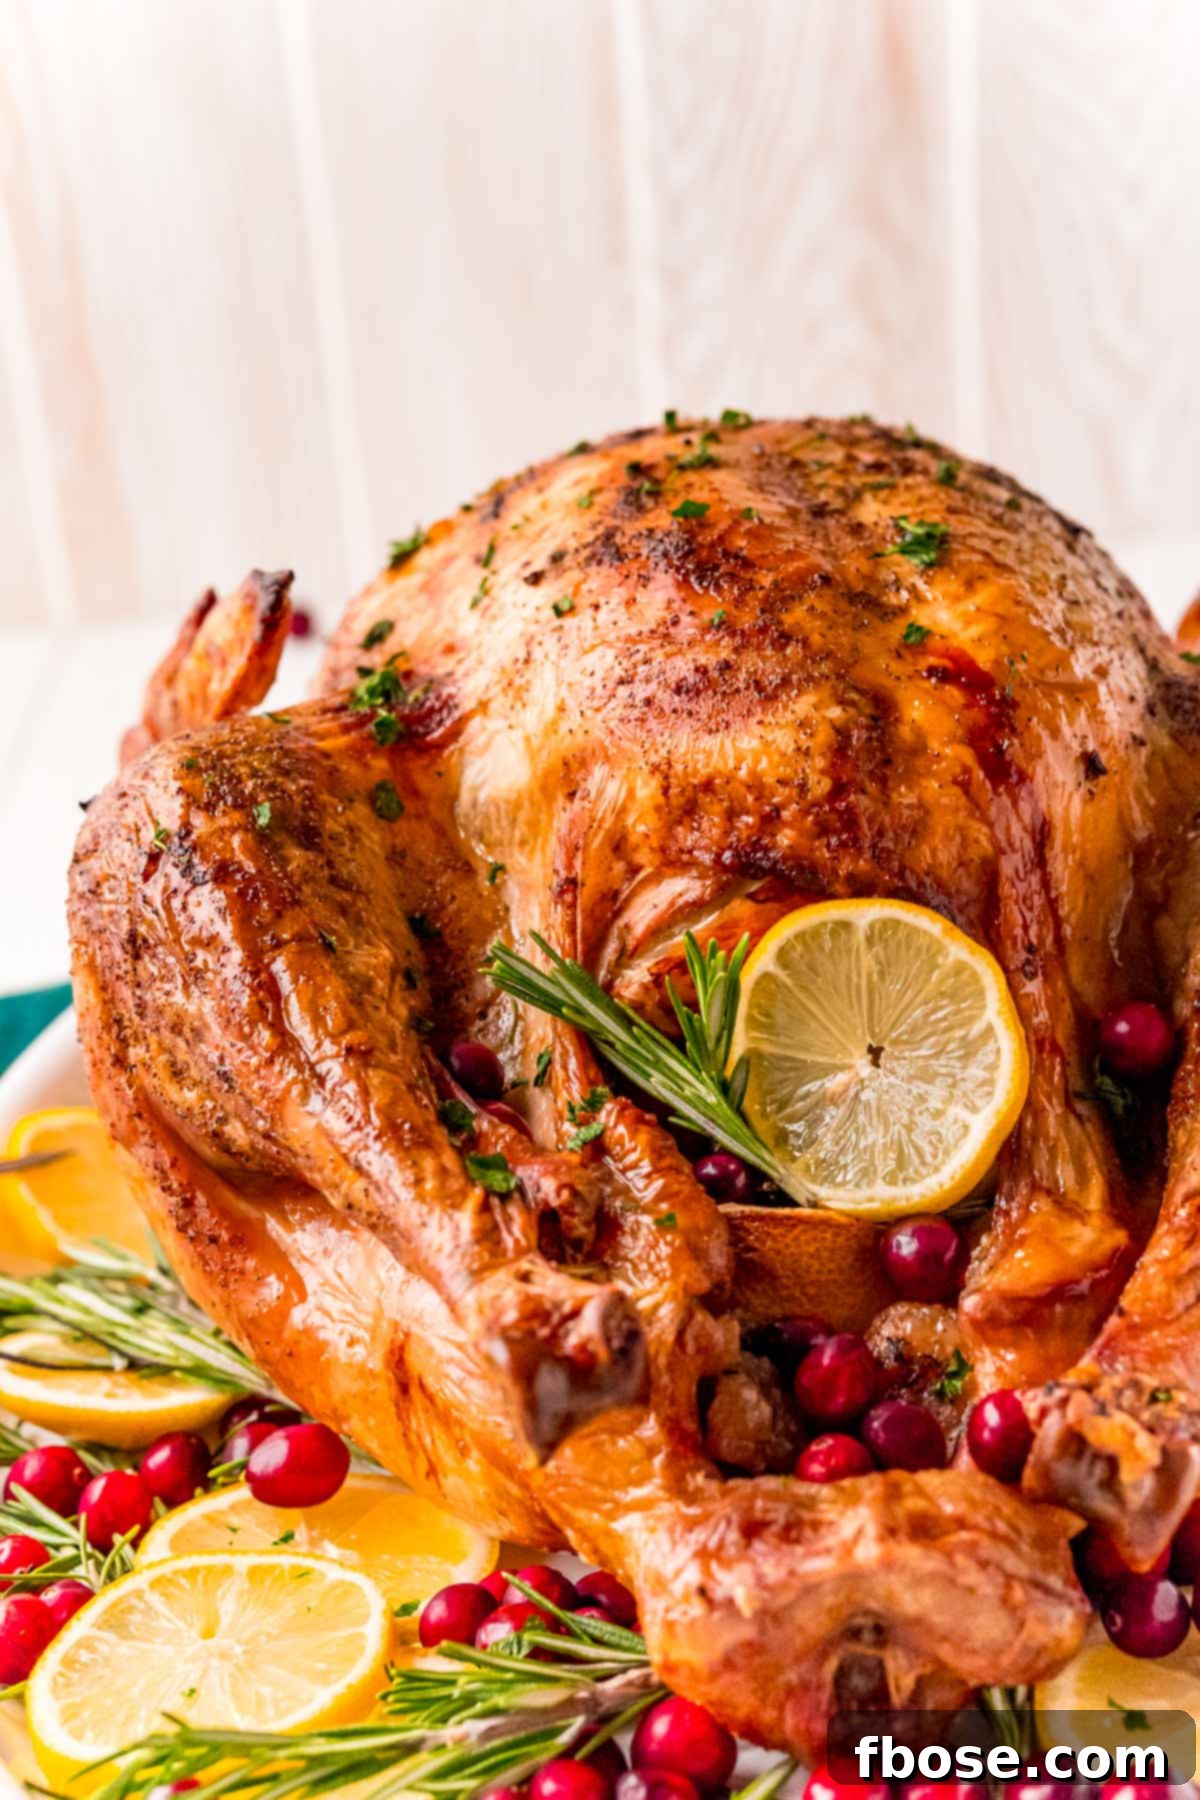
Essential Ingredients for Your Succulent Turkey Marinade and Rub
This turkey recipe truly distinguishes itself with a vibrant and refreshing lemon flavor profile. It’s carefully balanced – present enough to add a delightful acidity and zest, elevating a traditional herb-roasted turkey without overpowering its classic appeal. Each component, from the injection marinade to the dry rub and aromatic filling, plays a crucial role in creating a deeply flavorful and wonderfully moist bird.
The Secret to Juiciness: Injection Marinade
Unlike a traditional Turkey Brine Recipe (which is also highly recommended if you have extra time for planning), this injection marinade delivers moisture and flavor directly into the meat. It’s a faster, equally effective way to prevent dryness. This potent liquid mixture is comprised of:
- Chicken Stock: The base that carries flavor and moisture throughout the turkey.
- Butter: Adds unparalleled richness and helps achieve that coveted tender texture.
- Lemon Juice: Provides a bright, tangy lift, cutting through the richness and tenderizing the meat.
- Onion Powder: Infuses a subtle, savory depth of flavor.
- Pepper (Black & White): A balanced blend for a gentle warmth and aromatic complexity.
- Salt: Essential for seasoning and enhancing all other flavors.
The Key to Crispy Skin: Turkey Rub
This simple yet powerful dry rub is generously massaged into the turkey’s skin before roasting. It’s designed not only to add a layer of savory flavor but also to promote an incredibly crispy, golden-brown skin that everyone will fight for:
- Salt: Essential for seasoning and drawing out moisture from the skin, aiding crispness.
- Black Pepper: Adds a classic, pungent kick.
- Garlic Powder: Delivers a savory, aromatic foundation.
- Onion Powder: Complements the garlic, adding another layer of savory sweetness.
Aromatic Foundation: Filling
For this recipe, we recommend skipping traditional bread stuffing inside the turkey cavity. Instead, prepare your dressing on the side in its own dish, ensuring it cooks thoroughly and evenly. The turkey cavity, however, will be filled with a medley of aromatics:
- Halved Lemons: Release juices and zest, further infusing the bird with bright, fresh flavor.
- Apples: Contribute subtle sweetness and moisture as they roast.
- Onion: Adds a foundational savory aroma that permeates the turkey.
- Thyme, Sage, Rosemary: These classic fall herbs impart a quintessential, earthy holiday fragrance and taste, working in harmony to keep the turkey tender and flavorful from the inside out.
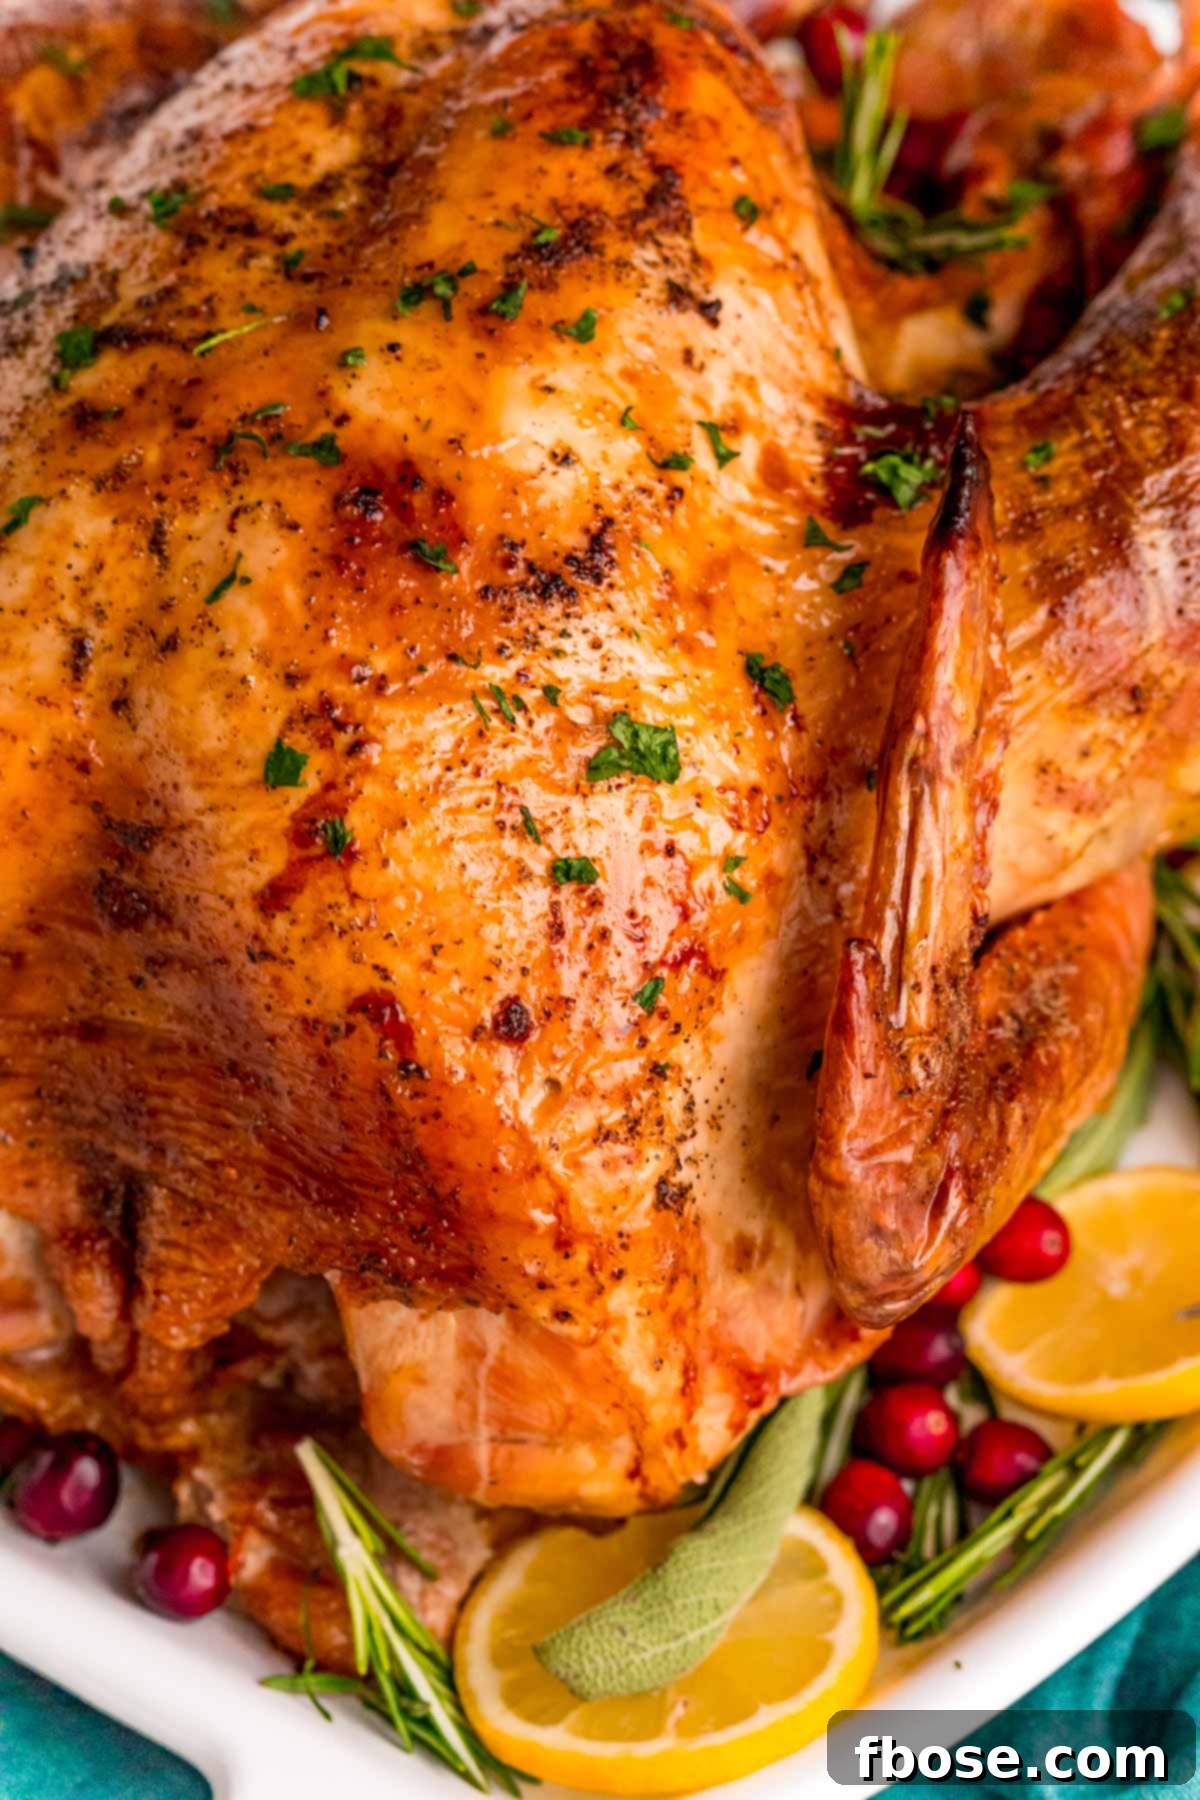
Helpful Tools for Preparing Your Perfect Butter-Injected Turkey
Achieving a perfectly roasted, juicy turkey with a butter injection marinade requires a few key pieces of kitchen equipment. These tools are designed to make the process smoother, more efficient, and ensure your bird cooks to perfection, preventing common pitfalls like dryness or uneven cooking.
Roasting Pan: When undertaking the task of cooking a large turkey, typically 14 pounds or more, a sturdy roasting pan is absolutely essential. I highly recommend investing in one that includes a roasting rack insert. This design allows for optimal heat circulation around the entire bird, ensuring a more even cook and that beautiful, all-over golden-brown skin. Furthermore, it prevents the turkey from sticking to the bottom of the pan and makes transferring the heavy, hot bird to a serving platter much easier and safer. A good quality roasting pan is a kitchen workhorse that you’ll use for many holiday meals.
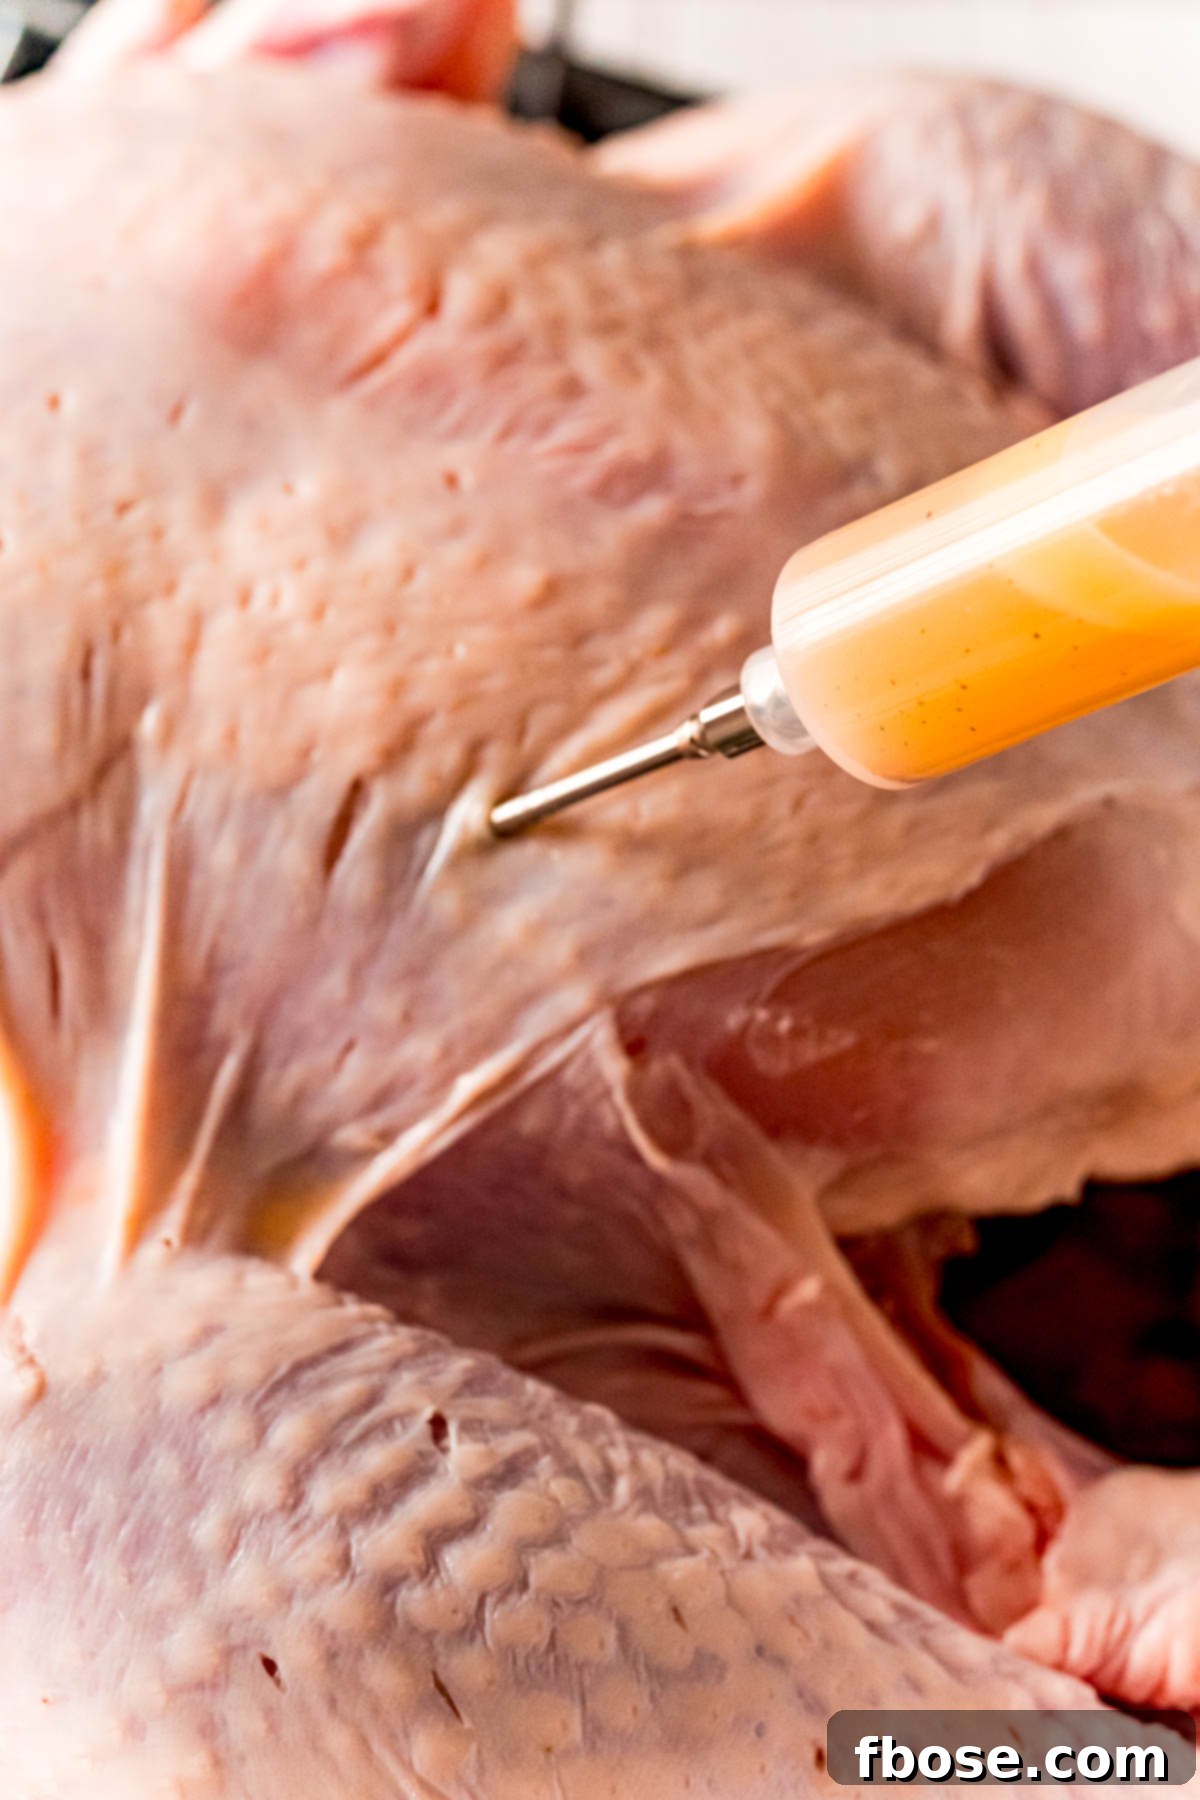
Meat Injector Syringe: This specialized large kitchen syringe is crucial for our injection marinade method. It allows you to deliver flavor and moisture directly into the thickest parts of the turkey meat, bypassing the skin and ensuring deep, even seasoning. While it might seem like an uncommon gadget, meat injectors are readily available at most grocery stores during holiday seasons or can be found online year-round. Don’t let its novelty intimidate you; it’s surprisingly easy to use and makes a significant difference in the final juiciness of your turkey.
Kitchen Thermometer: This is unequivocally the ABSOLUTE key to cooking a perfect turkey safely and deliciously. Do not rely on the small pop-up indicators that often come with turkeys; they are notoriously unreliable. I personally use and highly recommend a stainless steel probe thermometer. Many models allow you to set your desired internal temperature, sounding an alarm once it’s reached. A reliable probe thermometer eliminates guesswork, guaranteeing that your turkey is cooked through without becoming dry and overdone. It’s an indispensable tool for any serious cook.
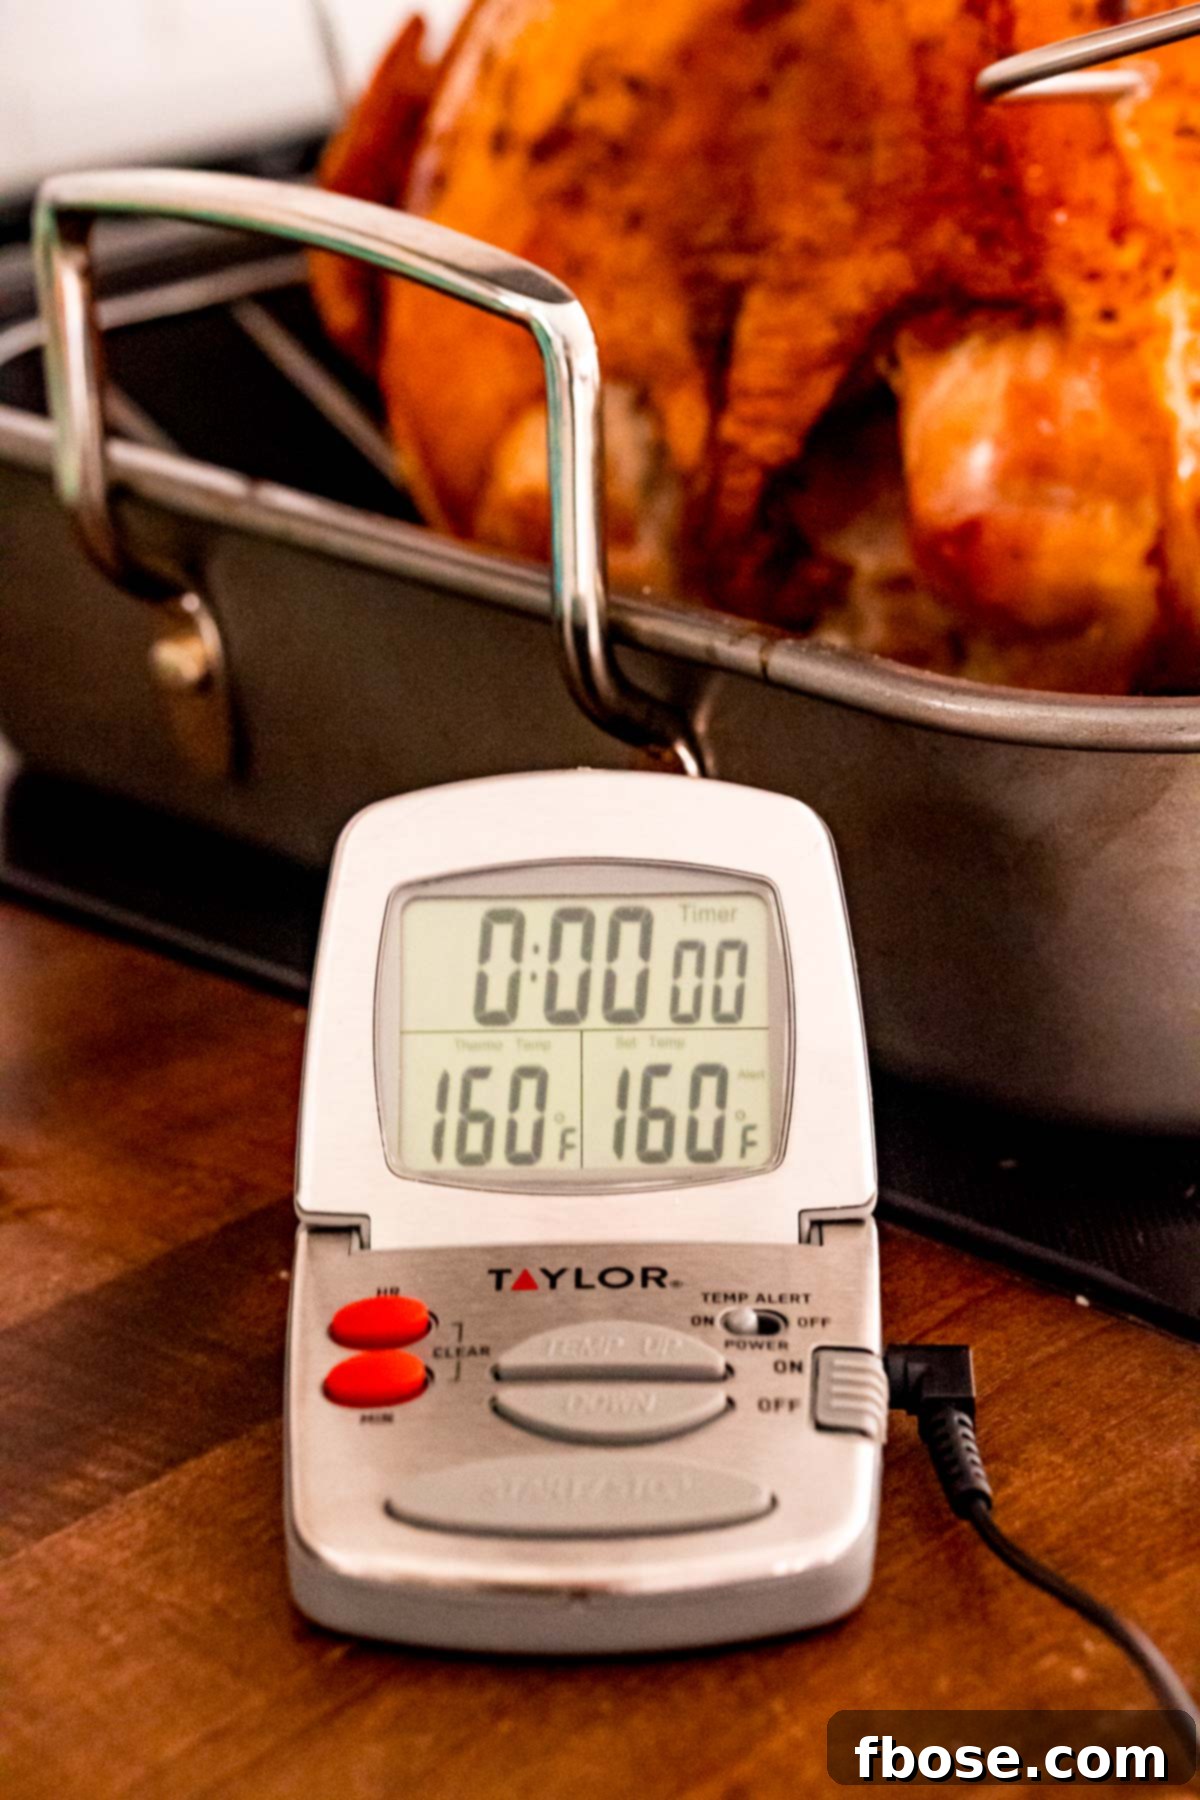
Turkey Lifters: Once your turkey is cooked, it will be incredibly hot, heavy, and wonderfully juicy. A set of robust turkey lifters will be your best friend for safely and securely transferring the bird from the roasting pan to your elegant serving platter. Their sturdy design and comfortable grip provide the leverage needed to handle even the largest birds without mishap, preventing potential burns or accidental drops.
Carving Set: For a truly elegant presentation and easy serving, a proper carving set is invaluable. Sharp knives and a stable carving fork allow for precise, clean cuts, ensuring each slice of turkey breast or thigh is perfectly presented. While some high-quality carving sets can be an investment, they are well worth it for the ease and beauty they bring to your holiday table. If you’re not planning to host every year, consider borrowing one from a family member before committing to a purchase.
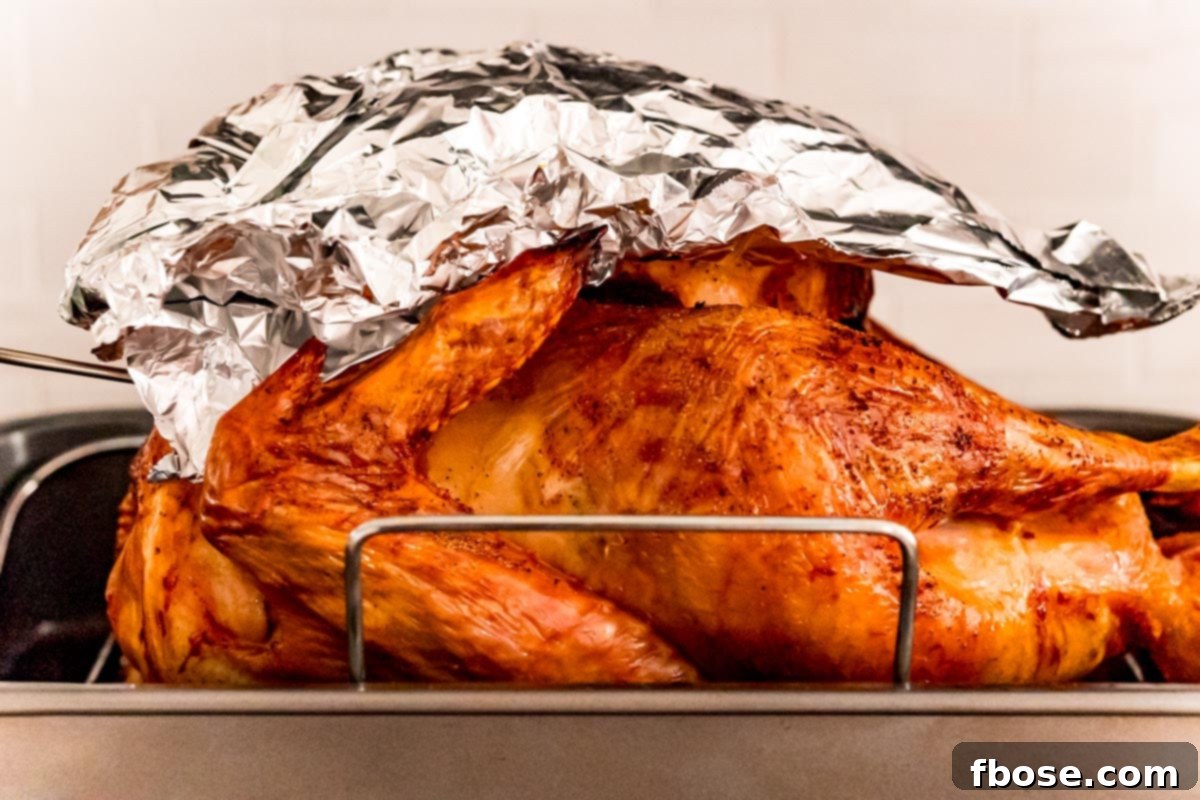
Aluminum Foil: It might seem basic, but aluminum foil is a critical element in achieving a perfectly roasted turkey. This clever trick, championed by culinary experts, involves tenting the turkey breast with foil during the roasting process. It allows the darker meat to continue cooking to the desired temperature while preventing the more delicate breast meat from drying out or becoming overcooked, ensuring both parts of the bird are tender and juicy with delightfully crispy skin.
How to Prepare and Roast a Delicious Thanksgiving Turkey with an Injectable Marinade
While there are numerous ways to cook a turkey, roasting it in the oven remains the most traditional and often the most beloved method for Thanksgiving. This recipe guides you through a straightforward oven-roasting process, enhanced by our special injection marinade to guarantee a moist and flavorful bird.
Step-by-Step: How to Marinate a Turkey for Maximum Flavor
1. **Prepare the Turkey:** Begin by thoroughly inspecting your turkey. Remove the neck and any giblets (often found in a small bag inside the cavity). You can reserve these if you plan to make a flavorful giblet gravy later, otherwise discard them. Pat the exterior of the turkey completely dry with paper towels; this step is crucial for achieving crispy skin.
2. **Craft the Injection Marinade:** In a small saucepan, combine the chicken stock, butter, and lemon juice. Heat this mixture over medium-low heat, stirring occasionally, until the butter is completely melted. Do not let it boil. Once melted, whisk in the onion powder, black pepper, white pepper, and salt. Allow the marinade to cool slightly for about 15-20 minutes in the pan. It should still be liquid enough to inject but not so hot that it begins to cook the turkey meat.
3. **Inject the Turkey with Flavor:** Using a large kitchen syringe (meat injector), draw up the cooled marinade. Carefully inject the liquid into the thickest parts of the turkey’s thighs, drumsticks, and breasts. Aim for multiple injection points across these areas, pushing the needle deep into the meat. Inject until you see the marinade starting to seep back out or the skin slightly puffs up, indicating the meat is saturated. For a visual guide, consider watching this video on how to inject a turkey.
4. **Marinate and Rest:** For the absolute best results and deepest flavor penetration, transfer the injected turkey to a large roasting pan or a turkey brining bag, cover it tightly with plastic wrap, and refrigerate it overnight (12 to 24 hours). If time is short, you can still achieve a delicious result by marinating for a minimum of 2 hours. After marinating, remove the turkey from the refrigerator and let it rest at room temperature for 30 to 60 minutes before roasting. This helps the turkey cook more evenly. Use this resting time to prepare the aromatic cavity filling and dry rub.
Optimal Timing for Turkey Injection
The ideal time to inject your turkey is immediately after preparing the marinade. This is critical because the marinade contains melted butter, which will solidify as it cools. By injecting promptly, you ensure the butter remains in its liquid state, allowing it to distribute evenly throughout the meat before it sets. Therefore, always prepare your turkey (remove giblets, pat dry) in advance so you can proceed directly to injecting once the marinade is ready. The injection goes into the raw turkey, which then needs to marinate for 2 to 12 hours (preferably 12-24 hours) in the refrigerator for optimal flavor development.
What if You Don’t Have a Meat Injector?
While a meat injector is the easiest and most effective way to ensure the marinade permeates the turkey, you can still achieve a flavorful bird without one. If you don’t have an injector, use a sturdy fork or a metal skewer to poke numerous holes all over the turkey – focusing on the breasts, thighs, and drumsticks. Then, place the turkey in a large roasting bag with the prepared marinade, ensuring the marinade coats the entire bird. Seal the bag tightly and let it marinate in the refrigerator overnight. While not as deep an infusion as injection, this method still allows the flavors to penetrate the meat, resulting in a more tender and juicy turkey than an unmarinated one.
How to Season Your Thanksgiving Turkey for a Golden, Crispy Finish
5. **Aromatic Cavity Filling:** While the turkey is coming to room temperature, begin to fill its cavity with the halved lemons, quartered apples, quartered onion, and fresh sprigs of sage, rosemary, and thyme. These aromatics will infuse the turkey with incredible fragrance and subtle flavor as it roasts, contributing to overall moisture.
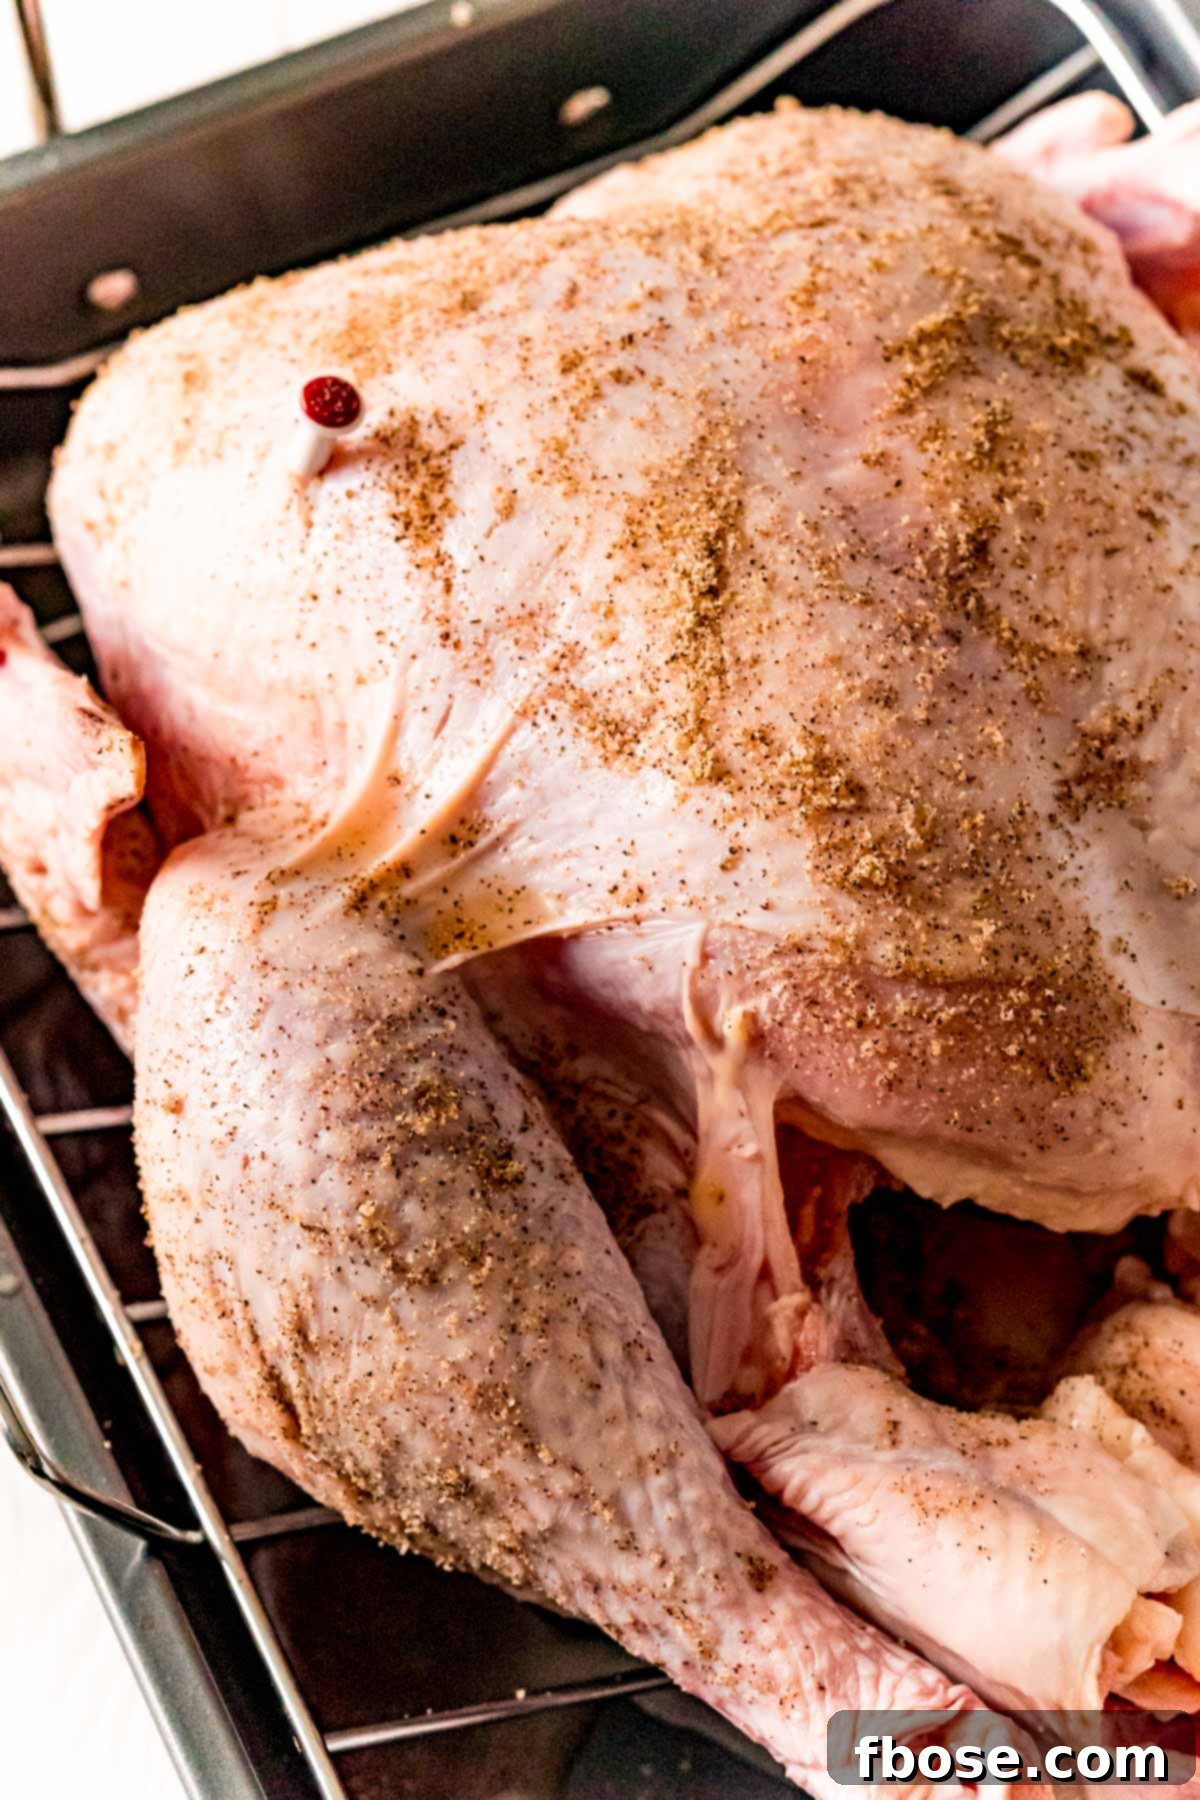
6. **Apply the Dry Rub:** Before applying the rub, it’s paramount to pat the entire exterior of the turkey thoroughly dry with paper towels once more. Any residual moisture on the skin will hinder crisping. In a small bowl, combine the salt, black pepper, onion powder, and garlic powder. Using your hands, generously rub this mixture all over the turkey’s skin, ensuring full coverage. This dry rub creates a beautiful golden crust and adds a crucial layer of flavor.
The Roasting Process: Achieving a Perfect, Juicy Turkey
7. **Prepare for Roasting:** If desired, tuck the wings underneath the turkey’s body. This simple step helps prevent the wing tips from burning and also stabilizes the bird on the roasting rack. Don’t worry if you forget this step; the turkey will still be delicious!
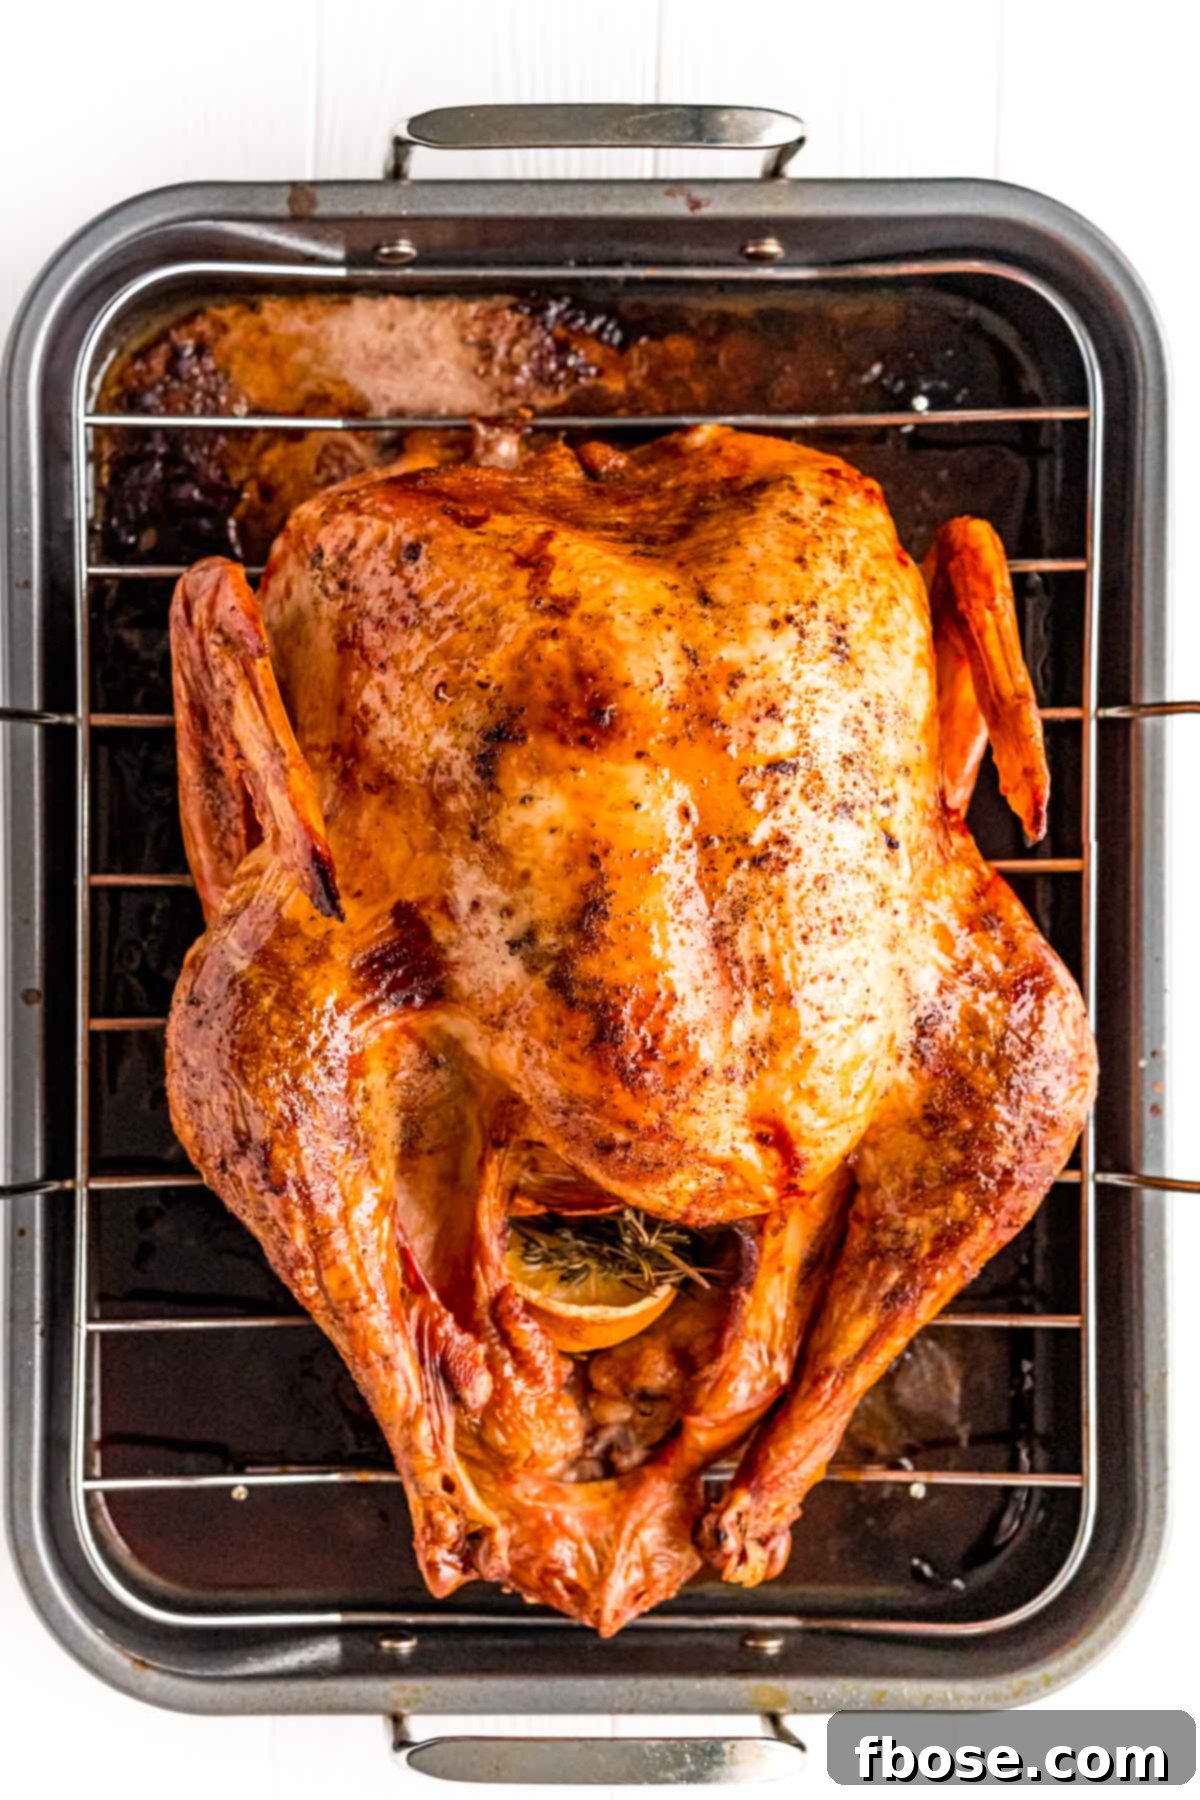
8. **Initial High-Heat Roast:** Preheat your oven to a high temperature of 450 degrees F (232 degrees C). Place the prepared turkey onto the rack in your roasting pan. Roast the turkey in the preheated oven for an initial 30 minutes. This high heat blast is essential for searing the skin, encouraging it to crisp up beautifully, and kick-starting the cooking process.
9. **Lower Heat and Monitor:** After 30 minutes, reduce the oven temperature to 350 degrees F (175 degrees C). Carefully remove the turkey from the oven. Insert your probe thermometer into the thickest part of the turkey breast, ensuring it does not touch any bones. Create a double layer of aluminum foil and gently tent it over the breast of the bird. This foil tent protects the breast meat from drying out while the rest of the turkey continues to cook. Return the turkey to the oven and continue roasting until the probe thermometer reads an internal temperature of 160 degrees F (71 degrees C).
10. **Rest and Carve:** Once the turkey reaches 160 degrees F, remove it from the oven. Keep the foil tent loosely in place and allow the turkey to rest on the counter for a minimum of 30 to 40 minutes before carving. This resting period is crucial; it allows the juices to redistribute throughout the meat, resulting in an incredibly tender and moist turkey. During this time, the internal temperature will continue to rise to the food-safe 165 degrees F (74 degrees C) due to carryover cooking.
**A Crucial Tip for Juiciness:** I strongly recommend removing your turkey from the oven when its internal temperature reaches 160 degrees F (71 degrees C), not 165 degrees F (74 degrees C). The reason for this is carryover cooking. As the turkey rests for 30 to 45 minutes, its internal temperature will continue to rise by several degrees. By pulling it out at 160 degrees F, you ensure that by the time the resting period is complete and the juices have redistributed, the meat will have reached the safe 165 degrees F without becoming overcooked and dry. This technique is a game-changer for a truly succulent bird!
Expert Tips for the Most Flavorful and Perfectly Roasted Thanksgiving Turkey
Achieving that picture-perfect, moist, and delicious Thanksgiving turkey involves more than just a recipe; it’s about understanding a few key techniques and common pitfalls. Here are my top tips to ensure your holiday bird is the best it can be:
- Avoid Stuffing the Turkey Cavity: While traditional, stuffing a turkey with bread-based dressing inside its cavity often leads to uneven cooking. Either your stuffing remains undercooked (a food safety hazard) or your turkey becomes overdone and dry while you wait for the stuffing to reach a safe temperature. Instead, opt for a savory dressing or stuffing baked separately in its own dish. As mentioned in our recipe, fill the turkey cavity with aromatic ingredients like lemons, apples, and herbs to infuse flavor and moisture from within.
- Do Not Rinse Your Turkey: It’s a common misconception that rinsing raw poultry removes bacteria. In fact, the FDA explicitly recommends against rinsing any meat before cooking. Splashing water can spread harmful bacteria (like salmonella) from the turkey to your sink, countertops, and other surfaces in your kitchen, increasing the risk of cross-contamination. Focus on patting the turkey thoroughly dry with paper towels to promote crispy skin, and always practice good hand hygiene.
- Start with High Heat for Crispy Skin: To achieve that enviable golden-brown, crispy skin and to lock in juices, begin roasting your turkey at a higher temperature. This recipe calls for an initial 30 minutes at 450 degrees F (232 degrees C), after which the temperature is reduced to 350 degrees F (175 degrees C) for the remainder of the cooking time. This high-heat sear creates a beautiful crust and a foundation for delicious skin.
- Amplify Buttery Flavor with Herb Butter: Our recipe is already incredibly flavorful due to the lemon butter injection marinade. However, if you’re a true butter enthusiast and want to elevate that rich, savory taste even further, consider preparing my herb butter recipe. Gently lift the skin over the breast and thighs, and spread a thin layer of this compound butter directly onto the meat before applying the dry rub. This adds another dimension of moisture and herbaceous flavor directly where it counts.
- Master the 160°F Rule: This is perhaps the most critical tip for a perfectly juicy turkey. While the safe internal temperature for cooked poultry is 165 degrees F (74 degrees C), you should remove your turkey from the oven when it reaches 160 degrees F (71 degrees C) in the thickest part of the breast (without touching bone). Why? Because of “carryover cooking.” As the turkey rests for 30 to 45 minutes after being removed from the oven, its internal temperature will continue to rise by 5 to 10 degrees. By pulling it at 160°F, you ensure it reaches 165°F during the resting period, rather than surpassing it and becoming dry. This resting time also allows the meat fibers to relax and reabsorb all the delicious juices, resulting in an exceptionally moist and tender bird.
- **Don’t Over-Baste:** While basting seems intuitive for moisture, frequently opening the oven door to baste actually cools the oven down, extending cooking time and potentially drying out the turkey. Our injection marinade already provides internal moisture. If you want to encourage browning on the skin, a single basting halfway through with drippings or melted butter is sufficient.
- **Trussing is Optional but Helpful:** Trussing involves tying the turkey’s legs together and securing the wings. This creates a more compact shape, promoting even cooking and a neater presentation. While not strictly necessary for this recipe, it can be a useful technique if your turkey has awkwardly splayed limbs.
Serving Your Exquisite Roasted Thanksgiving Turkey
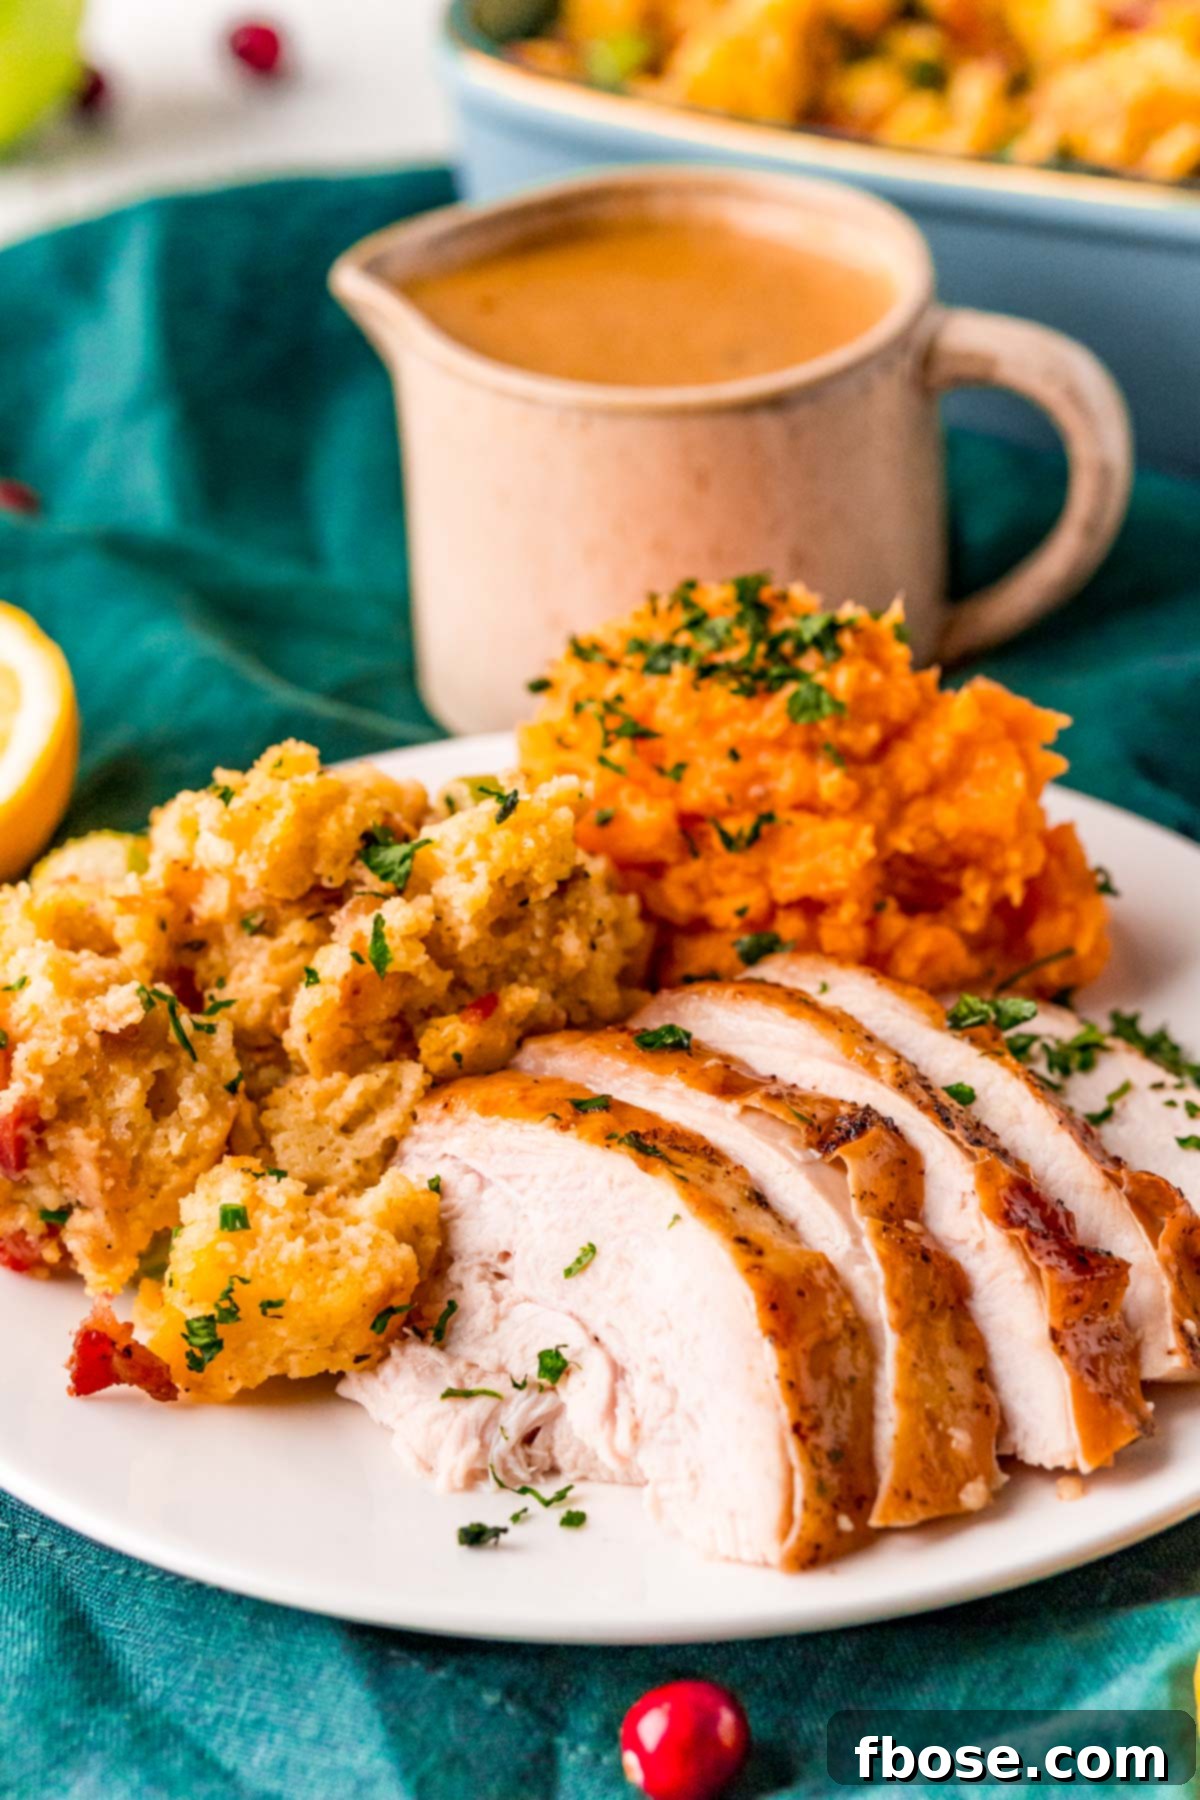
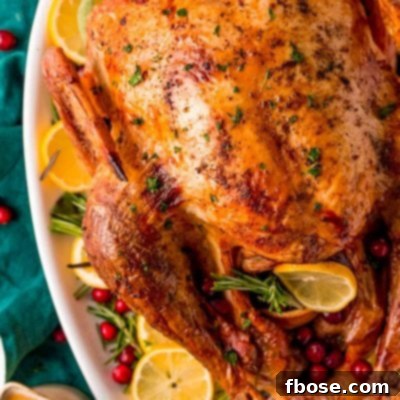
The presentation of your roasted turkey can be as impressive as its taste. I love to create a visually stunning centerpiece for the holiday table by arranging fresh cranberries, vibrant lemon slices, and sprigs of fresh rosemary and thyme around the turkey on the platter. To ensure maximum juiciness and warmth, I recommend bringing the whole turkey to the table for a grand reveal before carving. Carving it in front of your guests or just before serving minimizes heat loss and prevents precious juices from escaping prematurely.
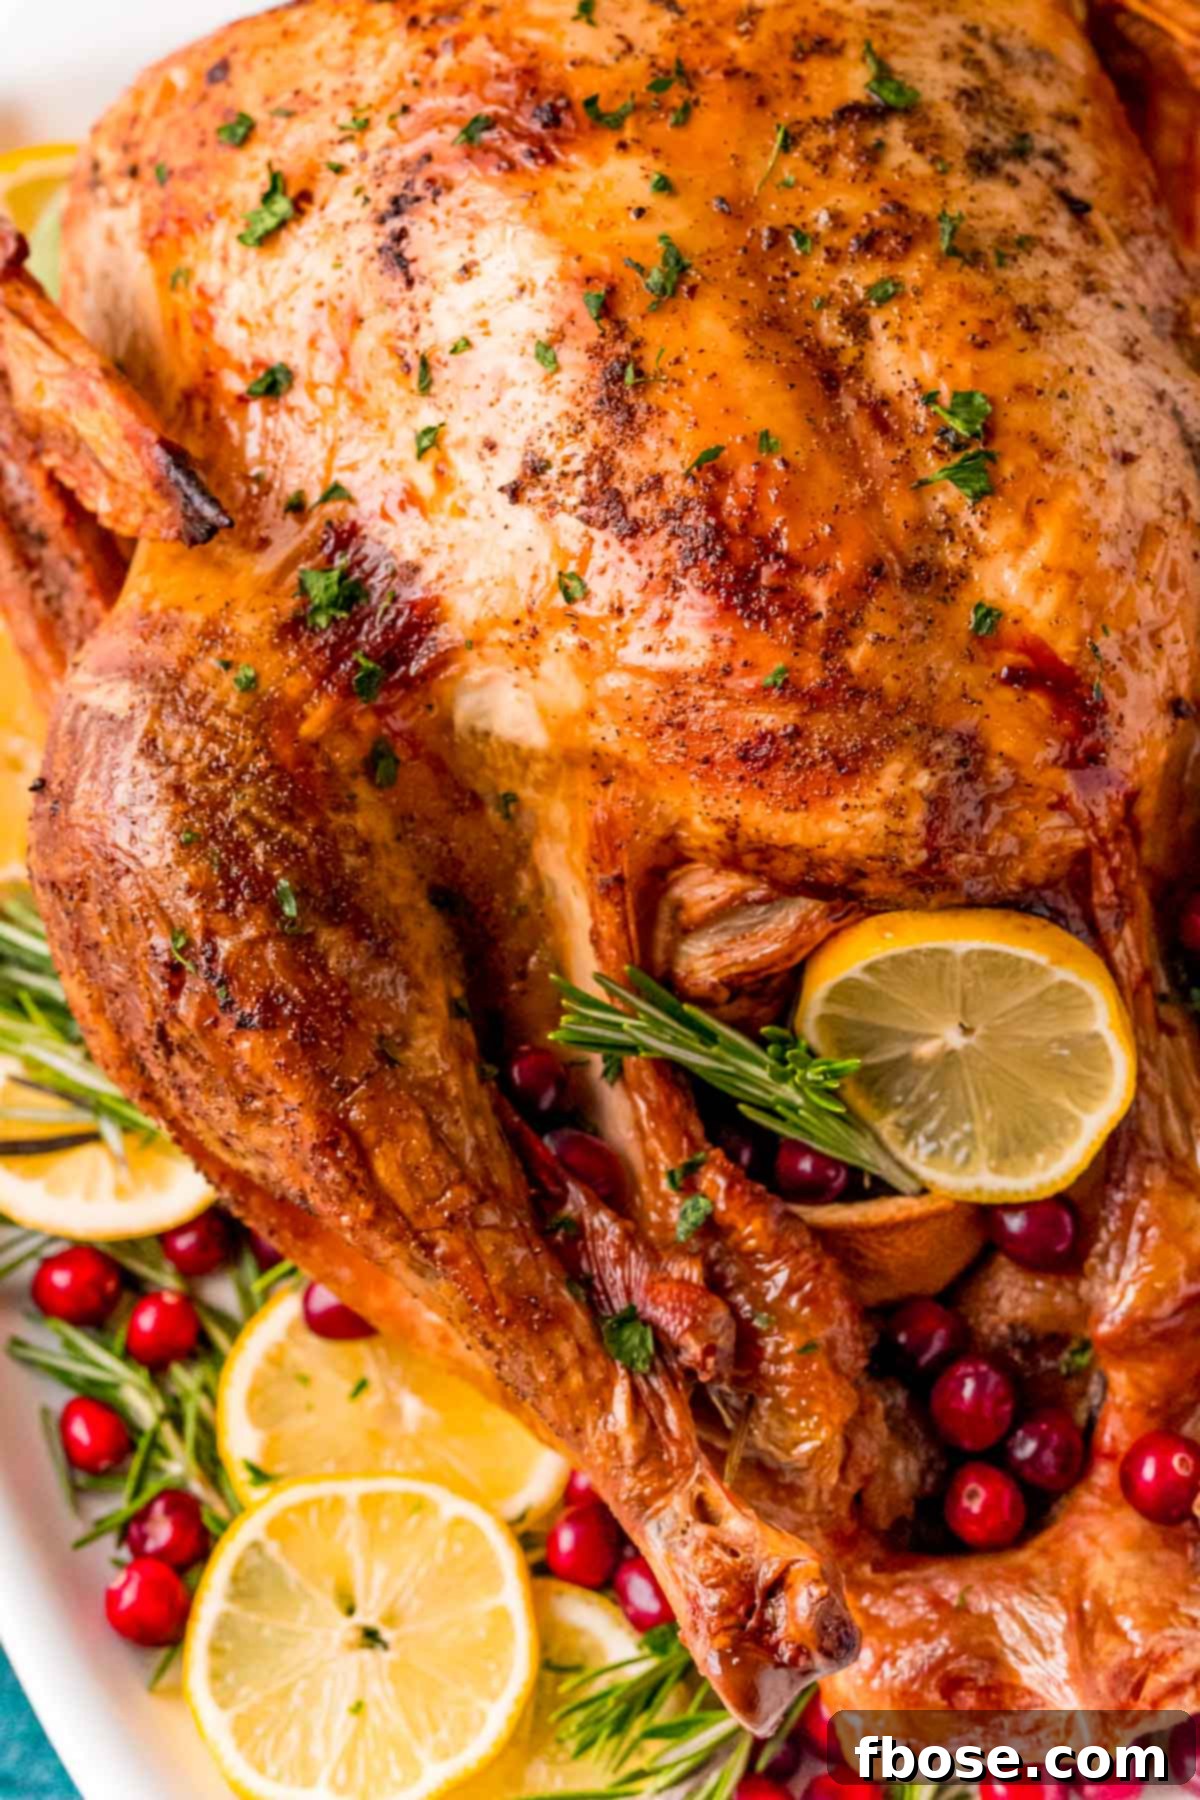
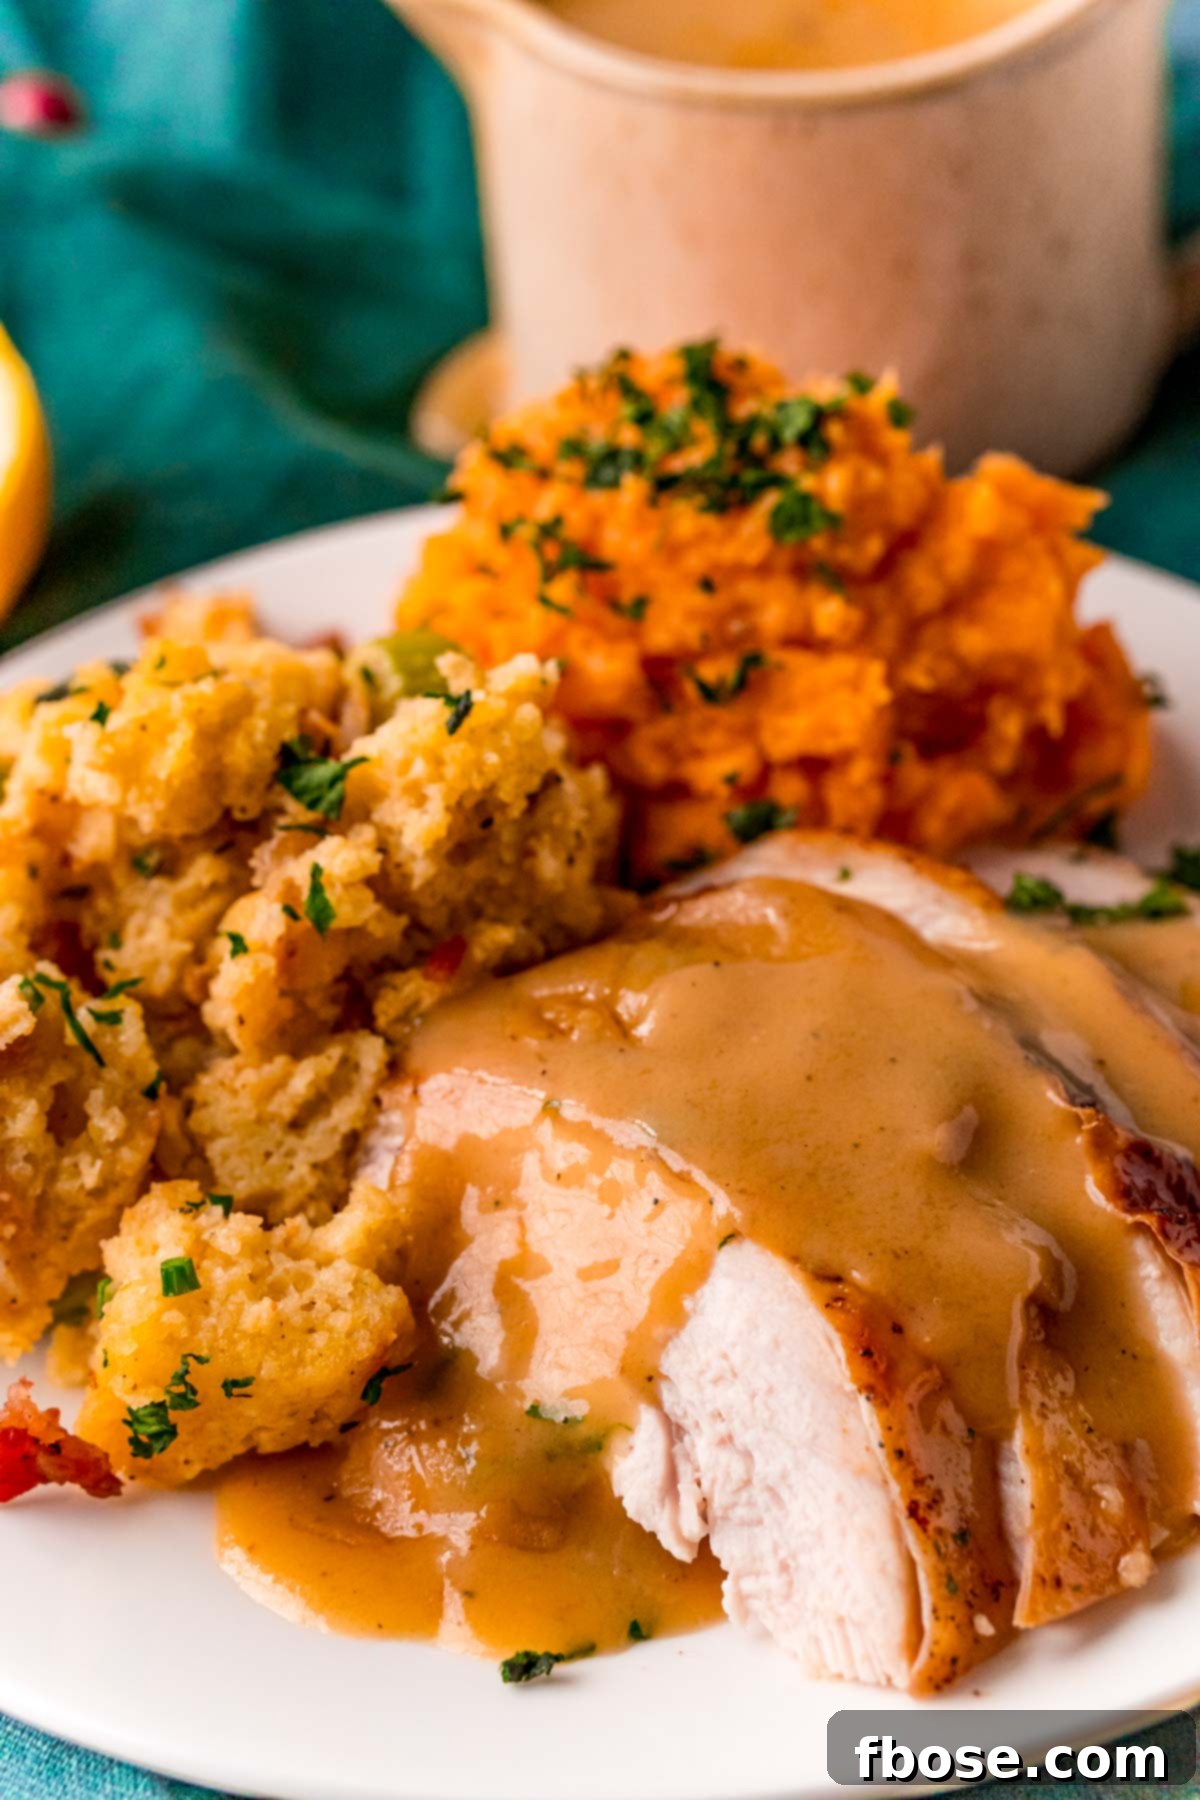
For Turkey Day, we believe in going all out with the side dishes – they are, in fact, my favorite part of the meal! Some must-have complements to this succulent roast turkey include creamy Corn Casserole, fluffy Mashed Potatoes, and perfectly sweet Candied Yams! And of course, no Thanksgiving spread is complete without warm, buttery Dinner Rolls to soak up all the deliciousness. Rich gravy and tangy Cranberry Sauce are also absolutely essential for enhancing every bite of turkey.
And to conclude your magnificent feast, don’t forget to follow up this incredible Roast Turkey with a slice of classic Pumpkin Pie, perfectly paired with a refreshing glass of Thanksgiving Punch!
Frequently Asked Questions About Our Turkey Injection Recipe
No, you do not need to brine your turkey with this specific recipe. While brining is a fantastic method for ensuring a moist turkey, it requires significant planning, a large container, and a considerable amount of refrigerator space. This injection marinade offers similar results in terms of juiciness and flavor in a much shorter timeframe and without the hassle of submerging a giant bird. I generally don’t recommend doing both a brine and an injection marinade, as it can lead to an overly salty or even watery texture in the final cooked turkey. Choose one method for best results.
For the most profound flavor and moisture penetration, it’s best to allow your injected turkey to marinate in the refrigerator for 12 to 24 hours. This extended period gives the lemon butter mixture ample time to work its magic deep within the meat fibers. However, if you’re pressed for time, a minimum of 2 hours of marinating will still yield a noticeably delicious and more tender turkey compared to one that hasn’t been marinated at all.
If you’re starting with a frozen turkey, proper thawing is critical for food safety and optimal cooking. The safest and easiest method is to thaw it in the refrigerator. Allow approximately 24 hours of thawing time for every 4 to 5 pounds of turkey. Place the turkey in its original packaging on a tray or in a large pan to catch any drips. If you find yourself short on time, you can opt for the cold water method. Fill your kitchen sink about one-third to half full with cold tap water and submerge the turkey (still in its original, unopened packaging). You will need to change the cold water every 30 minutes to ensure it stays below 40 degrees F (4 degrees C). This method takes roughly 30 minutes per pound of turkey. **Absolutely DO NOT thaw your turkey under warm or hot running water**, as this can bring the outer layers of the turkey into the temperature danger zone, promoting bacterial growth.
Turkey cooking times can vary significantly based on several factors: the turkey’s starting temperature (room temperature vs. straight from the fridge), the specific recipe method you’re following, and the calibration of your oven. A general rule of thumb is approximately 20 minutes per pound for an unstuffed turkey roasted at 350 degrees F (175 degrees C). However, it’s crucial to use a reliable meat thermometer to ensure doneness, aiming for 160 degrees F (71 degrees C) in the breast before resting. Don’t forget to factor in prep time before roasting and the essential resting time after, which together can add several hours to the total process.
Absolutely! Leftover turkey freezes beautifully, making it perfect for enjoying well after the holidays. Once your turkey has cooled completely (within two hours of cooking), carve it off the bone and package any leftover meat into freezer-safe bags or airtight containers. Squeeze out as much excess air as possible from the bags to prevent freezer burn. Properly stored, cooked turkey can last for 2-3 months in the freezer. Thaw overnight in the refrigerator before reheating and enjoying in sandwiches, casseroles, soups, or salads.
Determining How Much Turkey to Serve Per Person
When planning your holiday meal, a common question is how much turkey to buy. The general guideline is to allow 1 pound of uncooked turkey per person. However, if you’re like me and love having plenty of Thanksgiving leftovers, aiming for 1 1/2 pounds per person is ideal. This ensures everyone gets a hearty serving and leaves you with delicious turkey for sandwiches, soups, and more for a few days after the feast! Here are some size recommendations to help you choose the right bird:
- For 8 people: A 12-pound turkey
- For 10 people: A 15-pound turkey
- For 12 people: An 18-pound turkey
- For 14 people: A 20-pound turkey
Remember that bone-in turkeys yield less meat per pound than boneless, so adjust slightly if you’re using a boneless roast.
So there you have it – all my essential tips, tricks, and a detailed recipe for crafting the most perfect, juicy, and flavorful Roasted Thanksgiving Turkey. With this guide, you’re well-equipped to create a memorable holiday meal that will be talked about for years to come. You can find the full printable recipe details below. I wish you and your loved ones a truly wonderful and delicious holiday season!
Let’s Connect!
If you’ve tried this fantastic recipe and loved it, please share your experience by leaving a comment and a review below. Your feedback means the world to me!
Don’t forget to tag me – @sugarandsoulco – on Instagram and Pinterest with your beautiful photos of this recipe, or join our Sugar & Soul Show-offs Community on Facebook to share your culinary triumphs and participate in our fun recipe challenges!
Best Turkey Injection Marinade
Rebecca Hubbell
Dinner, Main Course
American
30 minutes
3 hours 30 minutes
13 hours 30 minutes
17 hours 30 minutes
10 people
Equipment
- Roasting Pan
- Meat Injector Syringe
- Kitchen Probe Thermometer
- Turkey Lifters
- Carving Set
- Aluminum Foil
Ingredients
Turkey
- 1 (12-25lb) whole turkey fresh or thawed
Injection Marinade
- 1 cup chicken stock
- 4 tablespoons salted butter
- 2 tablespoons lemon juice
- 1 teaspoon salt
- ½ teaspoon ground black pepper
- ½ teaspoon ground white pepper
- ⅛ teaspoon onion powder
Filling
- 2 lemons halved
- 2 granny smith apples quartered
- 1 large white onion quartered
- 15 fresh thyme sprigs
- 10 fresh rosemary sprigs
- 10 fresh sage sprigs
Dry Rub
- 1 tablespoon salt
- 1½ teaspoons ground black pepper
- ¾ teaspoon garlic powder
- ¾ teaspoon onion powder
Garnish
- Cranberries
- Rosemary
- Thyme
- Sage
- Lemon sliced
Instructions
Turkey
-
Make sure that your turkey is fully thawed if using a frozen turkey.
-
Remove the neck and giblet from the turkey.
Injection Marinade
-
Add the chicken stock, butter, lemon juice, salt, peppers, and onion powder to a small saucepan and cook over medium-low heat until the butter has melted, do not boil. Allow the marinade to cool in the pan for about 15 to 20 minutes. You want it to cool down enough so it doesn’t start cooking parts of the turkey but still be liquid enough to inject.
-
Use a large kitchen injector to inject the marinade into the thickest parts of the breasts, thighs, and legs of the turkey. Add the marinade until it starts to flow back over the top of the skin.
-
Place the turkey in a large pan or bowl covered with plastic wrap or in a turkey bag to marinade. Marinate for at least 2 hours and up to 24 hours for the best results. Marinating for 12 to 24 will give the best flavor.
Filling
-
Pull the turkey out of the refrigerator to rest for 1 hour, during that time, finish the prep work by beginning stuffing the cavity full of the lemons, apples, onion, and herbs.
Dry Rub
-
Pat the turkey down with a paper towel to remove any excess moisture on the skin.
-
In a small bowl, whisk together the salt, pepper, onion powder, and garlic powder. Then use your hands to rub the mixture all over the skin of the turkey.
Roasting
-
Preheat the oven to 450°F and place a roasting rack in a roasting pan.
-
Transfer the prepared turkey onto the roasting rack and cook in the preheated oven for 30 minutes.
-
After 30 minutes, reduce the heat to 350°F and remove the turkey from the oven.
-
Insert the probe thermometer into the thickest part of the turkey breast and cover the breast of the turkey with a double layer of aluminum foil.
-
Place the turkey back in the oven and cook until the internal temperature reaches 160°F.
-
Remove from the oven and allow the turkey to rest for 30 to 40 minutes so the juices redistribute. During this resting period, the internal temperature should rise to 165°F.
-
After resting, carve the turkey and enjoy.
Notes
- This recipe makes enough for a turkey between 12 and 25lbs. You may have some injection marinade leftover depending on the size and how much marinade the turkey will hold.
- Opt for a dressing that is cooked in its own baking dish. Adding the stuffing to the cavity of the turkey usually means your stuffing is underdone or the turkey is overdone.
- The FDA recommends that you avoid rinsing any meat before cooking as it can spread bacteria around the kitchen.
- Start cooking the turkey at a higher temperature to encourage crispy skin and juicy meat. This recipe cooks at 450 degrees F for the first 30 minutes and then is reduced to 350 degrees F until done.
- This recipe is already super flavorful, but if you REALLY love that buttery taste, you can use my herb butter recipe to rub between the skin and meat of the turkey.
- The turkey is considered done at 165 degrees F, however, the turkey also needs to rest for about 30 to 45 minutes before serving so all of the juices redistribute. During that time, the turkey will actually continue cooking which leads to an overdone bird. But pulling the turkey out of the oven at 160 degrees F, it should reach 165 degrees F about 20 to 30 minutes after being removed from the oven.
Nutrition
Did You Make This Recipe?
Don’t forget to share it with me on Instagram @sugarandsoulco and follow on Tiktok @sugarandsoulco and Pinterest @sugarandsoulco for more!
Pin Recipe
Share Recipe