
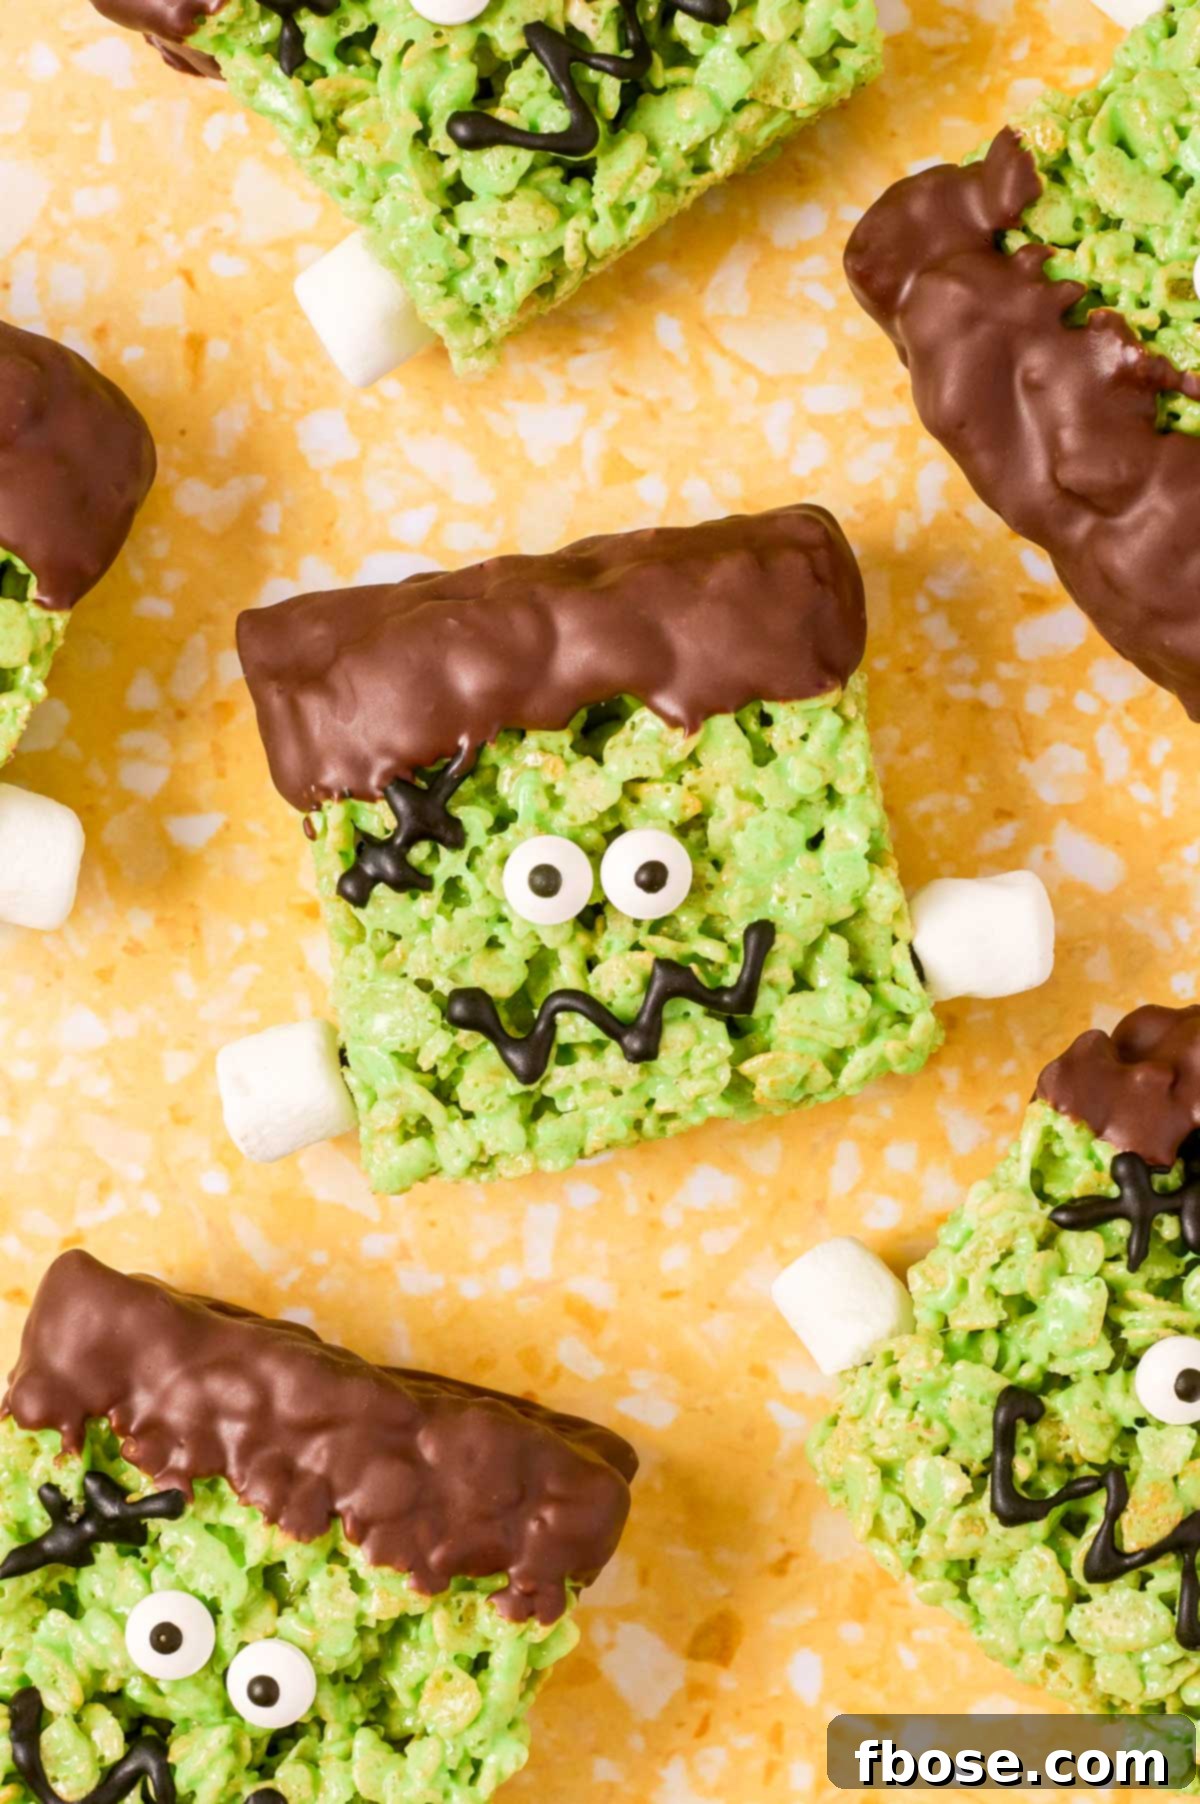
Get ready to elevate your Halloween celebrations with these absolutely irresistible Frankenstein Rice Krispie Treats! These delightfully chewy and sweet confections are a guaranteed hit with kids and adults alike, perfectly capturing the spooky spirit of the season. Best of all, they come together in just 30 minutes of active prep time, making them a fantastic last-minute treat for any Halloween gathering.
Halloween is a time for ghoulish delights and playful frights, and what better way to celebrate than with a monstrously delicious dessert? Move beyond your everyday sweets and dive into the fun world of themed treats like these Mummy Halloween Cupcakes or spooky Halloween Spider Cookies. But for a truly iconic and crowd-pleasing option, our Frankenstein Rice Krispie Treats stand out as a whimsical and tasty choice.
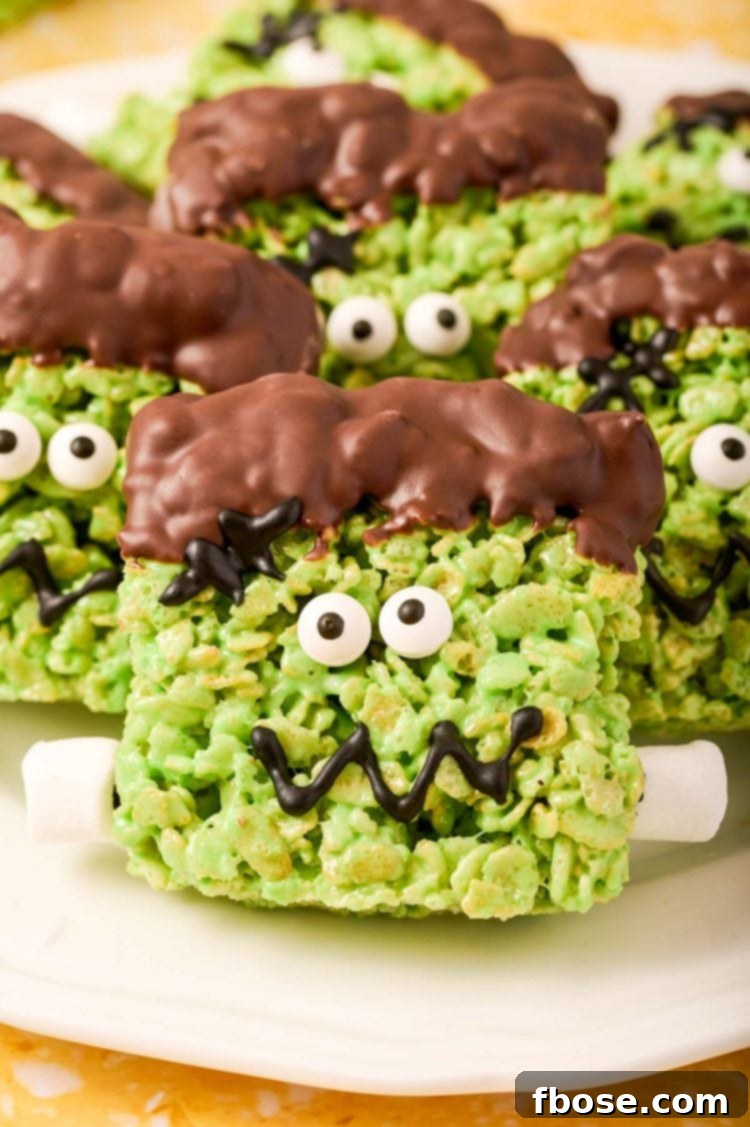
Transform your Halloween party into a laboratory of culinary fun with these vibrant green Frankenstein Rice Krispie Treats! We take the beloved classic homemade Rice Krispie Treat recipe, infuse it with a vivid green hue, and then meticulously adorn each square with edible details to perfectly mimic the iconic monster. Imagine the delight on children’s faces as they bite into a treat that looks just like their favorite Halloween character.
The thoughtful details you put into crafting these treats will truly impress your guests and family. Even if a big party isn’t on the agenda, these treats make wonderful gifts. Simply wrap them individually in clear cellophane bags, tie them with a festive Halloween ribbon, and share the spooky sweetness with friends, neighbors, or teachers. A small effort in the kitchen translates into a huge amount of joy and excitement for those who receive them.
The Monster’s Delight: Taste and Texture Unveiled
When it comes to these Frankenstein Rice Krispie Treats, every bite is an adventure for your taste buds and a symphony of textures. Let’s delve into what makes them so utterly captivating:
- Taste Sensation: Prepare for a delightful burst of sweetness that defines the core of any great Rice Krispie Treat. The rich, buttery marshmallow goodness perfectly coats every crisp grain of cereal, creating a harmonious base. But the flavor journey doesn’t stop there! The addition of playful candy eyes, savory-sweet edible neck bolts, and a generous layer of melted chocolate “hair” introduces further dimensions of sweetness and a hint of rich cocoa, making each mouthful an exciting blend of flavors. It’s a classic sweet treat with a Halloween twist that truly satisfies.
- Textural Perfection: These homemade treats boast the ideal texture you dream of in a Rice Krispie square – surpassing even many store-bought versions. They are wonderfully soft, yielding easily with a gentle bite, yet maintain that signature delightful chewiness. The snap, crackle, and pop of the Rice Krispie cereal provide an essential crunch, beautifully contrasting with the sticky marshmallow binder. Furthermore, the melted chocolate adds a smooth, firm layer, and the edible decorations contribute their own unique bite, creating a multi-layered textural experience that is both engaging and incredibly satisfying. They’re airy, fluffy, and just sticky enough to be perfectly indulgent!
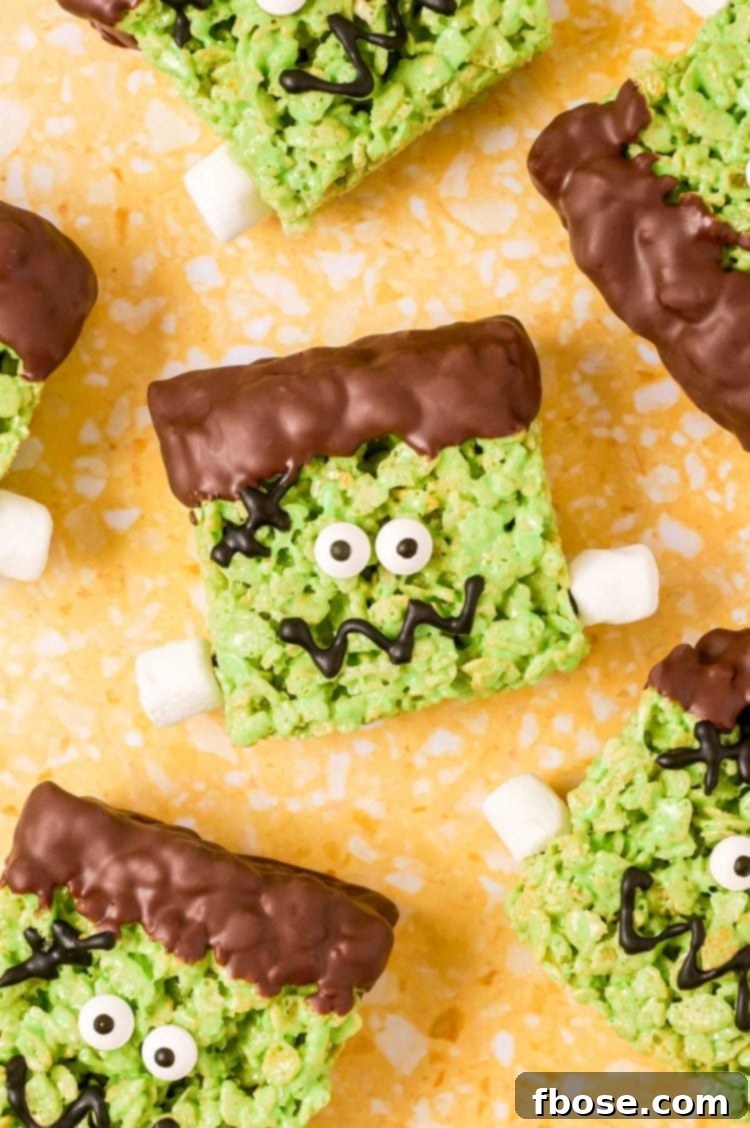
Achieving Cereal Treat Perfection: Expert Tips for the Chewiest Results
Crafting the perfect batch of Rice Krispie Treats, especially when adding fun decorations, requires a few insider tips. Follow these guidelines to ensure your Frankenstein creations are not only visually stunning but also boast that coveted soft, chewy texture every time:
- The Right Tool for the Job: When working with warm, gooey marshmallow mixtures, a rubber spatula is your best friend. Its flexible yet sturdy nature allows you to efficiently scrape every last bit of the sticky concoction from the sides of your mixing bowl, ensuring minimal waste and a thoroughly combined mixture. It also helps in gently folding the cereal without crushing it.
- Preventing Sticky Situations: Rice Krispie Treat mixture is notorious for sticking to everything, especially your hands. To make pressing the mixture into the pan a breeze, slightly wet your hands with cold water or lightly coat them with a non-stick cooking spray. This creates a barrier, preventing the sticky mixture from adhering to your skin and allowing for smoother, more even pressing.
- The Gentle Press for Airy Treats: This is perhaps the most crucial tip for achieving airy, fluffy treats rather than dense, hard ones. Do not press the mixture into the pan too hard. A gentle, even pressure is all that’s needed to distribute the cereal. Over-compacting will squeeze out all the air pockets, resulting in a hard, brick-like treat. Aim for a light touch to preserve those delightful pockets of marshmallowy goodness.
- Seamless Cutting Technique: You have a couple of options for cutting your Frankenstein Rice Krispie Treats. You can either cut them directly in the baking pan after they’ve set, or turn them out onto a piece of parchment paper before slicing. Many find that cutting them while still in the pan, especially if you’ve used parchment paper as a sling, yields cleaner, more uniform squares. A sharp, greased knife also makes a world of difference.
- Optimal Chocolate Dipping Bowl: For dipping the tops of your treats in melted chocolate to create Frankenstein’s iconic hair, choose your bowl wisely. It needs to be large enough in diameter to comfortably accommodate the Rice Krispie squares without them breaking, yet deep enough to allow for a good, even dip. This ensures consistent chocolate coverage and reduces mess. A small, deep bowl often works better than a wide, shallow one.
- Pan Preparation is Key: Whether you choose to grease your baking pan directly with cooking spray or line it with parchment paper, do so generously. If using parchment, ensure it extends up the sides of the pan; this creates “handles” that make lifting the entire block of treats out much easier, especially before cutting. Greasing the parchment paper itself adds an extra layer of non-stick protection.
Unleash Your Inner Mad Scientist: Creative Variations & Substitutions
While the classic Frankenstein Rice Krispie Treat is fantastic as is, feel free to get creative and customize your monstrous masterpieces! These variations offer fun ways to mix up the recipe or cater to different tastes and preferences:
- Decoration Medium: Cookie Icing vs. Melted Chocolate: The recipe calls for black cookie icing for fine details like mouths and stitches, and melted chocolate for the hair. If you prefer, you can swap out the cookie icing for additional melted chocolate. Simply use a piping bag with a very fine tip to apply the details. However, many find pre-made cookie icing more convenient and specifically designed for detailed decoration, offering ease and precision.
- Frankenstein’s Neck Bolts – Get Inventive!: The “bolts” on Frankenstein’s neck are a signature detail, and you have a wide array of options to create them! Instead of mini marshmallows, consider using small candies like Rolo’s, Reese’s Miniatures, pretzel sticks (for a salty crunch!), chocolate-covered raisins, small berries, or even shelled nuts like almonds or peanuts for a more rustic look. Choose something that complements the sweet base and adds a fun textural element.
- Candy Eye Extravaganza: Don’t limit yourself to just one type of candy eyeball! The market is overflowing with different sizes and expressions of edible candy eyes. Have fun browsing and pick your favorite style to give your Frankensteins unique personalities. From wide-eyed to slightly mischievous, the right eyes can truly bring your monster to life.
- Thicker Treats for Heartier Bites: If you’re a fan of a more substantial Rice Krispie Treat, simply adjust your baking pan size. Making this recipe in an 8×8-inch baking pan instead of a 9×9-inch will result in thicker, denser squares that are incredibly satisfying.
- Go Big or Go Home: Larger Frankensteins!: Want to make an even bigger impact? Cut your treats into larger squares once they’ve set. Just keep in mind that opting for bigger Frankenstein’s will naturally yield fewer individual treats from a single batch. This is perfect for those who want a truly monstrous snack!
- Double the Fun: Larger Batches for Parties: Expecting a crowd or just want to ensure you have plenty of treats to go around? This recipe easily doubles! Simply use a 9×13-inch baking pan, double all the ingredient quantities, and follow the same instructions. This ensures you’ll have enough green monsters to satisfy everyone’s Halloween cravings.
- Add a Splash of Citrus: A tiny hint of orange or lime zest stirred into the marshmallow mixture can provide a subtle, refreshing contrast to the sweetness, enhancing the overall flavor profile.
- Sprinkle Hair Details: Before the melted chocolate “hair” fully sets, you can add chocolate sprinkles or finely chopped chocolate shavings to give Frankenstein’s hair more texture and depth. This simple touch adds an extra layer of visual appeal.
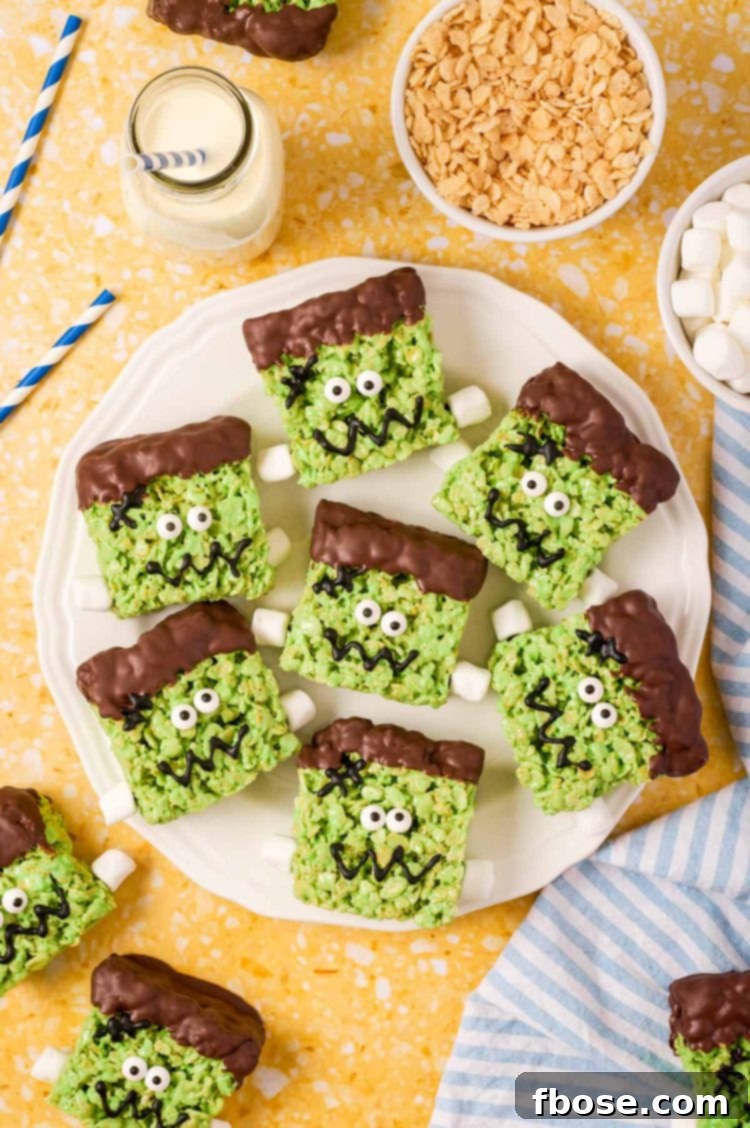
Halloween Festivities: Making Memories with Monstrous Treats
Halloween is more than just a single day; it’s a season of anticipation, creativity, and community. Whether you’re hosting a lively Halloween bash or enjoying a cozy evening at home, these Frankenstein Rice Krispie Treats are the perfect accompaniment to any celebration. I absolutely adore a good Halloween party, complete with festive music playing, bubbling Witch’s Brew Punch being poured, and a spooky Halloween Dirt Cake being served. These treats fit right in, adding a playful, edible centerpiece to your spooky spread.
Yet, I also cherish the quieter moments of the holiday, like relaxing at home while watching a classic Halloween movie. And of course, no adult’s Halloween movie night is complete without sipping a delightfully spooky adult beverage, perhaps something like my Blood and Guts Cocktail!
Regardless of how I choose to celebrate, I always make sure the kids are entertained and well-fed. While the adults might enjoy their spooky drinks, the younger ones can munch on Halloween Seven Layer Magic Bars and these delightful Frankenstein treats while happily coloring Free Halloween Printables. It’s effortless for me, yet they have so much fun, making for cherished family memories that last long after the last candy wrapper is gone.
Optimal Storage for Your Frankenstein Rice Krispie Treats
To ensure your Frankenstein Rice Krispie Treats maintain their perfect balance of chewiness and freshness, proper storage is key. While these treats are undoubtedly at their absolute best—most flavorful and delightfully chewy—on the same day they are made or the very next day, they can be stored for longer.
For extended enjoyment, place your treats in an airtight container at room temperature. Stored this way, they will remain delicious for approximately 3 to 4 days. Avoid refrigeration, as it can cause Rice Krispie Treats to harden and lose their signature soft, chewy texture. If you plan to make them several days in advance, consider assembling the green squares and decorating them closer to the event for optimal freshness and presentation.
Frequently Asked Questions About Frankenstein Rice Krispie Treats
Can I Use The Stove Instead Of The Microwave To Melt The Marshmallows?
How Do I Get The Best Green Color When Making These Frankenstein Rice Krispies?
Why Does This Recipe Call For Unsalted Butter And Salt?
How Long Should I Wait Before Cutting Into These Treats?
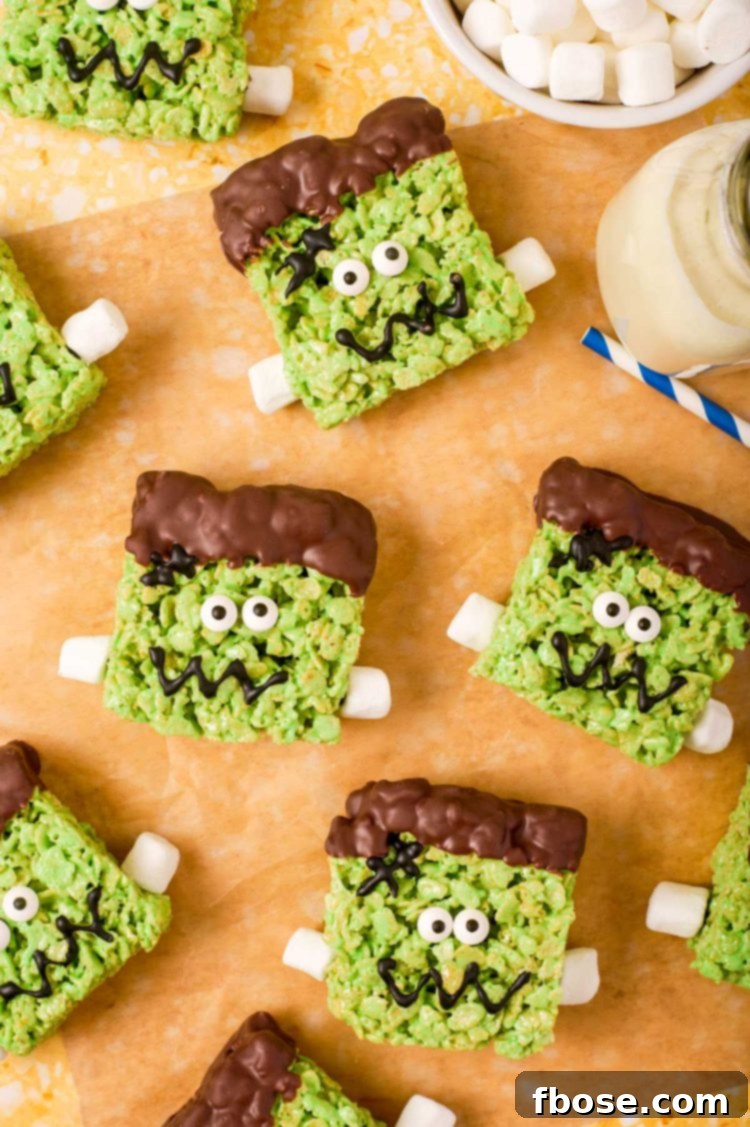
Let’s Connect and Share Your Creations!
We absolutely love seeing your culinary adventures! If you’ve tried this fantastic Frankenstein Rice Krispie Treat recipe, please let us know how much you enjoyed it by leaving a comment and a star review below. Your feedback and ratings are incredibly valuable to us and help other home bakers discover delicious recipes!
Don’t forget to tag us – @sugarandsoulco – on Instagram and Pinterest with your incredible photos. You can also join our vibrant Sugar & Soul Show-offs Community on Facebook and share your creations there, where you can even participate in our fun recipe challenges! We can’t wait to see your monstrous masterpieces!
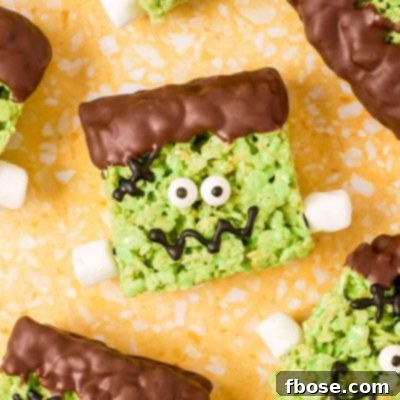
Frankenstein Rice Krispie Treats
Author: Rebecca Hubbell
Course: Dessert
Cuisine: American
Prep Time: 30 minutes
Cooling Time: 1 hour
Total Time: 1 hour 30 minutes
Servings: 9 treats
Pin Recipe
Share Recipe
These Frankenstein Rice Krispie Treats are a chewy, sweet Halloween treat that kids will go crazy for! Takes just 30 minutes to prep!
Equipment
- Microwave-safe bowls
- Rubber Spatula
- 9X9-inch baking pan
- Wax or parchment paper
Ingredients
Treats
- 4 tablespoons unsalted butter
- 12 ounces mini marshmallows
- 1 teaspoon green food coloring
- 1 teaspoon vanilla extract
- ¼ teaspoon salt
- 5 cups Rice Krispies cereal
Decorations
- 1 cup chocolate melting wafers
- 18 candy eyes
- Black cookie icing
- 18 mini marshmallows (for neck bolts)
Instructions
Treats
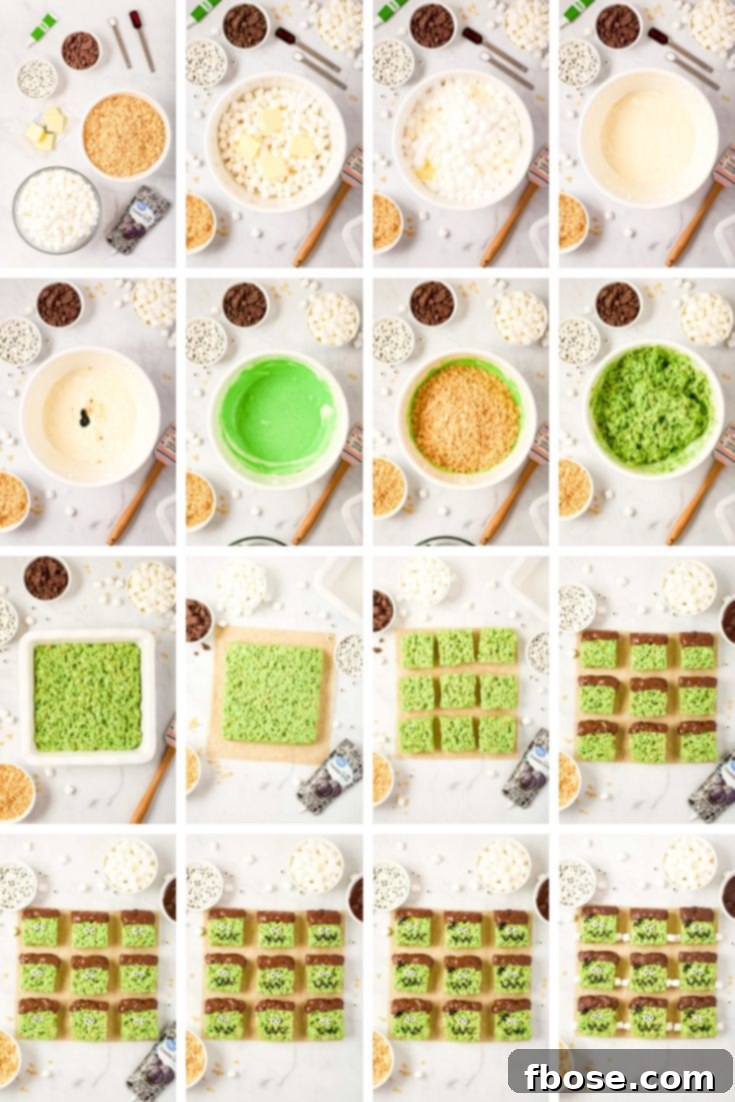
- Lightly spray a 9×9-inch baking pan generously with cooking spray or line it with greased parchment paper so the paper comes up the sides. Set aside. (Using parchment paper significantly reduces the risk of the treats sticking.)
- Cut the butter into four tablespoons and add them to a microwave-safe mixing bowl along with the mini marshmallows. Microwave for 90 seconds.
- Stir the marshmallow and butter mixture until smooth. Then, add the vanilla extract, green food coloring, and salt. Continue stirring until the mixture is evenly green in color.
- Add the Rice Krispies cereal to the bowl. Mix thoroughly, ensuring the cereal is completely coated with the marshmallow mixture.
- Use a greased rubber spatula to transfer the Rice Krispie mixture to the prepared baking pan. Gently press the Rice Krispies into the pan, making sure the top layer is as even as possible. (You can spray your hands with nonstick spray or use another piece of greased parchment paper to gently press the mixture down.)
- Allow the Rice Krispies to cool and firm up in the pan for 1 to 3 hours.
Assembly
- Once the treats have firmed up, either flip them out onto a cutting board or lift the parchment paper out of the pan. Cut the Rice Krispies into even squares. Place a piece of parchment paper to the side; this will be where you set the decorated Rice Krispies after dipping them in chocolate.
- Add the chocolate melting wafers to a small microwave-safe bowl. Melt for 1 minute, then stir. Microwave for an additional 30 seconds. Stir again until completely smooth. If needed, microwave for another 15 seconds, stirring after.
- Dip the top ½ to ¾ inch of each Rice Krispie square into the melted chocolate to create Frankenstein’s hair. Allow any excess chocolate to drip off before placing the dipped treat on the parchment paper. Let the chocolate-dipped Rice Krispies harden on the wax paper. (For added texture, you can sprinkle chocolate sprinkles onto the chocolate before it hardens.)
- To attach the candy eyes, dot the back of each eye with a small amount of black cookie icing. Secure two eyes in the center of each Frankenstein’s face.
- Using the black cookie icing, draw a mouth and a line of stitches diagonally across his forehead on each treat.
- Finally, place a dot of black icing on one of the flat sides of a mini marshmallow. Press this marshmallow onto the side of Frankenstein’s head to create the illusion of a neck bolt. Repeat on the other side of each treat.
Notes
- Remember the importance of a rubber spatula for scraping sticky marshmallow mixture.
- Always wet your hands or use cooking spray when pressing the mixture into the pan to prevent sticking.
- Press gently to ensure airy, fluffy treats; over-compacting leads to hard treats.
- For best freshness, enjoy these treats the same day or the next. Store them in an airtight container at room temperature for up to 3-4 days.
Nutrition
Did You Make This Recipe?
Don’t forget to share it with me on Instagram @sugarandsoulco and follow on Tiktok @sugarandsoulco and Pinterest @sugarandsoulco for more!
Pin Recipe
Share Recipe