

Craving the iconic flavor of your favorite candy bar in a delightful, homemade cookie? Look no further! These Homemade Twix Cookies are an absolute dream come true for any sweet tooth. Imagine a buttery, melt-in-your-mouth shortbread cookie base, generously topped with a rich, chewy caramel layer, and then enrobed in a smooth, decadent milk chocolate coating. It’s a triple threat of texture and taste that perfectly mimics the beloved Twix bar, all crafted right in your kitchen.
Making these candy bar-inspired cookies is not only incredibly satisfying but also surprisingly simple, using readily available pantry staples. Each bite promises that unmistakable combination of crumbly cookie, sticky caramel, and crisp chocolate that makes Twix so irresistible. Get ready to impress your friends and family with this show-stopping dessert that tastes like it came straight from a gourmet bakery, but with the heartfelt touch of homemade goodness!

There’s something truly magical about recreating beloved treats at home, and these Twix Bar Cookies are no exception. The moment you take a bite, your palate is instantly flooded with the familiar, comforting flavors of the classic candy bar. Unlike many copycat recipes, these cookies capture the essence of a Twix bar with remarkable accuracy. The homemade cookie base provides that perfect biscuit-like crunch, which then gives way to the luxurious, gooey caramel, and finally, the smooth, tempered chocolate that ties it all together.
This recipe transforms the classic candy bar into a soft, chewy cookie form, offering a delightful new way to enjoy a timeless favorite. While these cookies don’t contain actual Twix bars, their flavor profile is so spot-on, you’d swear they did! It’s an ideal recipe for those who adore the combination of cookie, caramel, and chocolate, and are looking for a fun and engaging baking project. If you’re a fan of other candy bar-inspired recipes, you might also love my Butterfinger Pudding Cookies, which are packed with crunchy Butterfinger baking bits for another burst of flavor!

Essential Ingredients for Perfect Twix Cookies
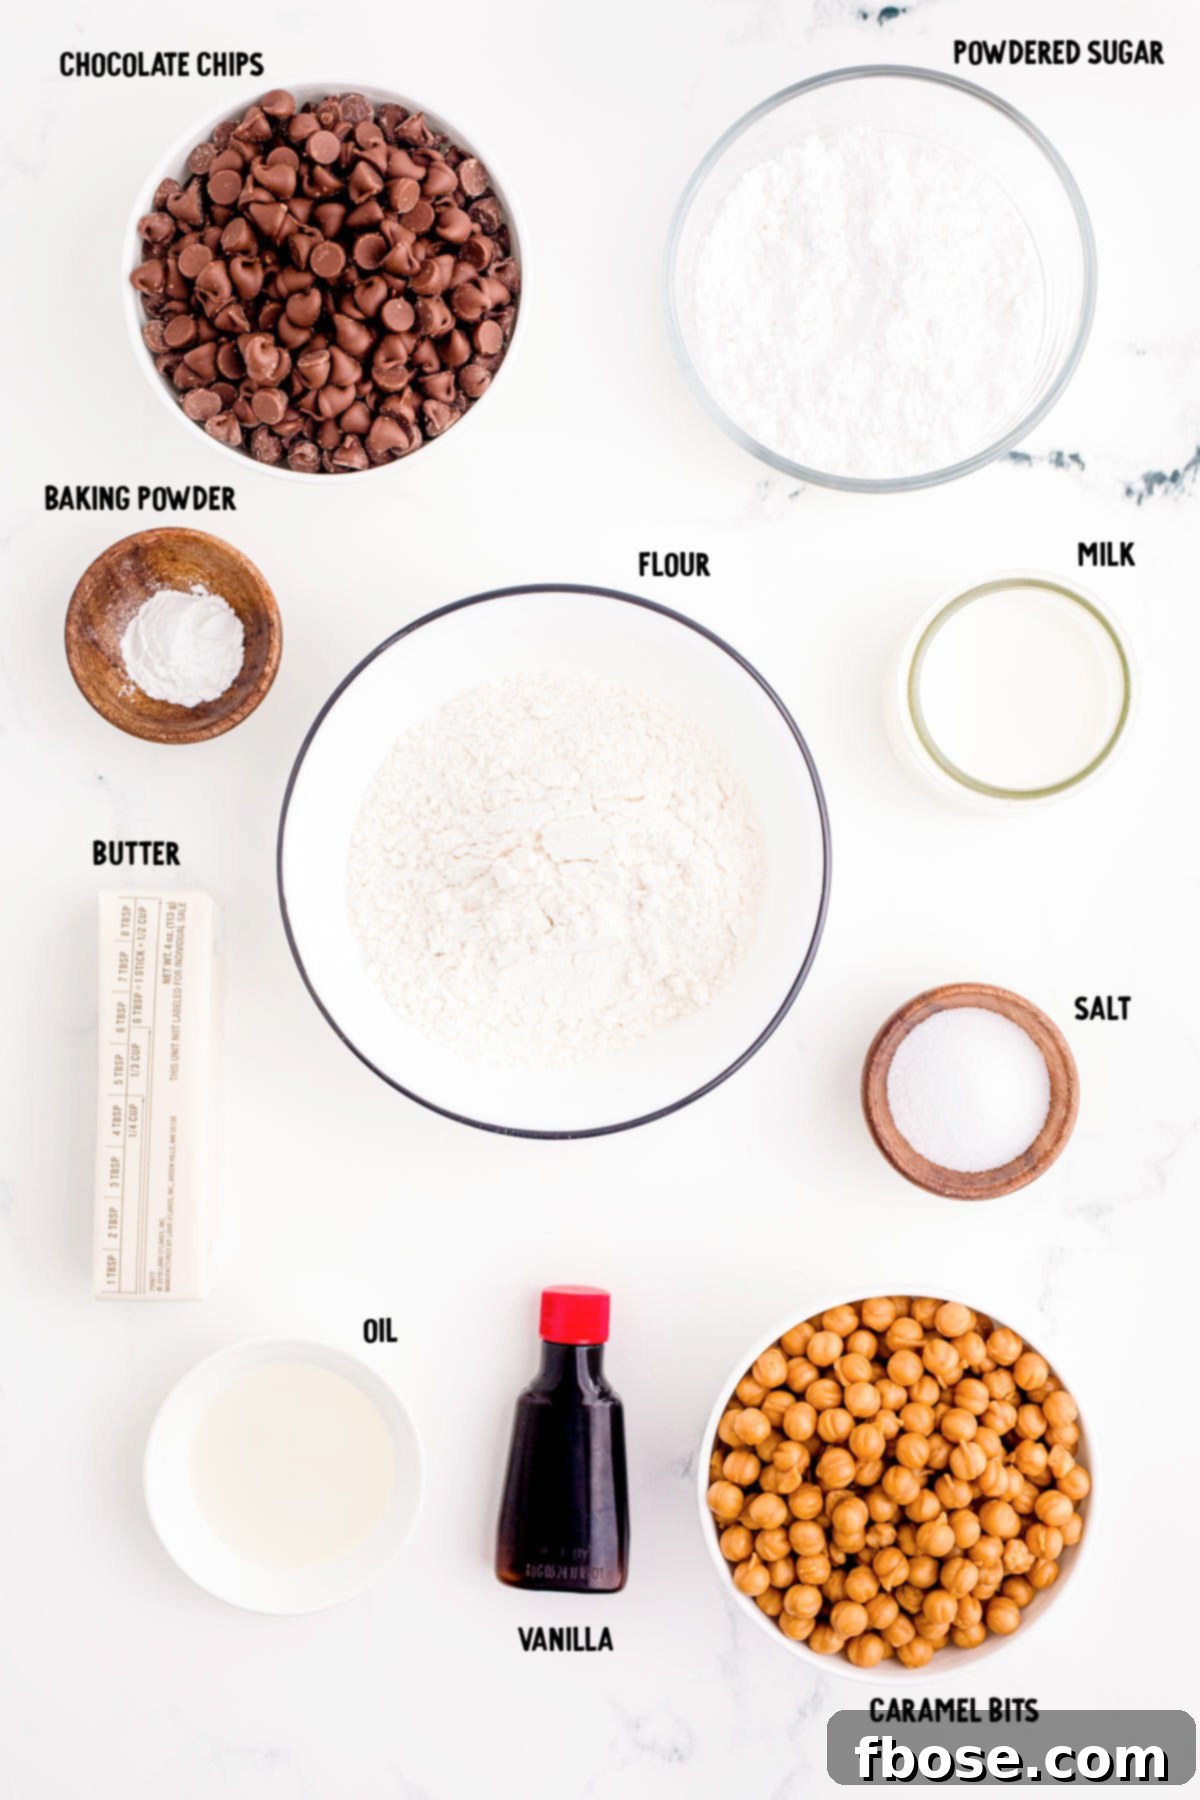
Crafting these delectable Homemade Twix Cookies begins with selecting the right ingredients. Each component plays a vital role in achieving that signature flavor and texture that makes these cookies so special. Here’s a closer look at what you’ll need and why it matters:
For the Buttery Shortbread Cookie Base:
- Salted Butter: Softened butter is key for a smooth, tender cookie. Using salted butter not only adds richness but also subtly enhances the overall flavor, perfectly balancing the sweetness of the caramel and chocolate. If you only have unsalted butter, simply add a pinch more salt to the dough.
- Powdered Sugar: Unlike granulated sugar, powdered sugar (confectioners’ sugar) gives these cookies a wonderfully fine, tender crumb that melts in your mouth, much like a traditional shortbread. It also helps prevent the cookies from spreading too much during baking.
- Vanilla Extract: A touch of pure vanilla extract elevates the flavor of the shortbread, adding warmth and depth that complements the other layers beautifully. Don’t skimp on quality here!
- Baking Powder: Just a small amount of baking powder helps the cookies achieve a slightly crisp edge and a tender interior without making them cakey.
- All-Purpose Flour: The foundation of our cookie base. Ensure you measure your flour correctly (using a kitchen scale or the spoon-and-level method) to prevent a dry or dense cookie. You’ll also need a little extra for dusting your work surface and cookie cutter.
For the Rich, Chewy Caramel Layer:
- Kraft Caramel Bits: These are a true shortcut to perfectly gooey, consistent caramel. They melt smoothly and are incredibly easy to work with. If you can’t find Kraft bits, any package of individually wrapped caramels will work – just make sure to unwrap them all first!
- Whole Milk: A small amount of whole milk helps thin the melted caramel to the perfect spreading consistency while adding creaminess. Avoid using skim or low-fat milk, as the fat content contributes to the caramel’s rich texture.
- Salt: A pinch of salt is crucial for balancing the sweetness of the caramel and enhancing its depth of flavor. This creates that delightful salted caramel undertone, which truly mimics the complexity of a real Twix bar.
For the Smooth Chocolate Coating:
- Milk Chocolate Chips: To capture the authentic Twix flavor, milk chocolate chips are the ideal choice. They melt into a creamy, sweet coating that beautifully complements the caramel and shortbread.
- Vegetable Oil: Adding a teaspoon of vegetable oil to the melted chocolate helps create a smooth, glossy finish and prevents the chocolate from seizing. It also makes the chocolate easier to spread thinly and ensures a delightful snap when bitten into. Coconut oil can also be used for a similar effect.
How To Make Irresistible Twix Cookies: A Step-by-Step Guide
Creating these delightful Twix Cookies is a fun and rewarding process. Follow these detailed steps to achieve perfect, layered treats every time. Remember, patience is key, especially when allowing the layers to set!

Twix Cookies
These Homemade Twix Cookies feature three delicious and easy layers that perfectly replicate the taste of your favorite candy bar in a delightful cookie form! Made with simple pantry ingredients and classic Kraft caramel bits.
Author: Rebecca Hubbell
Course: Dessert
Cuisine: American
Prep Time: 45 minutes
Cook Time: 15 minutes
Chill Time: 1 hour (minimum)
Total Time: Approximately 2 hours (plus setting time)
Servings: 10 cookies
Pin Recipe
Rate this Recipe
Equipment
- Stand mixer (or hand mixer)
- Parchment paper
- Measuring Cups
- Measuring spoons
- Cookie sheets
- Wire cooling rack
- Microwave-safe bowls
- Rolling pin
- Round cookie cutter (approx. 2.5 inches)
Ingredients
For the Cookies
- ½ cup salted butter, softened
- ½ cup powdered sugar
- 1 teaspoon vanilla extract
- ½ teaspoon baking powder
- 1 cup all-purpose flour, plus extra for dusting
For the Caramel Layer
- 11 ounces Kraft caramel bits (or 1 package of wrapped caramels, unwrapped)
- 1 tablespoon whole milk
- ¼ teaspoon salt
For the Chocolate Coating
- 1½ cups milk chocolate chips
- 1 teaspoon vegetable oil
Instructions
- Prepare Your Baking Station: Preheat your oven to 350°F (175°C). Line a large baking sheet with parchment paper to prevent sticking and ensure easy cleanup. Set this aside for later.
- Cream Butter and Sugar: In the bowl of a stand mixer fitted with a paddle attachment (or using a hand mixer), cream together the softened salted butter and powdered sugar on medium speed. Beat until the mixture is light, fluffy, and pale in color, typically 2-3 minutes. This step incorporates air, making your cookies tender.
- Add Wet and Dry Ingredients: Reduce the mixer speed to low. Add the vanilla extract, baking powder, and all-purpose flour. Mix until just combined and a soft dough forms. Be careful not to overmix, as this can lead to tough cookies.
- Chill the Dough: Gather the cookie dough into a large disk. Wrap it tightly with plastic wrap and refrigerate for at least 1 hour. Chilling is crucial as it firms up the butter, making the dough easier to roll and preventing the cookies from spreading excessively during baking.
- Roll and Cut Cookies: Lightly sprinkle your clean counter or a silicone mat with a little extra all-purpose flour. Dust your rolling pin and a 2½-inch round cookie cutter with flour as well to prevent sticking. Roll the chilled dough out to an even ¼-inch thickness. Use the cookie cutter to cut out as many cookies as possible. Gently gather and re-roll any scraps to cut out more cookies until all dough is used.
- Bake the Cookies: Carefully transfer the cut-out cookies to your prepared baking sheet. Bake for 7 to 10 minutes. The cookies are done when their edges are just set and no longer glossy, but not yet turning golden brown. They should still be pale.
- Cool Completely: As soon as the cookies come out of the oven, transfer them to a wire cooling rack. Allow them to cool completely before proceeding to the next steps. This is important to prevent the caramel from melting the cookies.
- Prepare the Caramel Layer: In a medium-sized, microwave-safe bowl, combine the Kraft caramel bits and whole milk. Microwave for 1 minute, then stir well. Continue heating at 20-second intervals, stirring thoroughly after each, until the caramel is completely smooth and easily stirrable. Stir in the salt until fully incorporated.
- Apply the Caramel: Place approximately 1 teaspoon of the warm caramel mixture onto the center of each cooled cookie. Using the back of your spoon or a small offset spatula, gently swirl the caramel into an even circle, leaving a small border around the edge of the cookie. Allow the caramel layer to firm up completely before adding the chocolate. This can take about 30 minutes at room temperature, or you can speed up the process by placing them in the refrigerator for 10-15 minutes.
- Prepare the Chocolate Coating: In another microwave-safe bowl, combine the milk chocolate chips and vegetable oil. Microwave at 30-second intervals, stirring well after each interval, until the chocolate is completely melted and smooth. The oil helps achieve a beautiful, glossy finish.
- Coat with Chocolate: Once the caramel is firm, place about 1 teaspoon of the melted chocolate on top of the caramel layer. Swirl the chocolate gently into a circle, mostly covering the caramel but still maintaining a visible border of the cookie base around the edge, just like a classic Twix bar. For an extra touch of gourmet, sprinkle a tiny pinch of flaky sea salt on top of the wet chocolate, if desired!
- Set and Enjoy: Allow the chocolate to set completely. This can be done at room temperature, or you can place the cookies in the refrigerator for 15-20 minutes to speed up the setting process. Once the chocolate is firm to the touch, your glorious Homemade Twix Cookies are ready to be enjoyed!
Notes and Expert Tips
- How To Store: Keep your finished Twix Cookies at room temperature in an airtight container. They will remain fresh and delicious for up to 5 days.
- Freezing Baked Cookies: While the full layered cookies don’t freeze exceptionally well due to the caramel and chocolate textures, you can freeze the plain baked cookie bases for up to 3 months. Thaw them completely at room temperature, then add the caramel and chocolate layers when you’re ready to serve.
- Making Cookie Dough Ahead: Absolutely! The cookie dough can be prepared up to 3 days in advance and stored tightly wrapped in the refrigerator. For longer storage, freeze the dough for up to 3 months. Thaw in the refrigerator overnight before rolling and baking.
- The Importance of Chilling Dough: Do not skip the chilling step! Chilled dough is significantly easier to roll and cut, resulting in neater, more uniform cookies. It also helps the cookies hold their shape better during baking, preventing excessive spreading.
- Doubling the Recipe: This recipe doubles (or even triples) beautifully! Simply multiply all ingredient quantities by two or three to make a larger batch for parties or sharing.
- Chocolate Variations: While milk chocolate is traditional for Twix, you can certainly use semi-sweet chocolate chips for a slightly less sweet, richer flavor. Dark chocolate can also be used for a more intense chocolate experience. The cookies will still be incredibly delicious!
- Easier Caramel Spreading: If you find the caramel sticky, lightly spray the back of your spoon or offset spatula with non-stick cooking spray before spreading it onto the cookies. This will help the caramel glide on smoothly.
- Troubleshooting Thick Caramel: If your caramel becomes too thick to spread, a quick 10-15 second zap in the microwave should soften it. If it’s still too thick, stir in an additional ½ teaspoon of whole milk and heat it through again briefly.
- Mini Twix Cookies: For bite-sized delights, use a smaller cookie cutter! Just remember that smaller cookies will require a reduced baking time (typically 5-7 minutes), so keep a close eye on them. The layering might be a tiny bit trickier but still very doable.
Nutrition
Calories: 408kcal | Carbohydrates: 58g | Protein: 4g | Fat: 18g | Saturated Fat: 11g | Polyunsaturated Fat: 1g | Monounsaturated Fat: 3g | Trans Fat: 1g | Cholesterol: 31mg | Sodium: 227mg | Potassium: 106mg | Fiber: 1g | Sugar: 43g | Vitamin A: 367IU | Vitamin C: 1mg | Calcium: 90mg | Iron: 1mg

One of the most beloved features of these Homemade Twix Cookies is undoubtedly that sweet, sticky, and utterly delightful caramel layer. Its chewy texture and rich flavor provide the perfect contrast to the crisp shortbread and smooth chocolate, making each bite an exquisite experience. If you share my profound love for all things caramel, you’re in for a treat! Explore more caramel desserts that are guaranteed to satisfy that craving for golden, buttery sweetness:
- Caramel Pear Cheesecake Bars – These luxurious four-layer bars are topped with a luscious caramel sauce and a dollop of homemade whipped cream, offering a sophisticated twist on classic fruit desserts.
- Homemade Caramel Apples – A timeless autumn classic that’s incredibly fun to make and customize with your favorite toppings. Ready in just 35 minutes, they’re perfect for a festive treat!
- Simple Caramel Chocolate Chip Cookies – Elevate your classic chocolate chip cookie game with pockets of gooey caramel, made even more tender with the secret ingredient: Instant Vanilla Pudding Mix!
- Easy Salted Caramel Blondies – Indulge in these rich and decadent bars, crafted with only 7 simple ingredients. The perfect balance of sweet and salty for a truly satisfying dessert.
- Caramel Apple Pie Dip – A fantastic crowd-pleasing dessert that pairs perfectly with easy-to-make cinnamon sugar pie chips. It’s all the flavor of apple pie, deconstructed into a fun dip!
Let’s Connect and Share Your Creations!
If you’ve whipped up a batch of these incredible Homemade Twix Cookies, I would absolutely love to hear about it! Please take a moment to leave a comment below and share your review. Your feedback brightens my day and helps other bakers in our community!
Don’t forget to capture your delicious creations! Tag me – @sugarandsoulco – on Instagram and Pinterest with your photos. You can also join our vibrant Sugar & Soul Show-offs Community on Facebook and share them there, where you can participate in our fun recipe challenges and connect with fellow dessert lovers! Happy baking!
Did You Make This Recipe?
Don’t forget to share it with me on Instagram @sugarandsoulco and follow on Tiktok @sugarandsoulco and Pinterest @sugarandsoulco for more delicious recipes and baking inspiration!
Pin Recipe
Share Recipe