
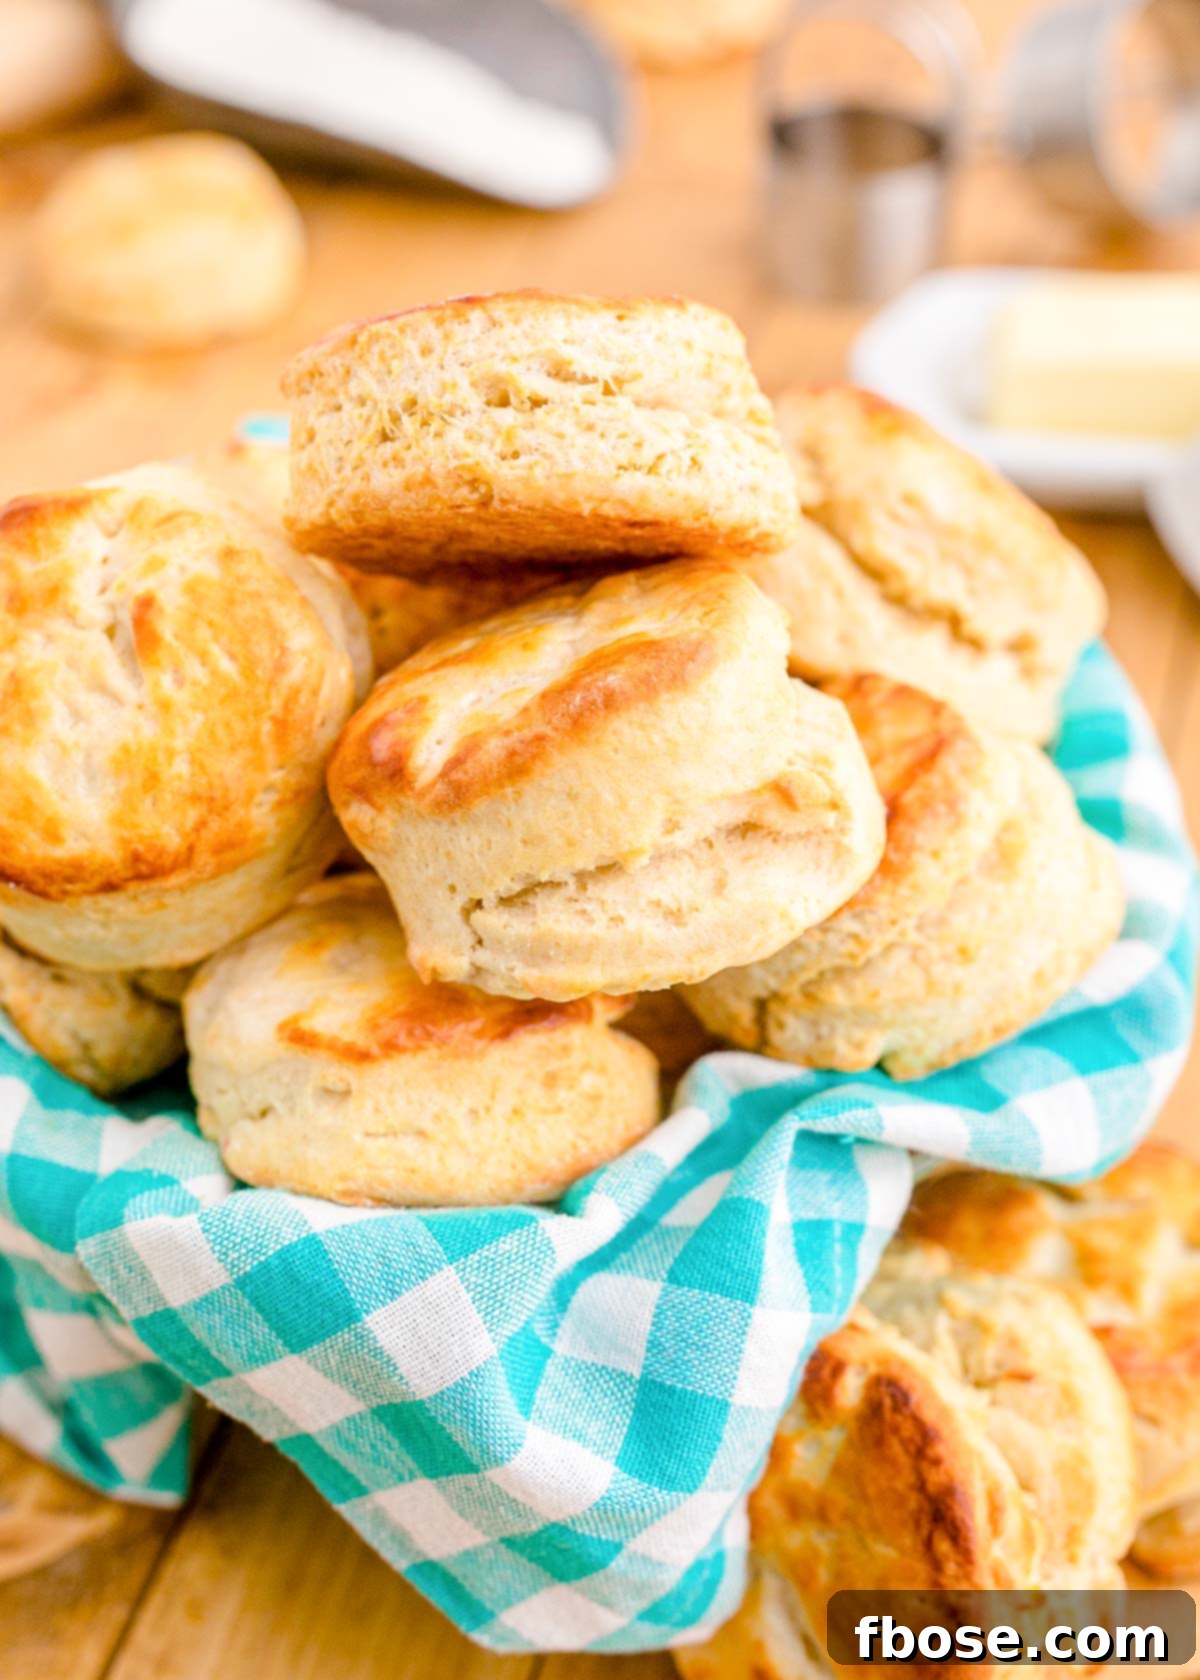
Welcome to the ultimate guide to crafting the most delightful, flaky, and tender Buttermilk Biscuits you’ve ever tasted. Forget store-bought options; this straightforward recipe, requiring just 6 simple ingredients and a mere 35 minutes of your time, promises a homemade experience that will become a cherished tradition in your kitchen. Whether you’re seeking the perfect accompaniment for a hearty breakfast spread or a comforting addition to a family dinner, these easy buttermilk biscuits are destined to become a staple.
Imagine the golden-brown crust giving way to soft, cloud-like layers, each bite infused with a rich, buttery flavor that only true homemade goodness can deliver. These aren’t just biscuits; they’re a culinary embrace, transforming any meal into something truly special. Often, these irresistible treats disappear from the table faster than the main course itself, a testament to their unparalleled appeal. There’s a unique joy in slicing open a warm, fresh biscuit and watching melted butter seep into its airy interior.
Why Homemade Buttermilk Biscuits Are Simply The Best
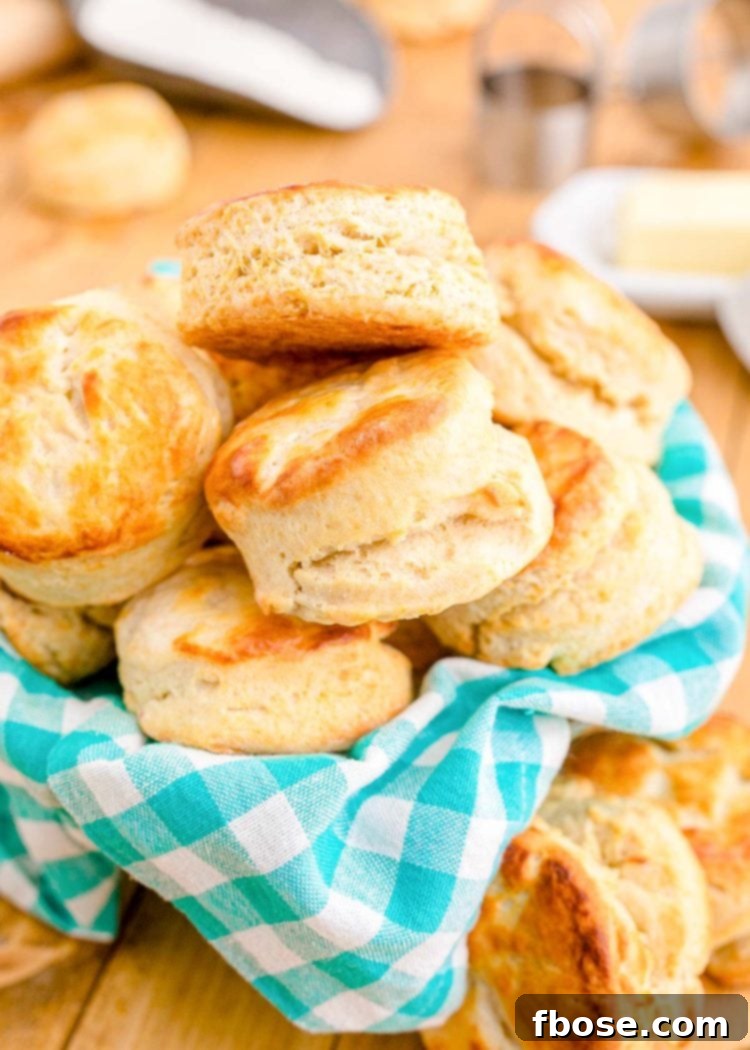
There’s an undeniable charm to homemade biscuits that pre-packaged varieties simply cannot replicate. The process itself, from combining the simple ingredients to seeing them puff up in the oven, is deeply satisfying. This recipe focuses on delivering superior taste and texture, ensuring that every batch is a triumph. Our homemade buttermilk biscuit recipe is designed for both novice bakers and seasoned pros, promising consistent results that will impress everyone at your table.
Making biscuits from scratch gives you complete control over the quality of ingredients, allowing for a fresher, more wholesome product. Plus, the aroma of freshly baked biscuits wafting through your home is a comfort that no store-bought alternative can provide. It’s an experience that awakens the senses and fosters a sense of warmth and well-being, turning an ordinary day into something extraordinary.
The Unforgettable Taste and Texture of Our Buttermilk Biscuits
Taste: Prepare your palate for an experience that redefines what a biscuit should be. These buttery, rich Southern Buttermilk Biscuits boast a flavor profile so profound, you’ll confidently bypass the bakery aisle from now on. The tang of buttermilk perfectly balances the richness of the butter, creating a harmonious and deeply satisfying taste. Each bite offers a hint of wholesome goodness, far superior to any mass-produced biscuit. This is the authentic taste of tradition, perfected for your enjoyment.
Texture: Beyond their incredible flavor, these biscuits deliver a symphony of textures that will enchant you. From their beautifully golden-brown, slightly crispy tops to their remarkably fluffy, distinctively flaky layers within, every aspect of their texture is designed to delight. The secret lies in the cold butter and minimal handling, which create those coveted pockets of air and steam, resulting in a light, ethereal crumb that melts in your mouth. You’ll find the intricate layers just as pleasing to the eye as they are to the palate, making each biscuit a small masterpiece.
Buttermilk: The Secret to Fluffy, Flaky Perfection
The magic behind these incredibly fluffy and flaky Buttermilk Biscuits From Scratch lies unequivocally in the buttermilk itself. This essential ingredient is not merely a liquid; it’s a leavening agent and a tenderizer, thanks to its inherent acidity. When buttermilk interacts with baking soda (which is alkaline), it produces carbon dioxide gas. This gas creates tiny bubbles throughout the dough, which expand during baking, leading to that characteristic rise and wonderfully airy texture. Moreover, the lactic acid in buttermilk helps to break down gluten in the flour, resulting in a remarkably tender biscuit that’s never tough.
No Buttermilk? No Problem! Make Your Own Easy Substitute:
If you find yourself without buttermilk on hand, don’t let it deter you from making these fantastic biscuits. Crafting your own homemade buttermilk substitute is incredibly simple and requires only two common kitchen staples: milk and an acid. For this recipe, you’ll need 3/4 cup of milk and 2 1/2 teaspoons of white vinegar or lemon juice.
To prepare your substitute:
- Pour 2 1/2 teaspoons of white vinegar or lemon juice into a liquid measuring cup.
- Fill the measuring cup with regular milk (any kind works, but whole milk yields a richer result) until it reaches the 3/4 cup mark.
- Gently stir the mixture.
- Let it sit for 5 minutes. During this time, the acid will curdle the milk, giving it the necessary consistency and acidity to mimic real buttermilk.
This slightly thickened, curdled mixture is now the perfect stand-in for buttermilk, ensuring your biscuits will still achieve their desired fluffiness and flavor. It’s a handy trick every home baker should know!
How To Serve & Enjoy These Easy Buttermilk Biscuits
The versatility of these easy buttermilk biscuits is truly remarkable, allowing them to shine in countless culinary scenarios. Here are some of our favorite ways to enjoy them:
- For a Hearty Breakfast! Elevate your morning meal by serving these warm biscuits alongside classic breakfast staples like crispy sausage, perfectly scrambled eggs, and smoky bacon. For an authentic Southern experience, smother them with a generous scoop of creamy Sausage Gravy – a combination that’s pure comfort.
- With a Cozy Dinner! These biscuits are more than just a breakfast item; they make an exquisite side dish for a variety of comforting dinners. Pair them with a savory Crock Pot Beef Stew, a soothing bowl of Instant Pot Chicken Noodle Soup, or a rich and creamy Beef Stroganoff. Their ability to soak up delicious gravies and sauces makes them an ideal companion.
- As a Delectable Dessert! Who says biscuits can’t be dessert? Their subtly sweet and buttery flavor makes them an excellent base for fruit-based desserts. I particularly adore using them as the foundation for my light and luscious Easy Strawberry Shortcakes, where they beautifully complement the fresh berries and whipped cream.
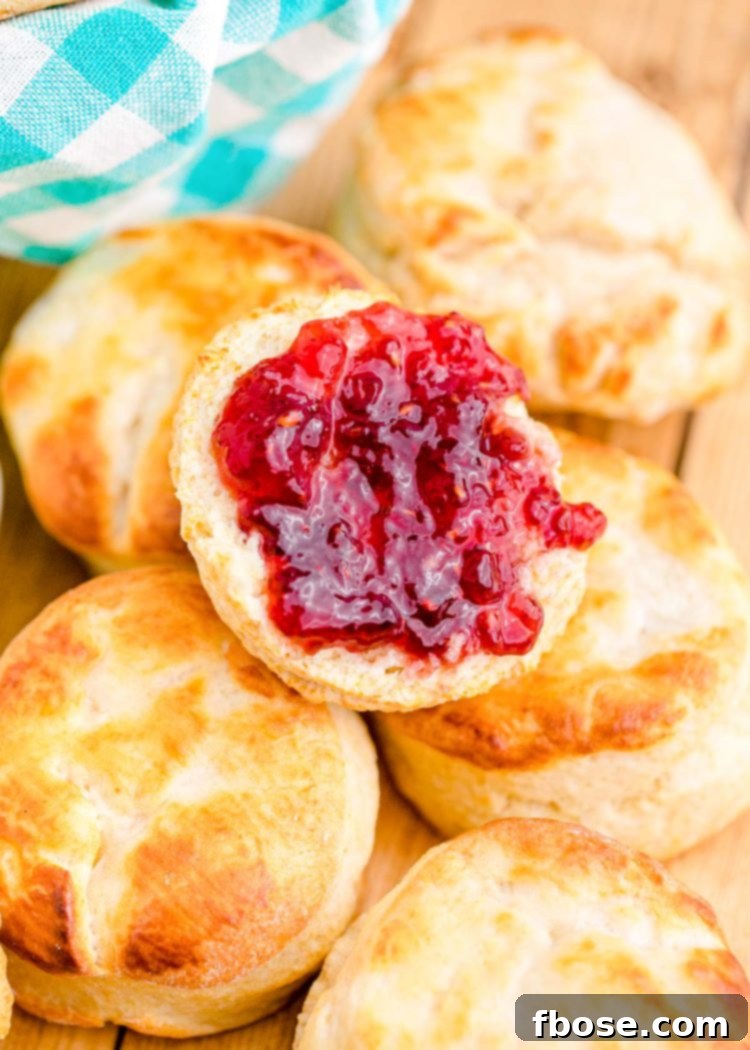
- Paired with Your Favorite Beverage! For a delightful afternoon pick-me-up or a relaxing evening treat, serve a warm biscuit slathered with golden honey or your favorite fruit jam alongside a steaming cup of coffee or tea. It’s a simple pleasure that offers immense comfort.
- The Ultimate Snack! Anytime hunger strikes, a buttermilk biscuit is the answer. Simply slice them open and spread on a dollop of your favorite jelly, jam, or even velvety homemade butter. This makes for a wonderfully satisfying and filling snack that can be enjoyed at any time of day, offering a quick burst of energy and deliciousness.
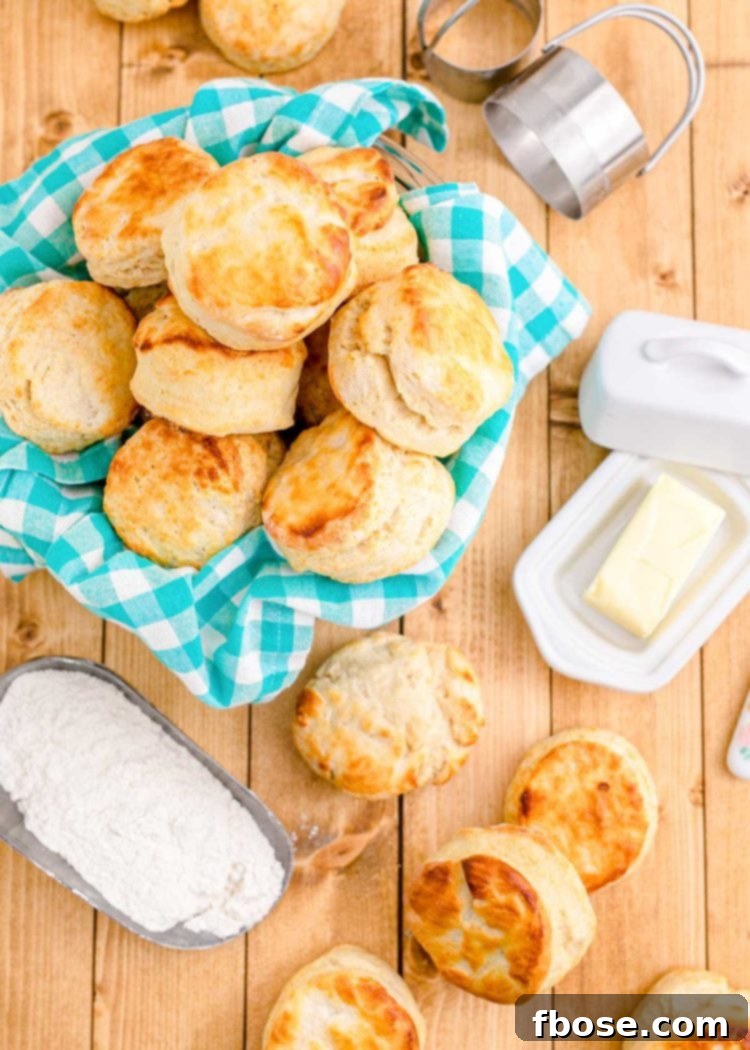
Mastering Your Buttermilk Biscuits: Expert Tips for Success
Achieving biscuit perfection is easier than you think with a few key techniques and considerations. These helpful tips will ensure your buttermilk biscuit recipe turns out flawlessly every time:
- Always Use Cold Butter: This is arguably the most critical tip for flaky biscuits. Cold butter, cut into small cubes, creates pockets in the dough. As the biscuits bake, the butter melts and releases steam, forcing the layers apart and creating that desirable flaky texture. If your butter starts to soften, pop it back into the freezer for a few minutes.
- Avoid Overworking the Dough: Handle the biscuit dough as little as possible. Overmixing develops the gluten in the flour too much, leading to tough, chewy biscuits instead of light, tender ones. Mix until just combined, and then gently fold and roll.
- Wet Dough Fix: If, after mixing, your dough seems overly wet and sticky, don’t panic. You can gradually add a tablespoon of all-purpose flour at a time, mixing gently after each addition, until the dough reaches a manageable consistency that can be rolled out.
- Dry Dough Solution: Conversely, if your dough appears too dry and crumbly, struggling to hold together, incorporate additional buttermilk. Add one tablespoon of cold buttermilk at a time, mixing minimally until the dough forms a cohesive mass.
- The Right Biscuit Cutter: While a 2.5-inch cookie cutter was used for the batch pictured, any biscuit cutter will work. If you don’t have a dedicated cutter, a wide-mouthed drinking glass or even a clean, empty can (with the edges floured) can serve as an effective substitute. Just make sure the edges are sharp to create clean cuts.
- Maximize Your Batch with Scrap Dough: Don’t discard the leftover dough scraps after your initial cuts! Gently gather them, press them together (without kneading or overworking), and roll them out again. This allows you to cut out additional biscuits, ensuring no delicious dough goes to waste. The biscuits from the second roll-out might be slightly less flaky, but they’ll still be delicious.
- Sweeten Things Up (Optional): For those who prefer a touch of sweetness, transform these savory biscuits into a delightful sweet treat. Simply add 2 tablespoons of sugar or honey directly to the dough mixture. Alternatively, for a golden glaze and added sweetness, brush the tops of the biscuits with honey or a simple sugar syrup immediately after they emerge from the oven.
Storage and Freezing Instructions
Proper storage is key to enjoying your homemade buttermilk biscuits for days after baking. For any leftover Southern homemade biscuits, ensure they are tightly wrapped in aluminum foil or plastic wrap. This prevents them from drying out and maintains their freshness. They can be stored at room temperature for up to 2 days, or in the refrigerator for up to 5 days.
For longer preservation, these biscuits freeze beautifully. Tightly wrap the cooled biscuits individually or in small batches with plastic wrap, then place them in a freezer-safe bag or airtight container. They can be frozen for up to 3 months. To reheat, simply warm them in a preheated oven at 300°F (150°C) for about 10-15 minutes, or until heated through.
Yield: How Many Biscuits Does This Recipe Produce?
The number of biscuits you get from a single batch of this recipe can vary slightly, primarily depending on how thick or thin you roll the dough and the size of your biscuit cutter. Typically, when rolling the dough to the recommended ½-inch thickness and using a 2.5-inch cutter, you can expect to yield approximately 8 to 10 delicious biscuits.
If you’re planning a larger gathering or simply craving more of these fantastic treats, you have a couple of options: you can easily double the recipe to make a larger batch, or prepare two separate batches back-to-back. Either way, you’ll be well-stocked with plenty of warm, fluffy biscuits for everyone to enjoy.
No Food Processor? No Problem! Manual Buttermilk Biscuit Method
Absolutely! While a food processor offers convenience, it’s certainly not a requirement for making this buttermilk biscuit recipe. Many traditional bakers prefer the hand-mixing method, which can yield equally spectacular results. The key is to keep the butter very cold and work quickly to avoid overworking the dough.
Here’s how to make these biscuits by hand:
- In a large mixing bowl, combine the all-purpose flour, baking powder, baking soda, and salt. Use a whisk to thoroughly combine these dry ingredients, ensuring even distribution.
- Add the cubed, well-chilled butter to the flour mixture. Using a pastry cutter (or two knives, scissors-style), cut the butter into the flour until the mixture resembles coarse crumbs with some pea-sized pieces of butter still visible. This is crucial for flakiness.
- Pour in the cold buttermilk. Use a wooden spoon or a sturdy spatula to mix the ingredients. Mix just until the dry ingredients are moistened and a shaggy dough forms. Avoid overmixing; a few streaks of flour are okay.
- Turn the dough out onto a lightly floured work surface. Gently pat the dough into a rectangle, then fold it as directed in the recipe card (a third over, then the opposite third over). This layering technique contributes to flakiness.
- Proceed with rolling out the dough to ½-inch thickness and cutting out the biscuits as per the recipe instructions.
When working by hand, always remember to handle the dough as minimally and as quickly as possible. The goal is to keep the butter as cold as possible until the biscuits go into the hot oven, ensuring those beautiful, flaky layers.
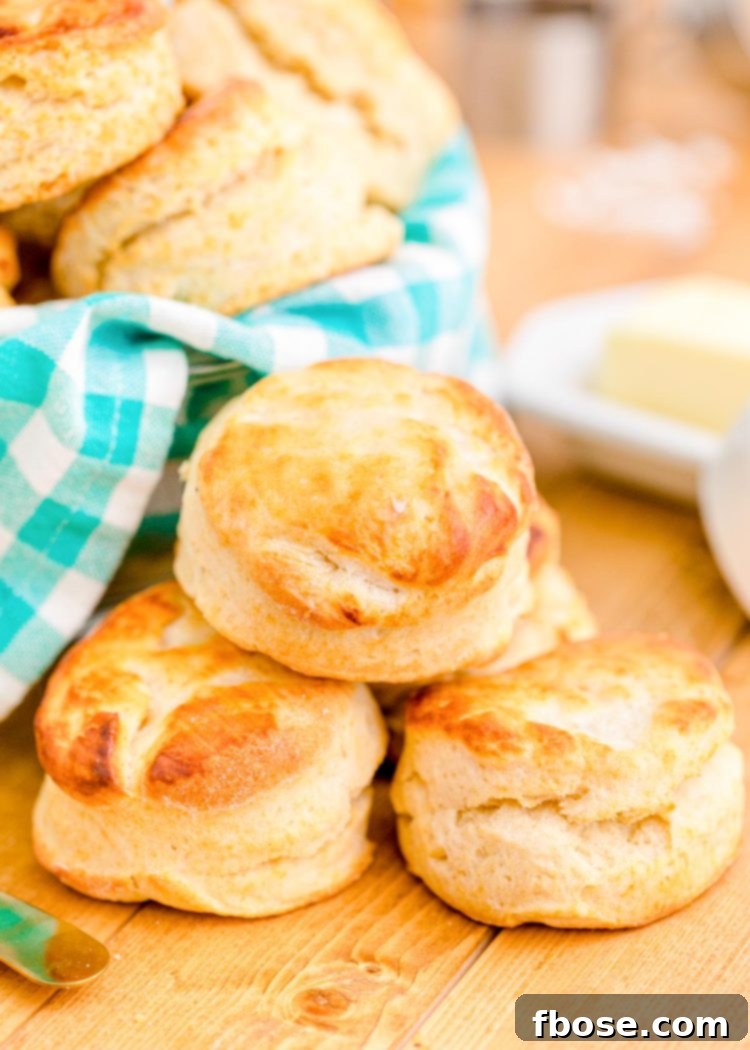
Whether it’s breakfast, lunch, or dinner, there’s always a special place at the table for the Best Buttermilk Biscuits. Their comforting presence and satisfying flavor make them a welcome addition to any meal. If you’re looking to expand your bread-baking repertoire, explore these other fantastic recipes that are sure to impress:
- Classic Drop Biscuits: Discover the simplicity of these tender, buttery biscuits, made with only 5 ingredients. Perfect for when you need a quick and easy bread option without the fuss of rolling and cutting.
- Perfect Yeast Rolls: A truly essential recipe that every home cook should master. These soft, airy yeast rolls are incredibly versatile and perfect for any occasion, from casual weeknights to holiday feasts.
- Homemade Brioche: Indulge in the rich, buttery goodness of homemade brioche. Use this adaptable recipe to bake a luxurious loaf perfect for toast or sandwiches, or shape it into a batch of decadent rolls.
- Parker House Dinner Rolls: These buttery, rich, and wonderfully fluffy yeast rolls offer a touch of elegance to any dinner spread. Impress your guests with their delicate texture and incredible flavor, all prepped in just 45 minutes.
- Easy Stuffed Cheese Breadsticks: A crowd-pleasing side dish that’s fantastic alongside a heaping portion of Homemade Spaghetti and Meatballs or any Italian-inspired meal. Cheesy, garlicky, and utterly irresistible!
Let’s Connect! Share Your Buttermilk Biscuit Creations!
We love seeing your culinary triumphs! If you’ve tried this fantastic buttermilk biscuit recipe, please take a moment to let us know how much you enjoyed it in the comments below and consider leaving a review. Your feedback is invaluable and truly appreciated!
Don’t forget to tag us – @sugarandsoulco – on Instagram and Pinterest with your beautiful photos of these homemade biscuits, or better yet, join our Sugar & Soul Show-offs Community and share them there, where you can also participate in our exciting recipe challenges!
Buttermilk Biscuits
Equipment
-
Large baking sheet
-
Parchment paper
-
Food processor
-
Rolling Pin
-
2½ inch cookie cutter
-
Pastry brush
Ingredients
Biscuits:
- 2 cups all-purpose flour plus a couple of Tablespoons for sprinkling on the counter
- 1 tablespoon baking powder
- ¼ teaspoon baking soda
- ½ teaspoon salt
- 7 tablespoons salted butter cubed and chilled in freezer
- ¾ cups buttermilk cold (plus a couple of tablespoons for brushing on just before baking)
Instructions
-
Preheat your oven to 400°F (200°C). Line a large baking sheet with parchment paper and set it aside. This prepares your baking surface for easy cleanup and even baking.
-
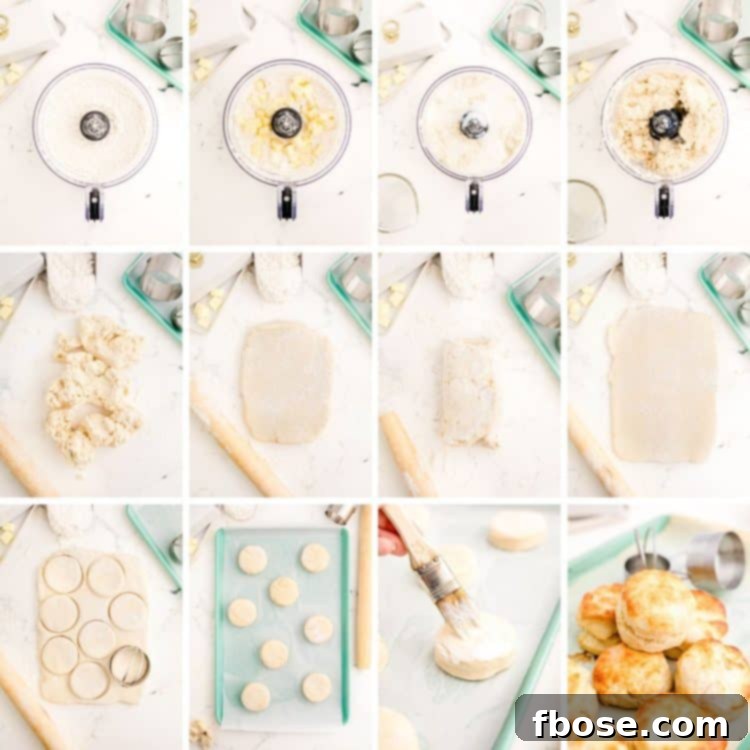
In a food processor, combine the 2 cups of all-purpose flour, 1 tablespoon of baking powder, ¼ teaspoon of baking soda, and ½ teaspoon of salt. Pulse these dry ingredients together a few times until they are well combined.2 cups all-purpose flour, 1 tablespoon baking powder, ¼ teaspoon baking soda, ½ teaspoon salt
-
Next, add the 7 tablespoons of well-chilled, cubed salted butter to the food processor. Pulse in short bursts until the mixture resembles coarse crumbs with some pea-sized pieces of butter remaining. Be careful not to overmix; large pieces of butter are key to flaky biscuits.7 tablespoons salted butter
-
Pour in the ¾ cups of cold buttermilk. Pulse just until the ingredients are moistened and a shaggy dough begins to form. Again, avoid overmixing to ensure tender biscuits.¾ cups buttermilk
-
Lightly sprinkle flour onto a clean work surface and your rolling pin. Transfer the dough from the food processor onto the floured counter. Gently roll the dough out into a rectangular shape, about ½-inch thick.
-
To create layers, fold one-third of the dough over itself, then fold the opposite third of the dough over that, similar to folding a letter. This technique is crucial for developing those desirable flaky layers.
-
Gently press the dough back into a rectangle, again about ½-inch thick. Using a 2½-inch round cookie cutter (or your chosen cutter), cut out as many biscuits as you can. Place these cut biscuits onto your prepared baking sheet.
-
Gather the leftover dough scraps, gently press them together (avoid kneading them too much), and roll out once more to ½-inch thickness. Continue cutting out biscuits until all the dough is used up.
-
For a golden finish, brush the tops of the biscuits with a little extra buttermilk (or melted butter) just before baking. Bake for approximately 12 to 15 minutes, or until the tops are beautifully golden brown and the biscuits have risen significantly. Serve warm with butter, jam, honey, or creamy sausage gravy for an unforgettable treat!
Notes
- Storage Instructions: Tightly wrap leftover Southern Homemade Biscuits in tin foil or plastic wrap. Then store them at room temperature for up to 2 days or in the fridge for up to 5 days. For longer storage, you can freeze the tightly wrapped biscuits for up to 3 months.
- How Many Biscuits Does This Recipe Produce? This largely depends on how thick or how thin you roll the dough out, as well as the size of your biscuit cutter. Typically, you should get about 8 to 10 biscuits from a single batch. If you’re needing a larger quantity for a crowd, simply double the recipe or make a second batch.
- Can I Still Make This Buttermilk Biscuit Recipe If I Don’t Have A Food Processor? Yes, absolutely! To make them by hand, combine flour, baking powder, baking soda, and salt in a large bowl and whisk by hand. Then, cut in the cold butter using a pastry cutter or two knives until the mixture resembles coarse crumbs. Afterward, mix in the buttermilk using a wooden spoon until just combined. Next, turn the dough out onto your floured work surface and proceed with rolling and cutting as described in the instructions. The most important tip for the hand method is to handle the dough as minimally as possible to keep the butter cold and prevent overworking.
- Helpful Tips for Perfect Buttermilk Biscuits:
- Wet Dough? If your biscuit dough seems too wet and sticky to handle, add flour a tablespoon at a time until it reaches a workable consistency.
- Dry Dough? For dough that is too dry and crumbly, incorporate one tablespoon of cold buttermilk to the dough at a time, mixing gently until it comes together.
- Biscuit Cutter Selection: While a 2.5-inch cookie cutter was used in this recipe, any biscuit cutter or even a wide-mouthed glass can be used. Ensure the edges are clean for the best rise.
- Re-Use Scrap Dough: Maximize your yield by gently folding up and rolling out any leftover scrap dough after cutting your first batch of biscuits. This allows for more biscuits to be made!
- Sweet Biscuits Variation: For a sweetened twist, add 2 tablespoons of sugar or honey to the dough mixture. Alternatively, for a sweet glaze, brush honey onto the tops of the biscuits as soon as they come out of the oven.
Nutrition
Did You Make This Recipe?
Don’t forget to share it with me on Instagram @sugarandsoulco and follow on Tiktok @sugarandsoulco and Pinterest @sugarandsoulco for more!
Pin Recipe
Share Recipe