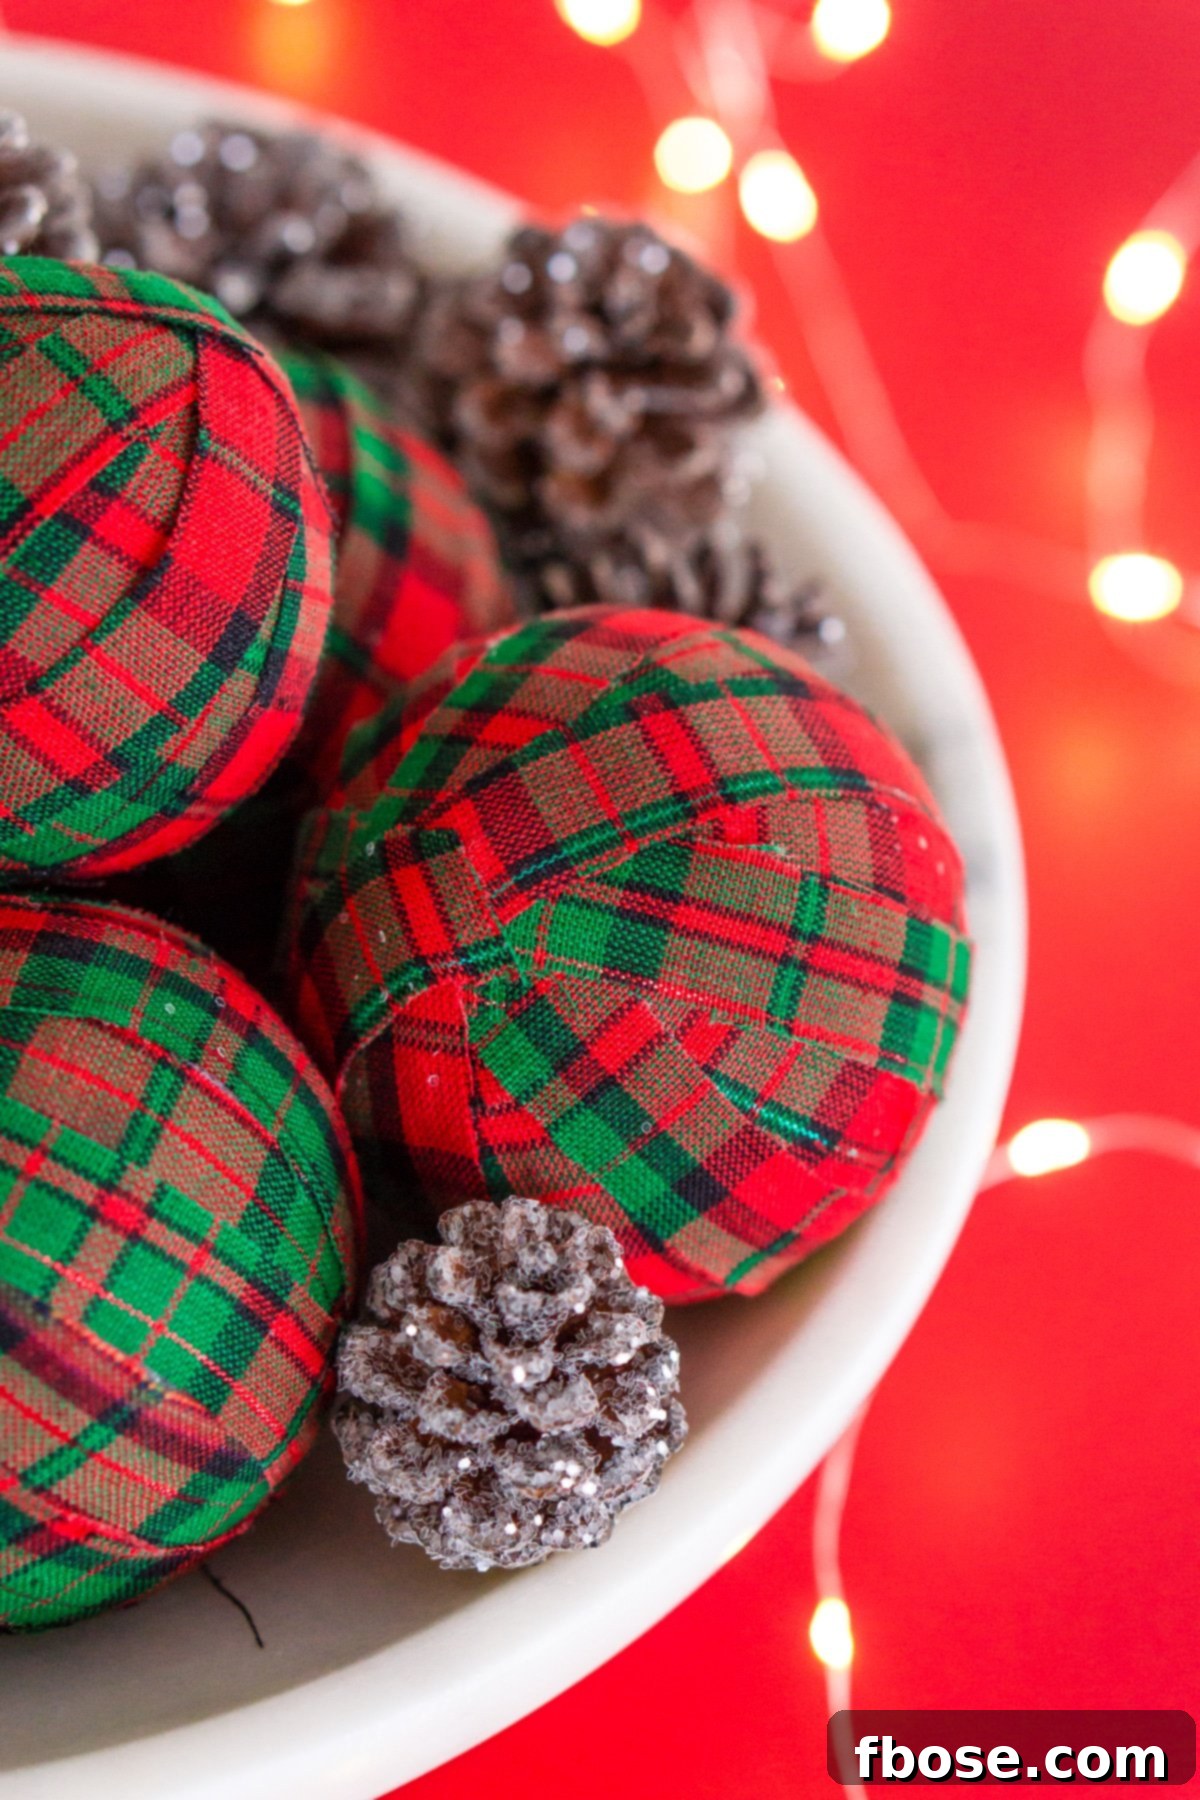
Crafting Charm: Easy DIY Holiday Rag Balls with Gorilla Spray Adhesive
Transform your home into a festive wonderland with these enchanting DIY Holiday Rag Balls! This incredibly simple craft project requires minimal materials and adds a delightful touch of seasonal charm to any space. Not only are they perfect for decorating your own home, but they also make fantastic personalized ornaments and thoughtful party favors for your holiday guests. Get ready to embrace the joy of handmade decor with this fun and rewarding project!

Unleash Your Creativity with DIY Holiday Rag Balls
These charming Rag Balls are not just a craft; they’re a statement of personalized holiday decor. They infuse your living space with warmth, character, and a touch of handmade magic that store-bought decorations simply can’t replicate. Whether your holiday palette leans towards traditional reds, golds, and greens, or you’re experimenting with a unique theme, these versatile decorations can be customized to perfectly match your vision.
This year, for instance, our annual Christmas party theme is “Festive Flannel.” While classic flannel fabric would be ideal, I discovered a stunning shimmering tartan fabric that perfectly captures the cozy yet elegant essence I envisioned. The subtle sparkle of the tartan against the rich reds and greens creates a captivating visual that truly elevates the festive atmosphere. These rag balls are incredibly adaptable; they shine as elegant vase fillers, create whimsical scatters on tabletops, or add a delightful texture to your mantel display.
Crafting your own holiday decor brings a unique sense of accomplishment and allows you to infuse your personal style into every corner of your home. Imagine guests admiring your beautifully crafted rag balls, perhaps even inspiring them to try their hand at this simple yet impactful project.
The beauty of these rag balls lies in their ability to effortlessly complement other holiday elements. I’ve found they pair wonderfully with metallic gold accents and rustic pinecones, allowing the vibrant reds and verdant greens of the fabric to truly pop. For such an inexpensive and straightforward project, the decorative impact is surprisingly profound. This year, I’m planning to craft smaller versions to serve as charming ornaments for our party guests to take home. It’s a small, heartfelt token that I hope will serve as a cherished reminder of a joyous night spent at the Hubbell House!
The versatility extends beyond just aesthetics. Making these rag balls is a mindful activity, a chance to step away from the hustle and bustle and enjoy the simple pleasure of creation. Each ball, wrapped with care, carries a piece of that holiday spirit into your home.

The Secret Ingredient: Gorilla Spray Adhesive
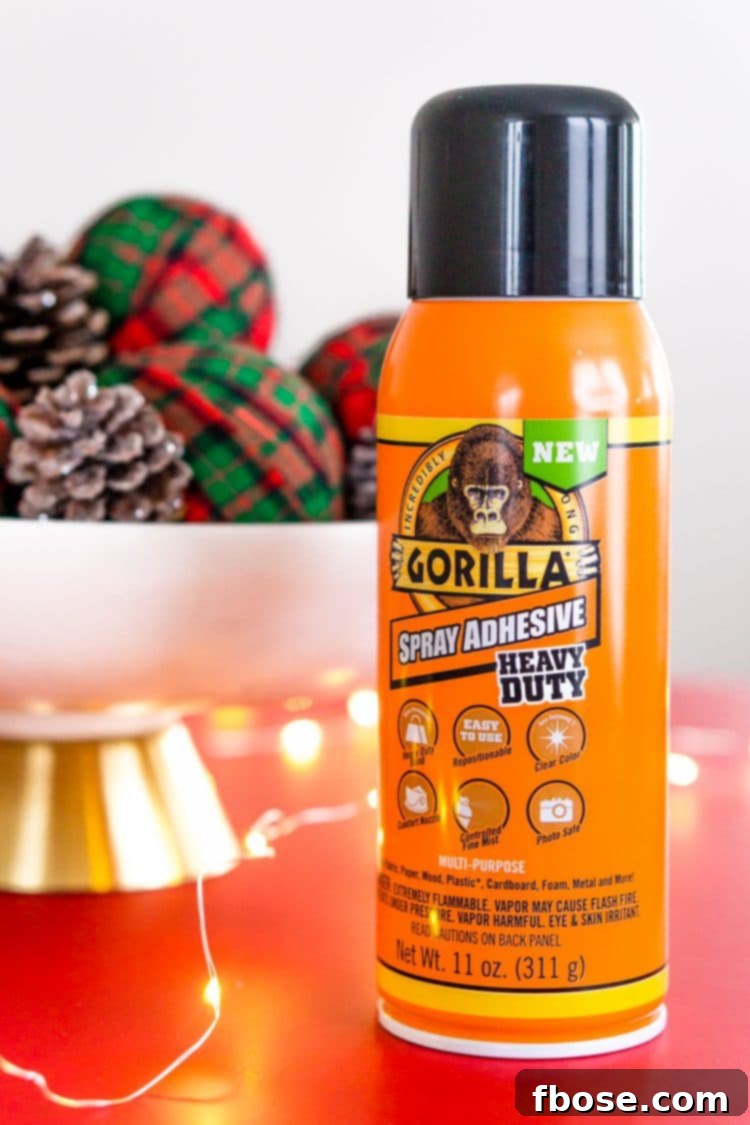
I’ve been creating rag balls for years, and in the past, my method involved laboriously securing each strip of fabric with straight pins. While effective, this approach presented a significant concern: my beloved dog has an uncanny affection for anything resembling a ball, and the thought of stray pins made me incredibly nervous. Then, a game-changer entered my crafting arsenal: Gorilla Spray Adhesive! This discovery revolutionized my rag ball making process, making it safer, faster, and even more enjoyable.
What makes Gorilla Spray Adhesive truly exceptional for this project, and countless others, is its incredible ease of use and superior performance. It offers a unique feature that crafters will adore: it’s repositionable for up to 10 minutes. This means you have ample time to perfectly align your fabric strips, ensuring a flawless finish, before it dries permanently. This forgiveness is a huge advantage, especially when working on projects that require precision or when you’re simply finding your rhythm.
Beyond its repositionable nature, this adhesive boasts heavy-duty strength once dry, guaranteeing your holiday rag balls will maintain their integrity for years to come. It’s a versatile powerhouse, suitable for a vast array of surfaces including wood, metal, fabric, foam, plastic, paper, glass, leather, and even photos. Another fantastic benefit is that it dries clear, eliminating any worries about visible glue lines detracting from your beautiful fabric. This clarity ensures a professional and seamless finish every time.
I first put Gorilla Spray Adhesive to the test when adding a touch of festive glitter to some pinecones for vase fillers and general holiday decorations. The results were magnificent, inspiring me to try it on my rag balls – and it worked like a dream! No more pins, no more safety concerns, and the process remains wonderfully simple and straightforward. I’m already envisioning countless other craft projects where this reliable spray adhesive will be my go-to solution for durable and beautiful results.
This powerful adhesive not only enhances the safety of your crafting for pet owners and parents but also streamlines the entire process. The strong, clear bond ensures that your fabric remains firmly in place, giving your rag balls a professional and long-lasting finish. Say goodbye to frustrating fabric slippage or visible glue marks; with Gorilla Spray Adhesive, your creations will look impeccable.
Gather Your Materials for DIY Holiday Rag Balls:
Before you dive into the fun of crafting, ensure you have all your supplies ready. The beauty of this project lies in its simplicity and minimal material requirements, making it an accessible craft for everyone.
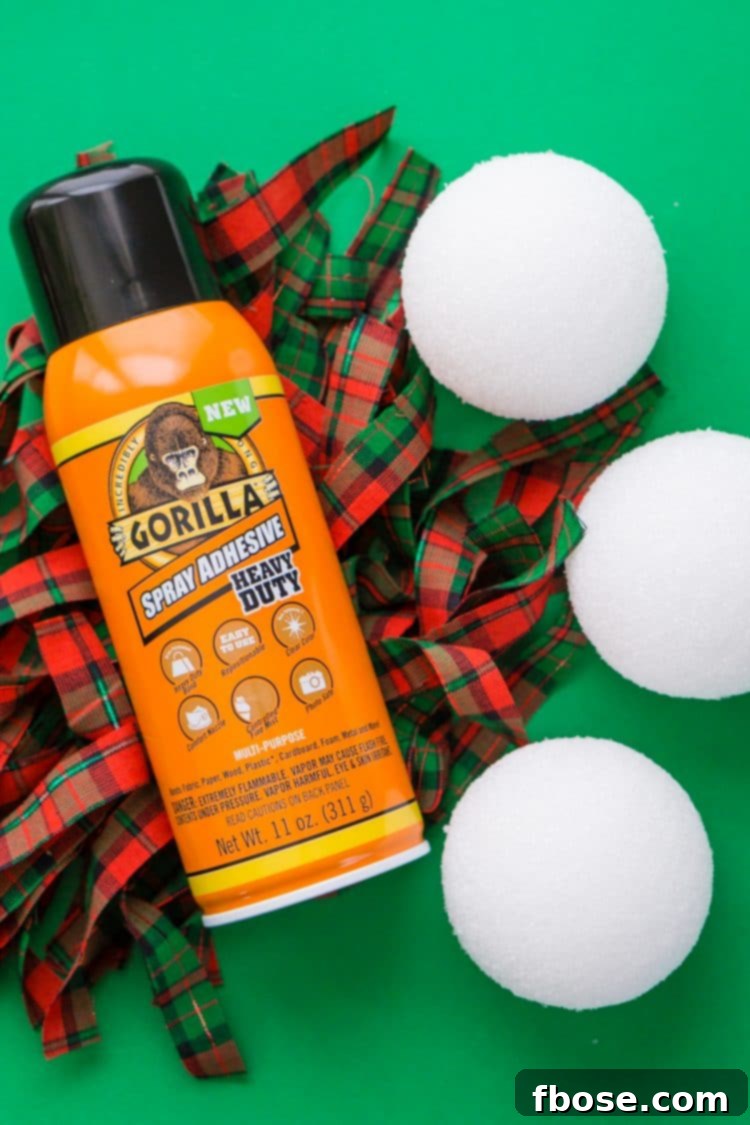
- Fabric of Choice: This is where your creativity truly shines! Consider festive tartans, cozy flannels, elegant velvets, rustic burlap, or even shimmery cottons. Think about your holiday theme and color scheme. You’ll need enough fabric to cut into strips that will fully cover your Styrofoam balls.
- Styrofoam Balls: These form the core of your rag balls. They come in various sizes, so choose based on the desired final size of your decorations. You can find them at most craft stores. Having a variety of sizes can add visual interest to your display.
- Gorilla Spray Adhesive: The star of this project! Ensure you have a fresh can for optimal results. Its strong, clear, and repositionable formula is key to the success and ease of these rag balls.
- Sharp Scissors: Good quality fabric scissors will make cutting your fabric strips much easier and neater, resulting in a more polished final product. A rotary cutter and mat can also be very efficient for straight cuts.
Simple Steps to Craft Your DIY Holiday Rag Balls:
Follow these easy directions to create beautiful, festive rag balls that will enhance your holiday decor.
Step 1: Prepare Your Fabric Strips
Begin by cutting your chosen fabric into strips. The width of your strips will significantly impact the final look of your rag balls. Thinner strips (e.g., ½ inch to 1 inch) will create a more intricate, densely wrapped appearance, requiring more strips and patience. Thicker strips (e.g., 1.5 inches to 2 inches) will result in a chunkier, more rustic look and cover the ball more quickly. For larger Styrofoam balls, thicker strips are generally recommended for efficiency and proportional coverage. Aim for strips that are long enough to wrap around your ball multiple times, typically 12-18 inches, depending on the ball’s size. Don’t worry if the edges aren’t perfectly straight; a slight imperfection can add to the charm of a handmade item. If you prefer a neat look, consider using pinking shears to minimize fraying.
Step 2: Set Up Your Workspace
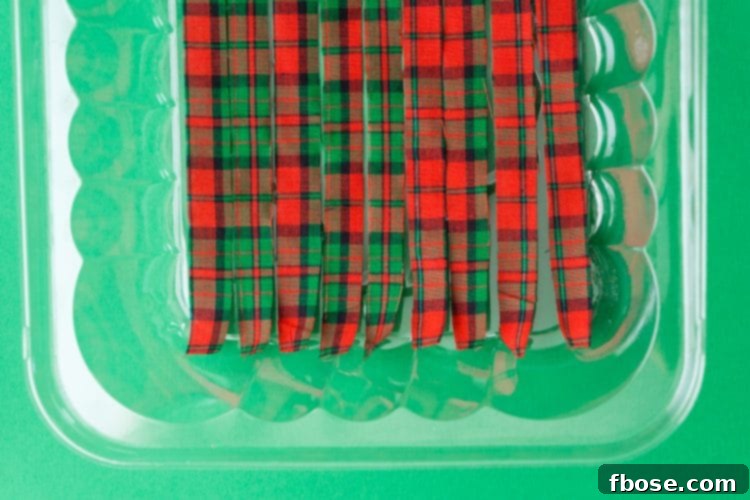
Spray adhesives are incredibly effective, but overspray can be messy. To protect your work surfaces and ensure easy cleanup, lay out your fabric strips in a designated area within a box or a disposable roasting pan. I often use the plastic tops or tin of a disposable roasting pan because they’re conveniently sized, easy to clean, and can be discarded once the project is complete. This method effectively contains any excess spray, keeping your crafting area tidy. Ensure you work in a well-ventilated area, or outdoors if possible, to minimize inhalation of adhesive fumes.
Step 3: Apply Gorilla Spray Adhesive
Before spraying, shake the can of Gorilla Spray Adhesive thoroughly as directed on the packaging. This ensures the adhesive is properly mixed for optimal performance. Hold the can approximately 6-8 inches away from one side of your fabric strips and apply an even, consistent layer of adhesive. You don’t need to saturate the fabric; a light, uniform coating is sufficient. Remember, this adhesive is repositionable for up to 10 minutes, giving you flexibility, but it dries permanently, so ensure good coverage.
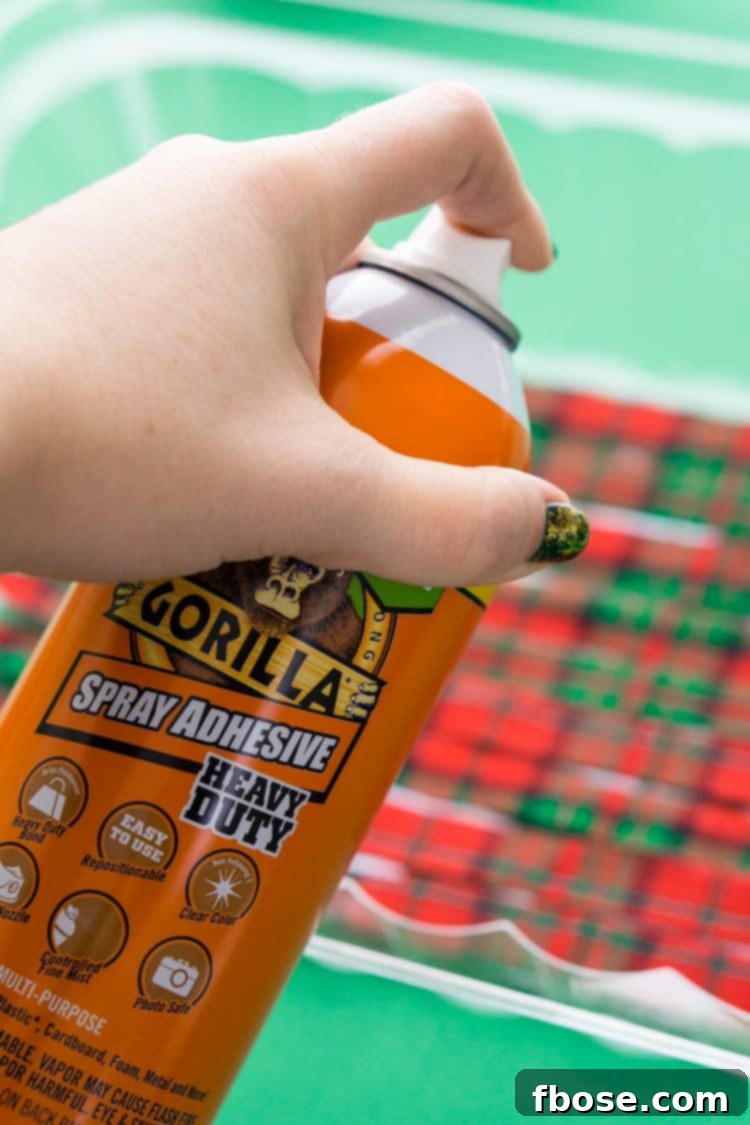
Step 4: Begin Wrapping Your Ball
Take one end of a sprayed fabric strip and firmly press it onto your Styrofoam ball. This initial anchor point is crucial. Then, carefully begin to wrap the fabric strip around the ball, guiding it smoothly. Once you’ve completed a full revolution, gently press along the entire length of the strip to secure it firmly to the ball and to itself. The repositionable nature of the adhesive allows you to adjust the strip’s placement for a perfect fit before it sets permanently. Work steadily, ensuring the fabric adheres well without creating too many wrinkles or bubbles.
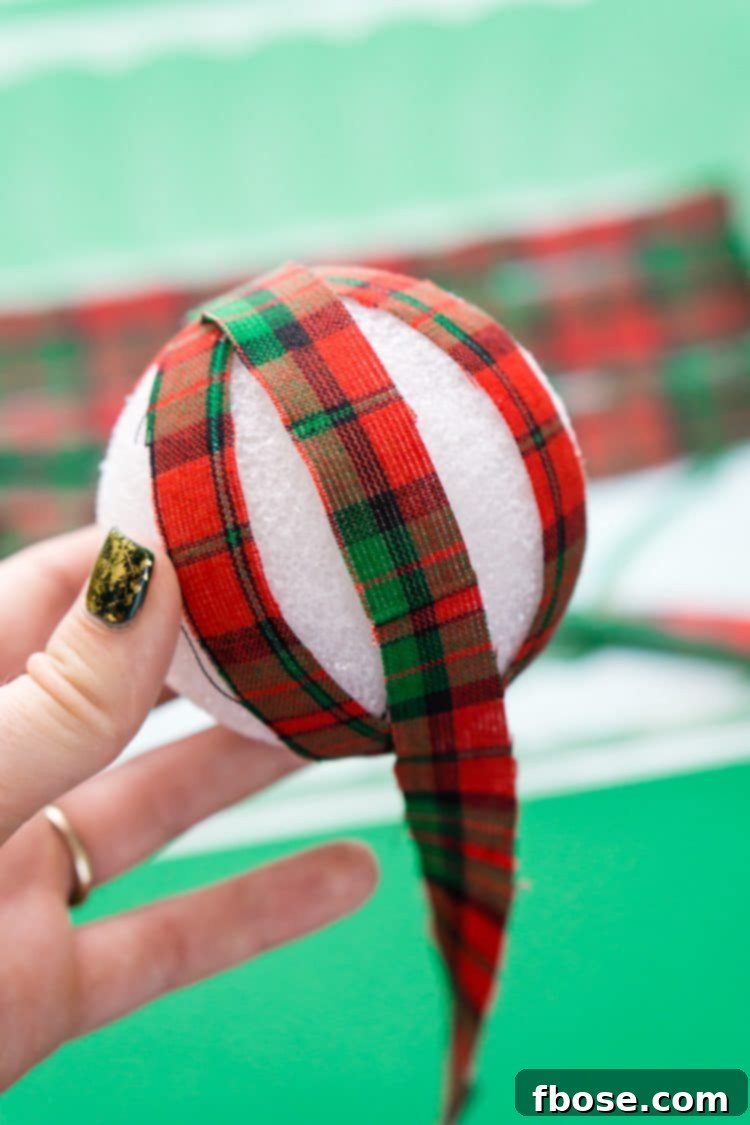
Step 5: Continue Wrapping to Cover the Ball
Continue this process, applying strips of fabric until the entire Styrofoam ball is completely covered. Overlap the edges of your fabric strips slightly to ensure full coverage and a seamless look. As you wrap, gently press each new strip onto the previous ones, ensuring a good bond. If you encounter any gaps, simply cut smaller pieces of fabric and use the adhesive to fill them in. The goal is to create a densely covered ball with no visible Styrofoam. Once the ball is fully wrapped, allow it to dry completely, following the adhesive’s instructions, to ensure a lasting bond.
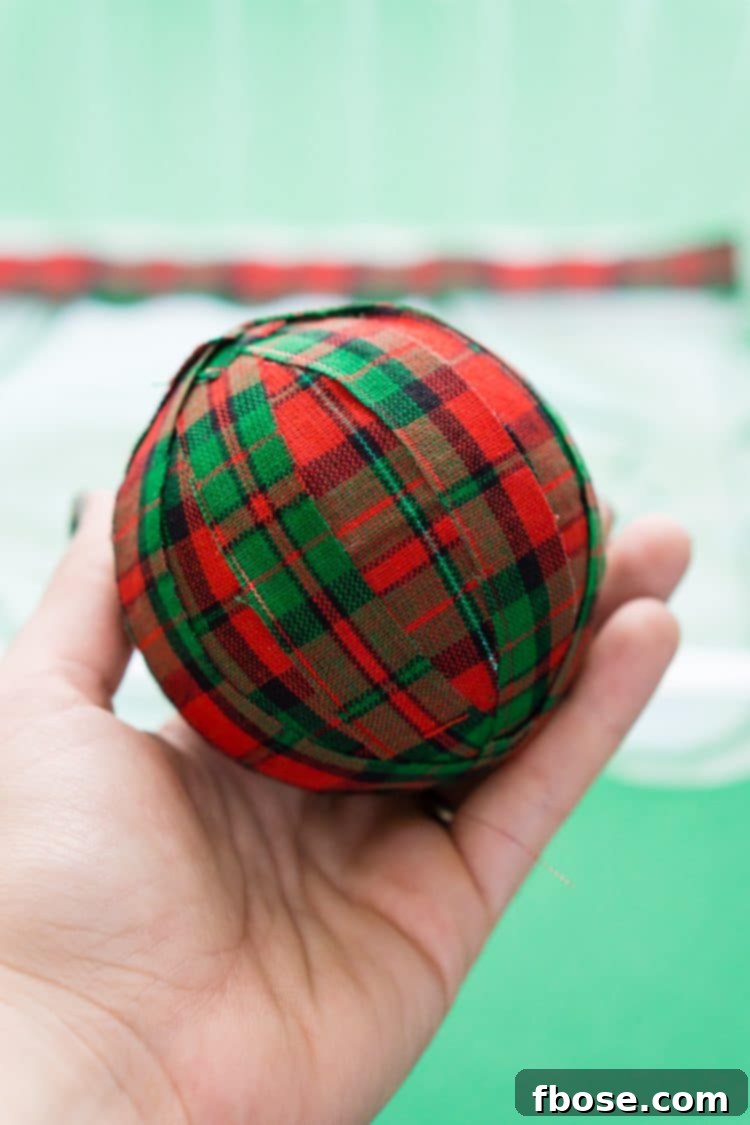
Creative Ways to Display Your Holiday Rag Balls:
Once your DIY Holiday Rag Balls are complete, the fun continues with how you choose to display them!
- Vase Fillers: Arrange them in clear glass vases or rustic baskets for a simple yet elegant centerpiece. Add some fairy lights for an enchanting glow.
- Bowl Displays: Create a captivating display by placing them in decorative bowls or platters on your coffee table or dining table. Mix different sizes and fabric patterns for added visual interest.
- Mantel Magic: Scatter them along your fireplace mantel, interspersing them with garlands, candles, and other festive accents like glittered pinecones (made with Gorilla Spray Adhesive!).
- Christmas Tree Ornaments: If you’ve made smaller rag balls, simply attach a loop of twine or ribbon to hang them on your Christmas tree, adding a touch of handmade charm.
- Party Favors: As planned for our “Festive Flannel” party, these make wonderful take-home gifts for guests. Wrap them in cellophane with a festive tag.
- Garland Enhancement: String them together with wooden beads or other natural elements to create a unique garland for stairways or doorways.
- Tiered Tray Decor: Incorporate them into a charming holiday tiered tray display with mini signs, small figurines, and faux greenery.
Tips for Success and Customization:
- Fabric Variety: Don’t limit yourself to one fabric! Mix and match textures (e.g., velvet with burlap) or patterns (plaids with solids) for a dynamic look.
- Color Palettes: Experiment with unconventional holiday colors like icy blues and silvers, or go for a whimsical look with bright, playful hues.
- Embellishments: Once completely dry, consider adding small embellishments. A dab of hot glue can attach tiny bows, bells, faux berries, or even a light dusting of glitter for extra sparkle.
- Scented Rag Balls: For an extra sensory touch, add a few drops of holiday essential oil (like cinnamon, pine, or frankincense) to the Styrofoam ball before wrapping, or to the finished fabric ball once dry.
- Safety First: Always work in a well-ventilated area when using spray adhesive. Protect your surfaces from overspray.
Creating DIY Holiday Rag Balls is a delightful way to add a personal touch to your festive decorations. With the reliable strength and ease of use of Gorilla Spray Adhesive, you can craft beautiful, lasting pieces that will be admired for years to come. Gather your materials, unleash your creativity, and enjoy the process of making something truly special for your home this holiday season!
Want to win a $250 Visa gift card? You sure could buy a lot of holiday crafting supplies with it!
Gorilla Glue Spray Adhesive $250 Visa Giftcard Giveaway
Pin This Easy Rag Balls Tutorial for Later!