
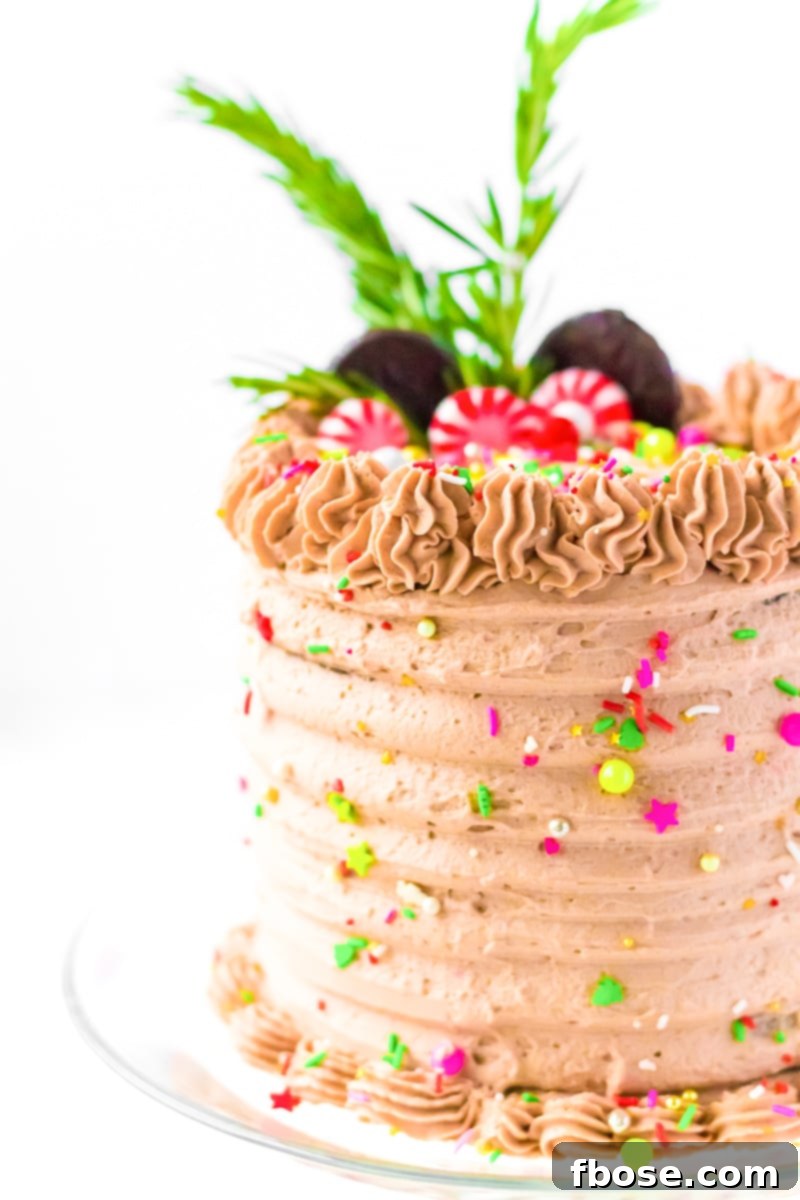
Indulge in the ultimate festive treat with this **Peppermint Cocoa Cake**, a dessert that promises to captivate your senses. This isn’t just any chocolate cake; it’s a masterpiece of rich, deeply moist chocolate layers perfectly complemented by a light, airy, and exquisitely flavored peppermint whipped cream frosting. Each bite delivers a harmonious blend of intense cocoa and refreshing mint, creating an experience akin to savoring a luxurious cup of peppermint hot cocoa, but in cake form. Prepare to dazzle your guests and delight your palate with this sensational creation, perfect for holiday gatherings or any moment that calls for a touch of minty, chocolaty magic.
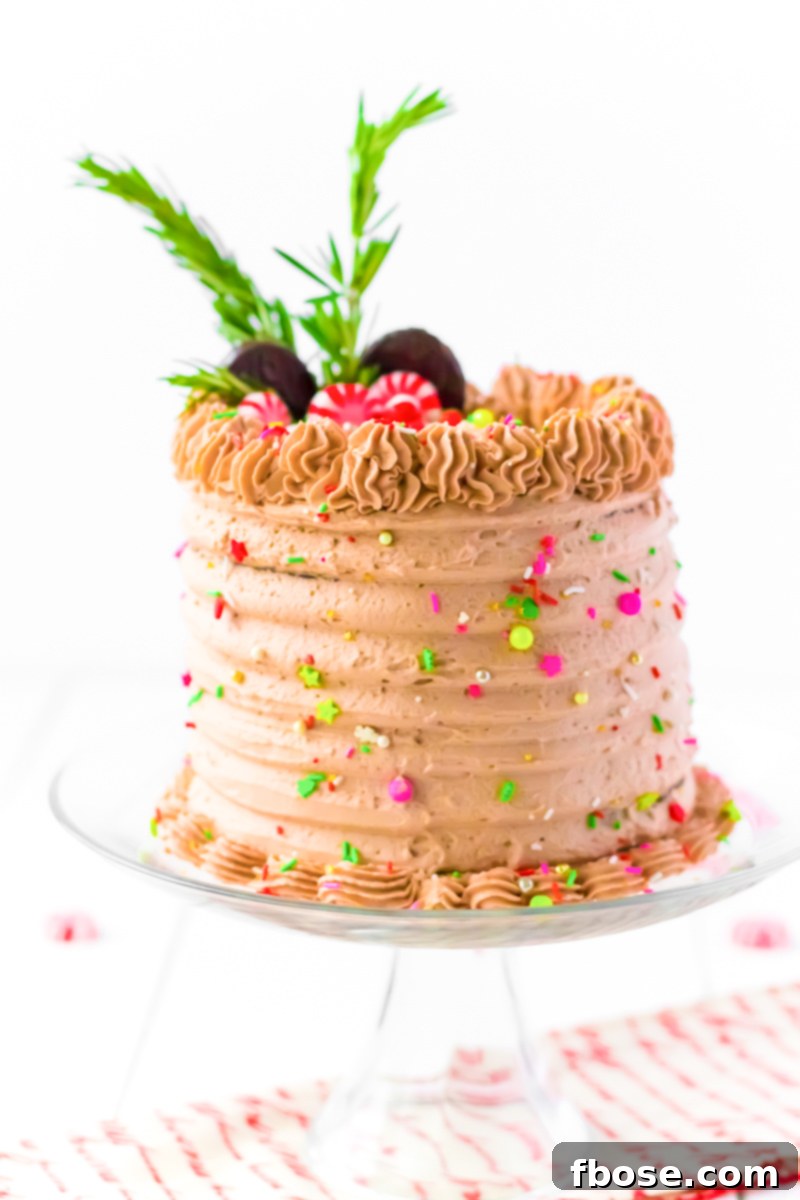
Calling all chocolate and mint enthusiasts! If you’re someone who believes that the smooth, invigorating blend of chocolate and mint is a match made in heaven, then this Peppermint Cocoa Cake is an absolute must-try that will surely have you craving more. This recipe elevates the classic combination to new heights, offering a dessert that is both sophisticated and incredibly comforting.
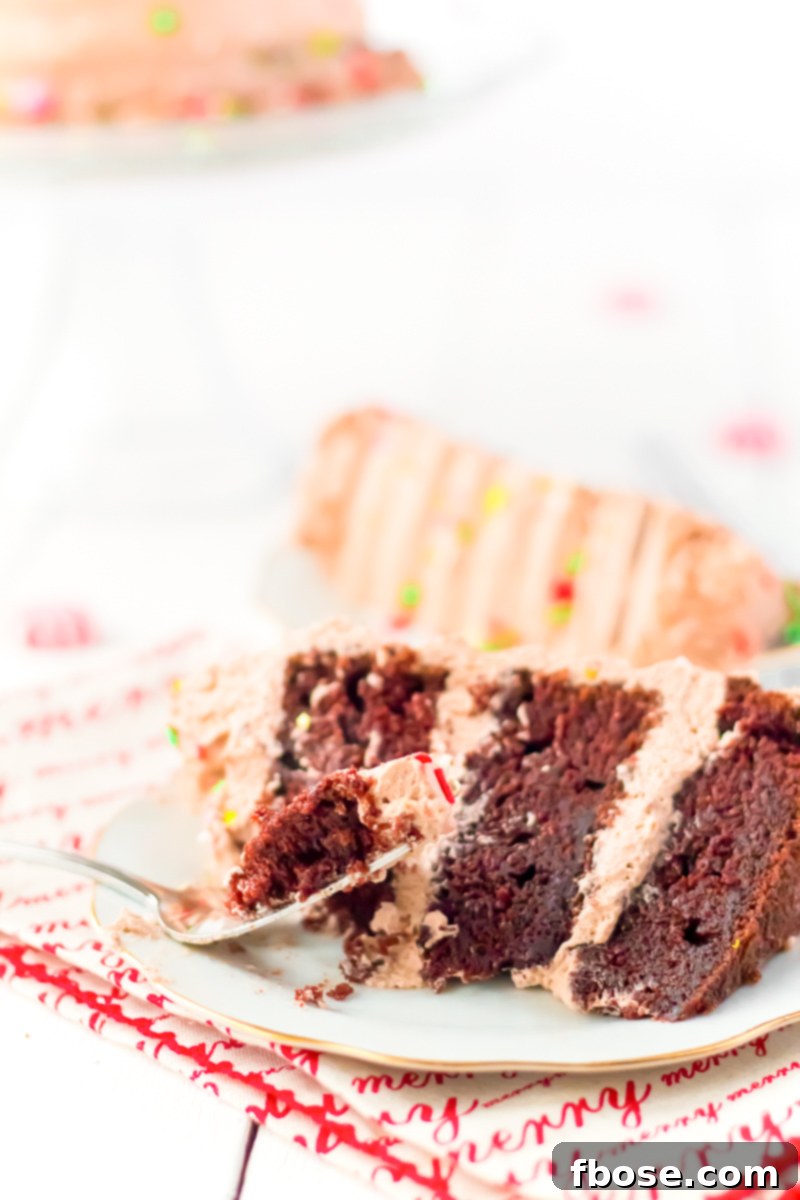
At its heart is a rich and intensely decadent chocolate cake, the kind that melts in your mouth with every forkful. This luscious base is then generously frosted with a creamy, cloud-like whipped cream that has been delicately infused with both chocolate and a hint of invigorating peppermint. The result is a flavor profile that transports you to a cozy winter evening, sipping on the finest hot cocoa, but with the delightful texture and festive joy of a beautifully crafted cake. It’s a dessert that not only tastes incredible but also evokes warmth, nostalgia, and pure holiday cheer.
For an extra touch of indulgence, consider serving a slice alongside my Peppermint Chocolate White Russian. The creamy, minty notes of the drink will beautifully echo and enhance the flavors of the cake, making for an unforgettable dessert pairing that’s perfect for entertaining during the festive season.
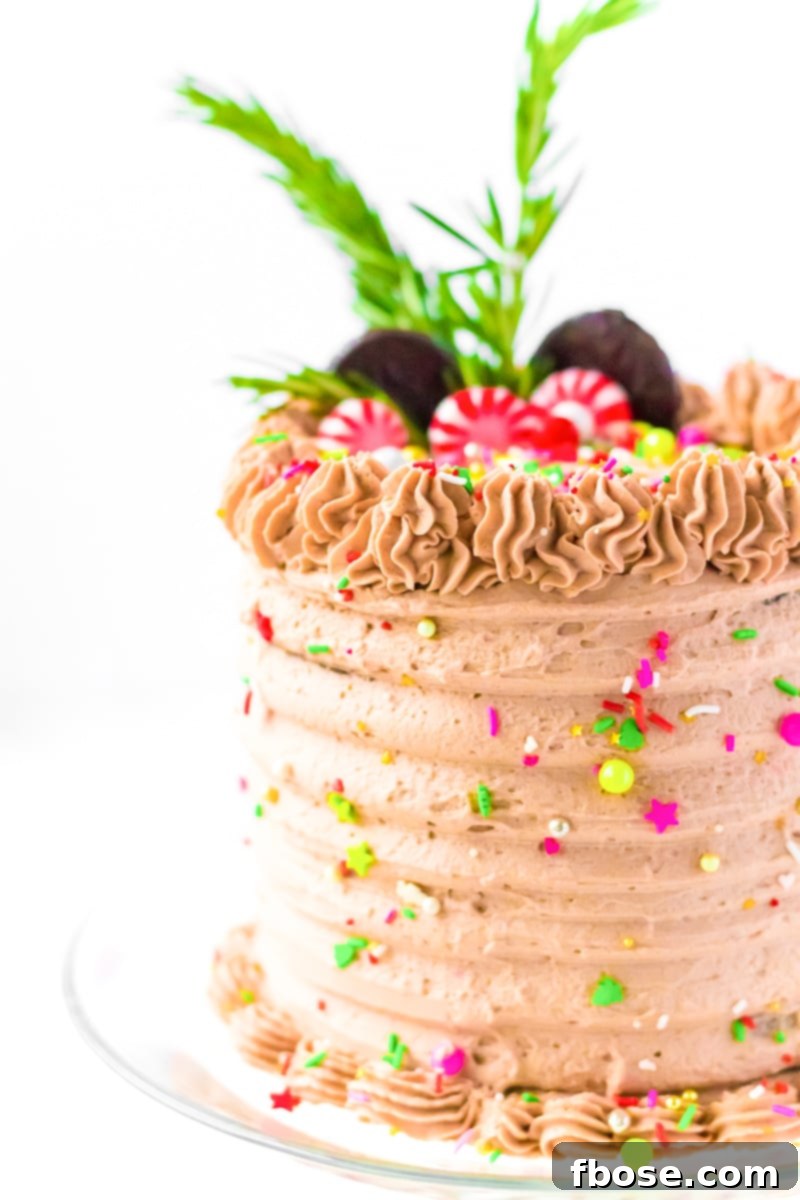
The foundation of this exquisite dessert is a chocolate cake recipe that has been perfected over time, famously featured in my Black Magic Chocolate Cake. What makes this chocolate cake truly extraordinary is the secret ingredient: coffee. Far from imparting a coffee flavor, the coffee works wonders by deepening the chocolate’s natural richness, intensifying its cocoa notes, and creating an incredibly moist crumb that remains tender and flavorful for days. This strategic addition transforms a simple chocolate cake into a profound culinary experience, ensuring every layer is a testament to deep, satisfying chocolate goodness.
Complementing this remarkable cake is a whipped cream frosting that is in a league of its own. This isn’t your average, flimsy whipped cream; it’s a stabilized version that holds its shape beautifully, making it ideal for frosting layers and piping intricate designs. The base recipe is a versatile favorite, allowing for easy flavor variations with different pudding mixes and extracts. For this particular cake, a touch of peppermint extract and a hint of chocolate pudding mix transform it into a light, creamy, and irresistibly minty topping. The frosting offers a delicate balance, providing just the right hint of peppermint without overpowering the rich chocolate cake. It’s airy, smooth, and melts in your mouth, perfectly mimicking the sensation of peppermint cocoa, but in a far more decadent and enjoyable cake form.
Crafting Your Perfect Peppermint Cocoa Cake: A Step-by-Step Guide
Creating this stunning Peppermint Cocoa Cake is a rewarding experience, and following these detailed steps will ensure a flawless result. From preparing your pans to achieving the perfect light frosting, we’ll guide you through each stage to make your baking journey enjoyable and successful.
- **Preheat and Prepare:** Begin by preheating your oven to the specified temperature (typically 350°F / 175°C, but always double-check the recipe card below for exact temperature and bake times). This ensures your oven is at a consistent temperature when the cake goes in, crucial for even baking. Next, meticulously prepare your cake pans. Grease them thoroughly with butter or a nonstick cooking spray, then dust with flour, tapping out any excess. For an extra layer of protection against sticking and to ensure easy release, line the bottoms of your pans with parchment paper. This step is vital for perfectly formed cake layers.
- **Combine Dry Ingredients:** In a large mixing bowl or the bowl of a stand mixer fitted with a whisk attachment, combine all your dry ingredients. This includes the granulated sugar, all-purpose flour, rich baking cocoa powder, baking soda, baking powder, and a touch of kosher salt. Whisk them together thoroughly until they are well combined and there are no lumps. This ensures that leavening agents and flavorings are evenly distributed throughout the batter.
- **Incorporate Wet Ingredients:** To the dry ingredients, add the eggs, buttermilk, vegetable oil, and vanilla extract. Begin beating these ingredients on medium speed. Once they are partially combined, carefully pour in the hot coffee. The hot coffee plays a critical role in blooming the cocoa powder, intensifying the chocolate flavor, and contributing to the cake’s moist texture. Continue beating for about 2 minutes, ensuring all ingredients are fully incorporated. Don’t be alarmed if the batter appears quite thin at this stage; this is normal and contributes to the cake’s signature moistness.
- **Fill Cake Pans:** Carefully divide the thin batter evenly among your prepared cake pans. For 6-inch pans, aim for approximately 2 cups of batter per pan. If using 8-inch pans, simply divide the total batter volume as equally as possible between the two. Even distribution is key for consistent baking and level cake layers.
- **Bake to Perfection:** Transfer the filled cake pans to your preheated oven. Bake 6-inch cakes for about 30-35 minutes, and 8-inch cakes for 40-45 minutes. Baking times can vary slightly depending on your oven, so always rely on the toothpick test: insert a toothpick into the center of a cake, and if it comes out clean or with a few moist crumbs attached, your cake is done.
- **Cool Completely:** Once baked, remove the cakes from the oven and let them cool in their pans for at least 10 minutes. This allows the cakes to firm up slightly, making them less prone to breaking. After 10 minutes, carefully loosen the sides of the cakes from the pans with a knife or spatula, then invert them onto a wire cooling rack to cool completely. Cooling thoroughly is paramount before frosting to prevent the frosting from melting and sliding off.
- **Prepare the Peppermint Frosting:** While your cakes are cooling, prepare the luscious peppermint whipped cream frosting. In a large bowl or a stand mixer fitted with a whisk attachment, combine the heavy cream, peppermint extract, powdered sugar, and instant chocolate pudding mix. Begin whipping on medium-high speed. Continue to whip for 4 to 5 minutes, or until the mixture becomes light, fluffy, and forms stiff peaks. The instant pudding mix acts as a stabilizer, ensuring the whipped cream maintains its structure and doesn’t deflate.
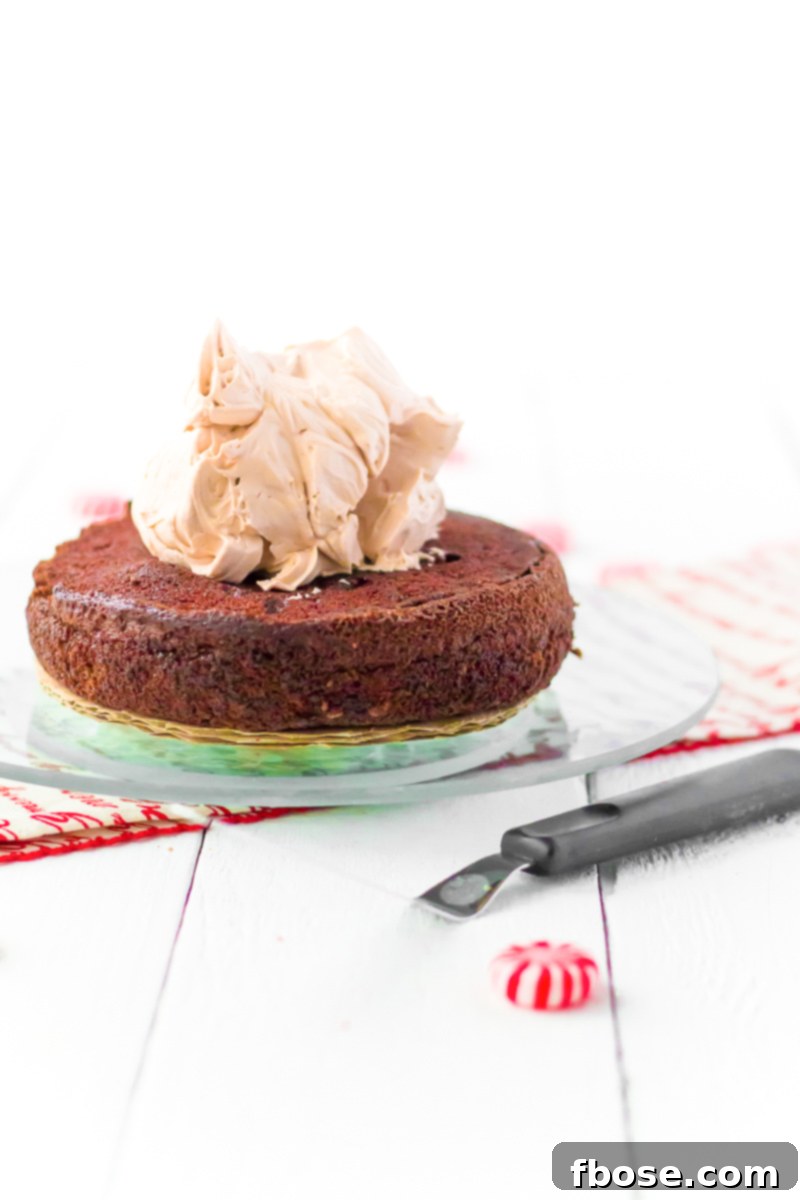
- **Assemble and Decorate:** Once your cake layers are completely cool, it’s time for the exciting part: assembly and decoration! Place one cake layer on your serving plate or cake stand. Spread about 1½ to 2 cups of the prepared peppermint frosting evenly over the top. Gently place the second cake layer on top, aligning it carefully. Use a frosting spatula to generously frost the top and sides of the entire cake, aiming for a smooth finish or creating decorative swirls. The cake is best served within 2 hours of frosting to enjoy the whipped cream at its peak freshness. If you need to prepare it in advance, store it in the refrigerator for up to 24 hours. Just before serving, add your desired toppings to keep them looking fresh and vibrant.
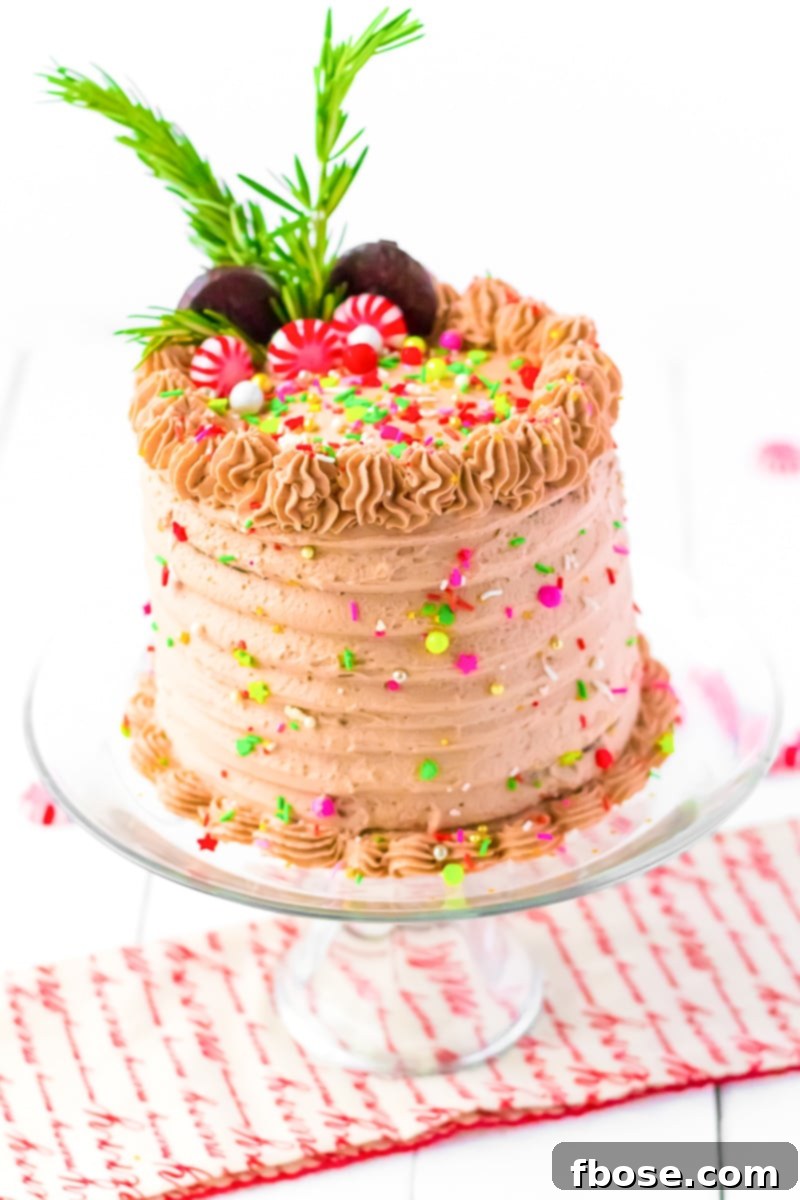
This Peppermint Cocoa Cake is not only incredibly delicious but also a joy to decorate. Unleash your creativity with a variety of festive decorations and toppings that will make your cake a true showstopper. Here are a few favorite ideas to inspire you:
- **Crushed Peppermint Candy:** Sprinkle crushed candy canes or other peppermint candies over the top and sides for a delightful crunch and an intense burst of mint flavor. Their vibrant red and white hues also add a beautiful, festive contrast.
- **Colorful Sprinkles:** Elevate the fun factor with an assortment of colorful sprinkles, especially holiday-themed ones. They add visual appeal and a playful texture, making the cake even more inviting for all ages.
- **Mini Peppermint Patties:** Arrange whole or chopped peppermint patties around the edge or on top of the cake. Their soft, minty centers and dark chocolate coating are a perfect textural and flavor complement.
- **Christmas Sugar Decorations:** For an extra touch of elegance and seasonal flair, adorn your cake with pre-made Christmas-themed sugar decorations. From snowflakes to tiny Christmas trees, these edible embellishments can transform your cake into a holiday masterpiece.
Explore More Delicious Holiday Desserts!
If you love creating festive treats, be sure to check out these other mouth-watering holiday dessert recipes that are perfect for sharing with family and friends:
- **Creamy Eggnog Cheesecake:** A rich and smooth cheesecake infused with the classic flavors of eggnog, perfect for a luxurious holiday gathering.
- **Easy Crockpot Candy:** Simple to make and incredibly addictive, this chocolate and peanut candy made in a slow cooker is a holiday favorite for gifting and snacking.
- **Irresistible Shortbread Christmas Crack:** A delightful combination of buttery shortbread, toffee, and chocolate, this “crack” lives up to its name – it’s impossible to stop at one piece!
- **Classic Christmas Cookies:** Master the art of the perfect sugar cookie, ideal for cutting into festive shapes and decorating with royal icing or sprinkles for a personalized touch.
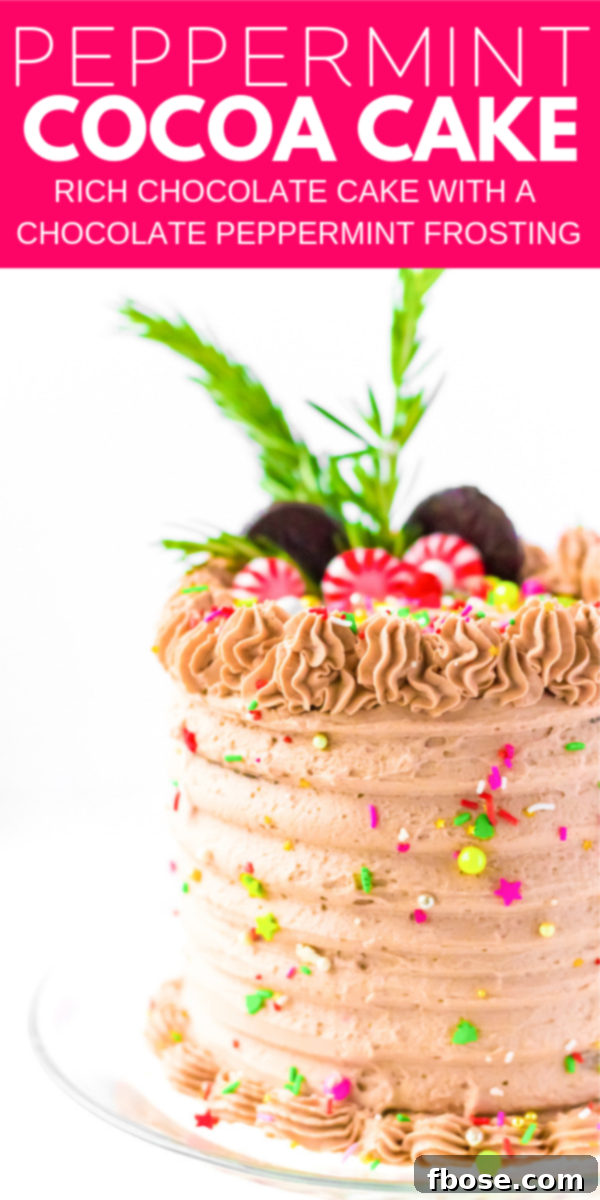
Peppermint Cocoa Cake
Pin It For Later
Click the button above to save this delicious recipe to your Pinterest board for easy access whenever your sweet tooth calls!
Let’s Connect!
If you’ve tried this delightful **Peppermint Cocoa Cake** recipe, we’d absolutely love to hear about your experience! Please share your thoughts and let us know how you liked it in the comments section below, and don’t forget to leave a star review. Your feedback is invaluable and helps other bakers in our community.
And for all you social media enthusiasts, don’t hesitate to tag us – @sugarandsoulco – on Instagram and Pinterest with your beautiful photos of this cake. You can also join our vibrant Sugar & Soul Show-offs Community on Facebook, where you can share your culinary creations, participate in our exciting recipe challenges, and connect with fellow food lovers! We can’t wait to see your creations!
This recipe was initially shared in November 2015 and has since been thoughtfully updated with fresh, engaging content and beautiful new photos to inspire your baking.
Peppermint Cocoa Cake
Rebecca Hubbell
Dessert
American
30 minutes
40 minutes
1 hour 10 minutes
Servings
12 people
Ingredients
For the Decadent Chocolate Cake:
- 1 ¾ cup all-purpose flour
- 2 cups granulated sugar
- ¾ cup baking cocoa
- 1 3/4 teaspoon baking soda
- 1 teaspoon baking powder
- 1 teaspoon kosher salt
- 1 cup buttermilk
- ½ cup vegetable oil
- 3 large eggs, room temperature
- 1 tablespoon vanilla extract
- 1 cup hot coffee
For the Fluffy Peppermint Frosting:
- 3 cups heavy cream
- 1 ½ teaspoon peppermint extract
- ¾ cup powdered sugar
- 1/3 cup Instant Chocolate Pudding Mix
Recommended Toppings for Garnish:
- Peppermint Patties (whole or chopped)
- Crushed Peppermint Candies or Candy Canes
- Festive Sprinkles
Instructions
-
Begin by preheating your oven to 350 degrees F (175 degrees C). This ensures the oven is at the correct temperature when your cake batter is ready to bake, contributing to even rising and texture.
-
Prepare your cake pans. You can use either 2 (8×2-inch) round cake pans or 3 (6×2-inch) round cake pans, depending on your desired cake height. Grease each pan thoroughly with butter and a light dusting of flour, or use a nonstick cooking spray. For optimal non-sticking, it’s highly recommended to also line the bottoms of the cake pans with parchment paper. This prevents sticking and ensures your cake layers release perfectly.
-
In a large mixing bowl or the bowl of a stand mixer fitted with a whisk attachment, combine all your dry ingredients: the granulated sugar, all-purpose flour, baking cocoa powder, baking soda, baking powder, and kosher salt. Whisk them together for 1-2 minutes until they are thoroughly blended and any lumps are gone. This step is crucial for an evenly textured cake.
-
To the dry mixture, add the wet ingredients: the large eggs (at room temperature for better emulsion), buttermilk, vegetable oil, and vanilla extract. Begin beating on medium speed for about 1 minute. Then, slowly pour in the hot coffee while the mixer is running. Continue to beat on medium speed for an additional 2 minutes. The batter will be noticeably thin, which is exactly how it should be for this incredibly moist cake.
-
Carefully pour the cake batter into your prepared pans. If using 6-inch pans, divide the batter so that approximately 2 cups go into each pan. If you’re using two 8-inch pans, simply divide the batter as evenly as possible between them to ensure both layers bake uniformly.
-
Bake the cakes in your preheated oven. For 6-inch cakes, bake for 30-35 minutes. For 8-inch cakes, allow 40-45 minutes. To check for doneness, insert a wooden toothpick into the center of a cake; if it comes out clean or with a few moist crumbs attached, the cake is ready. Avoid overbaking, as this can lead to a dry cake.
-
Once baked, remove the cake pans from the oven and let the cakes cool in their pans for at least 10 minutes on a wire rack. This initial cooling helps the cakes to firm up. After 10 minutes, gently run a knife around the edges to loosen them, then invert the cakes onto the wire rack to cool completely. It is crucial for the cakes to be entirely cool before frosting to prevent the whipped cream from melting.
-
While the cakes are cooling, prepare the stabilized peppermint frosting. In a large bowl or a stand mixer fitted with a whisk attachment, combine the cold heavy cream, peppermint extract, powdered sugar, and instant chocolate pudding mix. Begin whipping the mixture on medium-high speed. Continue to whip for approximately 4 to 5 minutes, or until the frosting becomes light, fluffy, and holds stiff peaks. The pudding mix helps to stabilize the cream, ensuring it remains airy and doesn’t deflate.
-
Once the cake layers are completely cool, it’s time to assemble your beautiful cake. Place the first cake layer on your desired serving platter or cake stand. Spread about 1½ to 2 cups of the prepared peppermint frosting evenly over the top of this layer. Carefully place the second cake layer on top, aligning it perfectly. If you have a third layer, repeat the process. Use a frosting spatula to generously frost the top and sides of the entire cake, creating a smooth finish or decorative swirls as you prefer. This cake is best enjoyed within 2 hours of being frosted to ensure the whipped cream is at its freshest and most stable. If preparing in advance, store the frosted cake in the refrigerator for up to 24 hours. Just before serving, adorn your cake with your chosen toppings, such as crushed peppermint candies, peppermint patties, or festive sprinkles, for maximum visual appeal and flavor.
Nutrition
Did You Make This Recipe?
We absolutely love seeing your culinary creations! Don’t forget to share your photos with us on Instagram @sugarandsoulco. For more delicious inspiration and behind-the-scenes fun, be sure to follow us on Tiktok @sugarandsoulco and Pinterest @sugarandsoulco!
Pin Recipe
Share Recipe