

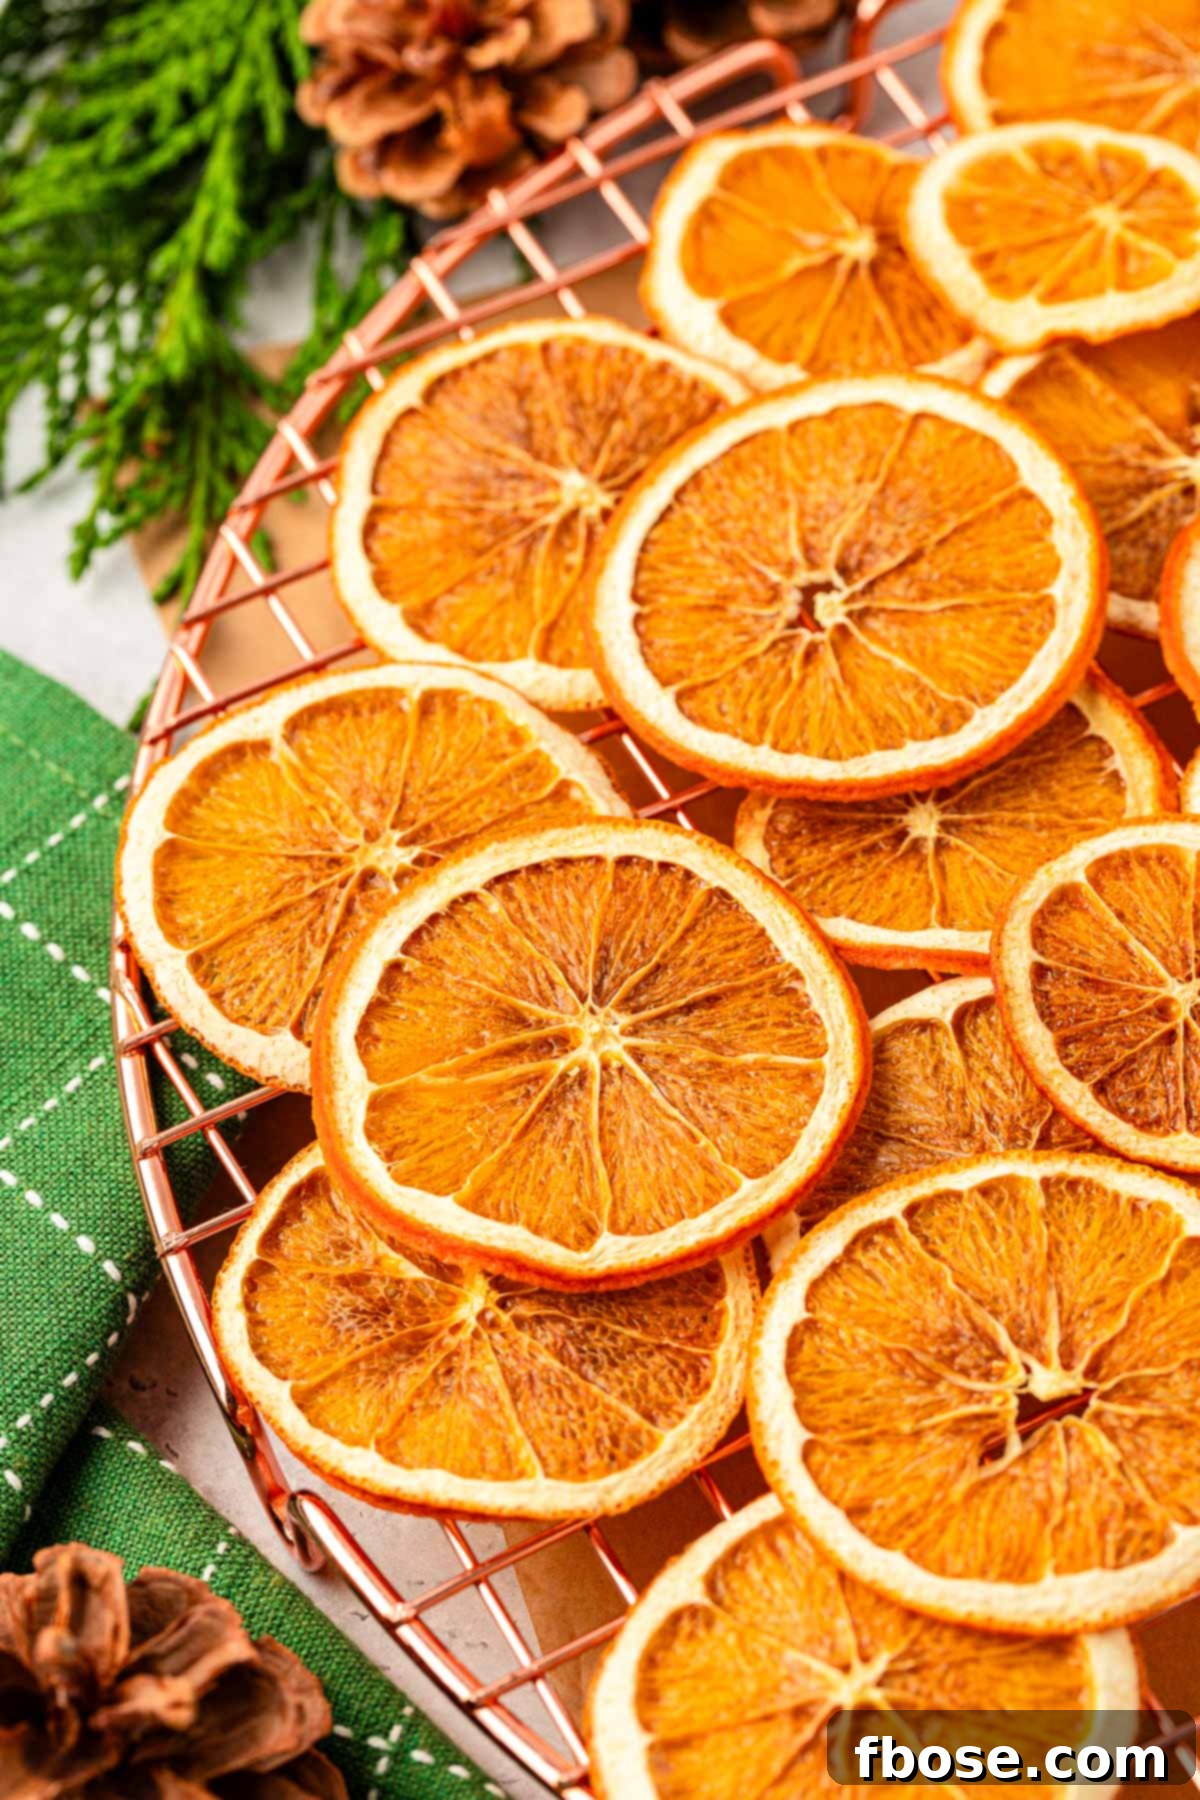
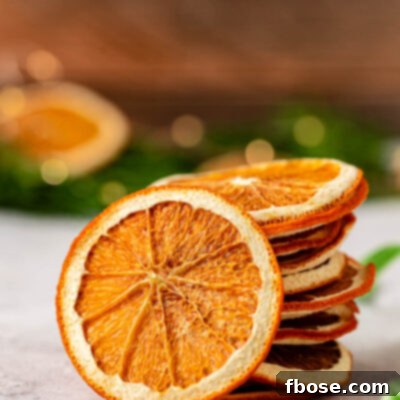
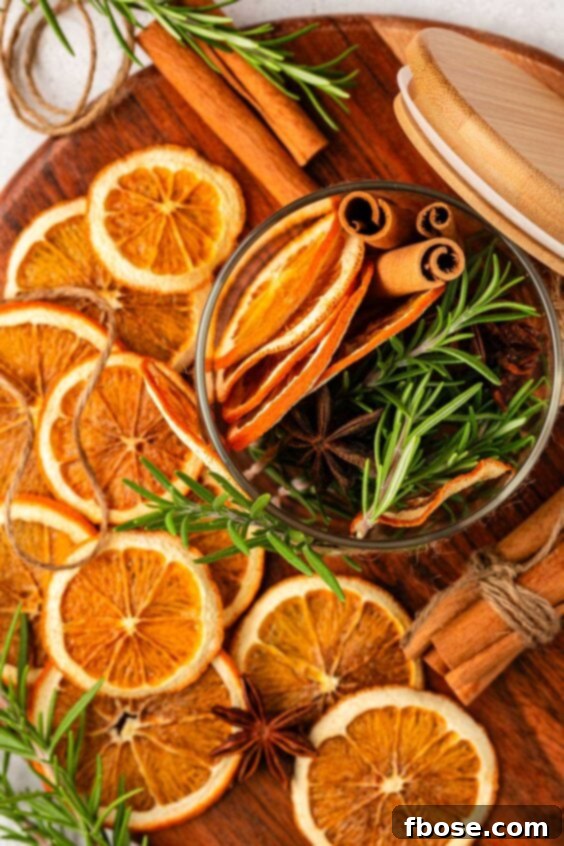
Transform your festive season with these enchanting Dried Orange Slices, effortlessly crafted in your own oven! These exquisite, dehydrated citrus rounds are not just beautiful but incredibly versatile, offering a touch of rustic elegance to countless holiday applications. Imagine them strung gracefully onto garlands, adding a vibrant pop to your winter cocktails, or providing a sophisticated accent to your holiday desserts. This simple DIY project promises to infuse your home with natural beauty and a delightful citrus aroma, making your celebrations truly special.
Embrace Endless Creativity with Versatile Dried Orange Slices
If you’re looking for a DIY project that delivers maximum impact with minimal effort, making your own dried orange slices is an absolute must! Not only is the process satisfyingly simple, but the end result is a collection of charming, fragrant citrus discs that will elevate your holiday decor and entertaining to a new level. These oven-dried oranges are a testament to the idea that thoughtful, handmade touches truly go the extra mile during the festive season.
The beauty of these dried oranges lies in their remarkable adaptability. From whimsical gift tags that add a rustic charm to your presents, to elegant garlands adorning your staircase or mantle, or even delicate accents on your Christmas tree – the creative possibilities are genuinely limitless. They also serve as a delightful and natural garnish for both festive cocktails and elegant desserts, adding a bright color contrast and a subtle citrus note. I’ve even discovered that these lovely dried oranges, when paired with shimmering Sugar Coated Cranberries, create an exceptionally striking filler for seasonal Charcuterie Boards, transforming them into edible works of art. So, preheat your oven, put on your favorite holiday movie, and by the end of the day, you’ll have a bountiful supply of dried orange slices ready to inspire your every festive whim.
Pin This Recipe For Later
Recipe Review & Expectations
Taste: While perfectly safe to eat, dried orange slices typically retain a bitter rind flavor. For this reason, they are generally recommended for decorative purposes rather than direct consumption, though some enjoy a subtle citrus chew.
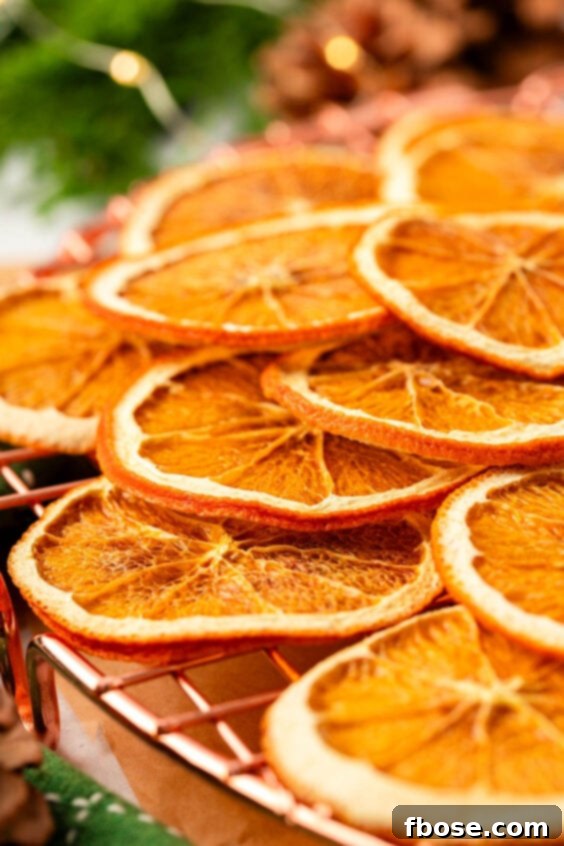
Texture: Upon successful drying, these slices achieve a wonderfully dry and crisp texture, making them ideal for decorations that need to hold their shape and last.
Ease: 1/10 – This DIY project is incredibly straightforward, requiring minimal skill. Patience is the main ingredient!
Pros: This simple DIY yields remarkably beautiful dried citrus pieces perfect for enhancing your home decor, gifts, and culinary presentations.
Cons: Despite its ease, the baking process can be quite lengthy, demanding a few hours of oven time.
Would I Make This Again? Absolutely! It’s a delightful and rewarding holiday DIY project with a vast array of practical and aesthetic uses.
Essential Ingredients & Tools for Perfect Dried Orange Slices
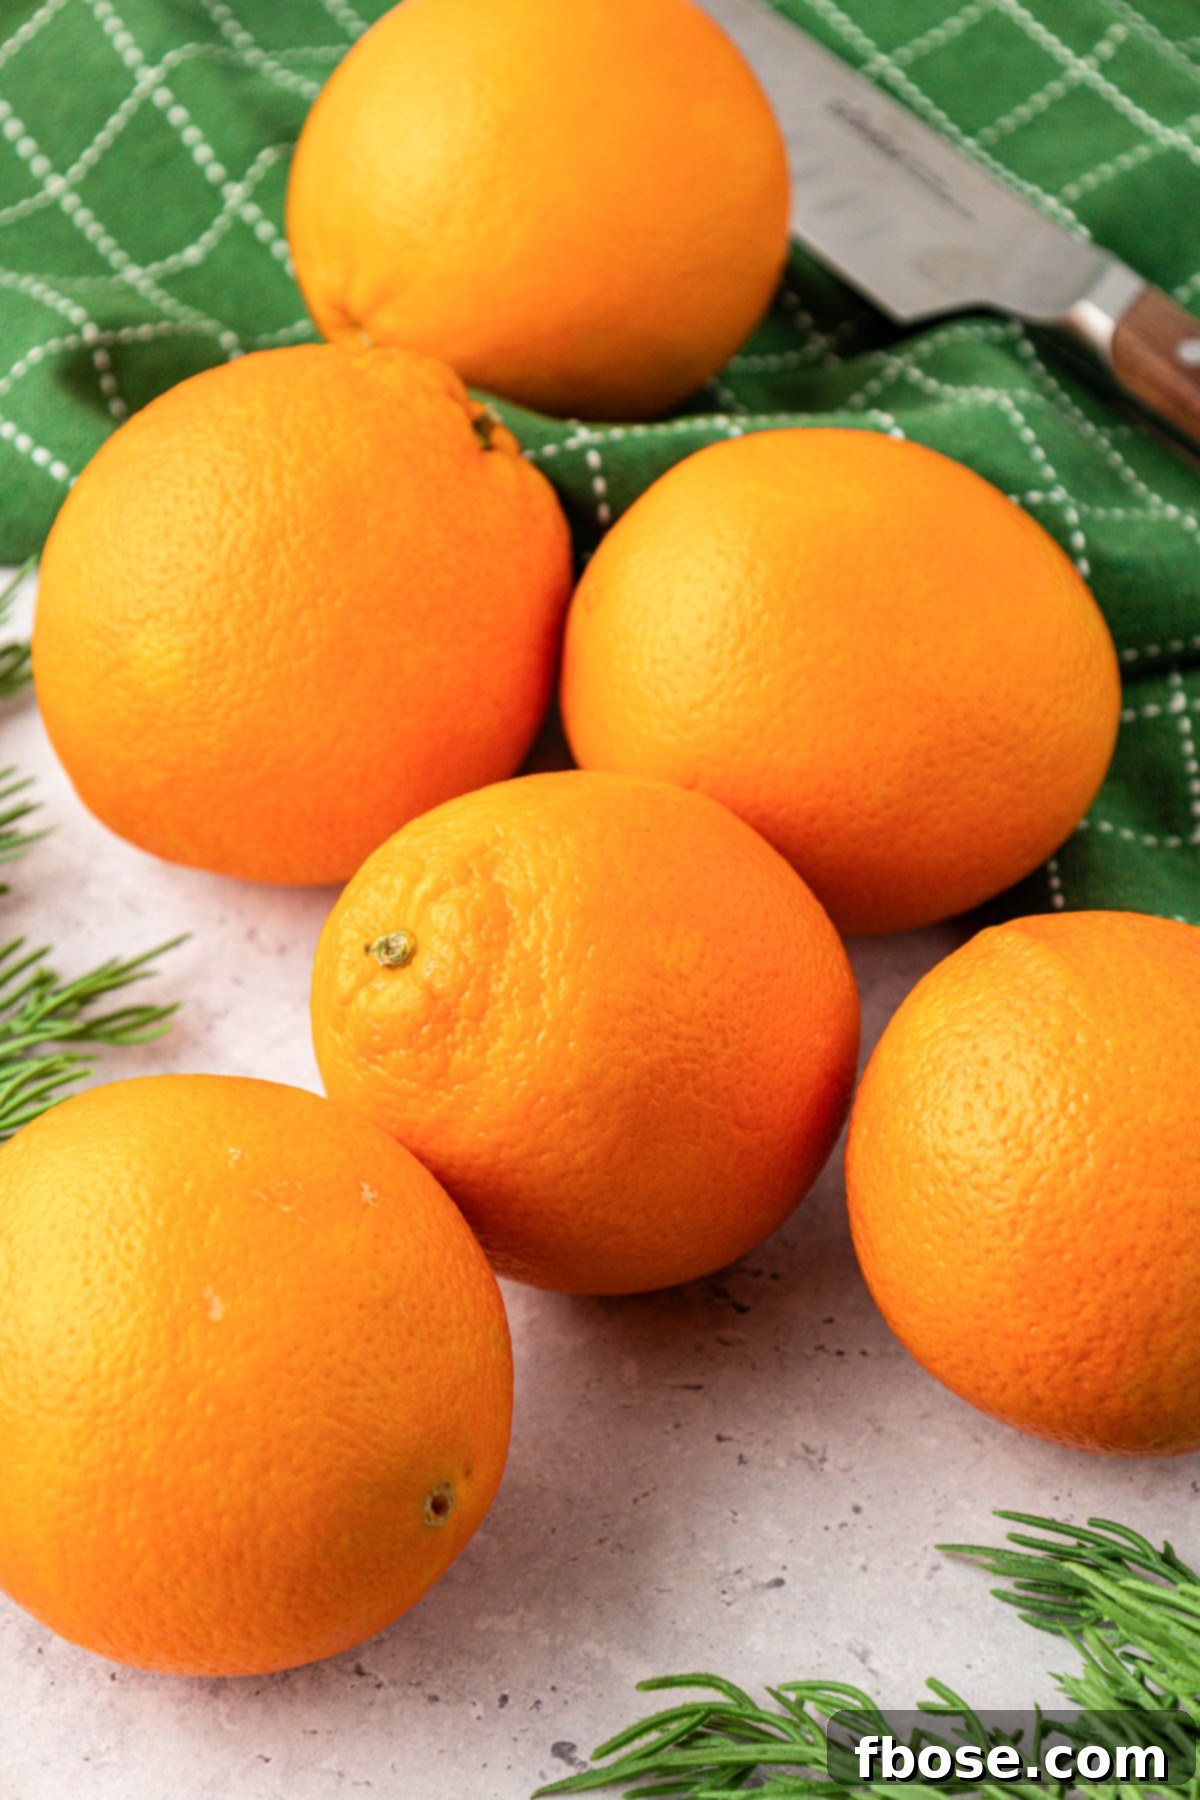
The star of this simple DIY project is, of course, the oranges themselves! For a classic, vibrant look, I often opt for large, juicy navel oranges. However, don’t limit your creativity; consider experimenting with blood oranges for a dramatic deep red hue or Cara Cara oranges for their charming pinkish blush. Using a variety of citrus types can create a stunning mosaic of colors in your finished decorations.
Regardless of the specific orange variety you choose, the key to success lies in selecting fruit that is very firm to the touch. Avoid any oranges that feel soft or squishy, as these are typically the juiciest, which will significantly prolong the drying time in the oven. Firmer oranges have less internal moisture, allowing them to dry more efficiently and evenly.
When it comes to tools, a razor-sharp chef’s knife is absolutely essential. Clean, even slices are paramount for consistent drying. A dull knife will only crush the fruit and release excess juice, making the drying process more challenging. Once your oranges are perfectly sliced, you’ll need a generous supply of paper towels. These are crucial for blotting away as much excess juice as possible from the freshly cut surfaces, a vital step that dramatically reduces baking time and helps prevent the slices from burning.
Finally, gather large baking pans and parchment paper. Parchment paper prevents sticking and makes cleanup a breeze. While not strictly necessary, large wire racks that fit inside your baking pans are highly recommended. These racks allow for optimal airflow around the orange slices, ensuring more even and faster drying. If you don’t have wire racks, don’t fret! You can absolutely make beautiful dried orange slices directly on parchment paper; just be prepared for a slightly longer drying period and perhaps an extra flip or two.
How To Make Perfectly Dried Orange Slices (Oven Method)
Creating your own dried orange slices at home is surprisingly simple, even without a dedicated food dehydrator. The oven method is effective and yields beautiful, long-lasting results. Follow these steps for perfect, festive citrus decor:
- Prepare Your Oven: Begin by preheating your oven to a low temperature, specifically 175°F (approximately 80°C). If your oven features a convection setting, now is the ideal time to use it. The circulating air in a convection oven significantly speeds up the drying process and ensures more uniform results, preventing unevenly dried or scorched slices.
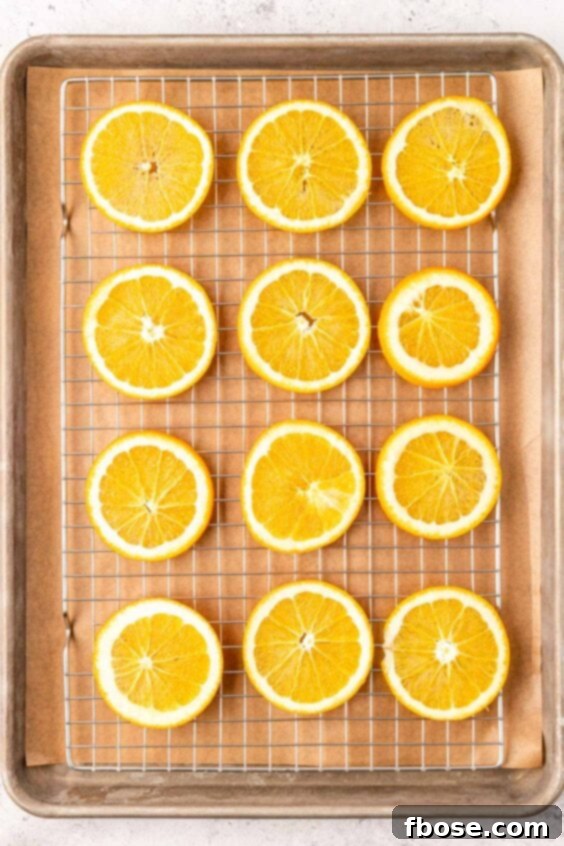
- Set Up Baking Sheets: Line two large baking pans with parchment paper. This non-stick surface is essential to prevent the orange slices from adhering to the pan as they dry. For optimal air circulation, which greatly aids in drying, place a wire cooling rack directly on top of the parchment paper in each pan.
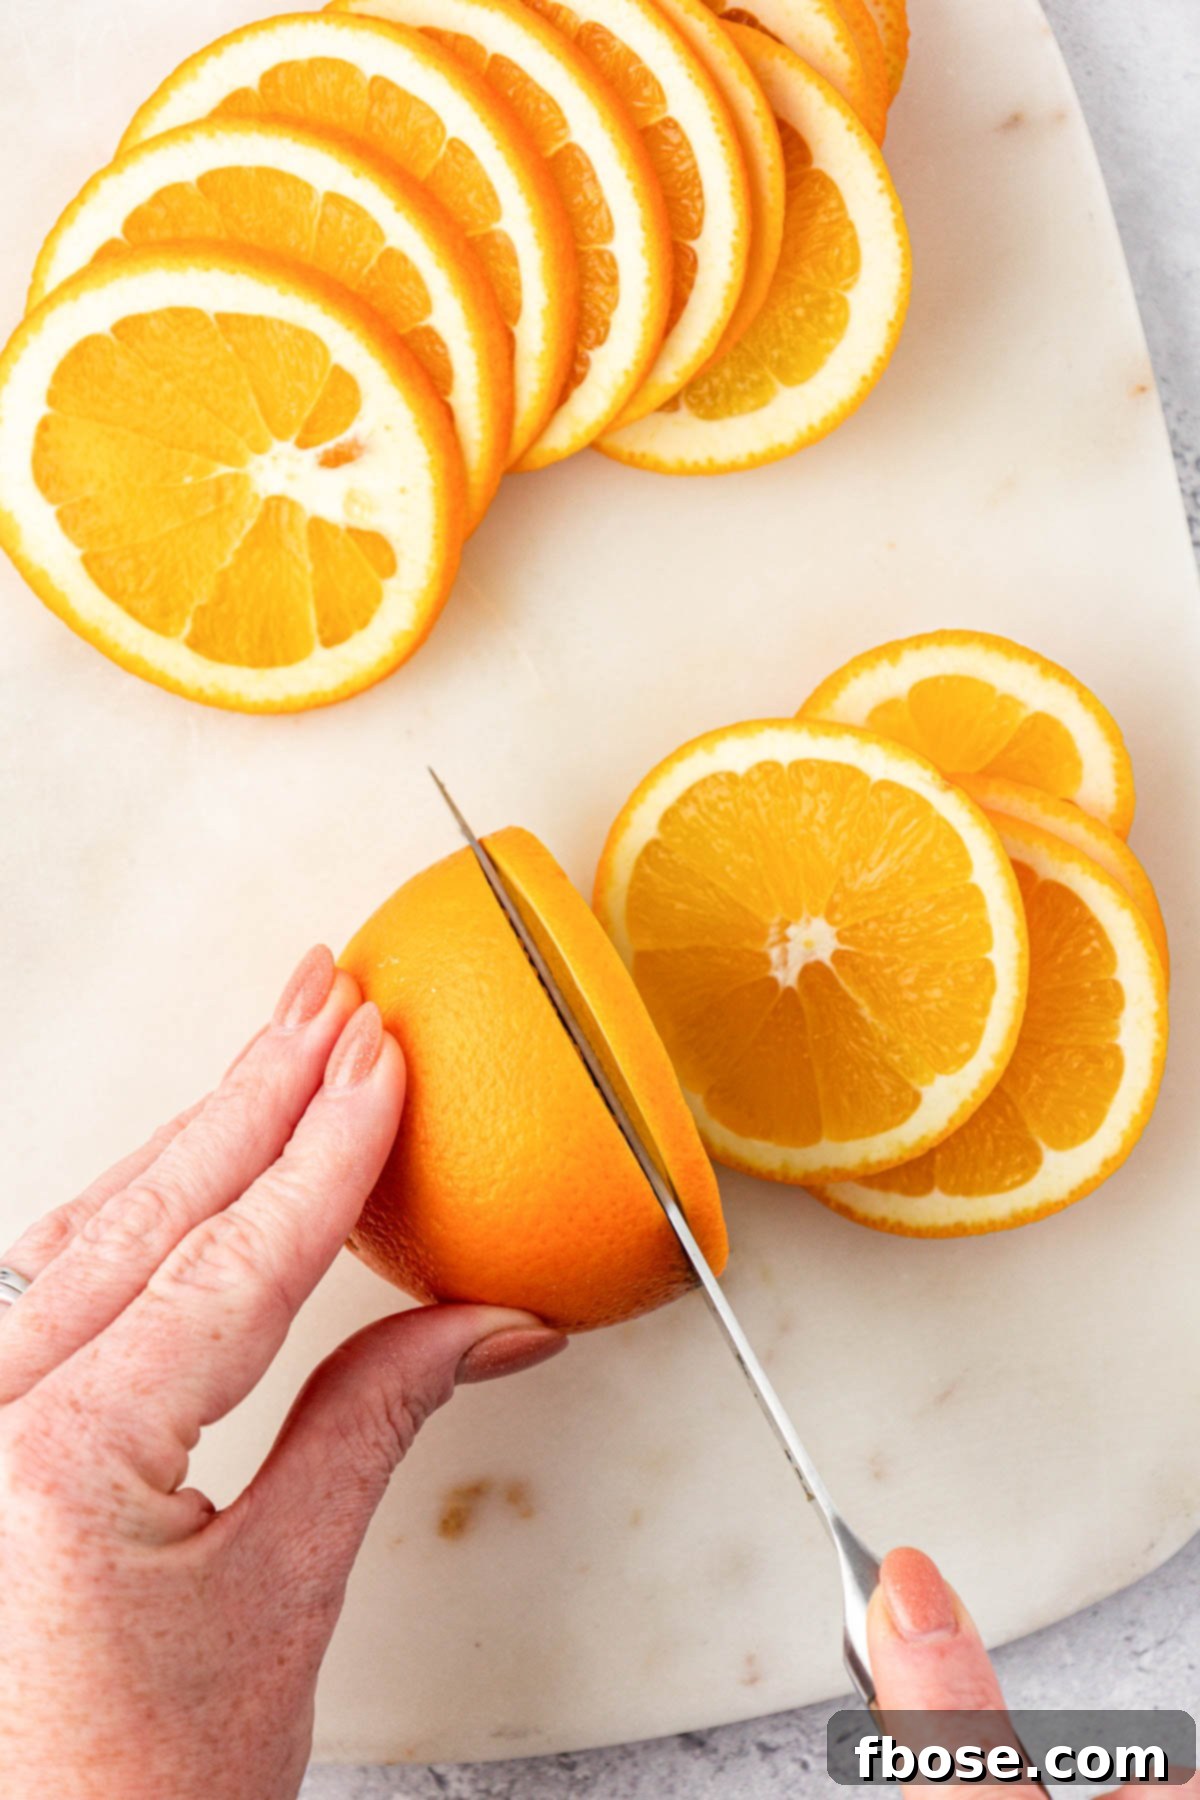
- Slice the Oranges: Using your sharp chef’s knife, carefully slice the oranges into thin, even rounds. Aim for a thickness of about 1/8 to 1/4 inch (3-6mm). Thicker slices will require considerably more drying time. Discard the very ends of the oranges, as they are mostly pith and won’t dry well. Typically, three medium-sized oranges will yield enough slices to fill two standard 12×17-inch baking pans.
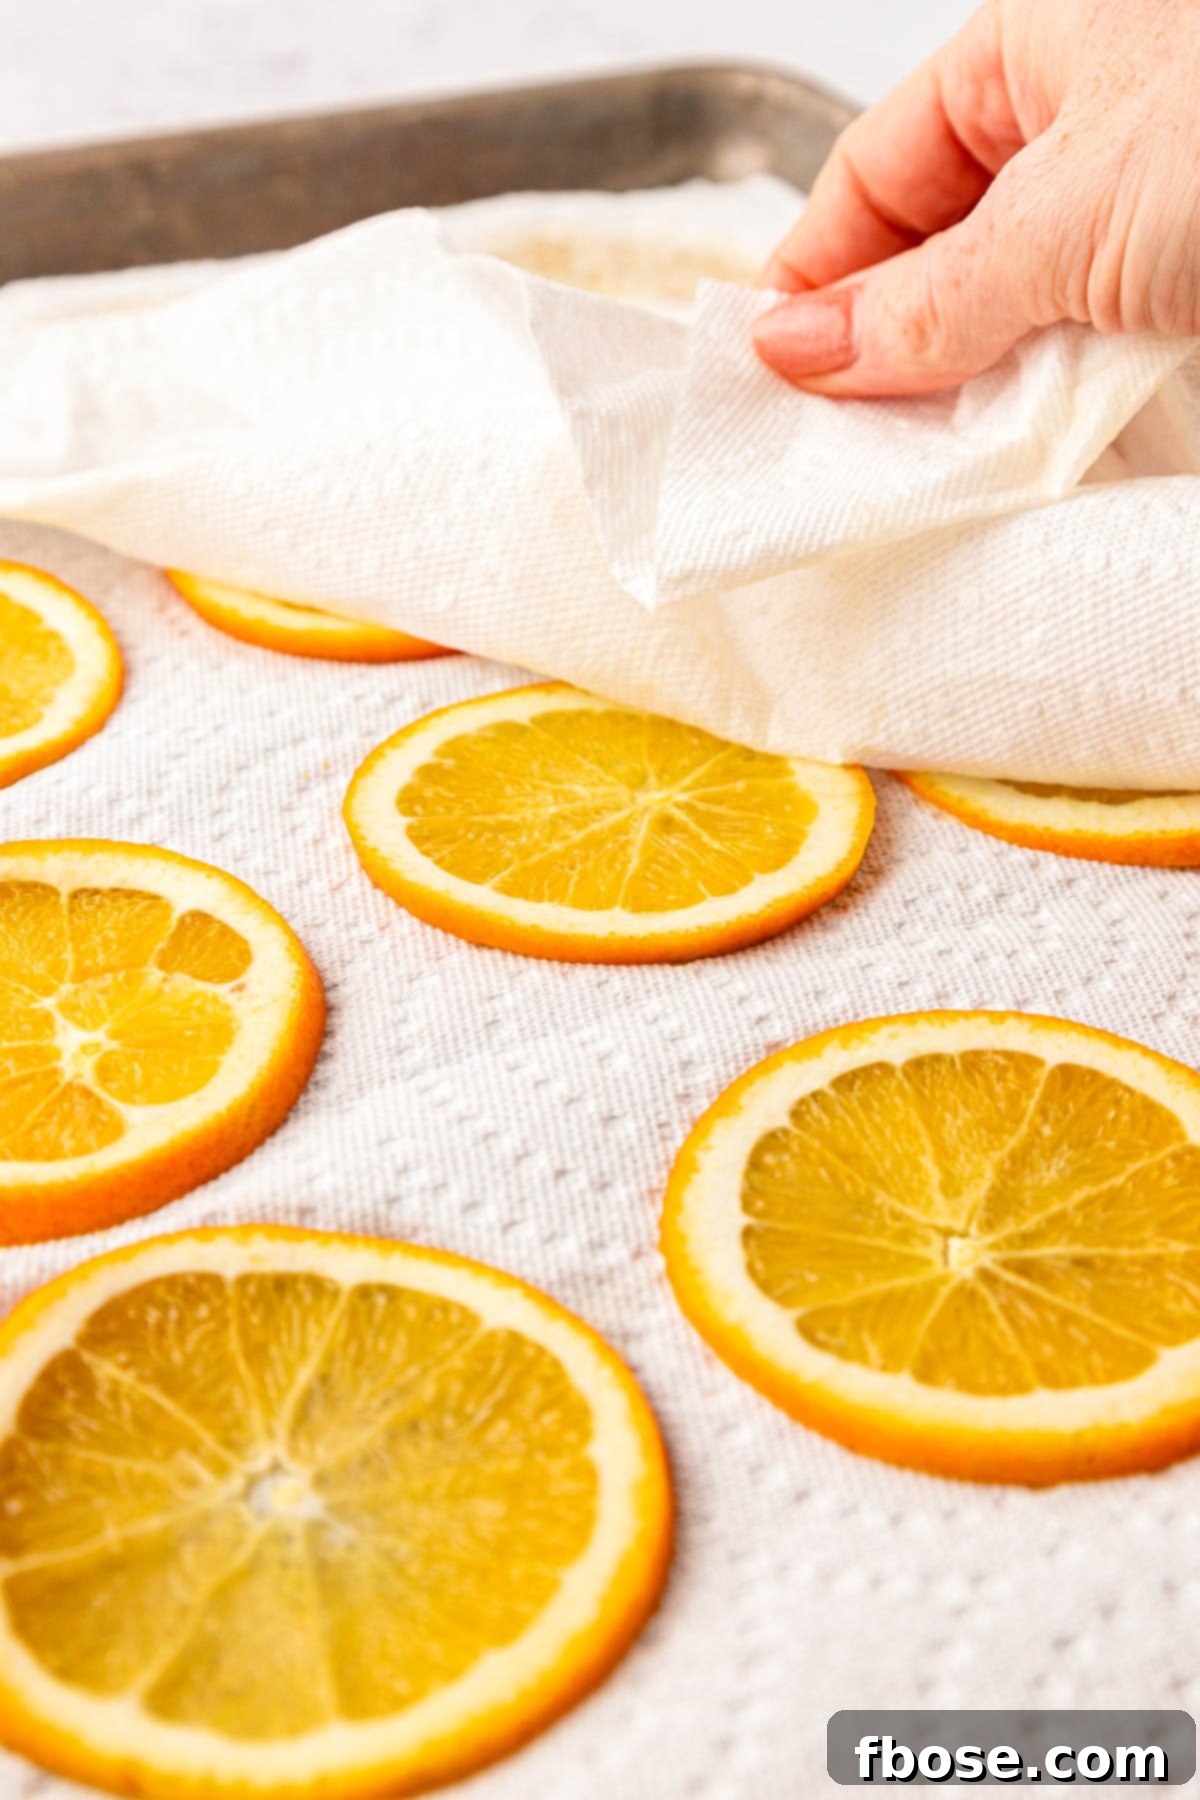
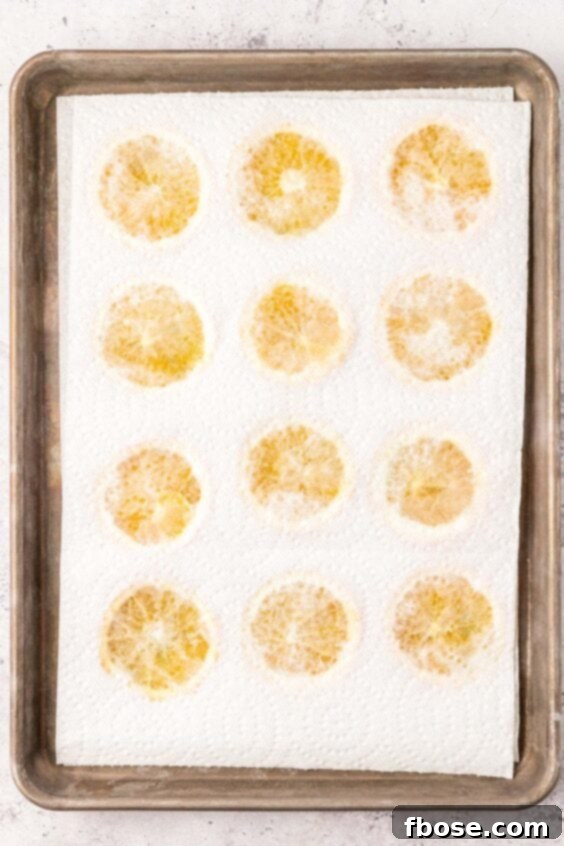
- Blot Excess Moisture: Arrange the freshly cut orange slices in a single layer on several sheets of paper towels. Gently but firmly press another layer of paper towels on top of the slices. This step is critical for absorbing as much excess juice as possible, which dramatically reduces the overall baking time and minimizes the risk of browning.
- First Bake & Flip: Carefully transfer the blotted orange slices onto the wire racks, ensuring they are arranged in a single layer with no overlapping. Place the baking sheets into your preheated oven. Bake for 1 hour, then flip each slice over. Continue baking for another hour, then flip them a second time and bake for a final hour. This initial 3-hour period is crucial for beginning the dehydration process.
- Check for Doneness & Continue Drying: After the initial 3 hours, begin checking the slices. Fully dried slices will be firm, translucent, and slightly brittle to the touch, with no sticky spots or plump, moist areas. Transfer any perfectly dried slices to a plate to cool. For any remaining slices that still appear plump, sticky, or soft, flip them over and return them to the oven for additional 30-minute increments.
- Repeat Until Completely Dry: Continue the process of checking, removing fully dried slices, and baking the remaining ones for 30-minute intervals. Repeat this as many times as necessary until all of your orange slices are thoroughly dehydrated. Remember, patience is key here, as drying times can vary based on orange juiciness, slice thickness, and oven type.
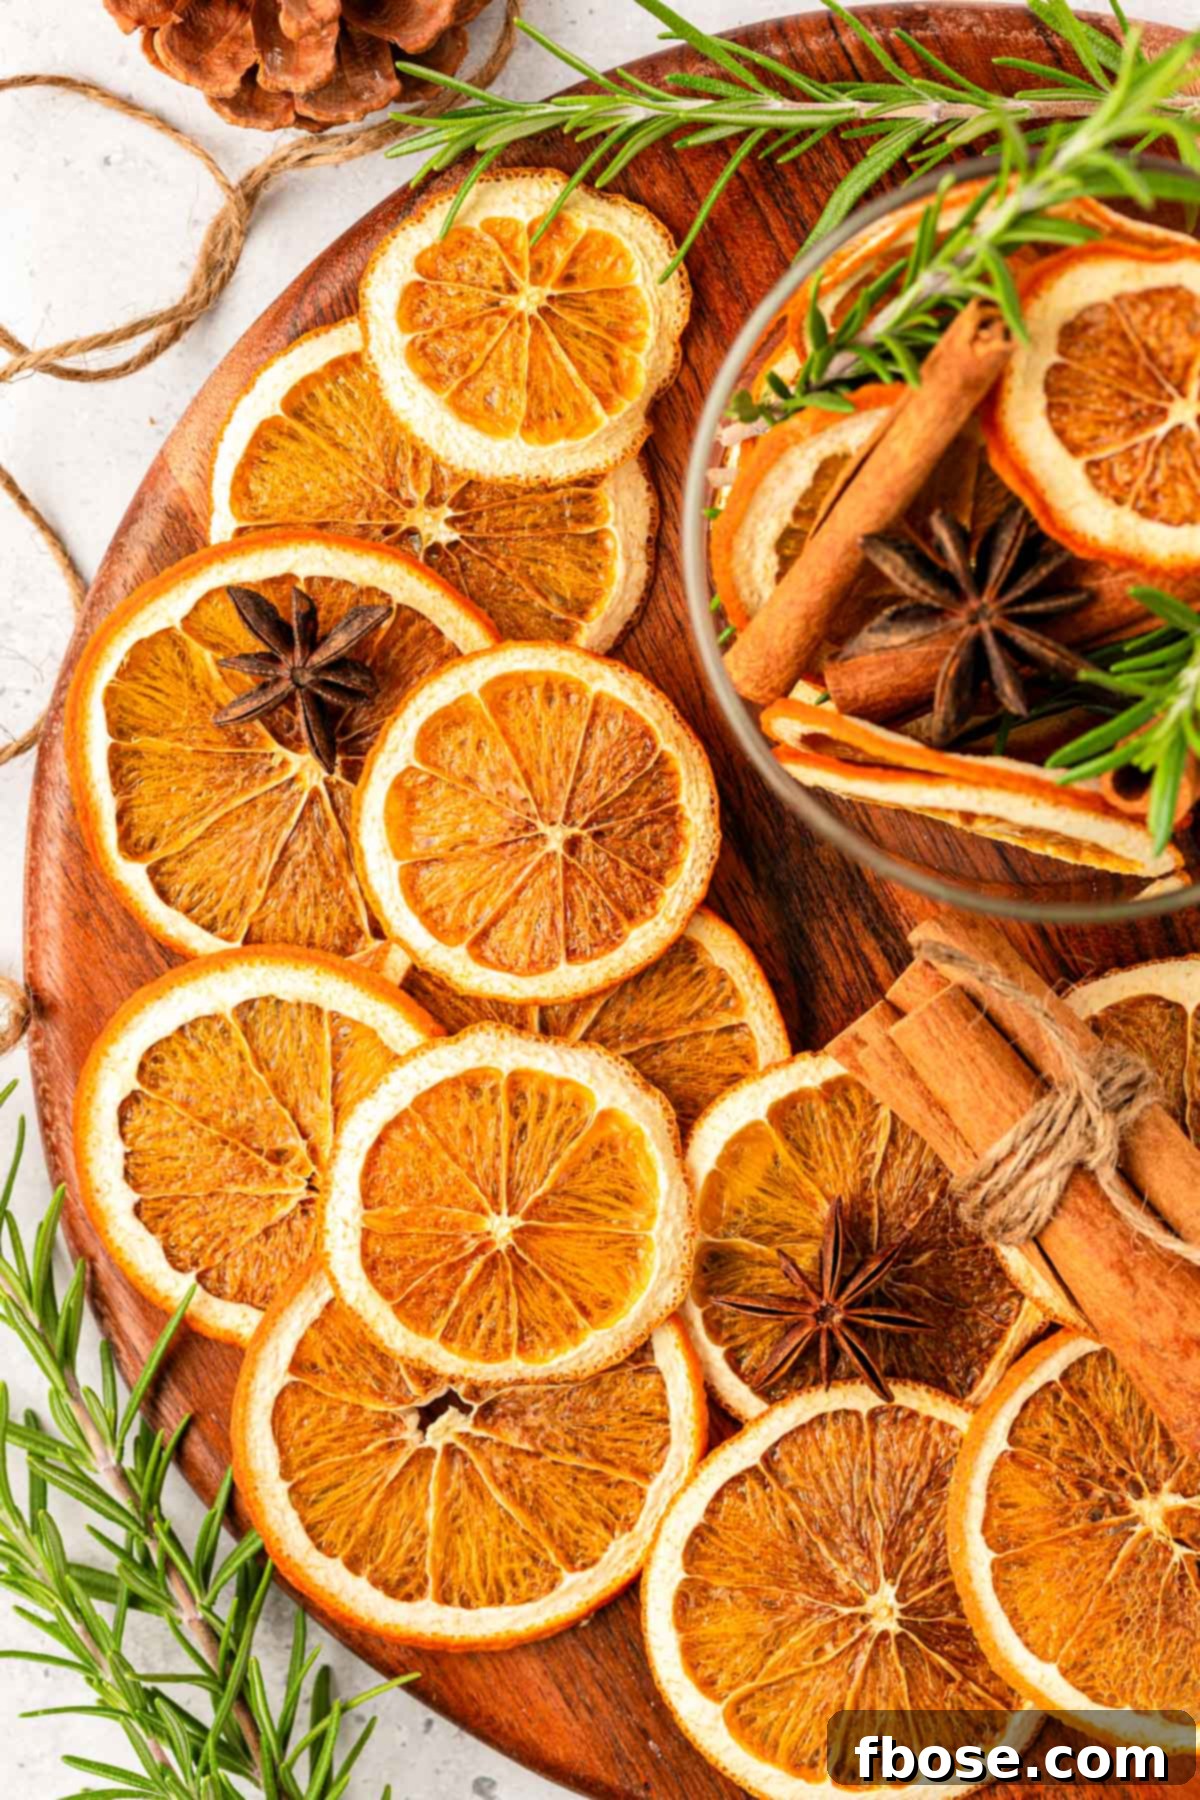
- Cool and Enjoy: Once all the slices are fully dried, remove them from the oven and allow them to cool completely to room temperature. As they cool, they will become even crisper. Now they are ready to be transformed into beautiful garnishes, stunning decorations, or charming additions to your holiday crafts!
Expert Tips for Perfect Dried Orange Slices
- Utilize Convection Oven: If your oven is equipped with a convection fan, absolutely use it! This setting circulates hot air, which is ideal for dehydrating, resulting in faster and more uniformly dried citrus slices.
- No Wire Racks? No Problem: While wire racks are highly recommended for optimal airflow and reduced drying time, you can certainly bake the orange slices directly on parchment paper-lined baking sheets. Just be aware that this method will extend the overall drying time, potentially by 1 to 2 hours, as the air circulation is limited to one side of the fruit.
- Uniform, Thin Slices are Key: The thinner and more consistent your orange slices, the quicker and more evenly they will dry. Aim for slices roughly 1/8 to 1/4 inch thick. Thicker slices retain more moisture and will require significantly longer in the oven, increasing the risk of uneven drying or burning before the center is fully dehydrated.
- Thoroughly Blot for Faster Drying: Don’t skip or rush the paper towel blotting step! Pressing firmly (without crushing the slices) helps remove a substantial amount of juice. This pre-drying step is crucial for shortening the overall baking time and achieving a crisp texture.
- Identify Undried Slices: As you check your oranges, any slices that still look plump, feel soft, or are sticky to the touch need more time in the oven. Continue baking them in short increments until they are firm, translucent, and dry all the way through.
- Adjust Baking Time: As noted previously, if you’re using a standard (non-convection) oven or baking directly on parchment paper, be prepared for your total bake time to increase by 1 to 2 hours compared to the convection oven with wire rack method. Always prioritize dryness over strict timing.
- Consider Additional Aromatics: For an extra festive touch, you can lightly sprinkle a tiny pinch of cinnamon, nutmeg, or allspice onto your orange slices before baking. This will infuse them with wonderful holiday aromas, perfect for potpourri or decorative purposes.

Creative Ways to Use Your Beautiful Dried Oranges
Once your oven-dried orange slices are cool and crisp, a world of creative possibilities opens up. Their natural beauty, vibrant color, and subtle aroma make them perfect for enhancing your home and celebrations throughout the holiday season and beyond.
Elegant Holiday Decor – Unleash your inner crafter by transforming these citrus wonders into stunning decorations. Create charming homemade ornaments by pairing dried orange slices with natural twine, wooden beads, fragrant cinnamon sticks, or festive ribbons. Simply thread a thin string or rustic twine through the center of each slice to assemble a breathtaking orange garland that can beautifully adorn your Christmas tree, mantle, doorways, or windows. The translucent quality of the dried oranges allows light to filter through, creating a warm and inviting glow.
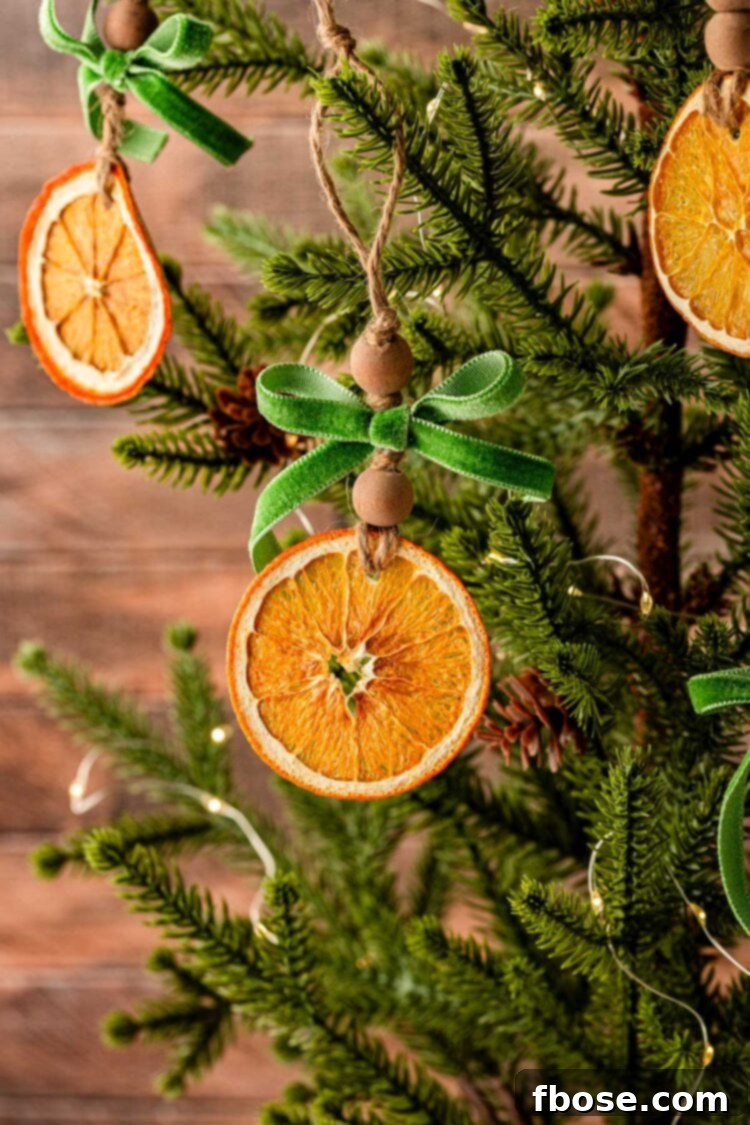

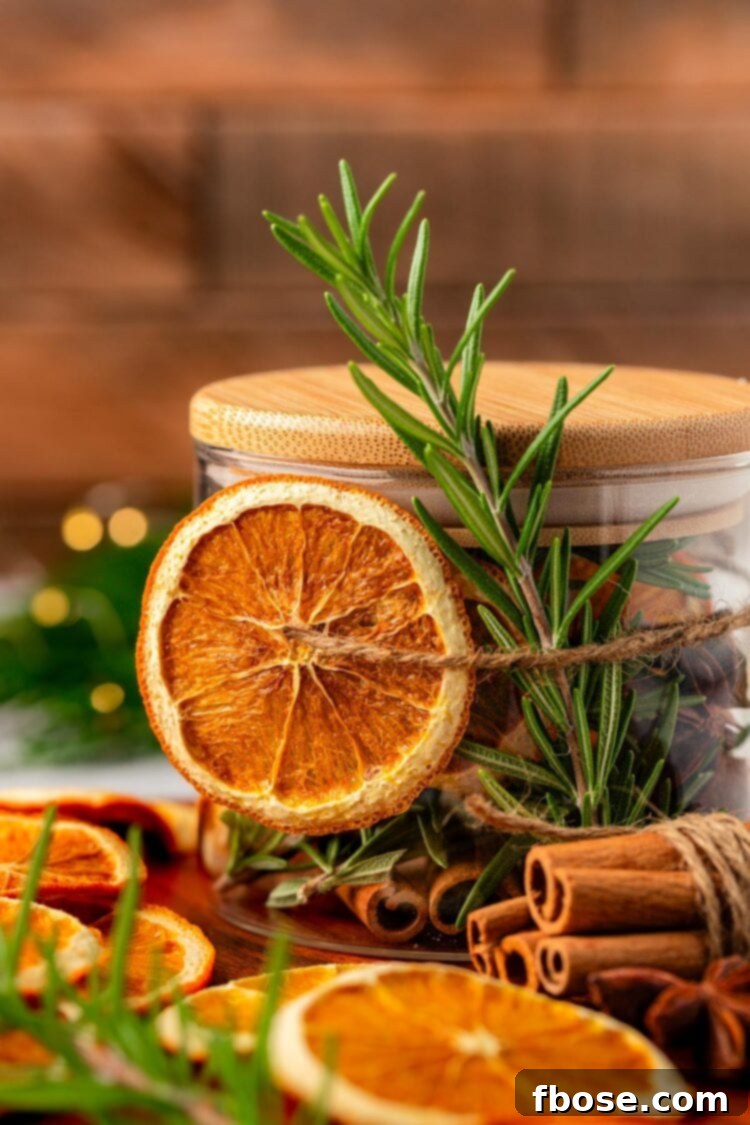
Charming Gift Tags – Add a uniquely personal and eco-friendly touch to your holiday packages and gifts with dried orange slice gift tags. Arrange them creatively with your handwritten gift tag, securing them with elegant ribbon, rustic twine, or fresh spruce boughs for a truly memorable presentation. This small detail shows immense thought and effort, making any gift feel extra special.

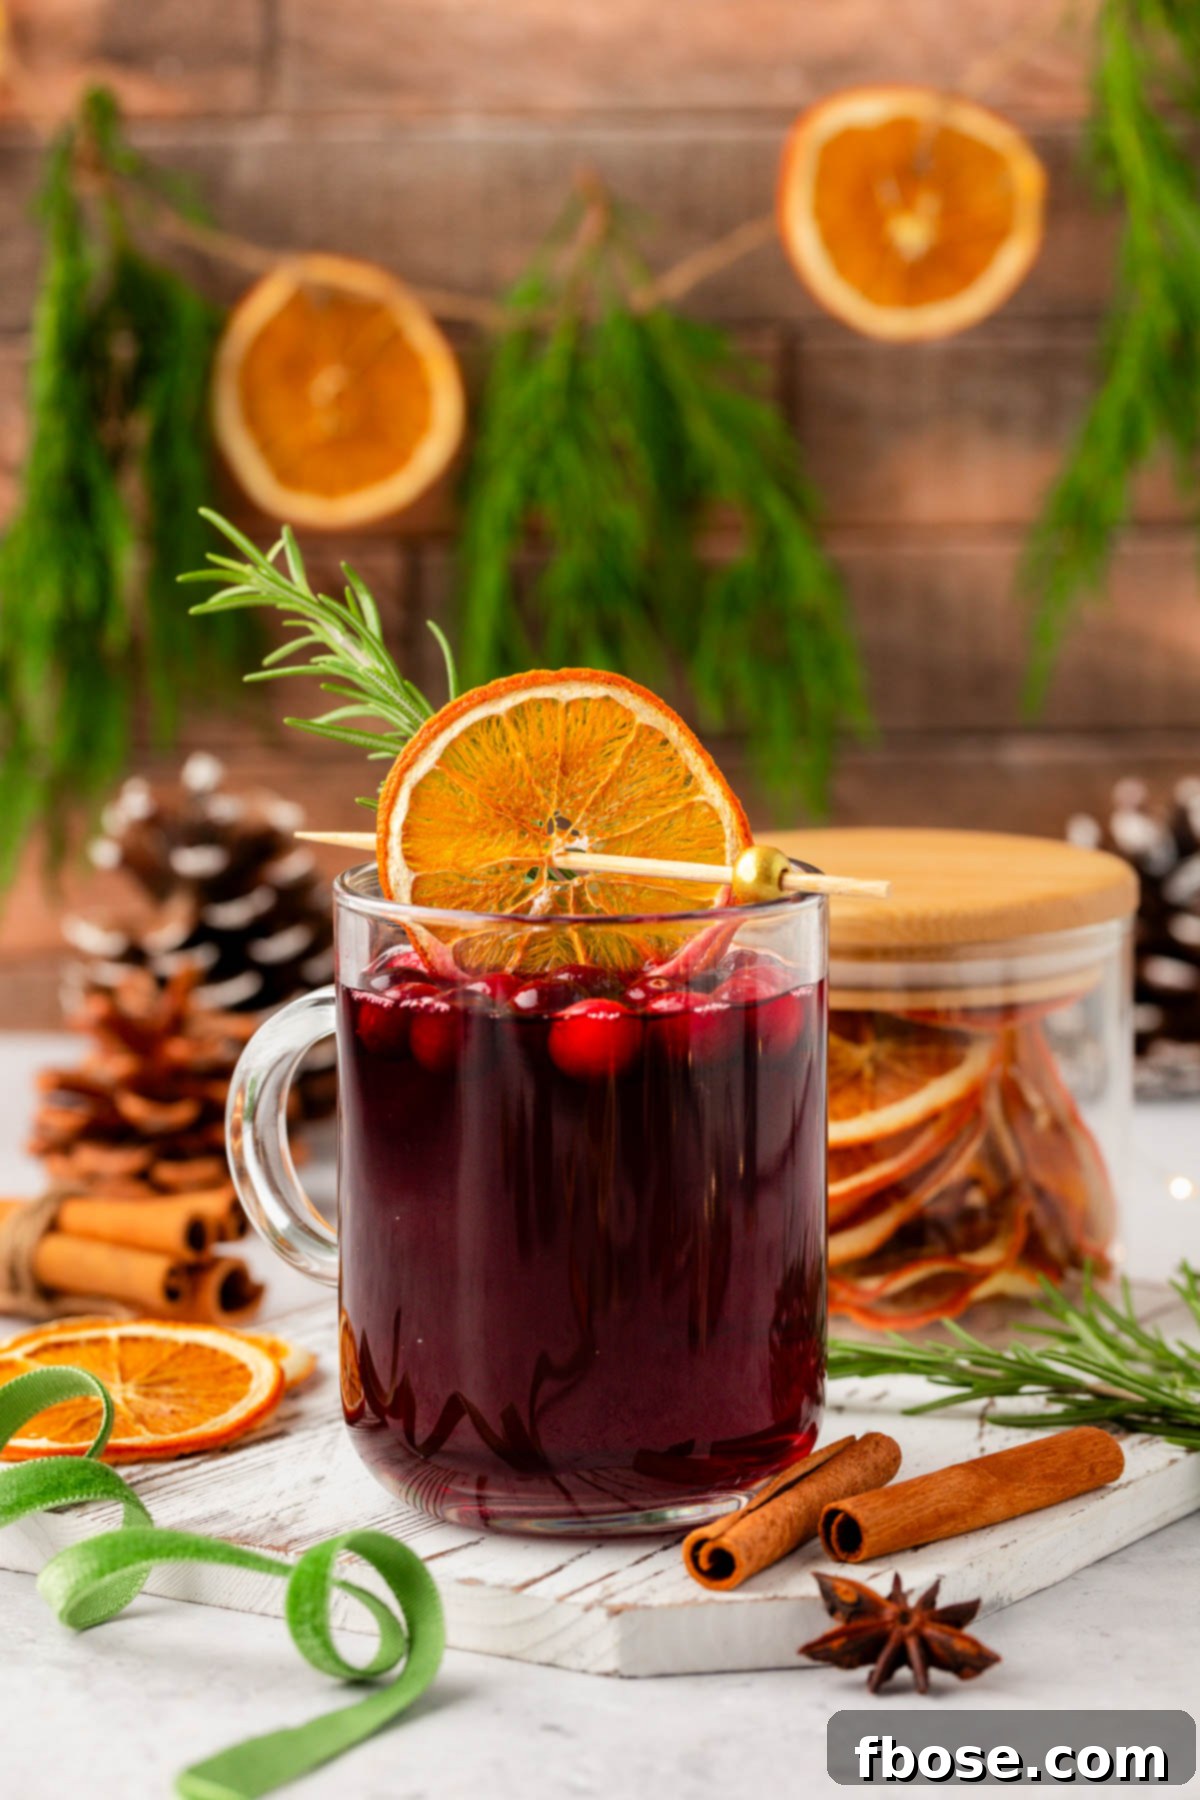
Festive Cocktail Garnish – Elevate your holiday libations with a sophisticated flourish. Whether you’re whipping up a batch of Cranberry Orange Christmas Mimosa Punch or a rich Christmas Sangria, a dried orange slice perched on the rim or floating within adds a touch of elegance and a subtle citrus aroma. You can also skewer them onto a cocktail pick alongside other festive garnishes like Sugar Coated Cranberries, fresh cranberries, or a sprig of rosemary. Here are more delightful drink options that are perfectly complemented by dried orange slices:
- Thanksgiving Punch
- Autumn Punch
- Mulled Wine
- Easy Orange Pomegranate Mimosa
- Easy Party Punch (non-alcoholic)
- Sparkling Holiday Punch (Non-alcoholic) Recipe
Exquisite Dessert Garnish – Bring a professional patisserie look to your homemade sweets. Use these beautiful dried orange slices to artfully dress up your freshly baked pies, elegant homemade cakes, or decadent cheesecakes. They add a vibrant color and sophisticated texture that instantly elevates any dessert. They also work wonderfully as a space filler or visual anchor on elaborate charcuterie or dessert boards.
Aromatic Simmering Potpourri – Harness the natural fragrance of dried oranges to create a welcoming ambiance. Add a handful of these slices to your DIY Holiday Crock Pot Potpourri along with cinnamon sticks, cloves, and fresh cranberries. As it gently simmers, your home will be filled with a warm, inviting aroma, perfect for holiday gatherings or simply creating a cozy atmosphere.
Unique Ornaments & Accents – Get creative with your decorations! This year, I discovered a lovely trick: use a dab of hot glue to attach mini clothespins to the back of each dried orange slice. These can then be easily clipped onto tree branches, looped into garlands, or even used to hold small holiday cards, adding a charming and personalized touch to your festive displays.

Storing Your Dried Orange Slices for Lasting Beauty
Proper storage is key to ensuring your beautifully dried orange slices remain vibrant and intact for future use. Once they are thoroughly dried (meaning no moisture, stickiness, or pliability remains) and have cooled completely to room temperature, you have a couple of excellent storage options.
For immediate decorative use, you can string them into garlands or attach them to ornaments. If you plan to use them later, simply transfer the dried slices into an airtight container or a large gallon-sized Ziploc bag. Store them in a cool, dry place away from direct sunlight and humidity. When stored correctly, these natural wonders can last an impressive amount of time—up to 2 years—allowing you to enjoy their rustic charm for many holiday seasons to come. This makes them a fantastic make-ahead craft for year-round decorating or gifting.
Did You Make This Recipe?
If you’ve tried this recipe, please leave a review in the comments below. I love hearing from you! Don’t forget to tag me – @sugarandsoulco – on Instagram and Pinterest with your photos, or join our Sugar & Soul Show-offs Community and share them there.
Dried Orange Slices
Rebecca Hubbell
Condiment
American
15 minutes
3 hours
4 hours
15 minutes
Servings
36
slices
Equipment
-
chef knife
-
paper towels
-
Large baking pan
-
Parchment paper
-
large wire rack that fits in baking pan
Ingredients
- 3 navel oranges preferably very firm
Instructions
-
Preheat the oven to 175°F (if you have a convection option on your oven, this works best as it dries out the citrus faster and more evenly).
-
Line two large baking pans with parchment paper and then place a wire rack on top of each of the parchment paper-lined pans. If you don’t have wire racks that fit your pans, you can bake them right on the parchment, but it will take longer.
-
Slice the 3 navel oranges into thin slices (you can easily use more or less depending on how much you want to make; three regular oranges fill two 12×17-inch baking pans perfectly.) You should get about 12 slices per orange after removing the ends where the slices are mostly pith.
-
Lay the slices out between layers of paper towels and press to absorb as much of the juice as possible; this will help reduce the baking time.

-
Arrange the prepared orange slices on the wire racks and bake for 1 hour. Flip the slices and bake for 1 hour. Flip again and bake for 1 more hour for 3 hours total.
-
Check the slices after the initial 3 hours of baking. Transfer any slices that are fully dried to a plate. Any that sill look plump or that are still a bit sticky can be flipped and go back in the oven for 30 minutes.
-
Check the slices again, remove the slices that are done, and bake the rest for another 30 minutes. Repeat this process until all of the slices are fully dried. Note that if using a non-convection oven or baking directly on the parchment could add 1 to 2 hours to the baking time.
-
Use as drink or dessert garnishes or decor.
Nutrition
Carbohydrates: 1g |
Protein: 0.1g |
Fat: 0.02g |
Saturated Fat: 0.002g |
Polyunsaturated Fat: 0.004g |
Monounsaturated Fat: 0.004g |
Sodium: 0.1mg |
Potassium: 19mg |
Fiber: 0.3g |
Sugar: 1g |
Vitamin A: 29IU |
Vitamin C: 7mg |
Calcium: 5mg |
Iron: 0.02mg