
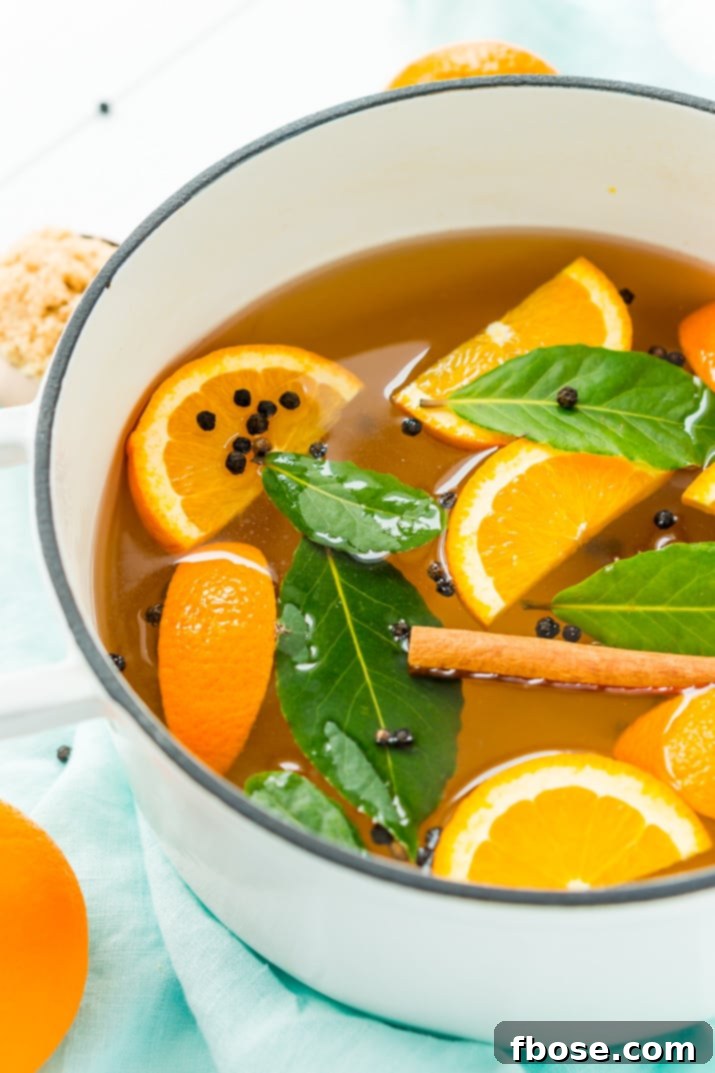
Unlock the secret to the most incredibly moist, tender, and intensely flavorful turkey you’ve ever tasted with this ultimate Turkey Brine recipe. Crafted with a harmonious blend of aromatic ingredients like salt, zesty oranges, fragrant bay leaves, warm cinnamon, sweet brown sugar, and pungent black pepper, this brine is your indispensable tool for a show-stopping holiday meal. Brining your turkey for 12 to 24 hours ensures every bite is infused with a richness that will elevate your turkey to culinary perfection for any special gathering!

Achieving a truly spectacular turkey for your Thanksgiving feast or any celebratory occasion often feels like a daunting task. The fear of a dry, bland bird looms large over many home cooks. However, this comprehensive Turkey Brine recipe is designed to banish those worries, guaranteeing a top-notch turkey renowned for its unparalleled tenderness and rich flavor profile. Whether you’re preparing a succulent turkey breast or roasting an entire bird, incorporating this brining method will transform your meal from good to absolutely unforgettable. Trust us, once you experience the difference a well-brined turkey makes, you’ll never go back!
As the holiday season approaches, typically just a few weeks away, thoughts naturally turn to menu planning, intricate timetables, and securing the finest ingredients. A critical step that should never be overlooked is ordering your fresh turkeys from your trusted local butcher well in advance. And crucially, don’t forget the brine! While a simple preparation method, brining does require a significant amount of inactive time, making it essential to start the process the day before your intended cooking day.
Therefore, if you find yourself waking up on Thanksgiving morning and only just contemplating a brine, it’s probably best to save this fantastic recipe for next year. Instead, opt for another cooking method this year, and ensure you plan ahead for next holiday season to experience the magic of brining!
What is Turkey Brining and Why it Works
Brining is a culinary technique involving soaking meat, typically poultry, in a salt-water solution (the brine) infused with various aromatics. This process works on a scientific principle called osmosis and denaturation. The salt in the brine solution begins to break down the proteins in the turkey’s muscle fibers. This breakdown allows the muscle cells to absorb and retain more liquid, resulting in a significantly moister bird once cooked. Beyond just moisture, brining also infuses the meat with incredible flavor from the salt, sugar, and any added herbs, spices, or citrus, ensuring that every bite is not only juicy but also incredibly delicious.
Key Benefits of Brining Your Turkey:
There are several compelling reasons why brining is considered a cornerstone technique for preparing the perfect turkey:
- Unmatched Moisture Retention: The primary benefit of brining is its ability to keep the turkey moist. Through osmosis, the turkey meat absorbs additional water from the brine over an extended period. This added moisture acts as a buffer against the drying effects of cooking, ensuring your turkey remains incredibly juicy, even if it’s slightly overcooked. No more dry, cardboard-like turkey!
- Superior Tenderness: The salt and sugar in the brine play a crucial role in breaking down the connective tissues within the turkey meat. This process, known as denaturation, relaxes the muscle fibers, yielding a much softer, more succulent texture. The result is a turkey that carves effortlessly and practically melts in your mouth.
- Enhanced Flavor Infusion: While a basic brine of just water, sugar, and salt provides fundamental benefits, the true magic for festive occasions lies in adding a rich array of spices, herbs, and produce. These aromatic additions permeate the meat, layering complex flavors throughout the turkey. This means your turkey won’t just be seasoned on the surface but will have a profound, savory depth of flavor from within.
- Even Seasoning: Brining ensures that the seasoning penetrates deep into the meat, not just staying on the surface. This leads to a consistently flavorful turkey from the drumstick to the breast, providing a uniform taste experience for all your guests.
Crafting Your Signature Turkey Brine:
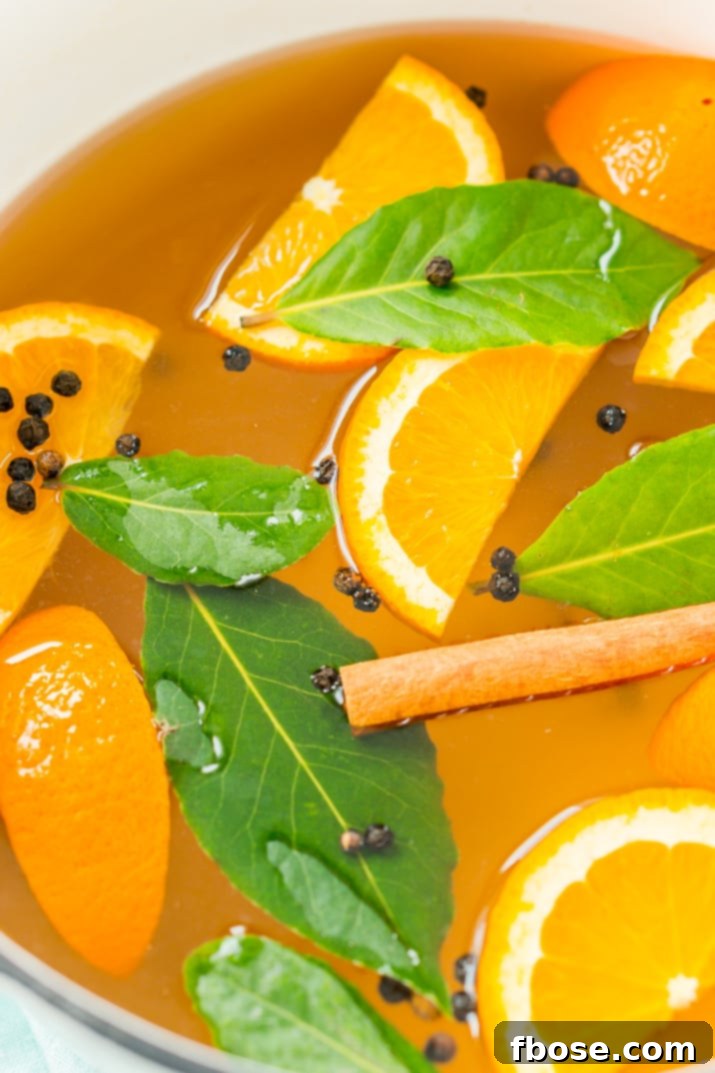
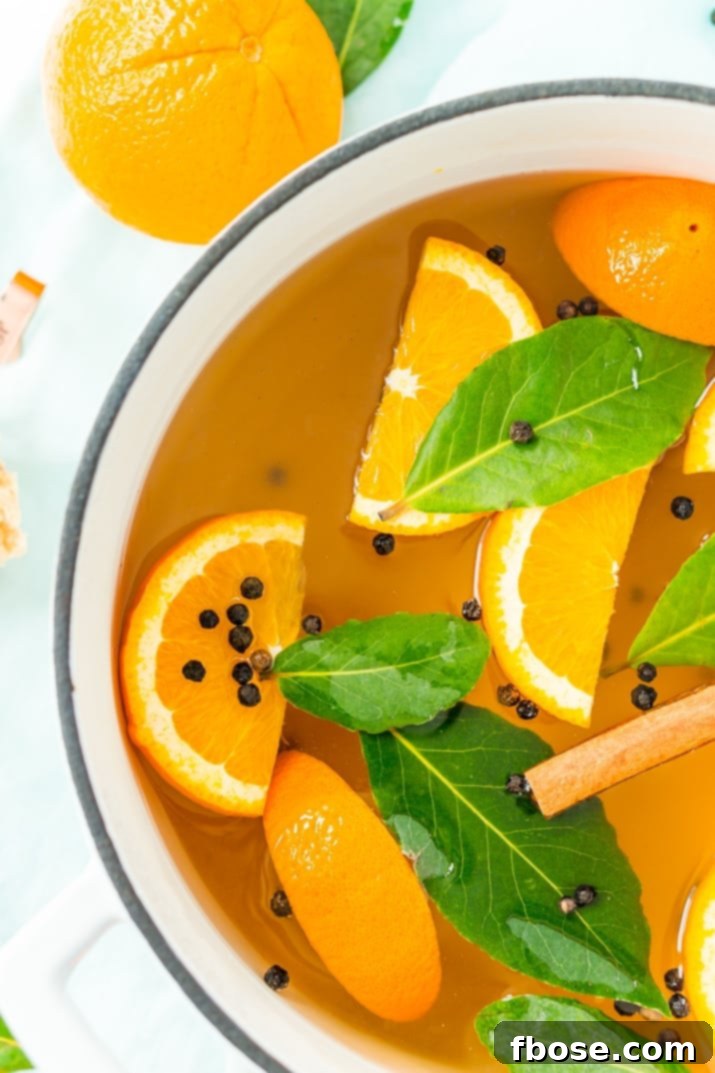
This exceptional Turkey Brine recipe is meticulously crafted with a selection of ingredients that promise to deliver a symphony of flavors and textures. The foundation consists of pure water, balanced with light brown sugar (though dark brown sugar can also be used for a deeper molasses note), and essential kosher salt. To elevate the flavor profile, we introduce bright and zesty oranges, earthy bay leaves, warm and fragrant cinnamon sticks, and pungent whole black peppercorns. Each ingredient plays a vital role in creating a brine that is both effective and incredibly delicious.
- Water: The base for your brine, carrying the flavors and moisture into the turkey.
- Kosher Salt: Essential for breaking down muscle fibers and enhancing moisture retention. Kosher salt is preferred for its larger crystal size, which makes it easier to measure accurately and dissolve.
- Light Brown Sugar: Contributes to tenderness, helps balance the saltiness, and aids in achieving that beautiful golden-brown skin. Its subtle molasses notes add depth.
- Oranges (sliced into wedges): Provides a bright, citrusy aroma and a subtle sweetness that complements poultry beautifully.
- Bay Leaves: Offer a herbaceous, slightly floral, and savory note, adding classic depth to the overall flavor.
- Whole Black Peppercorns: Deliver a gentle, warming spice and a pleasant peppery kick that enhances the turkey’s natural flavors.
- Cinnamon Sticks: A surprising but delightful addition that infuses the brine with a warm, subtly sweet, and aromatic quality, perfect for a holiday centerpiece.
Step-by-Step Guide: How To Brine A Turkey:
Brining a turkey or any poultry might sound intimidating, but it’s an incredibly straightforward and rewarding method for imparting unparalleled moisture and flavor to your meat. Follow these steps for a perfectly brined bird:
- Prepare the Brine Base: In a large stockpot, combine the initial quantity of water, light brown sugar, and kosher salt. Place the pot over high heat, stirring continuously until both the sugar and salt are completely dissolved. This creates the foundational saline and sweet solution for your brine.
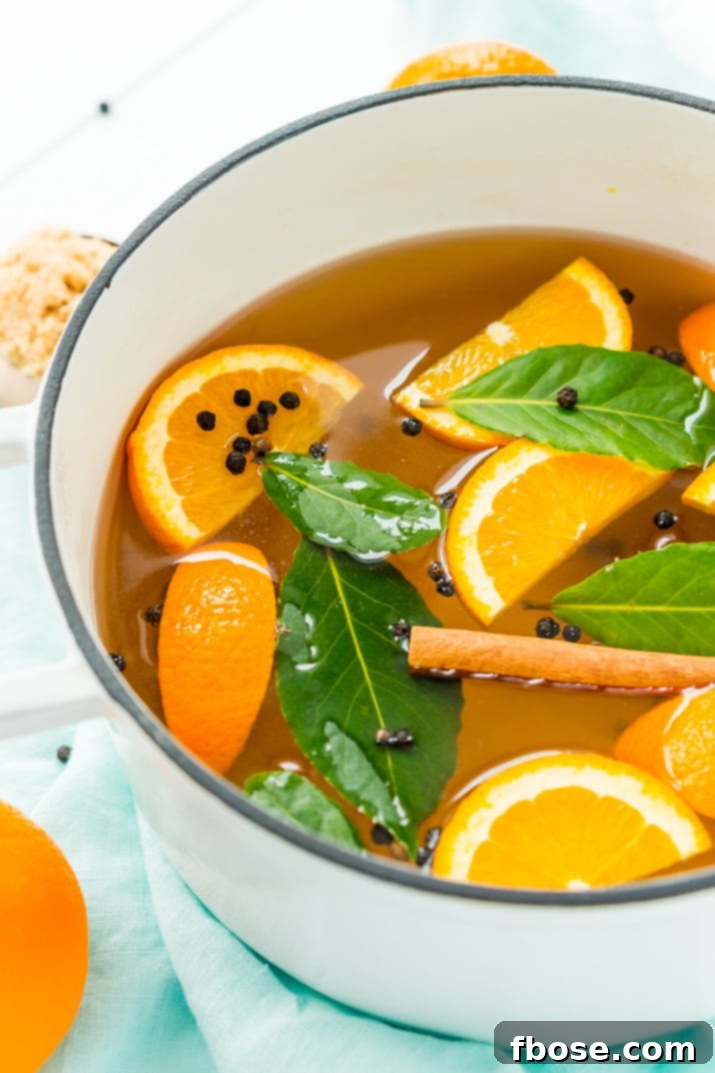
- Infuse with Aromatics: Once the base is dissolved, add in your chosen herbs and spices: the aromatic cinnamon sticks, zesty orange wedges, fragrant bay leaves, and pungent black peppercorns. Bring this entire mixture to a rolling boil. This crucial step allows the heat to extract and meld the complex flavors from the aromatics into the liquid.
- Cool the Brine Completely: After the brine has boiled and the flavors have infused, remove the pot from the heat. It is absolutely critical to allow the mixture to cool down to room temperature, or even colder, before adding your turkey. Adding a turkey to warm brine is a food safety risk and can also prematurely cook the exterior of the meat. Patience here is key!
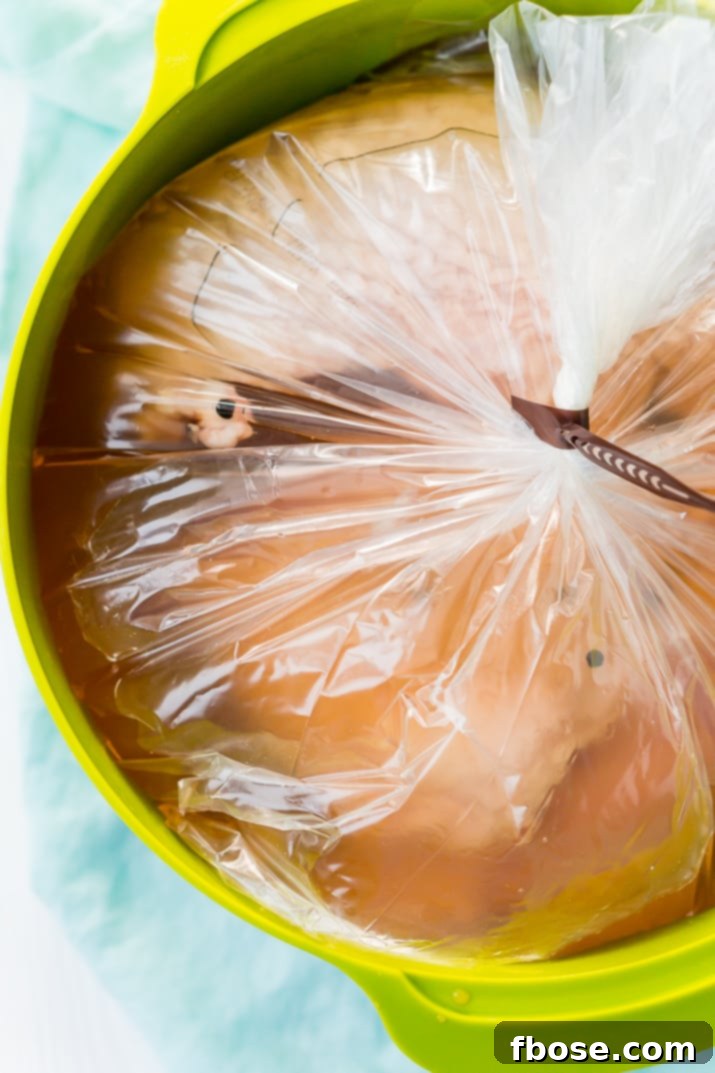
- Submerge the Turkey: Once the brine is fully cooled, carefully add your turkey (or turkey breast) to the stockpot. Ensure the turkey is fully submerged in the brine. If necessary, add additional cold water to the pot until the turkey is completely covered. For smaller pieces, you can use a smaller pot or a dedicated brining bag for convenience.
- Refrigerate and Brine: Place the entire stockpot with the turkey and brine into the refrigerator. Allow the turkey to brine for the recommended duration of 12 to 24 hours. This inactive period is where the magic happens, as the brine works its way into the meat.
- Prepare for Cooking: After the brining period, remove the turkey from the brine solution. Discard the spent brine. Thoroughly pat the entire turkey dry, inside and out, with paper towels before proceeding with your chosen cooking method (roasting, smoking, frying, etc.). A dry skin ensures a crispier, more appealing finish.
Recipe Tip: If you are brining only a turkey breast, you can easily adapt this recipe. A smaller pot will suffice, or you can opt to place the turkey breast directly into a sturdy roasting or brining bag along with the prepared brine, which saves refrigerator space and makes cleanup a breeze.
Optimal Brining Times for Your Turkey:
The duration of the brining process is crucial for achieving the best results. For a full turkey, it should be brined for no less than 12 hours. However, for maximum moisture and flavor infusion, a 24-hour brining period is highly preferred. This extended time allows the brine to fully penetrate the thicker parts of the bird.
If you’re brining just a turkey breast or smaller cuts, you can reduce the time accordingly. For a turkey breast, 8 hours should be ample to achieve a perfectly tender and flavorful result. It’s important not to over-brine, as this can make the meat too salty or give it a somewhat mushy texture. Always stick to the recommended times for the best outcome.
Scaling Your Brine: How Much Brine Do I Need?
The quantity of brine you’ll need will largely depend on the size of the turkey or the specific cut of meat you’re planning to prepare. To start, I always recommend beginning with 1 gallon of water as your base. This provides a good initial volume for most average-sized turkey breasts or small whole birds.
As you submerge your meat, you may find that additional water is required to ensure the turkey is completely covered by the brine. Don’t hesitate to add more cold water as needed. While adding extra water will slightly dilute the mixture, the brine will still be highly effective, especially when you’ve already established a strong flavor base. For larger birds, particularly those weighing 15 pounds or more, I strongly advise doubling the entire recipe to ensure you have enough solution to fully submerge the turkey and achieve optimal results. For exceptionally large turkeys (20+ lbs), you might even consider tripling the recipe to ensure adequate coverage and flavor penetration.
The Transformative Power of Brining
My journey into the world of brining began thanks to my husband, who likely picked up this invaluable technique from an episode of the renowned culinary show, Good Eats. Initially, I was skeptical, but after experiencing the profound difference it made, I became an unwavering believer in this method. It truly is a game-changer.
Seriously, once you’ve had a brined turkey, you will unequivocally understand why this preparation method is superior. The resulting meat is so incredibly tender and bursting with flavor that you’ll never want to prepare turkey any other way again. It transforms what can often be a dry and uninspiring dish into a succulent, memorable centerpiece.
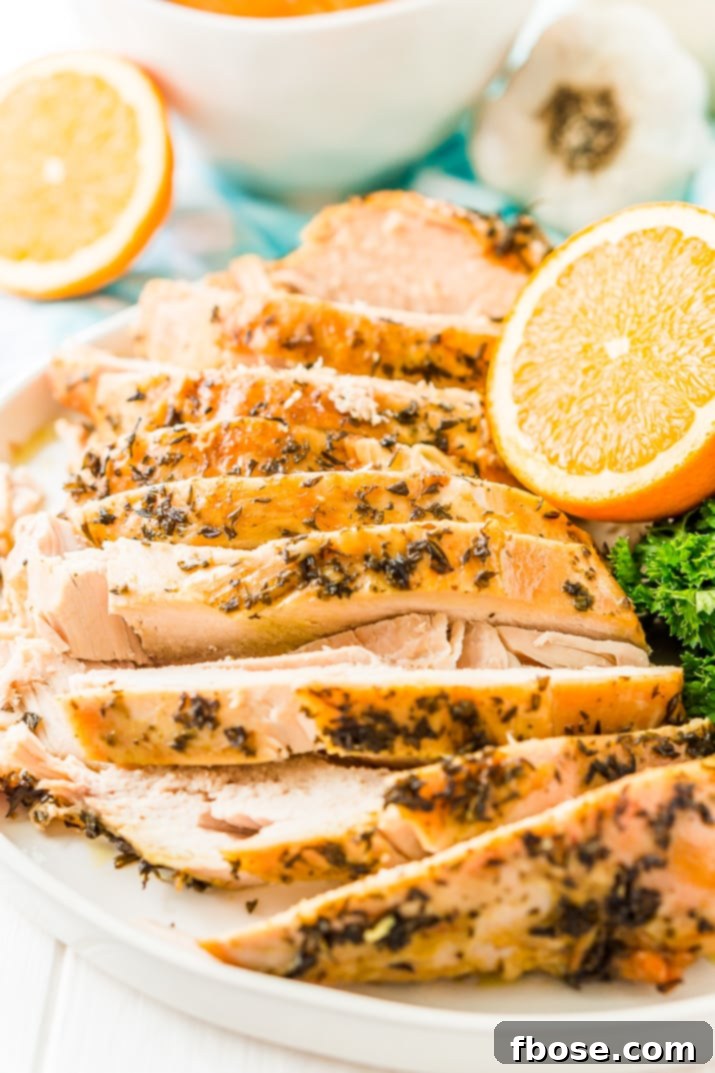
For an even more extraordinary flavor experience, I also highly recommend an additional step after brining: generously rubbing your turkey all over with my homemade Herb Butter recipe. Apply this luxurious butter just after removing the turkey from the brine and patting it dry, and right before you begin cooking. This extra layer of aromatic richness will create a crispy, golden skin and infuse even more delightful flavor into every morsel of your bird.
This brining method works wonders not just for whole turkeys, but also for specific cuts. I encourage you to try it on my Slow Cooker Turkey Breast recipe for a perfectly tender and flavorful weeknight meal or a smaller holiday gathering.
Advanced Brining Tips and Tricks:
- Consider Your Container: For large turkeys, if you don’t have a stockpot big enough, a clean, food-grade cooler can work wonderfully. Line it with a brining bag, add your turkey and brine, and then fill any remaining space with ice to keep it at a safe temperature.
- Dry Brining Alternative: While this recipe focuses on wet brining, it’s worth noting dry brining (rubbing salt directly onto the turkey and letting it rest) is another effective method, often preferred for crispier skin. However, wet brining generally imparts more moisture.
- Flavor Variations: Feel free to experiment with other aromatics. Fresh rosemary, thyme, sage, garlic cloves (smashed), sliced onions, or even apple slices can add wonderful nuances to your brine.
- Food Safety First: Always keep your turkey and brine refrigerated. Never leave poultry at room temperature for extended periods. Discard used brine; never reuse it.
- Pat Dry for Crispy Skin: This step is non-negotiable! A thoroughly dry turkey skin will render beautifully crisp, while a wet skin will steam rather than brown.
Best Turkey Brine
Pin It For Later
Click the button above to save this delicious recipe to your board and revisit it for your next holiday meal!
Let’s Connect and Share Your Culinary Creations!
I’ve cultivated a vibrant and engaging community on Facebook, and I would be absolutely thrilled for you to become a part of it! It’s a fantastic space where you can freely ask questions, share your cooking successes, and stay updated with all the latest from Sugar & Soul! If you’re eager to connect with fellow food enthusiasts and explore new ideas, you can request to join our group HERE.
Don’t forget to follow me on Instagram and tag your culinary masterpieces with #sugarandsoulco. I genuinely love seeing all the wonderful recipes YOU bring to life from this site! Additionally, to ensure you never miss out on a single delicious recipe, be sure to Subscribe to my Newsletter. Get ready to embark on a flavorful journey with us!

Turkey Brine
Ingredients
- 1 gallon water
- 1/2 cup kosher salt
- 1/4 cup light brown sugar
- 1 orange, sliced into wedges
- 5 bay leaves
- whole black peppercorns
- 3 cinnamon sticks
Instructions
-
In a large stockpot, combine 1 gallon of water, 1/2 cup kosher salt, and 1/4 cup light brown sugar. Heat over high heat, stirring occasionally, until the salt and sugar are completely dissolved.
-
Add in the remaining ingredients: the sliced orange, 5 bay leaves, whole black peppercorns, and 3 cinnamon sticks. Bring the mixture to a rolling boil. Once boiling, immediately turn off the heat and allow the brine to cool completely to room temperature. This cooling step is crucial for food safety.
-
Carefully add your turkey (or turkey breast) to the cooled brine in the stockpot. Ensure the meat is fully submerged. If necessary, add additional cold water to the pot until the turkey is completely covered by the brine.
-
Refrigerate the brining turkey for a period of 12 to 24 hours before you plan to cook it. For smaller cuts like turkey breast, 8 hours should be sufficient.
-
After brining, remove the turkey from the brine and discard the liquid. Pat the turkey thoroughly dry, inside and out, with paper towels before proceeding with your chosen cooking method. A dry surface promotes crispy skin.
Video
Notes
- This recipe yields a base brine suitable for a 5 to 15lb piece of meat or an average-sized turkey. For a larger whole bird (15lbs+), it is highly recommended to double the recipe to ensure full submersion and flavor infusion.
- Always ensure the brine is completely cool before adding the turkey to prevent any cooking of the meat and to maintain food safety.
- The brining time is crucial; 12-24 hours for a whole bird and approximately 8 hours for a turkey breast are ideal. Avoid over-brining, as it can result in overly salty or mushy meat.
Nutrition
Did You Make This Recipe?
Don’t forget to share it with me on Instagram @sugarandsoulco and follow on Tiktok @sugarandsoulco and Pinterest @sugarandsoulco for more!
Pin Recipe
Share Recipe