

Welcome to the definitive guide for the ultimate Christmas Sugar Cookie Recipe you’ve been searching for! This easy-to-follow recipe features a delightful, subtly sweet dough crafted from everyday pantry staples. It’s designed to be effortlessly rolled and cut, ensuring your festive shapes hold their form beautifully without spreading in the oven.
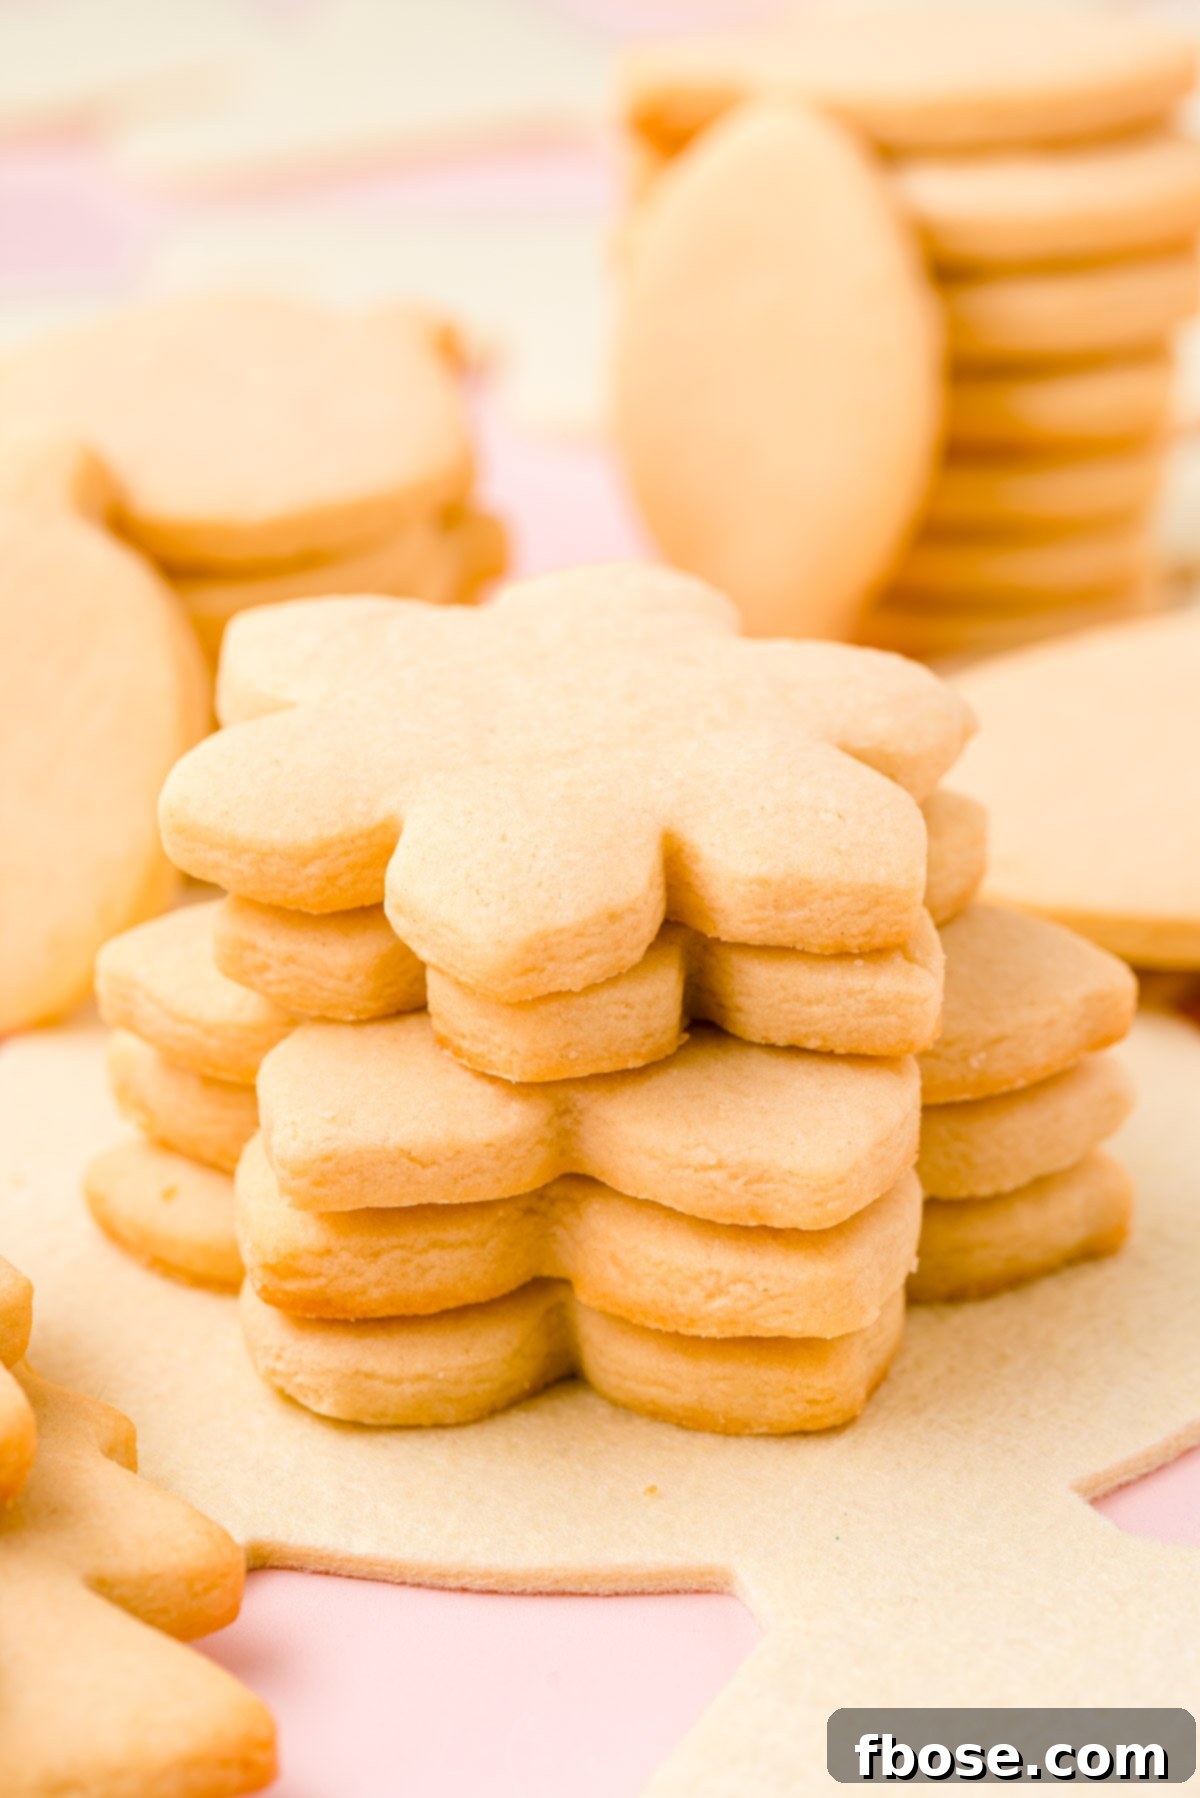
Prepare for cookies with perfectly defined, slightly golden edges, a flawlessly flat surface, and an irresistibly soft, tender center. These characteristics make them the absolute best sugar cookies for decorating with your favorite frostings and sprinkles, transforming them into edible works of holiday art!

The Ultimate Classic Christmas Sugar Cookie Cut-Out Recipe
Ditch the holiday baking stress with this incredibly fool-proof cut-out sugar cookie recipe. Crafted with just seven fundamental ingredients, it streamlines your festive preparations without compromising on flavor. This isn’t just a simple recipe; it delivers an AMAZING taste that evokes nostalgic memories of childhood Christmases.
In fact, many say these cookies taste just like the cherished ones Grandma used to bake! And there’s a good reason for that: this is my very own grandmother’s treasured recipe, a culinary legacy that has graced our family’s holiday table annually for over six decades. It’s a testament to tradition, flavor, and enduring joy.
Imagine the excitement! If you’re preparing these delightful treats for Santa’s arrival, you can easily prepare the dough in advance. Then, gather your loved ones, pull out your favorite festive cookie cutters, and sprinkle your way to holiday magic. This tried-and-true recipe consistently bakes up perfectly soft, wonderfully buttery cookies that are ready to be transformed into personalized festive masterpieces. It’s an essential part of creating unforgettable holiday memories, one delicious cookie at a time.
Why This Christmas Sugar Cookie Recipe Will Become Your New Favorite!
There are countless reasons why this Classic Christmas Sugar Cookie recipe stands out as a holiday baking essential. From its delightful flavor profile to its perfect baking characteristics, every aspect is designed for success and enjoyment.
Taste: Each Classic Christmas Sugar Cookie is a symphony of buttery richness and sweet perfection. The simple, authentic flavor serves as an ideal base for any frosting, creating a harmonious blend that’s utterly irresistible. We’re talking about a cookie so delicious, even Santa himself would declare it his absolute favorite, deserving of a prime spot on his plate every Christmas Eve!
Texture: Experience a truly remarkable texture with every bite. These cookies are wonderfully soft, incredibly tender, and possess a delightful chewiness that melts in your mouth. The edges achieve a delicate, very lightly crisp, golden finish, delivering that quintessential sugar cookie snap and satisfying bite. This combination ensures a perfect balance that complements any frosting, from creamy buttercream to delicate royal icing.
No-Spread Guarantee: One of the most frustrating aspects of baking cut-out cookies is watching your carefully crafted shapes lose their form in the oven. This recipe is meticulously developed to be a “no-spread” dough. This means your intricate snowflakes, charming gingerbread men, and festive stars will emerge from the oven looking precisely as they did when you cut them, making decorating a joy, not a battle.
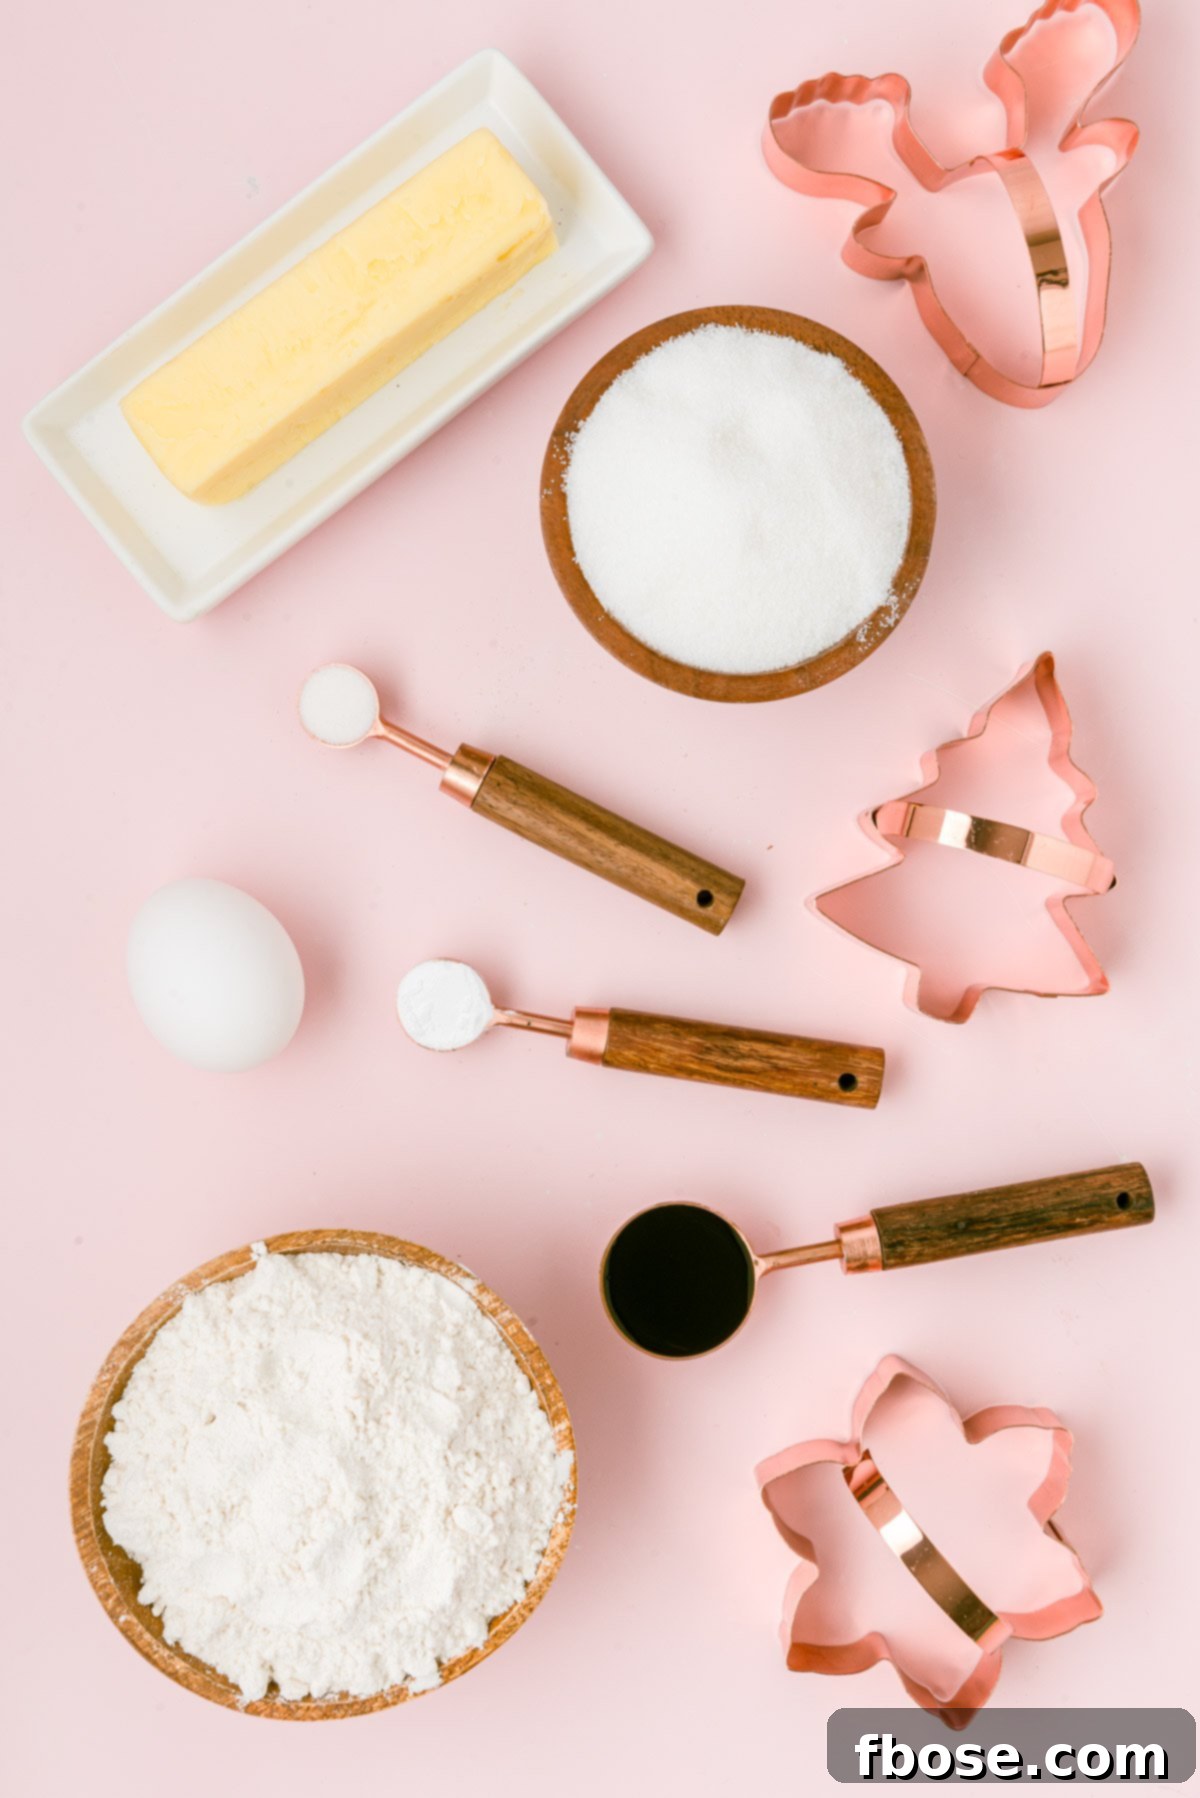
Simplicity & Accessibility: With just seven common ingredients that are likely already in your pantry, this recipe is incredibly accessible. You won’t need to hunt for obscure specialty items, making impromptu baking sessions a breeze. The straightforward steps are perfect for bakers of all skill levels, ensuring a rewarding experience every time.
Perfect for Decorating: The flat, even surface and sturdy yet tender texture of these cookies make them the ideal canvas for all your holiday decorating ambitions. Whether you’re a seasoned cookie artist or just having fun with the kids, these cookies provide the perfect foundation for elaborate royal icing designs, generous dollops of buttercream, or a simple shower of colorful sprinkles. They hold up beautifully to handling and transportation, making them excellent for gifting and cookie exchanges.
A Timeless Tradition: More than just a dessert, these cookies carry the warmth and love of generations. Based on a family recipe passed down through sixty years, baking these cookies is an act of continuing a cherished tradition. It’s a way to connect with the past, create new memories, and infuse your home with the undeniable spirit of Christmas.
Christmas Sugar Cookies Frosting – The Choice is Yours!
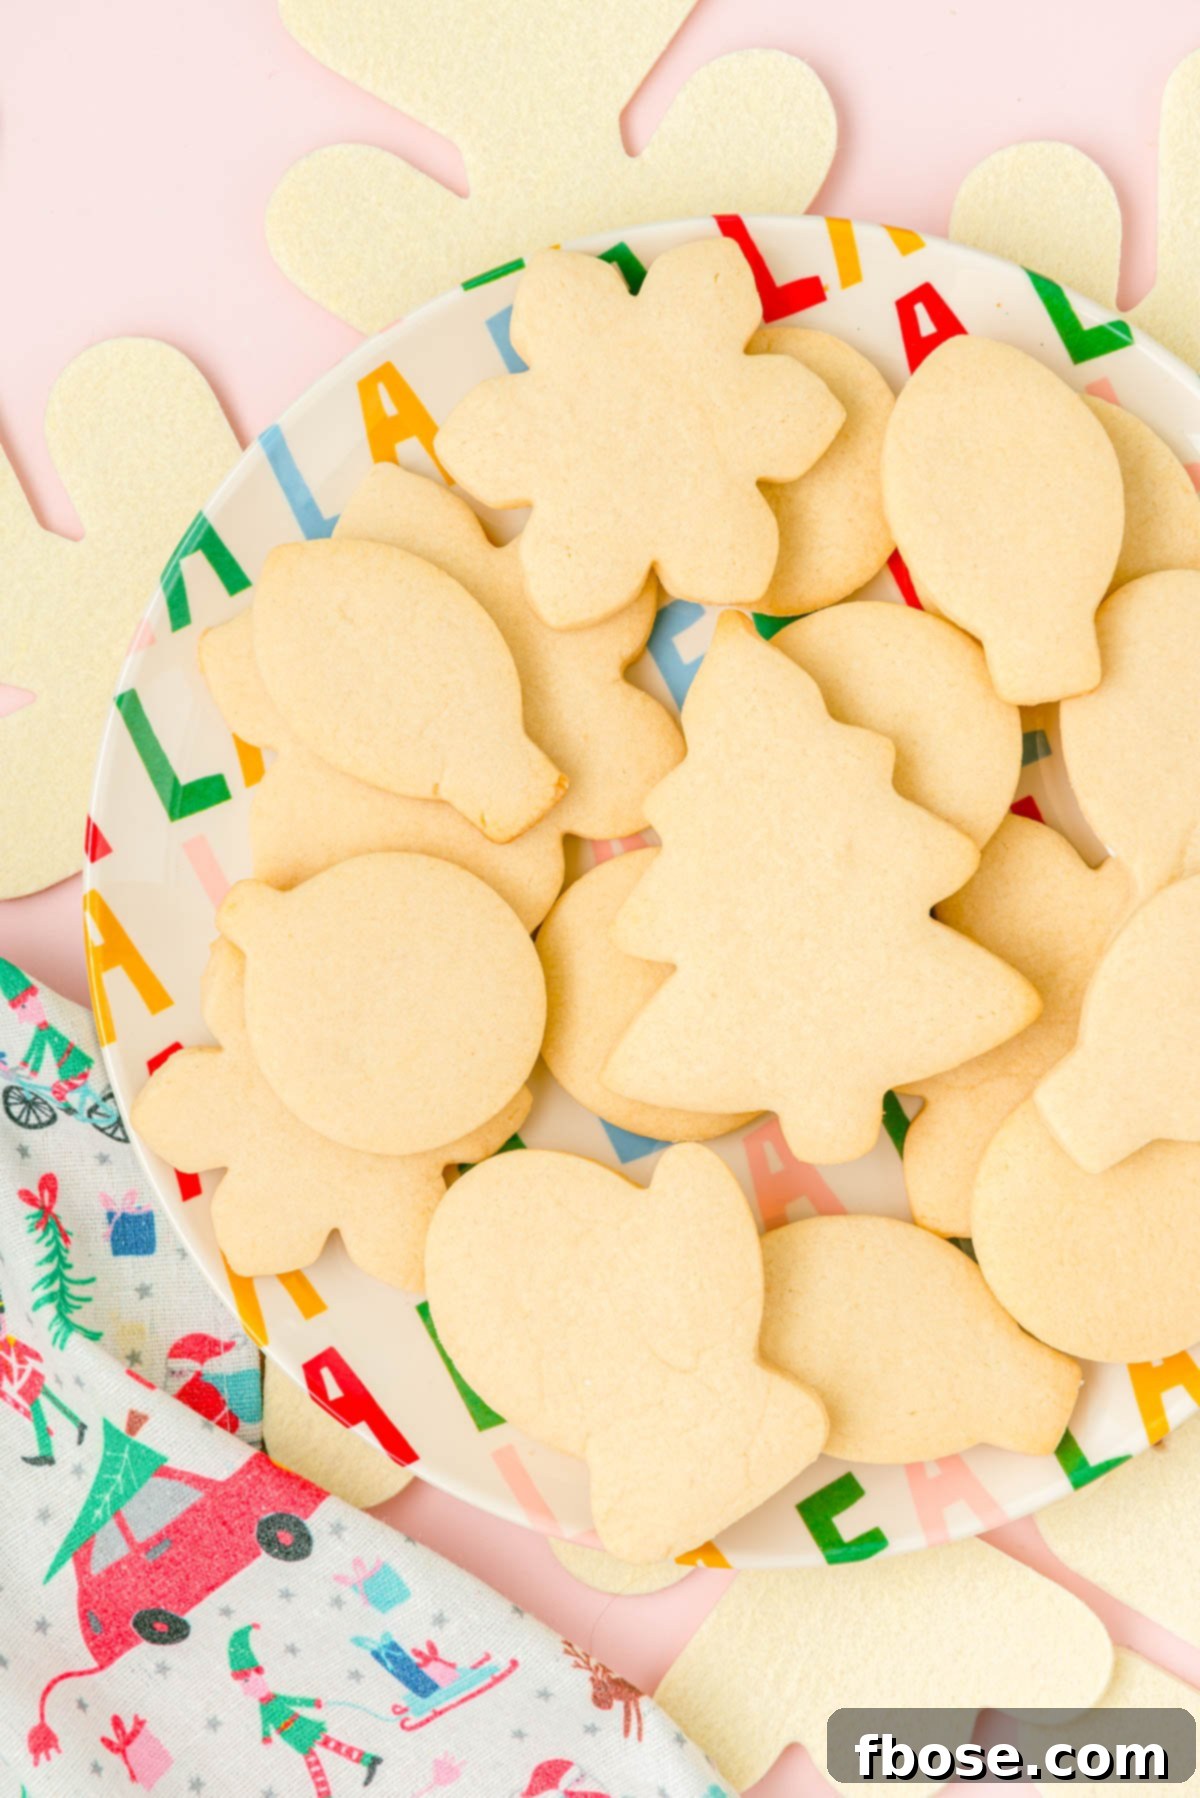
When it comes to adorning your exquisite Christmas sugar cookies, the frosting truly allows for personal expression. I’ve deliberately omitted a specific frosting recipe here because I’ve found that everyone has their unique preference for what completes their perfect sugar cookie experience. The beauty of these classic sugar cookies lies in their versatility, providing a neutral, delicious canvas for any topping you desire.
Personally, I adore pairing these cookies with a simple yet luscious American Buttercream Frosting. This quick recipe requires just five ingredients and comes together in a mere 10 minutes, offering a smooth, creamy texture that’s easy to spread and pipe. I often incorporate gel food coloring to create a vibrant palette, allowing for a diverse assortment of colors to decorate these festive sugar cookies. It’s perfect for creating soft swirls, simple outlines, or covering the entire cookie in a cloud of sweet deliciousness.
Of course, many prefer the polished, intricate artistry that royal icing offers. Royal icing dries hard, creating a crisp, durable finish that’s ideal for elaborate designs, detailed flooding, and precise piping. While it requires a bit more technique and drying time, the stunning results are often worth the extra effort for those who enjoy cookie decorating as a craft.
And for those busy holiday seasons when time is a luxury, there’s absolutely no shame in reaching for a can of high-quality store-bought frosting! It’s a fantastic, quick, and simple option that still allows for plenty of creative fun and delicious results. The goal is to enjoy the process and the cookies, no matter your frosting preference.
Expert Tips for Baking Perfect Classic Christmas Sugar Cookies
Achieving bakery-quality Christmas sugar cookies at home is entirely within reach with a few simple yet crucial tips. These techniques will help ensure your cookies are beautifully shaped, perfectly textured, and utterly delicious.
- Proper Portioning for Success: Once your delicious cookie dough is perfectly mixed, resist the urge to roll out the entire batch at once. Instead, divide the dough in half. Shape each half into a flat disc, then wrap them snugly in cling wrap. This method serves multiple purposes: it significantly speeds up the chilling process by exposing more surface area, and it creates a much more manageable size for rolling out, preventing overworking the dough and making cutting a breeze.
- The Critical Role of Chilling: This is a non-negotiable step, especially if you’re aiming for perfectly defined cut-out cookies. Skipping the chilling process will inevitably lead to your cookies spreading in the oven, losing their charming shapes. Chilled dough is firm, easy to handle, and crucial for ensuring your cookie cutters create crisp, clean edges that hold beautifully during baking. Aim for at least 2 hours, or even overnight for the best results.
- Achieving the Ideal Thickness: For that perfect balance of softness and a slight chew, I’ve found that rolling the dough out to precisely 1/4 inch thick is key. Too thin, and your cookies might become brittle; too thick, and they might not bake evenly. Using a rolling pin with adjustable guides or two pieces of dowel rod of 1/4 inch thickness placed on either side of your dough can help ensure uniform thickness across the entire sheet.
- Flawless Cookie Cutting Techniques: To prevent your dough from stubbornly sticking to your intricate cookie cutters, a little preparation goes a long way. Lightly spray your cookie cutters with a non-stick cooking spray, or simply dip them into a small bowl of flour between each cut. Tap off any excess flour before pressing. This simple trick ensures the dough releases cleanly and effortlessly, making the cookie cutting process smooth, efficient, and mess-free.
- Don’t Overbake: Sugar cookies are best when they remain soft and tender. Keep a close eye on them in the oven. They are done when the edges are just barely golden brown and the centers still look slightly soft. Overbaking can lead to dry, crumbly cookies.
- Cooling Protocol: Allow your freshly baked cookies to set on the baking sheet for a few minutes after removing them from the oven. They will continue to cook slightly and firm up. Then, carefully transfer them to a wire rack to cool completely. This ensures proper air circulation, preventing the bottoms from becoming soggy and preparing them for the perfect canvas for frosting.
Step-by-Step: How to Make Perfect Cut-Out Christmas Sugar Cookies
Crafting these classic Christmas sugar cookies is a delightful process that’s easier than you might think. Follow these detailed steps to ensure perfectly shaped, delicious treats every time.
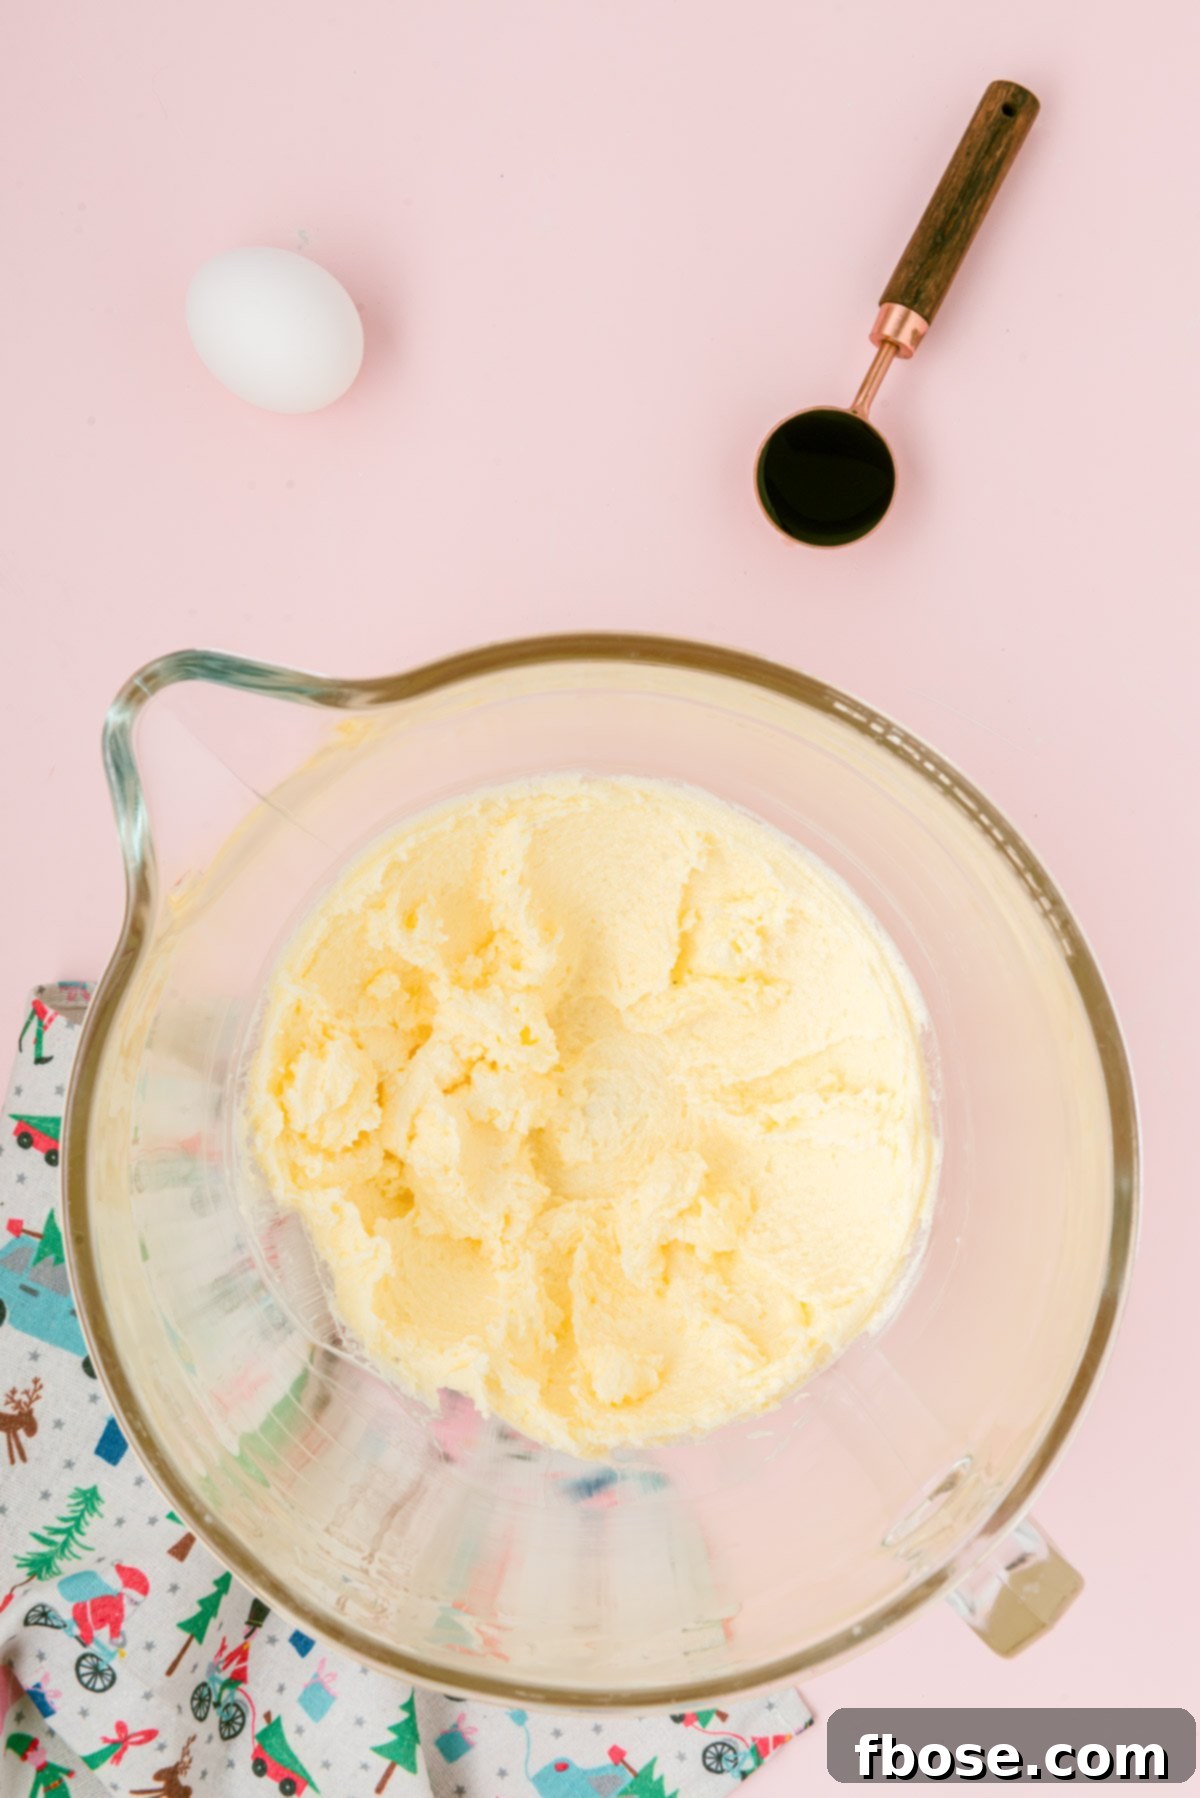
Step 1: Creaming Butter and Sugar to Perfection: Begin by placing your softened unsalted butter and granulated sugar into a large mixing bowl or the bowl of a stand mixer fitted with a paddle attachment. Beat these two ingredients together on high speed until the mixture transforms into a light, fluffy, and pale-yellow consistency. This aeration step is crucial for the cookies’ tender texture, incorporating air that will help them achieve that desired softness.
Step 2: Incorporating the Wet Ingredients: With the mixer still running on low speed, add the large egg one at a time, ensuring each egg is fully incorporated into the butter and sugar mixture before adding the next. Follow this by adding the vanilla extract. Mix until everything is beautifully combined and smooth, scraping down the sides of the bowl as needed to ensure all ingredients are evenly blended.
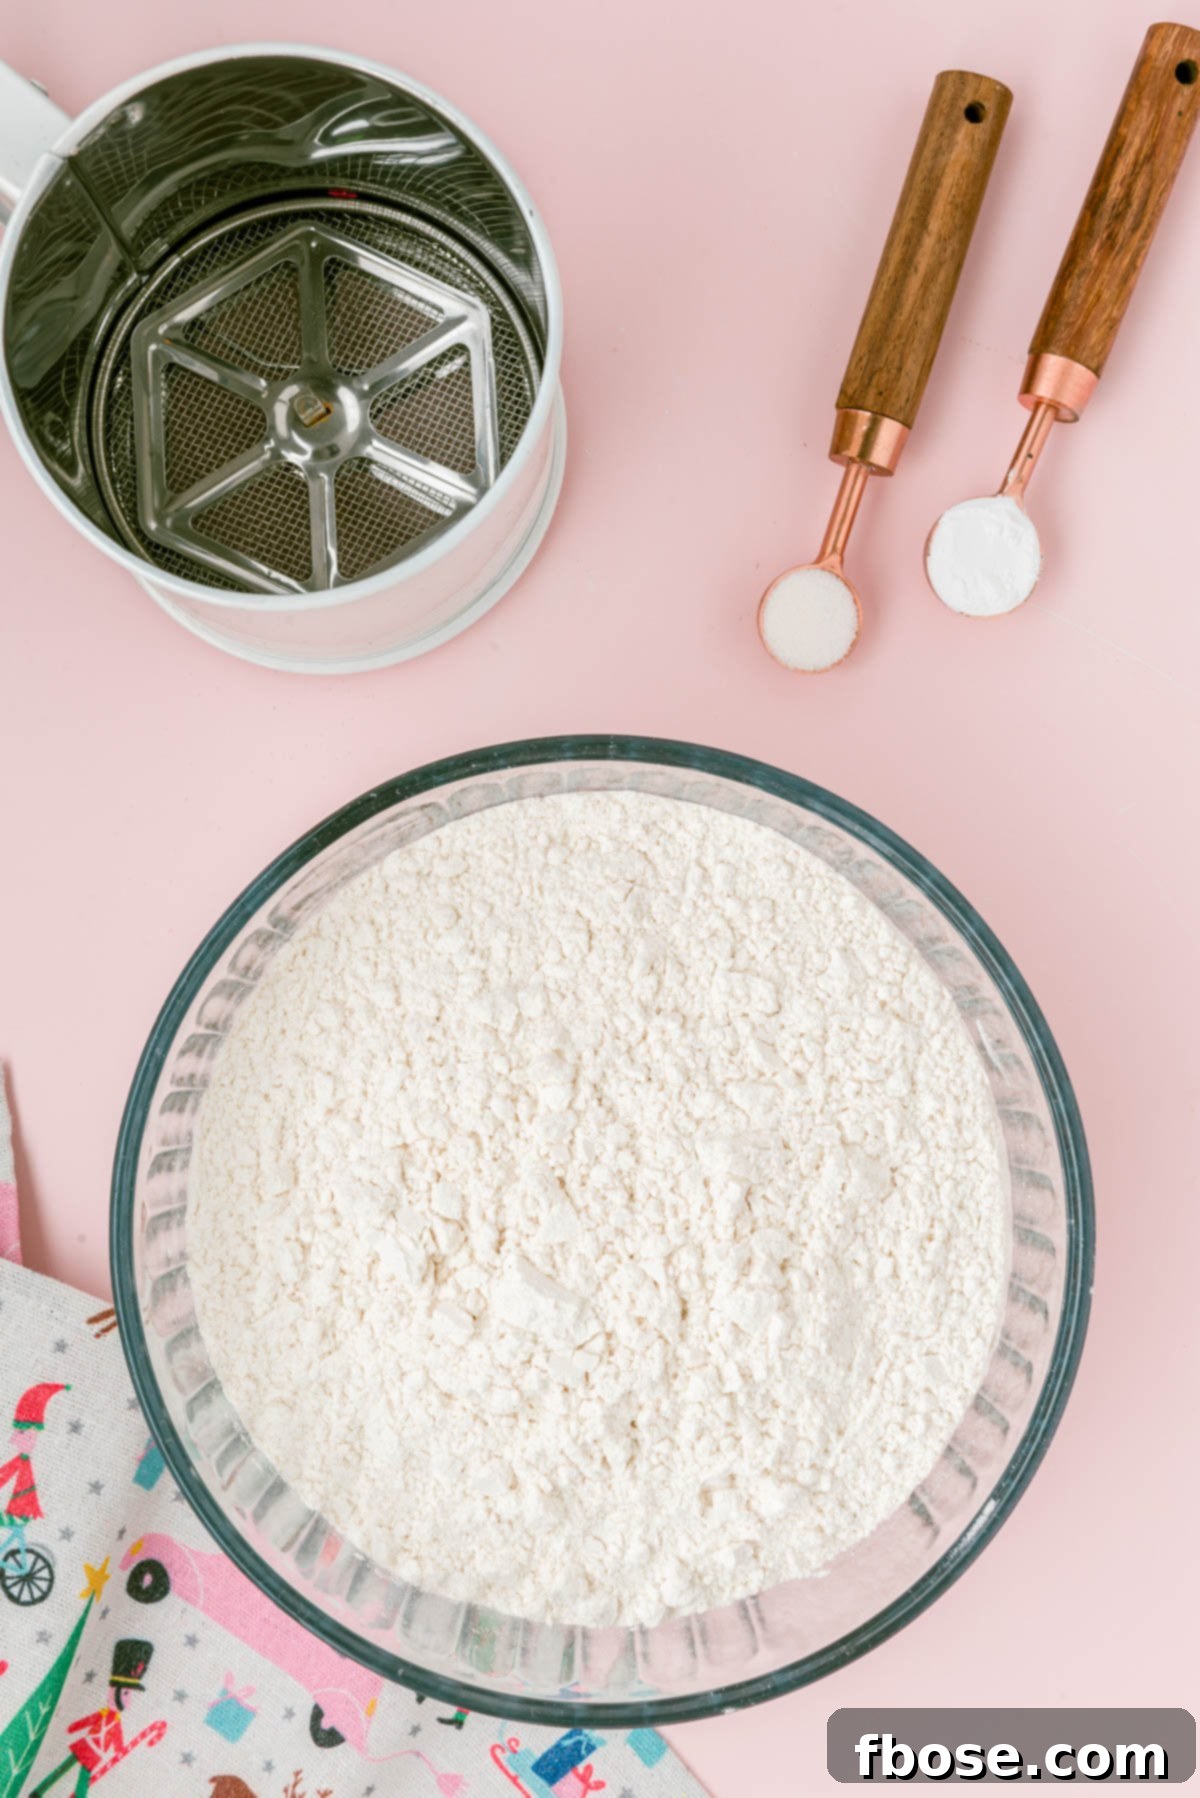
Step 3: Preparing the Dry Ingredients: In a separate, medium-sized bowl, use a fine-mesh sieve to sift together the all-purpose flour, baking powder, and salt. Sifting is important for removing any lumps and evenly distributing the leavening agent and salt, which contributes to a consistent cookie texture.
Step 4: Combining Wet and Dry Mixtures: Gradually add the sifted flour mixture to the butter mixture in three equal additions (approximately 1 cup each). Mix at a low speed after each addition, just until the flour is barely combined. Be careful not to overmix at this stage, as overworking the dough can develop the gluten in the flour, resulting in tough cookies. Once all the flour is added and just combined, increase the speed to medium-high and mix briefly, just until a cohesive dough forms.
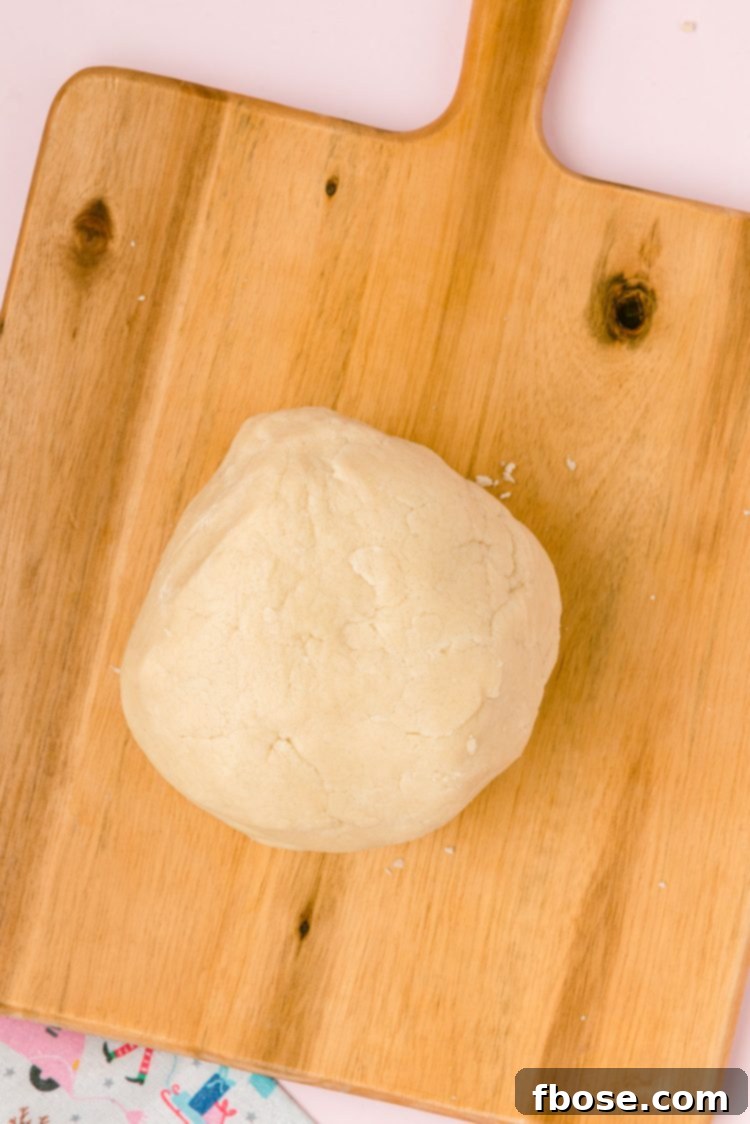
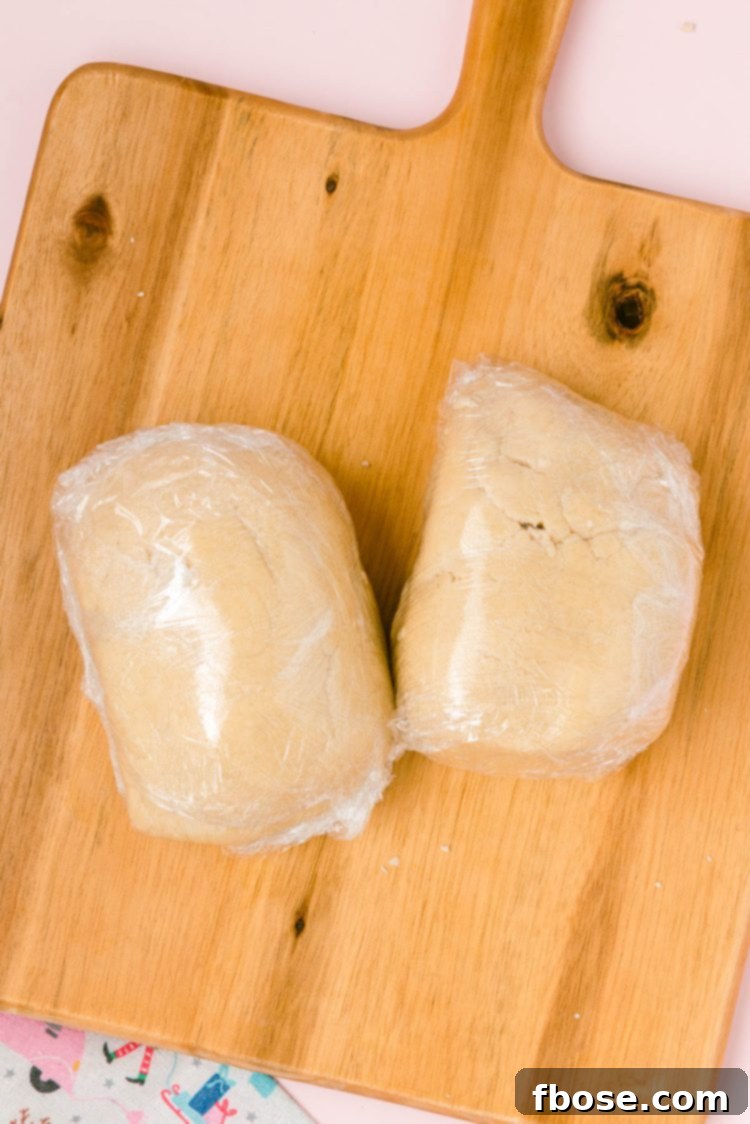
Step 5: Chilling for Perfect Shapes: Gently shape the dough into a cohesive ball. Divide this ball in half, and then shape each half into a flat disc. Wrap each disc tightly in plastic wrap to prevent it from drying out, and place them in the refrigerator to chill for at least 2 hours. This chilling time is essential for the dough to firm up, making it easier to roll and ensuring your cut-out cookies maintain their festive shapes during baking.
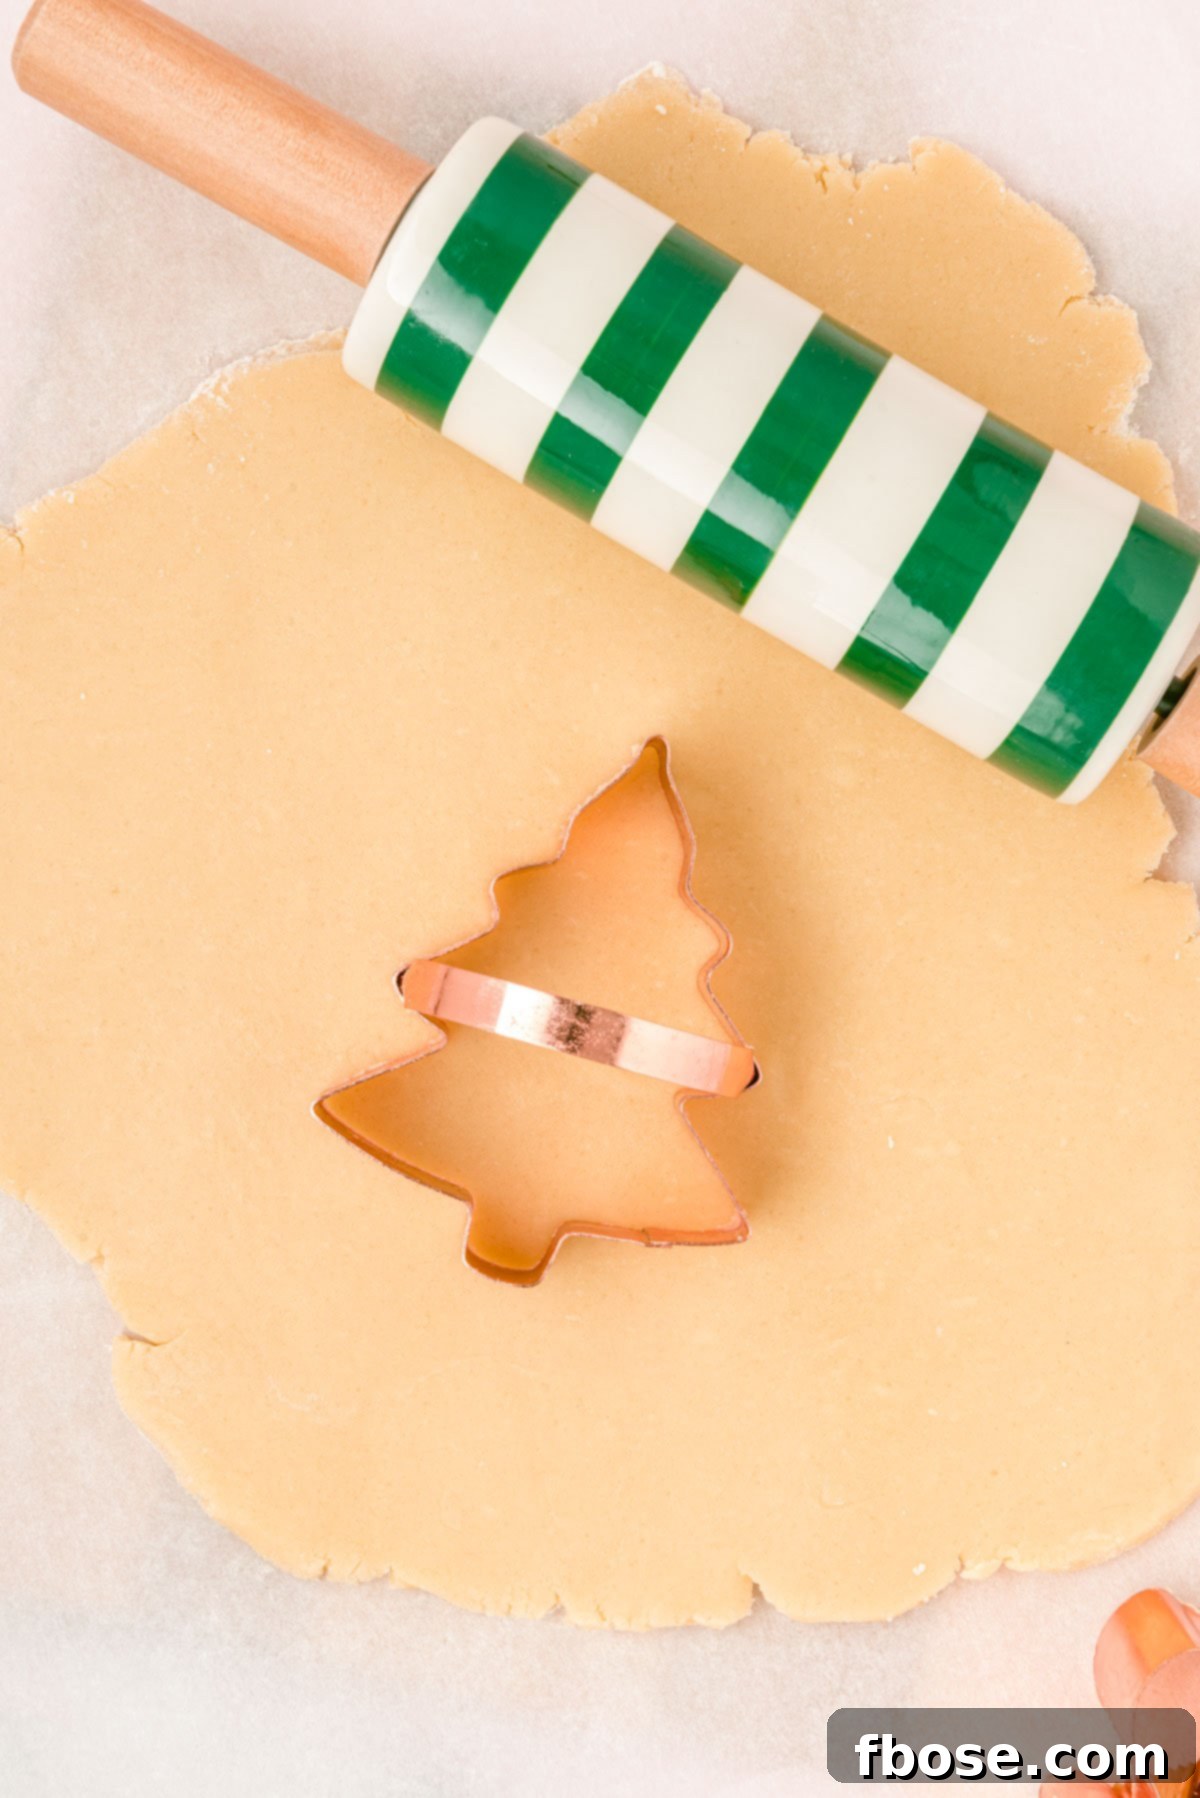
Step 6: Rolling the Dough: Once the dough is thoroughly chilled, remove one disc from the refrigerator (keep the other chilled). Lightly flour a clean work surface and your rolling pin. Roll the dough out evenly to be about 1/4-inch thick. This consistent thickness is key for even baking and a uniform texture across all your cookies. Preheat your oven to 375°F (190°C) as you roll.
Step 7: Cutting Out Festive Shapes: To prevent sticking, lightly spray your favorite cookie cutters with a non-stick spray or dust them with flour. Press the cutters firmly into the rolled dough to create your desired shapes. Carefully transfer the cut-out cookies to a baking sheet lined with parchment paper, leaving about an inch between each cookie.
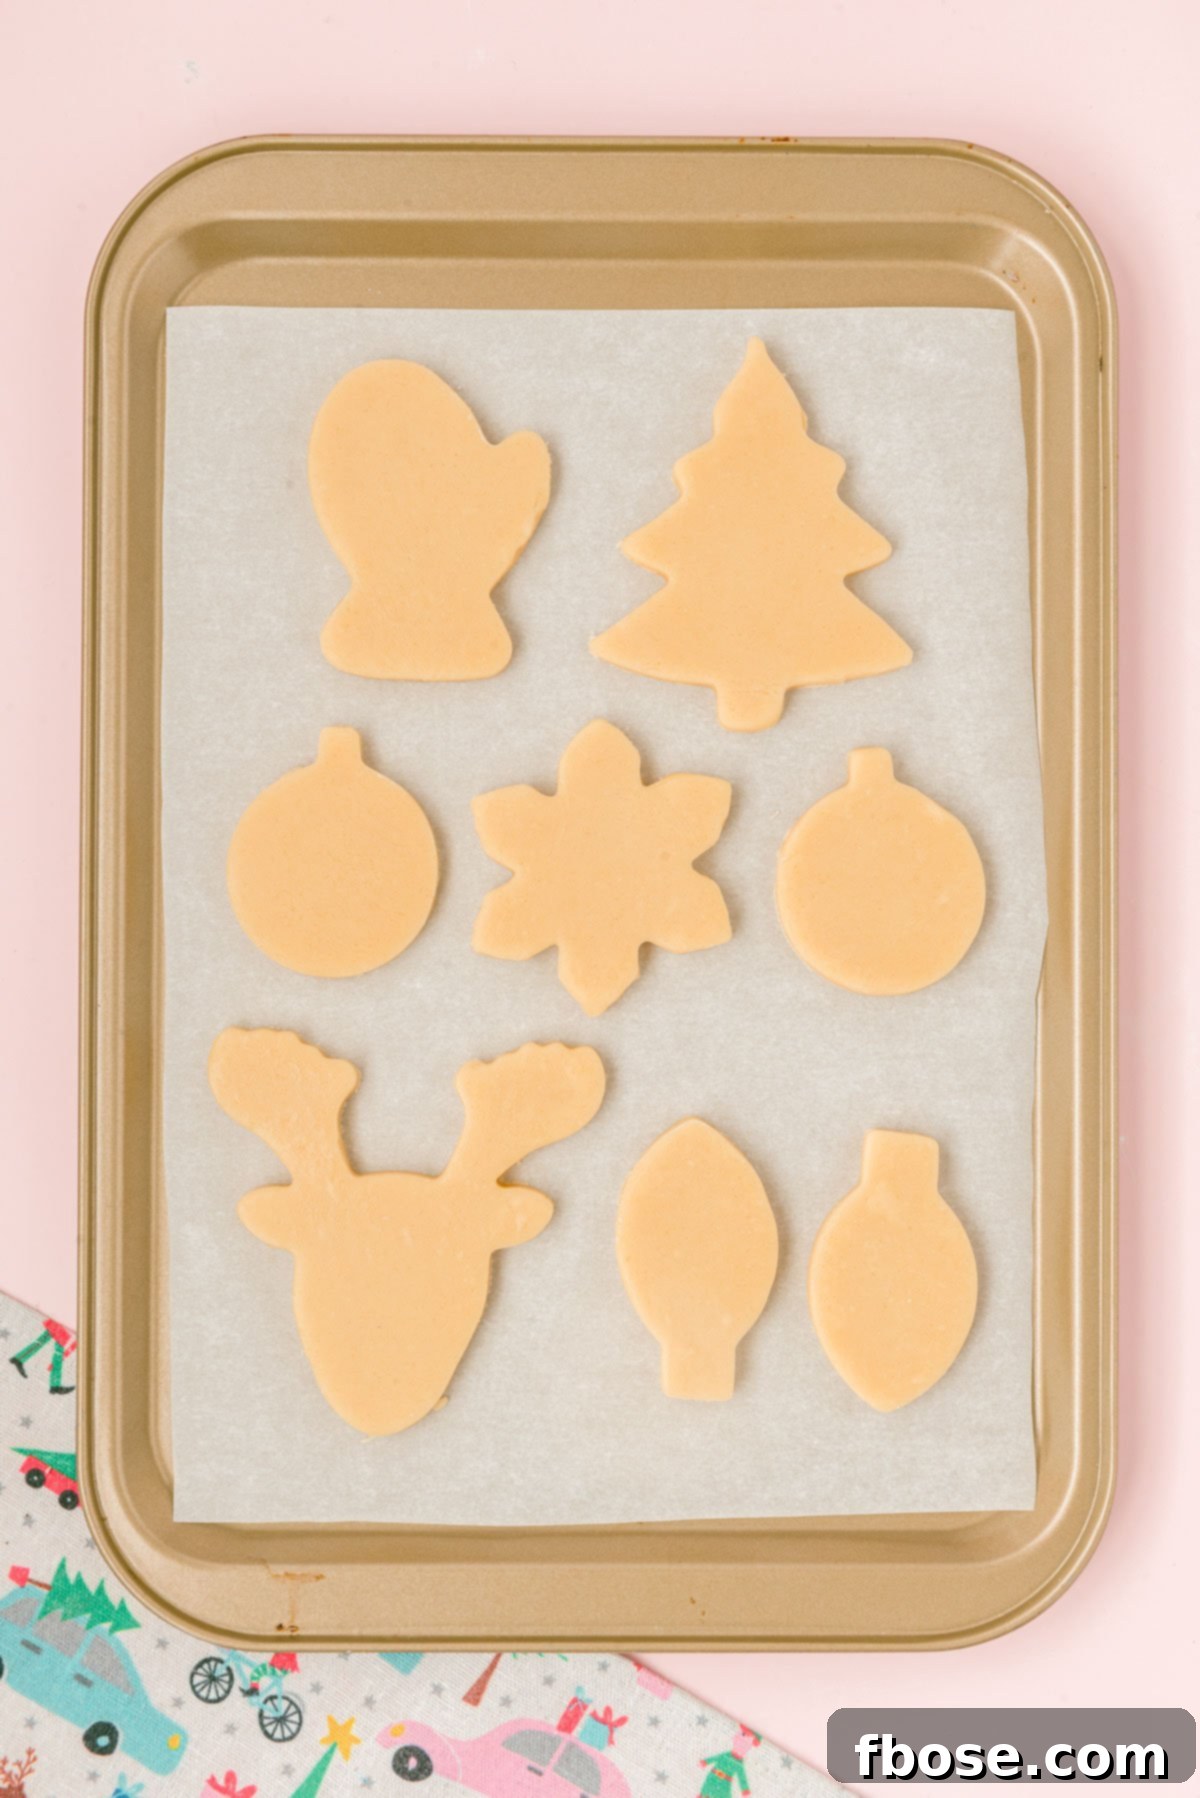
Step 8: Baking and Cooling: Place the parchment-lined baking sheet with your cut-out cookies into the preheated oven. Bake for 8-10 minutes, or until the edges are just lightly golden and the centers appear set. The exact baking time will vary based on your oven and cookie thickness, so watch them closely. Remove from the oven and let the cookies cool on the baking sheet for a few minutes before carefully transferring them to a wire rack to cool completely. It’s absolutely essential that the cookies are fully cooled before you begin the exciting process of icing and decorating them.
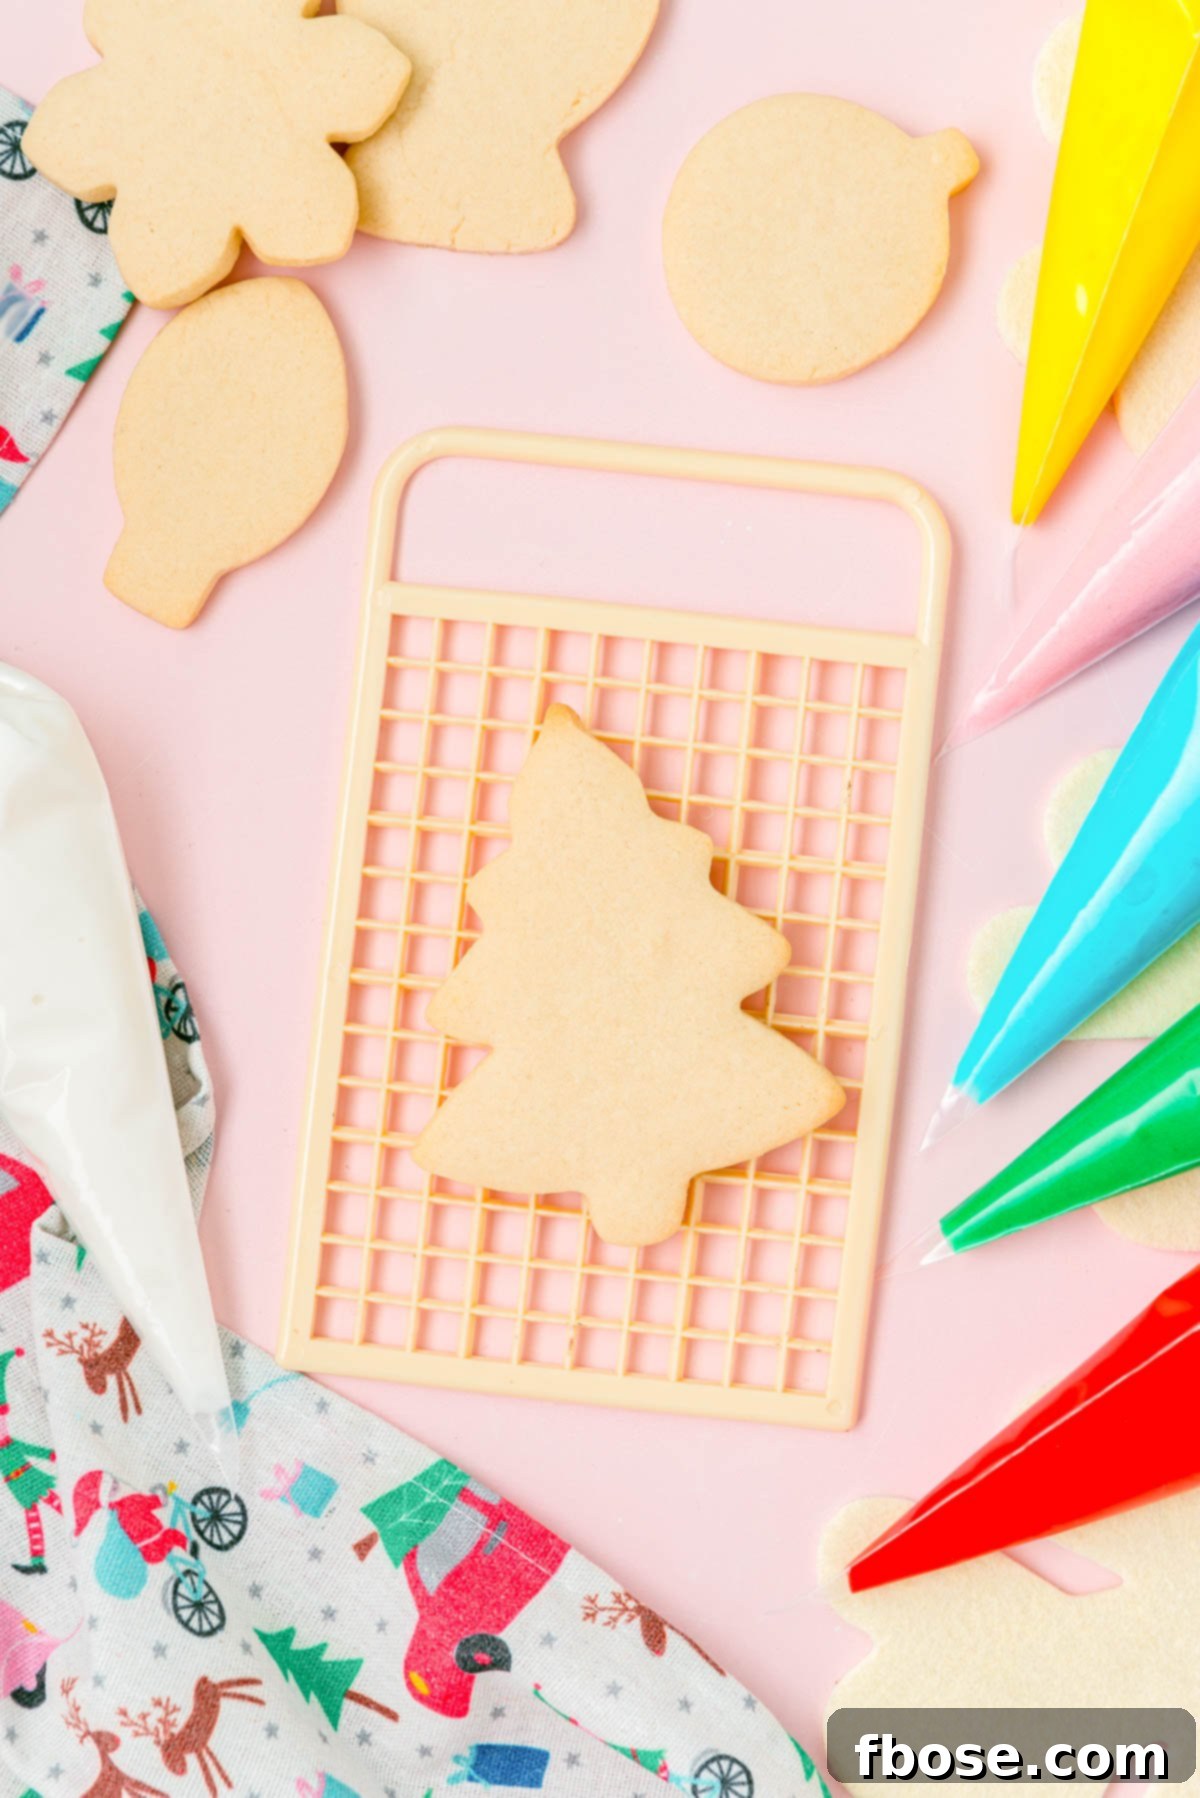
Discover More Fun Christmas Cookie Recipes for Your Holiday Spreads!
While these Classic Cut-Out Sugar Cookies are truly an anticipated treat every year, bringing smiles and festive cheer, the holiday season offers a wonderful opportunity to expand your baking repertoire. There’s a whole world of delightful Christmas cookies to explore, perfect for gifting, cookie exchanges, or simply enjoying with family and friends.
If you’re eager to add another unique flavor and texture to your holiday baking, you absolutely must try these Christmas Crack Cookies. Made with irresistible toffee bits and crisp saltine crackers, they offer a delightful sweet and salty crunch that’s truly addictive – a definite contender for your holiday favorites!
For those seeking elegant, tin-worthy cookies that are perfect for gifting or impressing guests, consider these exquisite options. The delicate and jam-filled Linzer Cookies, with their peek-a-boo centers, are always a showstopper. The beloved Peanut Butter Blossoms, featuring a soft peanut butter base crowned with a chocolate kiss, are a nostalgic classic. And for a sophisticated twist, these chewy White Chocolate Cranberry Cookies offer a festive blend of sweet and tart flavors.
However, if you’re looking for another incredibly fun and visually stunning cookie recipe to create with the kids, these enchanting Stained Glass Cookies are a must-try! Crafted with simple cookie cutters and colorful Jolly Ranchers candies, they create beautiful, translucent “windows” that catch the light, making them as magical to look at as they are to eat.

Optimal Storage for Your Classic Christmas Cookies
Proper storage is key to keeping your delicious Classic Christmas Cookies fresh, soft, and ready to enjoy for as long as possible. Whether they are frosted or plain, a few simple steps will ensure their delightful texture and flavor endure.
To store your baked and cooled cookies, place them in an airtight container. This prevents air exposure, which can quickly lead to stale or hardened cookies. If your cookies are frosted, especially with delicate designs, it’s crucial to separate the layers with parchment paper or wax paper. This barrier prevents the frosted cookies from sticking together, smudging designs, or transferring colors, preserving their beautiful appearance.
Store the cookies at room temperature in a cool, dry place. When stored correctly, these delightful treats will maintain their optimal freshness and softness for up to one week. Avoid placing them near heat sources or in direct sunlight, which can compromise their texture and melt any frosting.
Can I Bake The Cut-Out Cookies And Then Store Them In The Freezer To Decorate Later?
Absolutely, preparing your cut-out cookies in advance and freezing them for later decoration is an excellent strategy for holiday meal prep and managing your baking schedule! This method works wonderfully and can save you a significant amount of time during the busy festive season.
To properly freeze unfrosted cookies, I highly recommend placing them on a baking sheet in a single layer and “flash-freezing” them. This means putting the uncovered baking sheet directly into the freezer for about 30-60 minutes, or until the cookies are solid. Flash-freezing prevents the cookies from sticking together when stored in bulk.
After they are flash-frozen, transfer the solid cookies into a heavy-duty freezer-safe Ziploc bag or an airtight container. Layer them with parchment paper if you’re stacking them. This method ensures that the cookies don’t all freeze together in one big, unmanageable lump, making it easy to grab just a few at a time for decorating.
When stored correctly in the freezer, your unfrosted cookies will maintain their quality and flavor for up to 3 months! When you’re ready to decorate, simply remove the desired number of cookies from the freezer and let them thaw completely at room temperature before applying your favorite frosting.
Your Most Asked Questions About Christmas Sugar Cookies Answered!
Yes, absolutely! This versatile dough isn’t exclusively for cut-out shapes. You can easily use it to make delicious drop sugar cookies as soon as it’s mixed, without the need for chilling. Simply use a cookie scoop to portion out even balls of dough and drop them onto a parchment-lined cookie sheet. The baking time will be similar, typically 10 to 13 minutes, until the edges are beautifully golden brown. The result will be wonderfully buttery, pillowy, and delightfully chewy sugar cookies, perfect for a quick treat when you don’t have time for intricate decorating.
A beloved and effective trick passed down through generations by my mother and grandmother is incredibly simple: place a fresh piece of bread (any type will do, but plain white bread works best) into the bag or airtight container along with your unfrosted cookies. The bread will release its moisture, which the cookies will absorb, keeping them wonderfully soft and fresh for days. This clever method allows you to bake your cookies several days in advance, and they’ll still be as tender as the moment they emerged from the oven. Just be sure to replace the bread every day or two as it dries out.
While unsalted butter is generally preferred in baking recipes, including this one, for greater control over the overall salt content, you can certainly use salted butter if that’s what you have on hand. If you opt for salted butter, simply omit the additional 1/2 teaspoon of salt from the recipe. Be aware that the flavor might be slightly different, as the salt content in salted butter can vary between brands. However, it will still yield delicious cookies!
Cookie spreading is a common issue with a few potential culprits. The most frequent reason is insufficient chilling time for the dough. Cold dough helps the butter stay firm longer in the oven, preventing it from melting too quickly and causing the cookies to spread. Other reasons can include: your butter being too soft when you started creaming it, using too much flour or not enough, an oven that isn’t at the correct temperature (too low), or even an imbalance in your dry ingredients (e.g., too much baking powder).
Absolutely! While vanilla extract is a classic choice and provides a perfect base, feel free to get creative with other flavorings to customize your Christmas sugar cookies. A touch of almond extract can add a delightful marzipan-like note, lemon or orange zest can brighten the flavor, or a hint of peppermint extract can create a truly festive cookie. Start with a small amount (1/4 to 1/2 teaspoon) and adjust to your taste preferences.
Yes, this dough is fantastic for making ahead! Once you’ve mixed the dough and formed it into discs (as instructed in Step 5), you can store it wrapped tightly in plastic wrap in the refrigerator for up to 3-5 days. This makes holiday baking much more flexible. When you’re ready to bake, simply remove the dough from the fridge about 15-20 minutes before rolling to allow it to soften slightly, making it easier to work with without becoming too warm.

Let’s Connect and Share the Baking Joy!
Your baking journey with this Classic Christmas Sugar Cookie recipe is important to us! If you’ve given this delightful recipe a try, we would absolutely love to hear about your experience. Please share your thoughts and let us know how you liked it in the comments section below, and don’t forget to leave a review – your feedback helps our community of bakers!
And of course, we’re always thrilled to see your beautiful creations! Don’t forget to tag us – @sugarandsoulco – on Instagram and Pinterest with your festive photos. For even more inspiration and to connect with fellow baking enthusiasts, join our vibrant Sugar & Soul Show-offs Community on Facebook. It’s a fantastic place to share your bakes, ask questions, and even participate in our fun recipe challenges! Let’s spread the holiday baking cheer together!

Classic Cut-Out Christmas Sugar Cookies
Ingredients
- 1 cup unsalted butter softened
- 1 cup granulated sugar
- 1 large egg
- 1 tbsp vanilla extract
- 3 cups all-purpose flour
- 1½ tsp baking powder
- ½ tsp salt
Instructions
-
In a large bowl or stand mixer fitted with a paddle attachment, cream together the softened unsalted butter and granulated sugar on high speed until the mixture is visibly light and fluffy. This process typically takes 3-5 minutes and is crucial for the final texture.
-
Add the large egg and vanilla extract to the creamed butter and sugar. Beat until both are fully incorporated, making sure to scrape down the sides of the bowl to ensure an even mix.
-
In a separate medium bowl, sift together the all-purpose flour, baking powder, and salt. Sifting helps to eliminate lumps and ensures the dry ingredients are evenly distributed for a consistent cookie texture.
-
Gradually add the sifted flour mixture to the butter mixture in three additions. Mix at a low speed after each addition, just until the flour is completely incorporated. Be careful not to overmix, as this can lead to tough cookies.
-
Once the dough comes together, gently roll it into a ball. Divide the dough in half, then flatten each half into a disc. Wrap each disc tightly in cling wrap and chill in the refrigerator for at least 2 hours. This step is essential to prevent spreading and ensure clean cut-out shapes.
-
Preheat your oven to 375°F (190°C) about 15 minutes before you plan to bake.
-
Remove one chilled dough disc from the refrigerator. On a lightly floured surface, roll the dough out to an even 1/4 inch thickness. Consistent thickness ensures even baking.
-
To prevent sticking, lightly flour your cookie cutters or spray them with nonstick cooking spray before cutting out your desired shapes. Transfer the cut cookies to a parchment-lined baking sheet.
-
Bake for 8-10 minutes, or until the edges are just barely golden brown. Be careful not to overbake to keep the cookies soft.
-
Let the cookies cool on the baking sheet for a few minutes before transferring them to a wire rack to cool completely. Ensure they are fully cooled before proceeding with any icing or decorating.
Video
Nutrition
Did You Make This Recipe?
Don’t forget to share it with me on Instagram @sugarandsoulco and follow on Tiktok @sugarandsoulco and Pinterest @sugarandsoulco for more!
Pin Recipe
Share Recipe