
Indulge in Nostalgia: The Ultimate Milk and Cookies Cupcakes Recipe
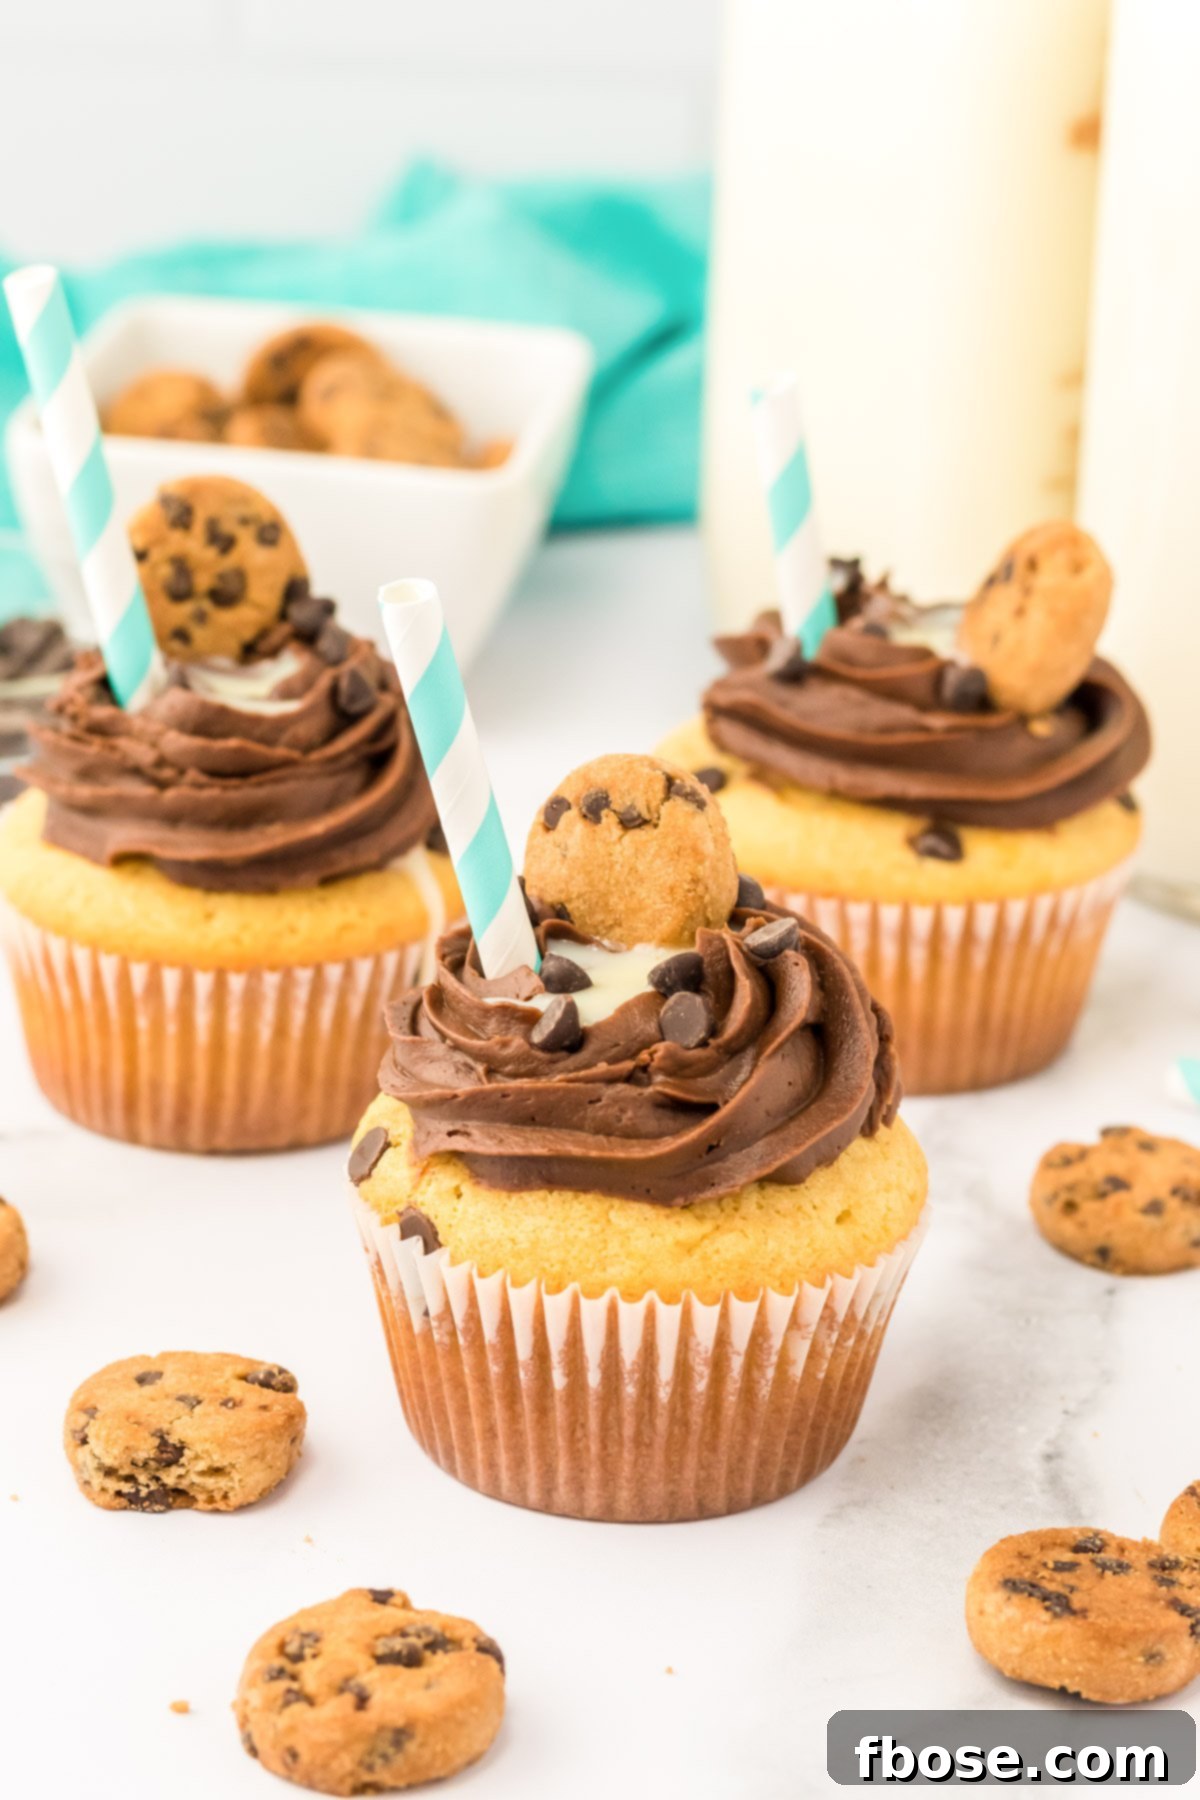
Step into a world of childhood delight with these enchanting Milk and Cookies Cupcakes! Imagine tender, moist chocolate chip cupcakes crowned with rich, homemade chocolate frosting, a delightful well of sweetened condensed milk, and an adorable mini chocolate chip cookie. These aren’t just cupcakes; they’re an experience, guaranteed to be the undisputed center of attention at every party and a heartwarming nod to everyone’s favorite classic combo.
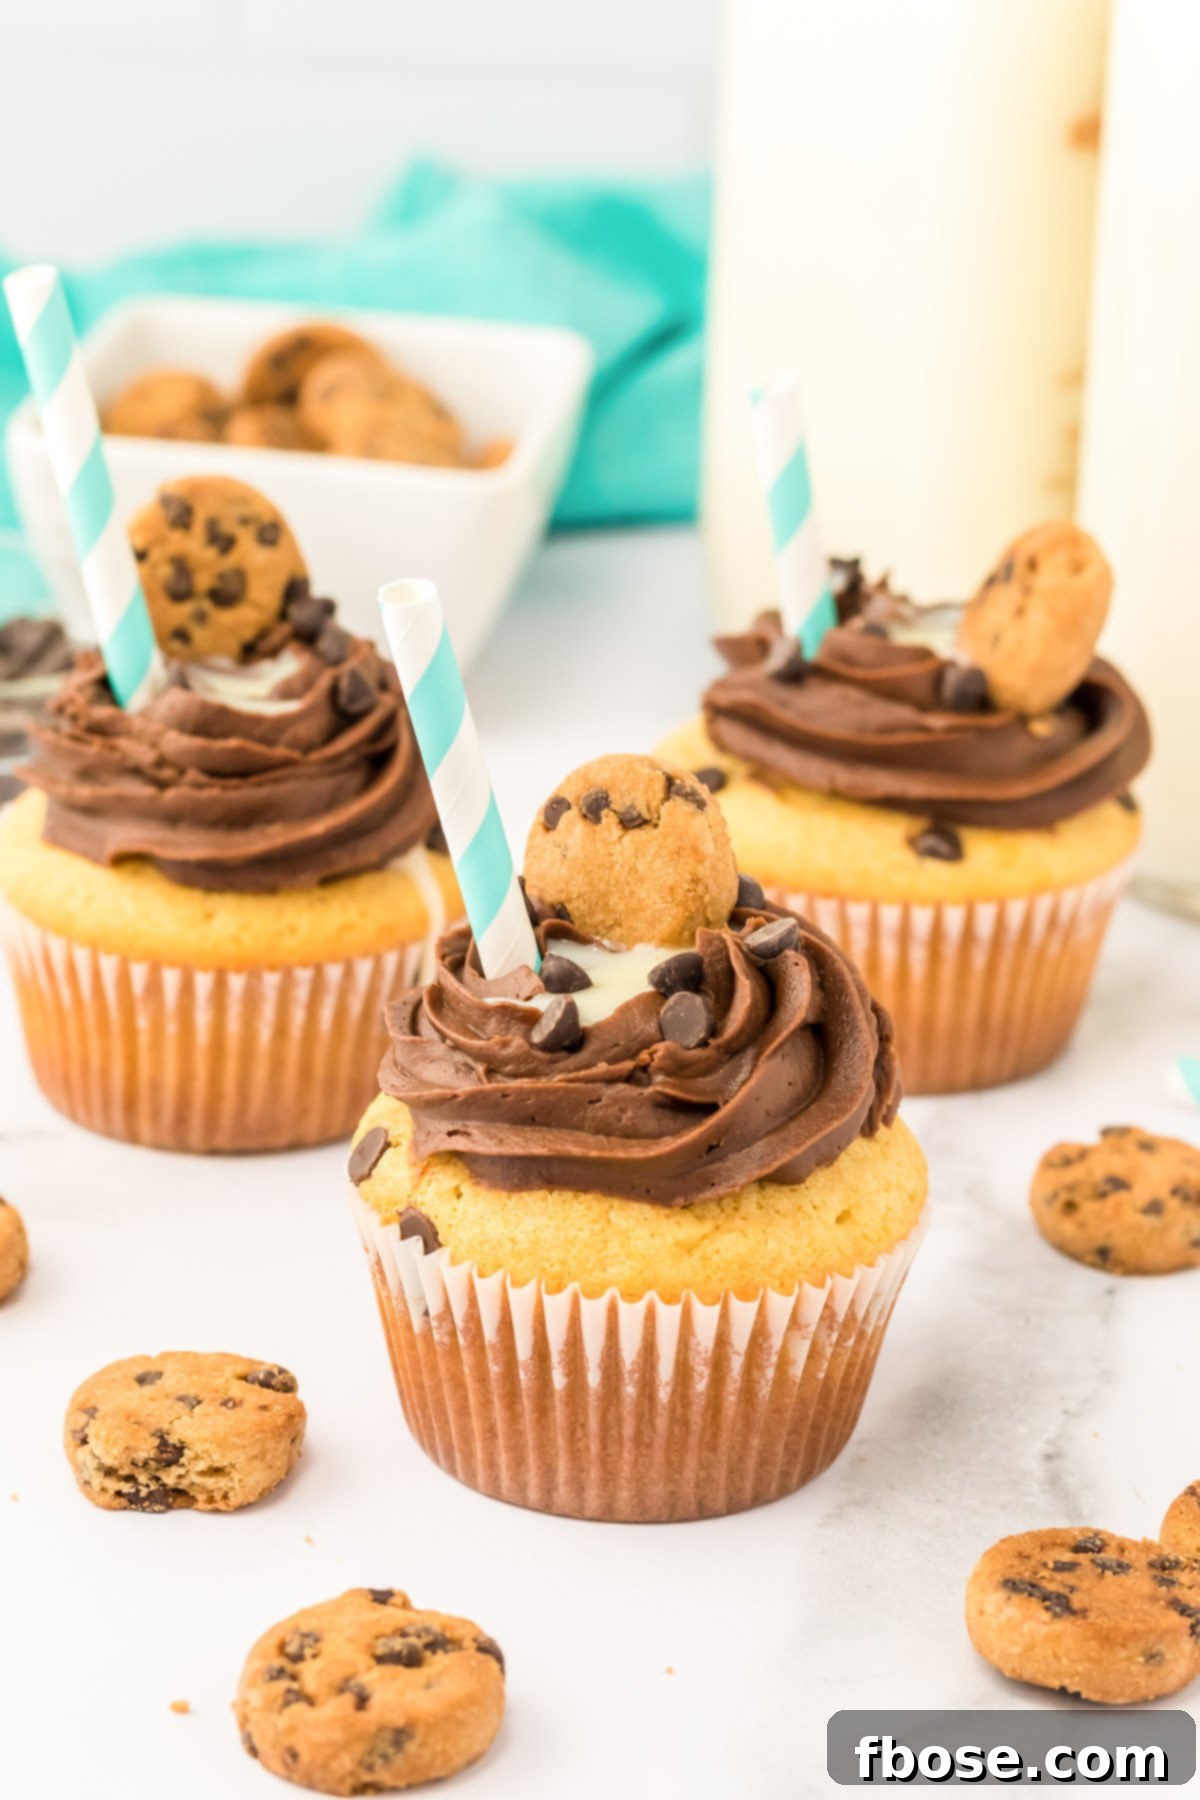
Planning a birthday party, a themed gathering, or simply craving a sweet treat that evokes pure joy? These Milk and Cookies Cupcakes are your answer. Far surpassing typical expectations, each cupcake is a miniature masterpiece featuring a hidden well of creamy sweetened condensed milk, often adorned with a playful straw, and crowned with a delightful mini cookie. They present an irresistible blend of flavors and textures that will leave your guests utterly charmed.
While their sophisticated appearance might suggest a custom order from an upscale bakery, the delightful truth is these gourmet treats are surprisingly easy to create right in your own kitchen! In just a little over an hour, you can transform simple ingredients into a dozen show-stopping, fun, and utterly delicious cupcakes. This recipe proves that homemade can be both impressive and accessible, allowing you to bring a touch of magic to any occasion without the hassle.
Why You’ll Adore These Milk and Cookies Cupcakes
Every element of these Milk and Cookies Cupcakes is thoughtfully designed to deliver an unforgettable dessert experience. From their rich flavor profile to their satisfying texture and undeniable visual appeal, these cupcakes are a true celebration of the classic pairing we all cherish.
Unforgettable Taste
These cupcakes offer far more than just a beautiful presentation; they deliver an explosion of delicious flavor with every bite. The foundation is a rich, deeply chocolatey cupcake base, studded with miniature chocolate chips, creating a harmonious blend of cocoa goodness. This is perfectly complemented by a sweet, lusciously creamy homemade chocolate frosting, which is so irresistible it’s a treat in itself. The combination of these elements creates a flavor symphony that’s both comforting and decadent, making each bite an absolute delight.
Perfectly Balanced Texture
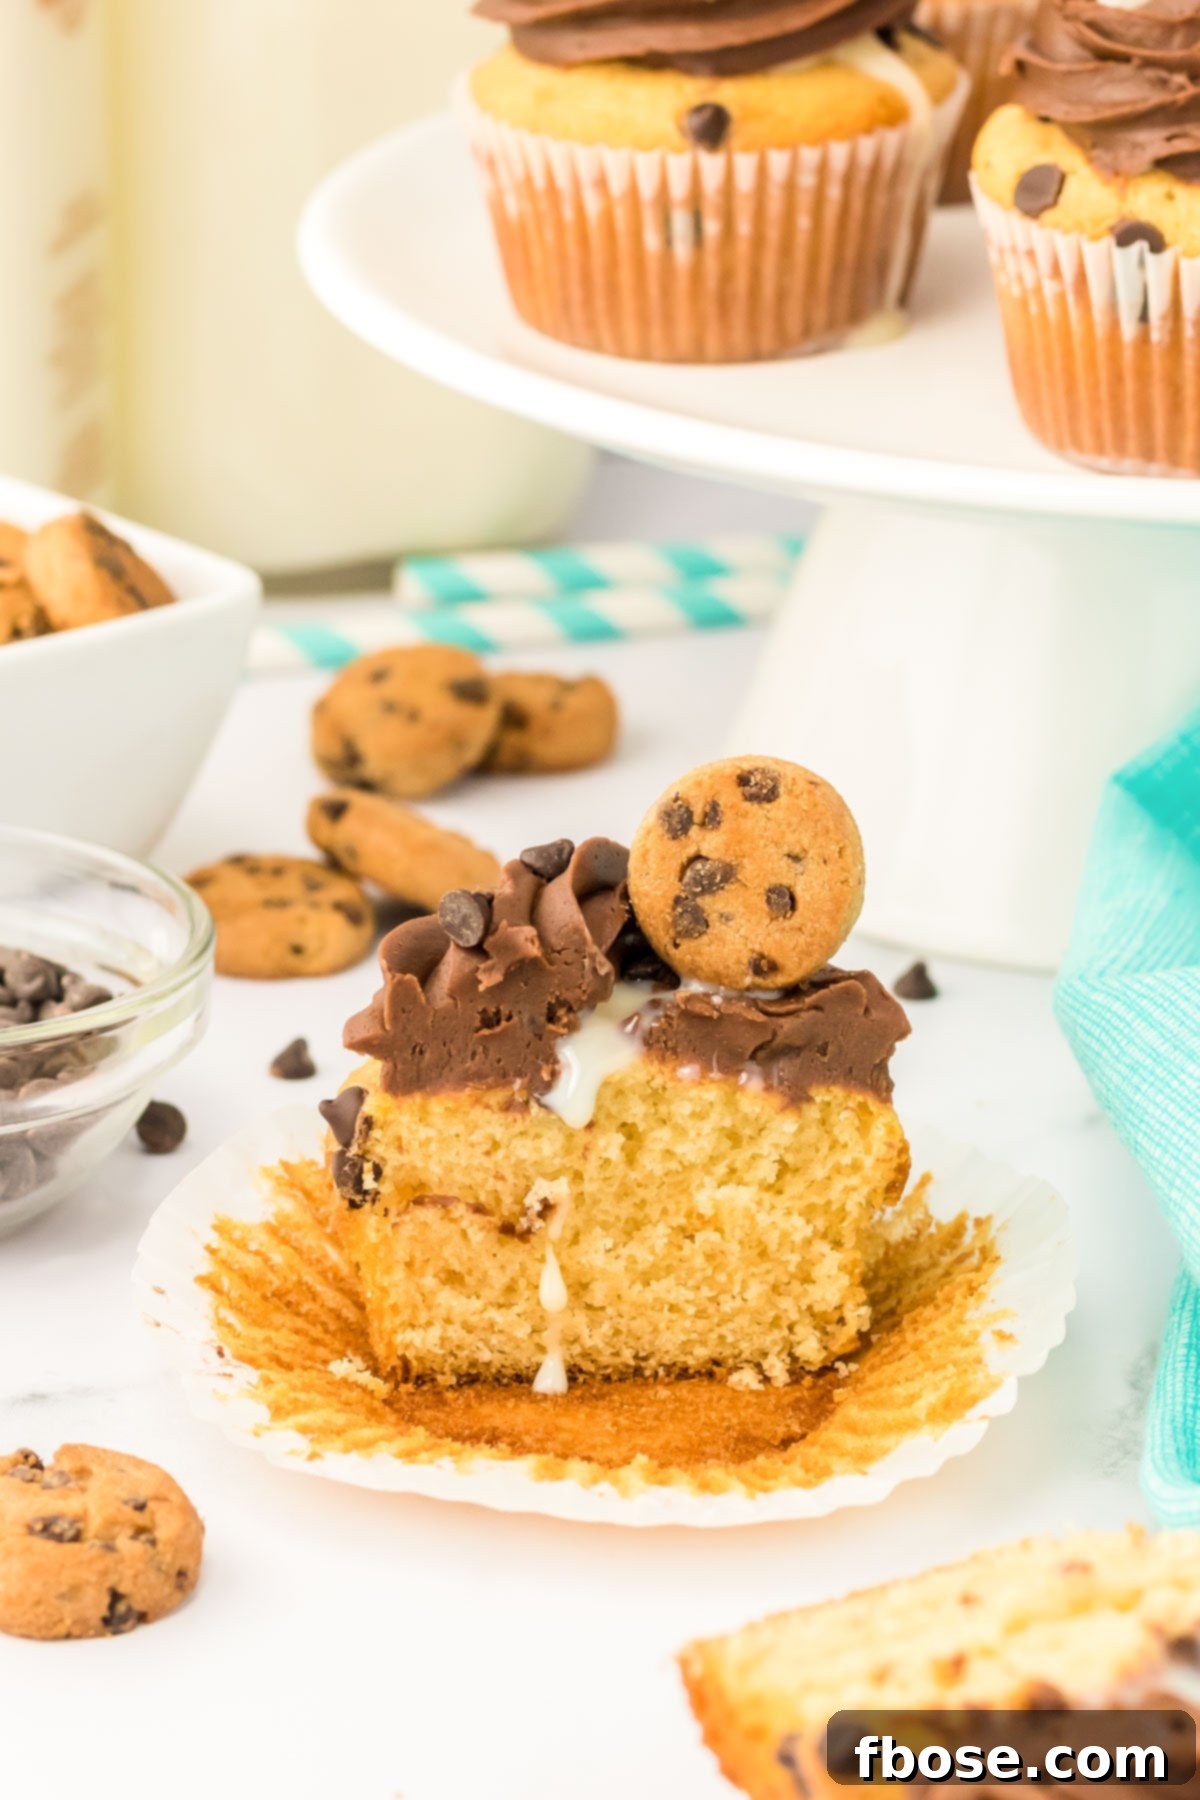
Unlike many lighter cake recipes, these cupcakes boast a unique, slightly denser texture, thanks to the inclusion of sweetened condensed milk in the batter. This density is not a flaw; it’s a feature! It provides a wonderfully moist crumb and a firm, stable foundation perfectly suited to hold all the delightful edible decorations that make these the ultimate milk & cookies dessert. The robust structure ensures your toppings stay perfectly in place, creating a satisfying chew that complements the creamy frosting and crunchy mini cookie topping.
Visual Charm and Nostalgic Appeal
Beyond taste and texture, these cupcakes are a feast for the eyes. The mini cookie garnish, the visible drizzle of condensed milk, and the option to add a tiny straw transform each cupcake into a whimsical miniature drink. This playful presentation instantly brings a smile to anyone’s face and creates a strong sense of nostalgia, reminding everyone of simpler, joyful times dipping cookies in milk. They’re not just desserts; they’re edible art that sparks conversation and joy, making them truly special for any event.
Essential Ingredients for Milk and Cookies Cupcakes
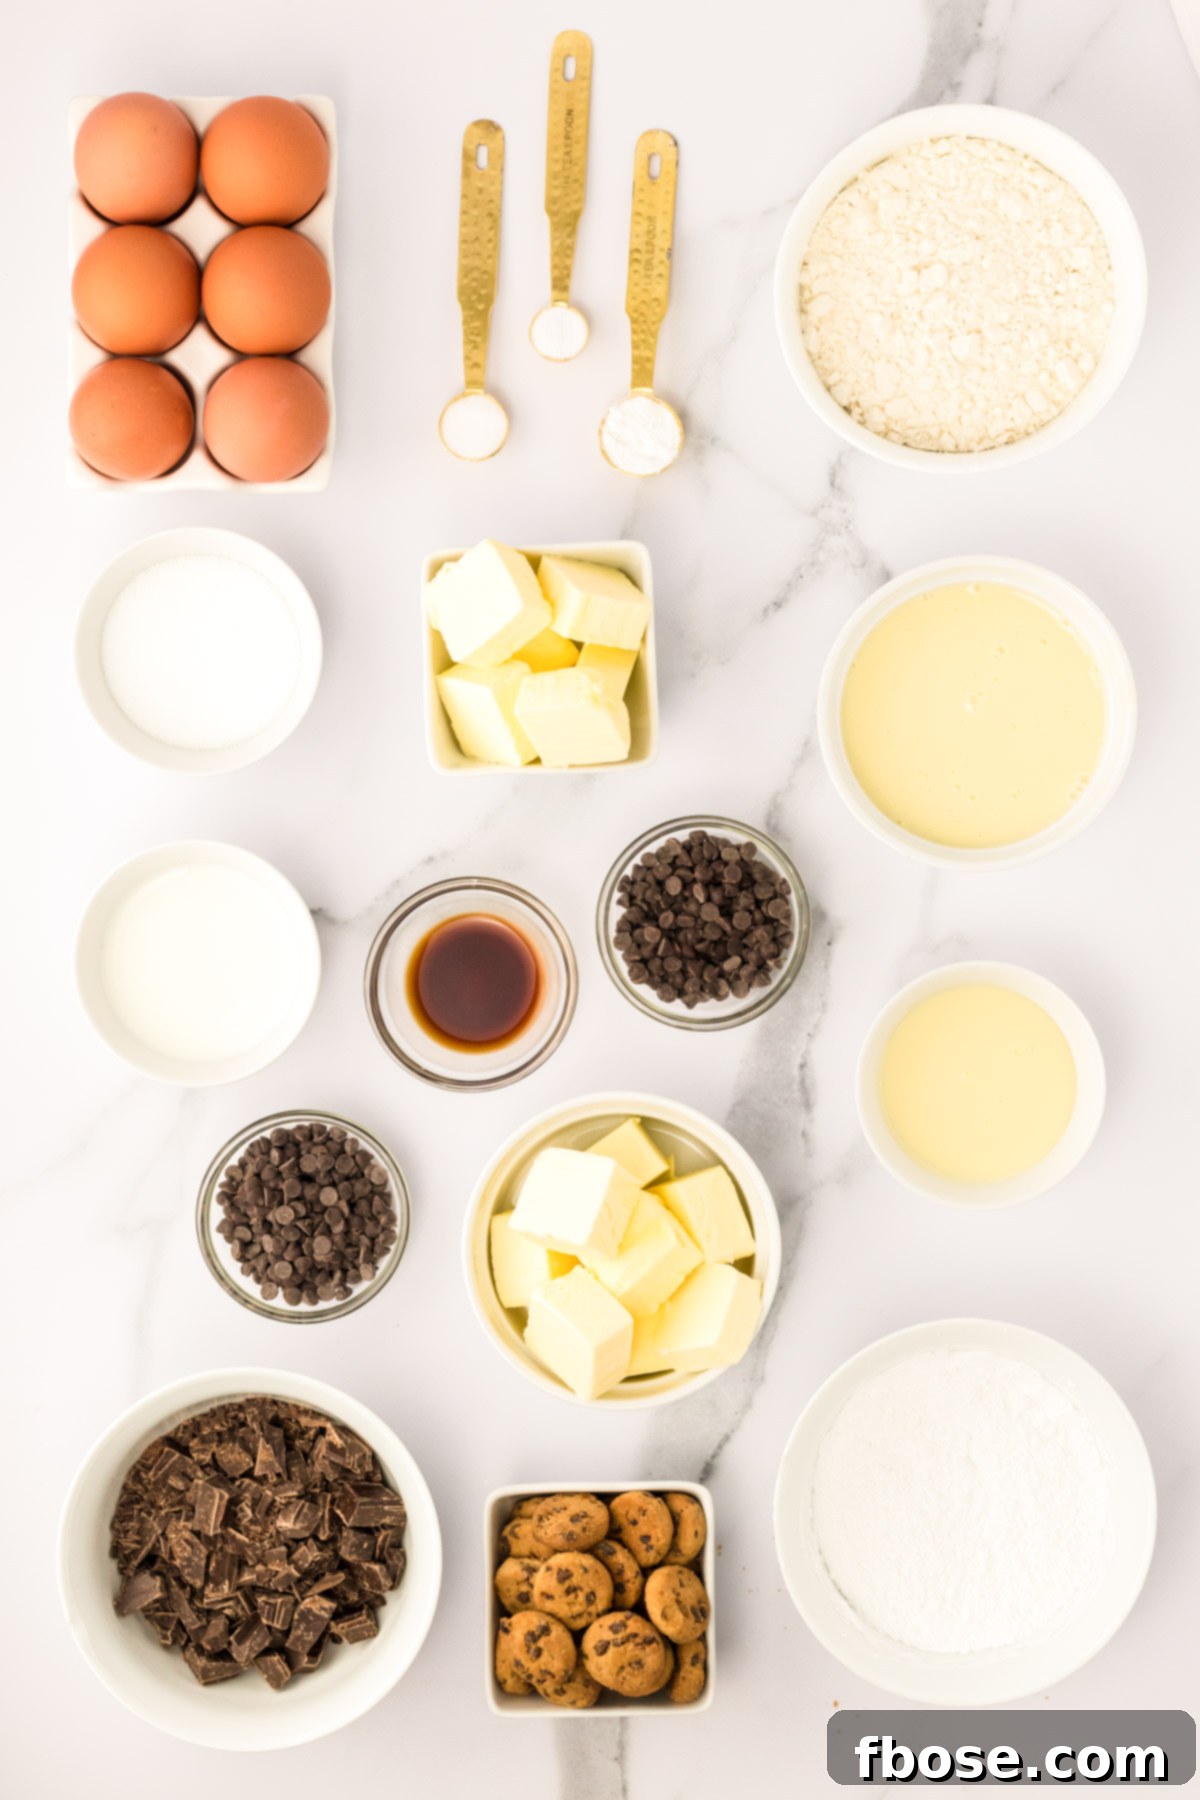
Crafting these exceptional cupcakes requires a blend of common pantry staples and a few key specialty items that elevate their flavor and texture. A quick check of your kitchen might reveal that you already have most of what you need, making this recipe even more convenient.
Here’s a comprehensive list of the ingredients you’ll need to gather:
- Unsalted Butter
- Sweetened Condensed Milk
- Granulated Sugar
- Egg
- Vanilla Extract
- Salt
- All-Purpose Flour
- Baking Powder
- Baking Soda
- Whole Milk
- Mini Chocolate Chips
- Chopped Semi-Sweet Chocolate Bar
- Powdered Sugar
- Mini Chocolate Chip Cookies (for garnish)
One ingredient that stands out and truly defines these cupcakes is **sweetened condensed milk**. This versatile component plays multiple crucial roles in the recipe. It’s incorporated directly into the cupcake batter, contributing to their unique dense and moist texture. It’s also a star in the homemade chocolate frosting, lending an extra layer of sweetness and creaminess. And, most distinctly, it’s the “milk” that’s delicately added on top of each frosted cupcake, completing the iconic milk and cookies aesthetic. Ensure you have enough on hand for all three stages!
Choosing the Best Semi-Sweet Chocolate Bar
The quality of your semi-sweet chocolate bar is paramount, as it forms the very essence of your rich homemade frosting. This chocolate is carefully chopped and melted down, becoming the primary source of chocolate flavoring in the buttercream. For a truly superior frosting with a deep, nuanced chocolate taste, I highly recommend investing in a high-quality brand of semi-sweet chocolate.
Think of it this way: the better the chocolate you start with, the more luxurious and delicious your frosting will taste. Brands like Ghirardelli are an excellent choice, offering a balanced sweetness and profound chocolate notes that will elevate your cupcakes from great to absolutely extraordinary. Avoid chocolate chips for melting into frosting, as they contain stabilizers that prevent smooth melting; opt for a baking bar instead.
Step-by-Step Guide to Crafting Milk and Cookies Cupcakes
Follow these detailed steps to create your own batch of delightful Milk and Cookies Cupcakes. Precision and patience are key to achieving perfect results.
Part 1: Baking the Moist Chocolate Chip Cupcakes
Step 1: Prepare Your Workstation. Begin by preheating your oven to 325°F (160°C). Line a 12-cavity muffin tin with paper liners. This ensures easy removal and a clean presentation.
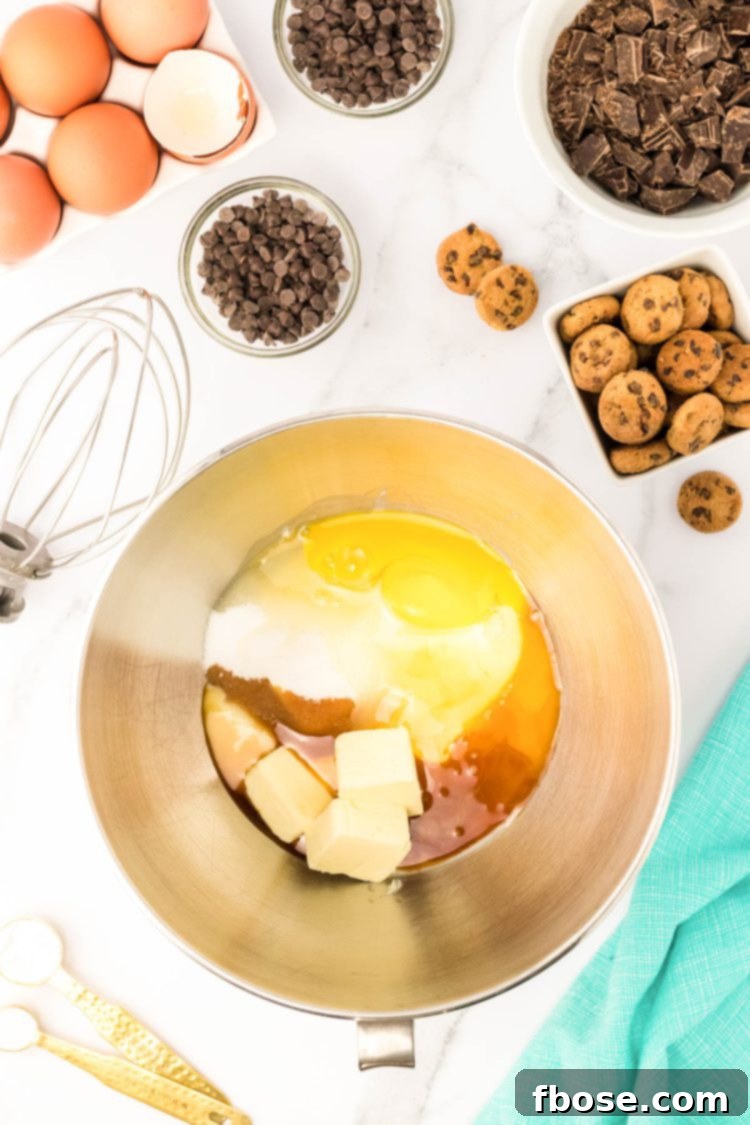
Step 2: Cream the Wet Ingredients. In a large mixing bowl, combine the softened unsalted butter, sweetened condensed milk, granulated sugar, large egg, vanilla extract, and salt. Beat these ingredients together on high speed for approximately 3 minutes, or until the mixture is fully incorporated, thickened, and light in color. This creaming process adds air, contributing to the cupcake’s texture.
Step 3: Incorporate Dry Ingredients. Reduce the mixer speed to low. Gradually add the all-purpose flour, baking powder, and baking soda to the wet mixture. Continue beating on high until these dry ingredients are just combined. At this stage, it’s completely normal for the batter to appear slightly grainy or separated; don’t be alarmed.
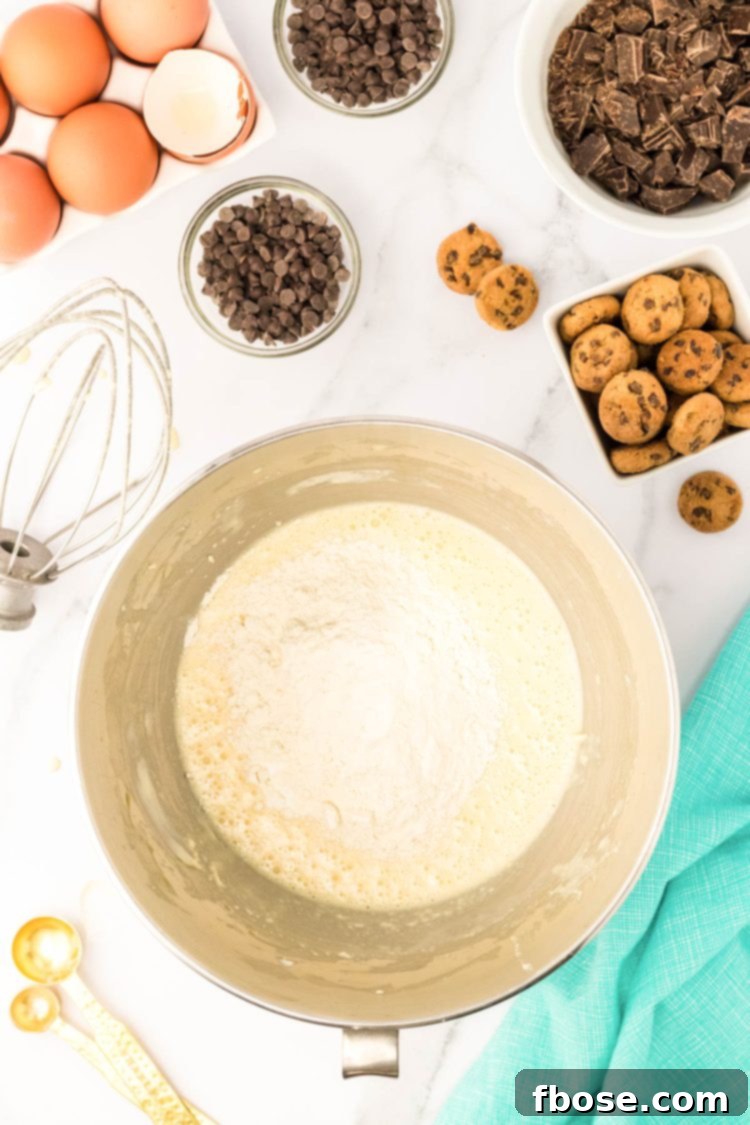
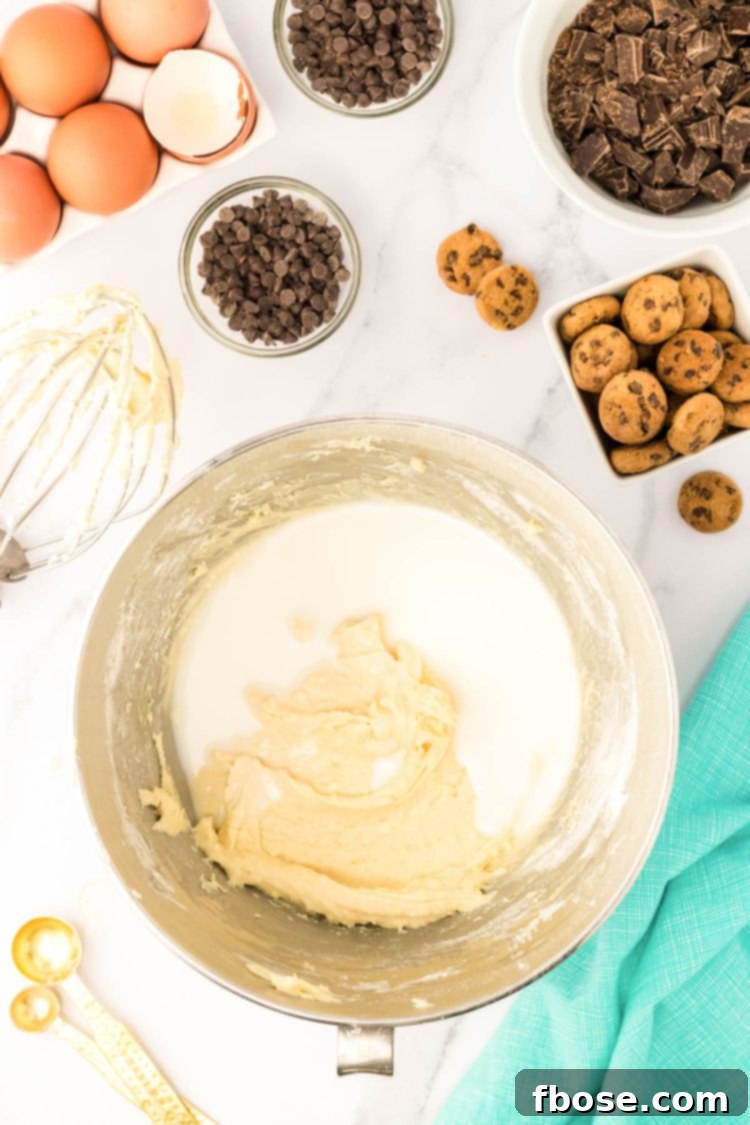
Step 4: Achieve a Smooth Batter. Pour in the whole milk and continue to mix on high speed for about 4 minutes. During this time, the batter will transform, becoming wonderfully smooth and well-emulsified. Scrape down the sides of the bowl as needed to ensure everything is thoroughly mixed.
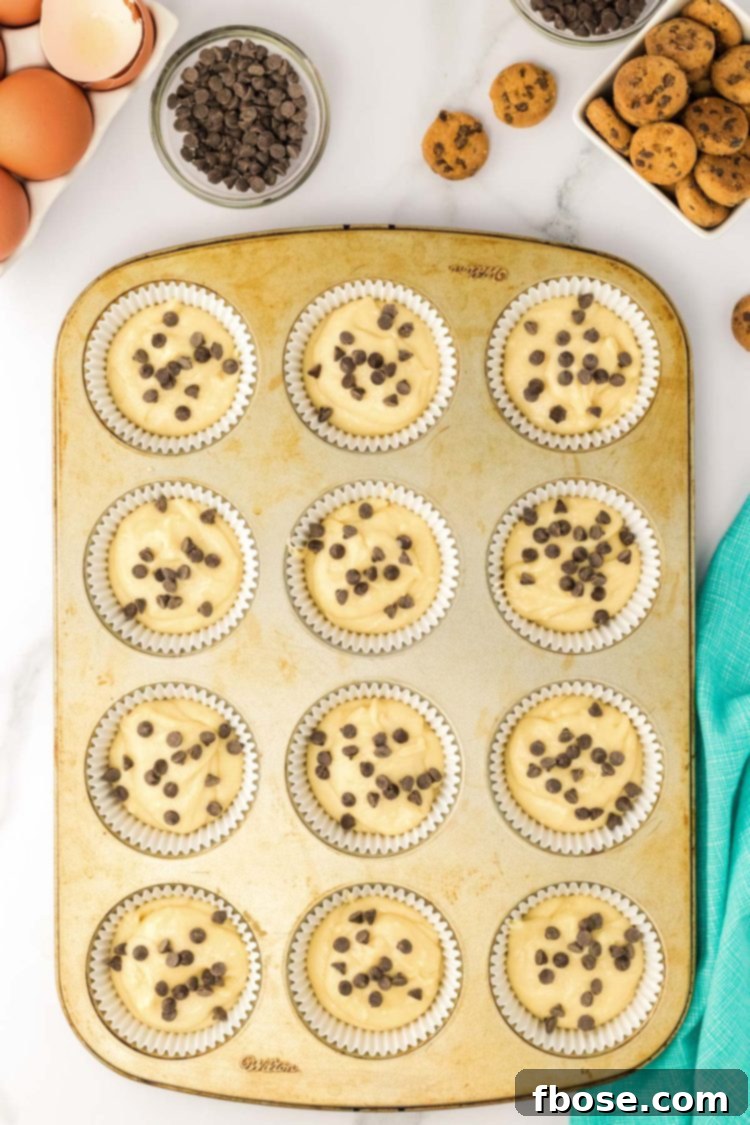
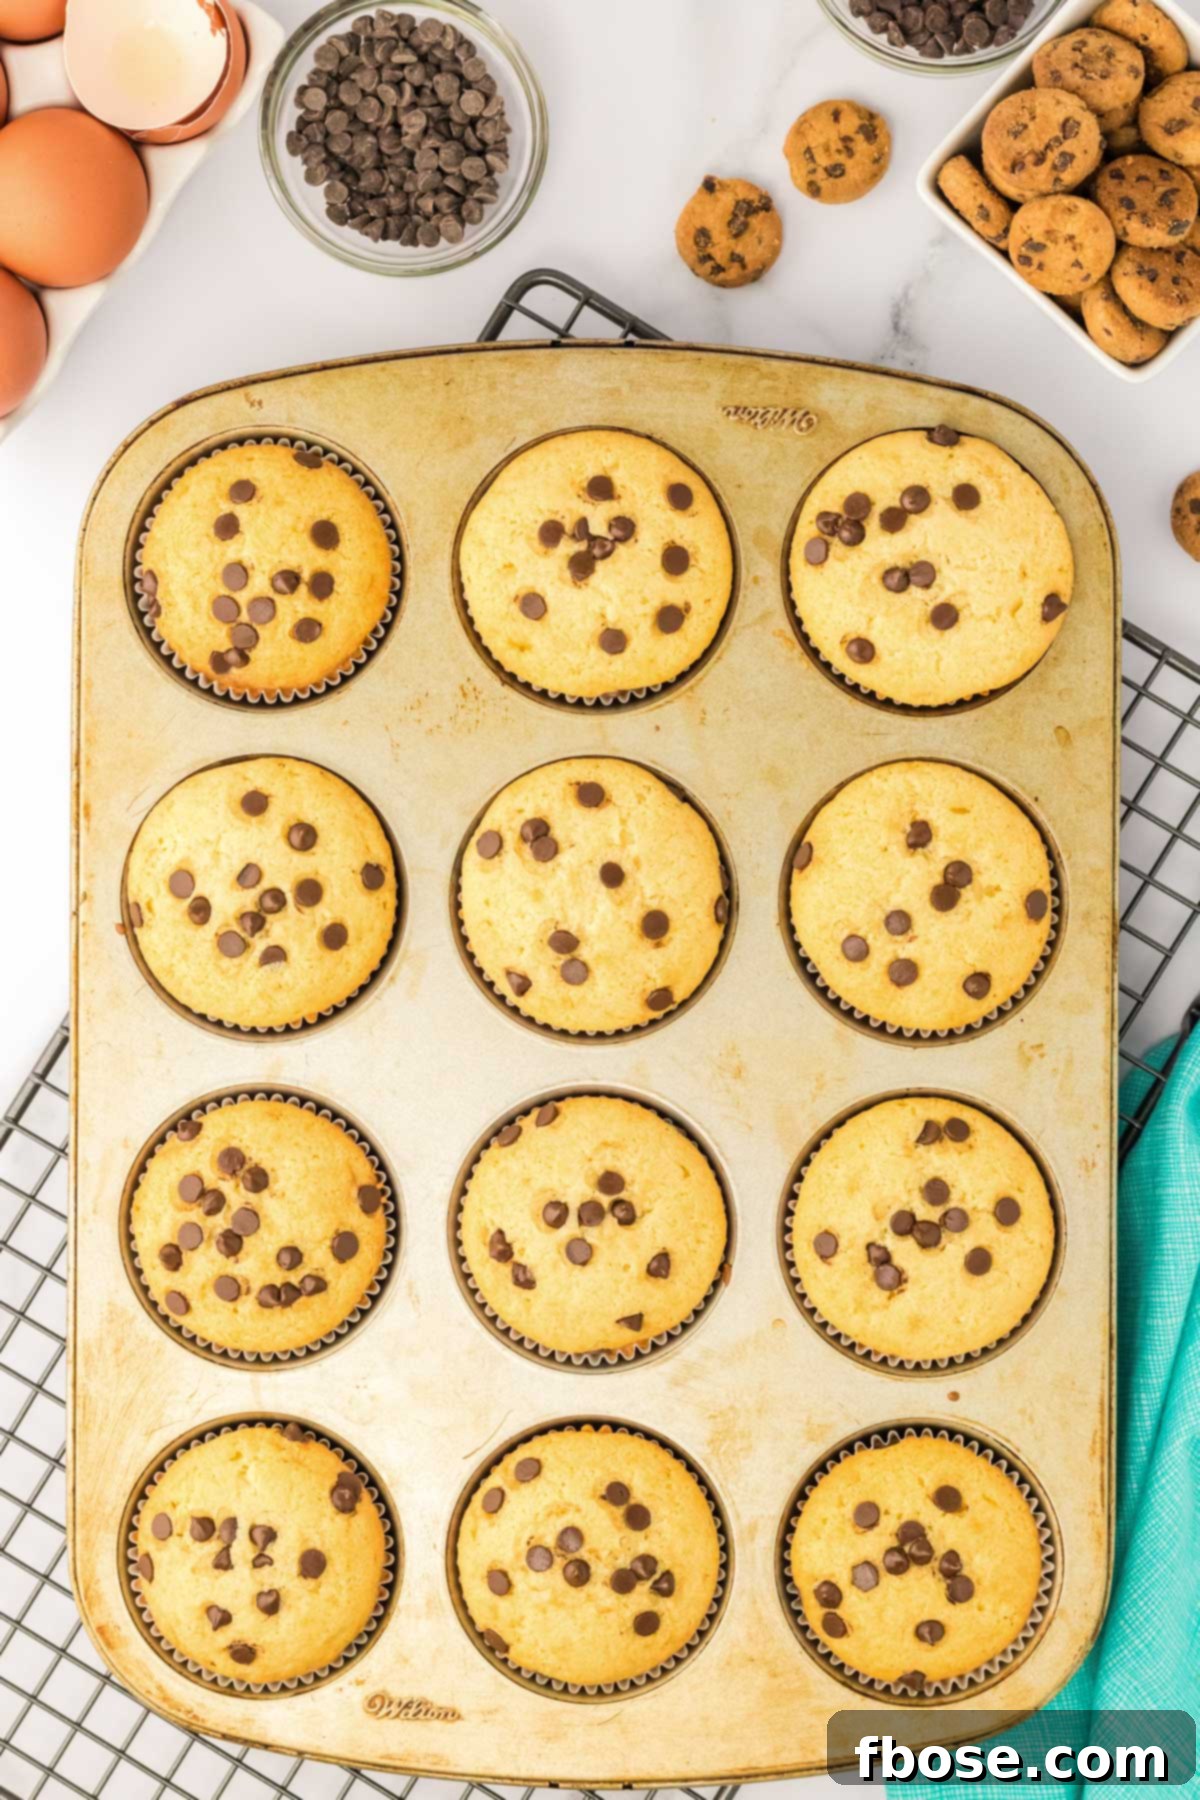
Step 5: Fill and Garnish. Divide the cupcake batter evenly among the prepared muffin cups, filling each about two-thirds full. For even distribution and a visually appealing finish, sprinkle the tops of the batter generously with mini chocolate chips rather than stirring them in, which can cause them to sink to the bottom during baking.
Step 6: Bake to Golden Perfection. Place the muffin tin into the preheated oven and bake for 20 to 25 minutes, or until the chocolate chip cupcakes achieve a beautiful golden brown color and a toothpick inserted into the center comes out clean. Be careful not to overbake, as this can lead to dry cupcakes.
Step 7: Cool Completely. Once baked, remove the cupcakes from the oven. Allow them to cool in the muffin pan for about 5 minutes. This brief resting period helps them set. Then, carefully transfer the cupcakes to a wire cooling rack to cool completely. Ensure they are fully cooled before frosting to prevent the frosting from melting.
Part 2: Crafting the Creamy Chocolate Frosting
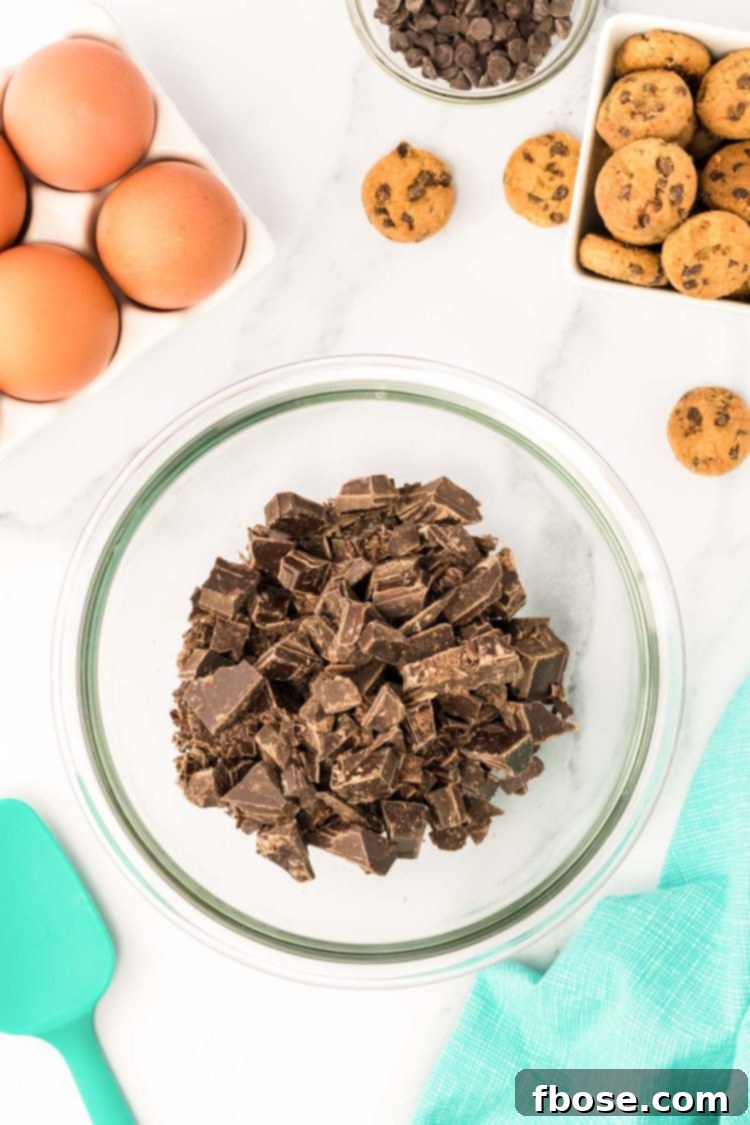
Step 8: Melt the Chocolate. While the cupcakes are cooling, begin preparing your luscious frosting. Start by finely chopping the semi-sweet chocolate bar. Place the chopped chocolate into a small microwave-safe bowl. Microwave in 30-second intervals, stirring thoroughly after each interval, until the chocolate is completely melted and smooth. Set aside to cool slightly; it should be warm but not hot when added to the butter.
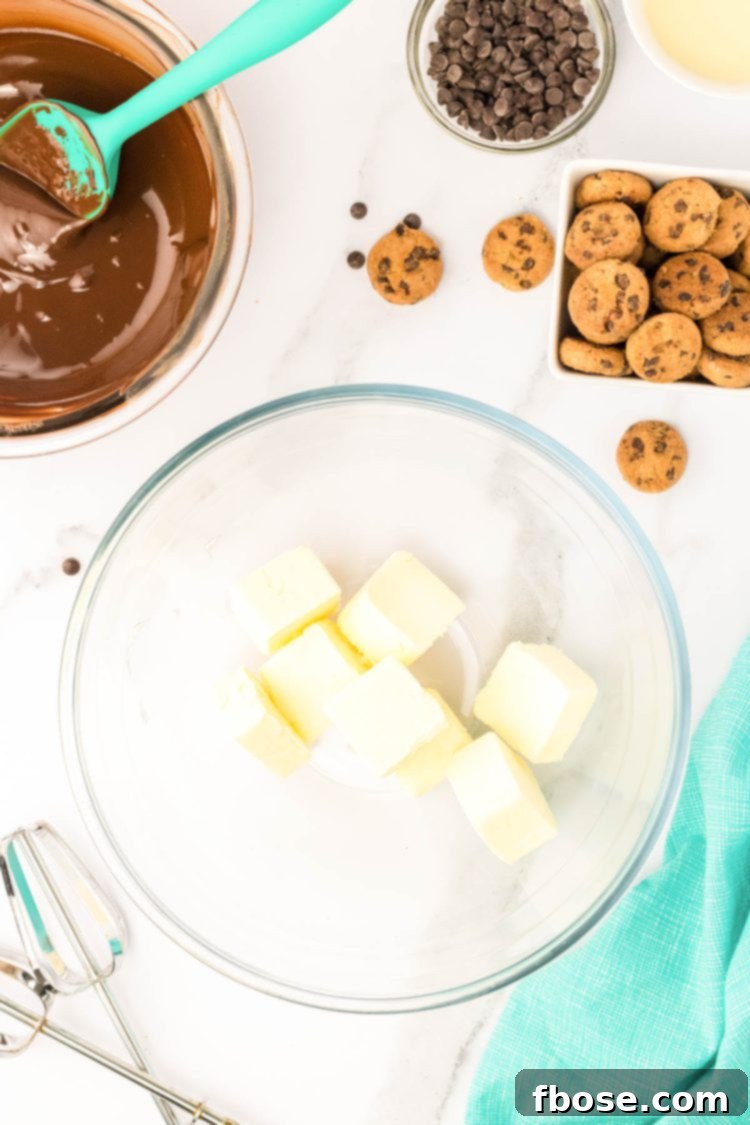
Step 9: Cream the Butter. In a medium mixing bowl, cream the unsalted butter until it is light, fluffy, and perfectly smooth. This usually takes a few minutes on medium-high speed. Proper creaming is essential for a light, airy frosting.
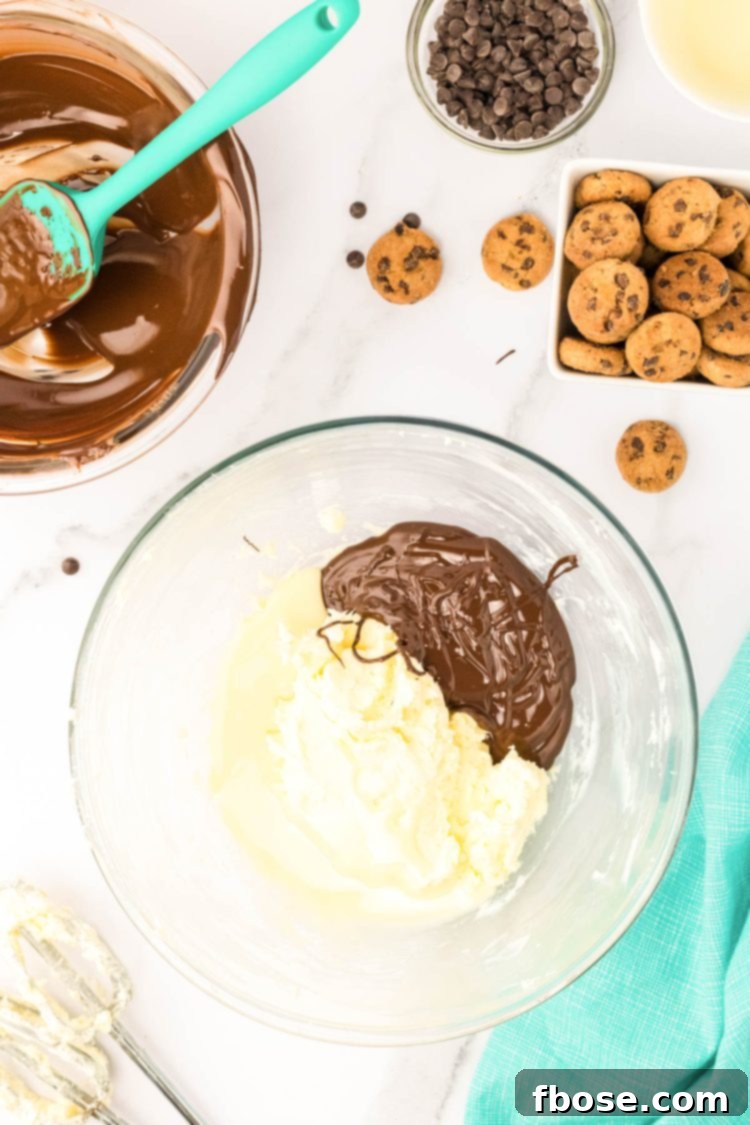
Step 10: Combine Chocolate and Milk. Add the slightly cooled melted chocolate and the specified amount of sweetened condensed milk to the creamed butter. Continue beating the mixture until it becomes completely smooth and uniformly combined. The condensed milk adds a wonderful richness and sweetness.
Step 11: Incorporate Powdered Sugar. Gradually mix in the powdered sugar until the frosting is thick, creamy, and thoroughly combined. If the frosting seems too thick, you can add a tiny splash of milk (about half a teaspoon at a time) to reach your desired consistency. If it’s too thin, add more powdered sugar, a tablespoon at a time.
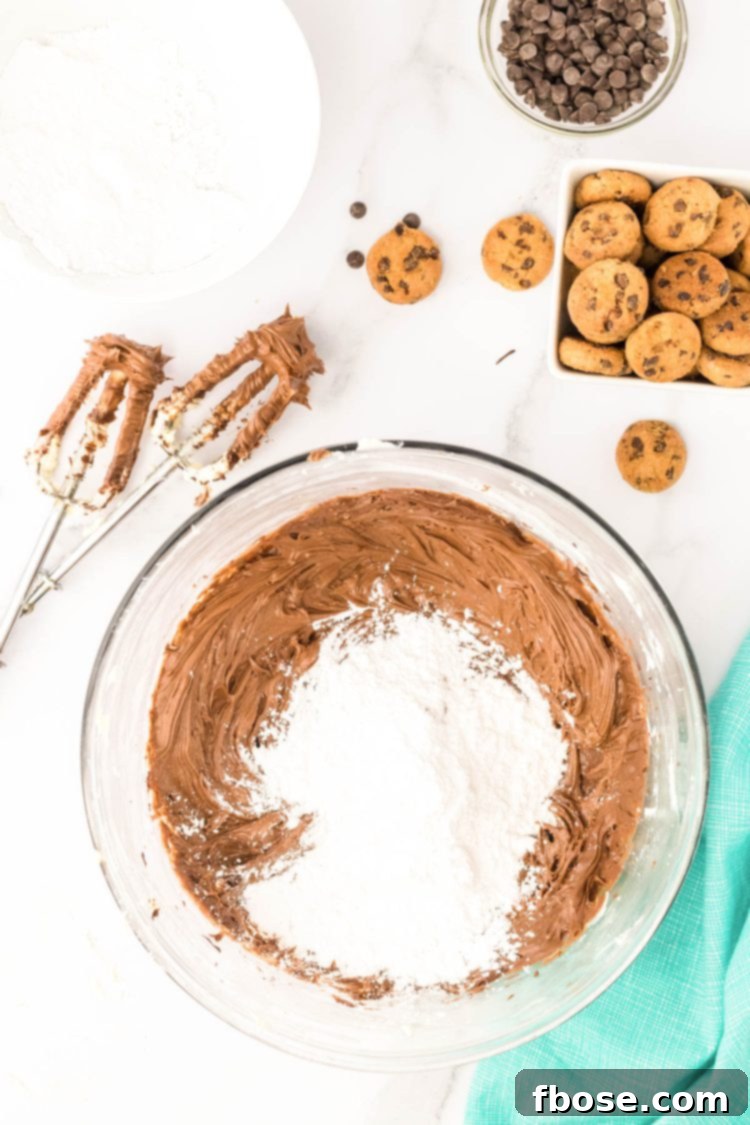
Part 3: Assembling Your Milk and Cookies Masterpiece
Step 12: Frost the Cupcakes. Once the cupcakes are completely cool, it’s time to add the beautiful chocolate frosting. You can pipe the frosting using a piping bag and your favorite tip for an elegant look, or simply spread it generously with an offset spatula or knife. Remember to leave a small, empty well or indentation in the center of the frosting on top of each cupcake; this is where the “milk” will go!
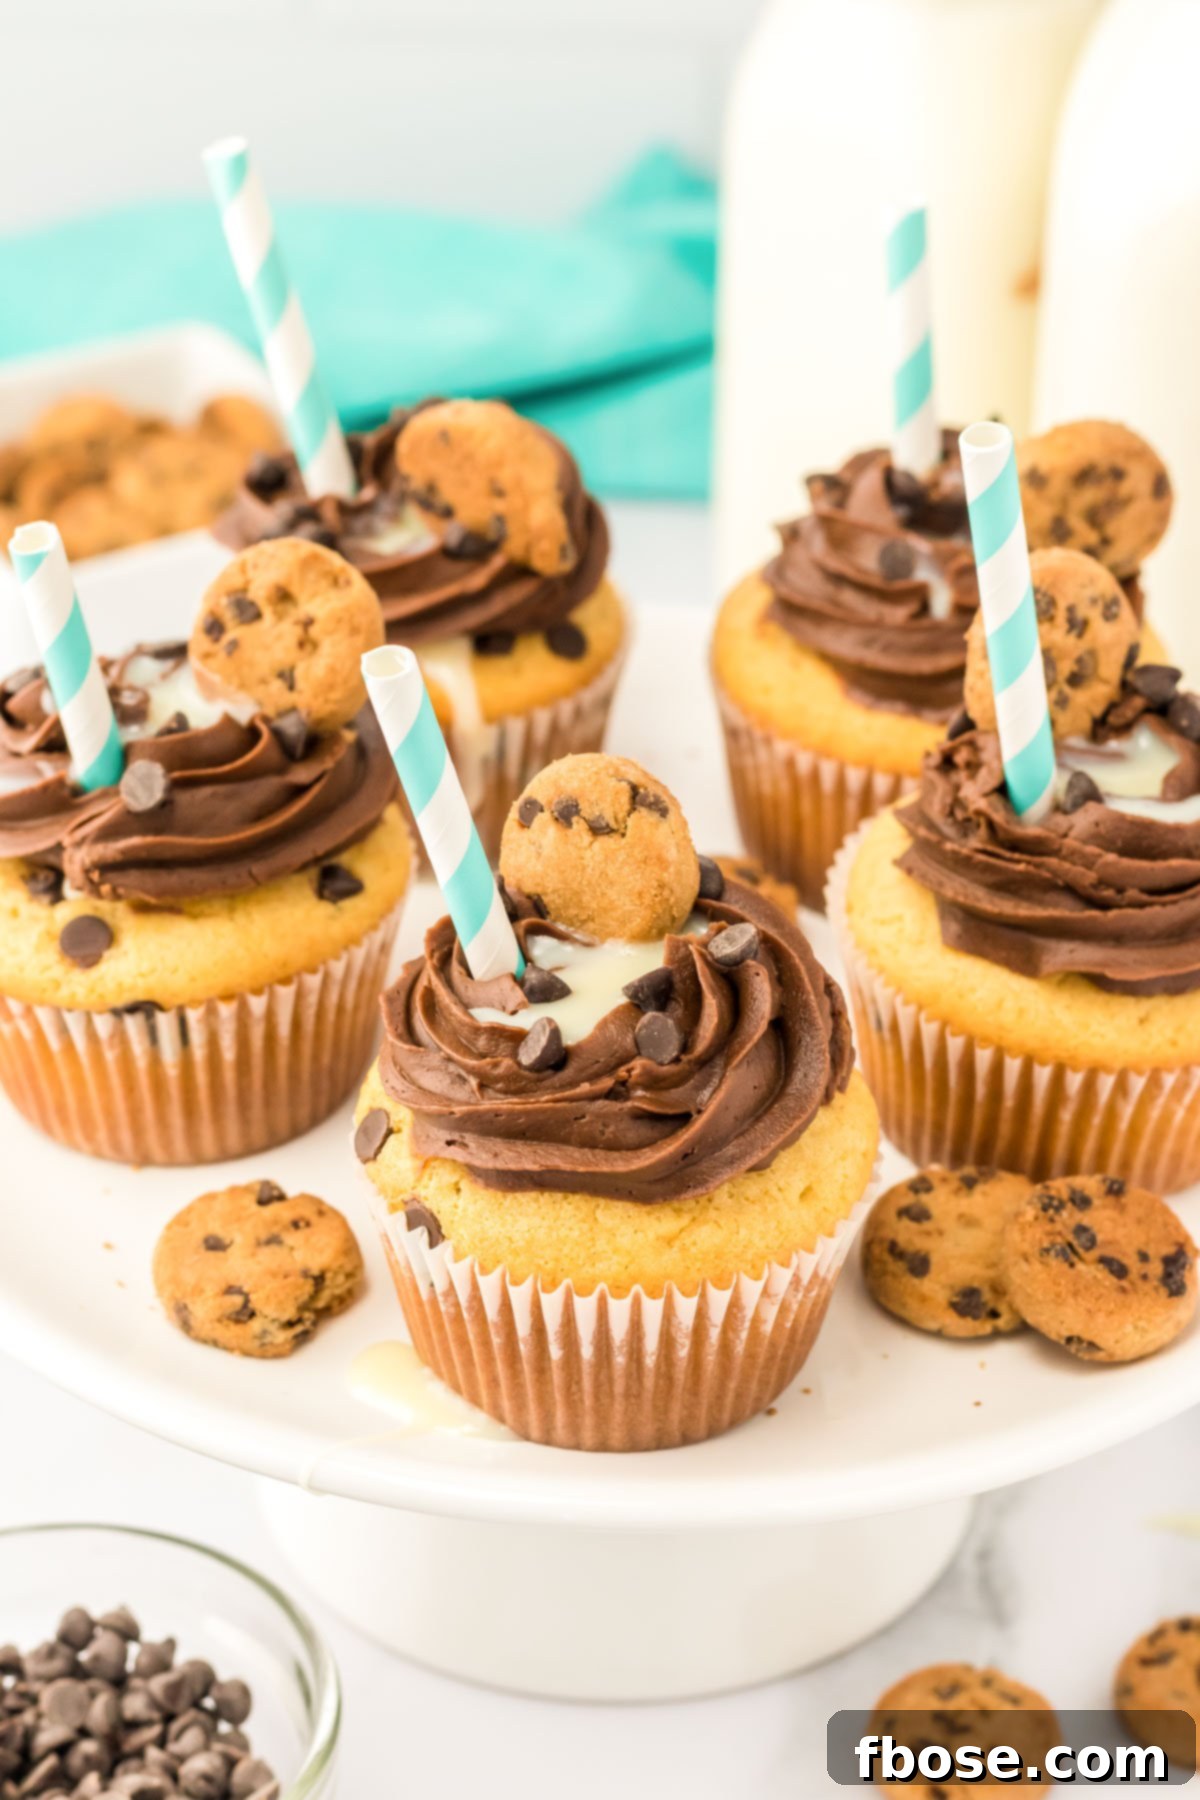
Step 13: The Final Touches. Carefully pour about ½ teaspoon of the remaining sweetened condensed milk into the well you created in the frosting on each cupcake. This creates the signature “milk” effect. To complete the iconic Milk and Cookies look, garnish each cupcake with a sprinkle of mini chocolate chips and a charming mini chocolate chip cookie. For an extra touch of whimsy, you can even insert a tiny decorative straw into the condensed milk well.
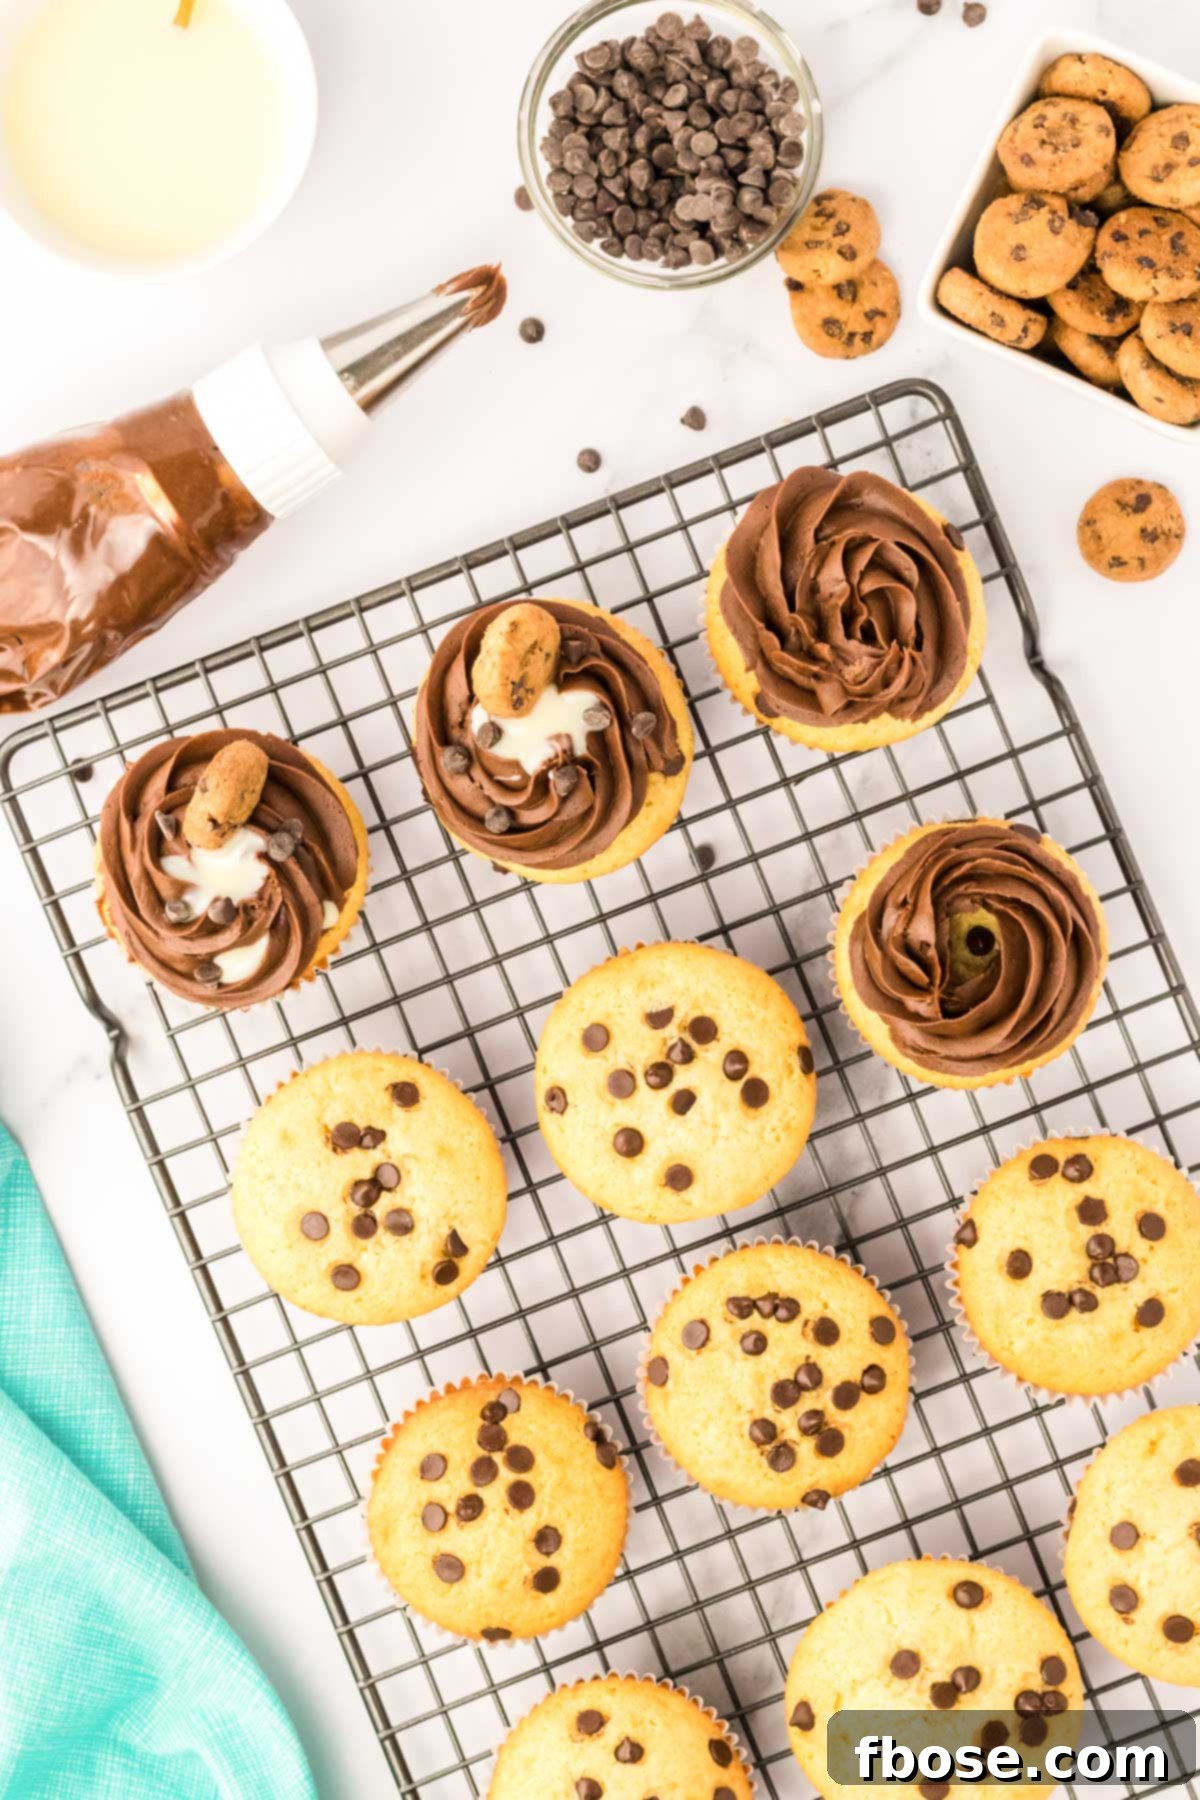
Expert Tips for Success
Achieving bakery-quality Milk and Cookies Cupcakes at home is easier than you think with these expert tips:
- Room Temperature Ingredients: Ensure your butter, egg, and whole milk are at room temperature. This allows them to emulsify properly, creating a smoother batter and a more uniform texture in your cupcakes and frosting.
- Measure Flour Accurately: For baking, precision is key. The most accurate way to measure flour is by weight using a kitchen scale (1 cup all-purpose flour typically weighs 120g). If you don’t have a scale, fluff the flour in its container, spoon it into your measuring cup, and then level it off with a straight edge. Never pack the flour into the cup.
- Don’t Overmix: After adding the dry ingredients, mix just until combined. Overmixing can develop the gluten in the flour, leading to tough, dry cupcakes.
- Cool Cupcakes Completely: It’s crucial that your cupcakes are entirely cooled before frosting. Warm cupcakes will melt the frosting, creating a messy rather than a beautiful finish.
- High-Quality Chocolate: As mentioned, using a good quality semi-sweet chocolate bar for the frosting will make a noticeable difference in flavor. It’s worth the small investment.
- Piping Bag Alternative: If you don’t have a piping bag, a sturdy Ziploc bag with a corner snipped off works wonderfully for piping frosting. For a simpler approach, a knife or offset spatula can spread the frosting beautifully.
Storage Instructions for Freshness
To keep your delightful Milk & Cookies Cupcakes fresh and delicious, proper storage is key. Place them in an airtight container and store them at room temperature. Enjoy them within 3 days for the best taste and texture.
How To Freeze Milk & Cookies Cupcakes
These cupcakes are fantastic for making ahead, especially if you’re planning for a party or want to enjoy them over a longer period. Freezing them simplifies party prep and ensures you always have a delicious treat on hand!
To freeze, first bake and completely cool the cupcakes, then frost them. However, **do not add the sweetened condensed milk drizzle or the mini chocolate chip cookie garnish** until you are ready to serve them. Once frosted, arrange the cupcakes in a single layer in an airtight container, ensuring they don’t touch. Store them in the freezer for up to 3 months.
When you’re ready to enjoy them, transfer the frozen cupcakes from the freezer to your counter and allow them to thaw completely at room temperature. This usually takes a few hours. Once thawed, add the sweetened condensed milk topping and the mini chocolate chip cookies, then serve your perfectly preserved treats.
Milk & Cookies Cupcakes: Creative Substitutions And Variations
While this recipe delivers a classic and beloved flavor, don’t hesitate to personalize your Milk & Cookies Cupcakes with these exciting substitutions and variations:
- Butter Options: If you only have salted butter on hand, you can absolutely use it in place of unsalted butter. Just be sure to omit the ¼ teaspoon of salt from the cupcake recipe to maintain the intended flavor balance.
- Milk Alternatives: While whole milk contributes to a richer crumb, you can easily substitute it with 2% milk, 1% milk, or even fat-free milk without significantly altering the outcome of the cupcakes. The texture may be slightly lighter, but the flavor will remain delicious.
- Cookie Customization: We adore the charm of mini chocolate chip cookies for garnish, but this is where you can truly get creative! Feel free to use your favorite mini cookie – perhaps mini Oreos, vanilla wafers, or even shortbread cookies – to add a unique twist and match your personal preference or party theme.
- Miniature Delights: Transform this recipe into adorable mini cupcakes for a charming bite-sized treat. Mini cupcakes are perfect for large gatherings or when you want to offer a variety of desserts. This adjustment will yield many more servings, making them ideal for sharing. Adjust baking time accordingly (usually 10-15 minutes).
- Frosting Freedom: If time is of the essence or you have a go-to favorite, feel free to use your preferred store-bought or homemade chocolate frosting. Just ensure it’s a good quality frosting that will complement the rich chocolate chip cupcake base.
- Flavor Enhancements: Add a pinch of cinnamon or a dash of espresso powder to the chocolate cupcake batter to deepen the chocolate flavor. A touch of peppermint extract in the frosting could create a festive holiday variation.
Common Questions About Milk and Cookies Cupcakes (FAQs)
Dry cupcakes are often the result of two main issues: inaccurate flour measurement or overbaking. It’s crucial to measure flour correctly; using a kitchen scale to weigh the flour (120g per cup) is the most precise method. If measuring by volume, spoon the flour into the measuring cup and level it off without packing it. Secondly, baking cupcakes for too long or at too high a temperature can cause excessive moisture loss. Always keep an eye on your oven and test for doneness with a toothpick around the minimum baking time specified.
While it might seem intuitive, stirring mini chocolate chips directly into the batter often causes them to sink to the bottom during baking, resulting in some cupcakes being loaded with chocolate chips and others having very few. For an even distribution of those delicious mini chips throughout each cupcake, it’s best to sprinkle them on top of the batter once it’s already in the muffin tin before baking.
No piping bag? No problem! You have a few options. The simplest is to use an offset spatula or a butter knife to spread the frosting smoothly onto the cooled cupcakes. If you still desire a piped look, a sturdy Ziploc bag can be easily converted: simply spoon the frosting into one corner of the bag, twist the top to secure it, and then snip a small piece off the corner to create an opening for piping.
Gritty frosting is usually caused by undissolved powdered sugar. To avoid this, ensure your butter is very soft and creamed well initially. When adding powdered sugar, do it gradually, beating thoroughly after each addition until it’s completely smooth. Sifting your powdered sugar before adding it can also help prevent lumps and ensure a super smooth, creamy frosting.
Yes, you can often adapt this recipe to be gluten-free. Substitute the all-purpose flour with a 1:1 gluten-free baking flour blend that contains xanthan gum. Ensure all other ingredients, like baking powder and chocolate, are certified gluten-free. Results may vary slightly in texture, but they should still be delicious!
Discover More Gourmet Cupcake Recipes!
If you loved these Milk and Cookies Cupcakes, you’re in for a treat with these other gourmet cupcake creations:
- Coffee Maple Bacon Cupcakes – A unique blend of sweet and savory with maple-infused vanilla cupcakes, bits of crispy bacon, and a coffee-flavored whipped cream topping!
- Chocolate Raspberry Cupcakes – Indulge in rich dark chocolate cupcakes featuring a bright, tangy raspberry-filled center, all beneath a light and airy whipped raspberry vanilla crème frosting!
- Lemon Meringue Cupcakes – Experience the zesty delight of lemon with a silky-smooth lemon curd filling, crowned with a billowy, toasted meringue frosting!
- Chocolate Peanut Butter Cupcakes – The ultimate pairing of flavors in a cupcake! Enjoy rich, moist chocolate cupcakes hiding a delightful surprise candy filling, topped with a creamy peanut butter frosting.
Let’s Connect and Share Your Creations!
We absolutely love seeing your culinary creations! If you’ve tried this delicious Milk and Cookies Cupcakes recipe, please take a moment to let us know how you liked it in the comments below and consider leaving a review. Your feedback is incredibly valuable and we love hearing from you!
Don’t forget to share your photos with us on social media! Tag us – @sugarandsoulco – on Instagram and Pinterest. You can also join our vibrant Sugar & Soul Show-offs Community on Facebook and share your baking triumphs there, where you can also participate in our fun recipe challenges!
Milk and Cookies Cupcakes
Rebecca Hubbell
Dessert
American
40
minutes
25
minutes
1
hour
5
minutes
Servings
12
cupcakes
Equipment
-
12 cavity muffin tin
-
12 cupcake paper liners
-
small mixing bowl
-
Large mixing bowl
-
Medium mixing bowl
-
electric beaters or stand mixer
-
piping bag and tip (optional)
Ingredients
Cupcakes
- ½ cup unsalted butter 113 g, softened
- ⅔ cup sweetened condensed milk 158 ml
- ¼ cup granulated sugar 50g
- 1 large egg
- 1 teaspoon vanilla extract
- ½ teaspoon salt
- 1 cup all-purpose flour 120g
- 1 teaspoon baking powder
- ¼ teaspoon baking soda
- ¼ cup whole milk 59ml
- 2 tablespoons mini chocolate chips
Frosting
- 6 ounces semi-sweet chocolate chopped
- ¾ cup unsalted butter 170g
- ¼ cup sweetened condensed milk 60ml, plus some for topping
- ¾ cup powdered sugar 75g
- mini chocolate chips for topping
- Mini chocolate chip cookies for topping
Instructions
-
Preheat the oven to 325°F and line a 12-cavity cupcake tin with paper liners.
-
In a large mixing bowl, combine ½ cup unsalted butter, ⅔ cup sweetened condensed milk, ¼ cup granulated sugar, 1 large egg, 1 teaspoon vanilla extract, and ½ teaspoon salt. Beat on high until mixed and thickened, about 3 minutes.
-
Add the 1 cup all-purpose flour, 1 teaspoon baking powder, and ¼ teaspoon baking soda and continue beating on high until combined. It will appear slightly grainy/separated at this point.
-
Add ¼ cup whole milk and beat until the batter is smooth, about 4 minutes.
-
Divide the batter evenly amongst the muffin cups. Sprinkle the tops of the batter with 2 tablespoons mini chocolate chips.
-
Bake for 20 to 25 minutes or until the cupcakes are golden brown.
-
Remove from the oven and let cool for about 5 minutes in the pan, then transfer to a cooling rack to cool completely.
-
While the cupcakes cool, prepare the frosting by chopping 6 ounces semi-sweet chocolate and adding it to a small microwavable bowl, and microwaving at 30-second intervals, stirring between each one, until the chocolate is fully melted. Cool for a few minutes before using.
-
In a medium mixing bowl, cream ¾ cup unsalted butter until smooth.
-
Add the slightly cooled melted chocolate and ¼ cup sweetened condensed milk and continue beating until it is very smooth.
-
Add ¾ cup powdered sugar and continue beating until the icing is fully combined.
-
Pipe (or spread) the icing onto the cooled cupcakes, leaving a little well in the middle on top.
-
Add a ½ teaspoon of the sweetened condensed milk to the well on top of the frosting. Top with mini chocolate chips and Mini chocolate chip cookies .
Notes
- Store these cupcakes in an airtight container on the counter for up to 3 days.
- If you are planning on freezing them, do not add the sweetened condensed milk to the tops until you serve them. To freeze, place the iced cupcakes in an airtight container and freeze for up to 3 months. Thaw on the counter, add the condensed milk topping, and serve.
- The sweetened condensed milk makes these cupcakes a little denser than a usual cake recipe. Makes them great for decorating.
Did You Make This Recipe?
Don’t forget to share it with me on Instagram @sugarandsoulco and follow on Tiktok @sugarandsoulco and Pinterest @sugarandsoulco for more!
Pin Recipe
Share Recipe