S’mores Bars
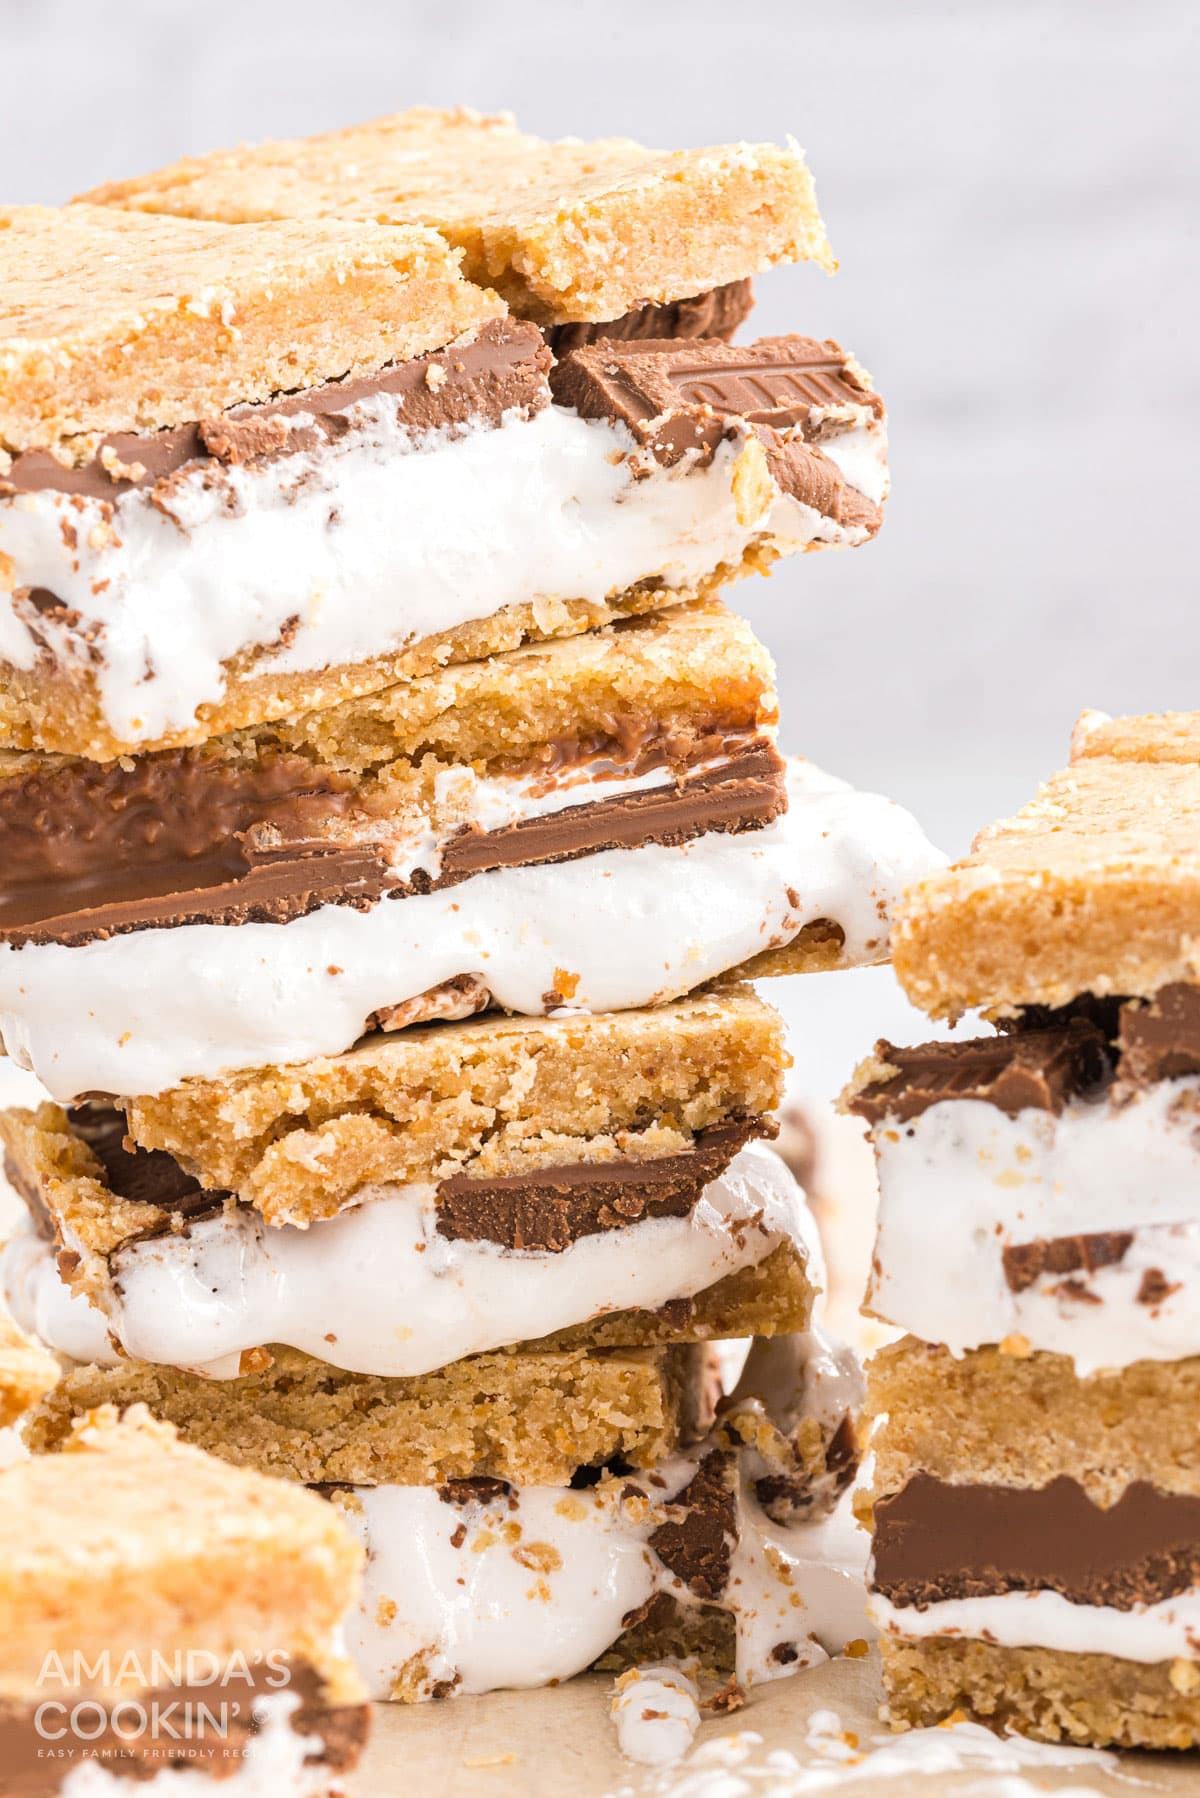
Looking for an ooey-gooey chocolate treat that melts in your mouth and reminds you of summer campfires? These S’mores Bars are exactly what you need, I promise! This amazing dessert taste just like s’mores, but in bar form.
- Total 45 minutes
- Serves 9 bars
- Desserts
- American
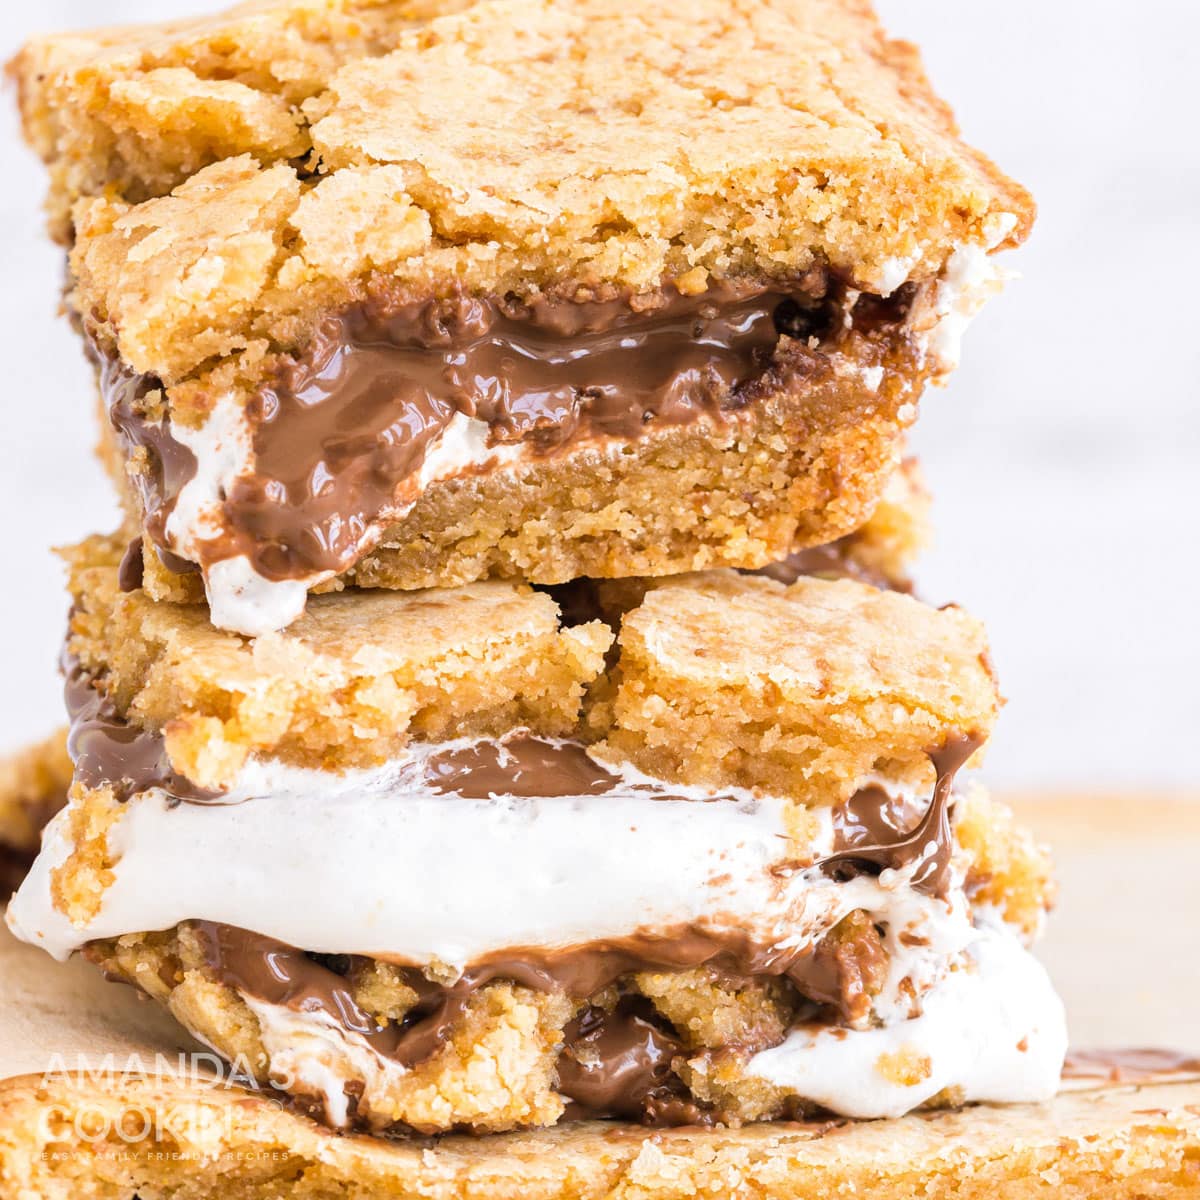
Looking for an ooey-gooey chocolate treat that melts in your mouth and reminds you of summer campfires? These S’mores Bars are exactly what you need, I promise! This amazing dessert taste just like s’mores, but in bar form.
 more
more
Why this recipe works so well
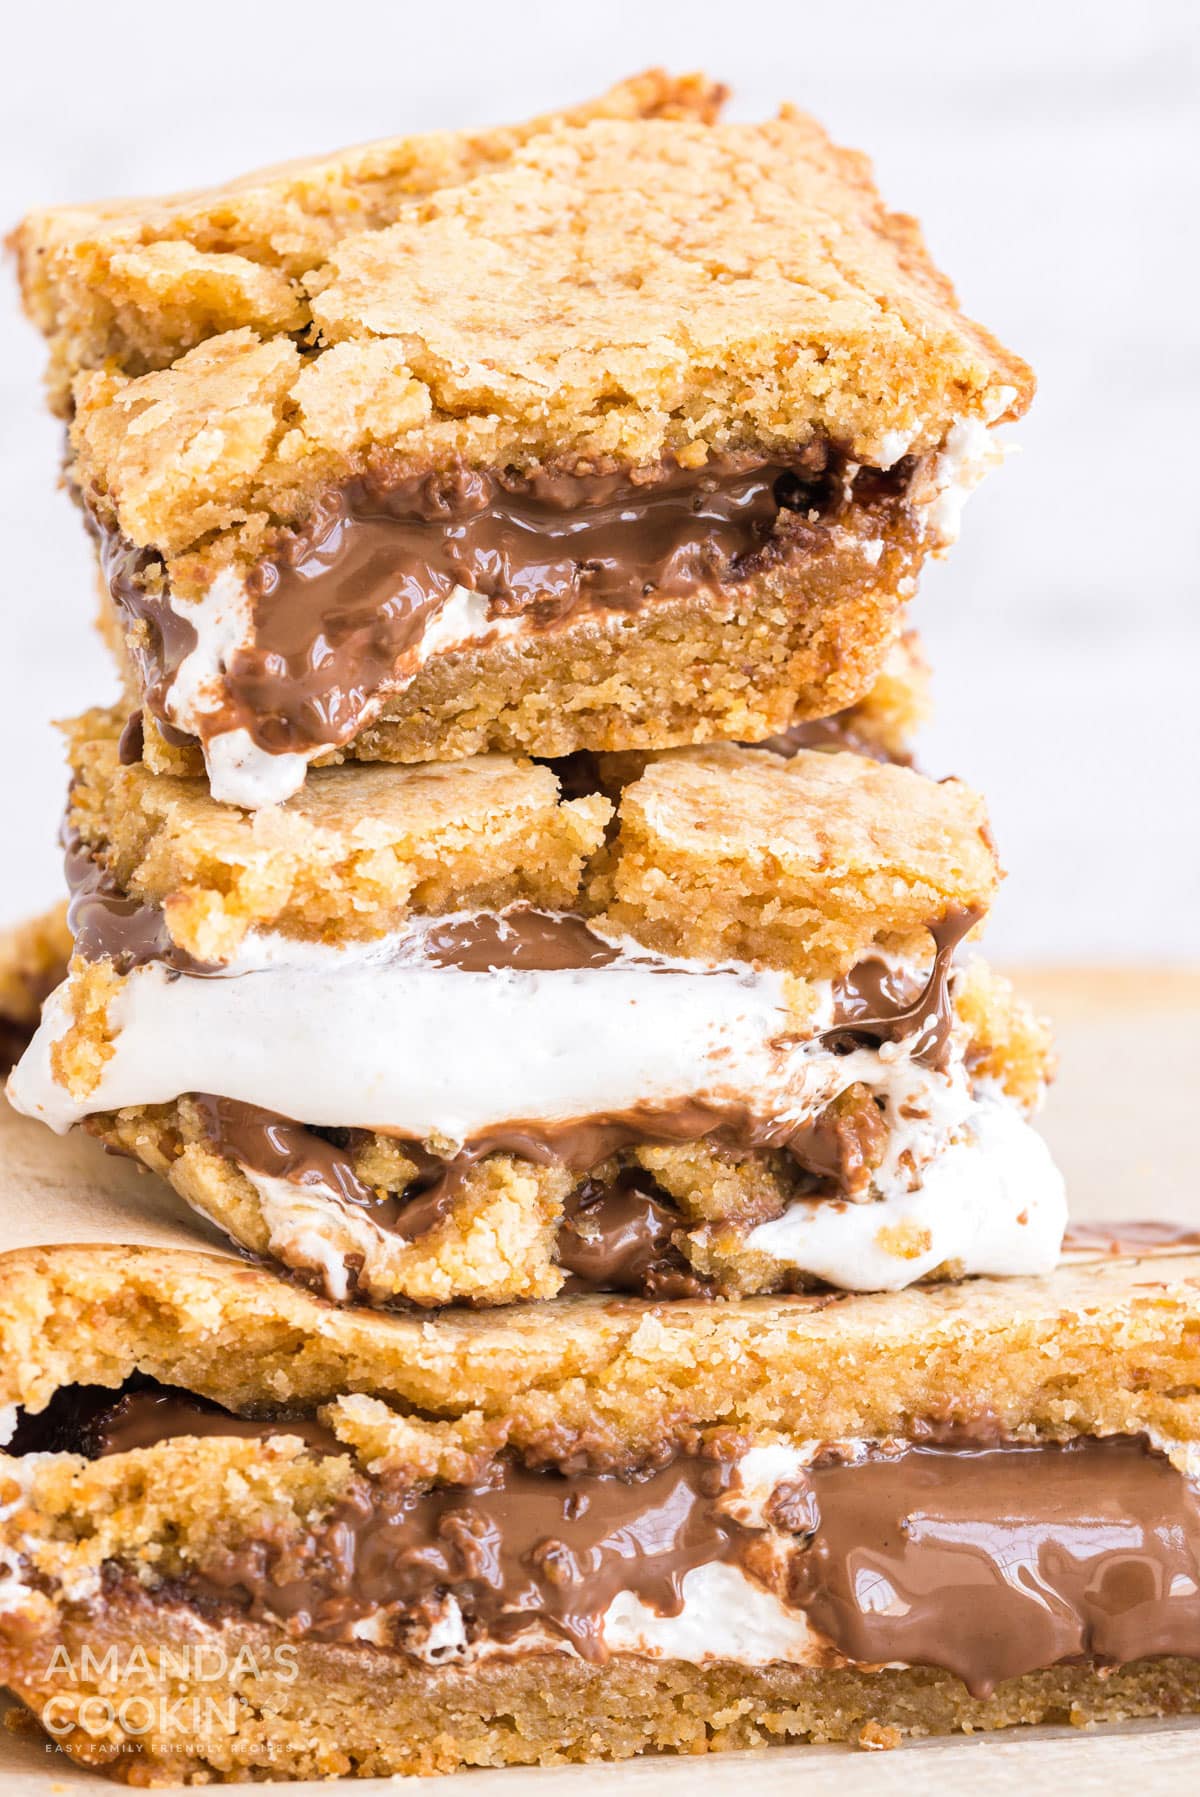
The beauty of these S’mores Bars is they are portable. That means you can take your s’mores with you! These make a great treat for a slumber party, potluck or backyard barbecue.
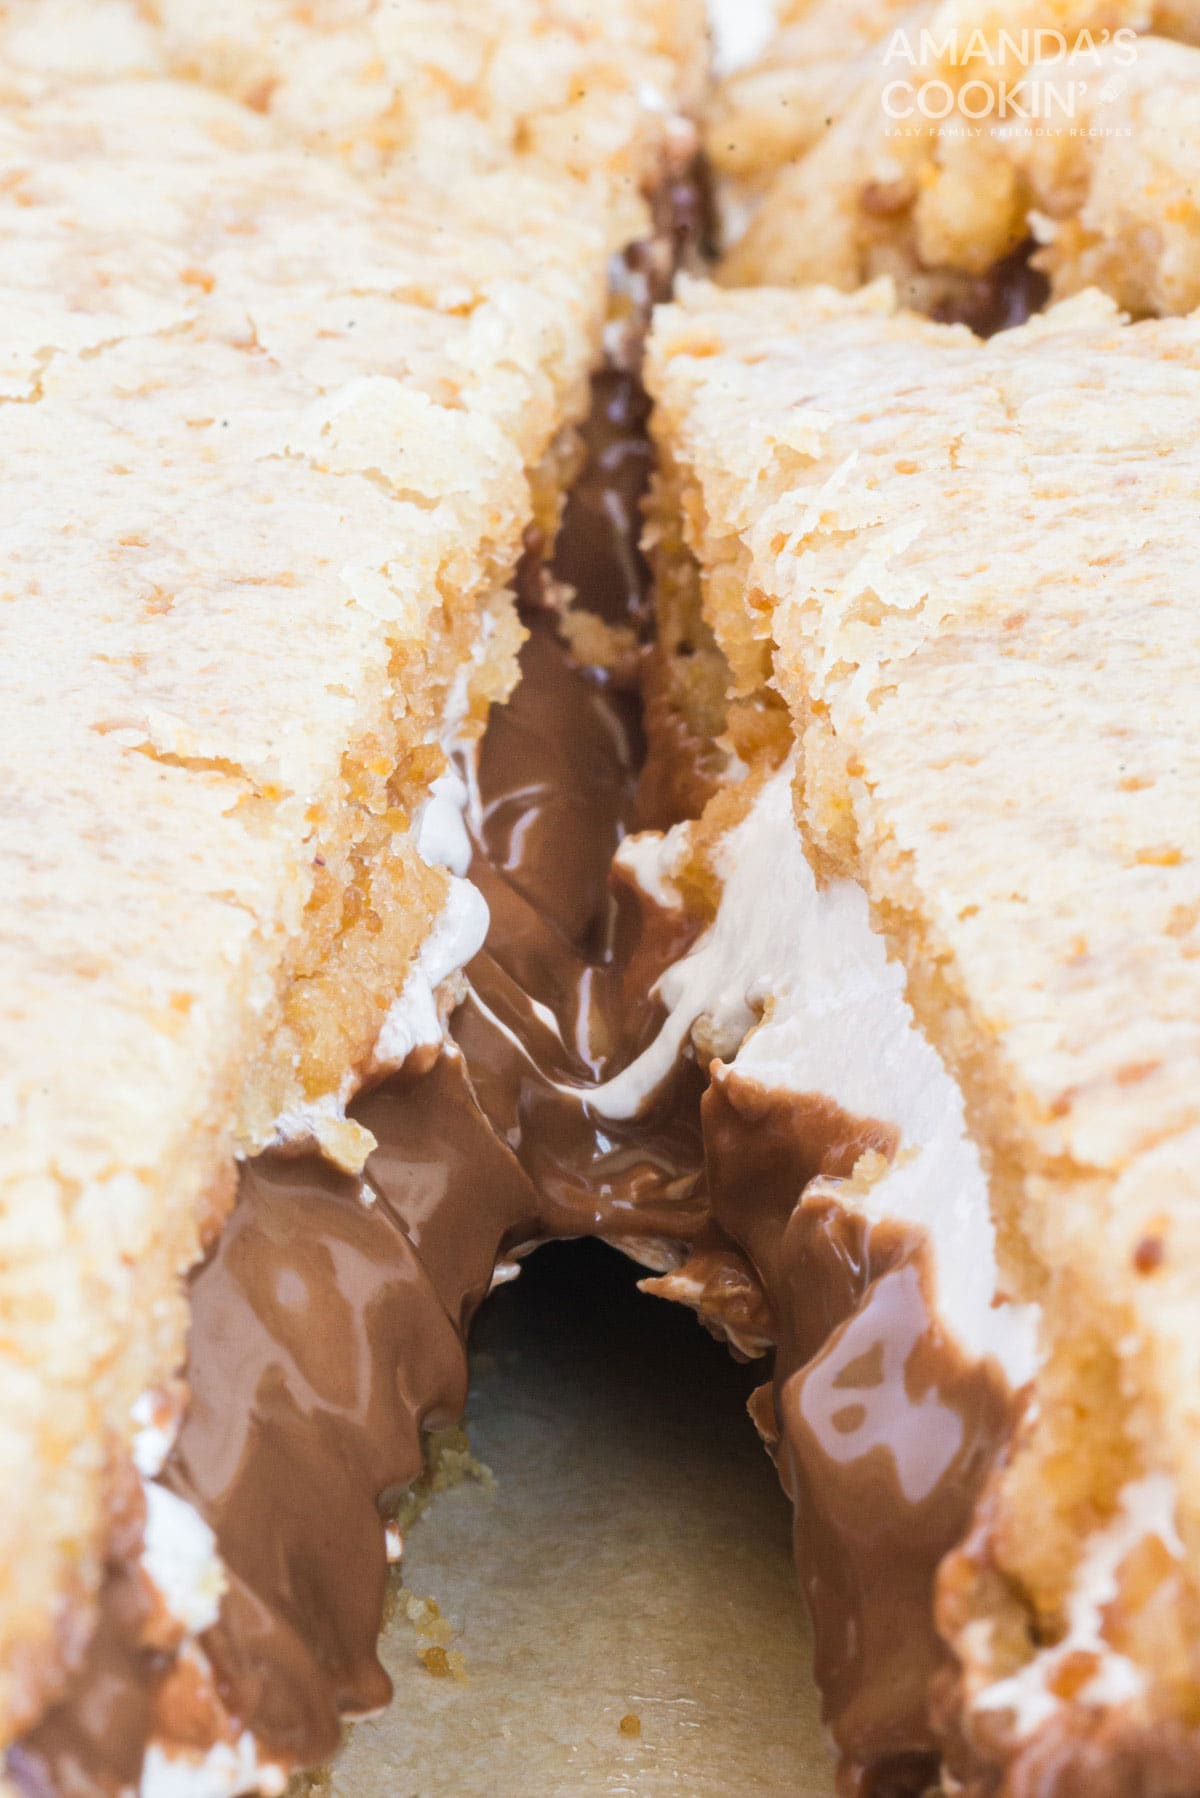
You can eat these while they are still warm, but they will be melty and messy! We’re showing pictures here of the warm and melty bars, as well as the cooled bars that were left on the counter for bit. They are delicious either way.
Bars are portable! Do you love how dessert bars are so easy to take with you? Before heading to your next potluck, consider my amazing lemon bars, my super chewy fudge brownies, or my popular no-bake peanut butter bars!
Expert Tips & FAQs
- Don’t want to run to the store for marshmallow creme? Here’s how to make your own: Over low heat melt 7 ounces (about 4 1/2 cups) of miniature marshmallows and 3 tablespoons of light corn syrup. Let cool in a bowl sprayed with cooking spray. Your homemade marshmallow creme will slide right out when you are ready to add it to the recipe.
- I highly recommend an inexpensive kitchen scale for so many recipes. It’s super handy when you have to portion out dough or batter, like splitting cake batter into pans.
Ingredients You Will Need for S’mores Bars
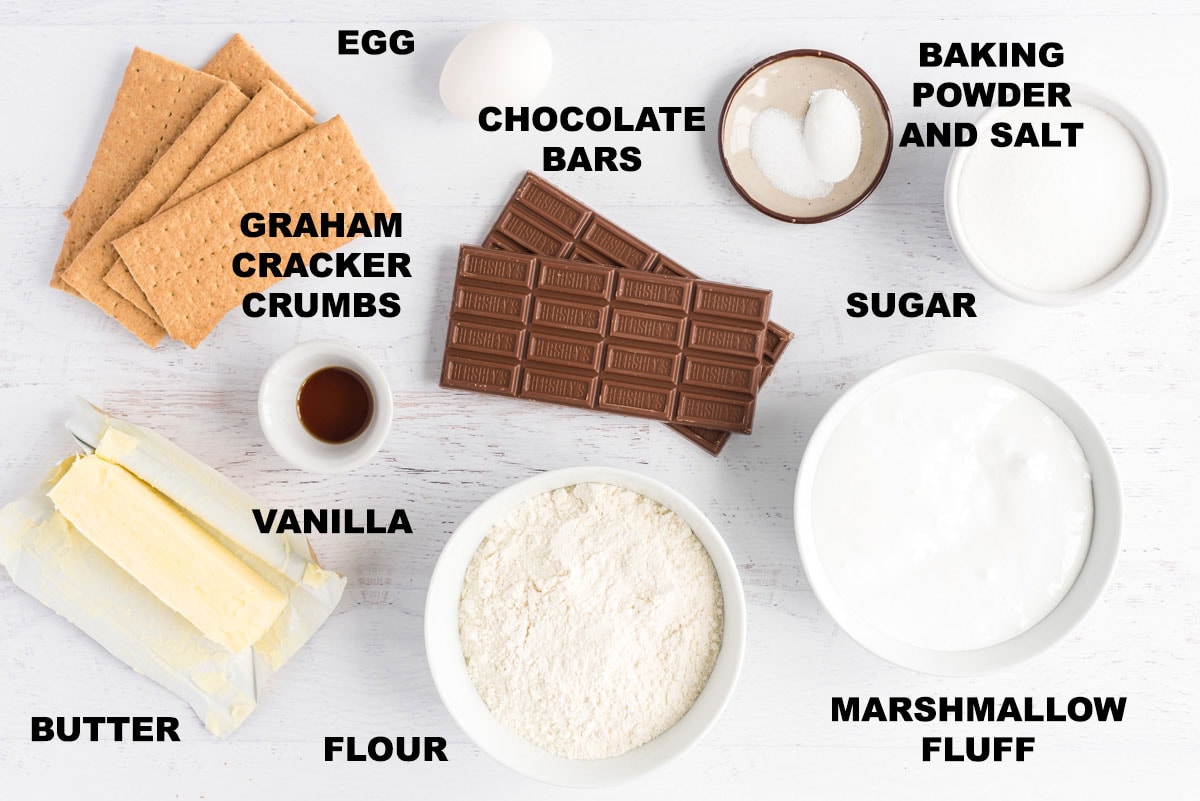 (scroll down for measurements in the printable version)
Aside from the marshmallow creme (see above tip for making your own if you prefer) and chocolate bars, you likely have everything you need.
How to Make S’mores Bars
These step by step photos and instructions are here to help you visualize how to make this recipe. Please scroll down to simply print out the recipe!
- Preheat oven to 350 degrees. Lightly grease an 8-inch square baking pan. You can also line the pan with parchment and let the sides hang over to use as handles.
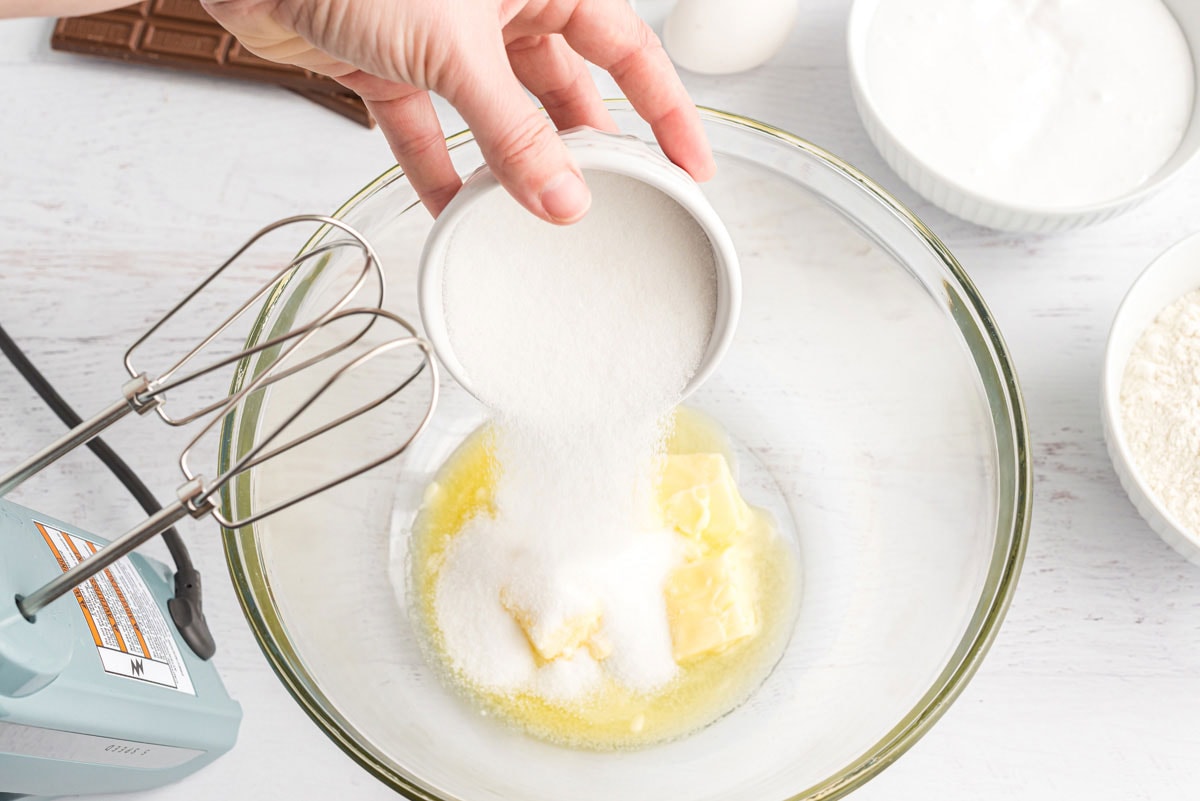
- In a large bowl, beat butter and sugar with an electric mixer until creamy.
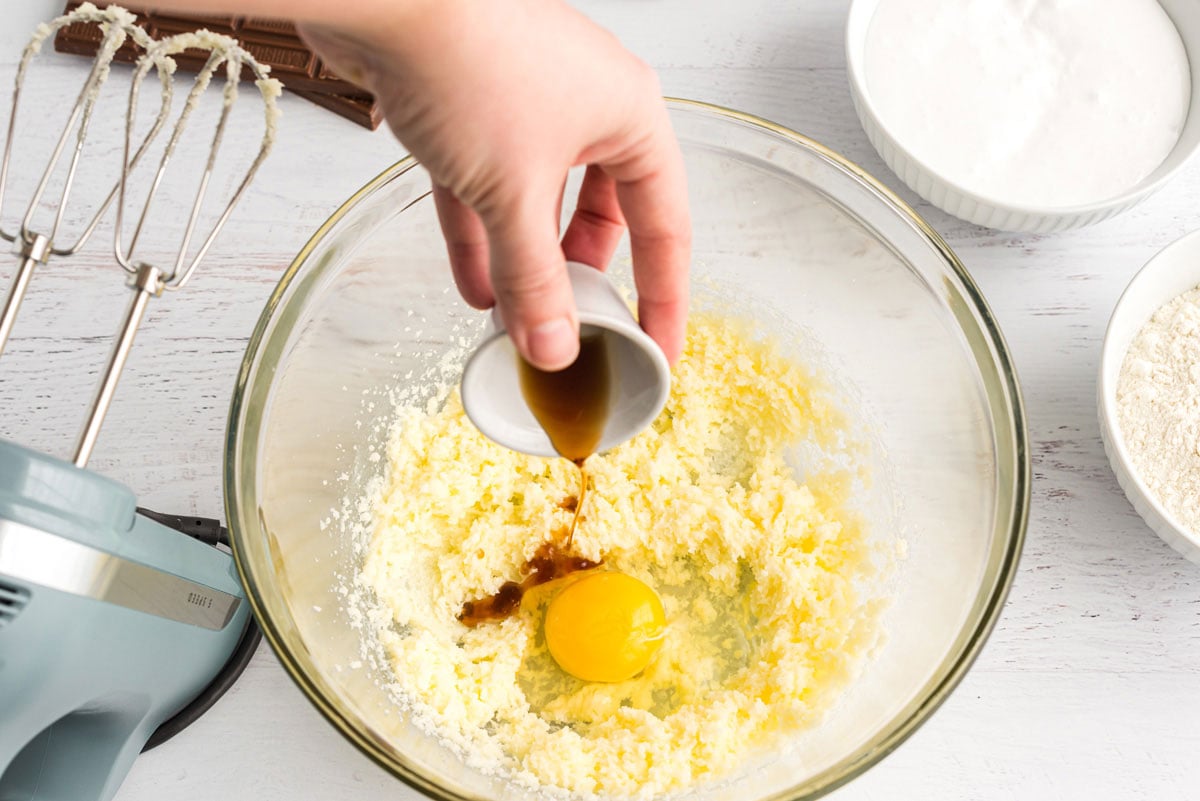
- Add eggs and vanilla; beat until combined.
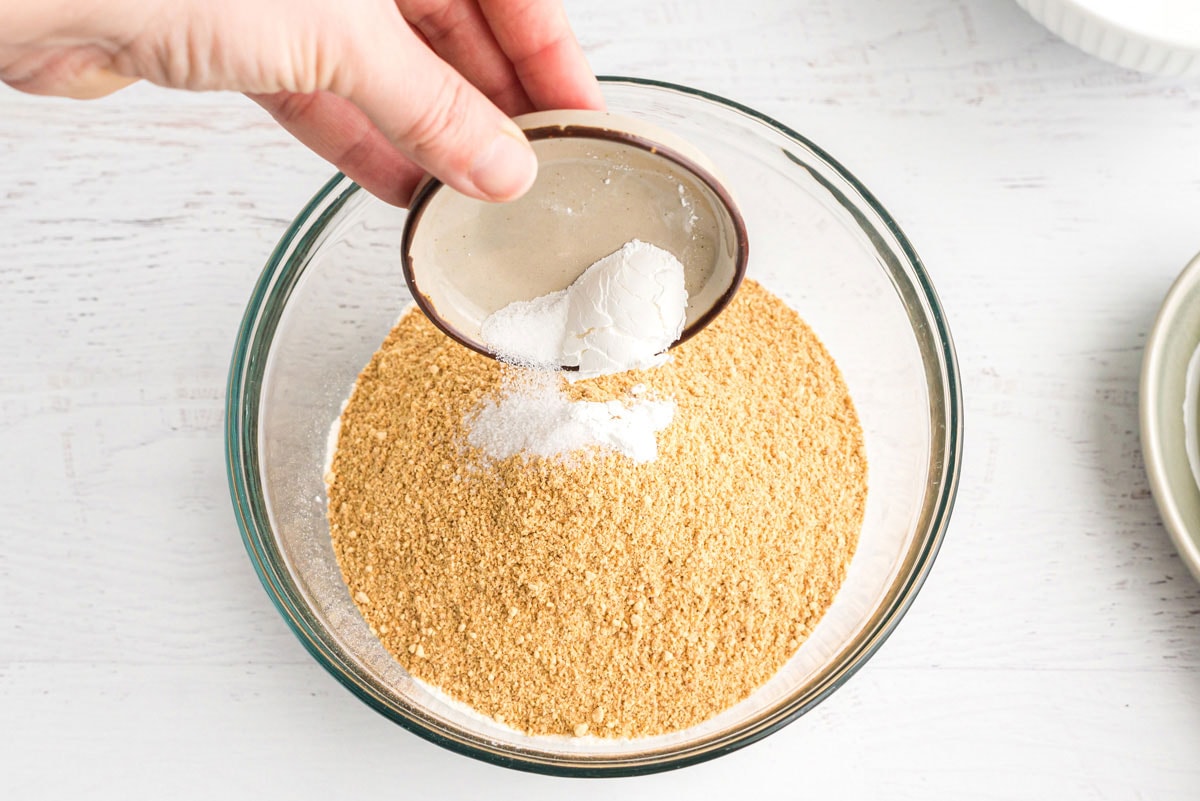
- In a small bowl, combine flour, graham cracker crumbs, baking powder, and salt.
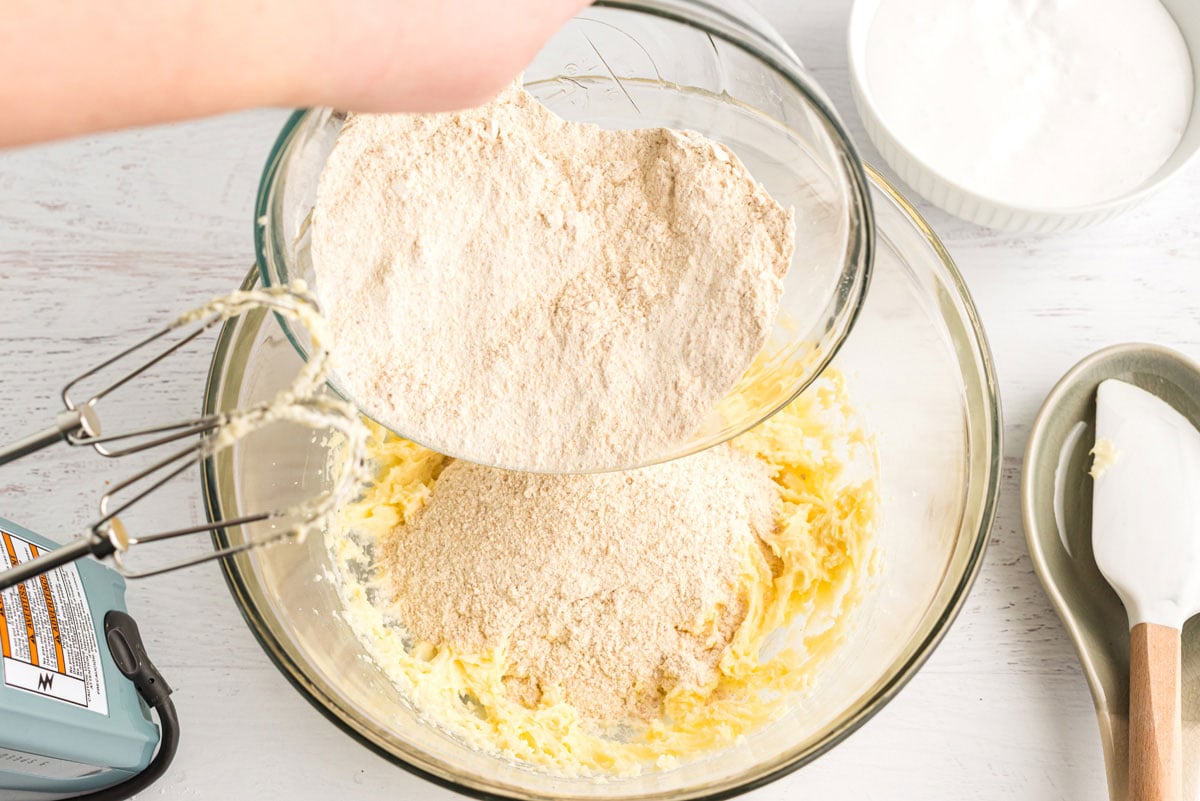
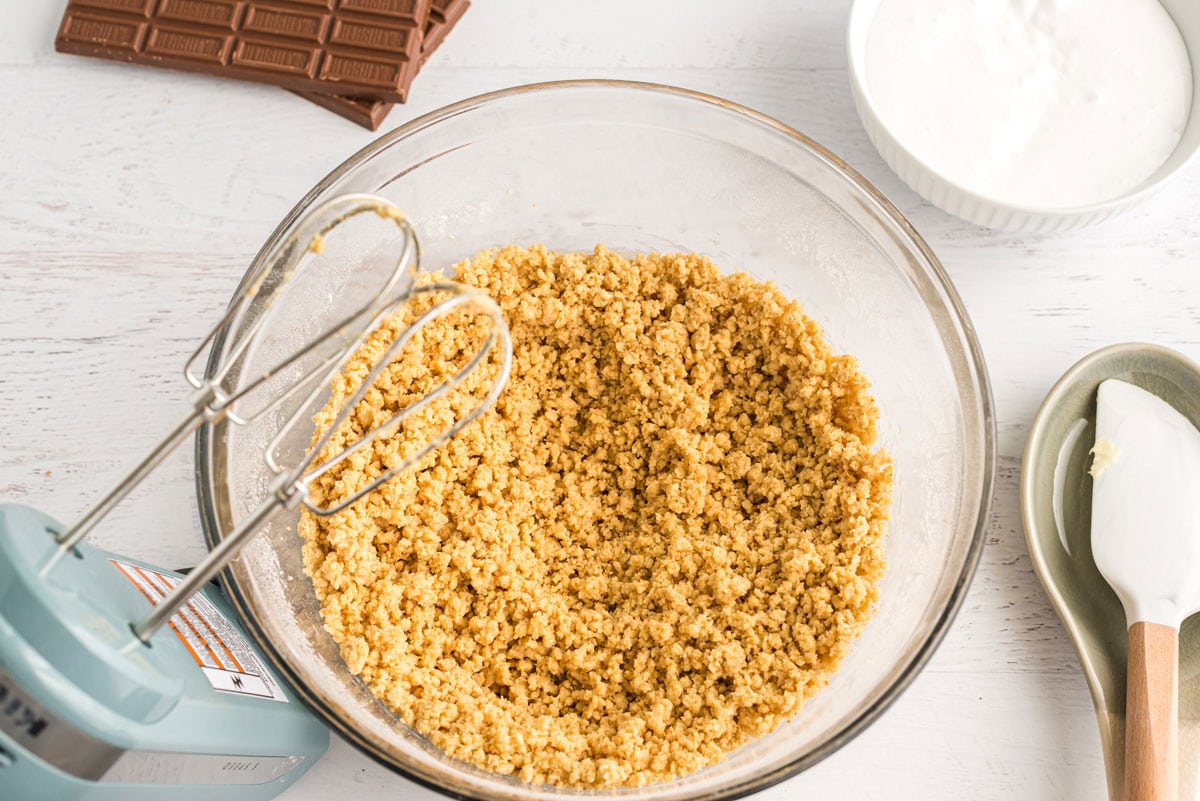
- Add to butter mixture, and beat until combined.
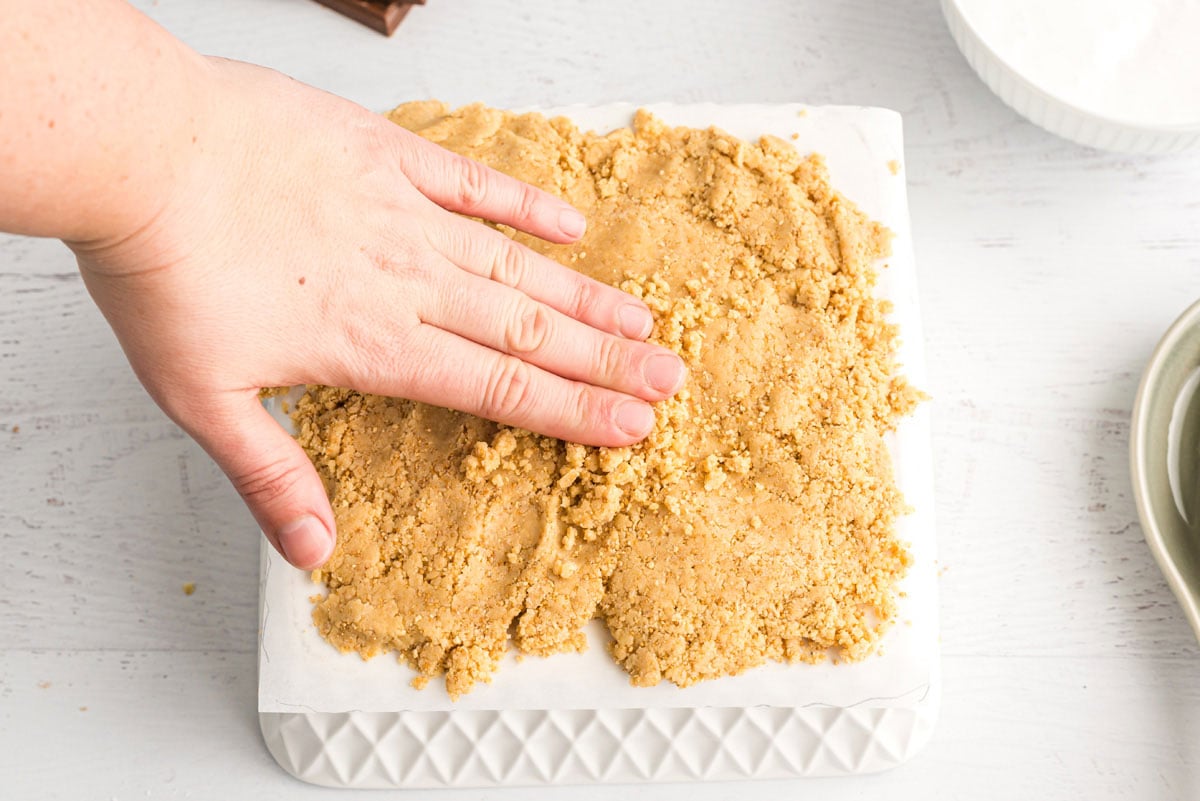
- Turn the baking pan upside down and place a piece of waxed paper on top. Press half of the dough onto the waxed paper, using the bottom of the pan as a guide for the size. Set aside. Turn pan back over.
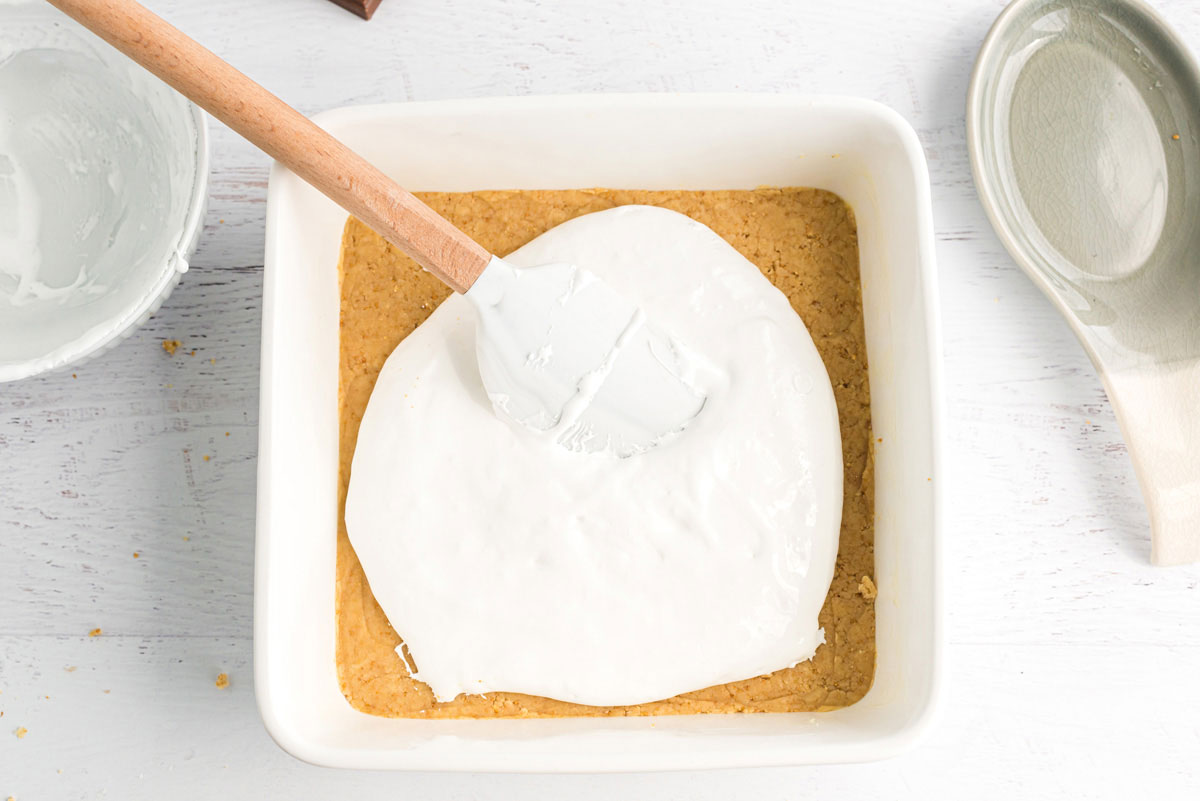
- Press the other half of the dough evenly in the bottom of the pan. Spread marshmallow cream over the dough, but don’t go all the way to the edge.
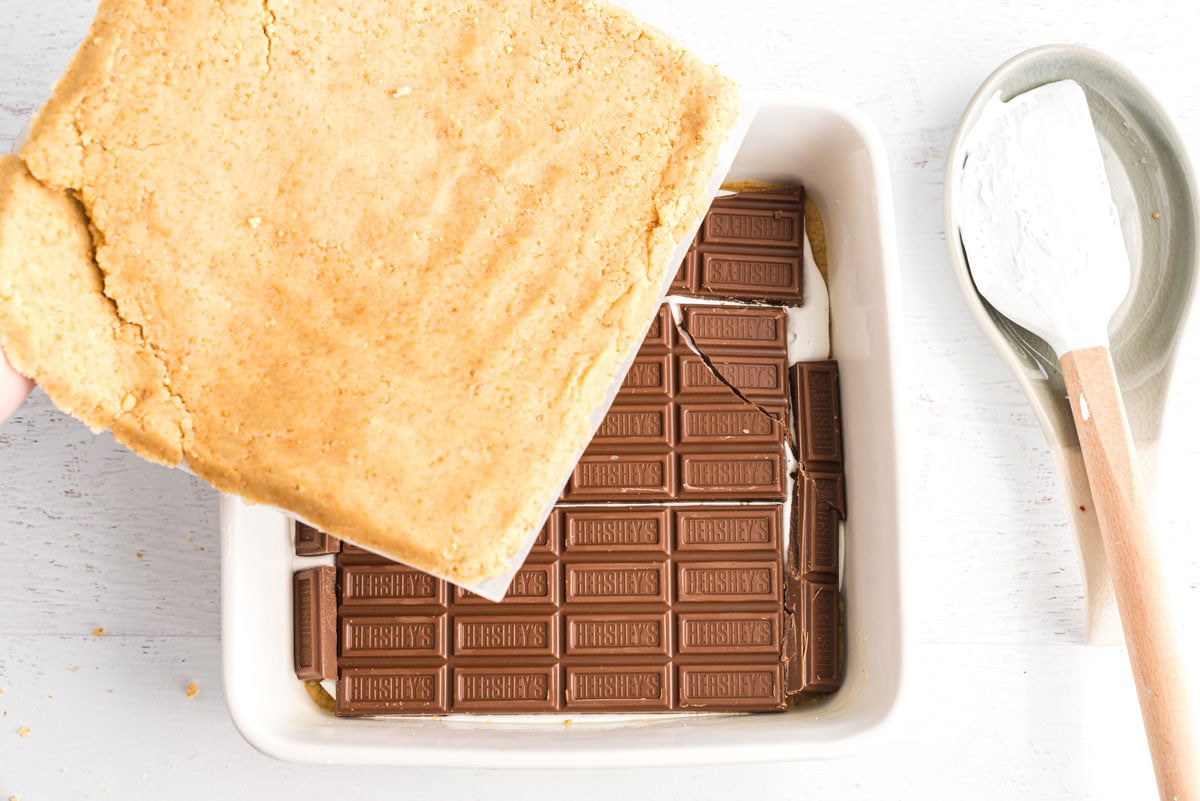
- Lay the chocolate bars on top of the marshmallow creme, breaking apart as needed to create an even layer of chocolate.
- Take the preformed dough that you set aside earlier and invert onto the top of the chocolate and peel away the waxed paper. Spread gently to the edges if needed.
- Bake for 25-30 minutes (mine was 27). Cool completely before cutting into squares.
I hope you love these gooey, chocolatey S’mores Bars as much as we do. They’re always a hit!
More Fun Recipes You Should Try
I love to bake and cook and share my recipes with you! I know it’s hard to remember to come back and search, so I’ve made it easy for you with my weekly newsletter! You can subscribe for free and I’ll send you delicious recipes every week right to your email.
This post was originally published here on Nov 7, 2011 and has since been updated with new photos and tips.
More recipes to try
Eight more recipes from the kitchen.
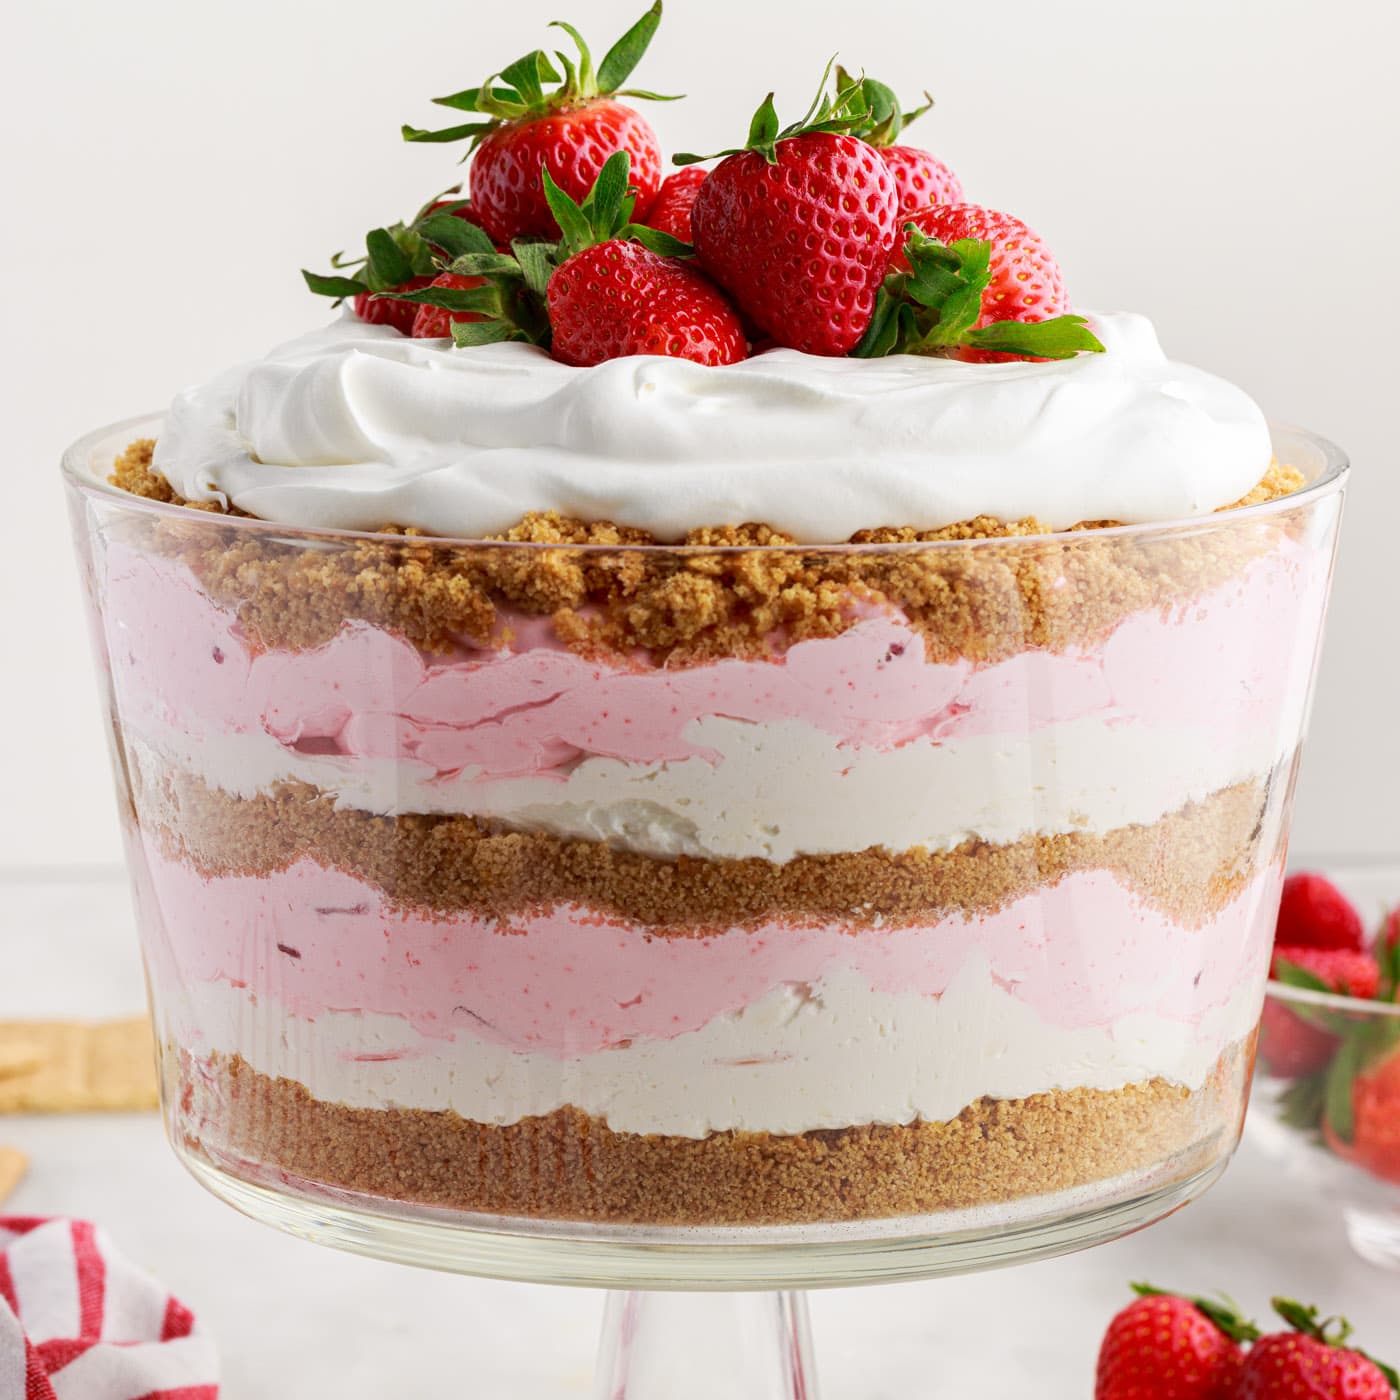
Strawberry Lasagna Trifle
This gorgeous layered strawberry lasagna trifle is a tiered version of…
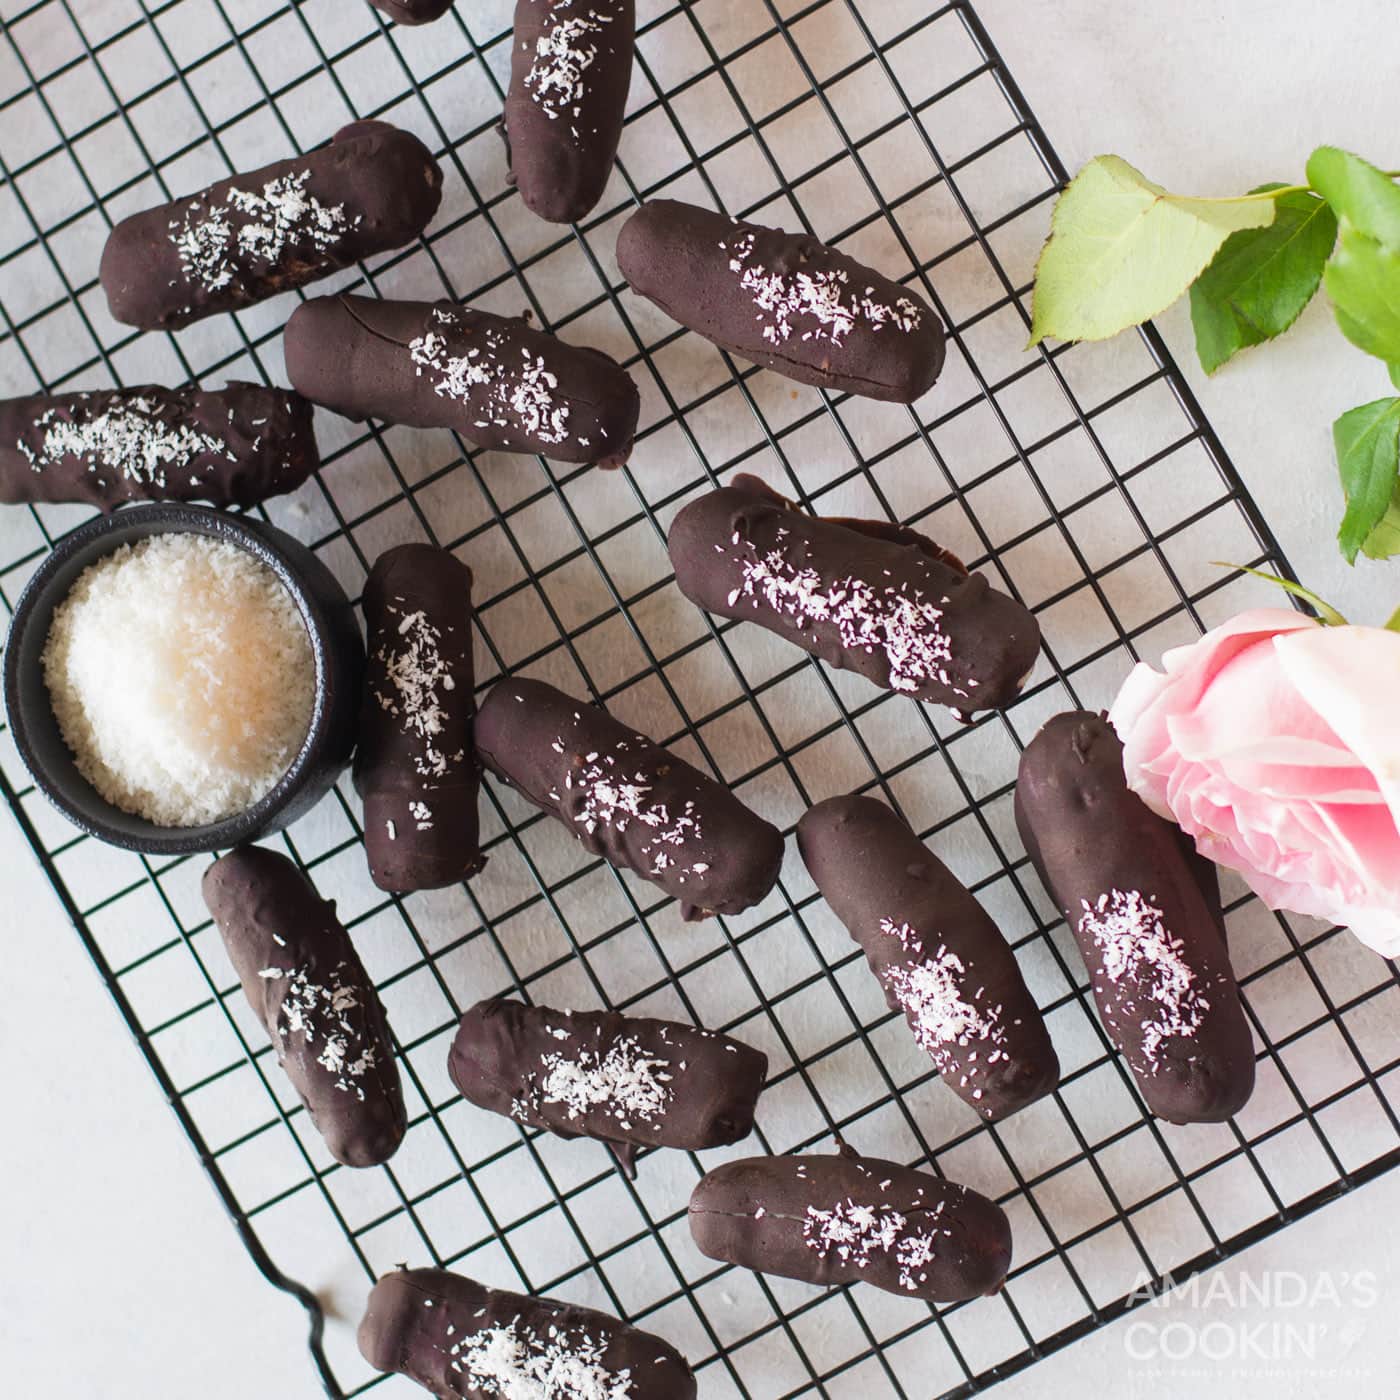
Homemade Bounty Bars
Making your own bounty bars at home is easy and takes less than 30…
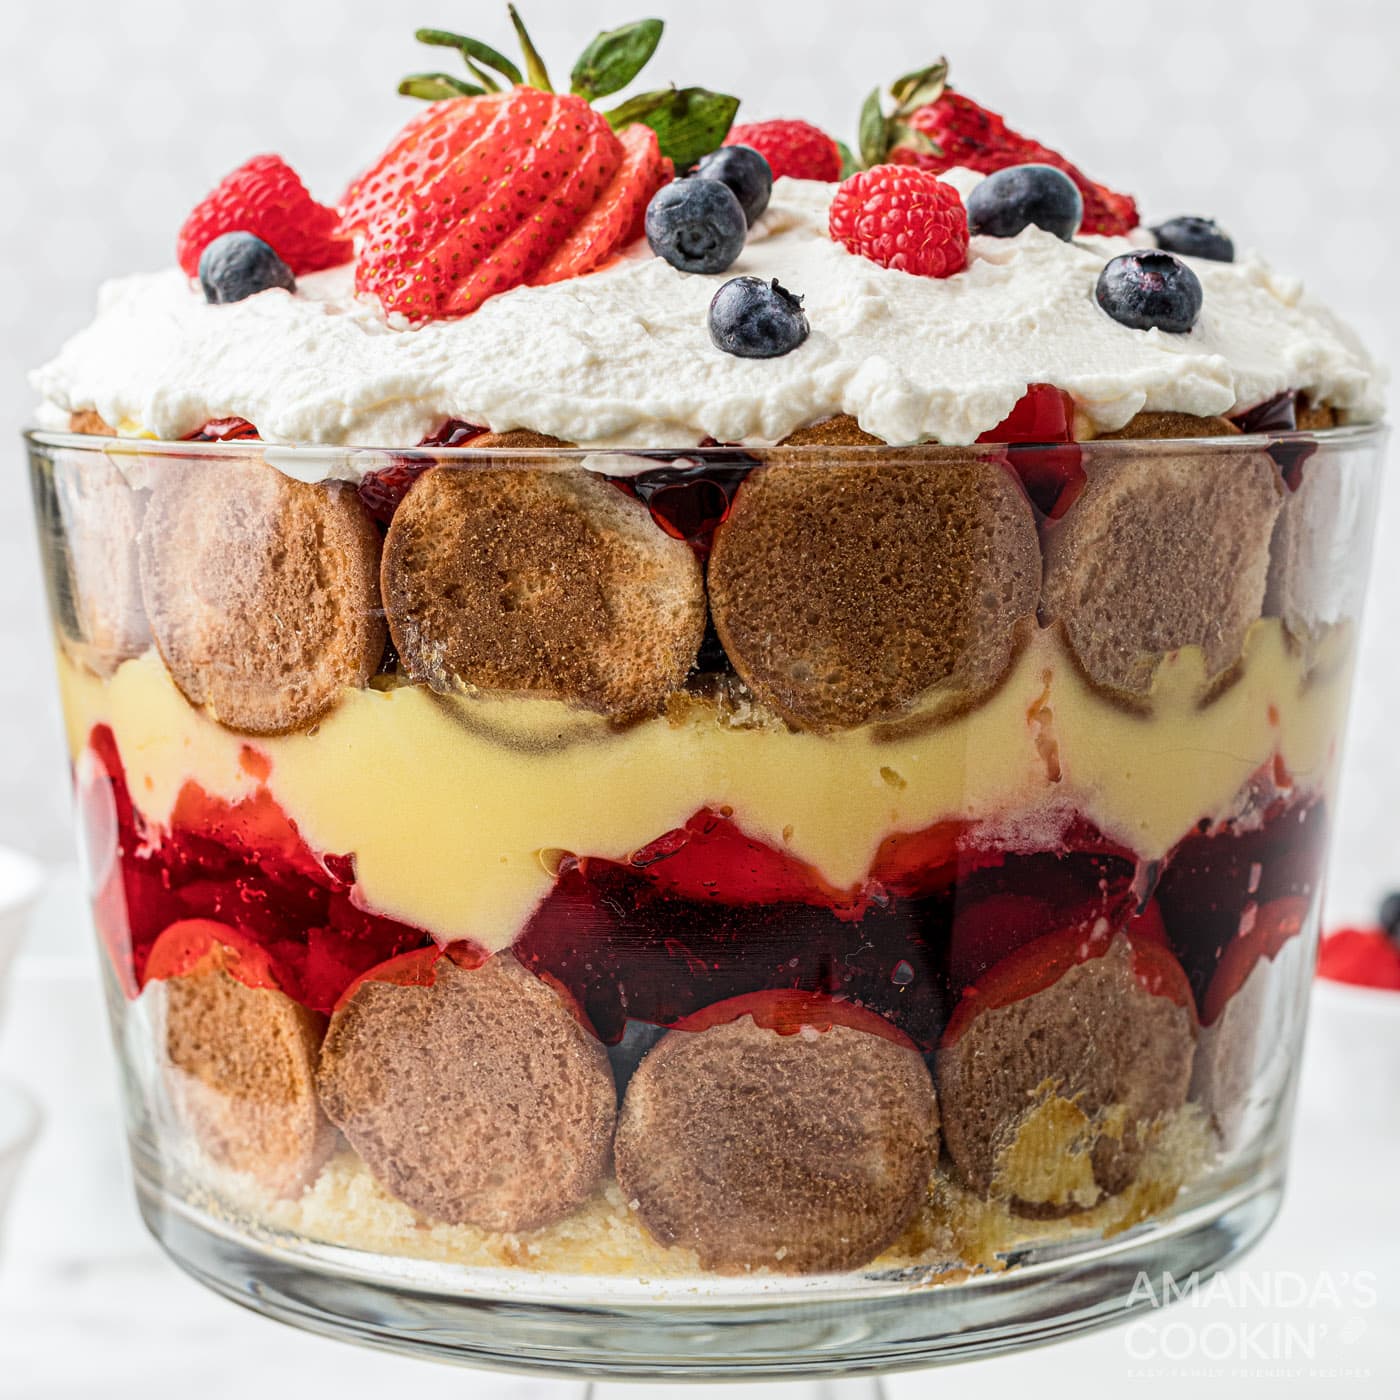
Jello Trifle
This jello trifle has layers of fresh fruit, vanilla pudding, wafers…
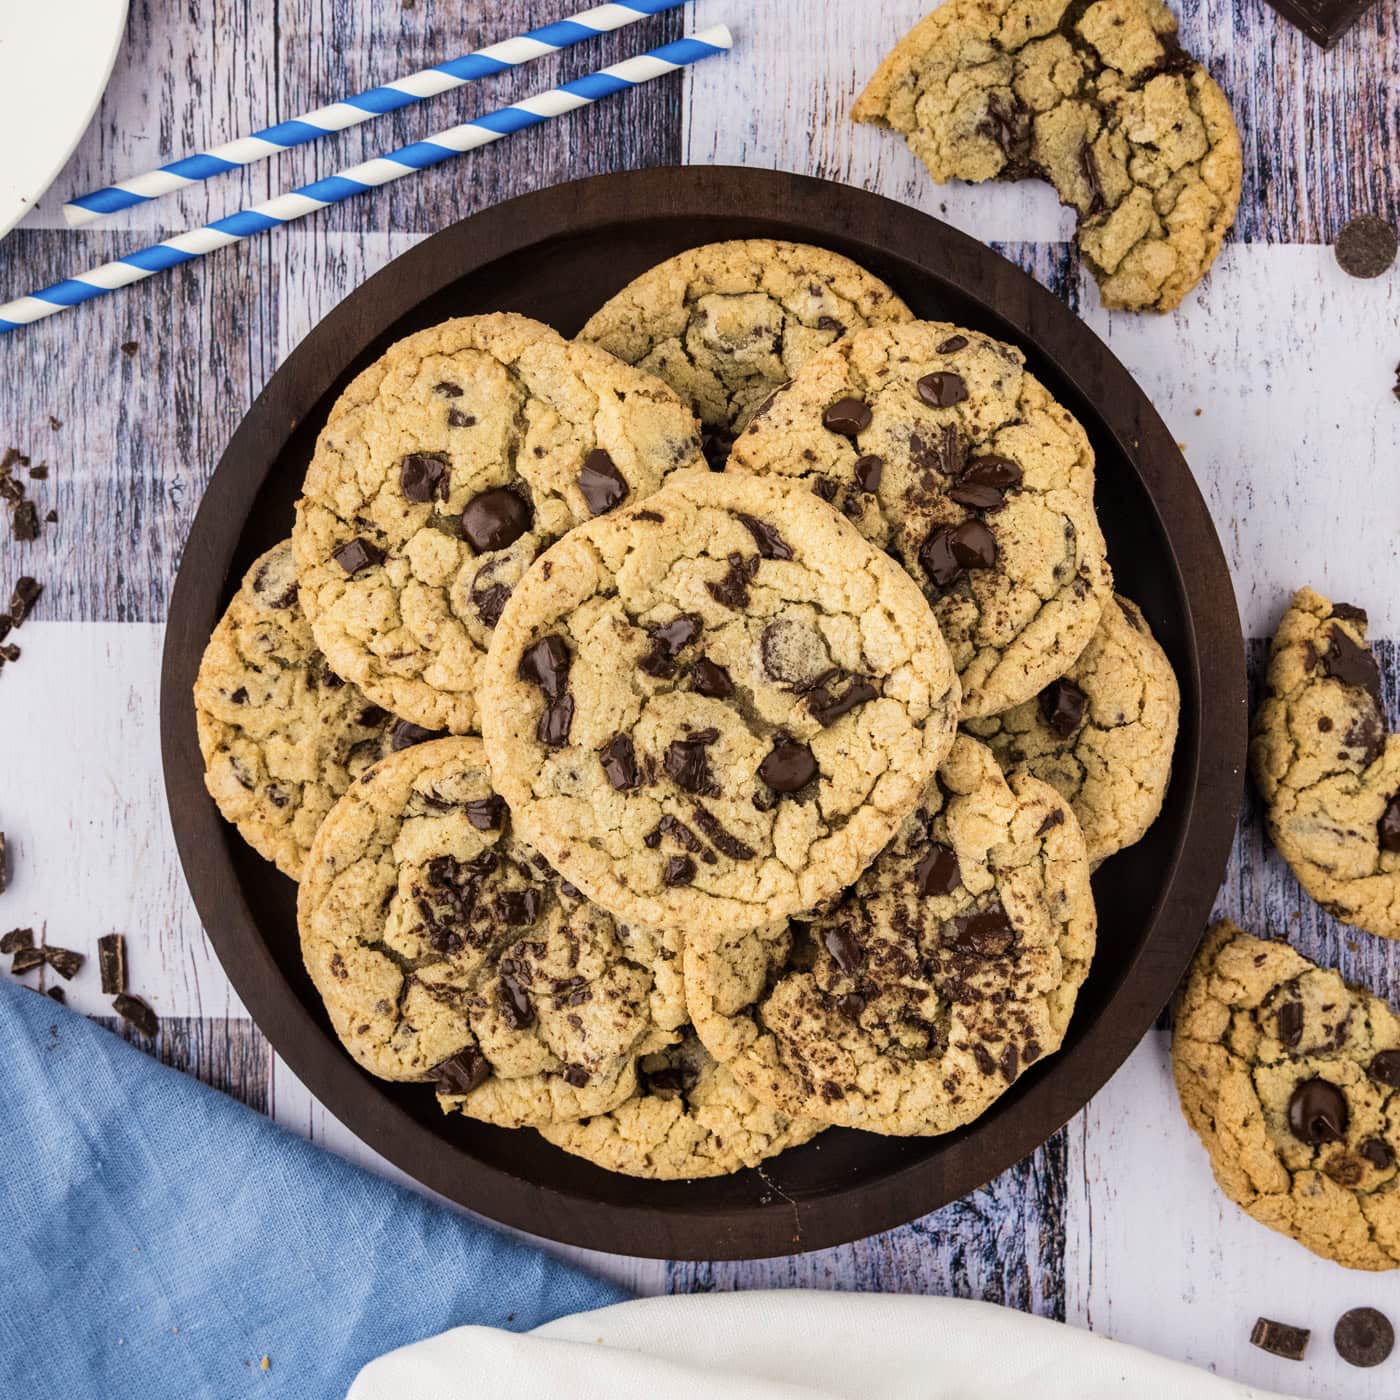
Chocolate Chip Cookies
These jumbo sized chewy chocolate chip cookies are crazy easy to make…
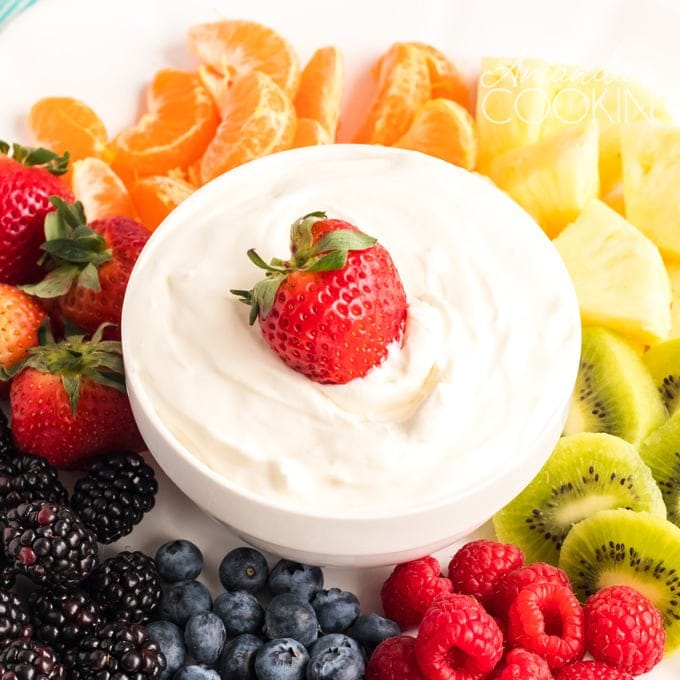
Cream Cheese Fruit Dip
Looking for ways to get everyone to eat more fruit this season? Aside…
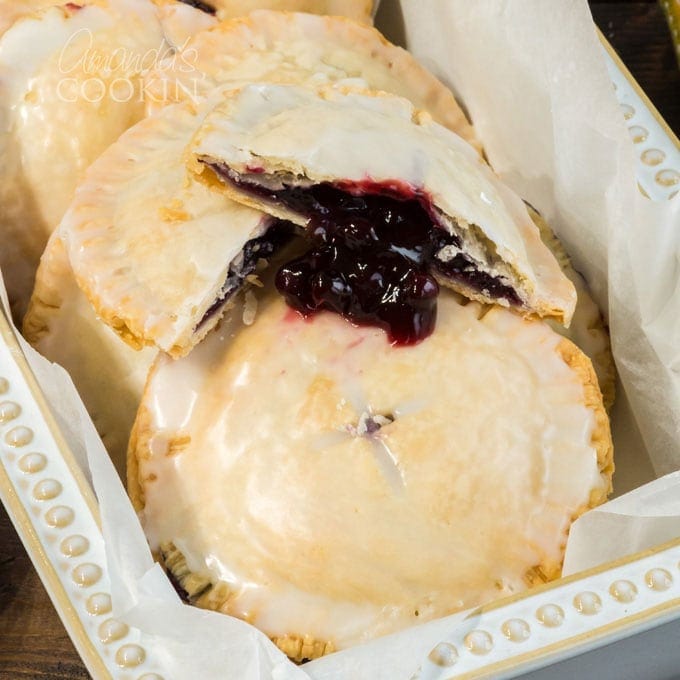
Blueberry Hand Pies
Making blueberry hand pies is fun and easy to do, and using a…
Orange Poke Cake
Orange flavored cake, orange gelatin and orange buttercream. A triple…
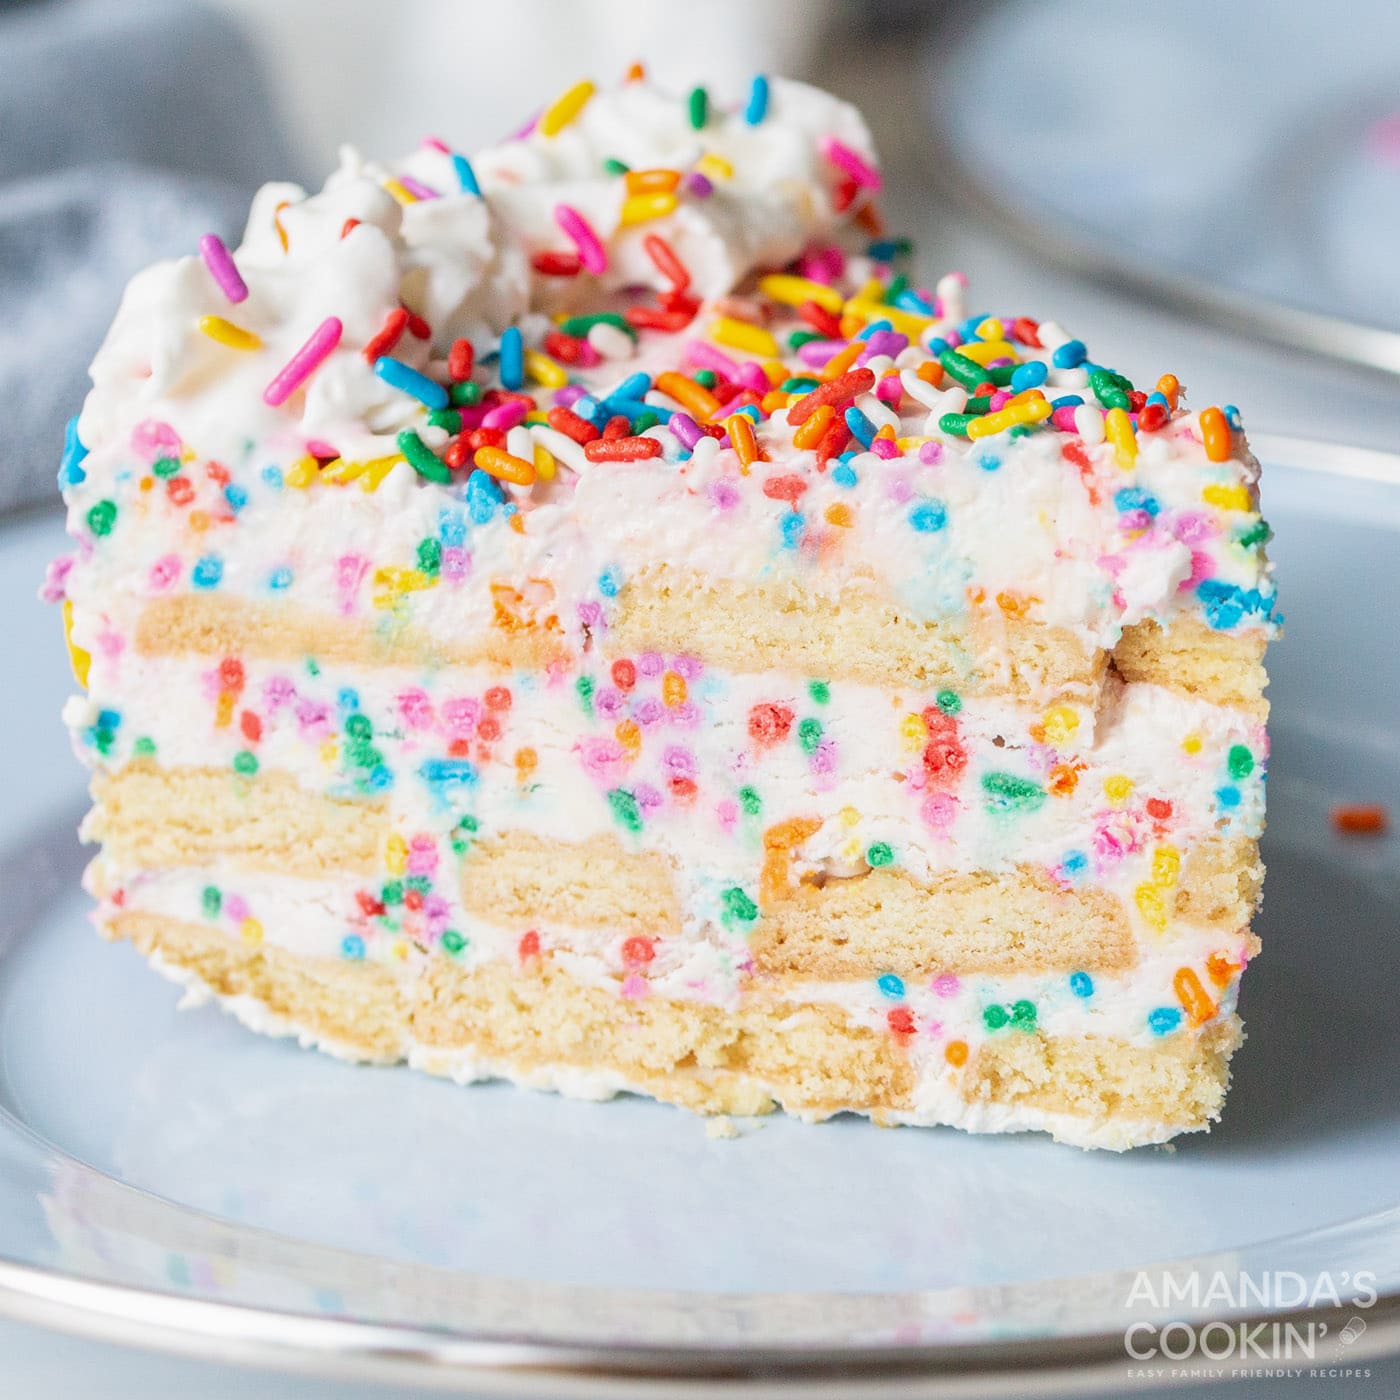
Funfetti Icebox Cake
This no-bake funfetti icebox cake is made with shortbread cookies…