No Bake Peanut Butter Bars
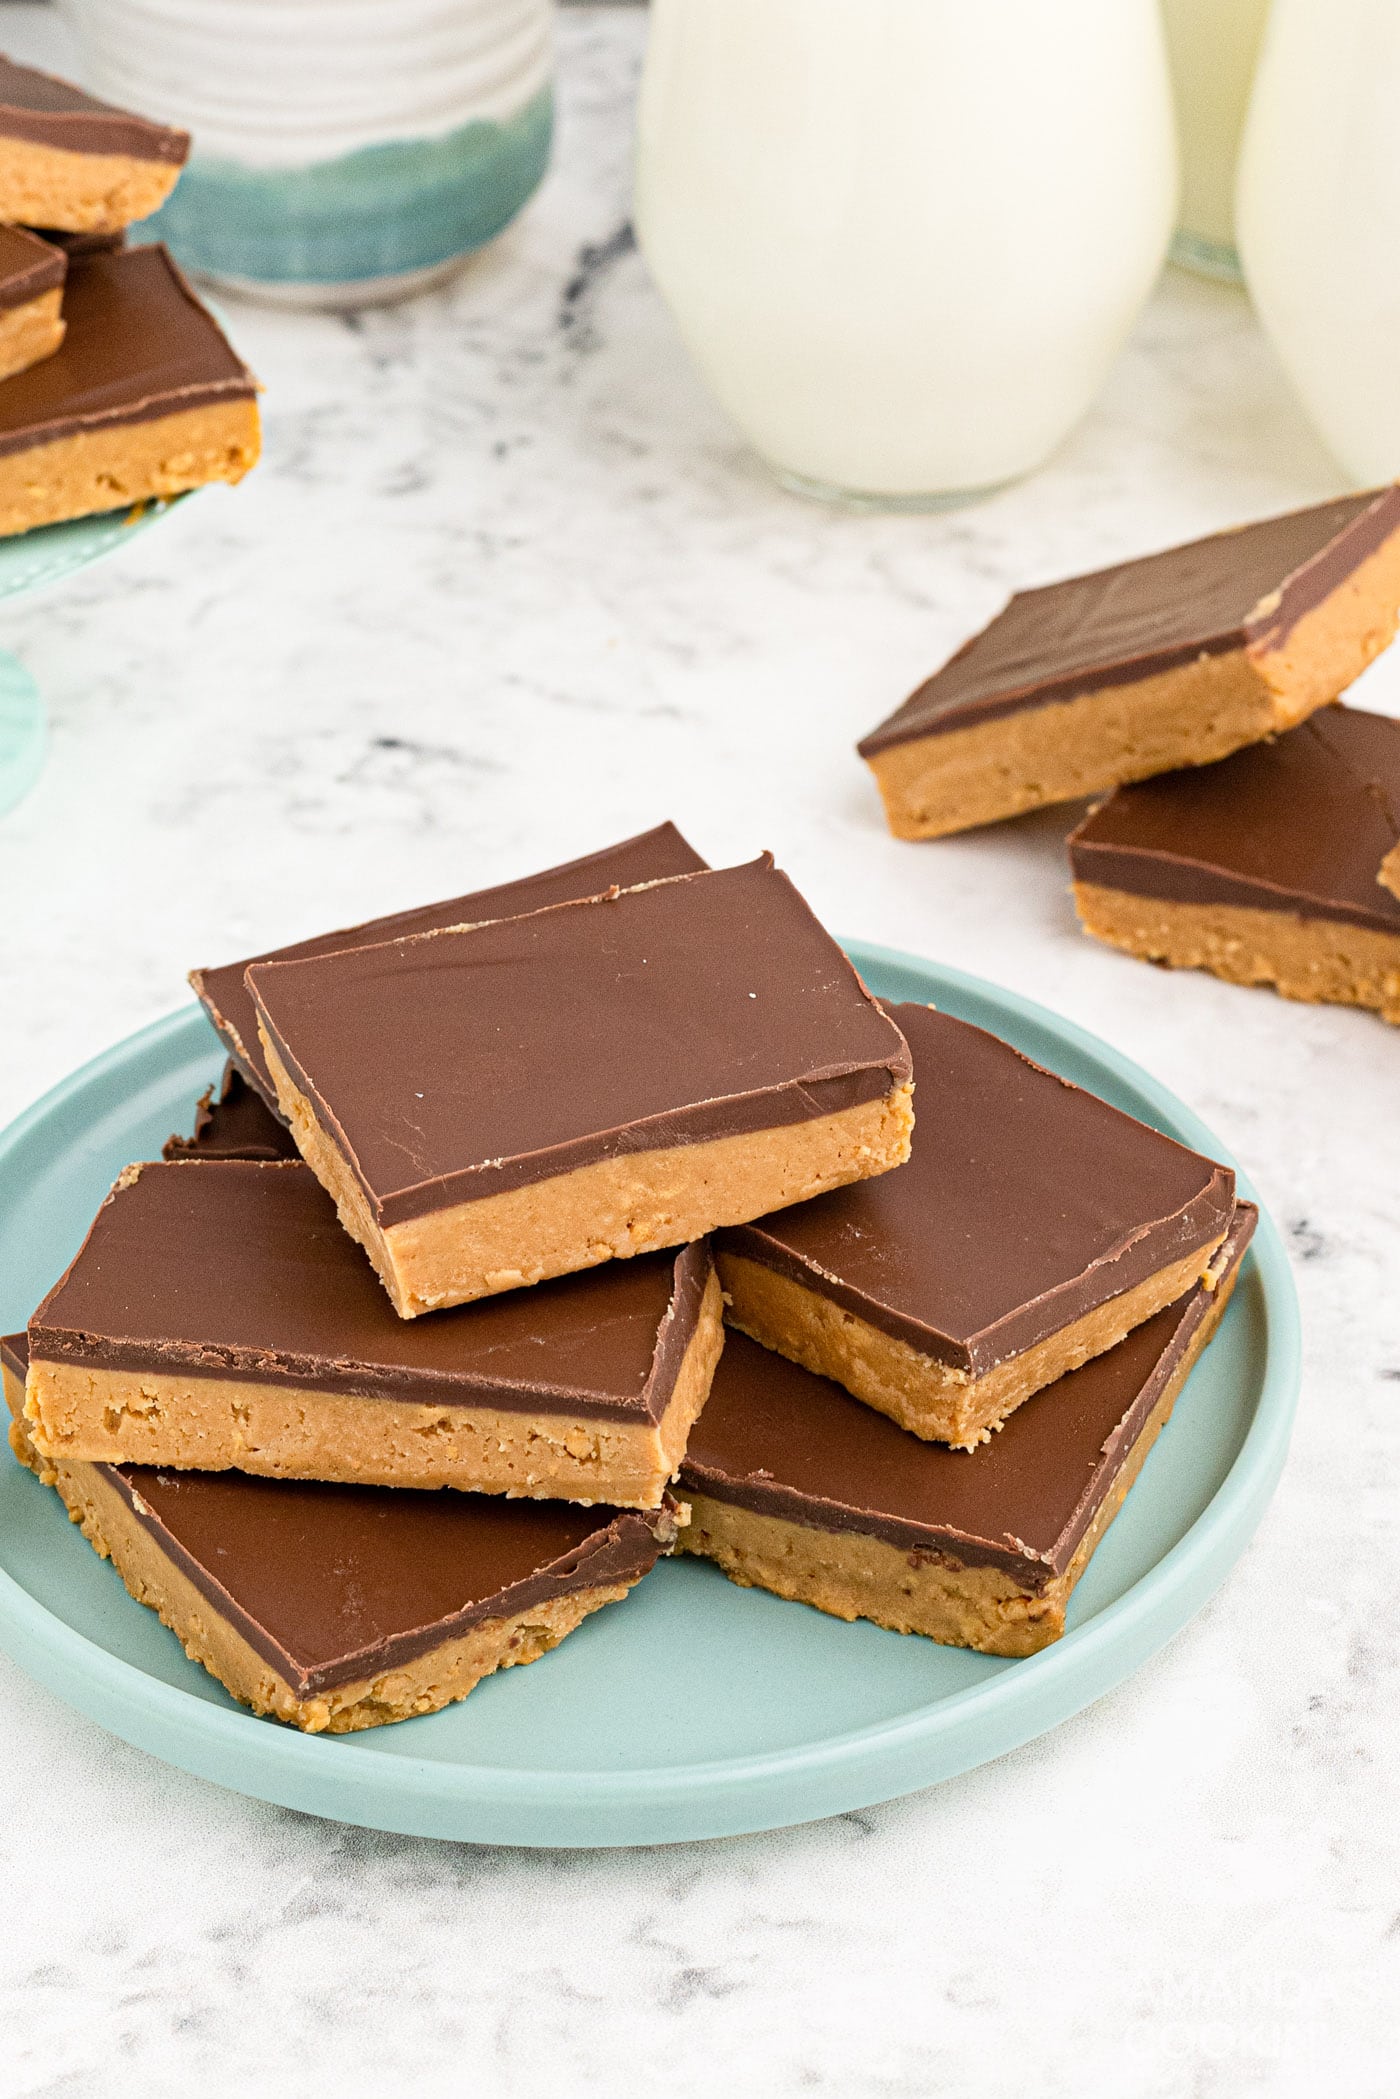
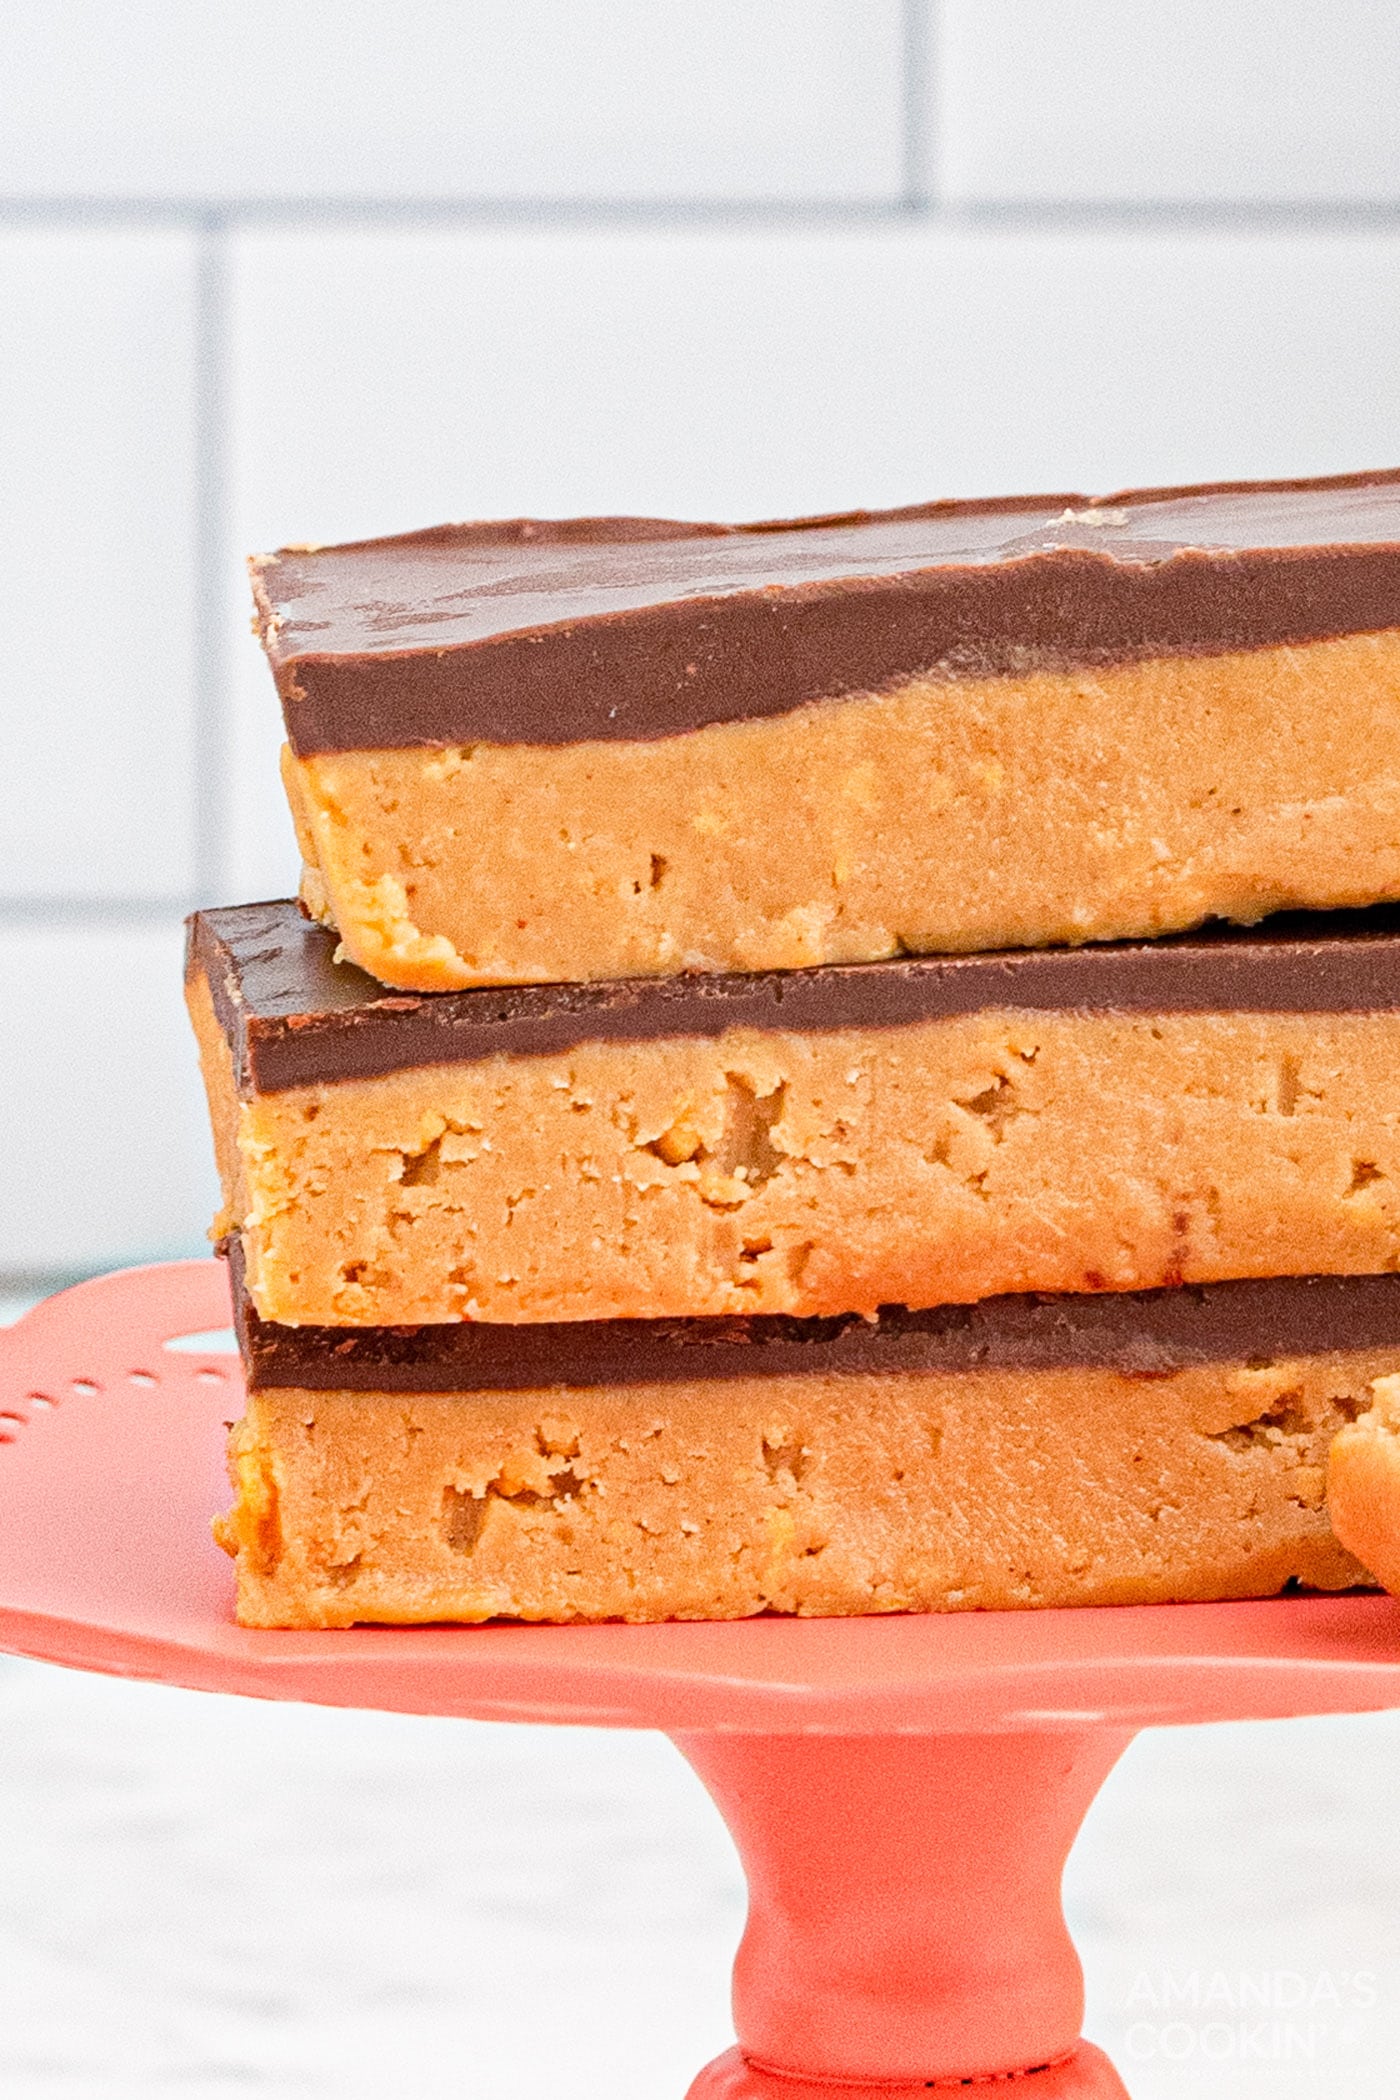
These peanut butter bars are so easy to make and are ready to eat in 30 minutes or less! Chances are you have most of these ingredients in your pantry, if not all of them. They remind me of Buckeye Brownie Cookies, but without baking!
- Total 25 minutes
- Serves 24 bars
- Desserts
- American
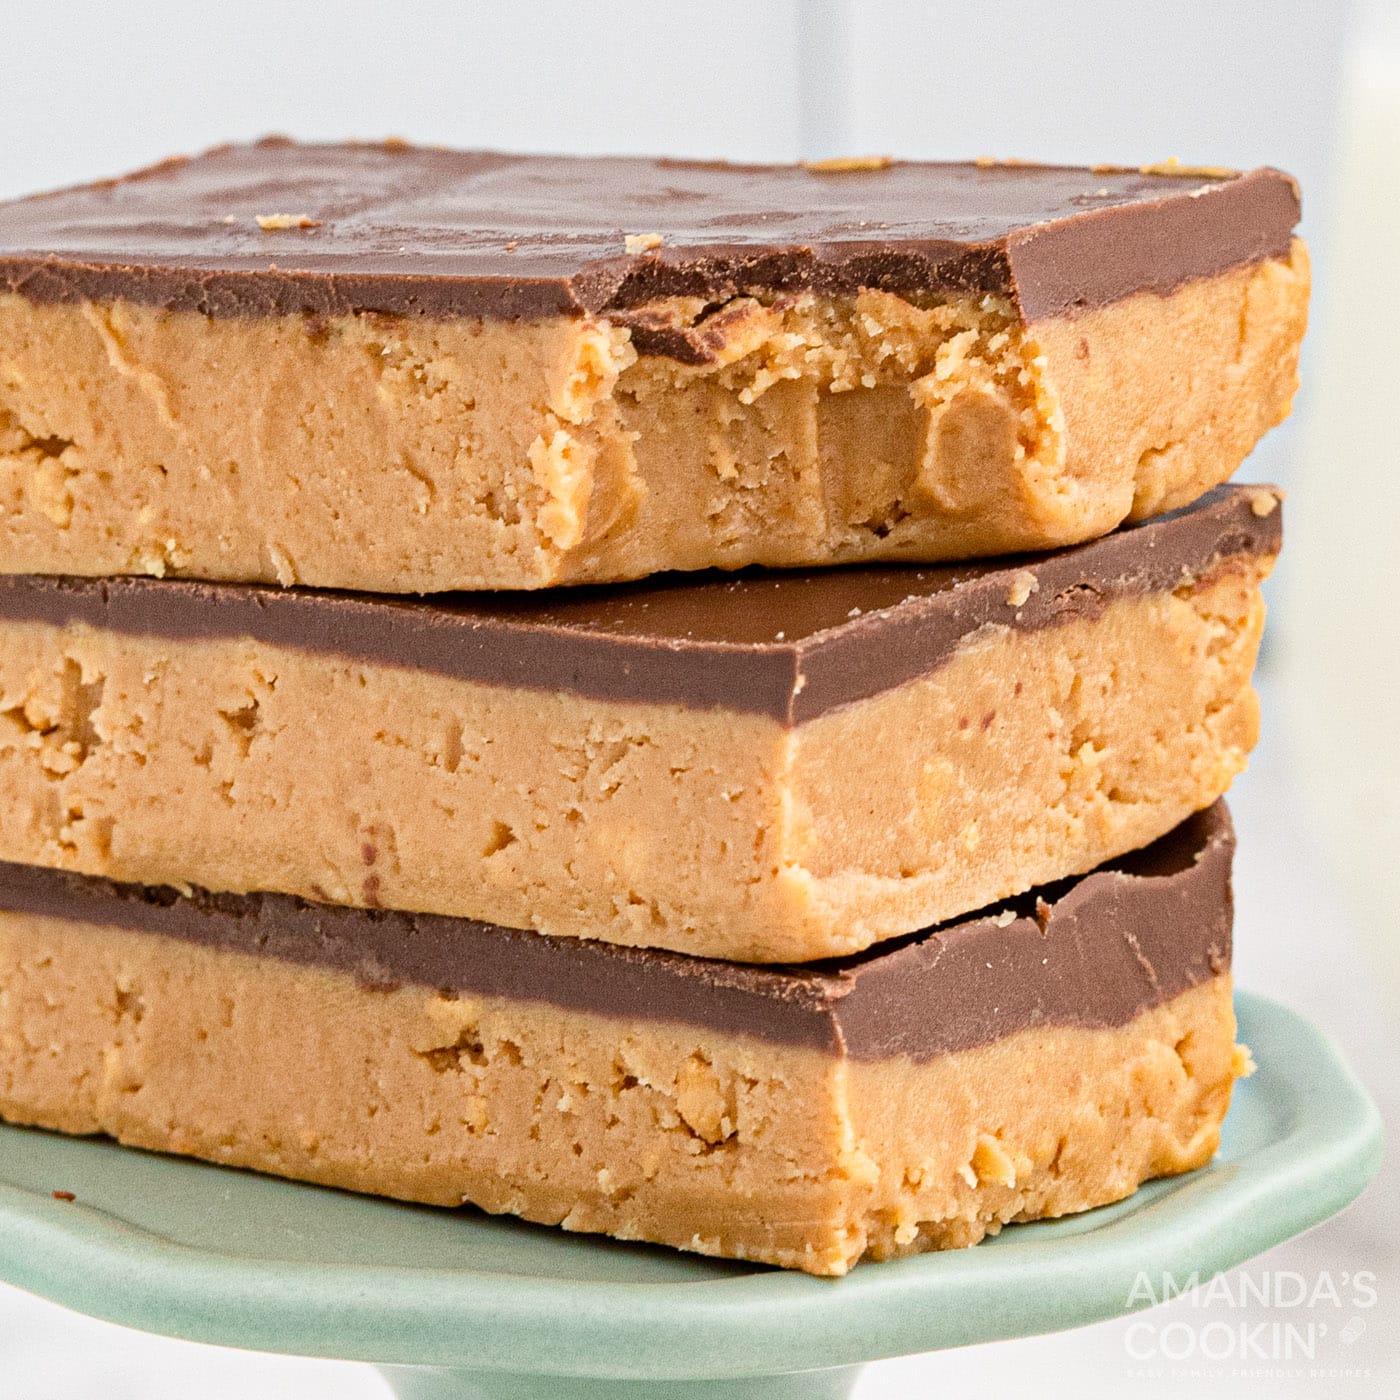
These peanut butter bars are so easy to make and are ready to eat in 30 minutes or less! Chances are you have most of these ingredients in your pantry, if not all of them. They remind me of Buckeye Brownie Cookies, but without baking!
 more
more
Why this recipe works
Recipes that don’t require baking are easy and great any time of year. While they are a year-round treat, these peanut butter bars are especially wonderful in the summer, when you don’t want to crank up your oven. And with them being so quick to make, they’re perfect for unexpected company or that last-minute teen request.
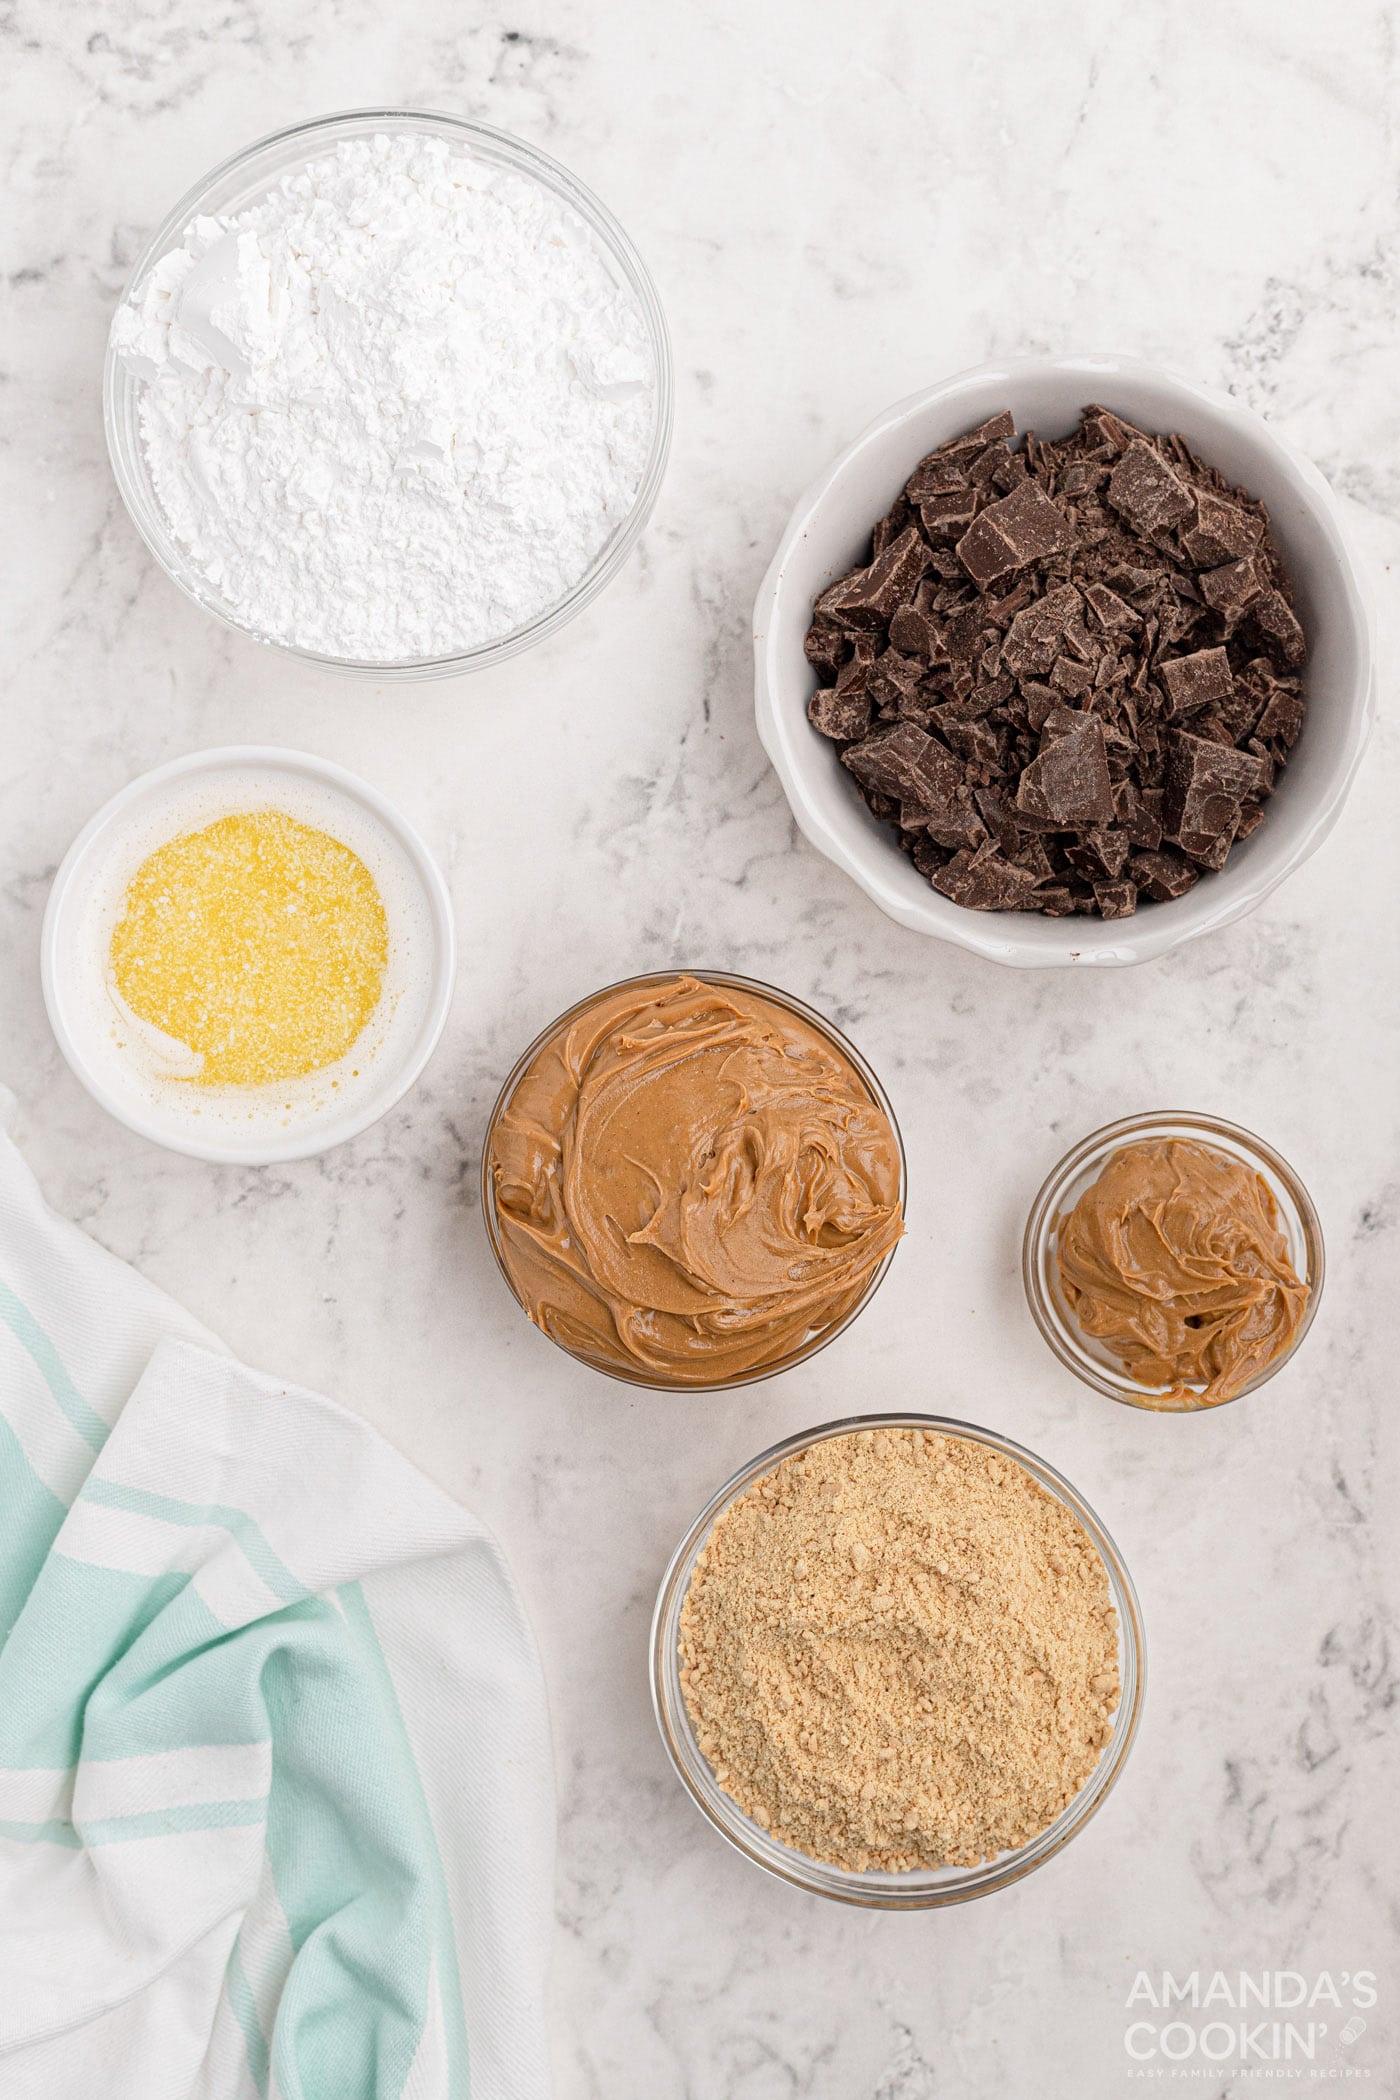
Ingredients you will need
Get all measurements, ingredients, and instructions in the printable version at the end of this post.
Ingredient Info and Substitute Suggestions
CHOCOLATE – I prefer to use baking chocolate for these bars as it’s easier to melt in my opinion, however, you can also use chocolate chips. Semi-sweet, dark chocolate, or milk chocolate are all great options.
PEANUT BUTTER – I used regular creamy peanut butter for this recipe. I have not tested this recipe with natural peanut butter. With natural peanut butter, the oil separates from the butter itself, therefore, I am uncertain if the bars will harden completely. Some of my readers have suggested adding extra animal cracker/graham cracker crumbs to help it solidify better if you do take this route.
How to Make Peanut Butter Bars
These step by step photos and instructions are here to help you visualize how to make this recipe. You can Jump to Recipe to get the printable version of this recipe, complete with measurements and instructions at the bottom.
- In a mixer or a food processor, combine the first four ingredients until smooth.
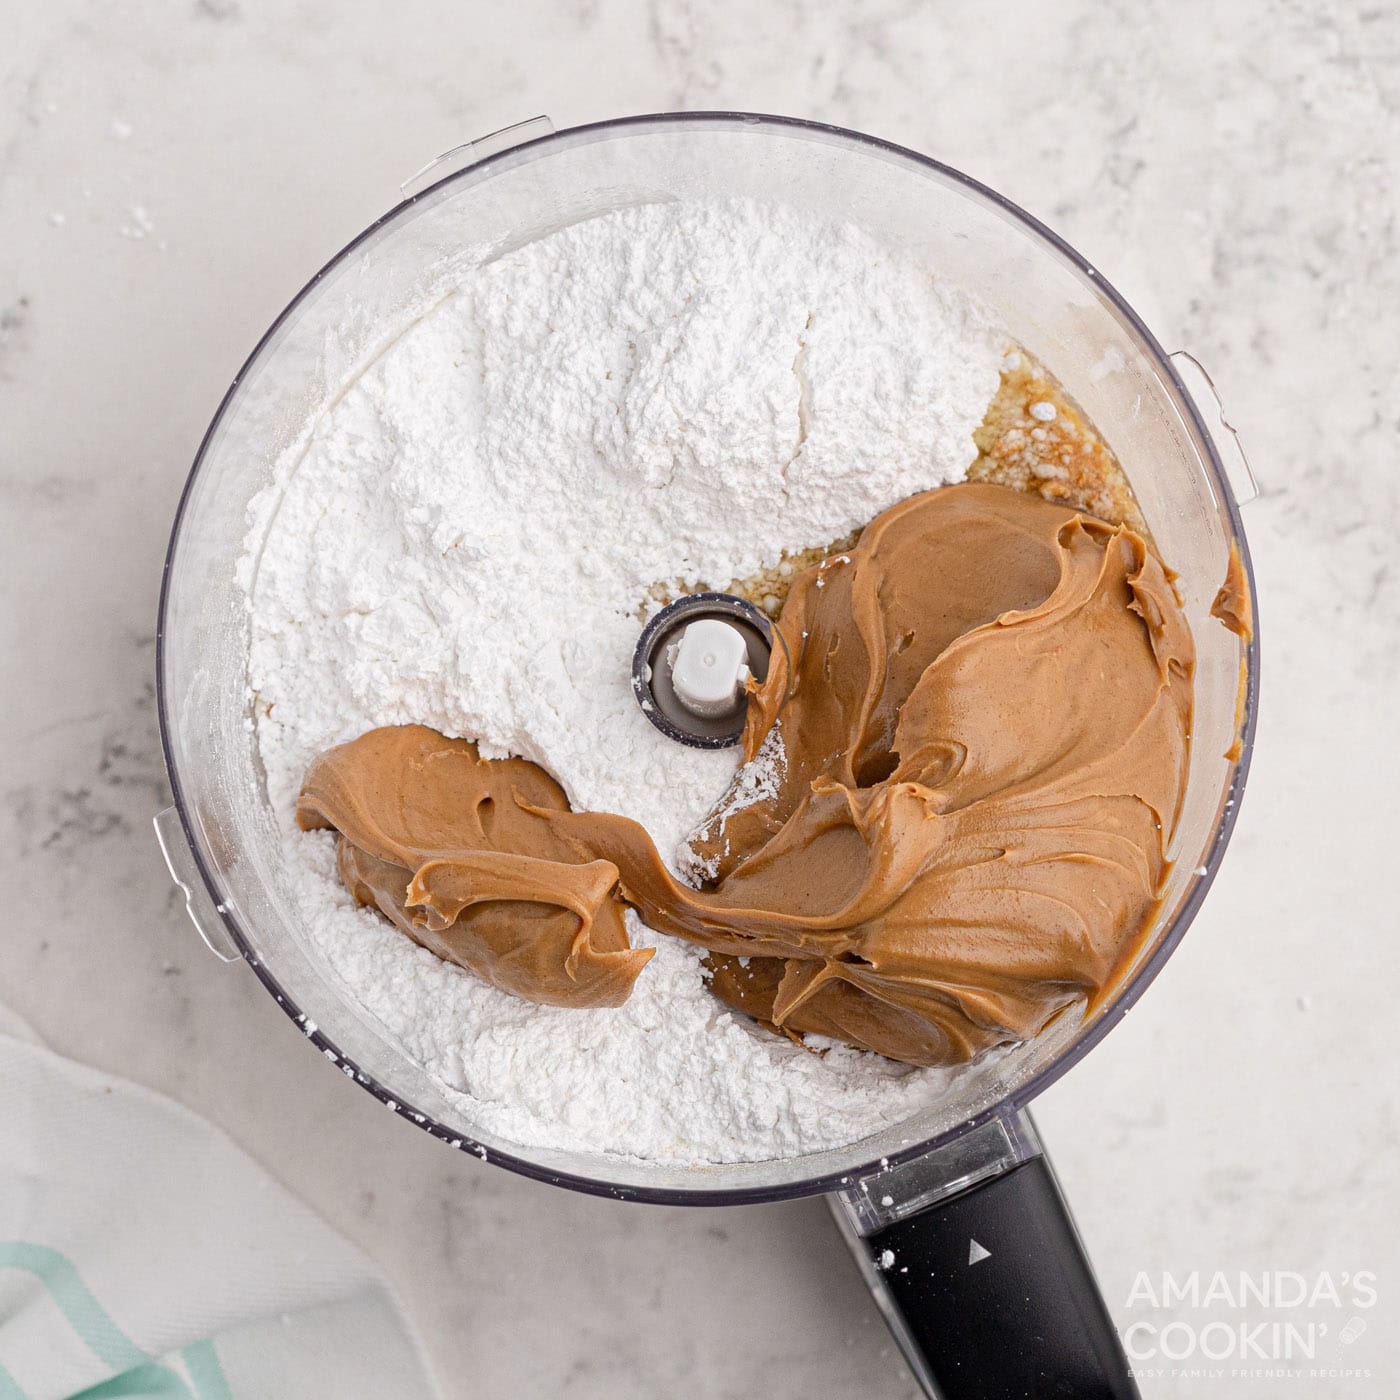
- Spread into a 13×9 baking pan.
- For the topping, melt the chocolate and peanut butter together in the microwave for 1 minute. Stir. If not completely melted you can heat in 10-second intervals until smooth.
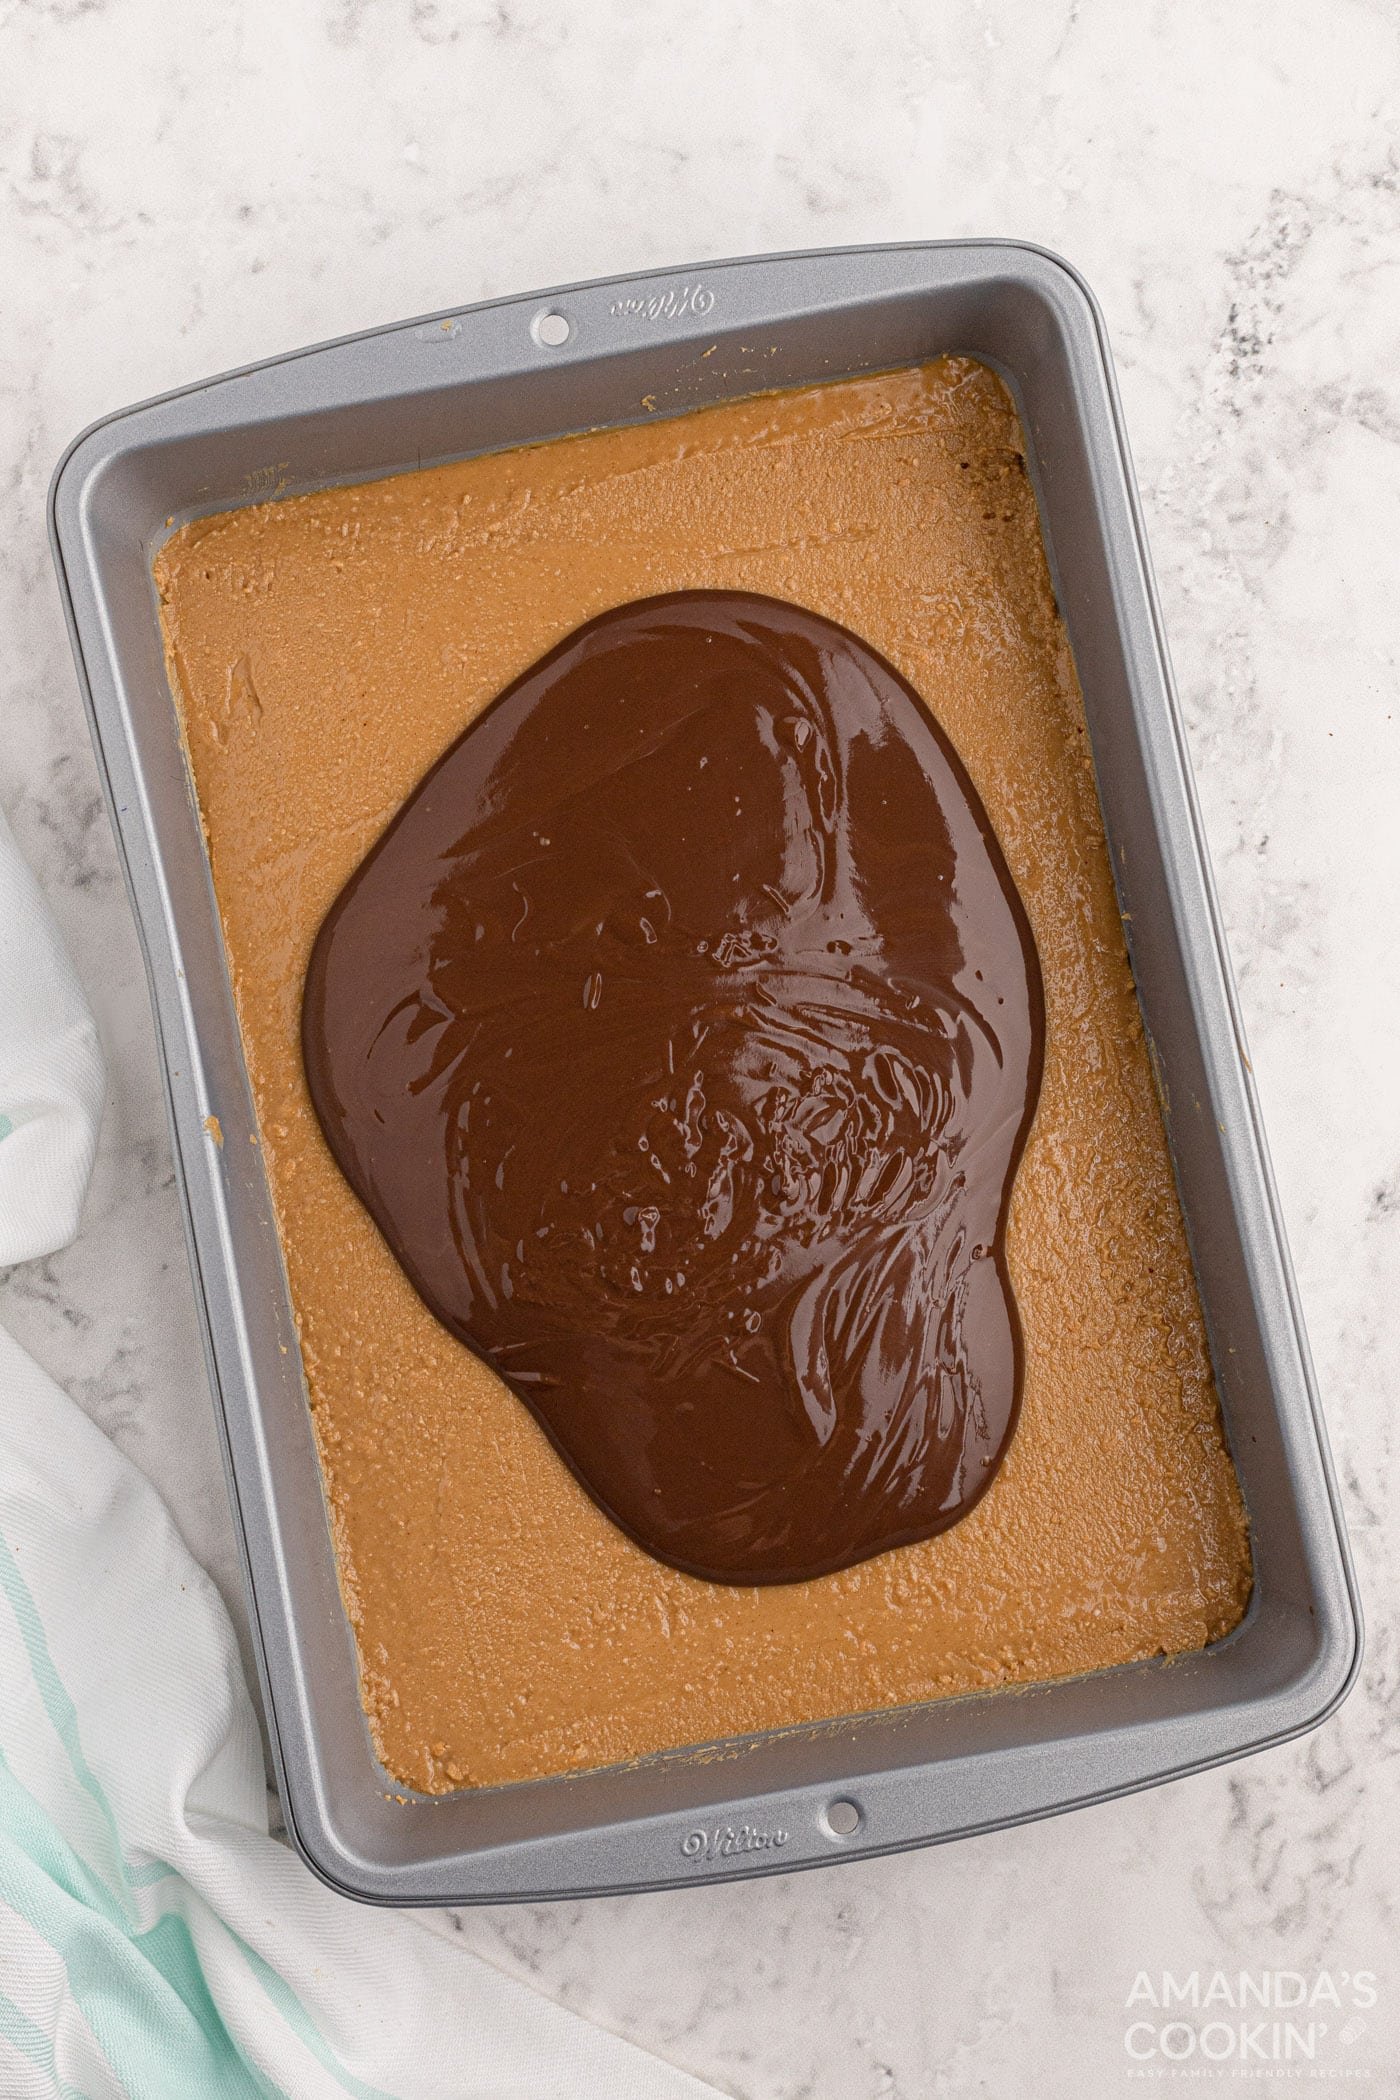
- Spread over the top of the peanut butter layer.
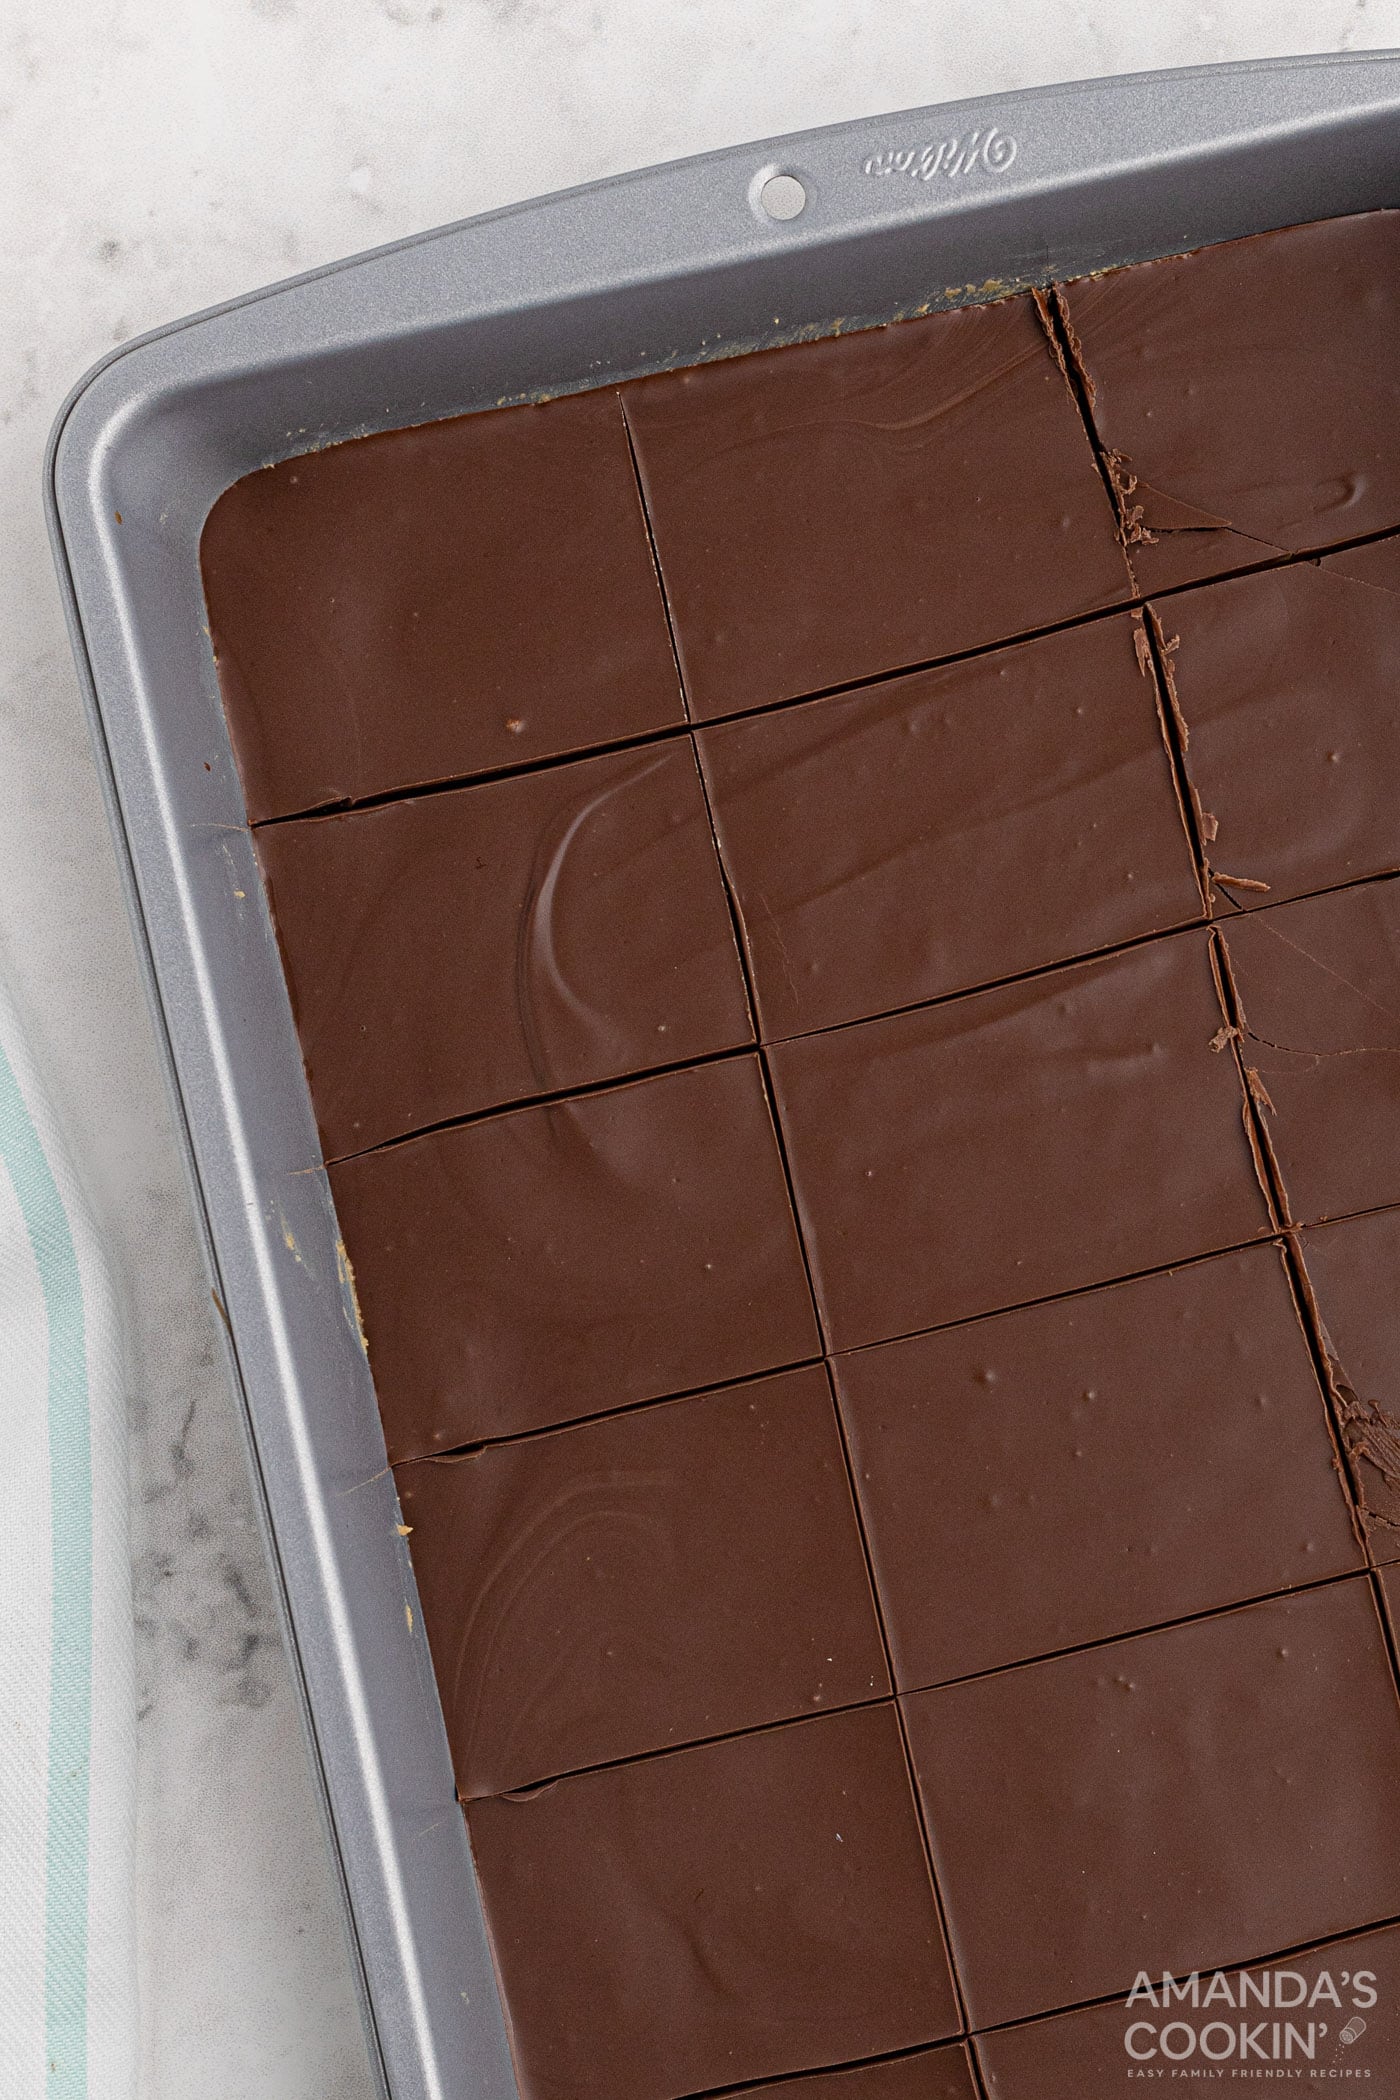
- Chill dessert in the refrigerator for about an hour, or in the freezer for 15 minutes. Cut into bars and serve.
Frequently Asked Questions
What if I don’t have a food processor?You can use a hand mixer or even a blender if you don’t have a food processor. We like the food processor because it creates the smoothest mixture.
Do these taste like Reese’s peanut butter cups?This recipe uses semi-sweet chocolate for the topping. If you want it a bit sweeter and closer to the flavor of a Reese’s Peanut Butter Cup, simply substitute milk chocolate for the semi-sweet. I prefer to use baking chocolate, but you can certainly use chocolate chips instead.
Can I freeze them?Yes, absolutely. I would suggest flash freezing the bars first, removing them from the freezer once they are mostly frozen, then transferring them to a large ziptop bag or air-tight container. Freeze for up to 3 months.
Serving Suggestions
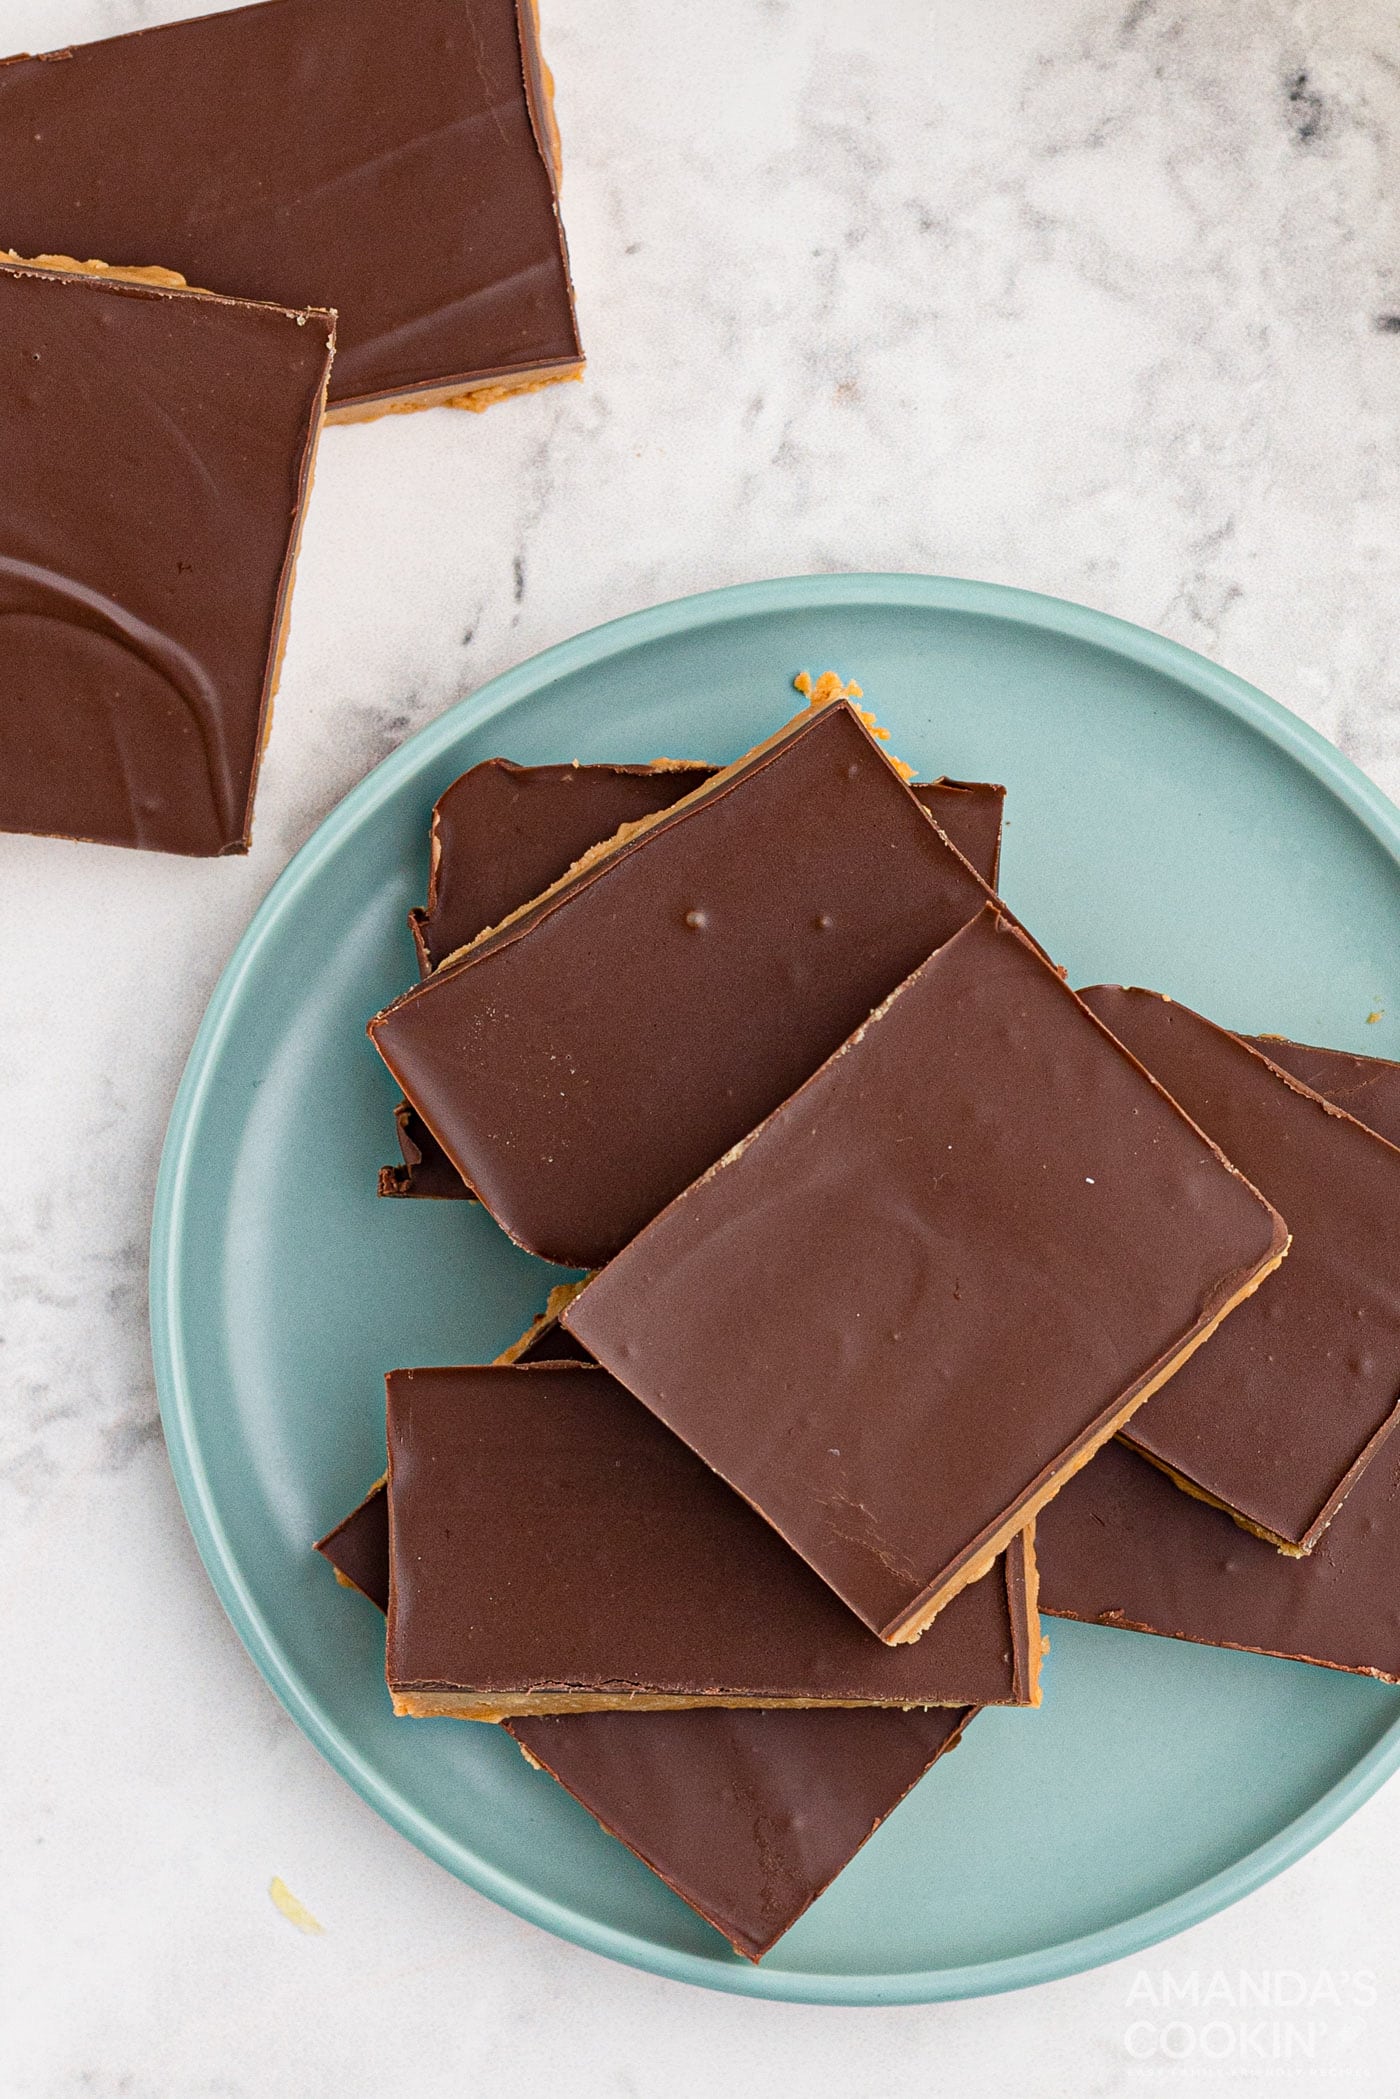
If you love the combination of chocolate and peanut butter, these no-bake chocolate topped peanut butter bars are for you. Easy to make and ready to eat in less than 30 minutes!
Serve your peanut butter bars chilled or just above room temperature for a softer texture. The chocolate will get melty as it warms up at room temp, but it tastes great!
More Peanut Butter Recipes
- Peanut Butter Blossoms
- Peanut Butter Cookies
- Chocolate Peanut Butter Lasagna
- Chocolate Peanut Butter Cookies
- Chocolate Peanut Butter Balls
- Peanut Butter Cups
I love to bake and cook and share my kitchen experience with all of you! Remembering to come back each day can be tough, that’s why I offer a convenient newsletter every time a new recipe posts. Simply subscribe and start receiving your free daily recipes!
This recipe was originally published on April 15, 2013 but has since been updated with expert tips and new photos.
More recipes to try
Eight more recipes from the kitchen.
Pineapple Dump Cake
Just 4 ingredients are needed to make this easy pineapple dump cake…
Blackberry Pie Squares
Sweet blackberry pie filling meets a soft cookie base and tart lemon…
Peanut Butter Fudge Cookies
Perfect little peanut butter cookie cups filled with a chocolate fudge…
Funeral Potatoes
Creamy, cheesy, comforting funeral potatoes with a crispy Ritz and…
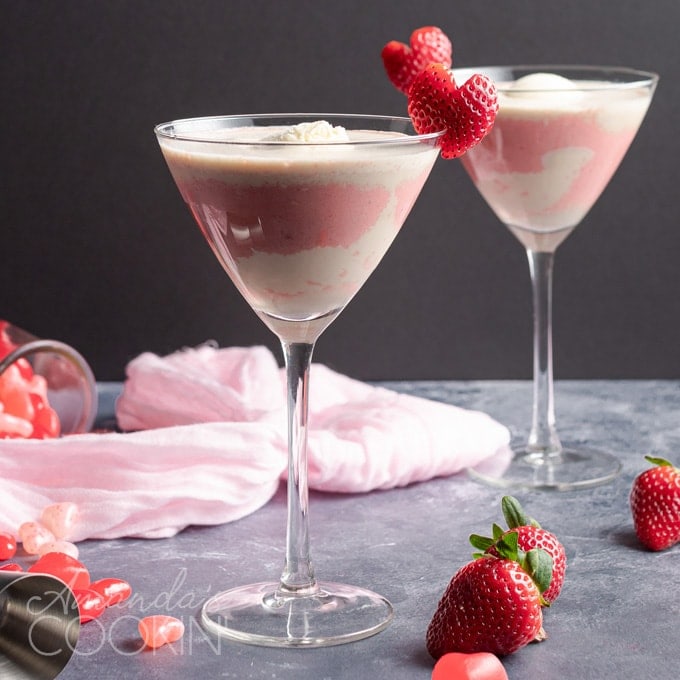
Pink Mudslide
This Pink Mudslide adds fresh strawberries into the mix for a fruity…
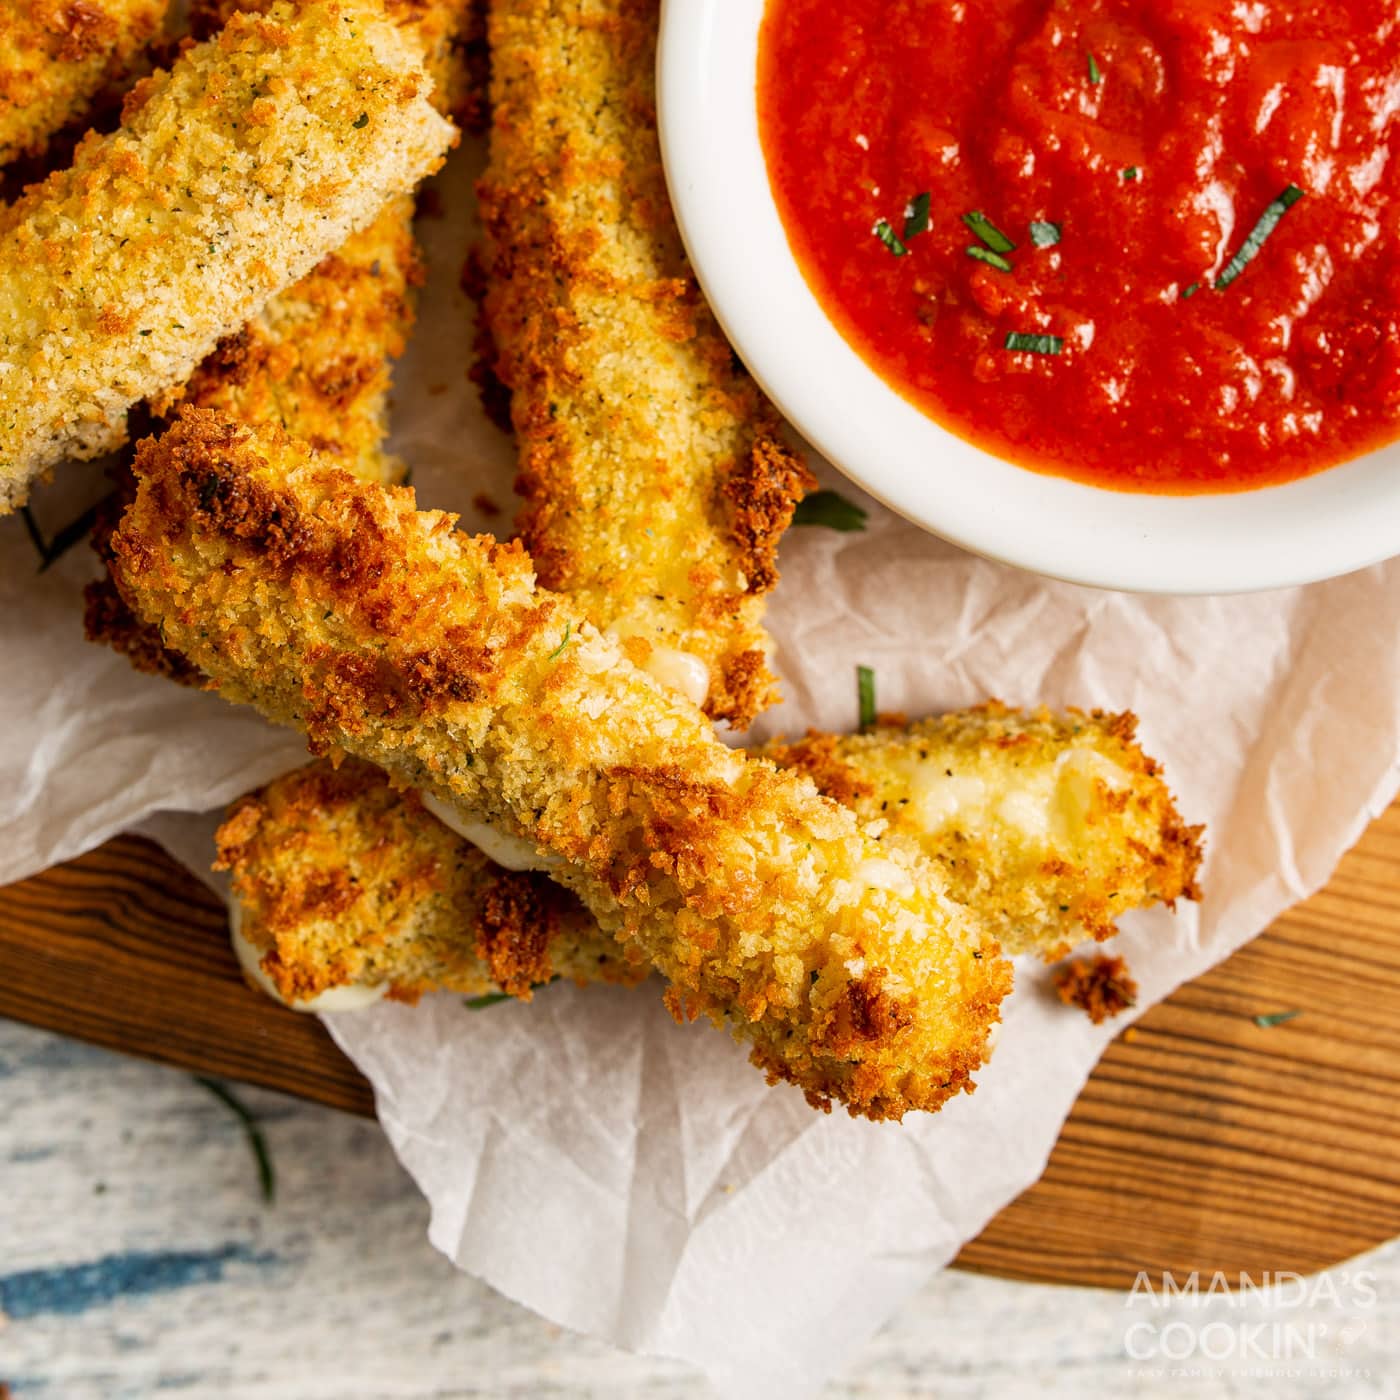
Air Fryer Mozzarella Sticks
Learn how to make air fryer mozzarella sticks from scratch! They’re…
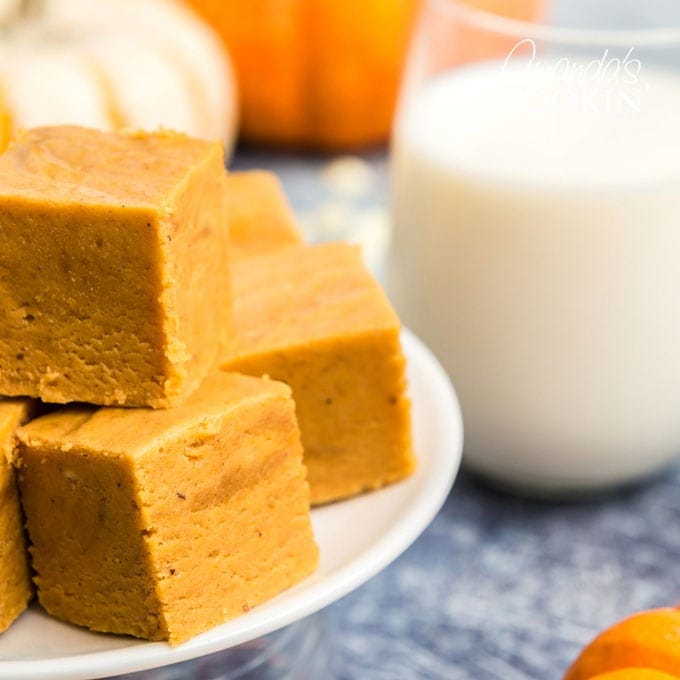
Easy Pumpkin Pie Fudge
If you love fudge and all things pumpkin, this easy pumpkin pie fudge…
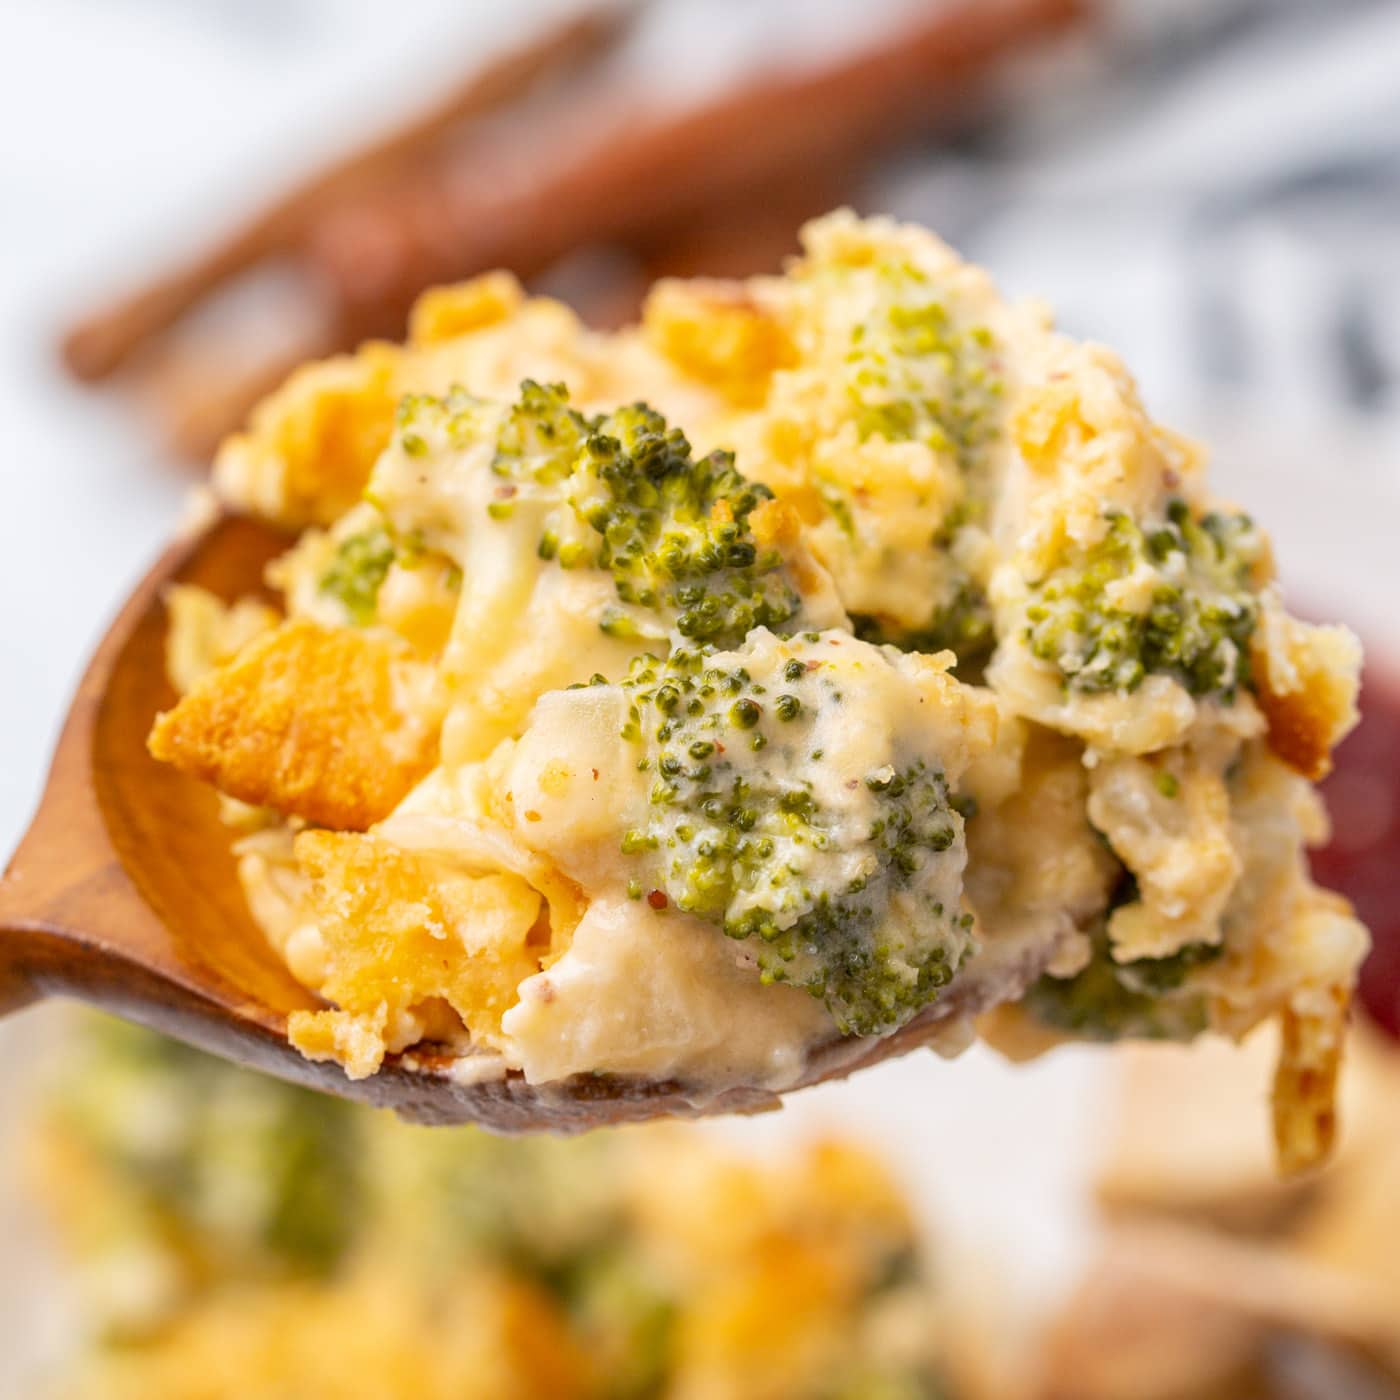
Broccoli Casserole
This cheesy broccoli casserole is stuffed with a creamy cheddar cheese…