Pistachio Lush
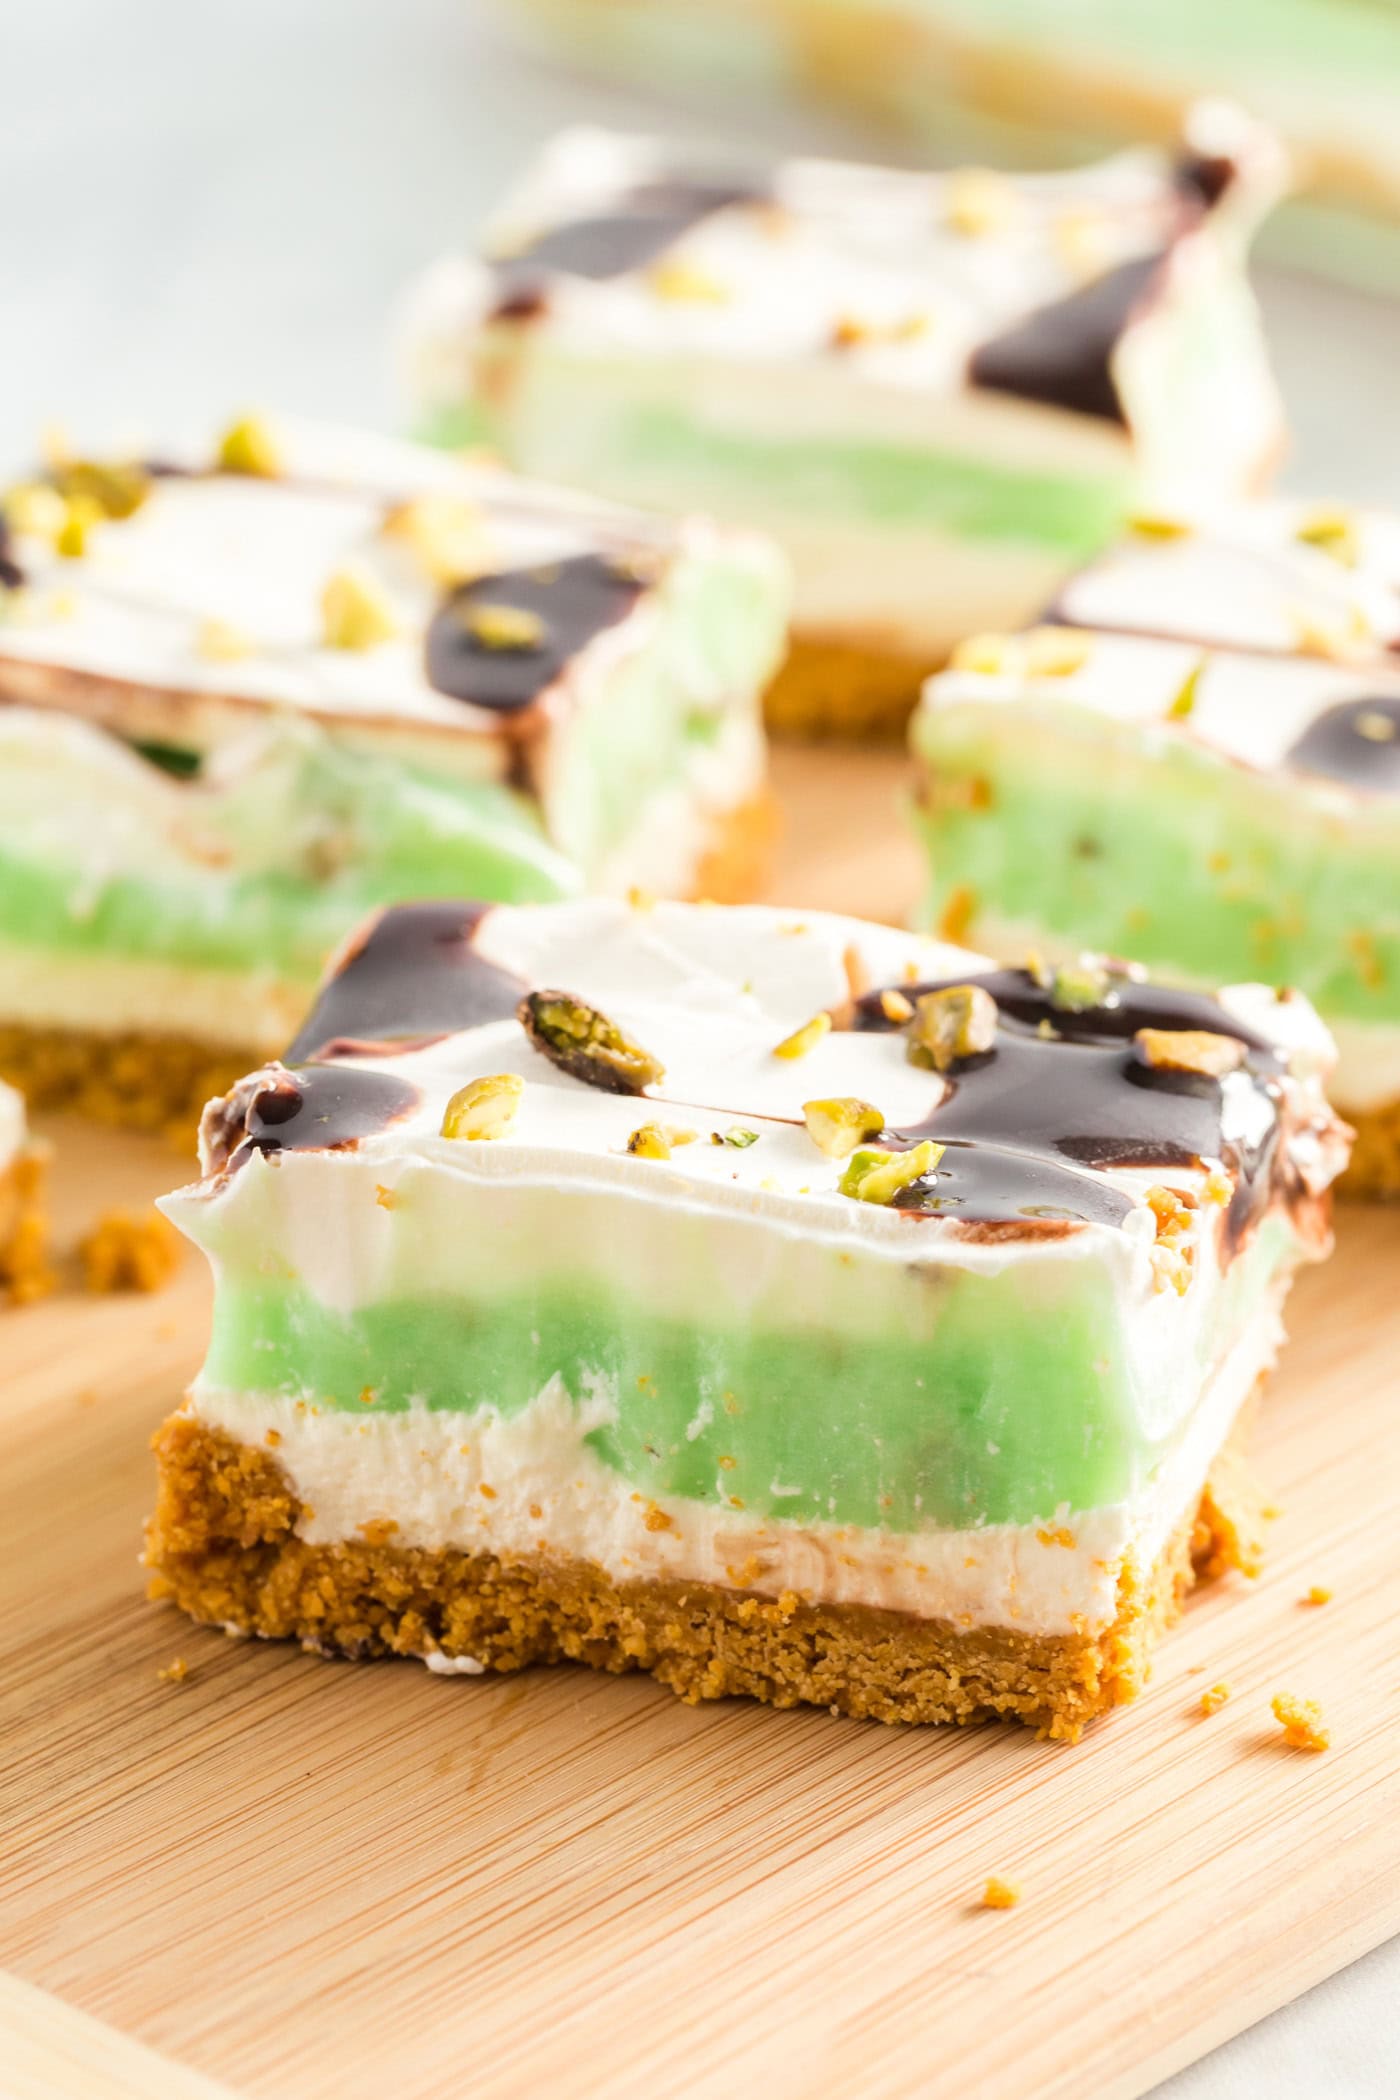
This no-bake Pistachio Lush dessert is perfect for parties, holidays and entertaining. This pistachio pudding layered dessert combines cream cheese, whipped cream, and of course pistachio pudding for an easy dessert option everyone will rave about.
- Total 2 hours 55 minutes
- Serves 24 slices
- Desserts
- American
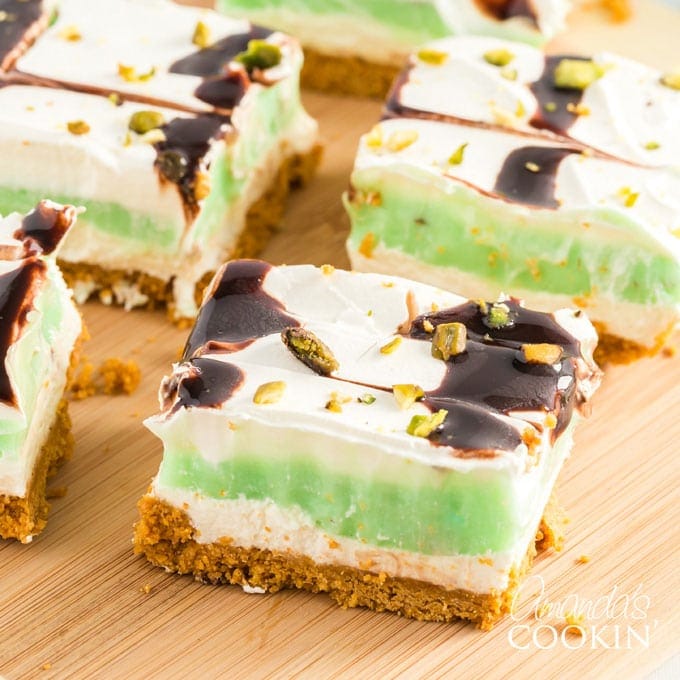
This no-bake Pistachio Lush dessert is perfect for parties, holidays and entertaining. This pistachio pudding layered dessert combines cream cheese, whipped cream, and of course pistachio pudding for an easy dessert option everyone will rave about.
 more
more
Why this recipe works
If you’re looking for an easy potluck recipe, this pistachio lush is it. Layers of delicious cheesecake, creamy pudding, and pillowy whipped cream are hard to resist. Your guests will thank you and be asking for the recipe. So be sure to print extra copies!
We love pistachio desserts, and while our pistachio poke cake is at the top of our list, this delicious one pan dessert is right up there with it! Love an easy pistachio dessert for a crowd? Don’t miss our vintage Watergate salad! Same pudding-mix magic, no oven required.
Ingredient Info and Substitution Suggestions
Get all measurements, ingredients, and instructions in the printable version at the end of this post.
COOL WHIP – We like to use cool whip to make it easier, you could substitute with fresh whipped heavy cream if you prefer.
PUDDING – Be sure that you use instant pistachio pudding mix, not cook and serve.
BUTTER – You’ll need melted butter that’s been cooled slightly, I use unsalted, but salted works too.
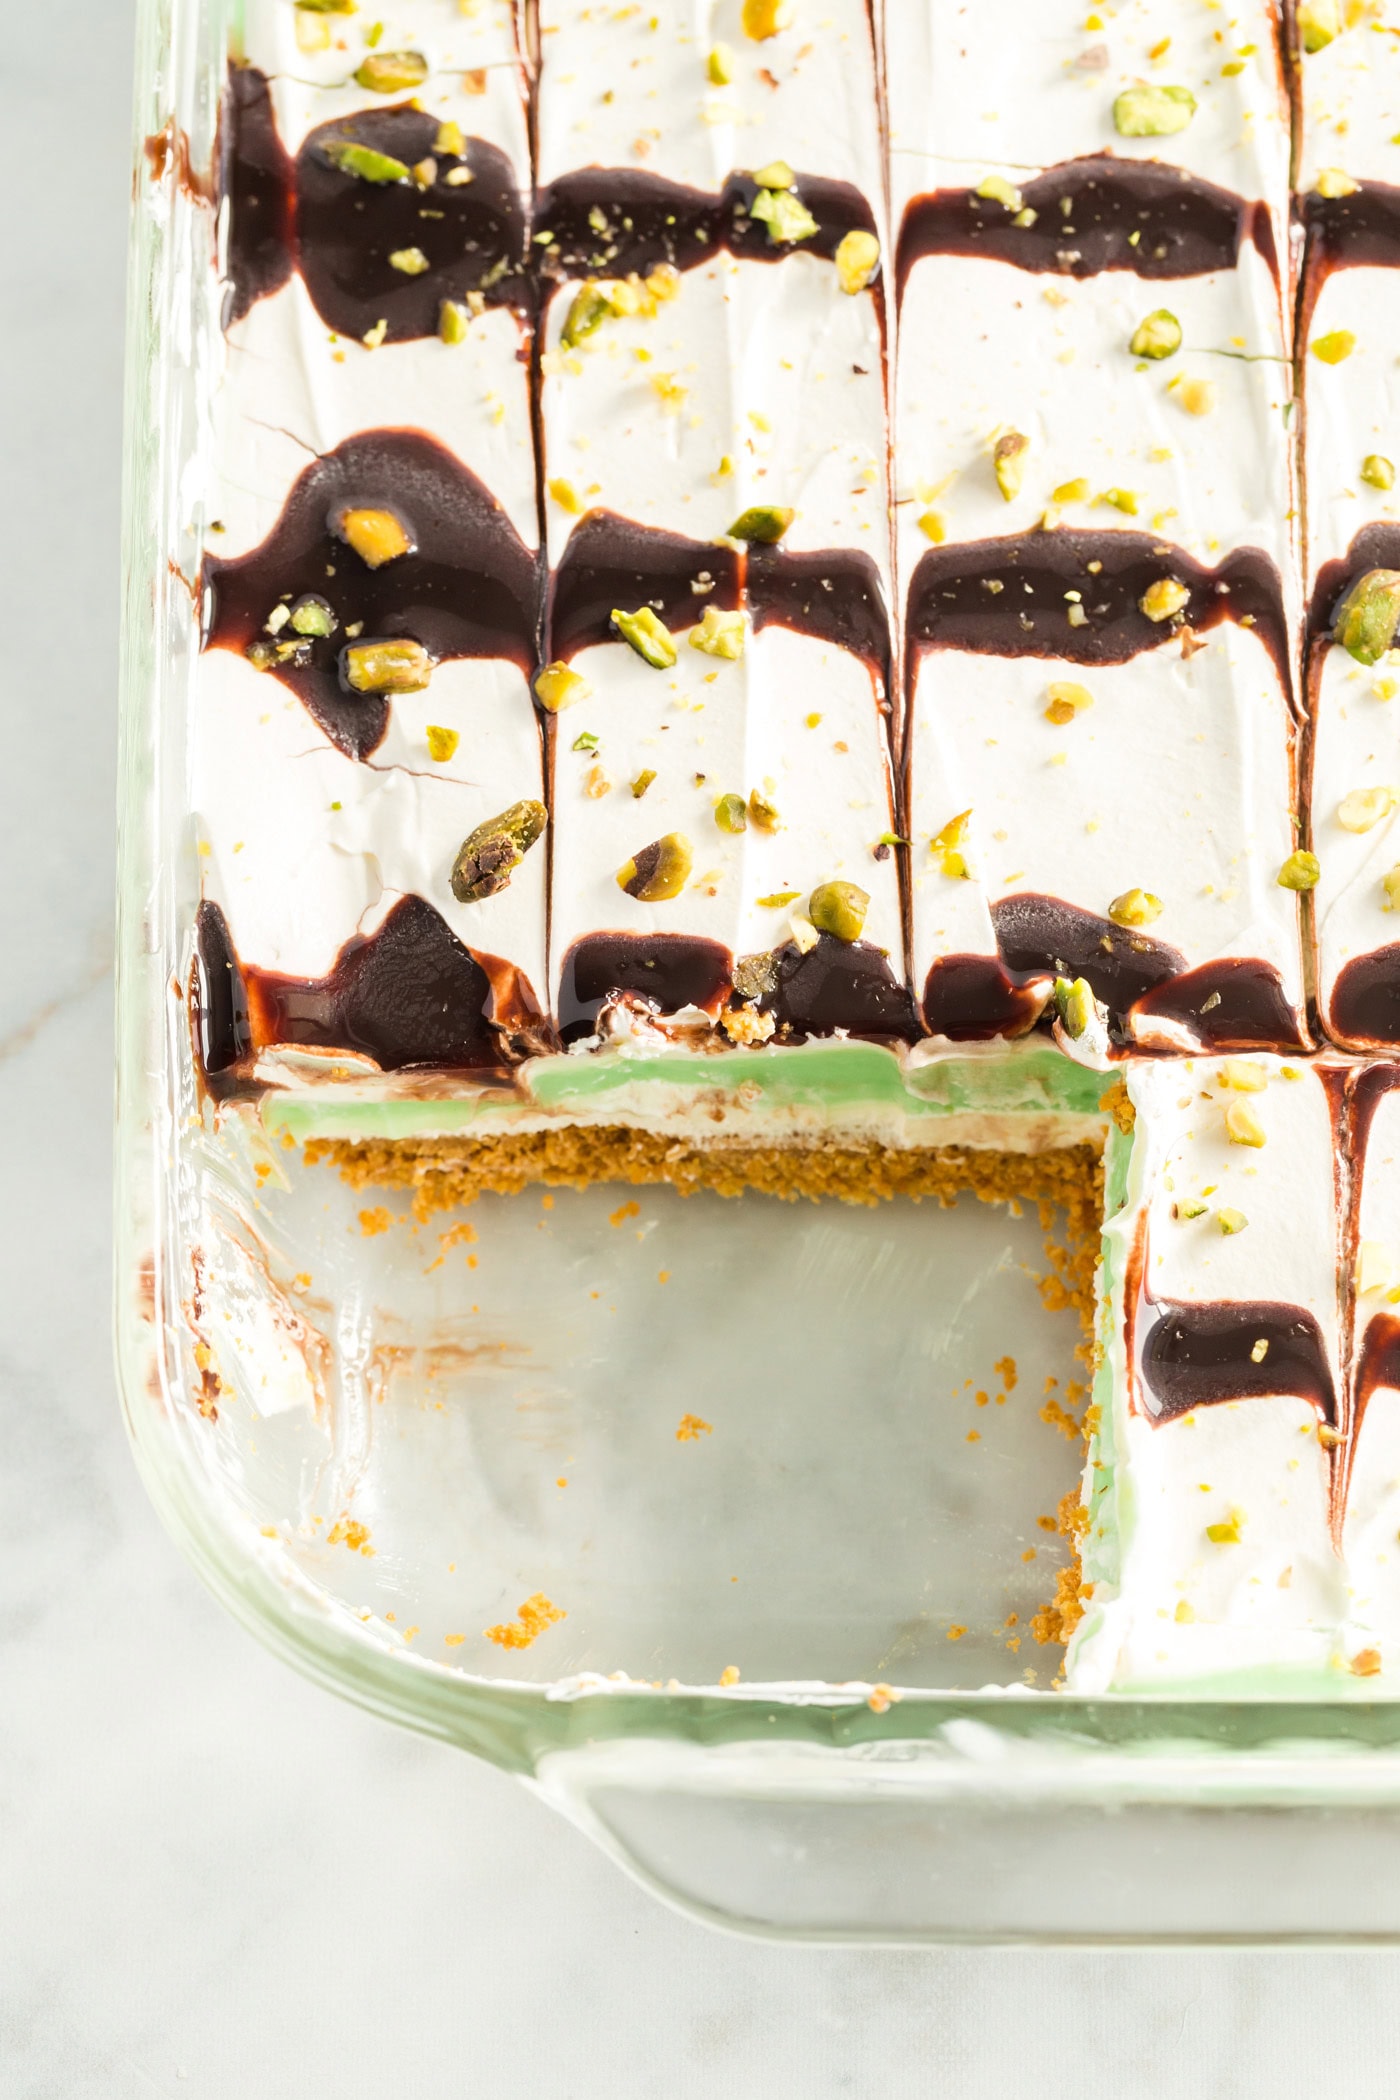
GARNISH – Decorating the top is optional but pretty! You can use bottled chocolate syrup and crushed pistachios. Put two tablespoons of pistachios in a sandwich bag and beat with a meat mallet. You don’t want “dust”, but smallish chopped pieces. I used a tablespoon to sprinkle over the whole dessert.
How to Make Pistachio Lush
These step by step photos and instructions are here to help you visualize how to make this recipe. You can Jump to Recipe to get the printable version of this recipe, complete with measurements and instructions at the bottom.
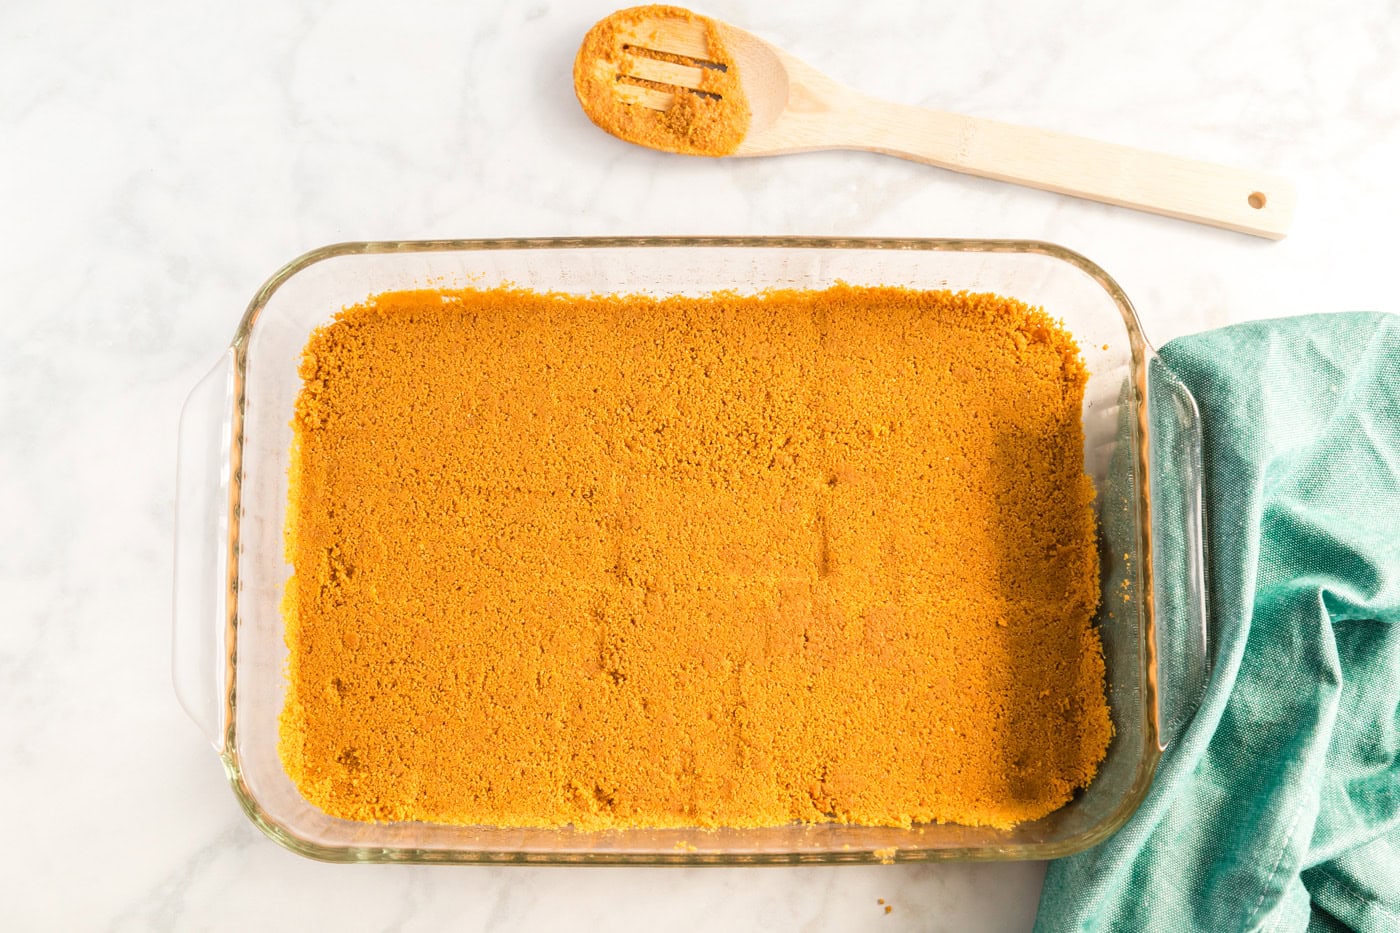
- Combine graham cracker crumbs and melted butter until throughly mixed.
- Press crumb mixture into a 13×9 baking dish using the bottom of a measuring cup. Refrigerate crust for 10 minutes.
- In a medium bowl, beat cream cheese until fluffy. Add in the 2 tablespoons of milk and the sugar. Mix well.
- Fold half of the Cool Whip (8 ounces) into the cream cheese mixture, and spread over the top of the crust. Refrigerate 10 minutes.
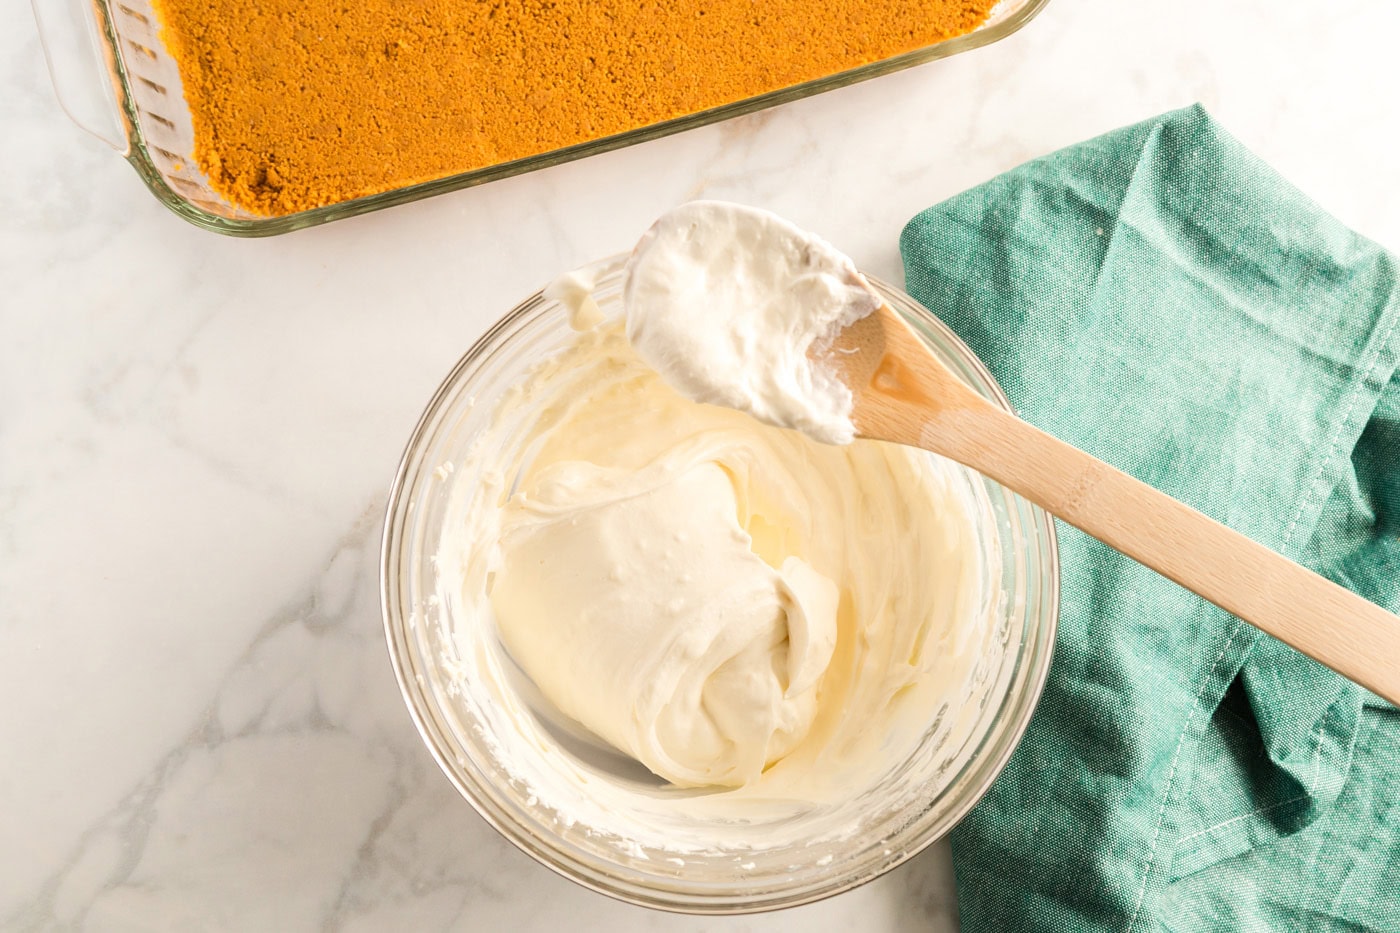
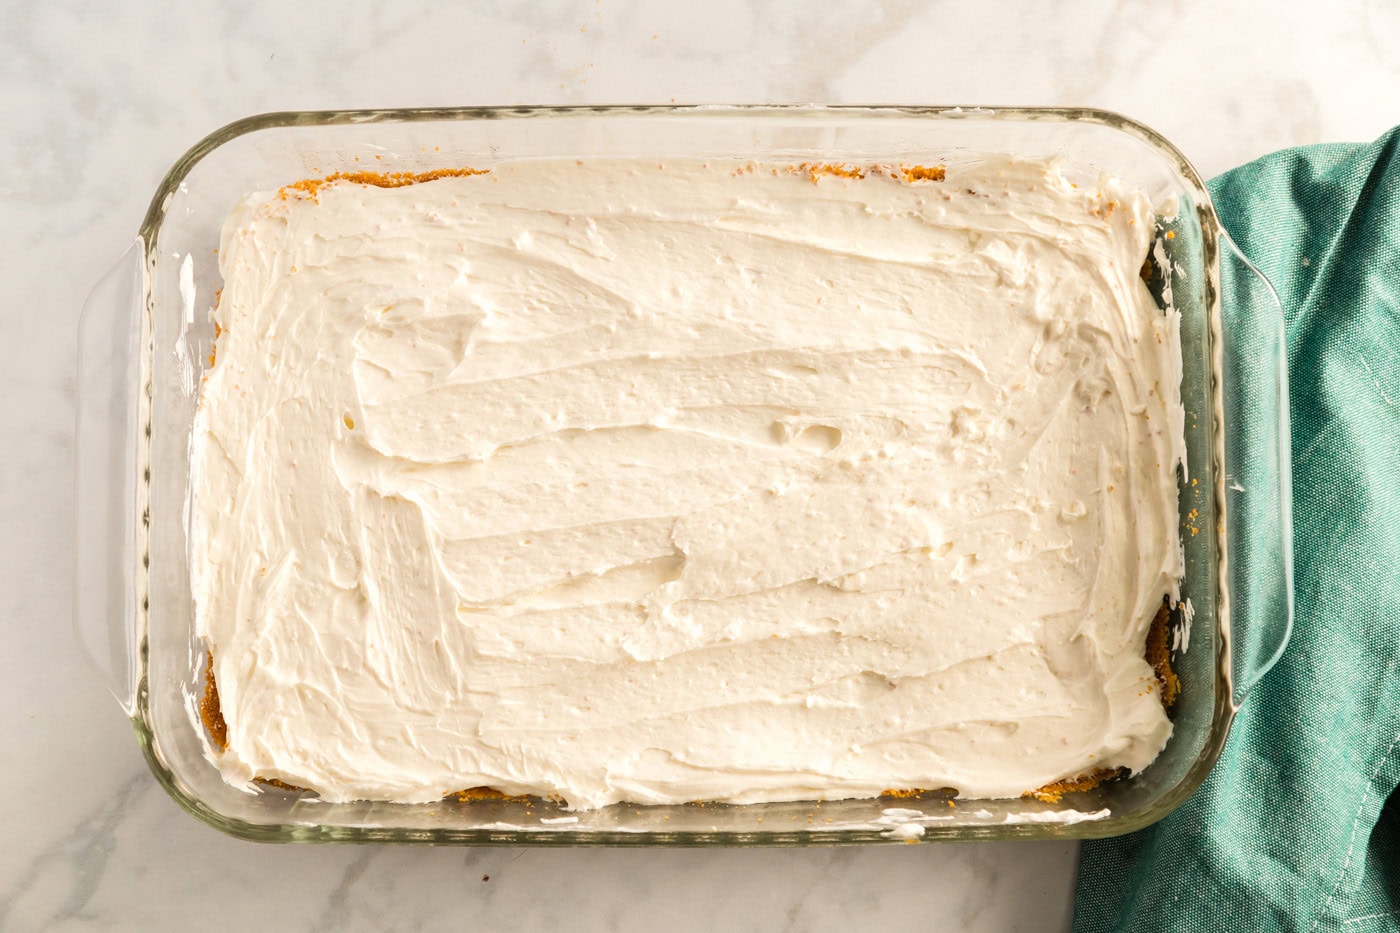
- While cream cheese is setting, add both boxes of pudding mix and 2 3/4 cups of milk to a bowl. Whisk until it begins to thicken. Refrigerate 5 minutes.
- Spread pudding mixture over the top of the cream cheese layer. Refrigerate for 30 minutes.
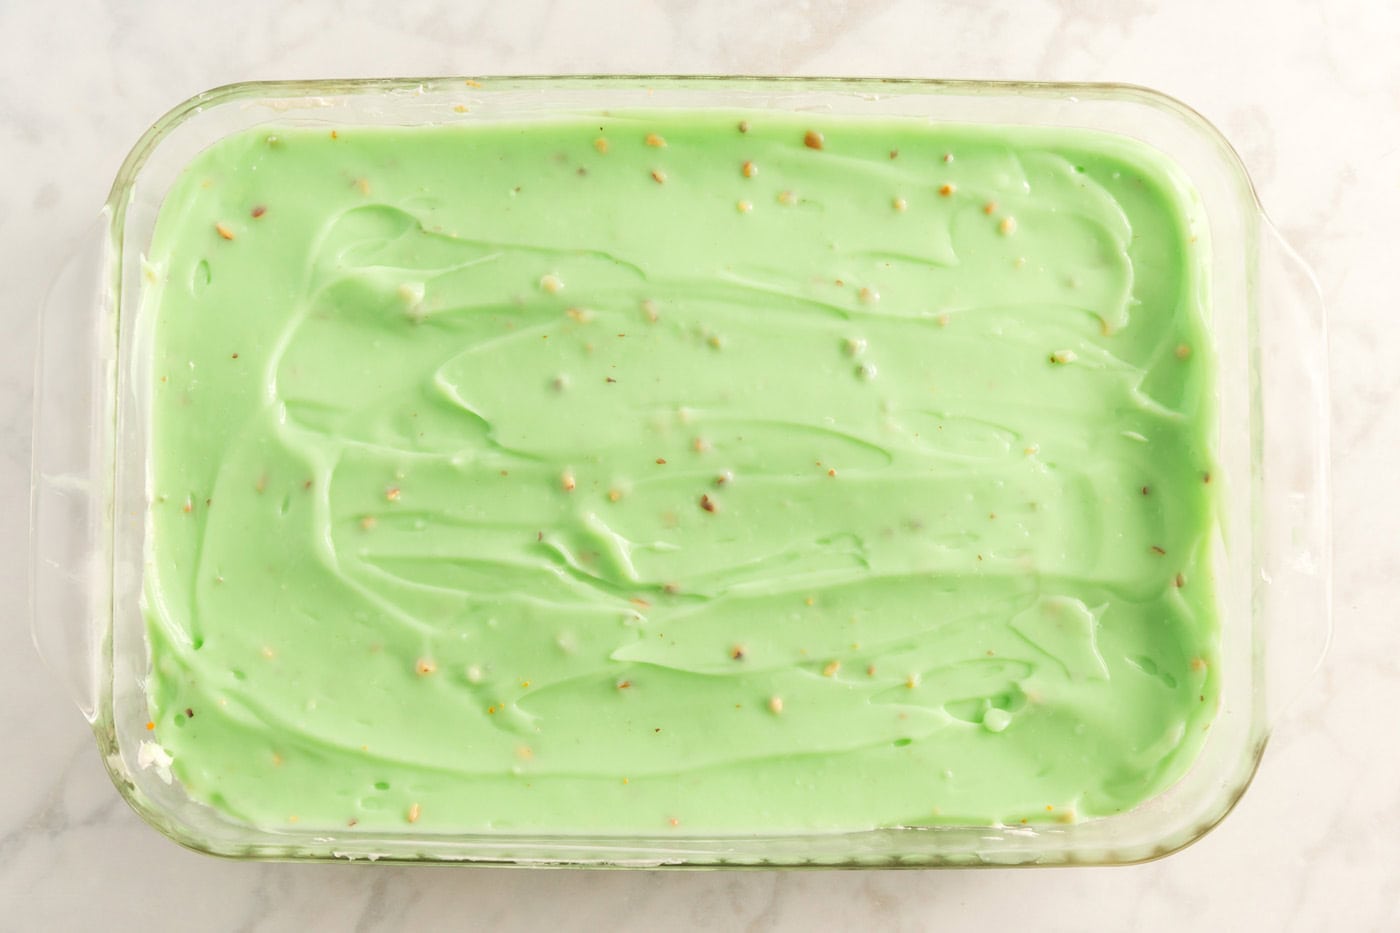
- Spread remaining 8 ounces of Cool Whip over the top of the pudding layer.
- Draw lines of chocolate syrup across the top.
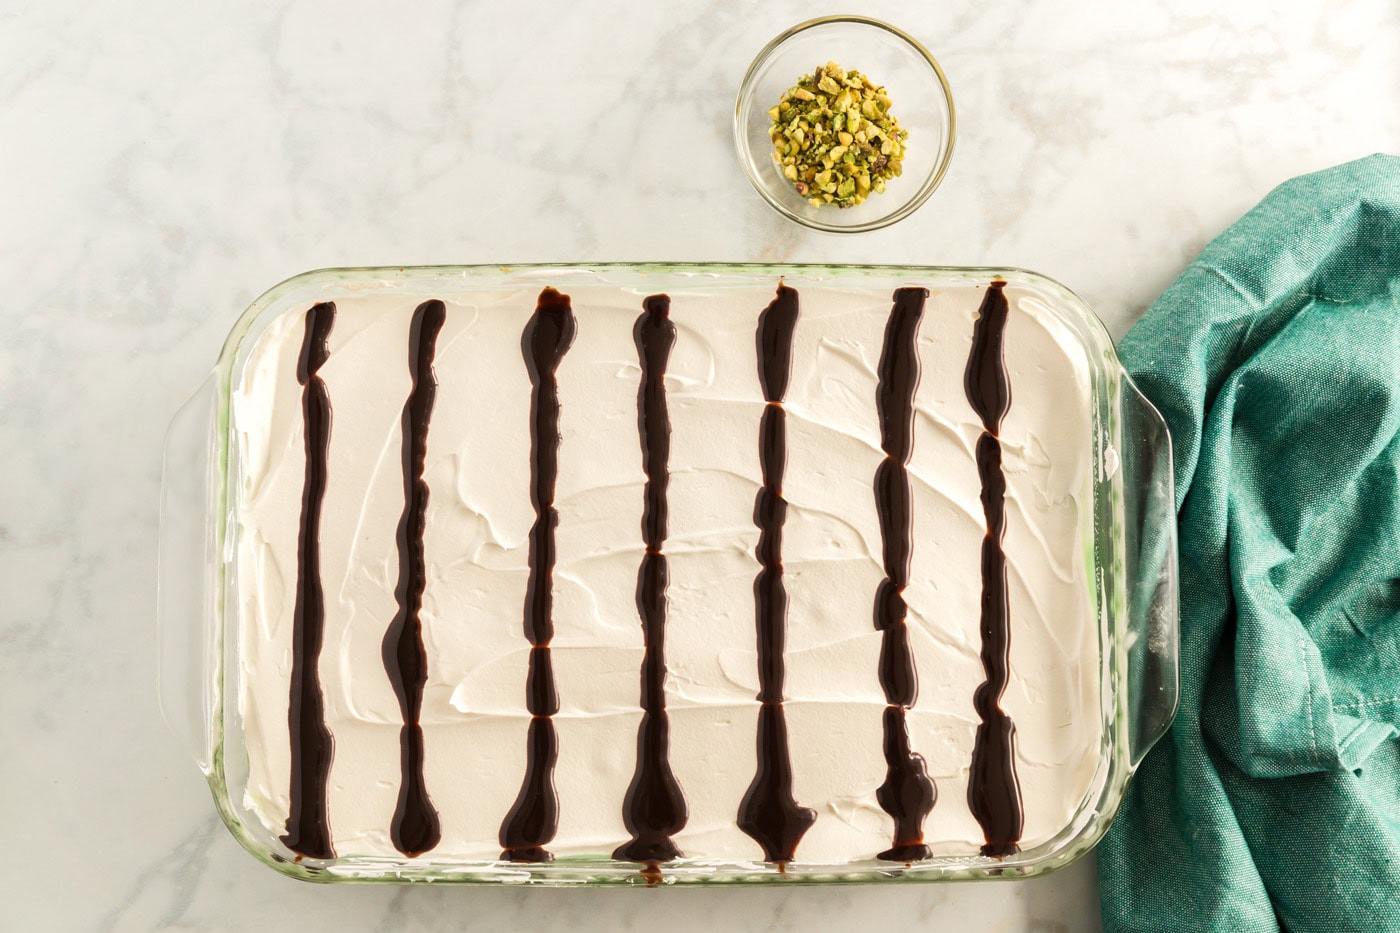
- Run a knife down the top in the opposite direction of the syrup lines, about an inch or so apart. Sprinkle with crushed pistachios.
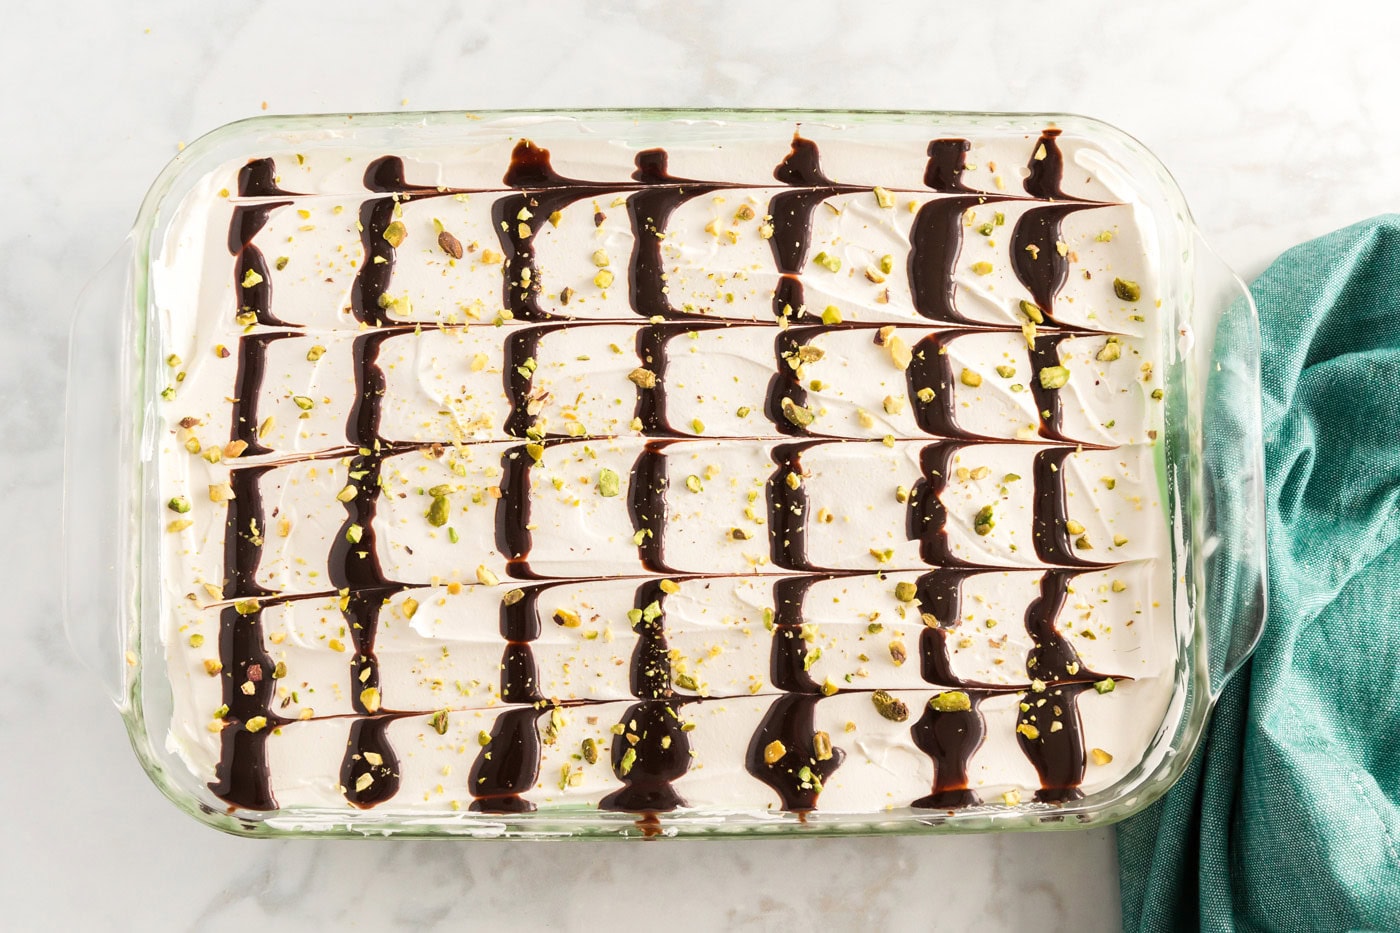
- Refrigerate for at least 2 hours to let everything firm up. Overnight is even better.
RELATED: you might also like this recipe – Pistachio Cake
Frequently Asked Questions & Expert Tips
Can I make this ahead of time?Yes, you can make this dessert ahead of time. The recipe calls for at minimum 2 hours of chill time after making, but can be made a day in advance and will still be just as delicious.
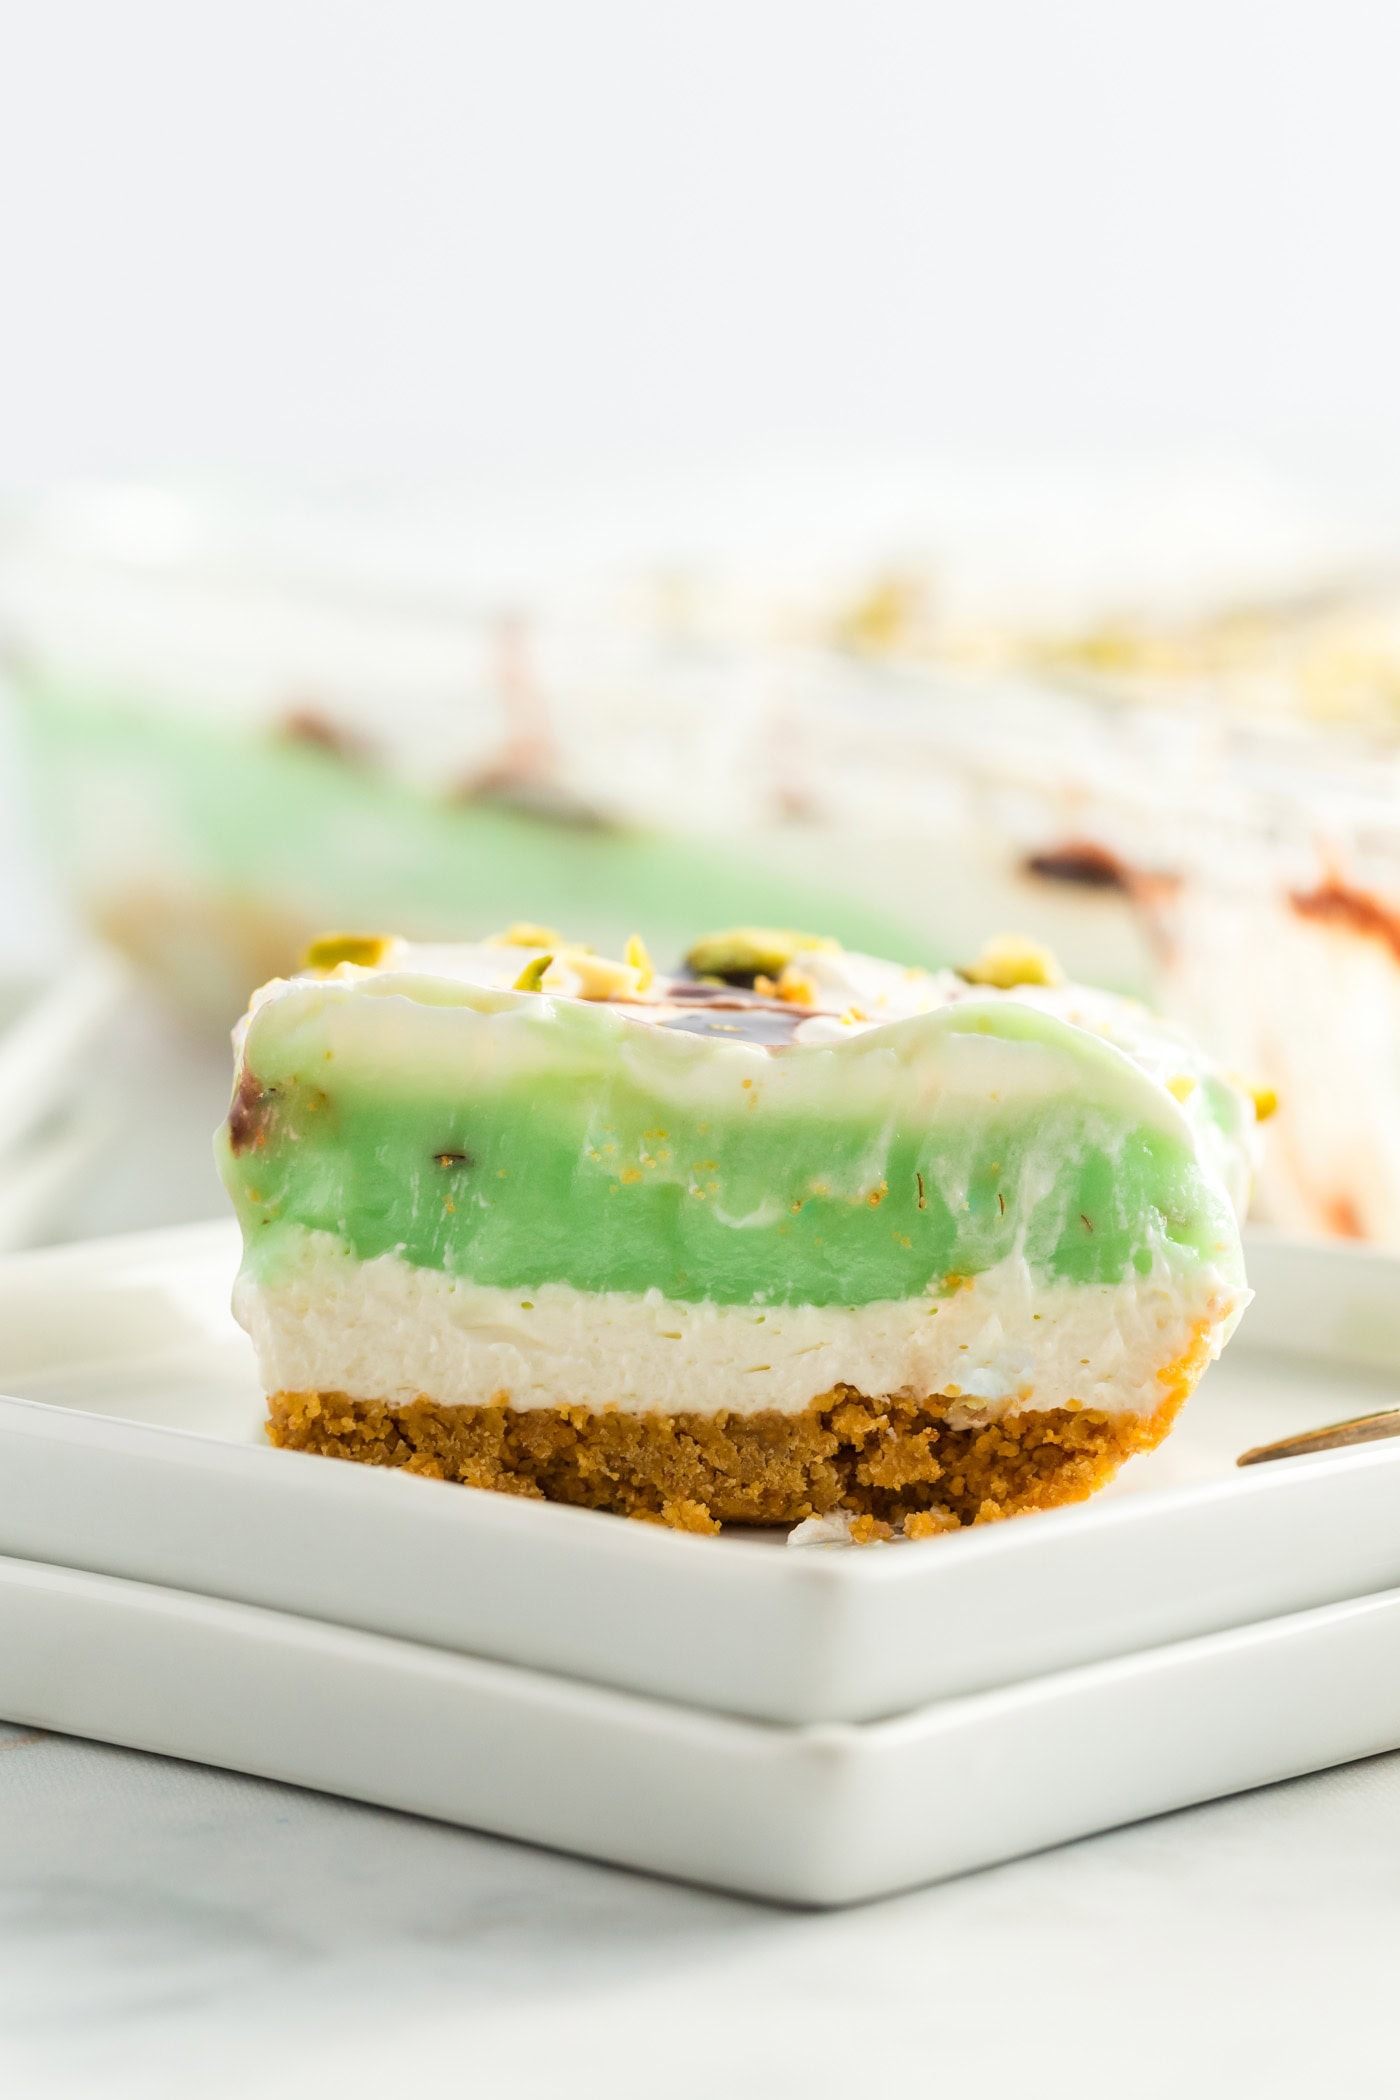
Serving Suggestions
This dessert is easy, but I would suggest making it ahead of time. Refrigerating it for several hours, even better if it’s overnight, will allow the layers to set up and make the dish easier to slice. It’s not required by any means, you can eat it as soon as you’re done making it, but the longer it chills for, the nicer cuts you’ll get.
More One Pan Dessert Recipes
- Lemon Lush
- Pineapple Dream Dessert
- Strawberry Icebox Cake
- Chocolate Lasagna
- Strawberry Jello Pretzel Salad
I love to bake and cook and share my kitchen experience with all of you! Remembering to come back each day can be tough, that’s why I offer a convenient newsletter every time a new recipe posts. Simply subscribe and start receiving your free daily recipes!
This post originally appeared here on Apr 7, 2017.
More recipes to try
Eight more recipes from the kitchen.
Orange Poke Cake
Orange flavored cake, orange gelatin and orange buttercream. A triple…
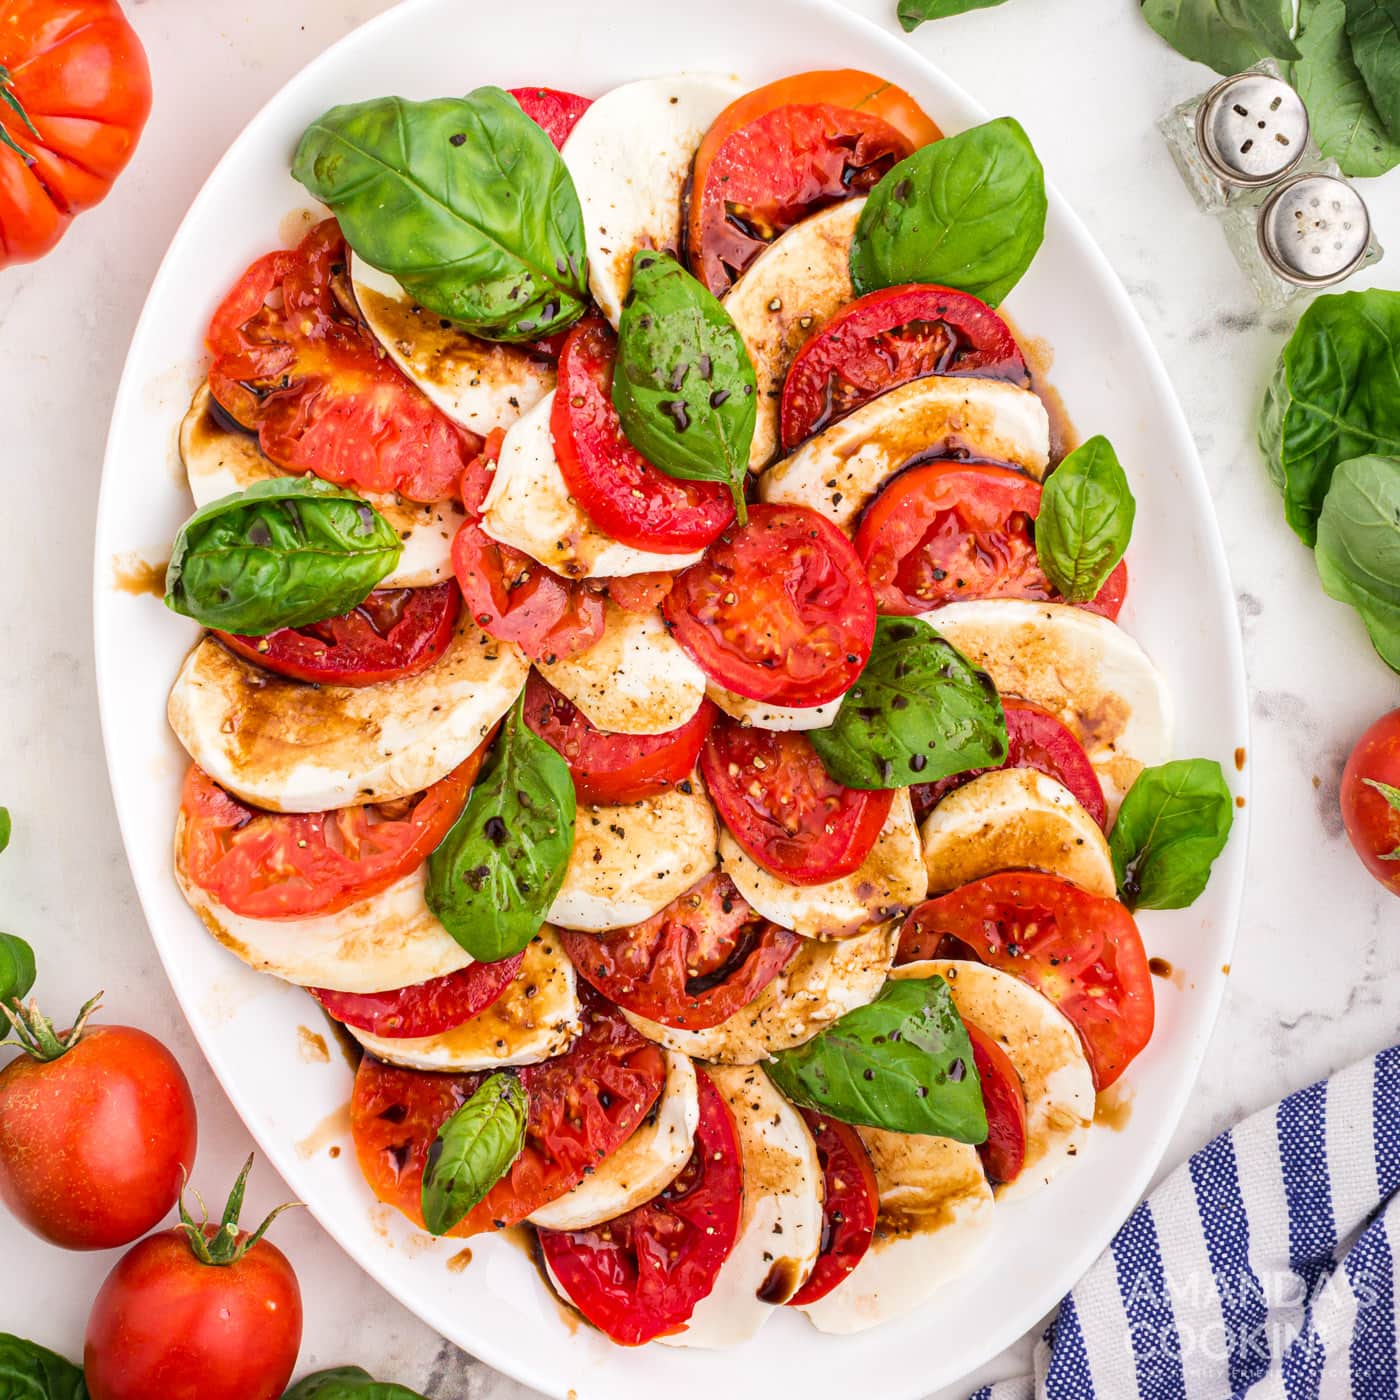
Caprese Salad
Caprese salad is an ultra refreshing Italian summer salad made with…

Easter Dirt Cake
The sweetest no-bake dessert there ever was, this Easter dirt cake is…

Bramble Cocktail
Learn how to make a classic Bramble cocktail for your get togethers…
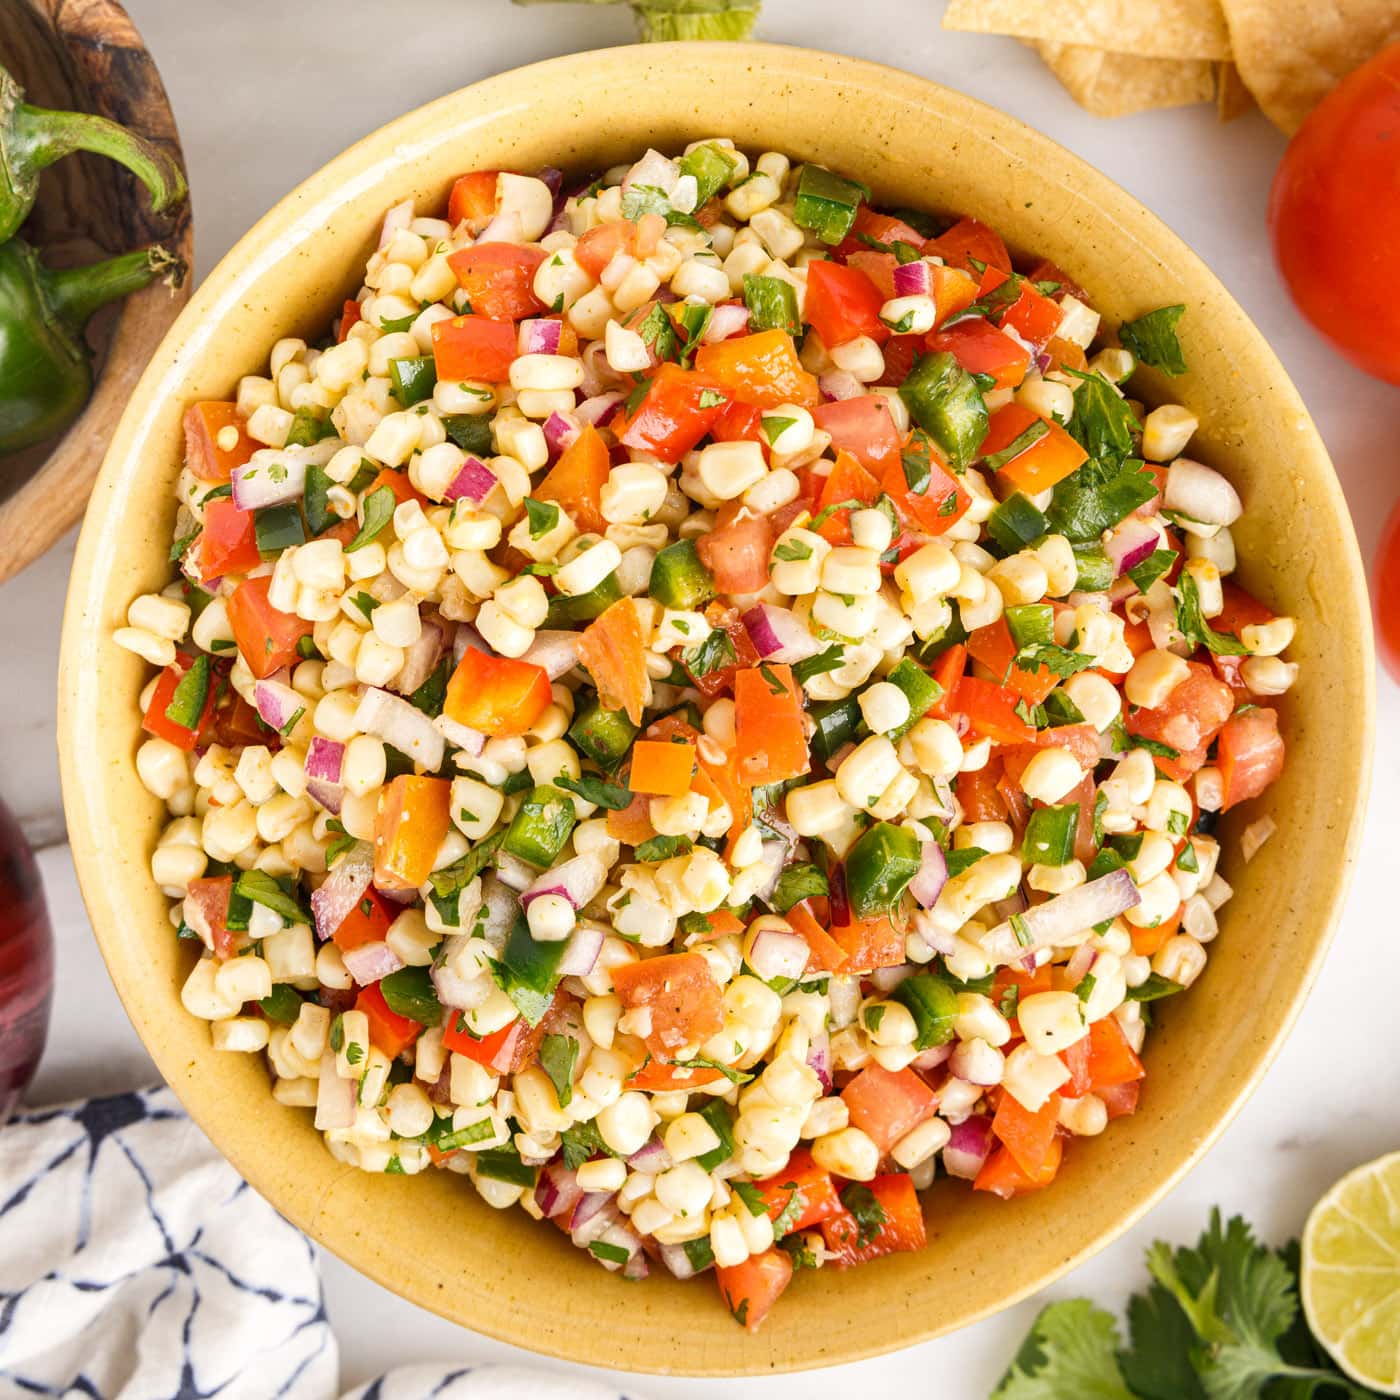
Corn Salsa
Sweet and zesty corn salsa is made with sweet corn kernels, tomatoes…

Bacon Cheeseburger Meatballs
Bacon cheeseburger meatballs are made with ground beef topped with…
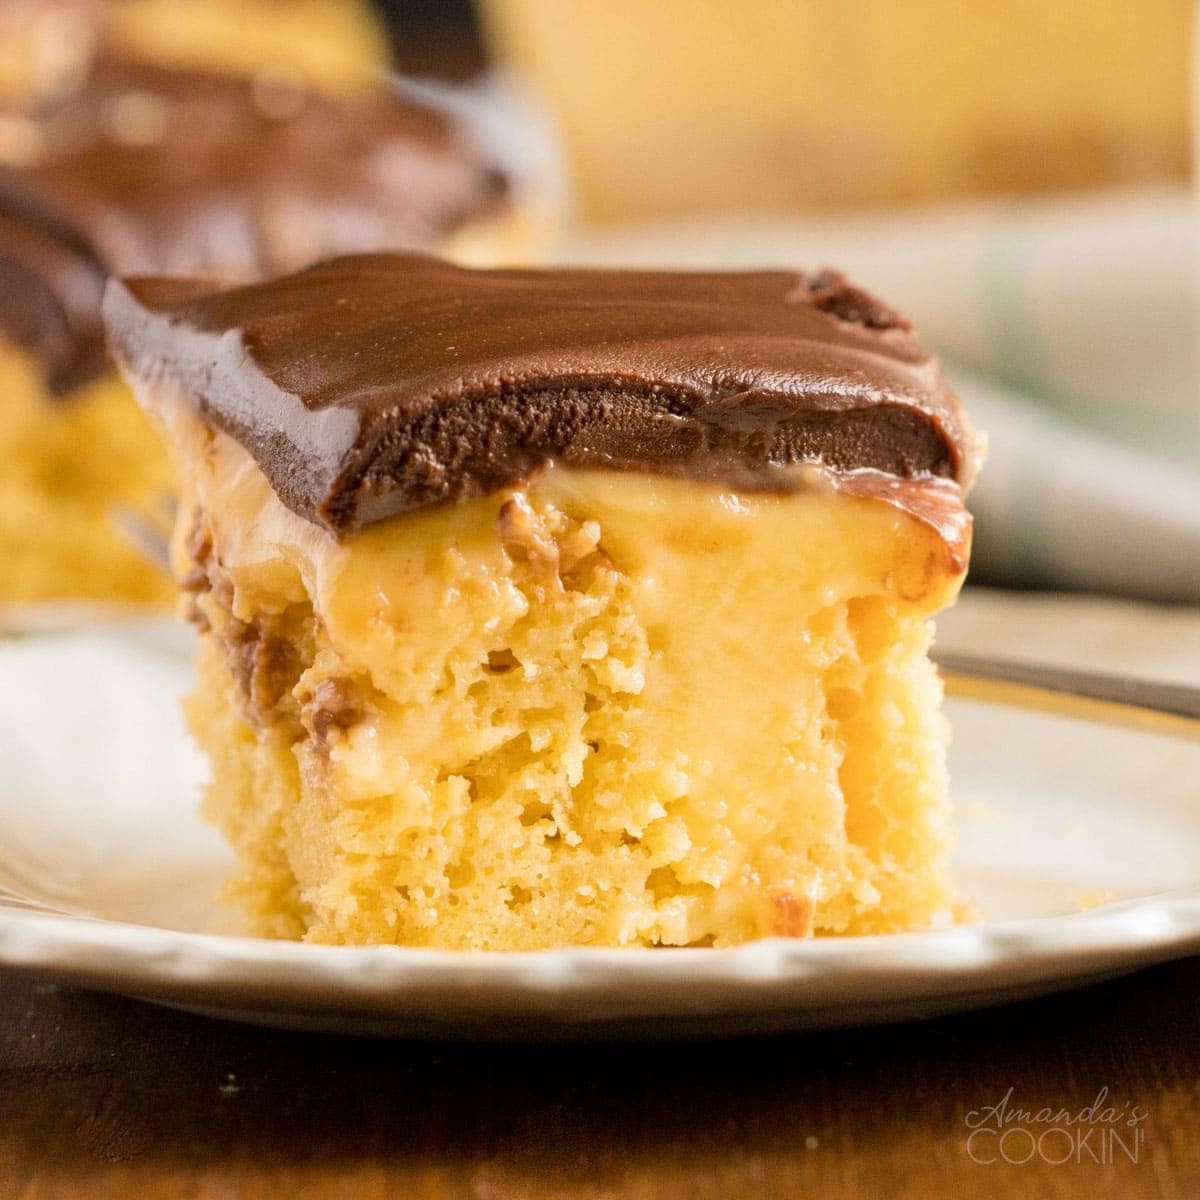
Boston Cream Poke Cake
If you’re looking for a show-stopping dessert, this Boston Cream Poke…
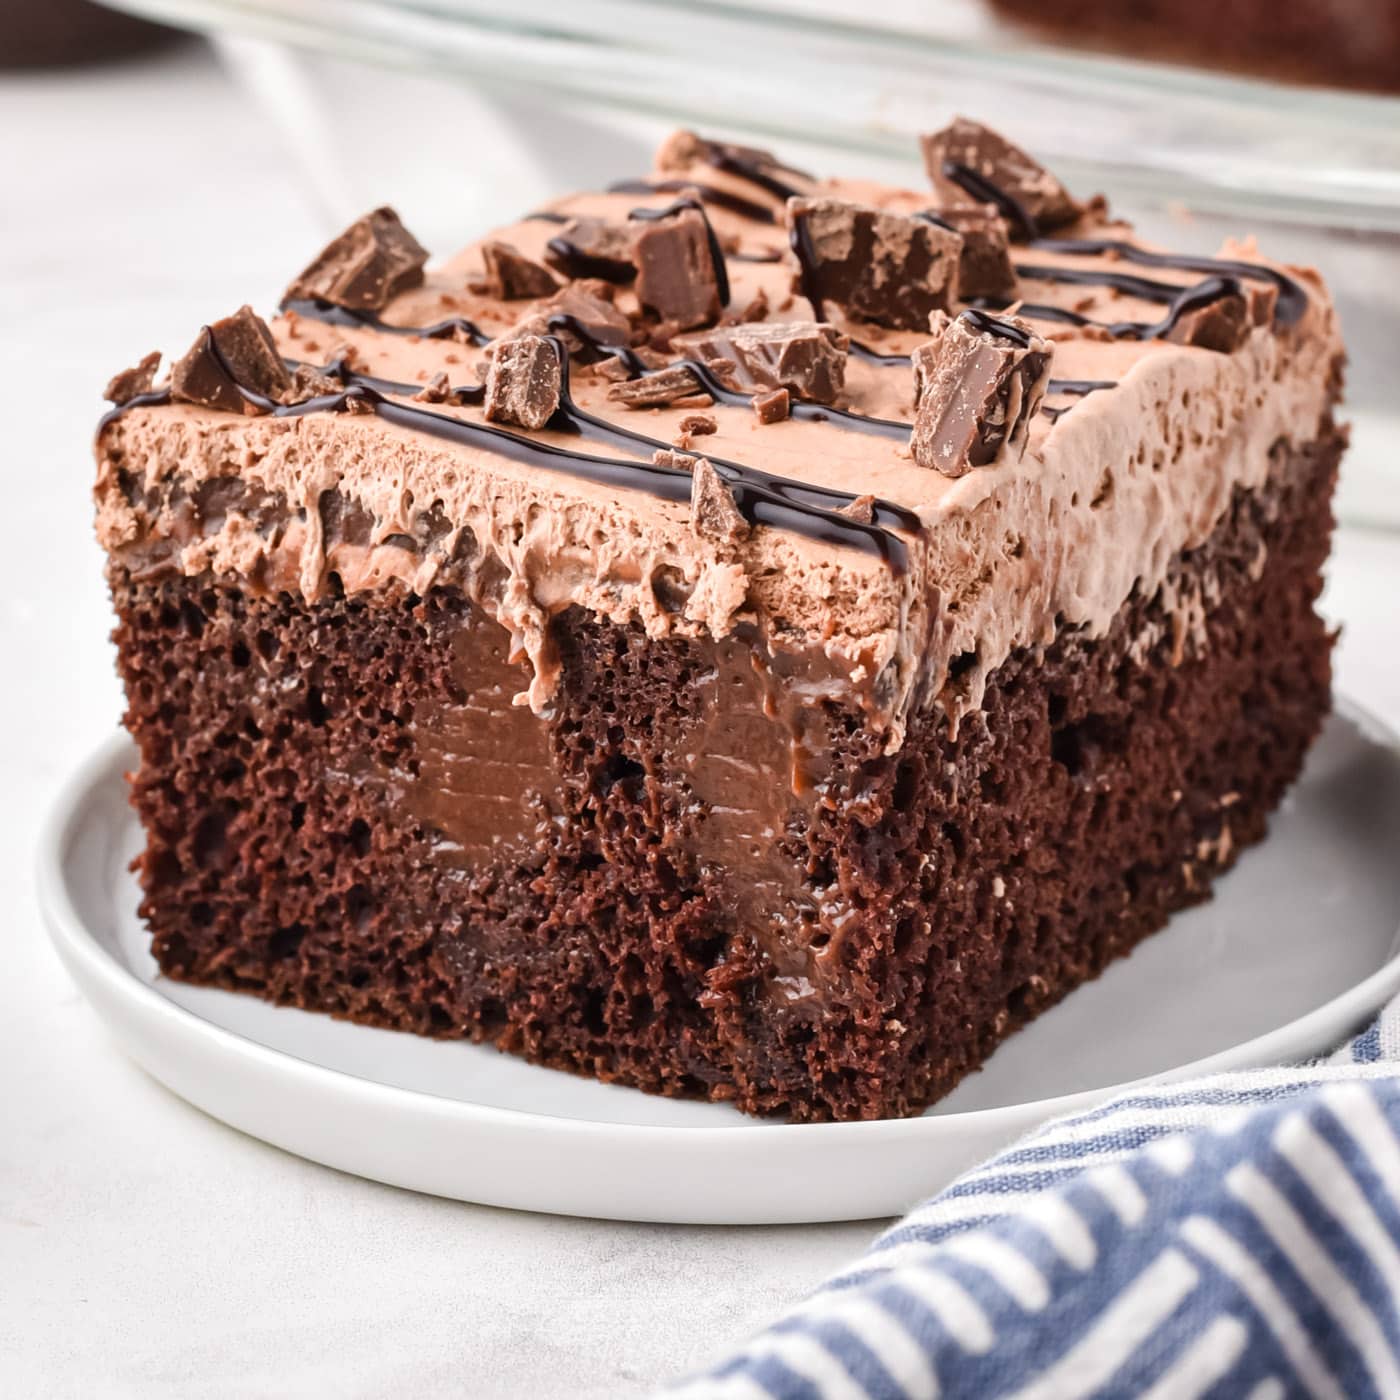
Chocolate Poke Cake
Indulge with this decadent chocolate poke cake with triple the…