Stuffed Mushrooms
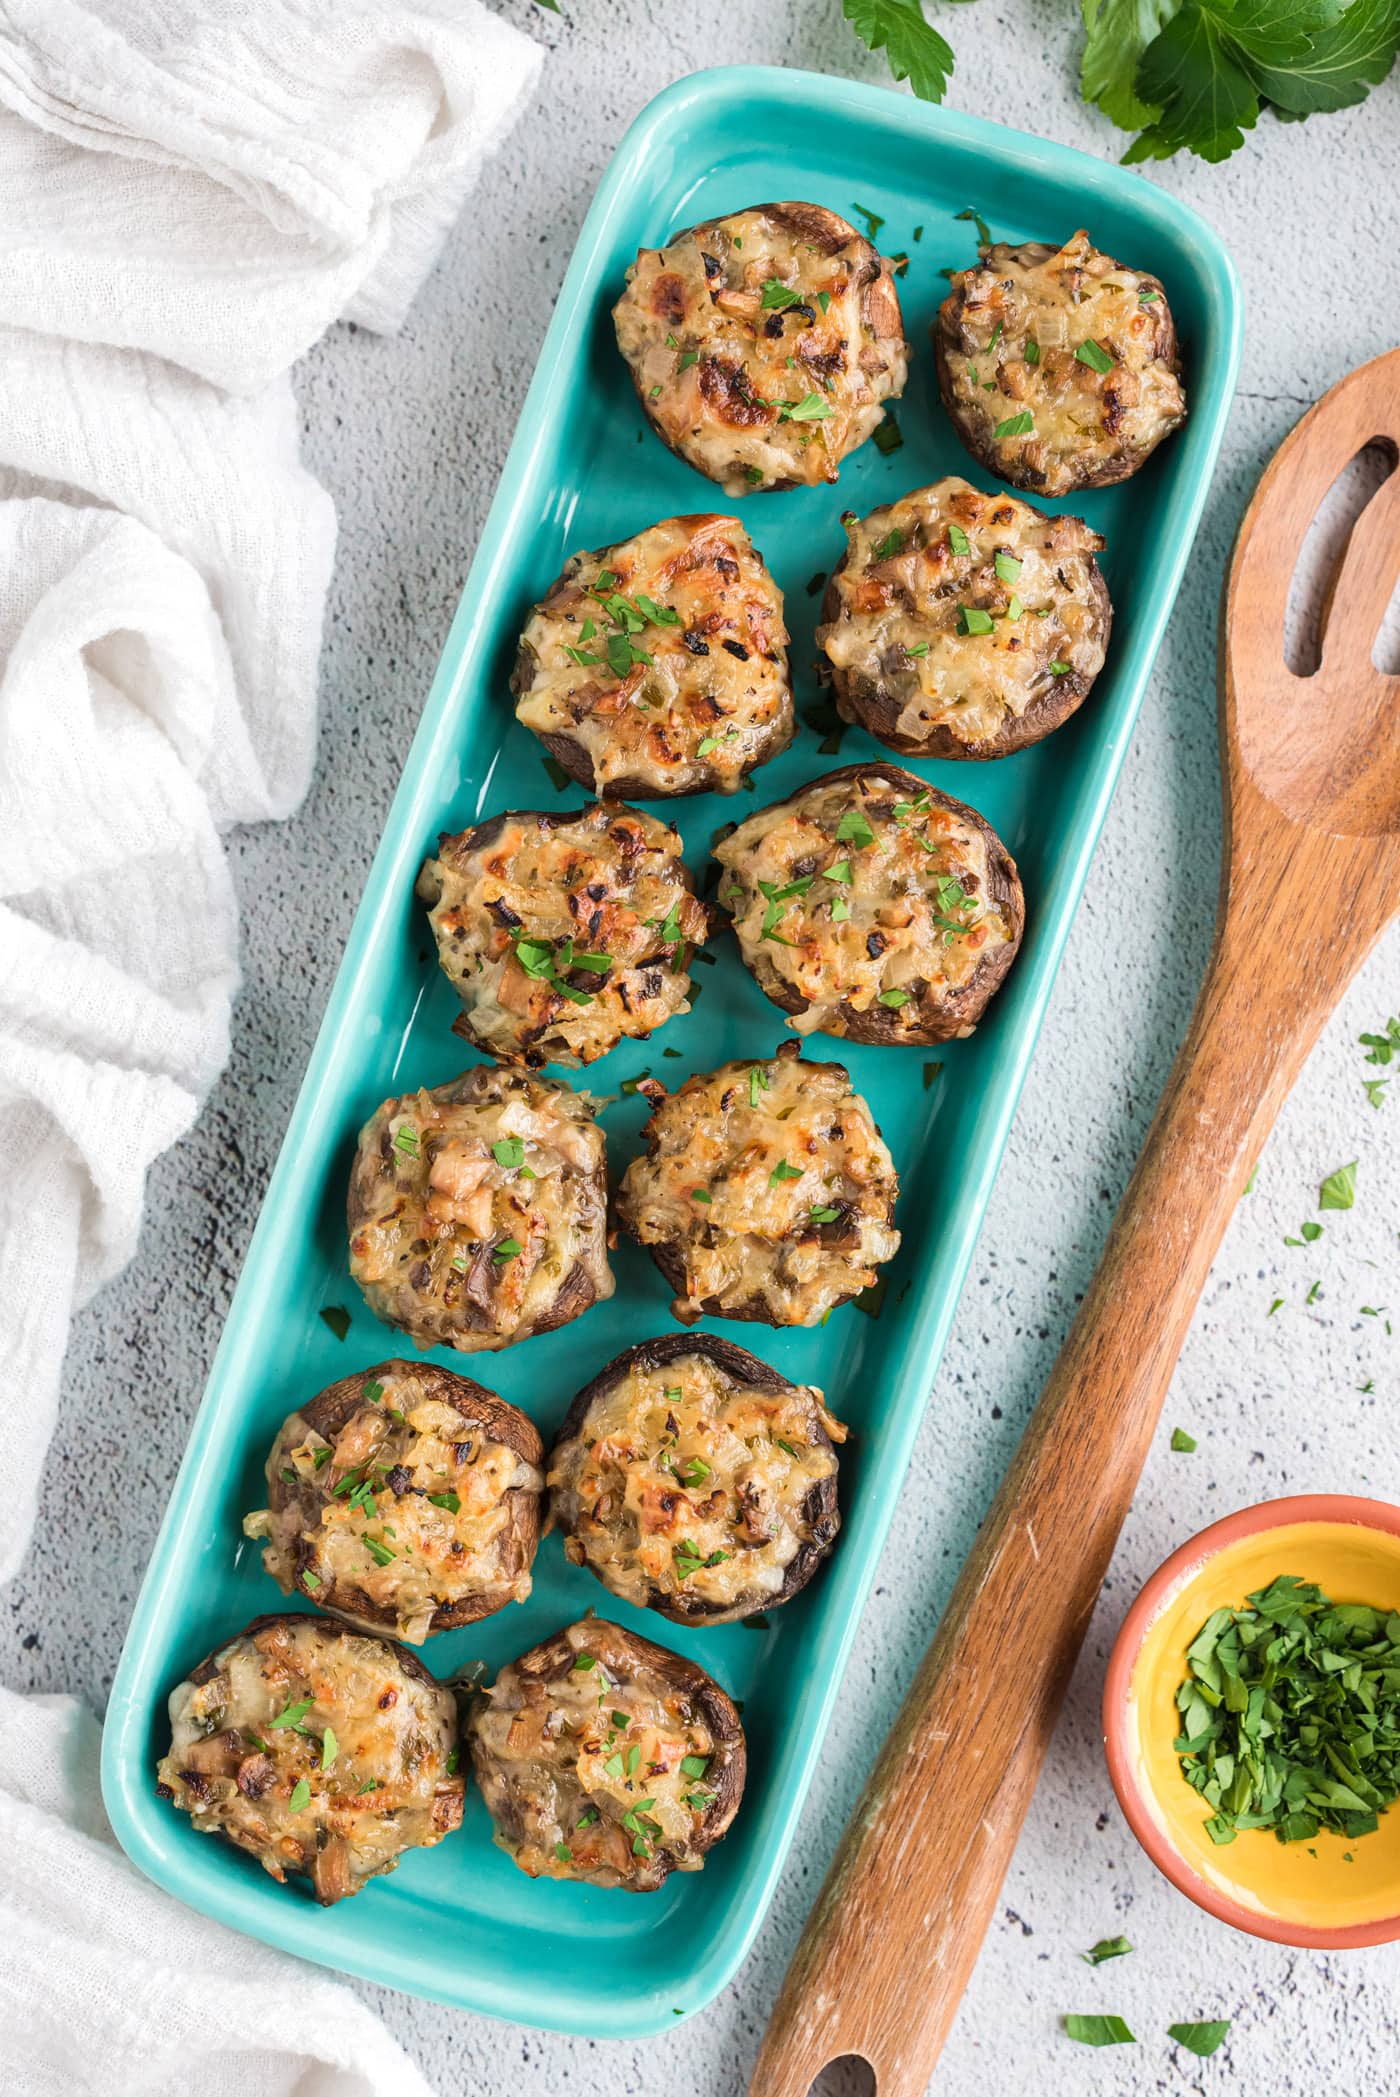
These cheesy stuffed mushrooms are so easy you could whip up a big tray of them in no time. Perfect for entertaining guests!
- Total 45 minutes
- Serves 12 mushrooms
- Appetizer
- American
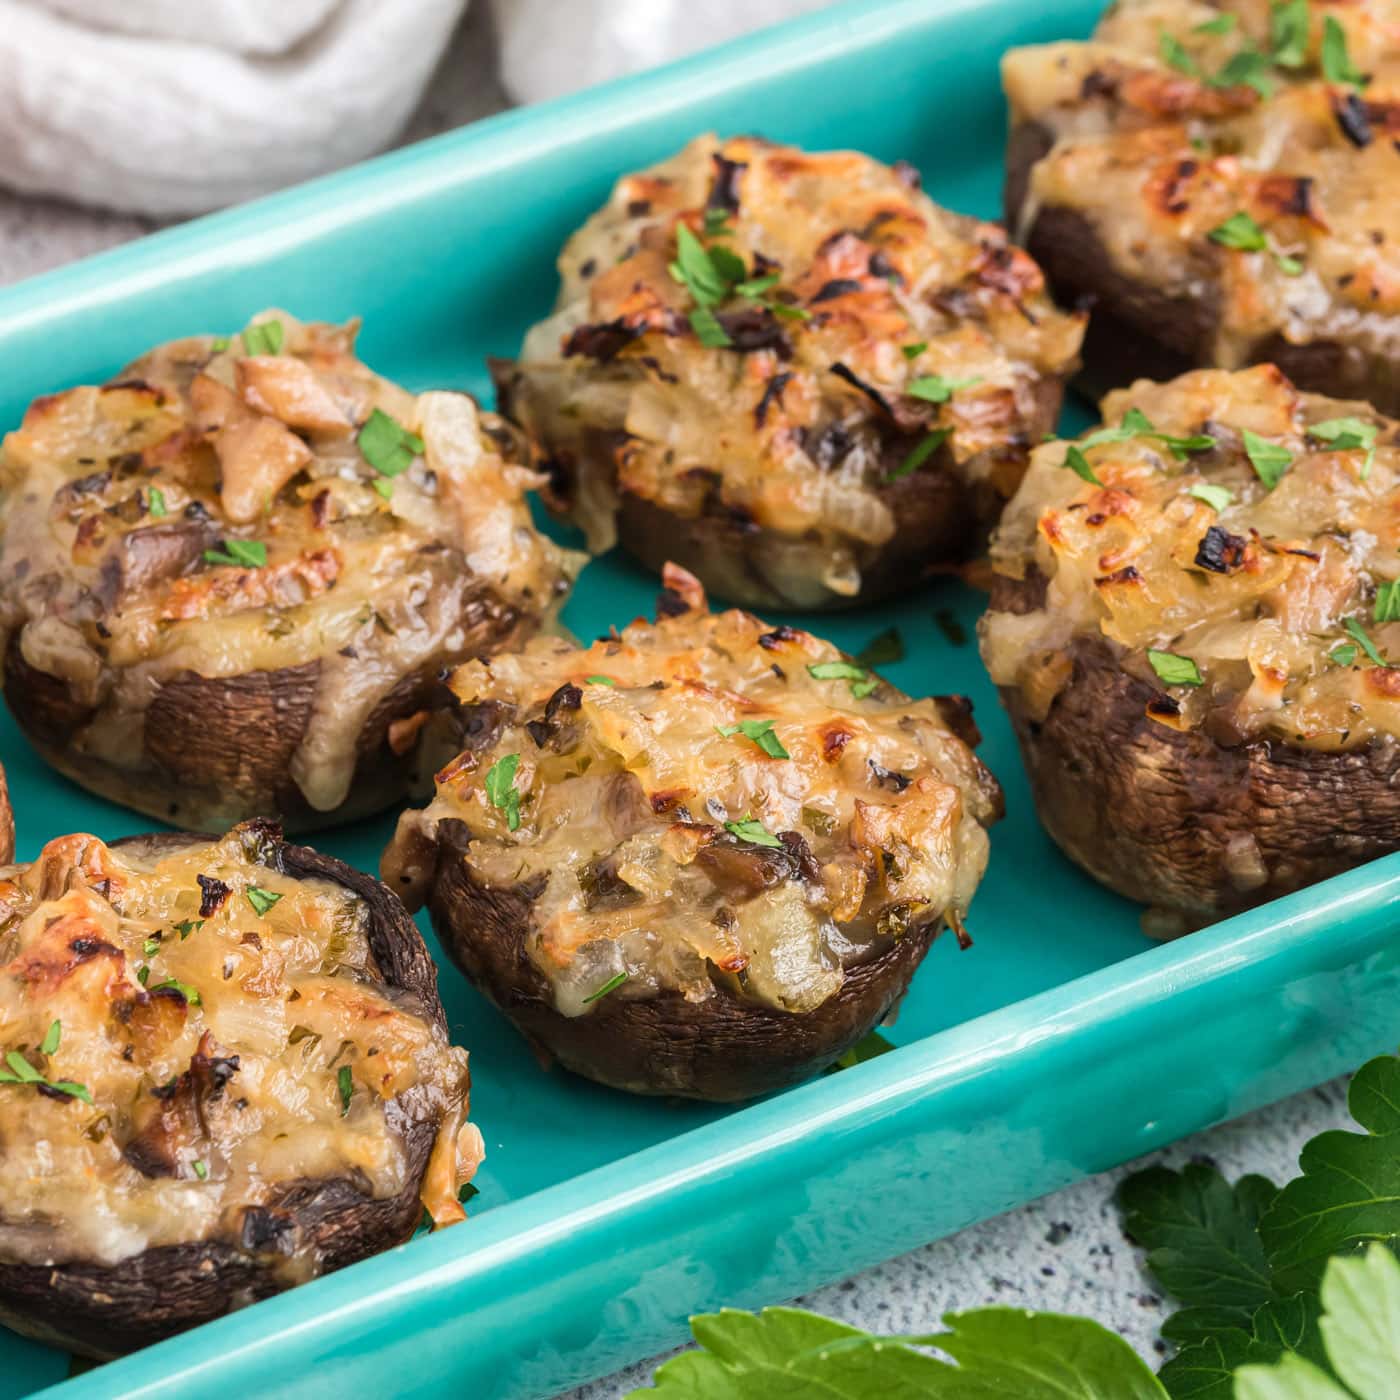
Thesecheesy stuffed mushrooms are so easy you could whip up a big tray of them in no time. Perfect for entertaining guests!
 more
more
Why this recipe works
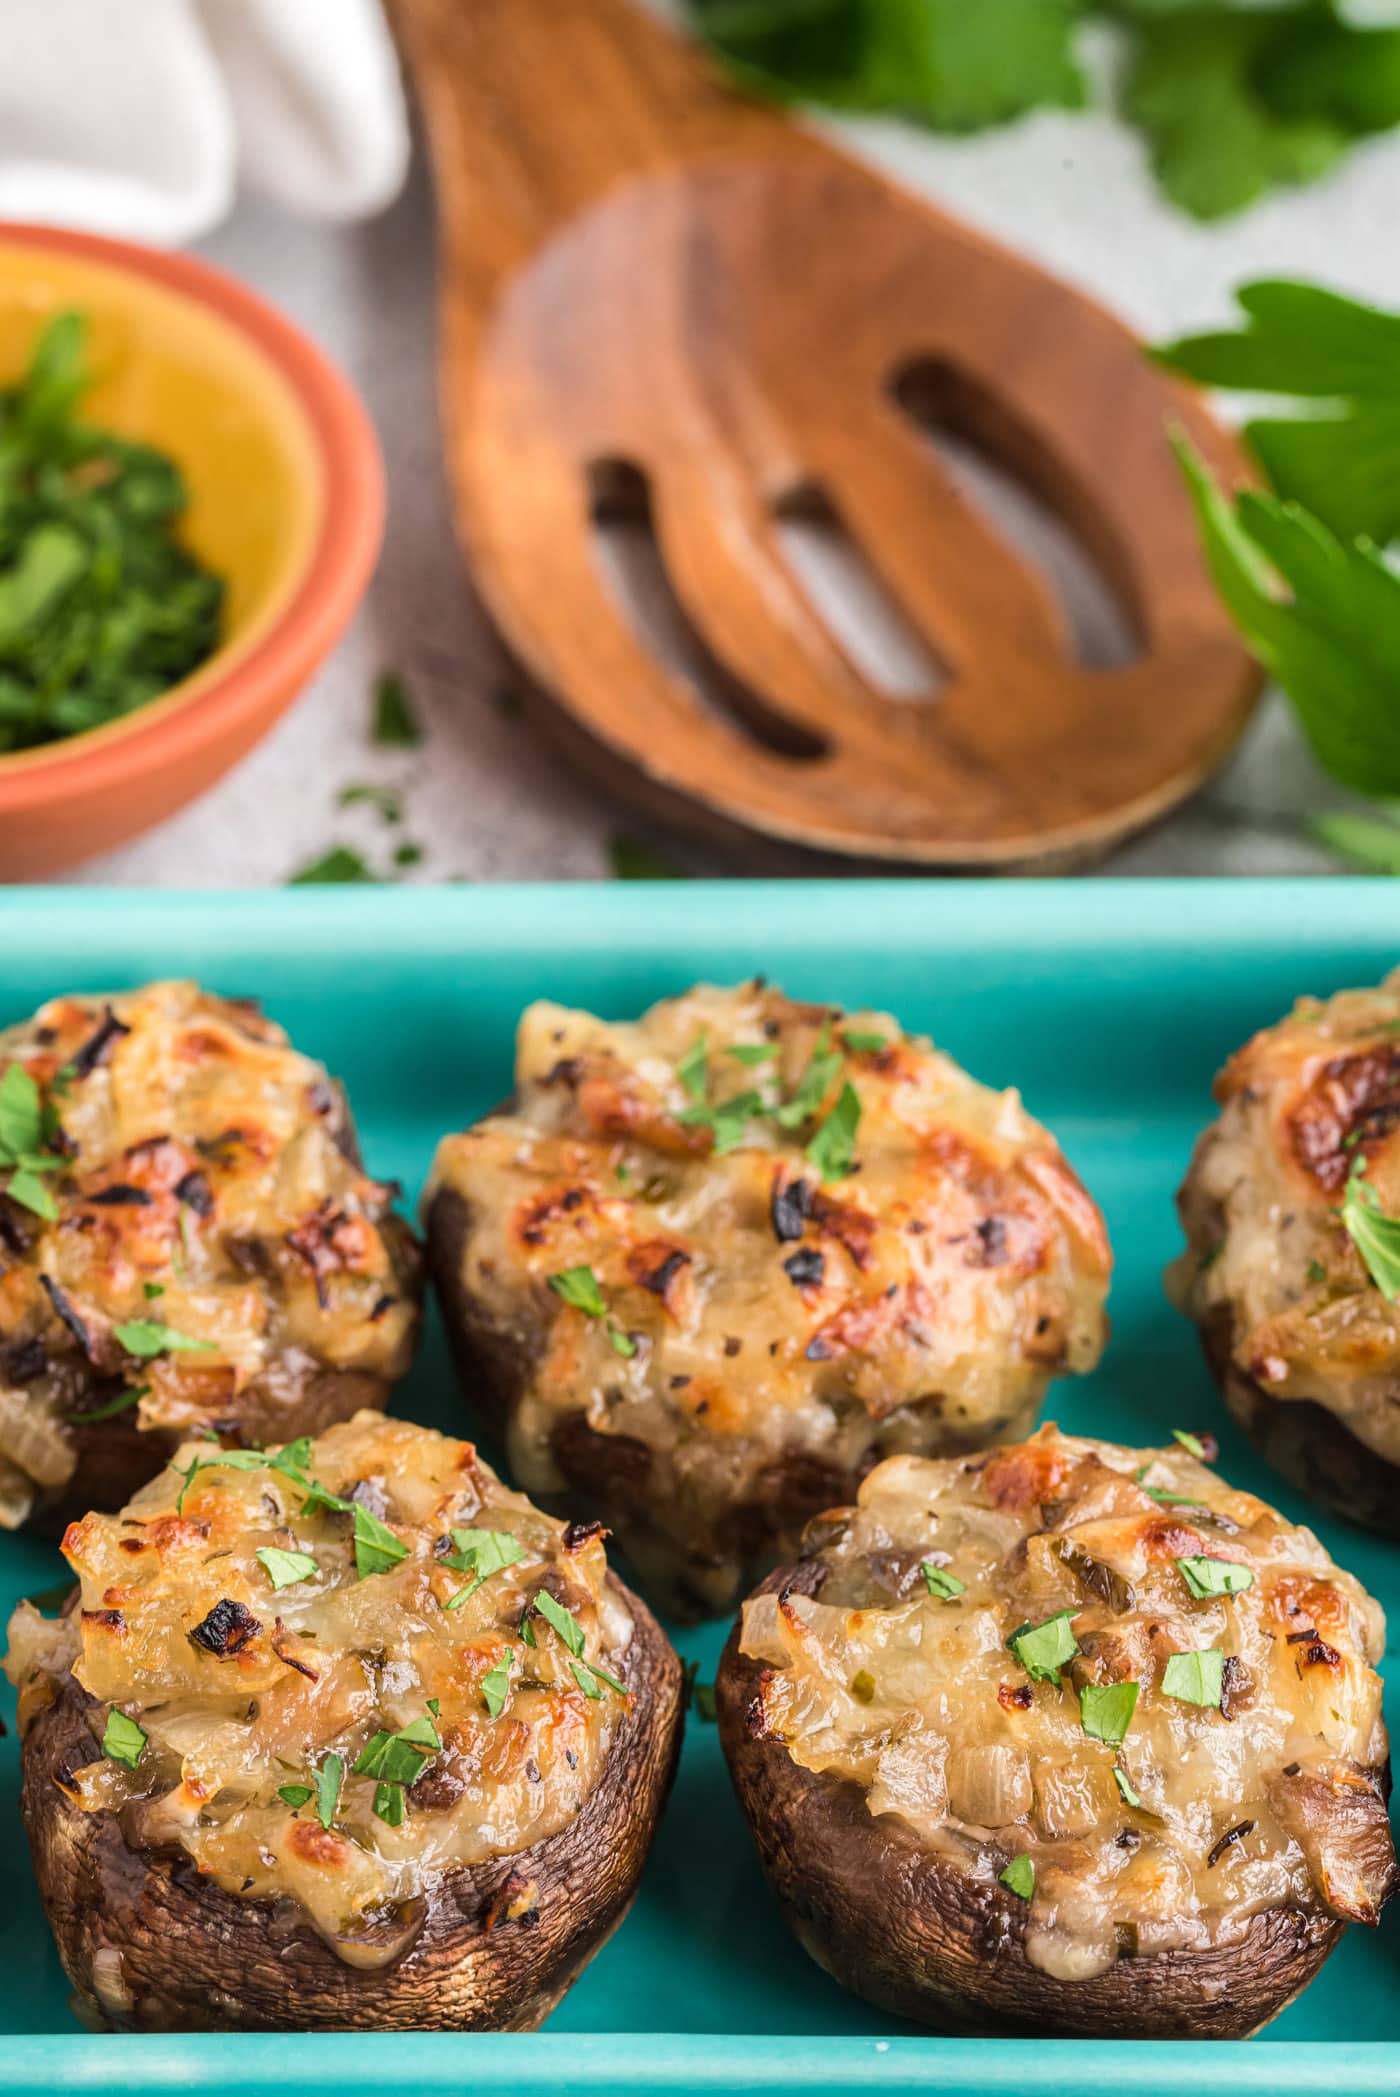
These savory stuffed mushrooms are packed with melty cheese, diced onions, minced parsley, and dried basil then cooked down with Vermouth for extra depth and flavor. Minimal ingredients, minimal prep time, yet incredible flavor!
Mushrooms are one of my favorite vegetables, so anytime I can try something using them I’m all over it, hence the cream of mushroom soup and creamy mushroom risotto. It adds a deep earthy flavor to so many dishes. If you’re a mushroom fan like me, you’ll enjoy this recipe!
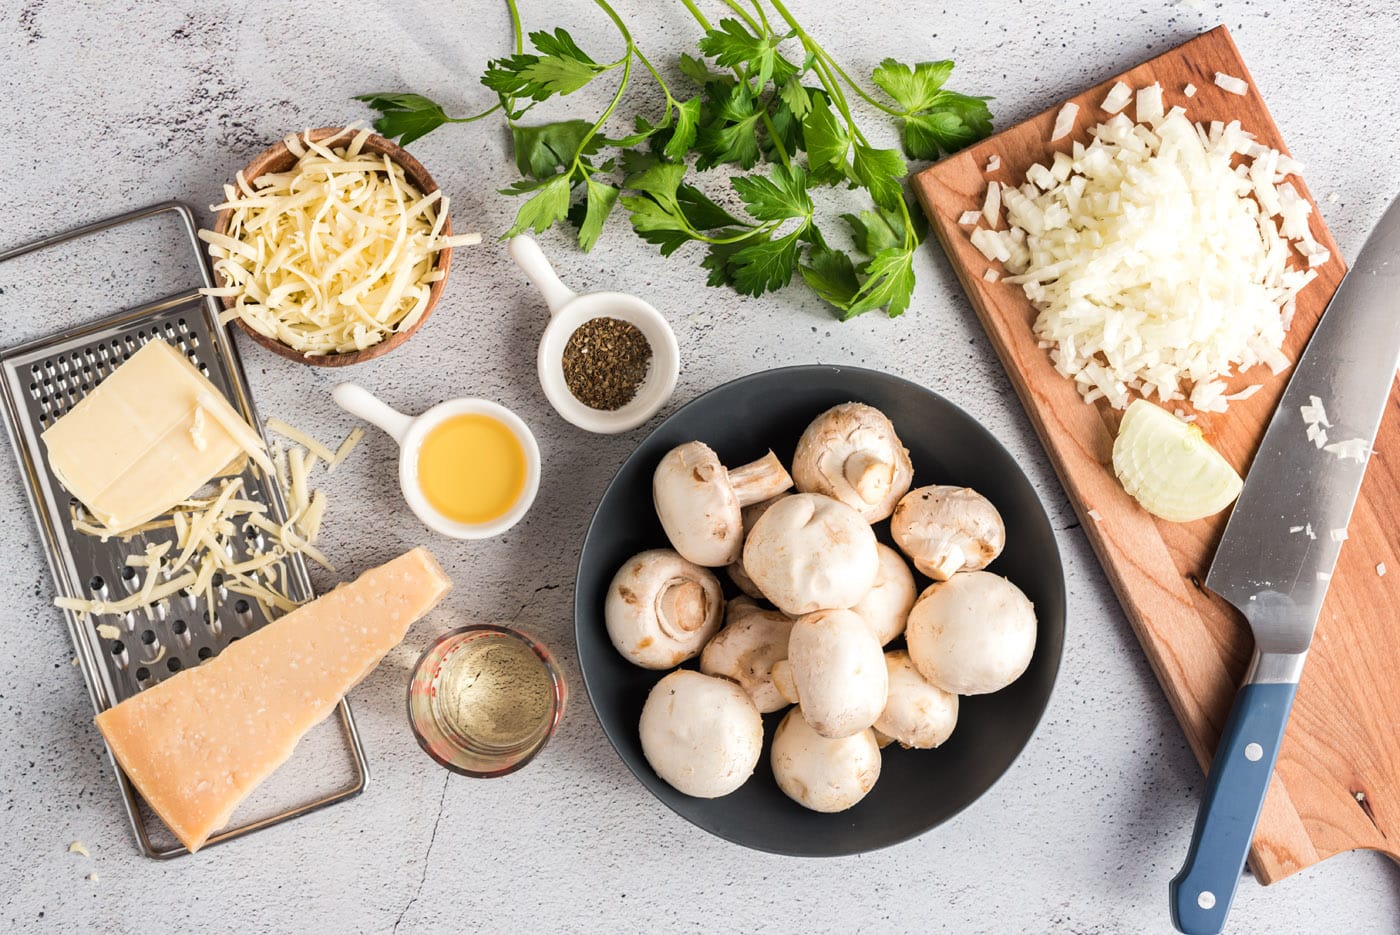
Ingredients you will need
Get all measurements, ingredients, and instructions in the printable version at the end of this post.
Ingredient Info and Substitution Suggestions
MUSHROOMS – You can use cremini, button, baby bella, or portabello mushrooms. Be sure to keep an eye on them in the oven depending on the size you use.
FILLING – These tasty morsels are stuffed with loads of melty cheese, onion, parsley, and basil with a splash of Vermouth. Optionally add in some minced garlic. We used mozzarella cheese and parmesan, but you can substitute the mozzarella with cream cheese if desired. Feel free to play around with different cheeses here! In place of Vermouth, you can use chicken or beef broth.
How to Make Stuffed Mushrooms
These step by step photos and instructions are here to help you visualize how to make this recipe. You can Jump to Recipe to get the printable version of this recipe, complete with measurements and instructions at the bottom.
- Preheat oven to 450F.
- Remove stems from mushrooms; set caps aside. Coarsely chop the stems.
- Bake mushroom caps for 15 minutes at 450F, flipping them halfway through. Once done, turn the oven down to 350F.
EXPERT TIP – Mushrooms release a lot of liquid when they cook. Since our filling does not have breadcrumbs there’s nothing to soak up that liquid. They need to be roasted first. - Cook chopped mushroom stems and onions in 1 Tbsp of oil in a large skillet over medium-low heat for 5 minutes or until tender. Stir in parsley, basil and Vermouth. Simmer 10 minutes or until wine is absorbed; remove from heat; cool for 5 minutes. I spread mine out on a plate for fasting cooling.
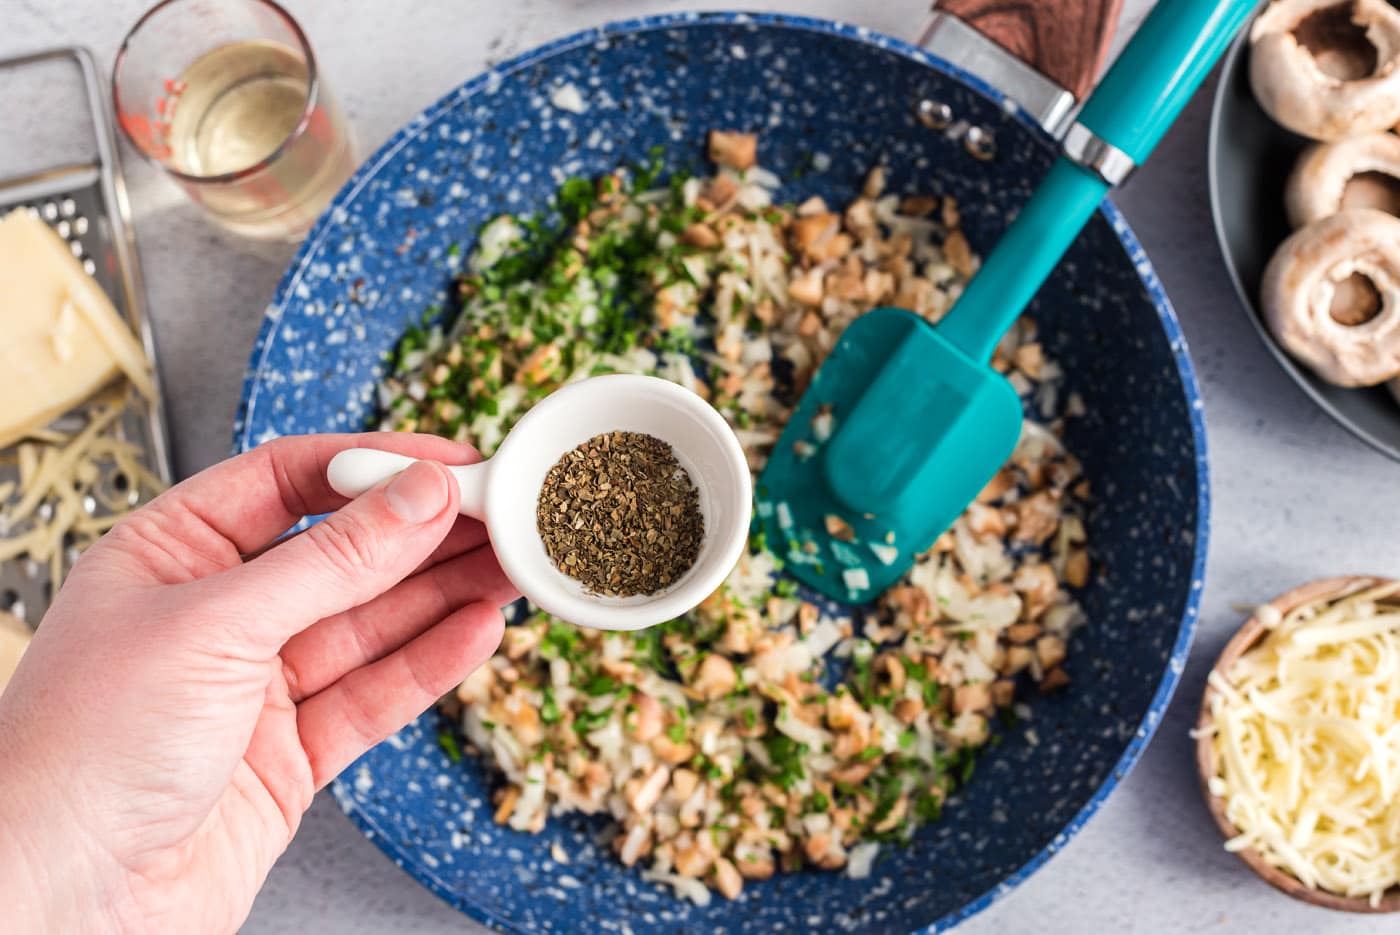
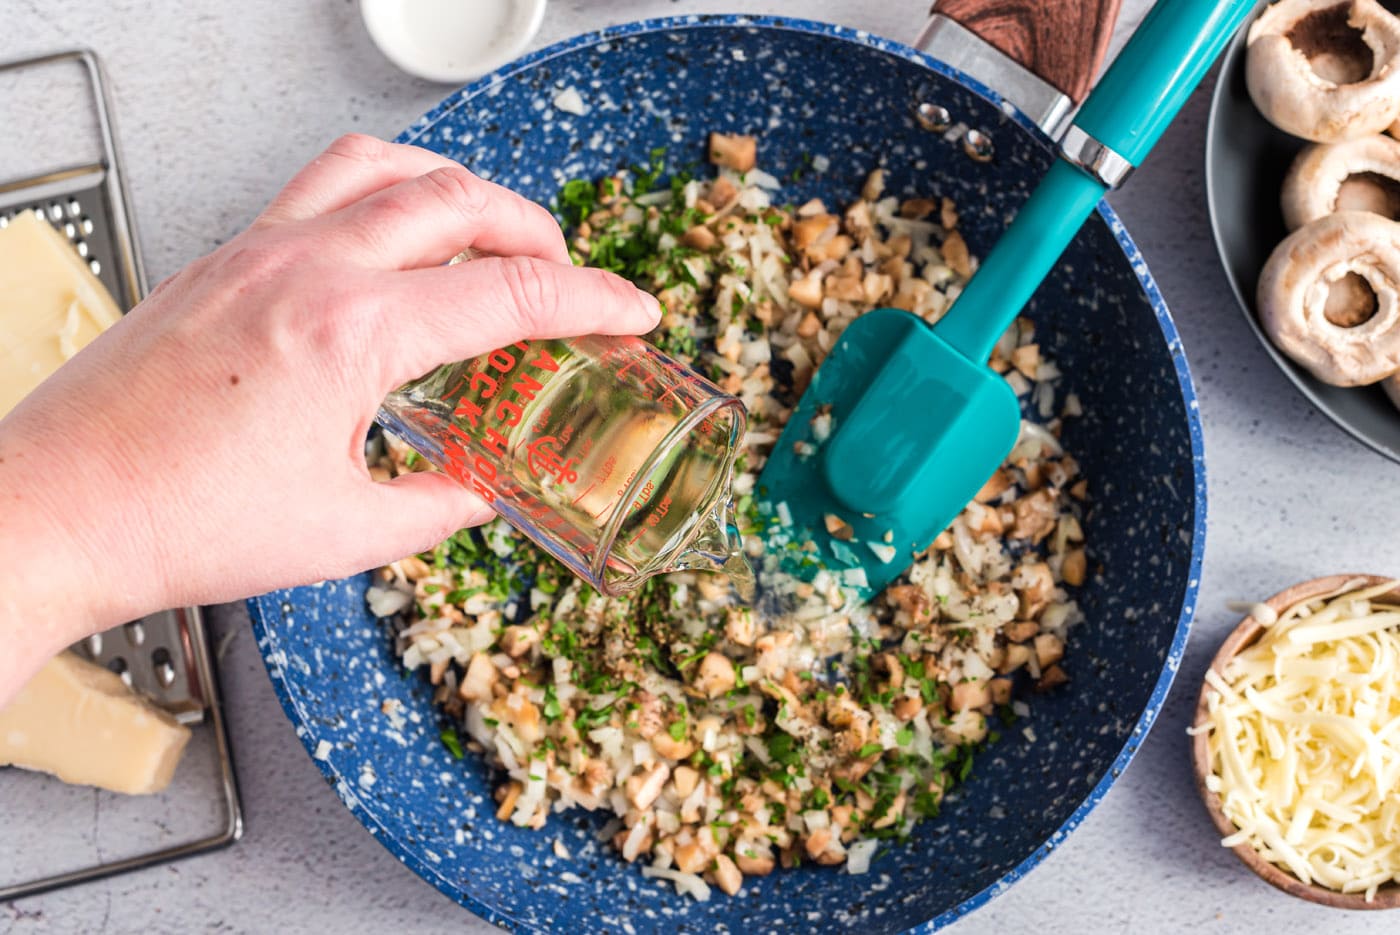
- Stir in cheeses.
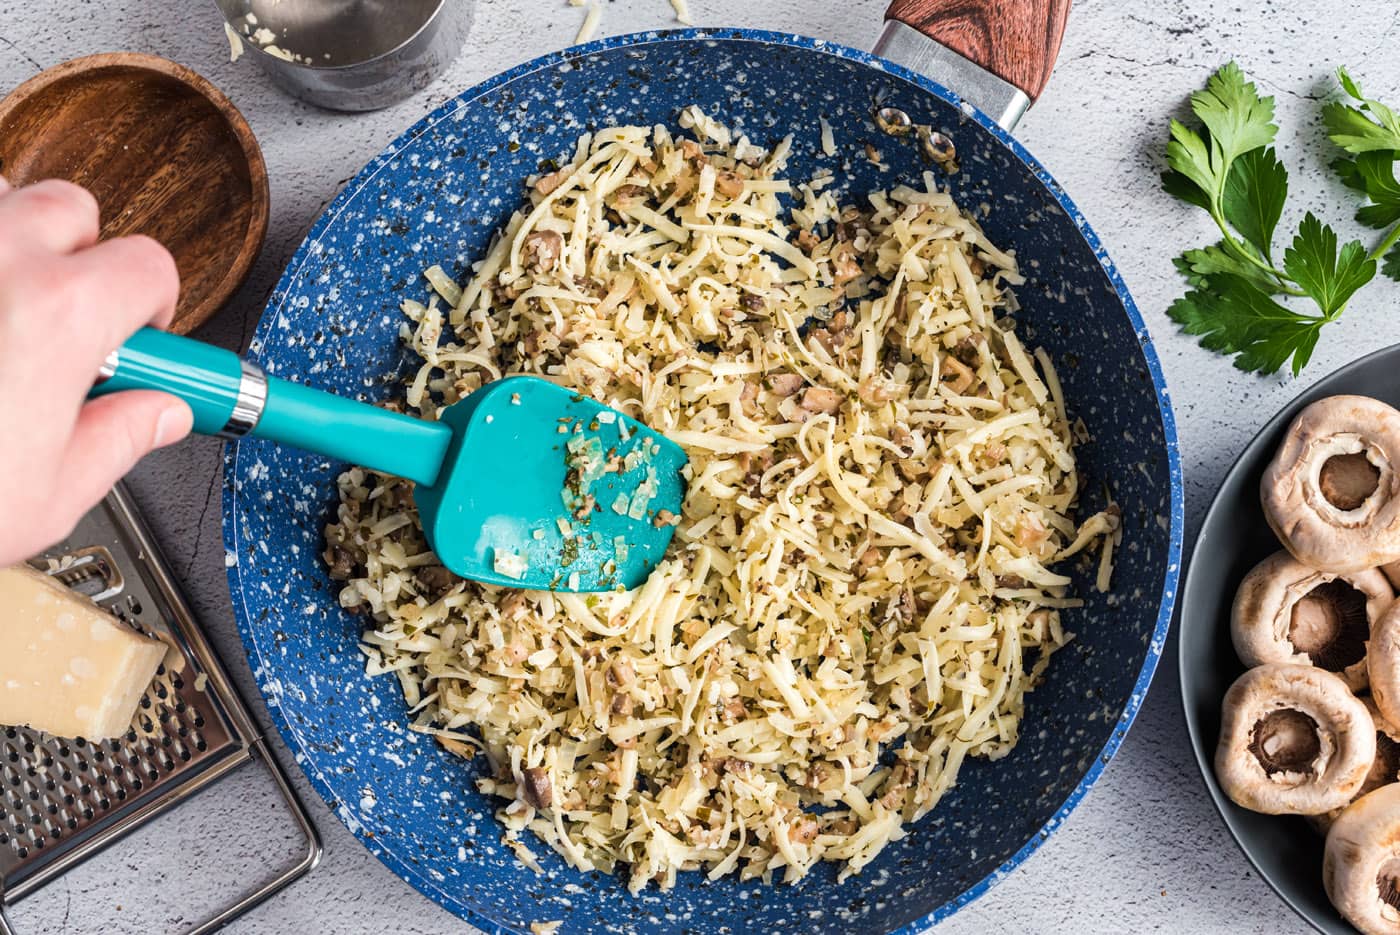
- Fill mushroom caps with cheese mixture and place in an 8×8-inch baking pan.
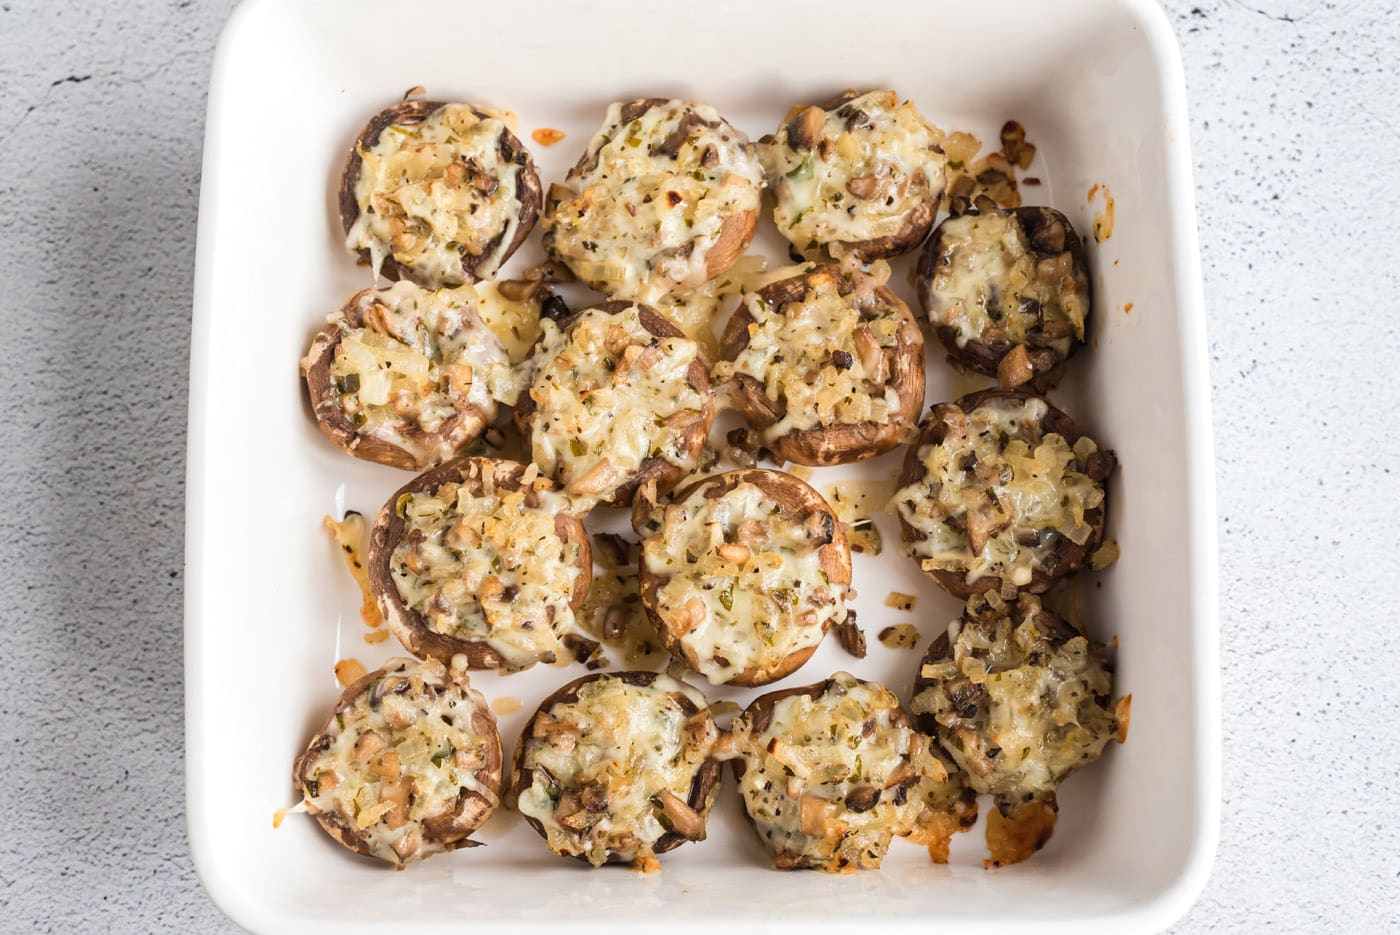
- Bake the stuffed mushrooms at 350F for 15 minutes or until filling is hot and cheese is melted.
Frequently Asked Questions & Expert Tips
How do I store them?Store the stuffed mushrooms in an air-tight container in the refrigerator for up to 4 days. Reheat in the air fryer or microwave.
Can I make them in advance?You can prepare the stuffed mushrooms a day in advance and store them, uncooked, in an air-tight container kept in the refrigerator.
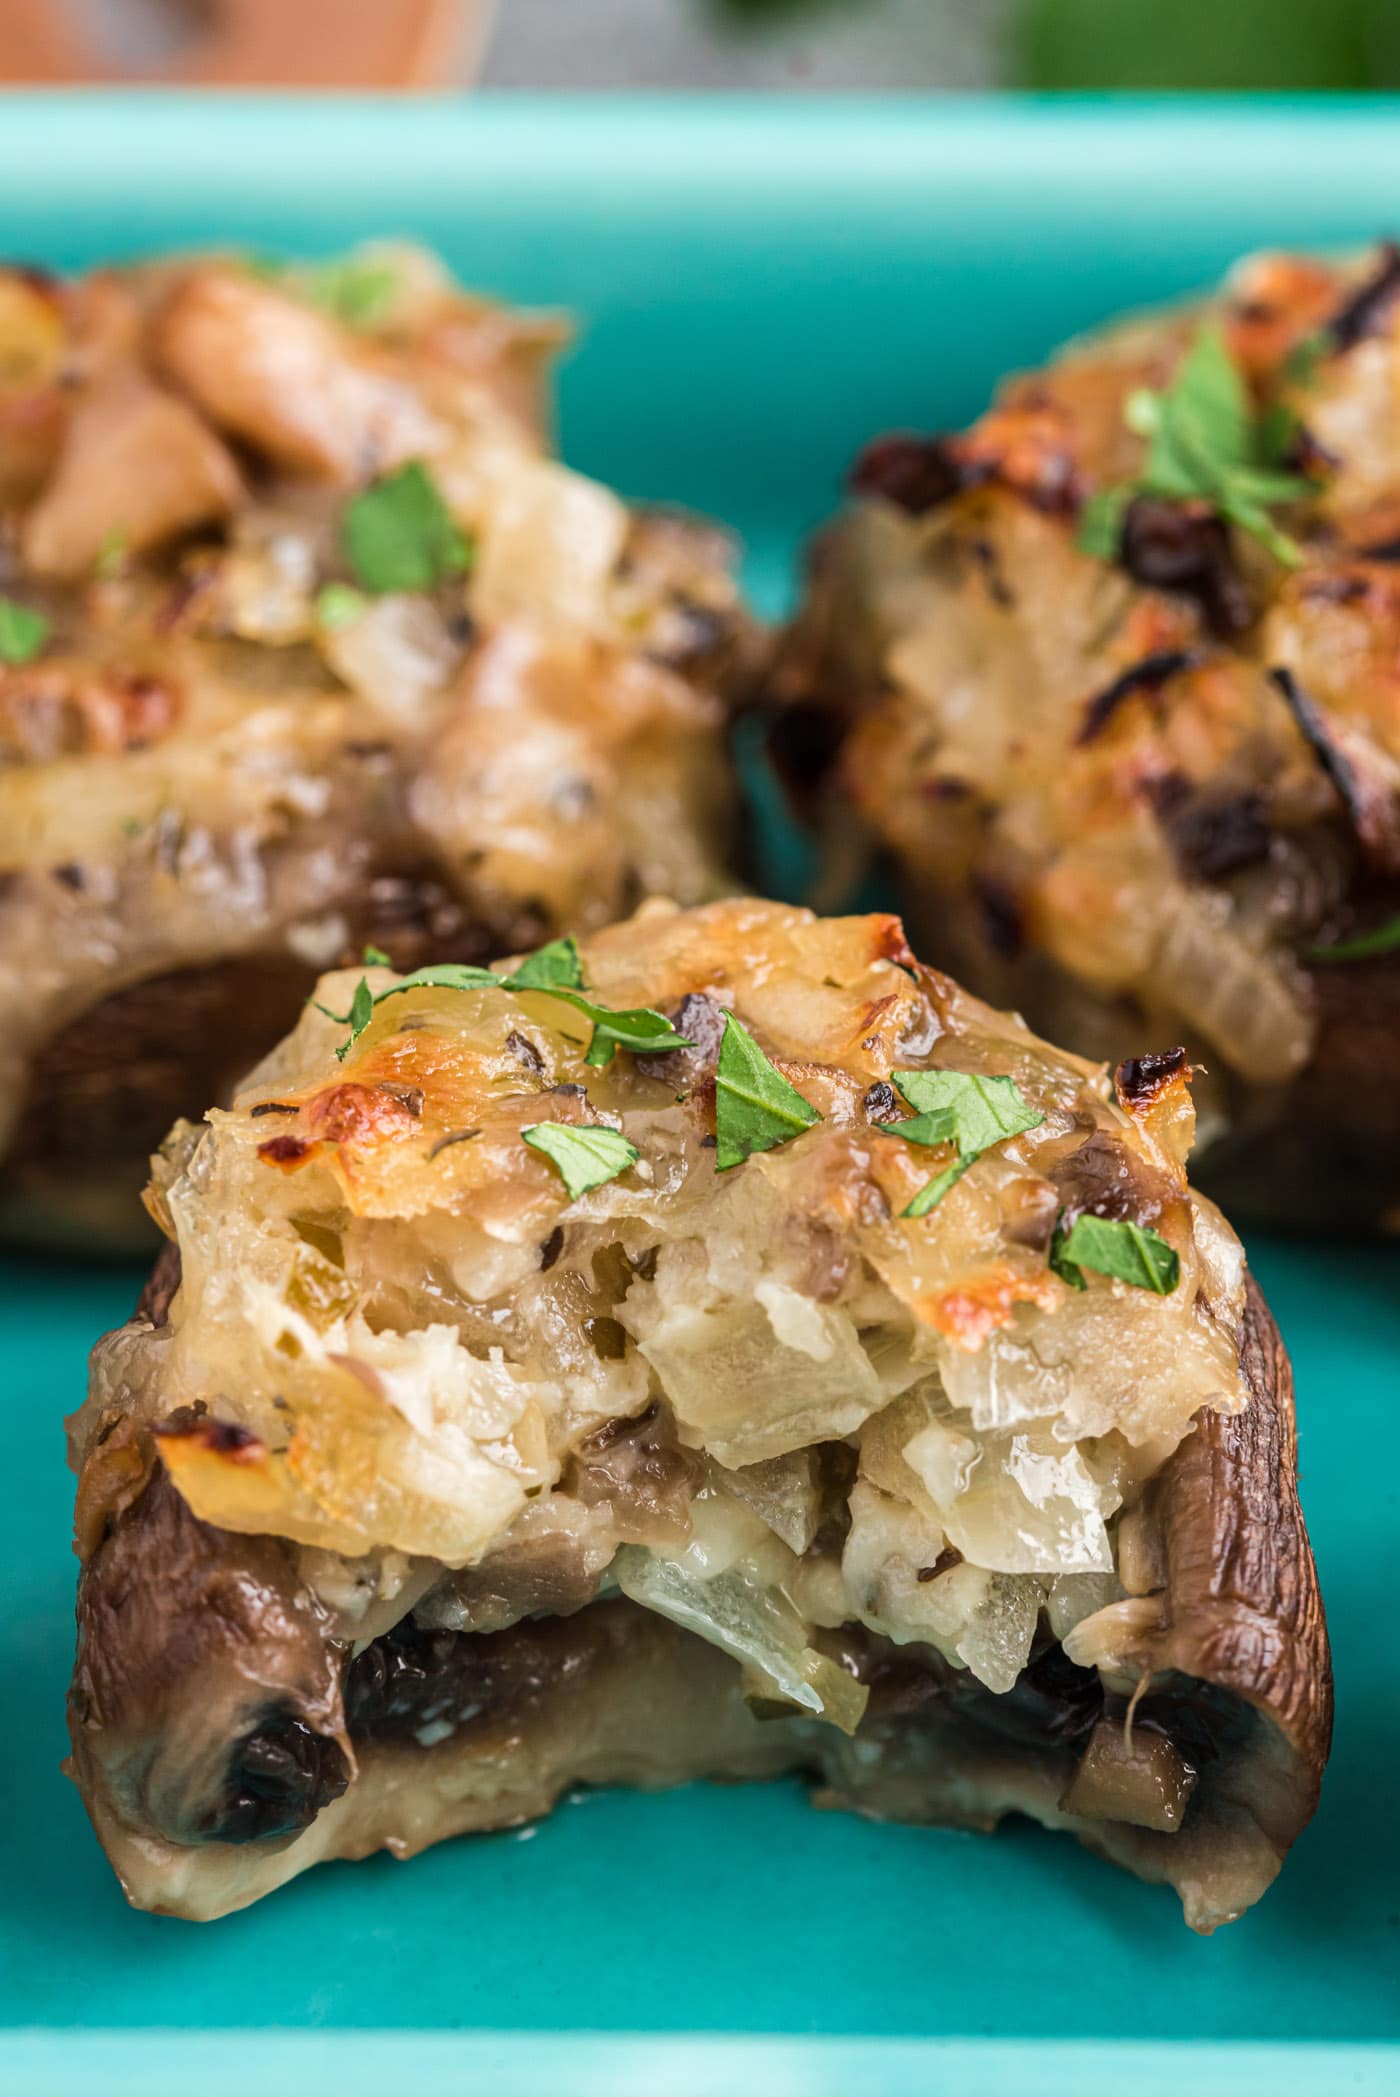
Serving Suggestions
You can optionally pop the stuffed mushrooms under the broiler for a minute or so to further brown the cheese on top if desired. Serve as is or with a sprinkle of grated parmesan cheese, chopped parsley, or toasted breadcrumbs.
Ready…Set…Scarf! Enjoy your mozzarella and parmesan stuffed mushrooms because they won’t last long.
More Appetizer Recipes
- Crab Dip
- Grilled Shrimp
- Caprese Salad
- Tomato Cucumber Salad with Feta
- Gouda and Sun Dried Tomato Cheese Ball
- Dirty Martini Dip
I love to bake and cook and share my kitchen experience with all of you! Remembering to come back each day can be tough, that’s why I offer a convenient newsletter every time a new recipe posts. Simply subscribe and start receiving your free daily recipes!
This post was originally published on this blog on May 18, 2012 and has since been updated with new photos and expert tips.
More recipes to try
Eight more recipes from the kitchen.
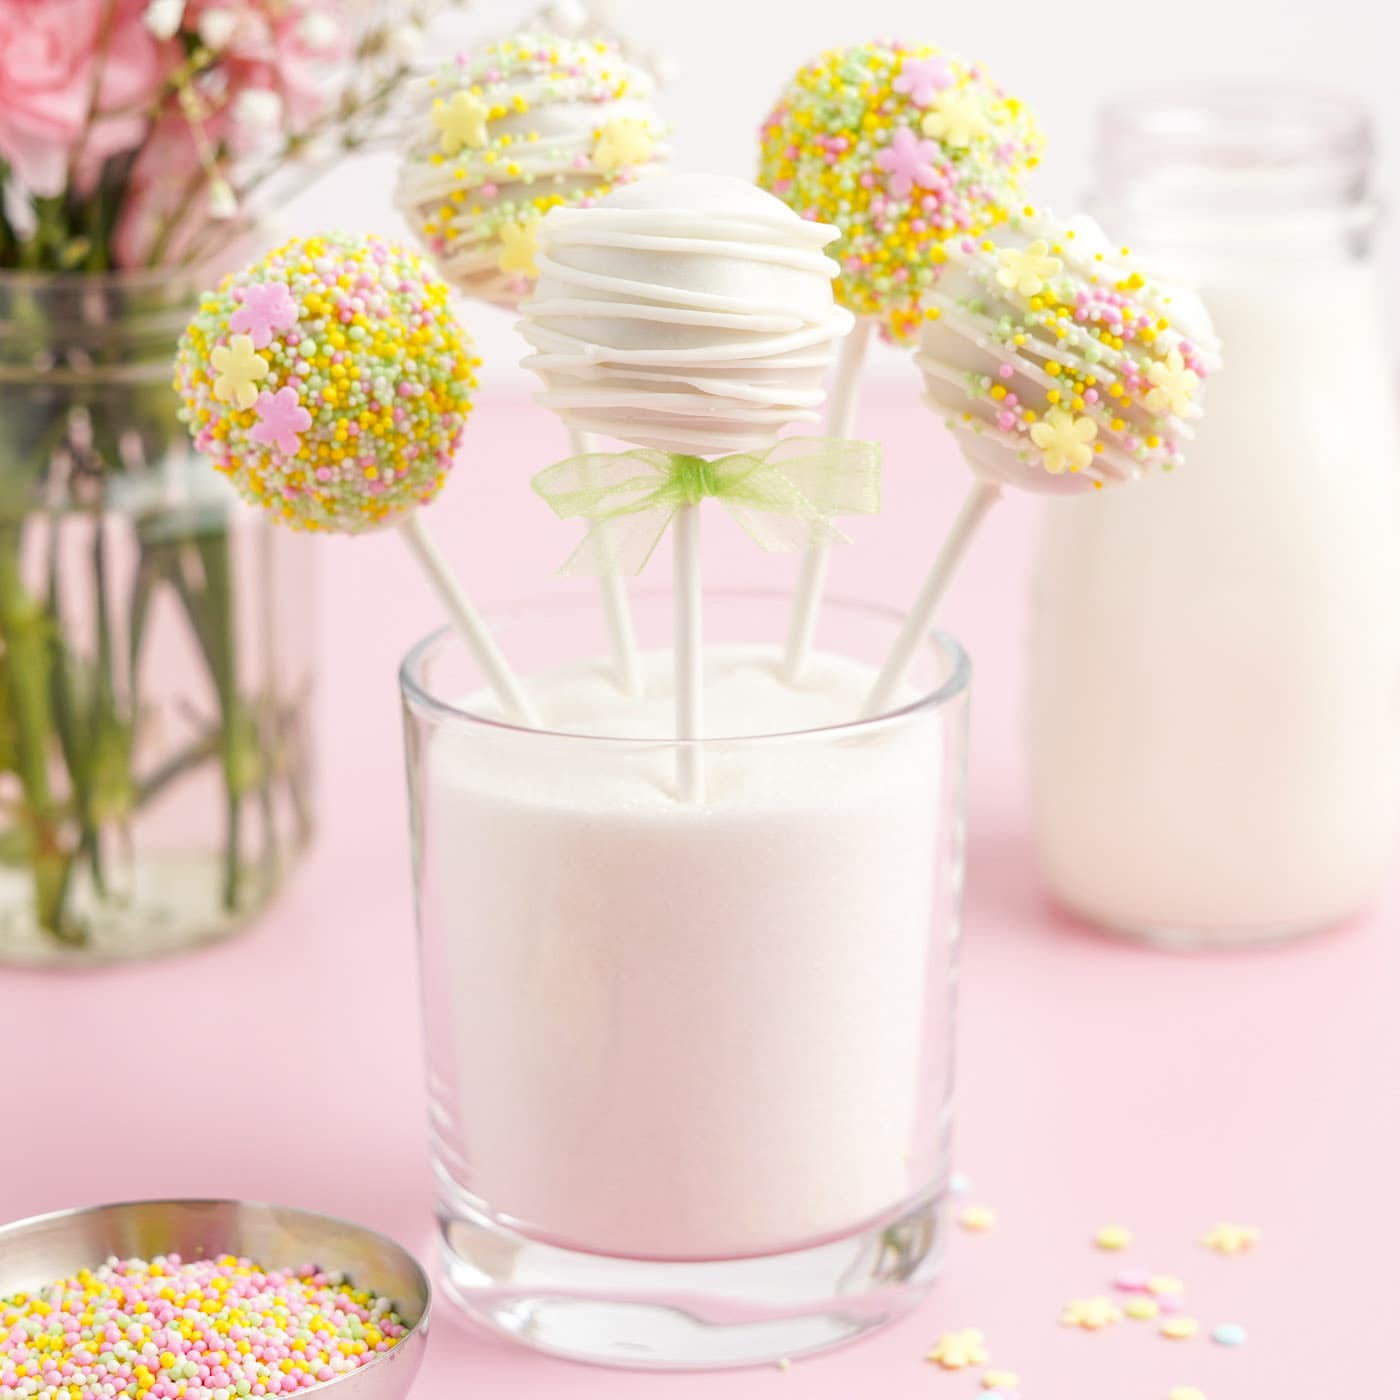
Donut Hole Cake Pops
These pretty donut hole cake pops are made with store-bought donut…
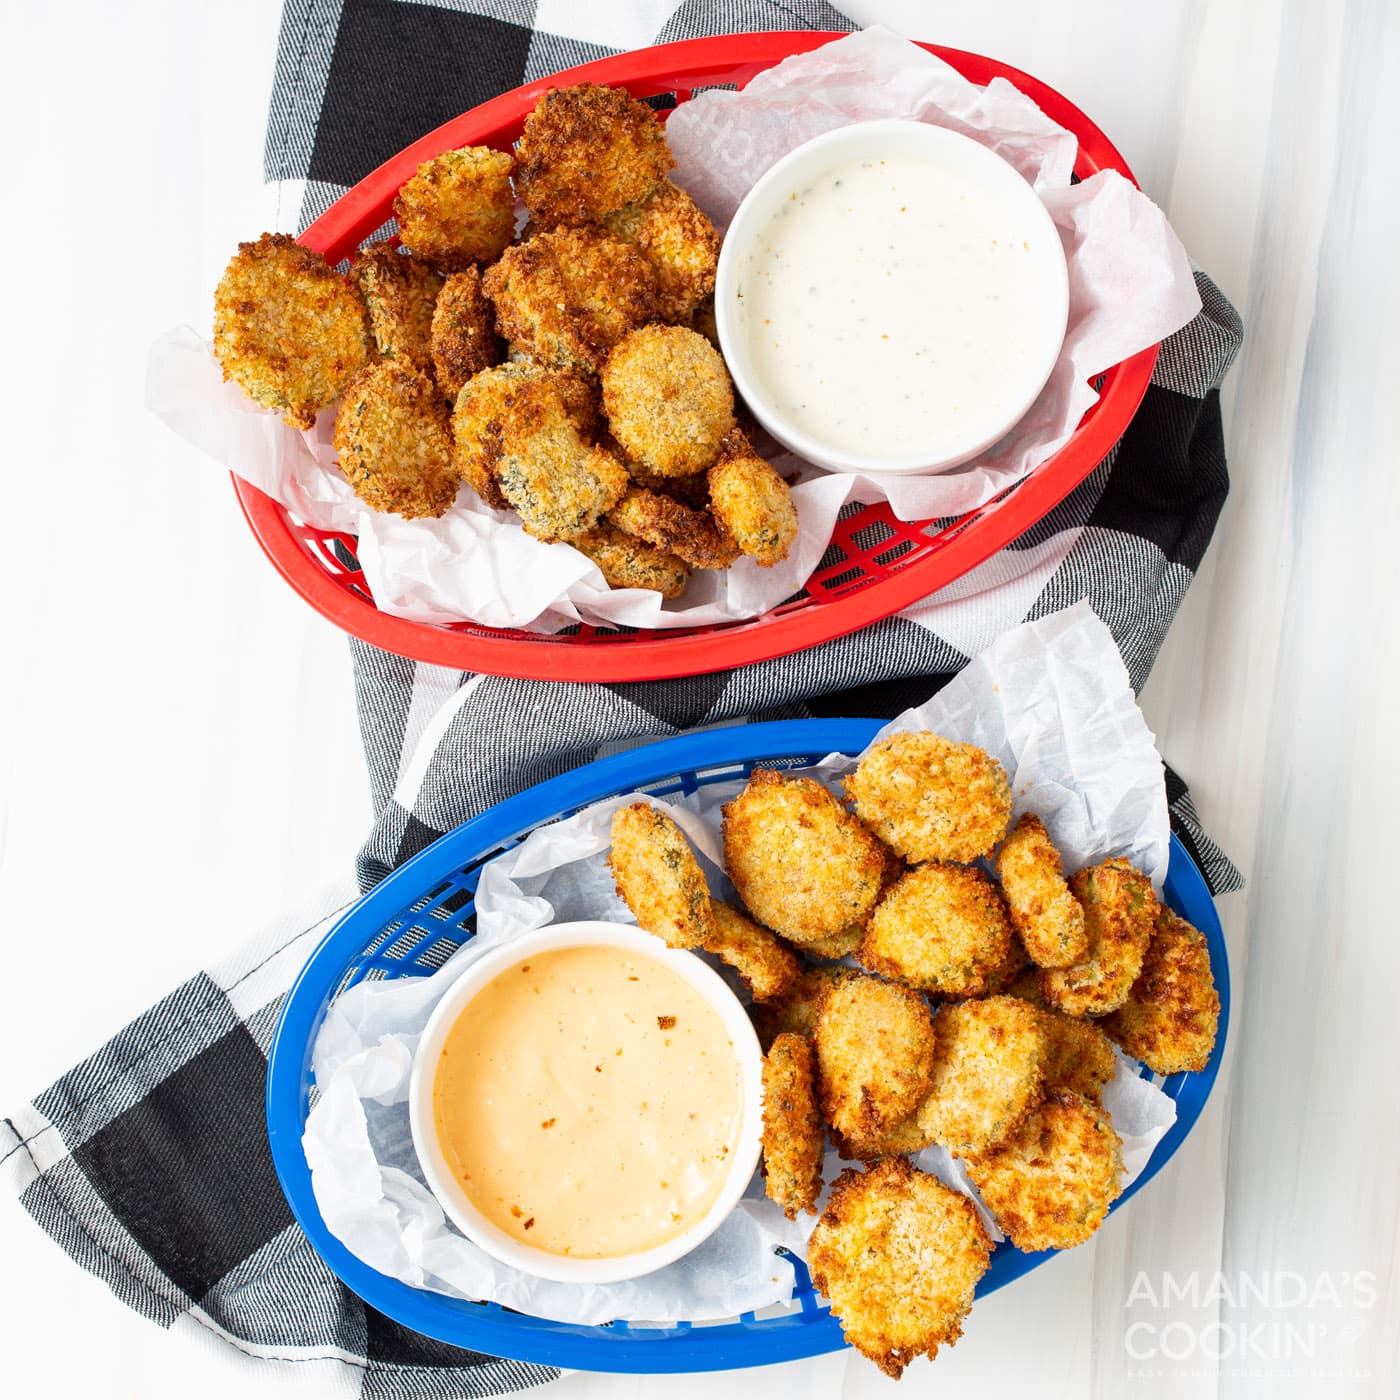
Air Fryer Fried Pickles
These air fryer fried pickles are cooked to a crispy golden brown and…
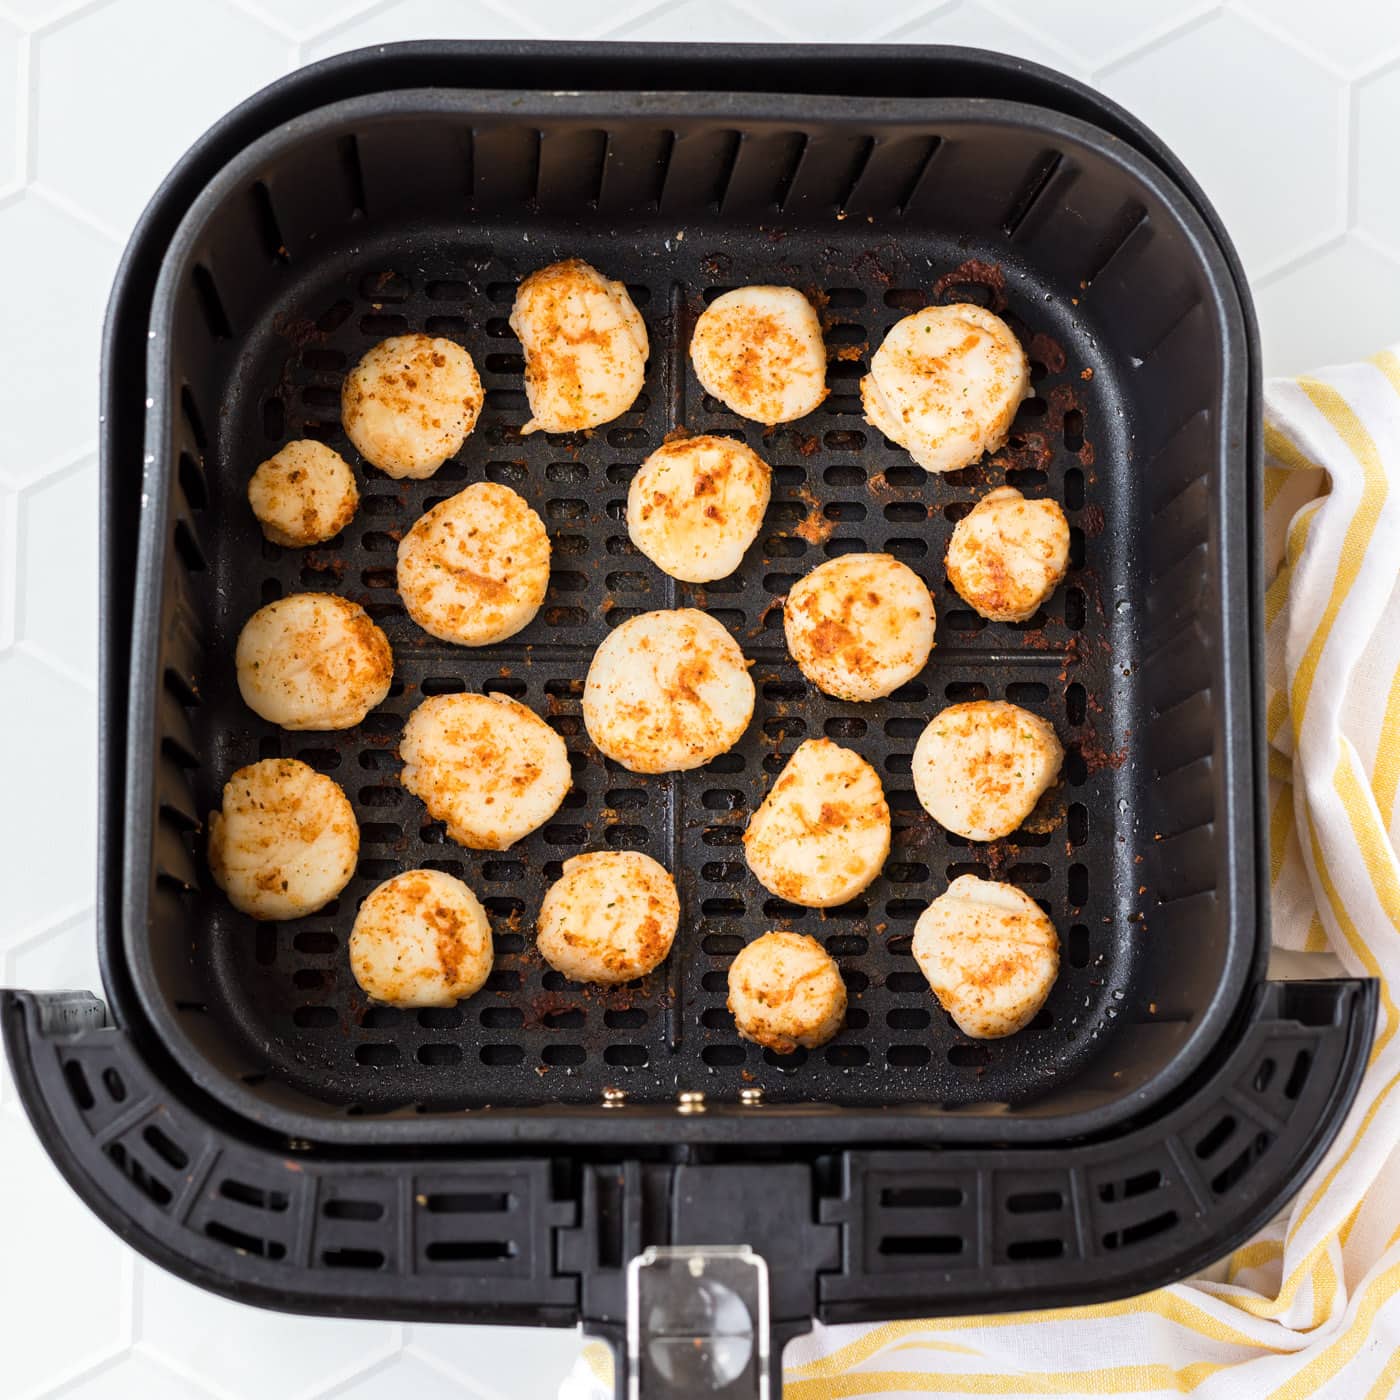
Air Fryer Scallops
Air fryer scallops are quick and easy to make with only a handful of…
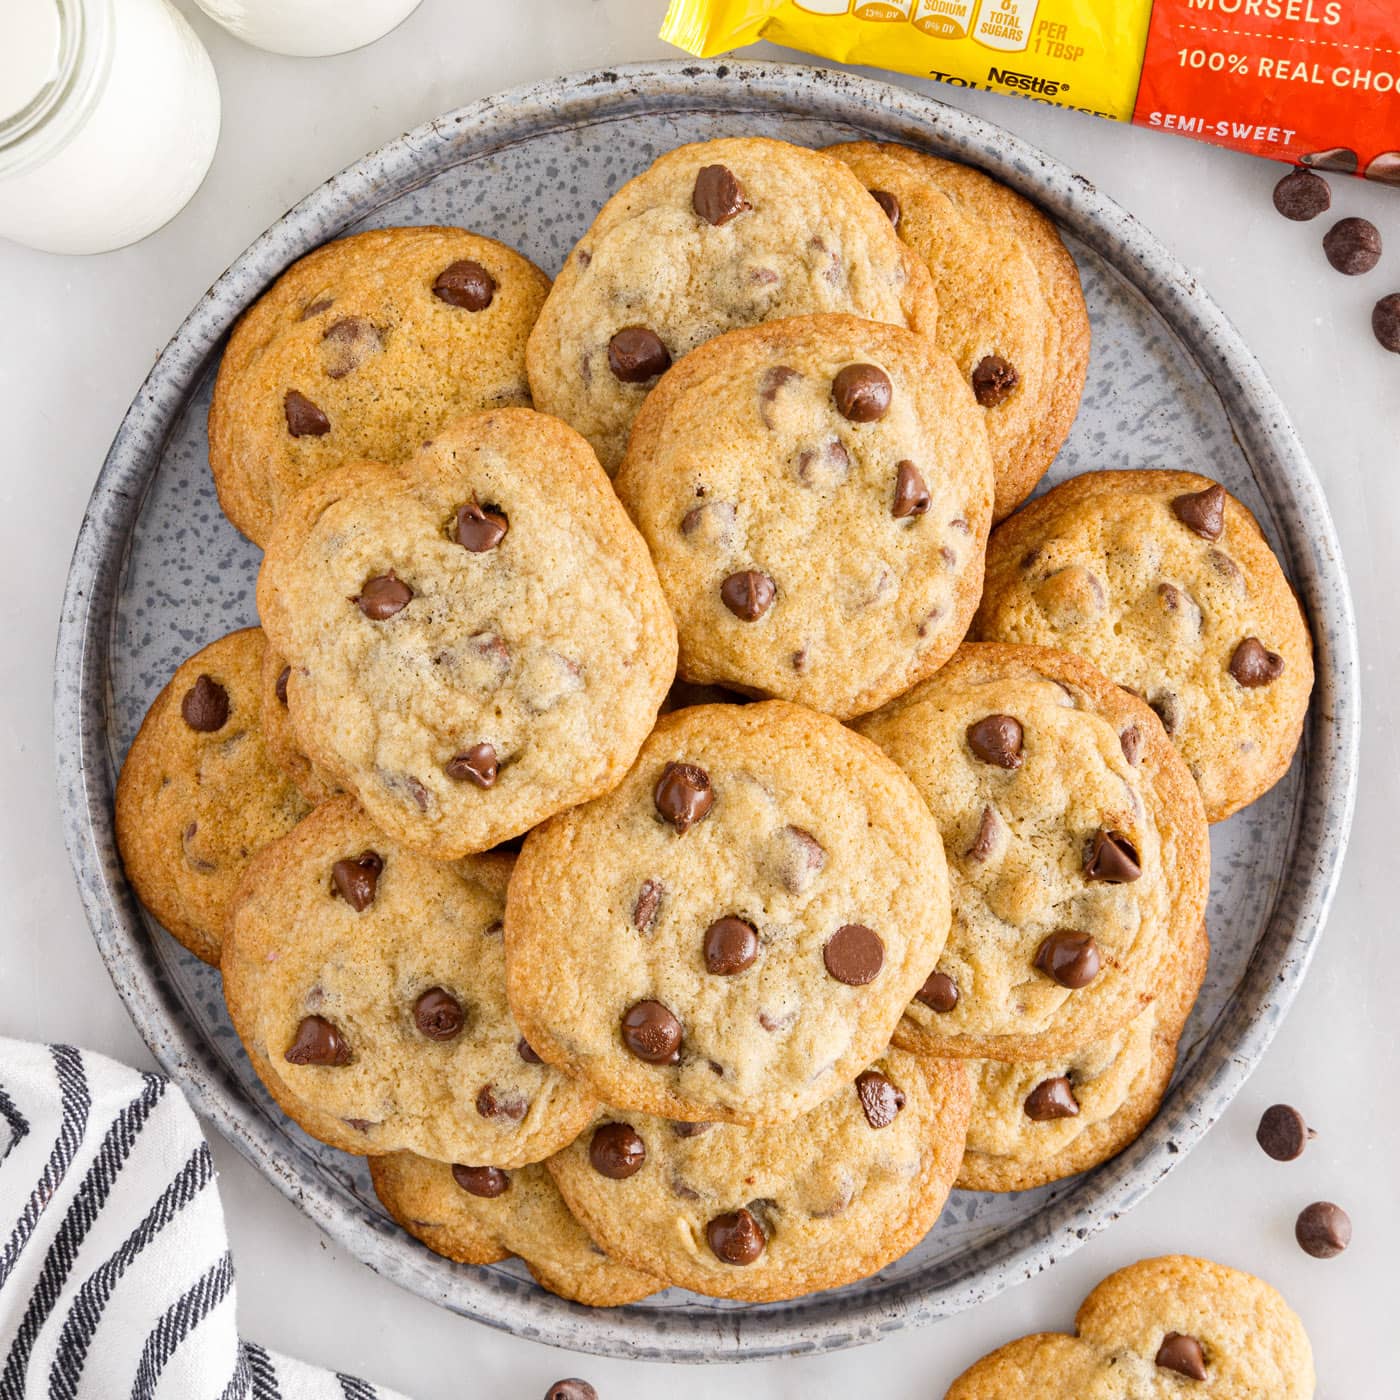
Toll House Cookie Recipe
This original Toll House cookie recipe is the mother of all chocolate…
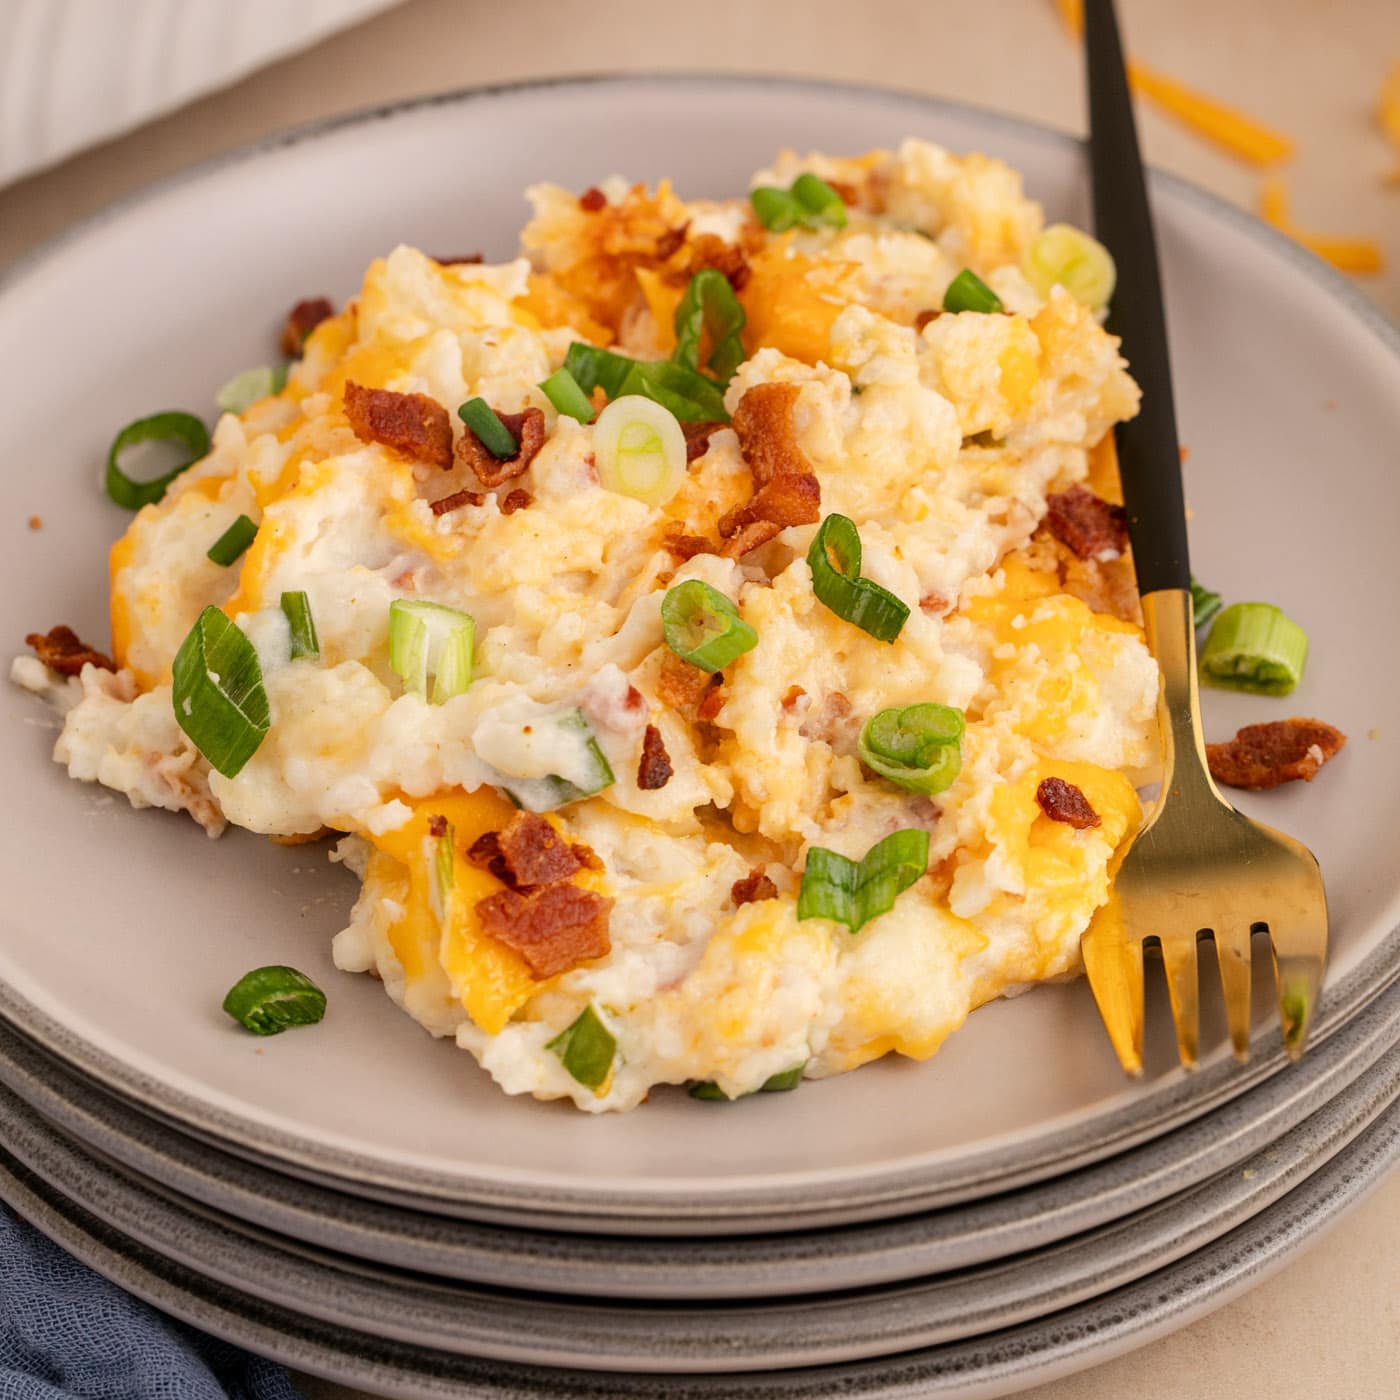
Twice Baked Potato Casserole
This twice baked potato casserole recipe is loaded with creamy…
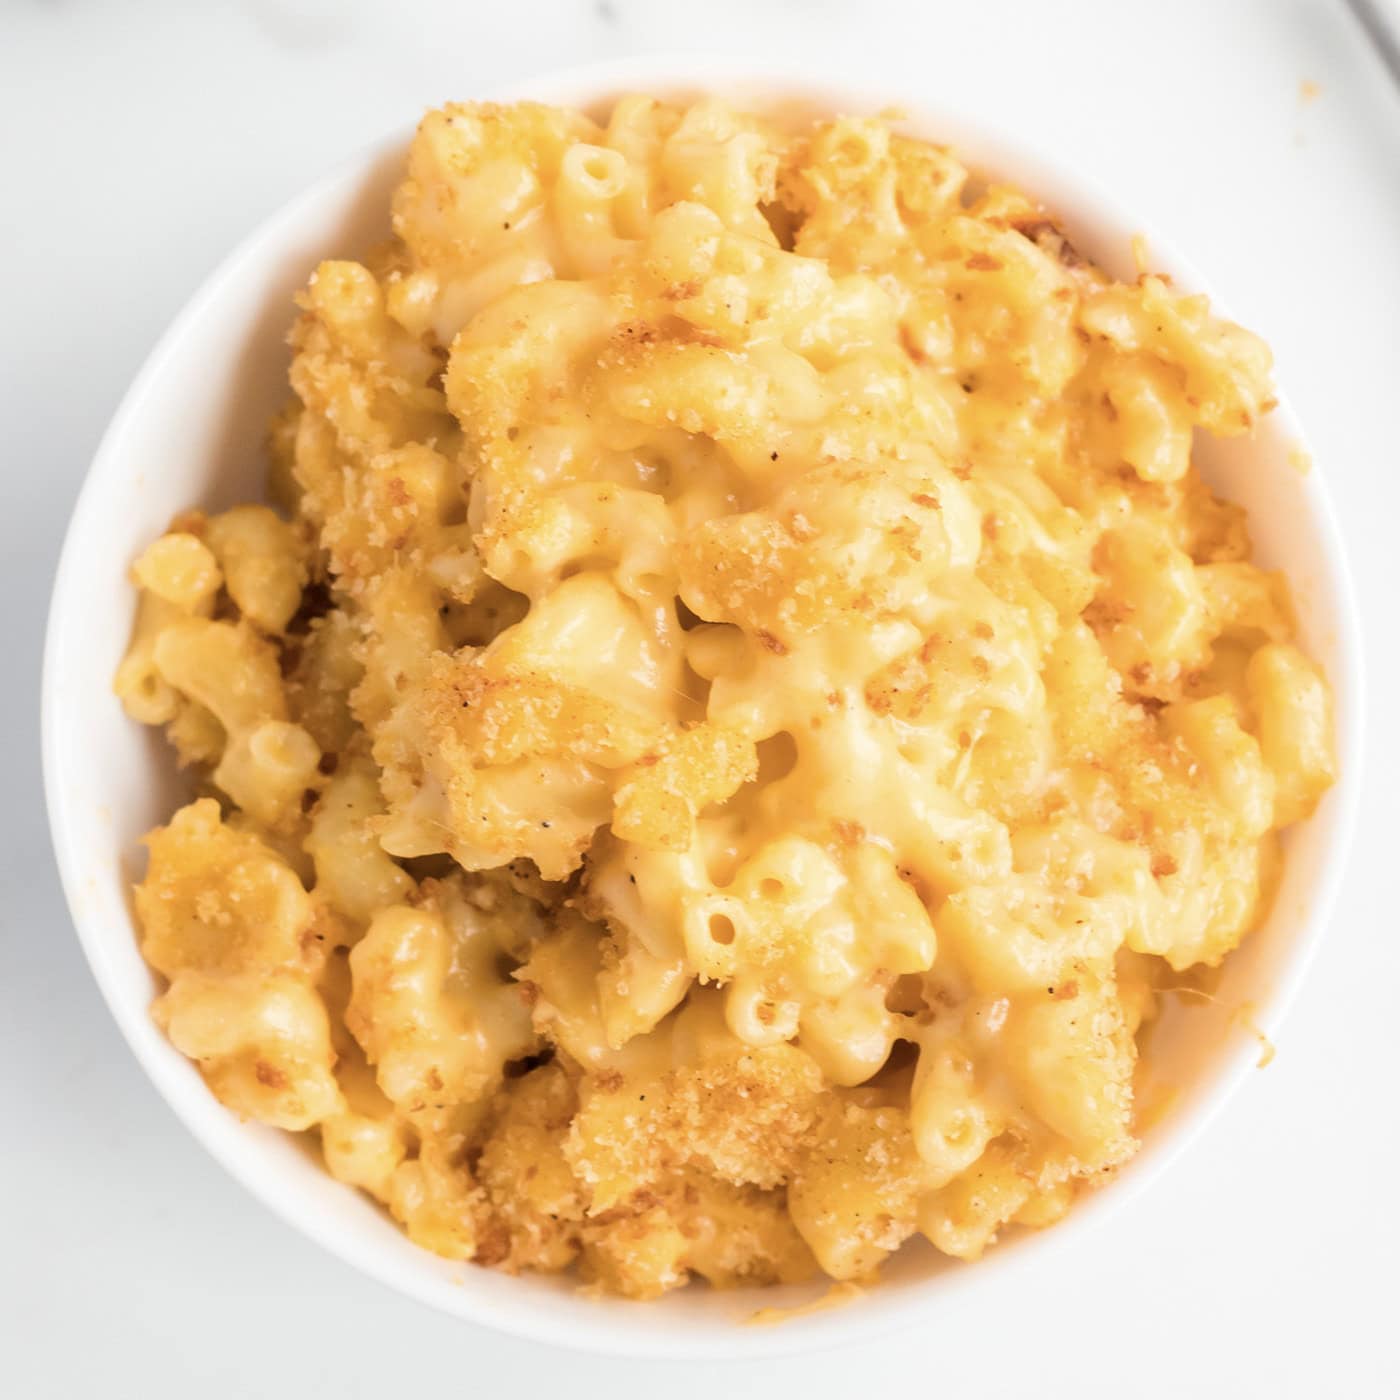
Baked Macaroni and Cheese
Homemade baked macaroni and cheese is pure comfort food, just like…
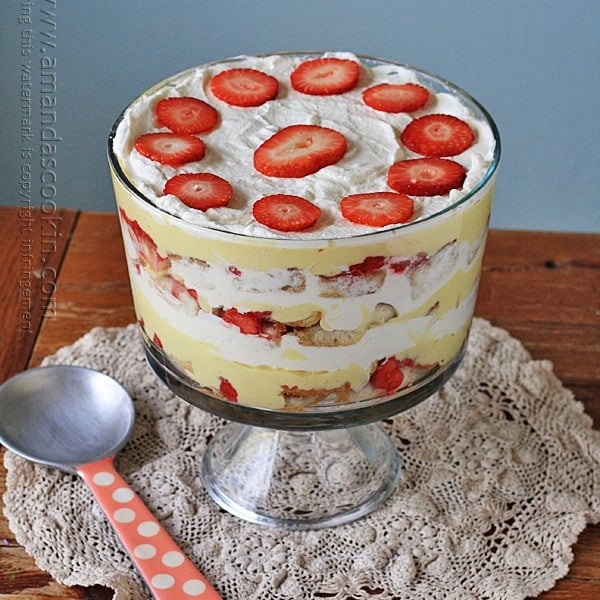
English Trifle: Our Family Tradition
If I had to choose one dessert as the most nostalgic for me, that…
Cranberry Mimosa
You need a simple but beautiful cocktail for the holidays, and this…