Millionaire Brownies
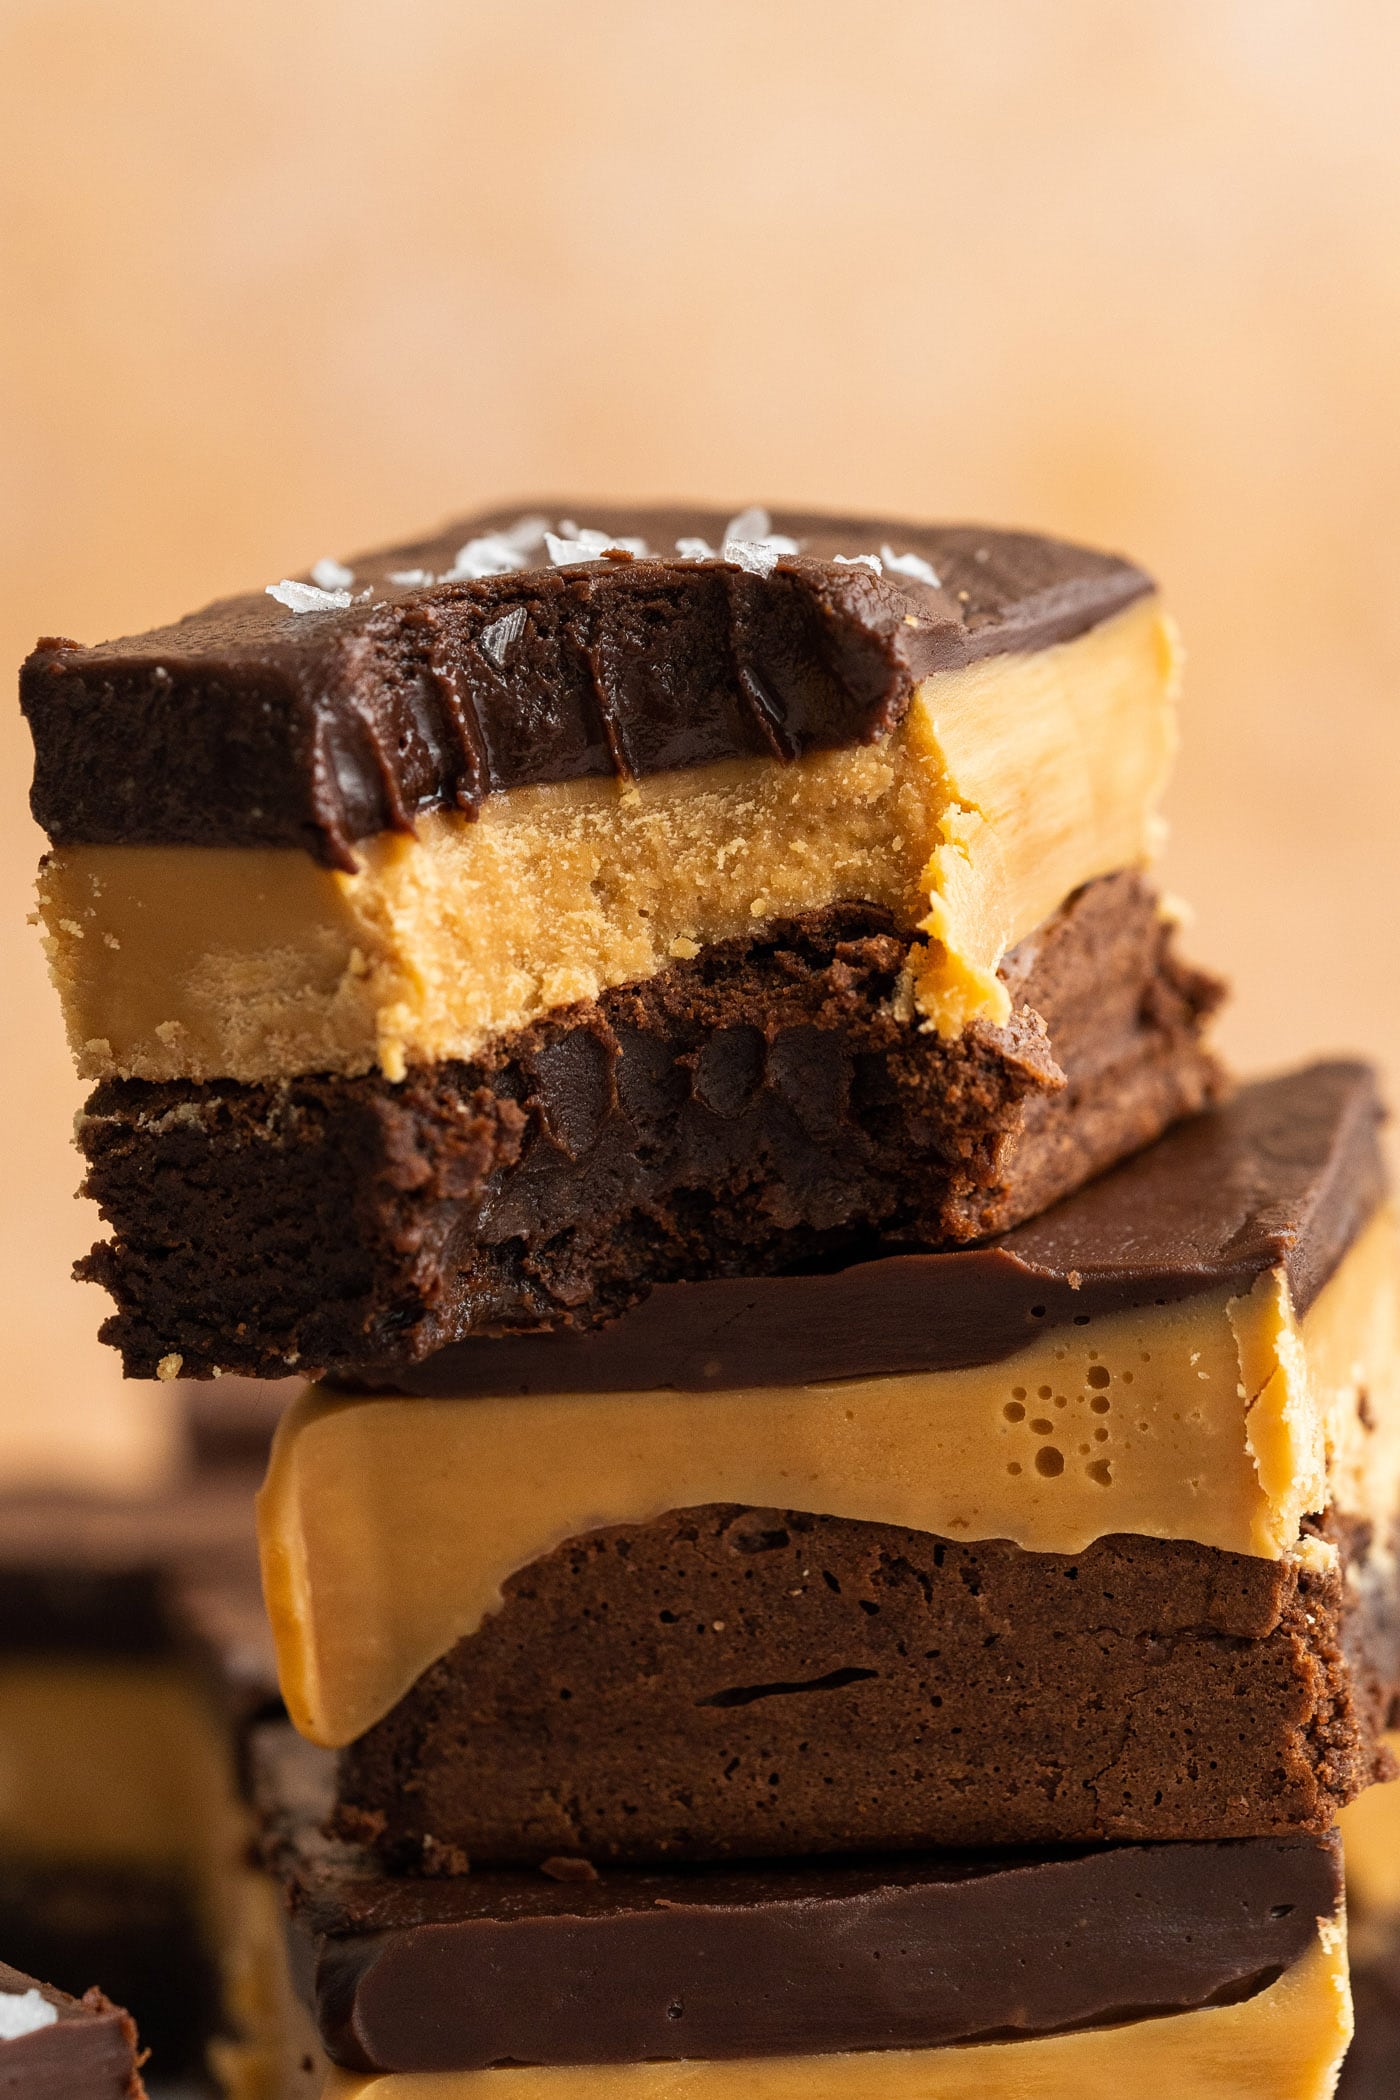
Millionaire brownies combine rich fudge brownies with layers of caramel and silky chocolate ganache for a truly decadent experience in each bite.
- Total 2 hours 30 minutes
- Serves 16 brownies
- Dessert
- American
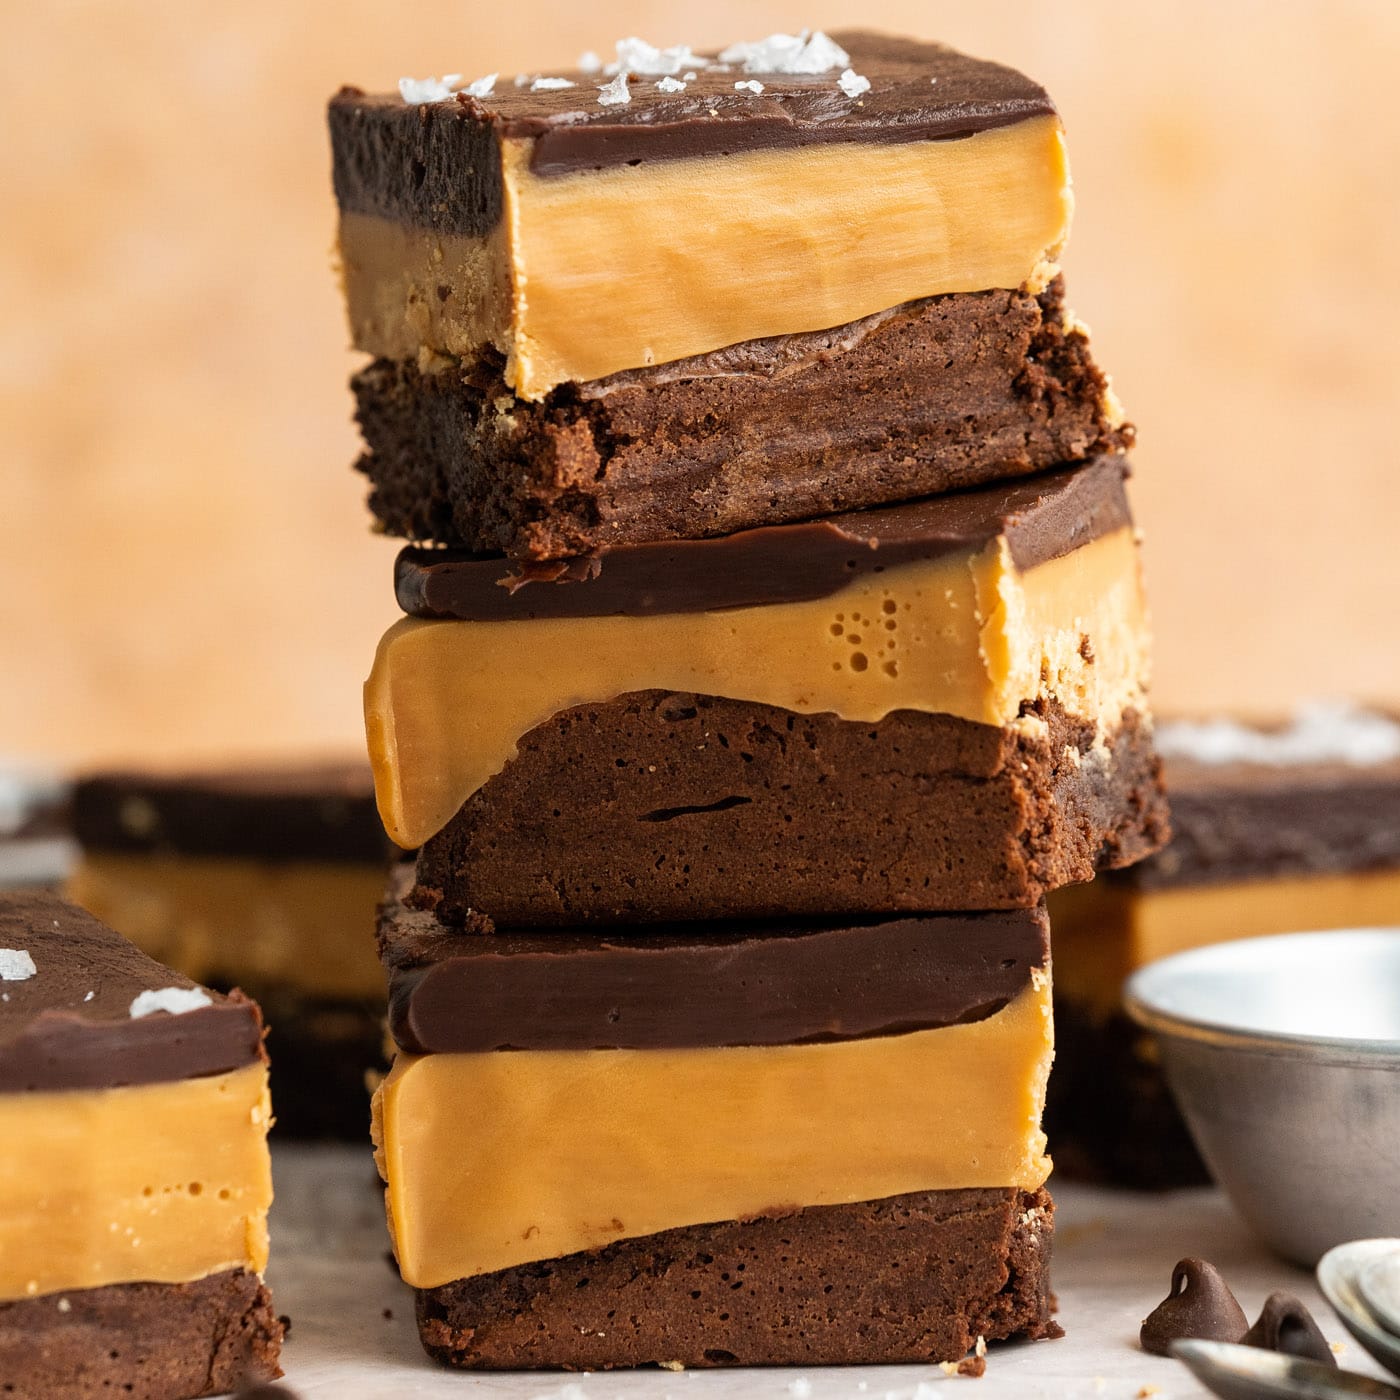
Millionaire brownies combine rich fudge brownies with layers of caramel and silky chocolate ganache for a truly decadent experience in each bite.
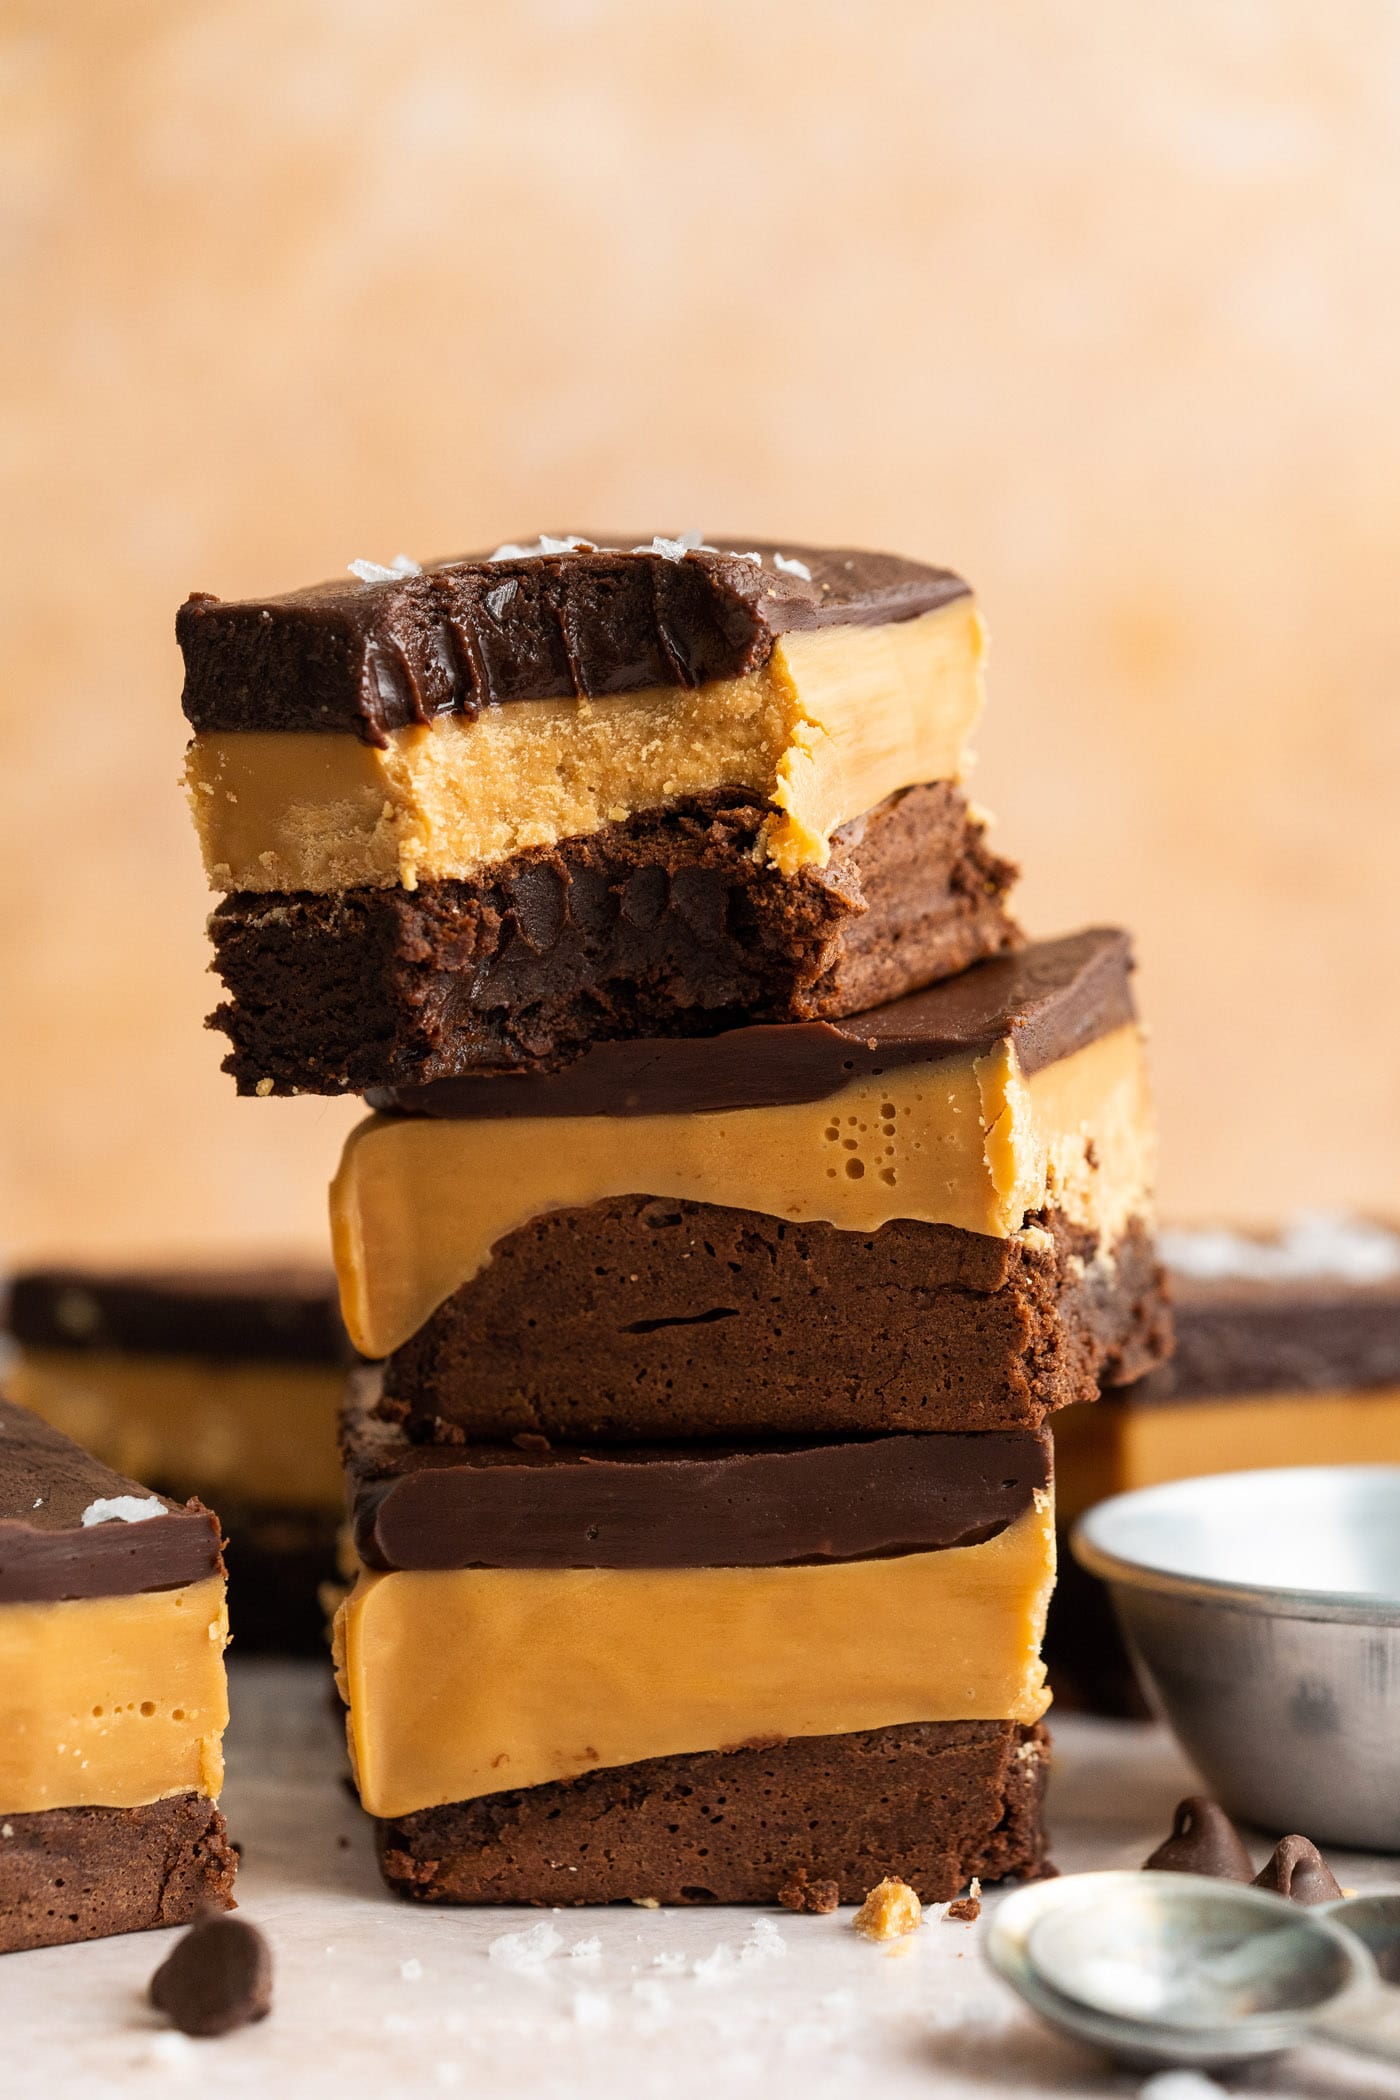 more
more
Why this recipe works
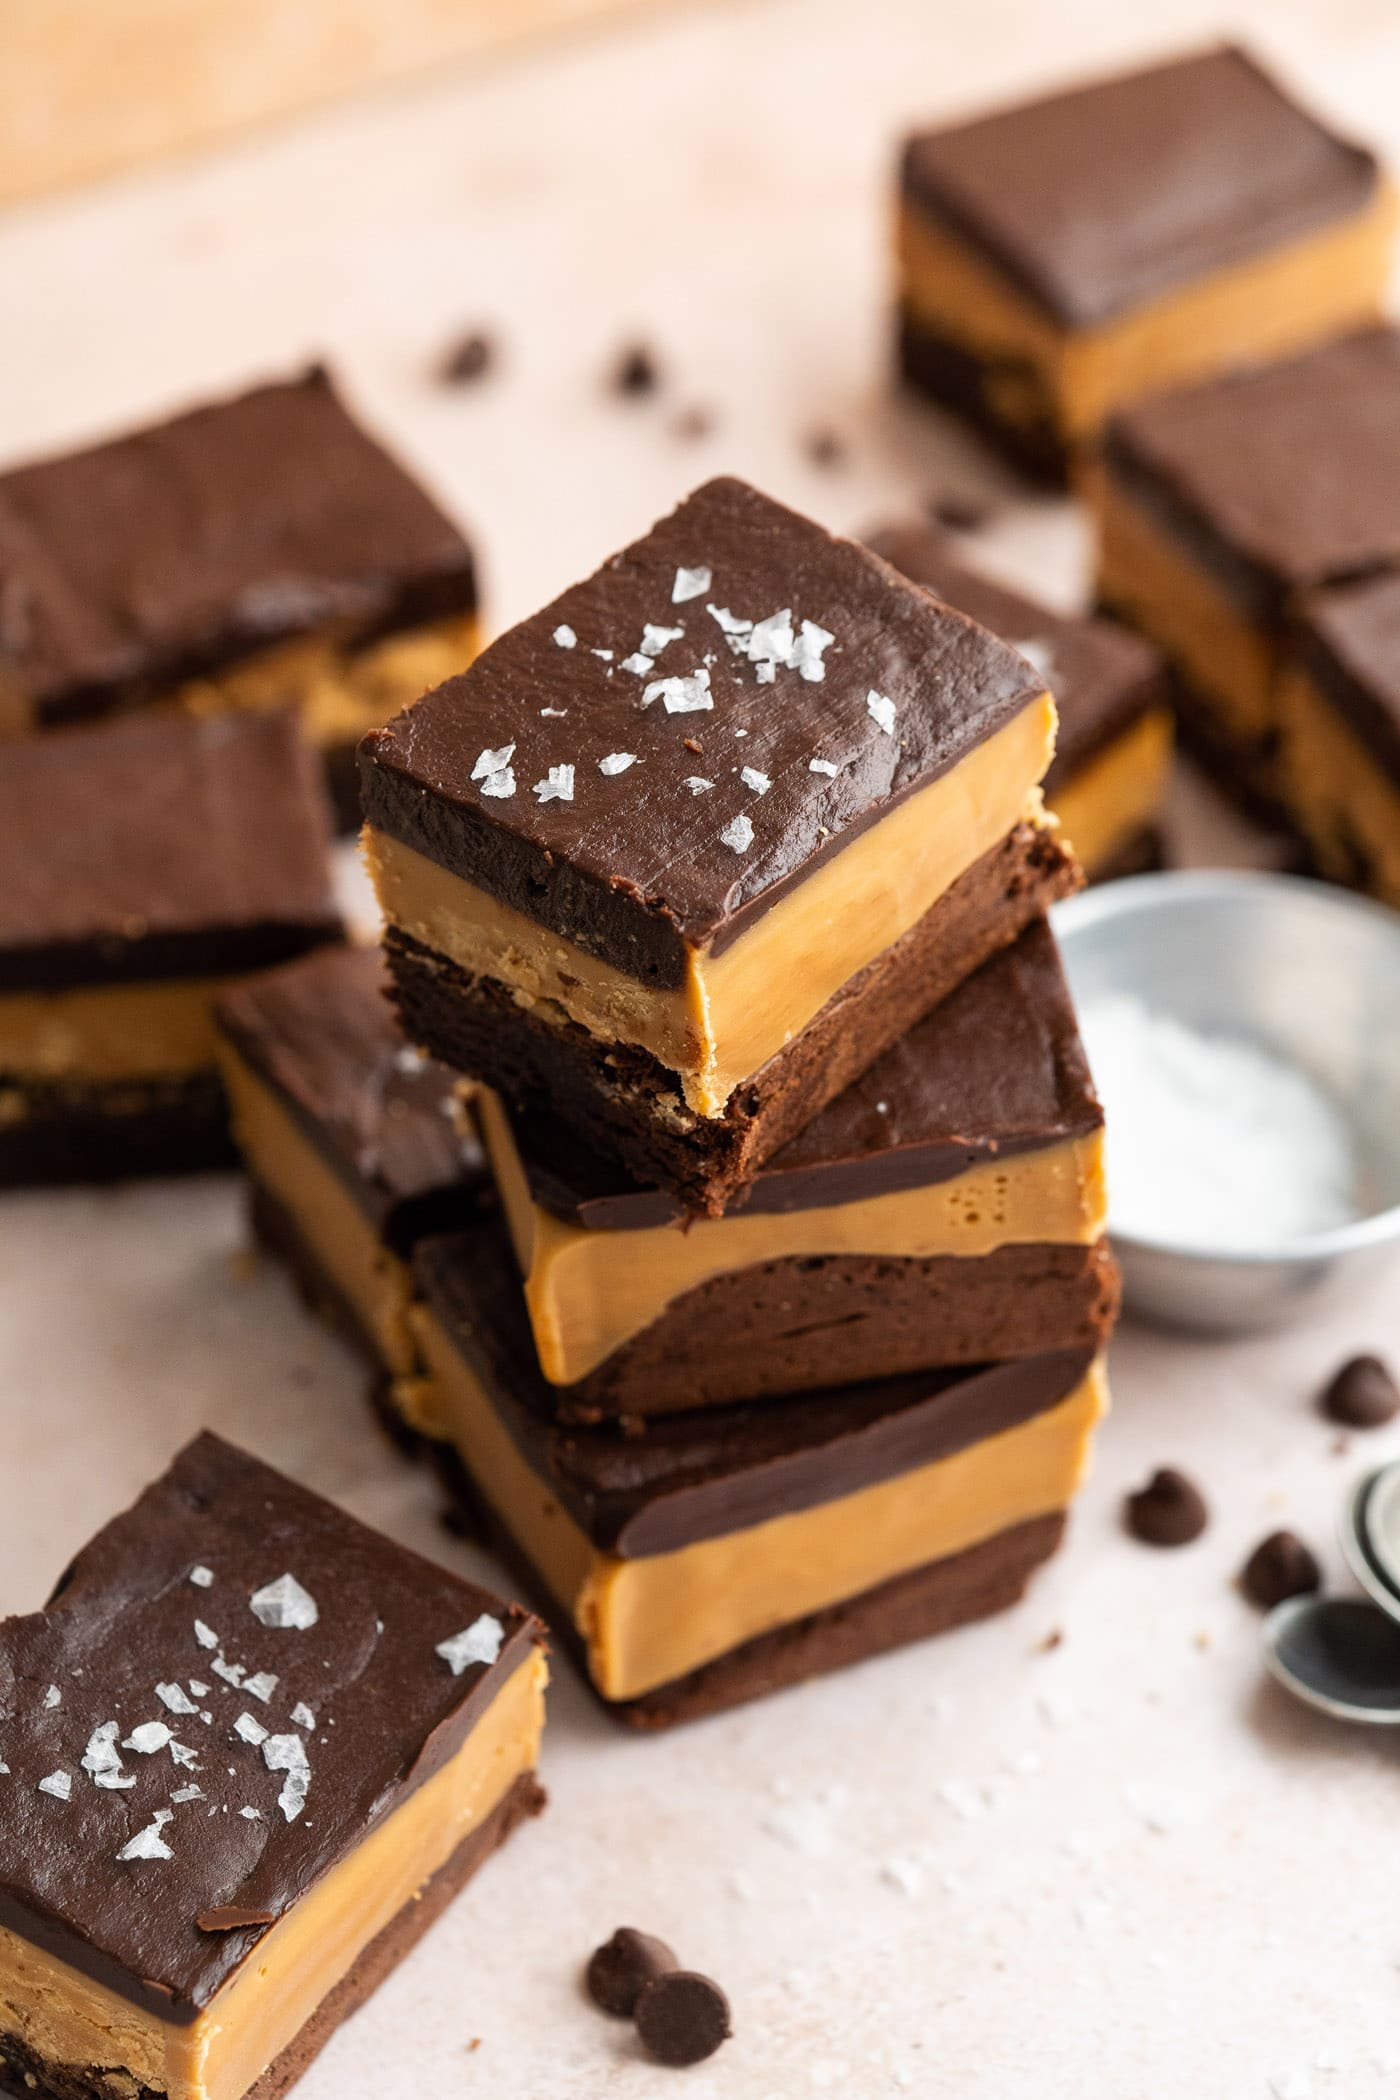
These millionaire brownies replace the shortbread layer in classic millionaire’s bars with a thick and fudgy brownie base. Layers of soft caramel and chocolate ganache follow suit to create an incredibly dreamy dessert bar everyone will rave about, no doubt about it.
These aren’t your average brownie which also means they’ll require a little more love in the kitchen to prepare, but their “million dollar” taste is worth every ounce of effort put into them. I mean, honestly, who can resist a caramel and chocolate-topped brownie with that impressive of a presentation? Certainly not us.
Ingredients you will need
Get all measurements, ingredients, and instructions in the printable version at the end of this post.
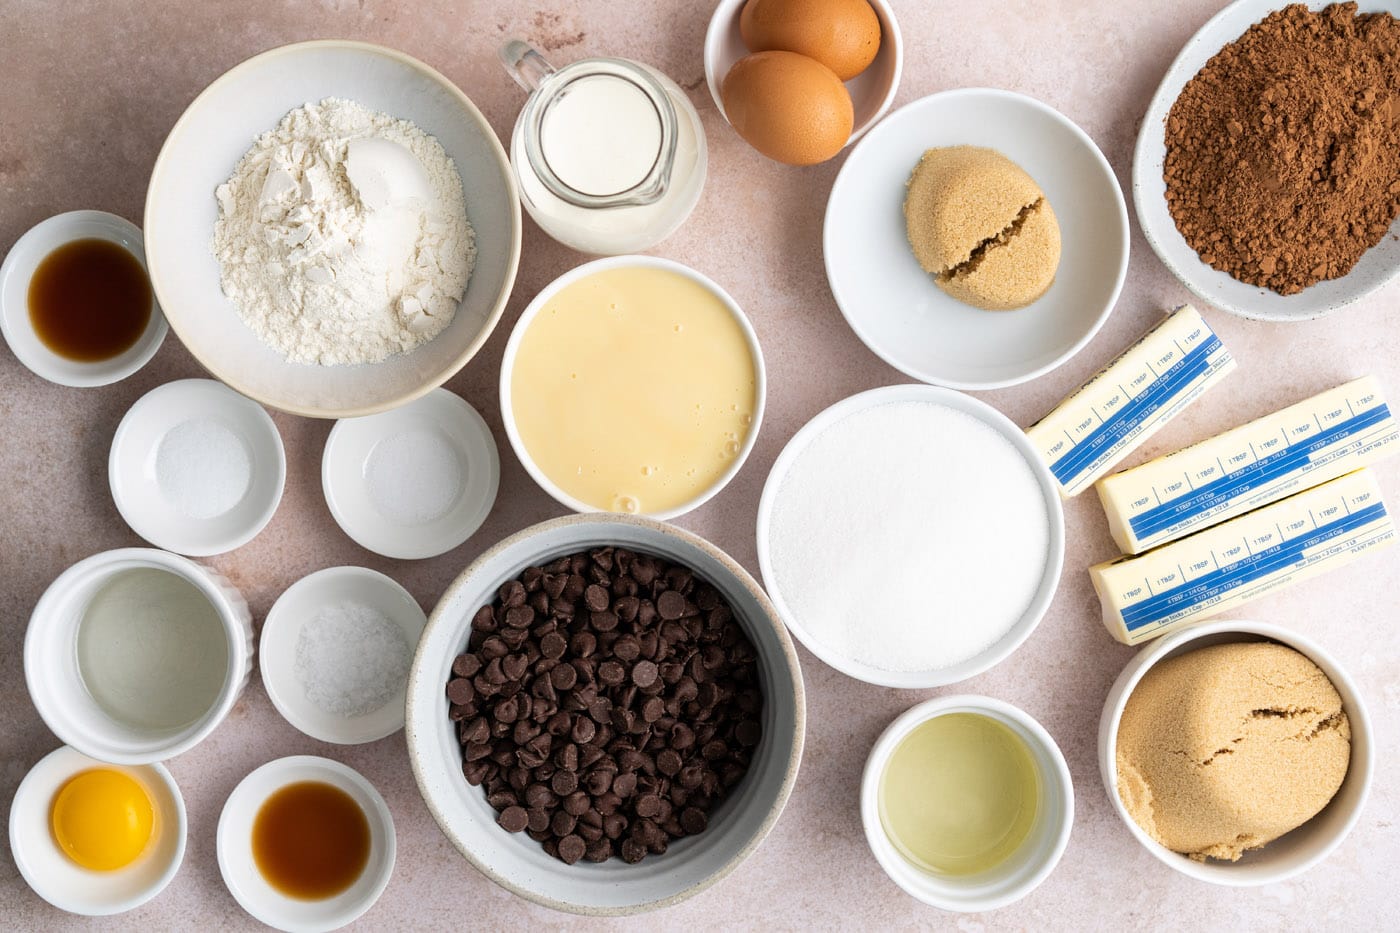
Ingredient Info and Substitution Suggestions
BROWNIES – Realistically, you could substitute the homemade fudge brownies for a box of brownies. But in our opinion, baking them from scratch makes these bars that much better. You can optionally add 1 cup of chocolate chips to the batter or feel free to add in some of your favorite nuts for texture.
CARAMEL – I highly suggest making your caramel from scratch for this recipe. It’s specifically made to be a little thicker than your average jar of caramel so that you can easily cut/bite into it without it spilling out the sides.
How to Make Millionaire Brownies
These step by step photos and instructions are here to help you visualize how to make this recipe. You can Jump to Recipe to get the printable version of this recipe, complete with measurements and instructions at the bottom.
- Preheat the oven to 350F. Line an 8 by 8-inch baking pan with 2 pieces of parchment paper so it hangs over all 4 sides for easy removal.
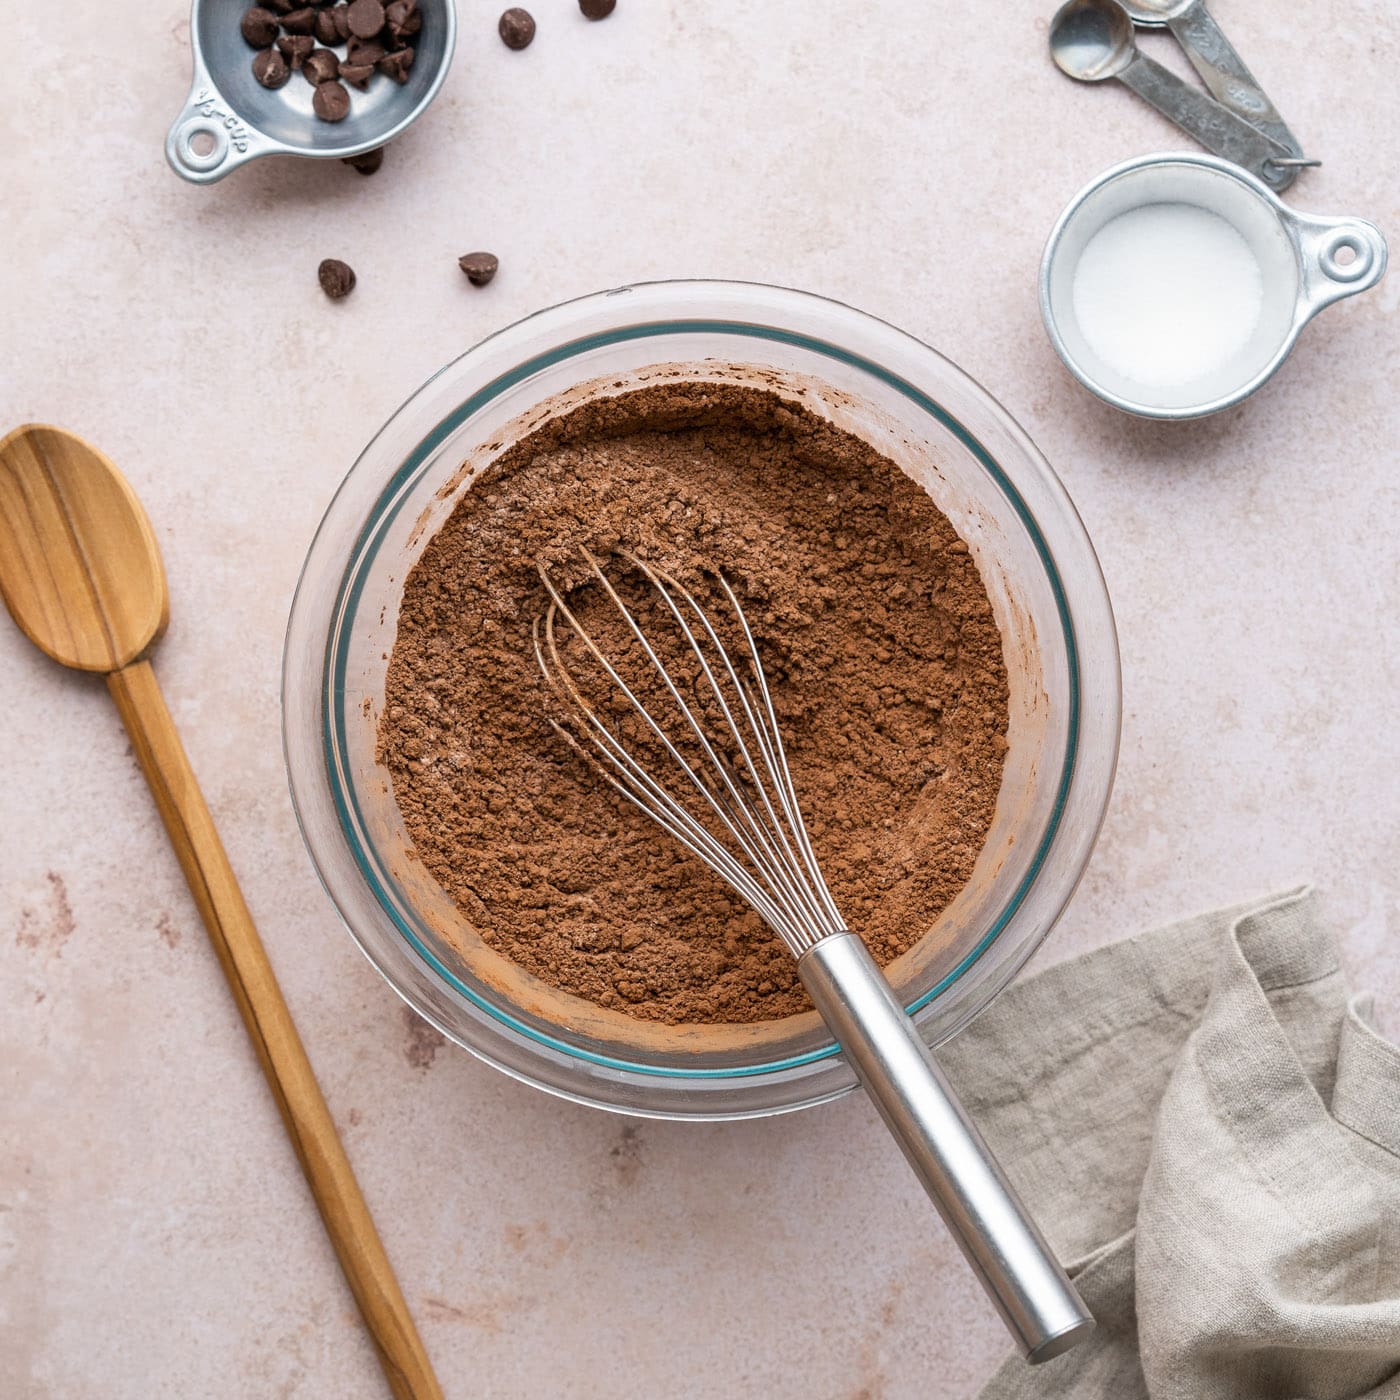
- Whisk together the flour, cocoa powder, and salt in a medium bowl.
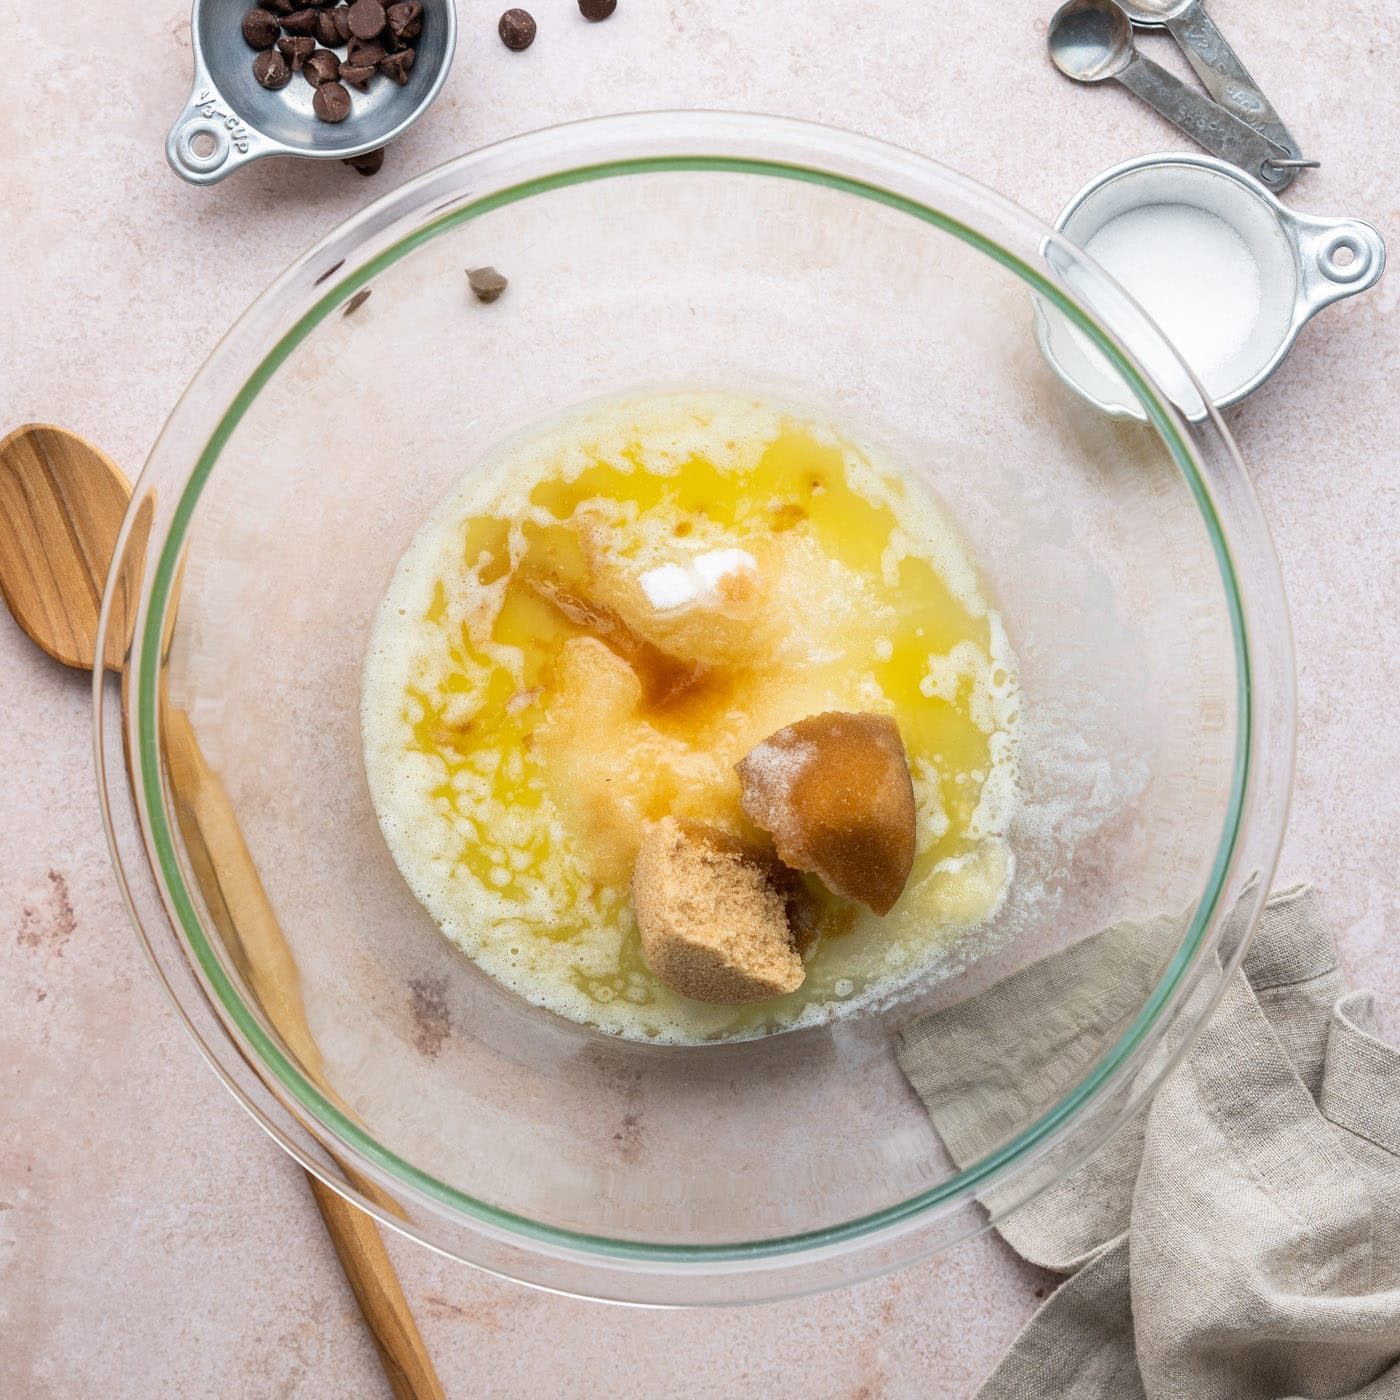
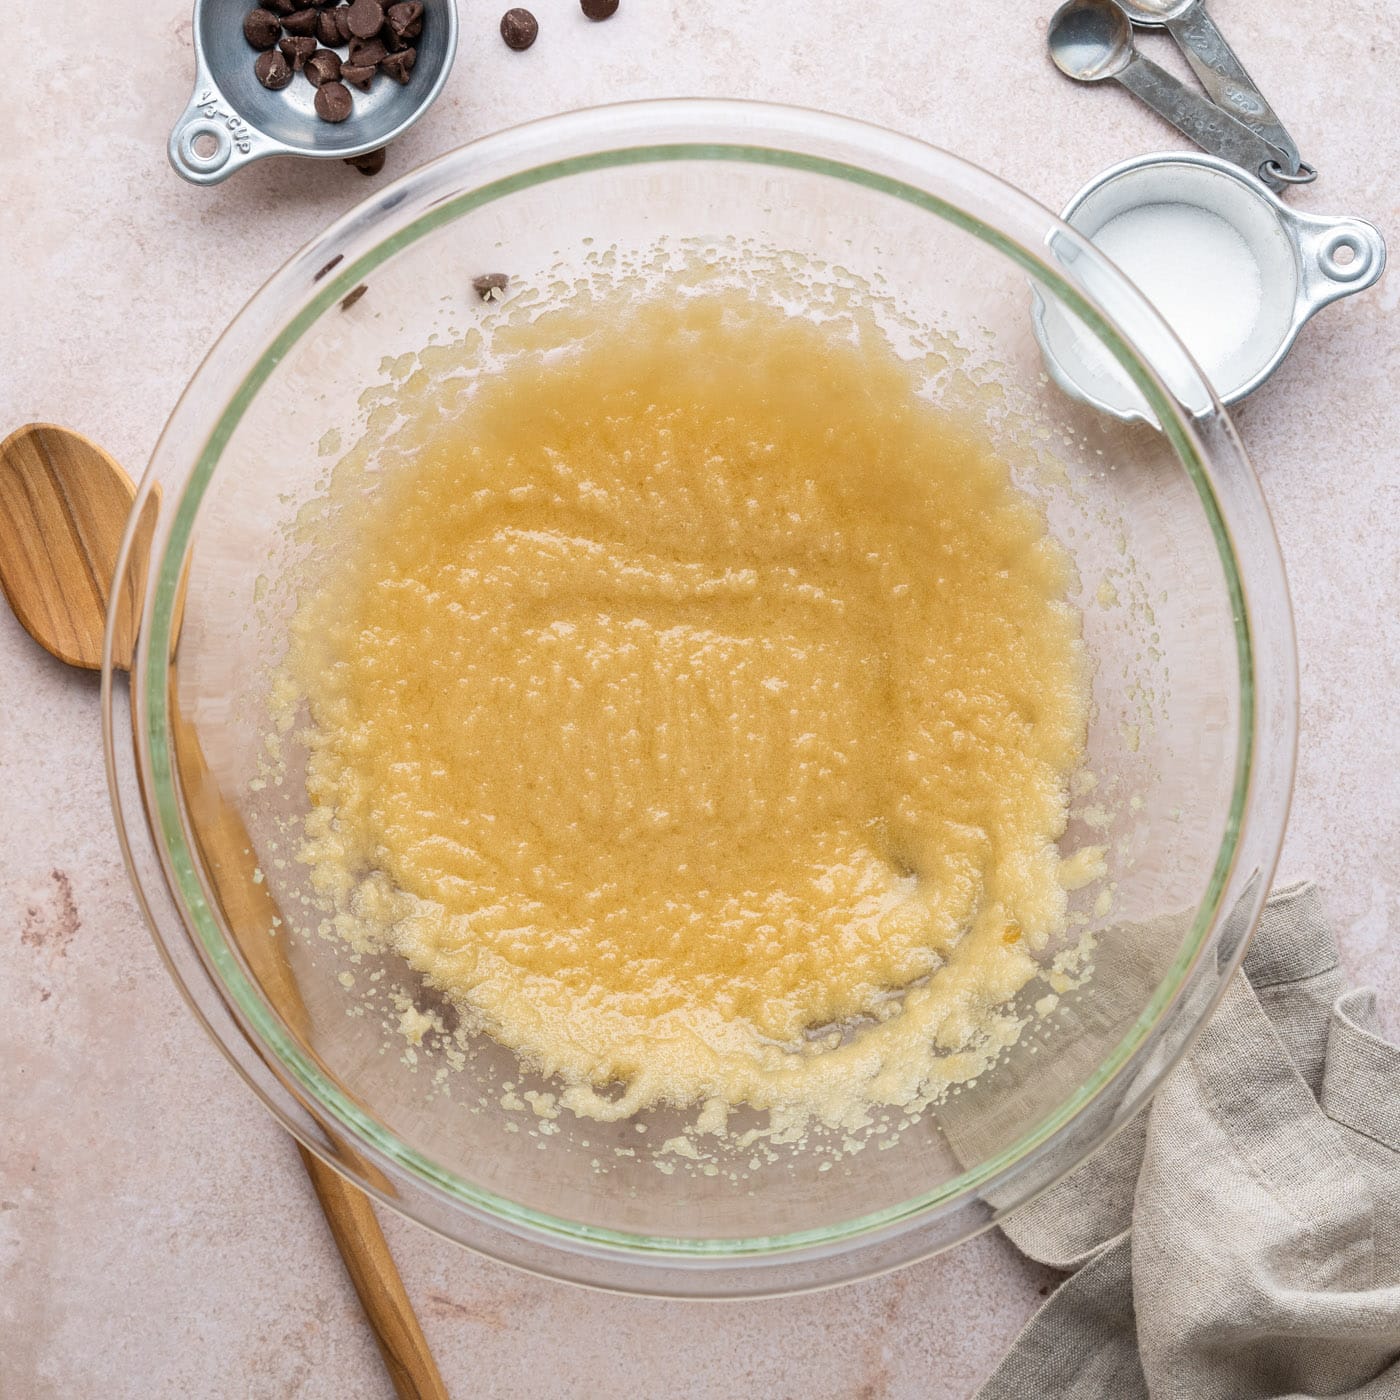
- Use a handheld electric mixer to beat together the granulated sugar, brown sugar, oil, butter, and vanilla in a large bowl until it thickens slightly, and looks like fluffy wet sand.
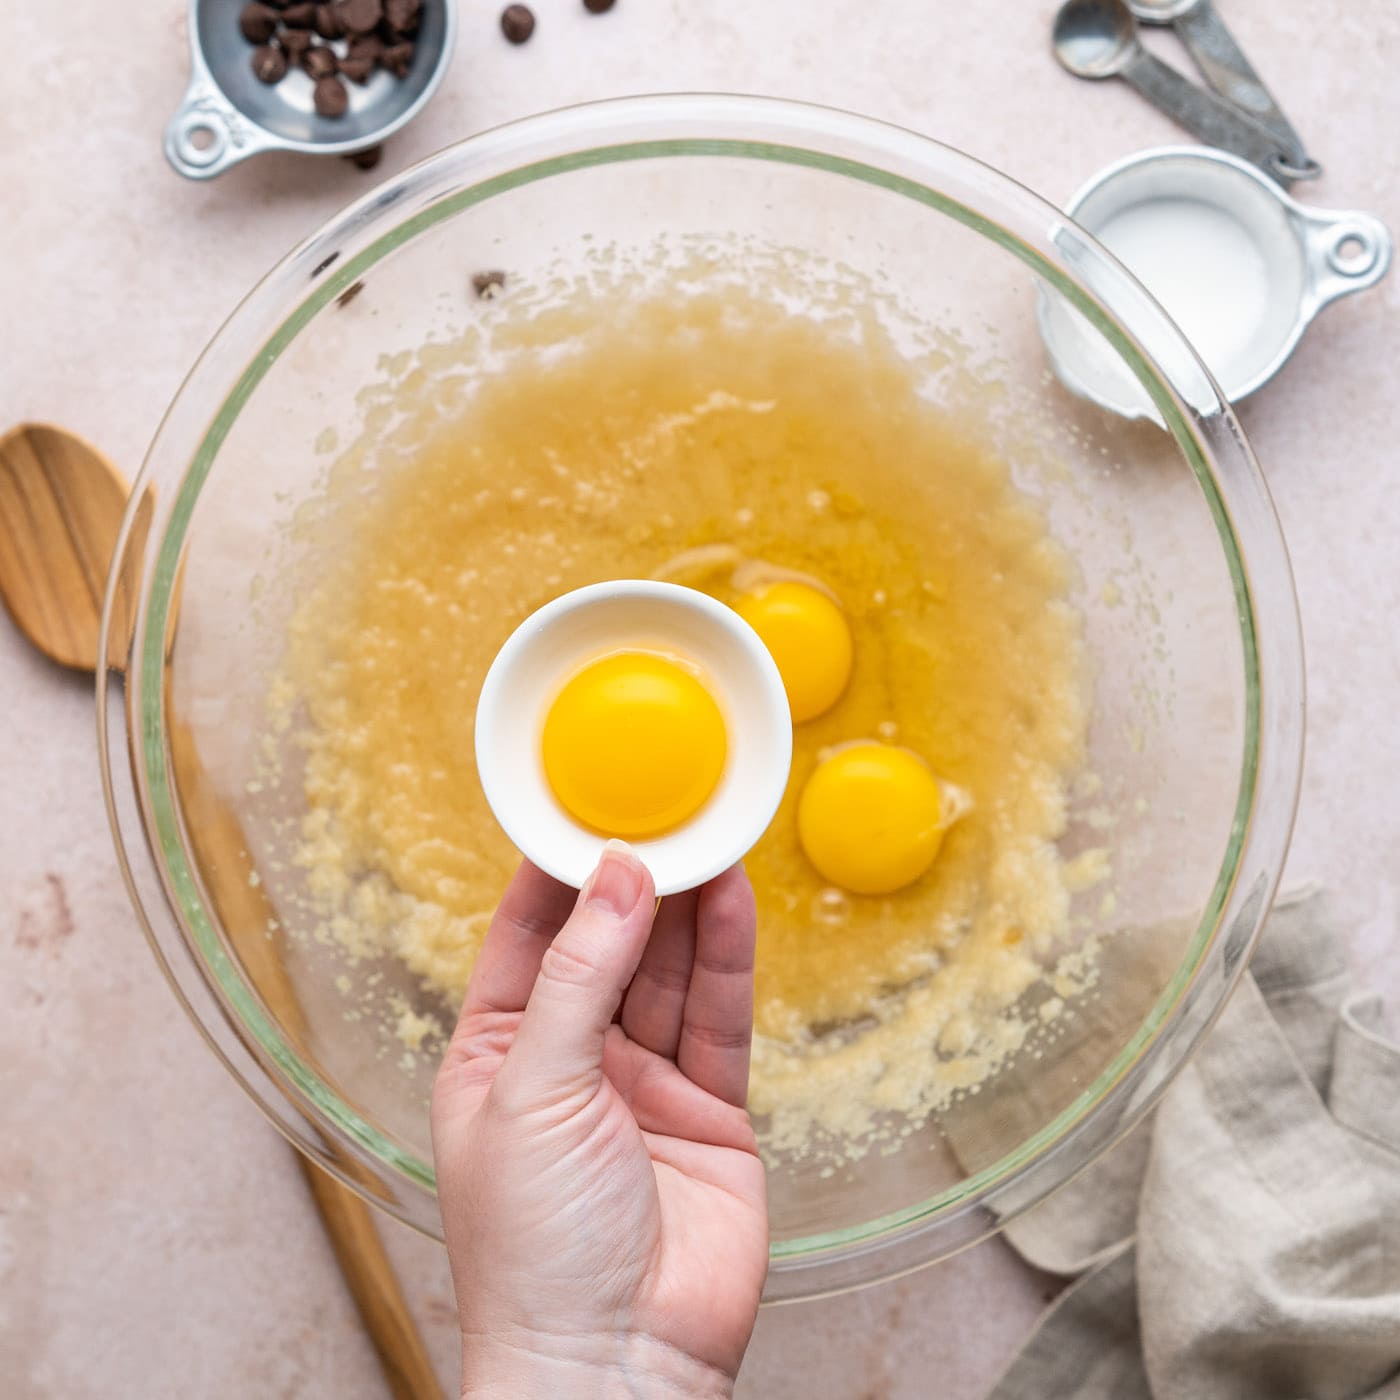
- Add the eggs and egg yolk, and beat until the mixture is thick, fluffy, and turns paler (about 6 to 8 minutes using a handheld electric mixer).
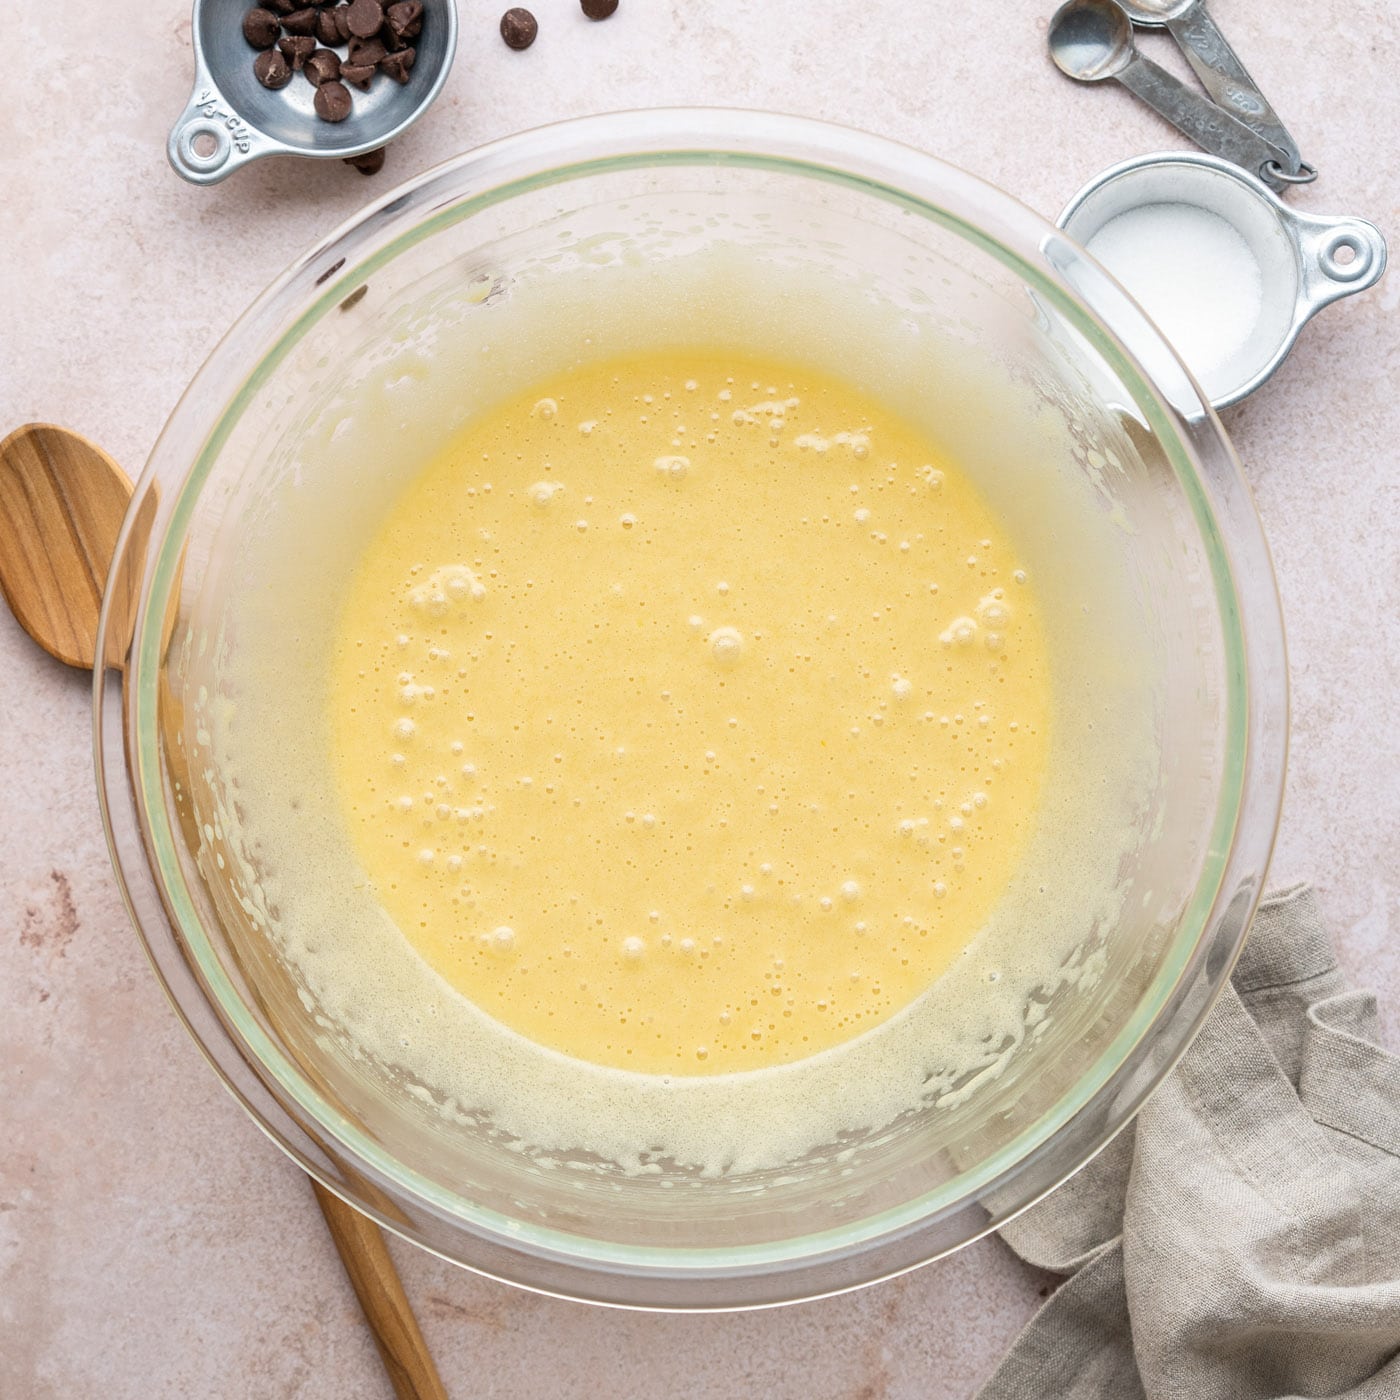
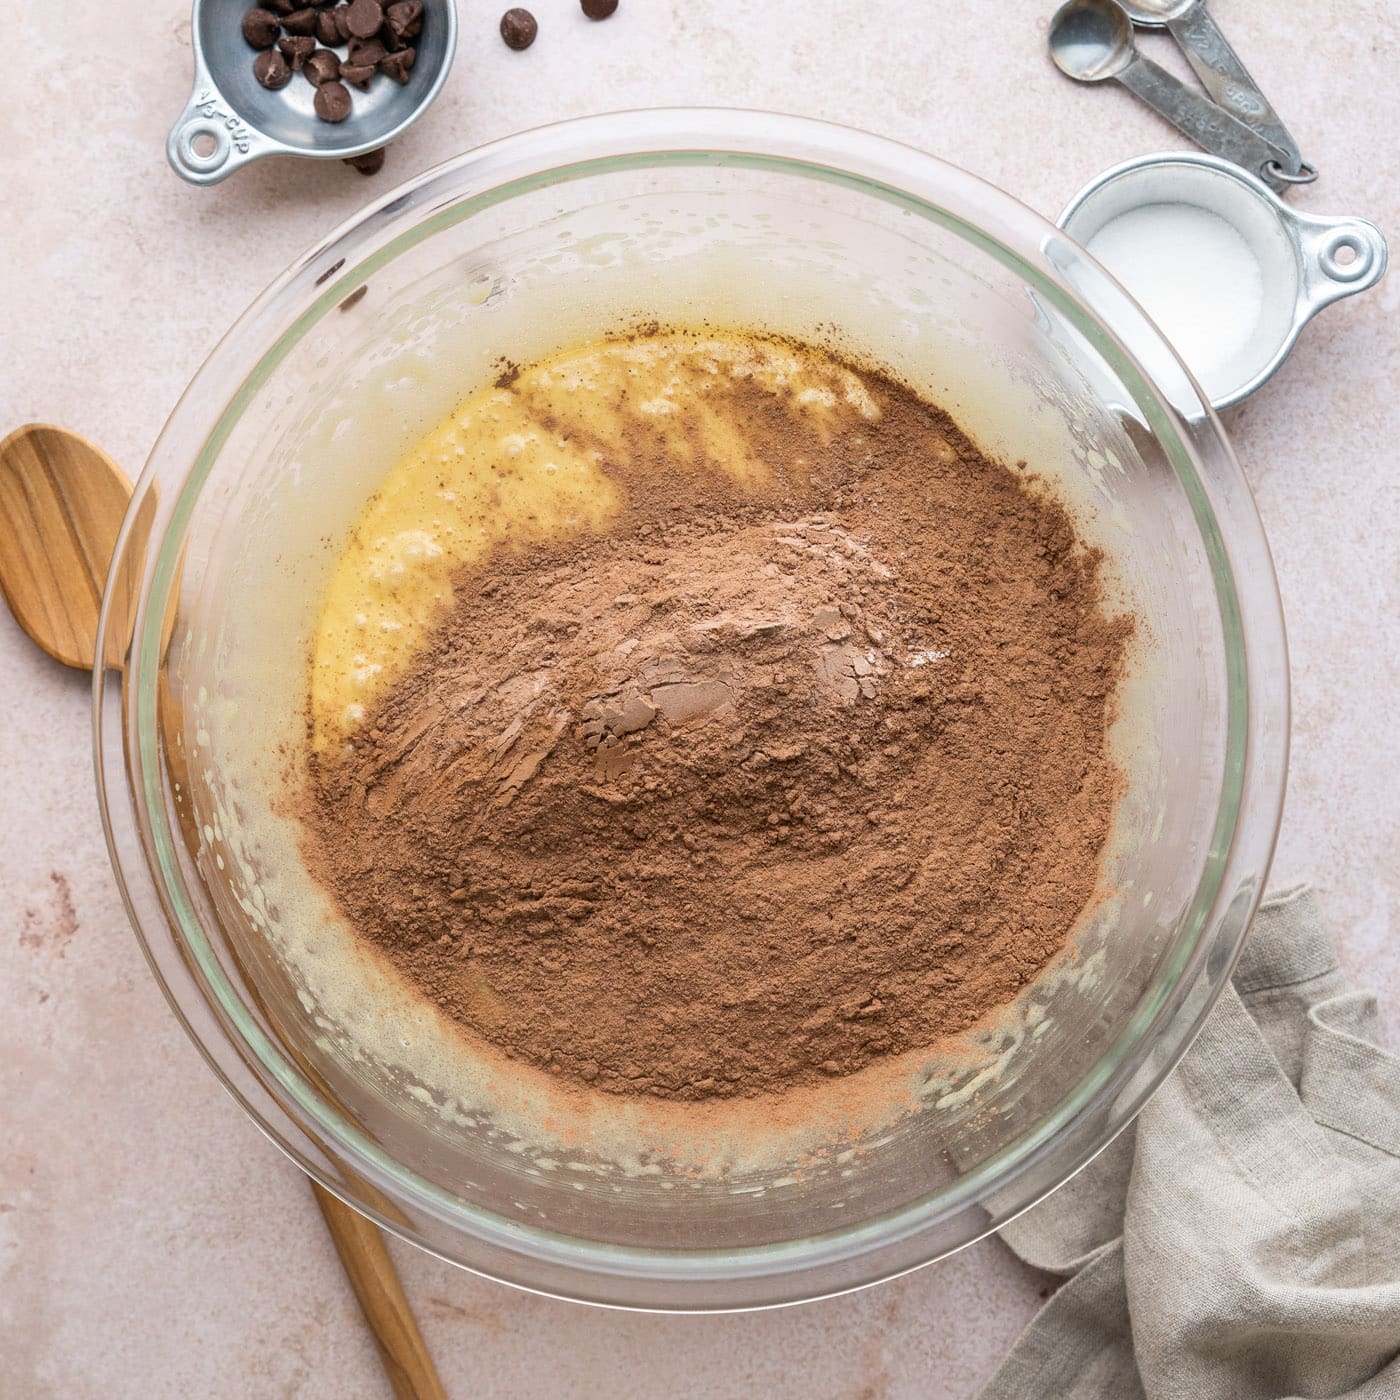
- Add the dry ingredients and beat just to combine, being careful not to over-mix.
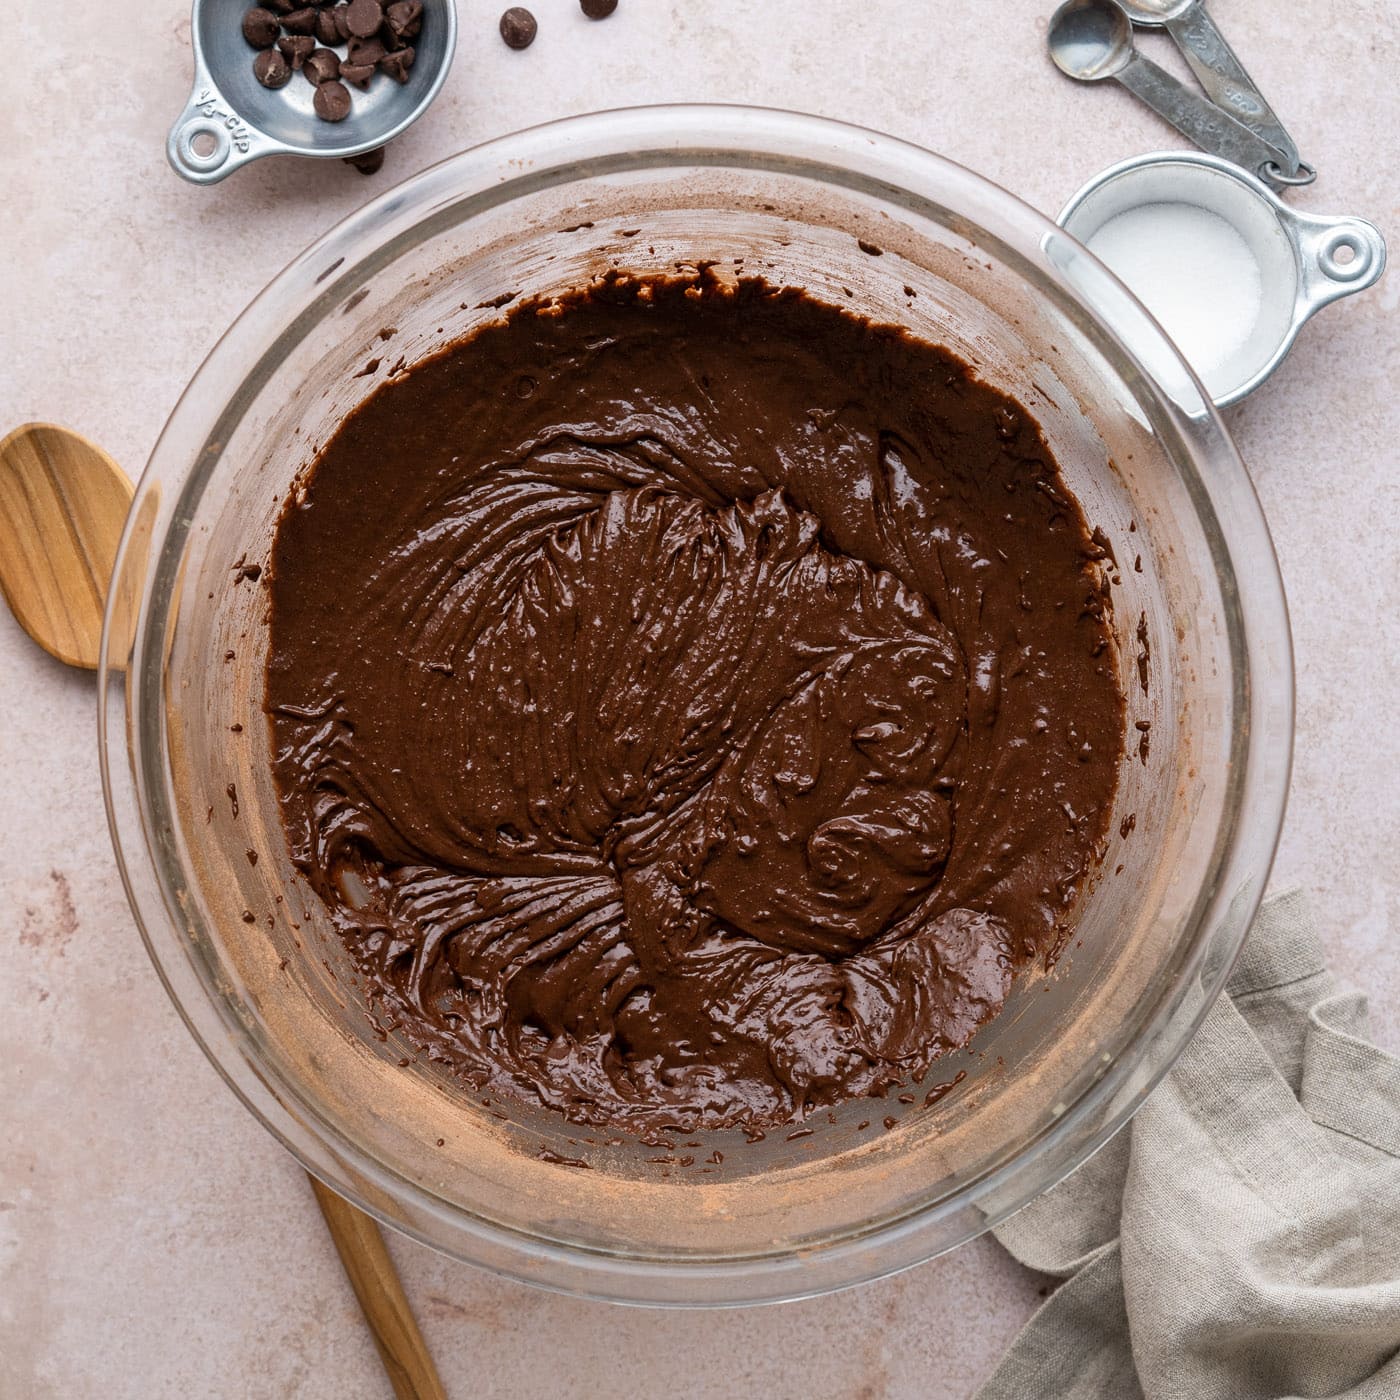
- Pour the batter into the prepared pan, and spread it out evenly.
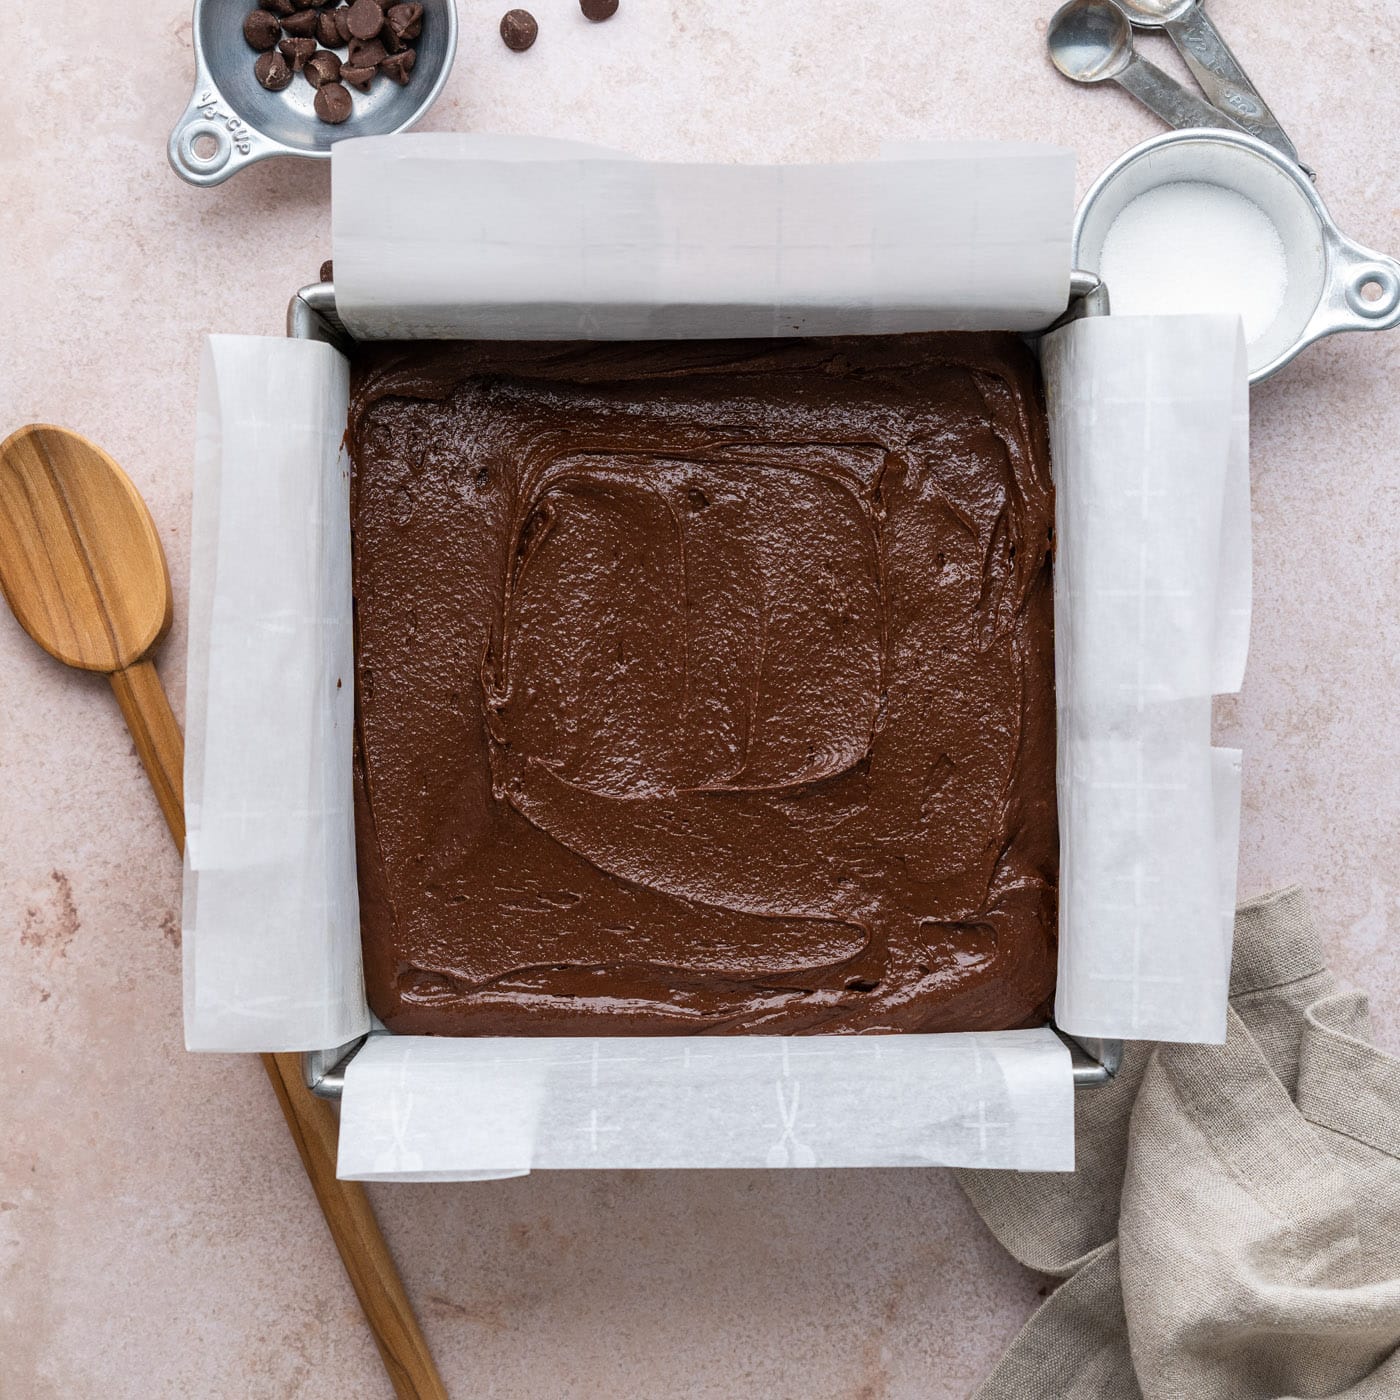
- Bake until the brownies are set along the outside and the top starts to crackle, about 20 to 25 minutes. Be careful not to over-bake. Cool completely.
- Meanwhile, prepare the caramel by placing all ingredients in a saucepan over medium heat.
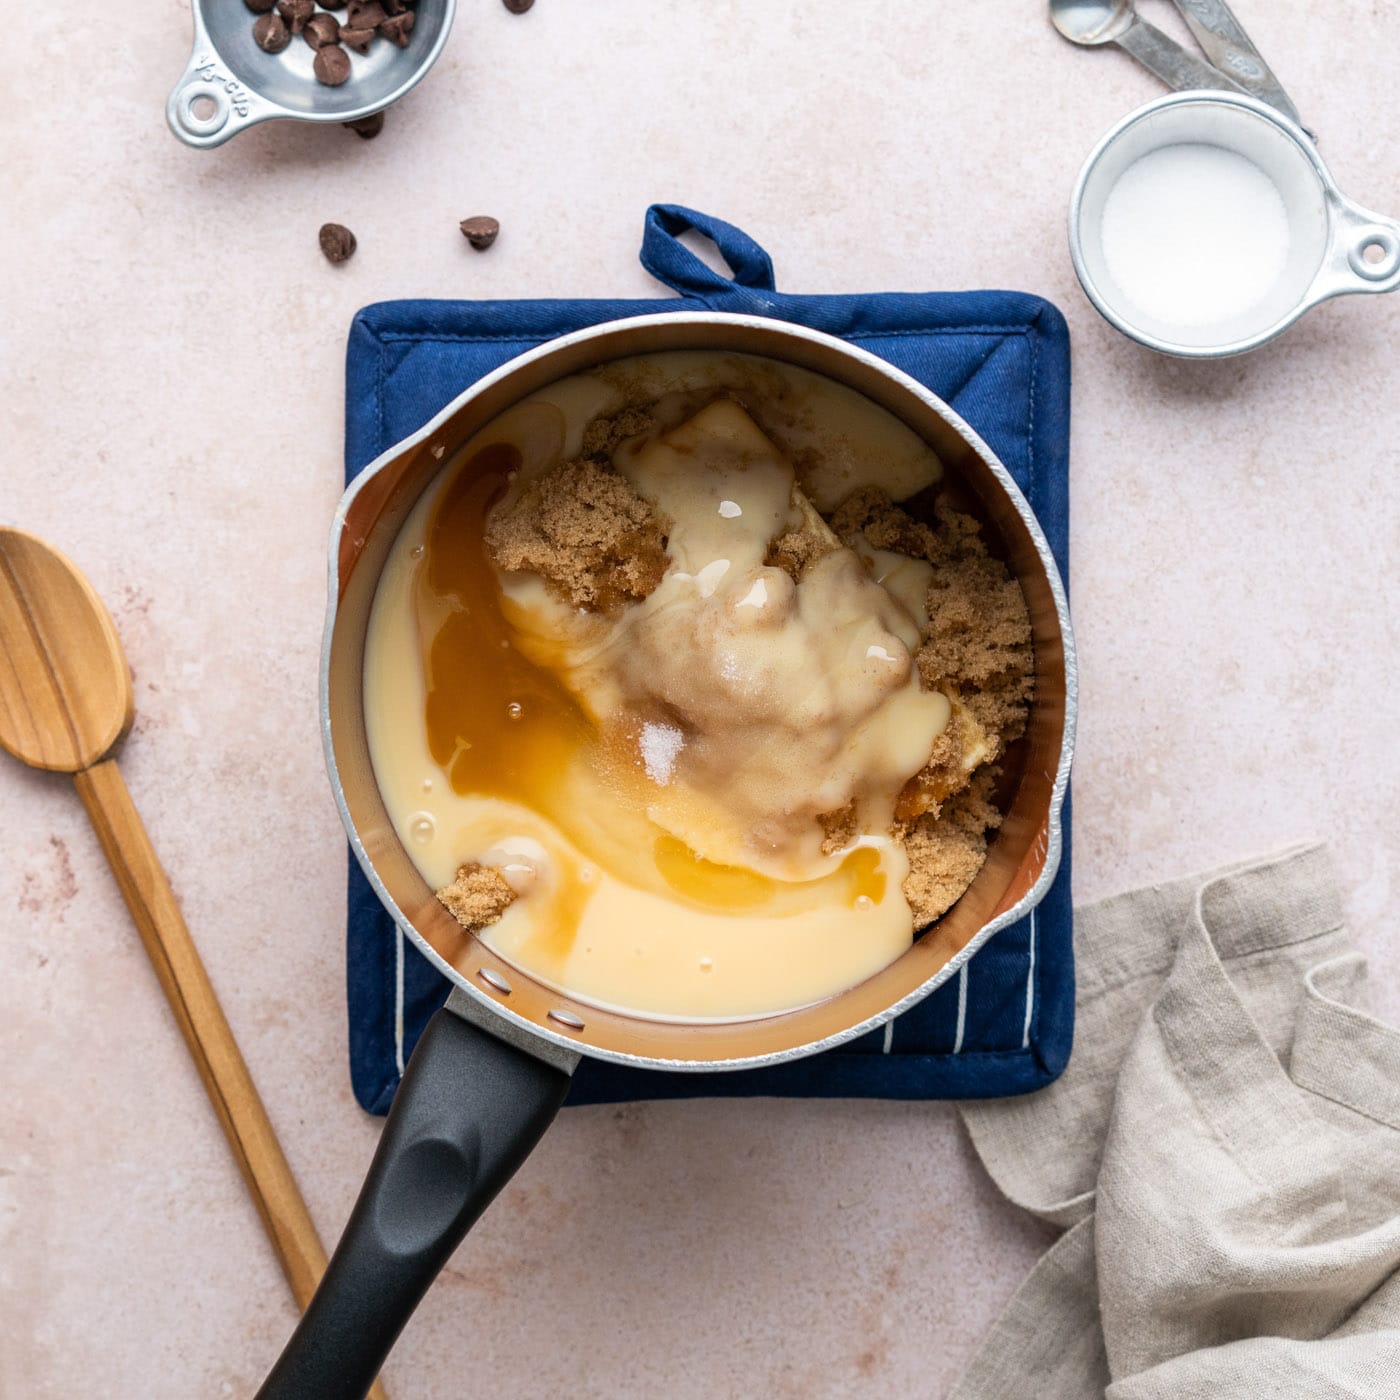
- Whisk constantly until the mixture is fully melted and comes to a boil (do not increase the temperature). *Be sure to stir the caramel constantly and keep the heat at or just below medium so that the caramel doesn’t burn on the bottom of the pan.
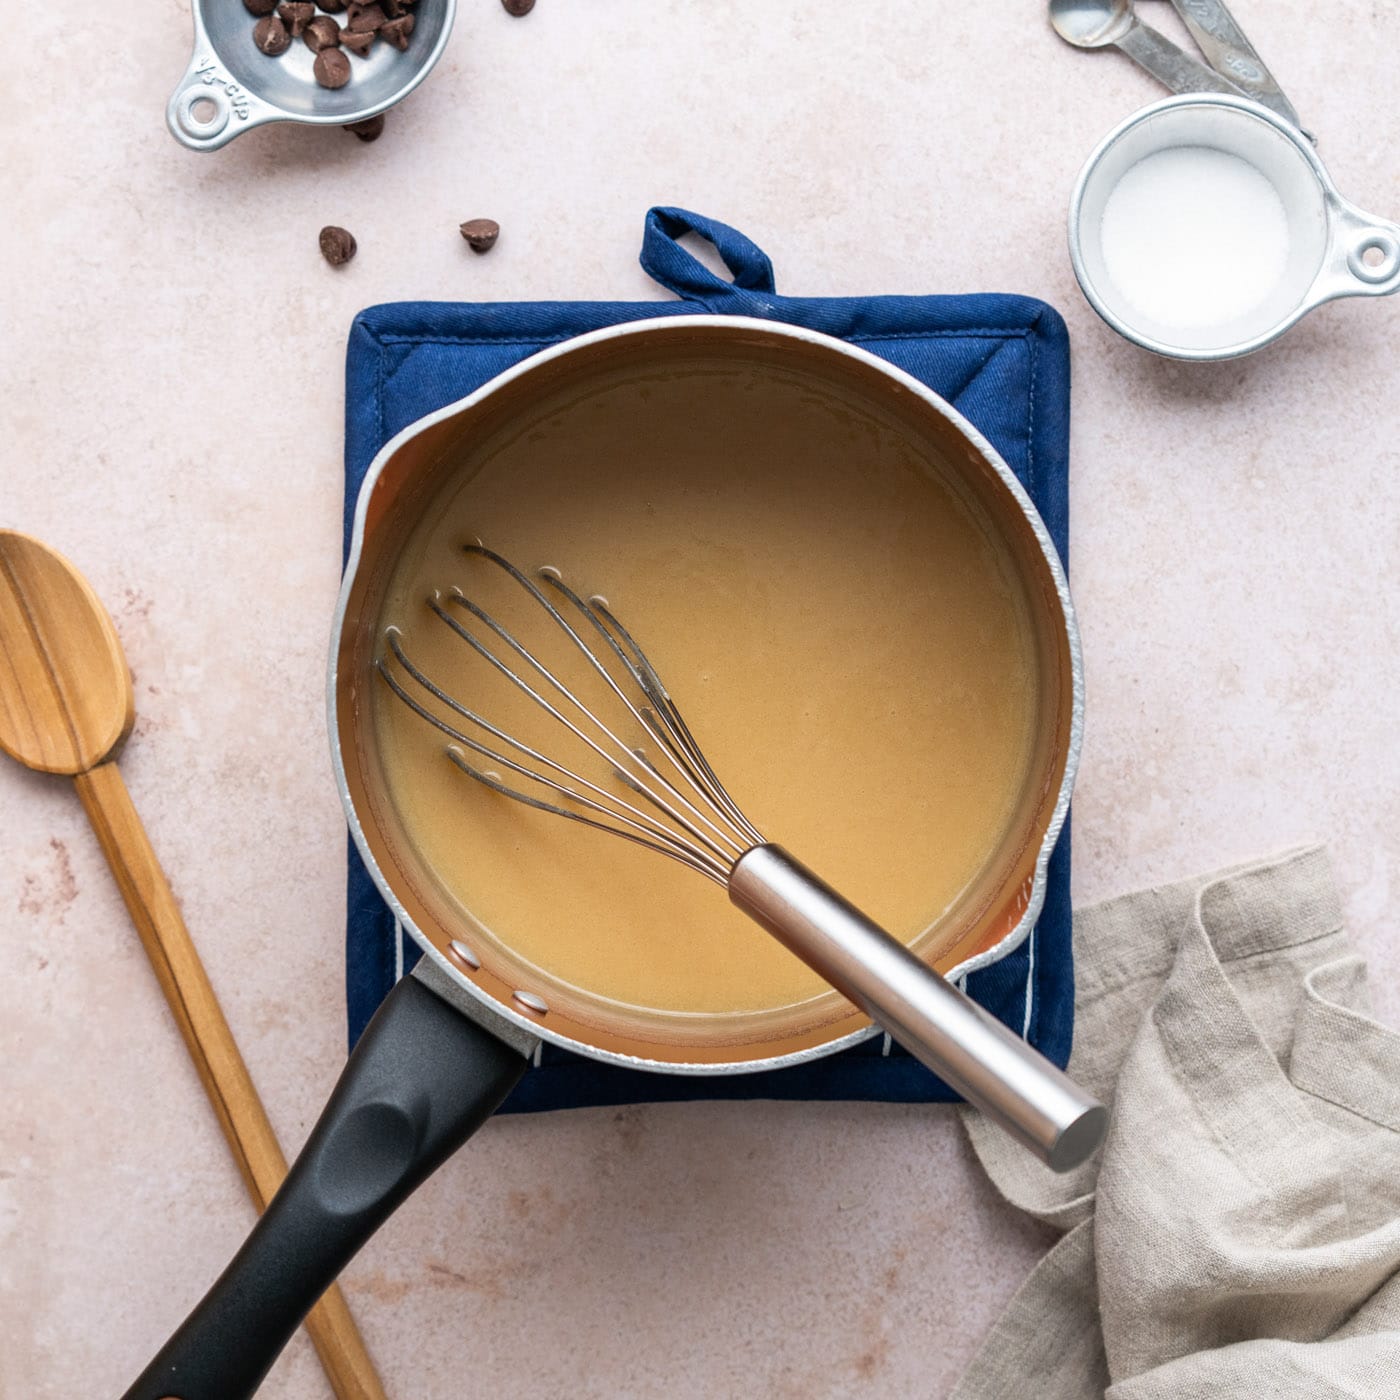
- Fit the saucepan with a candy thermometer and continue whisking and cooking until the caramel reaches the soft ball stage, 225°F. This process can take 20-30 minutes.
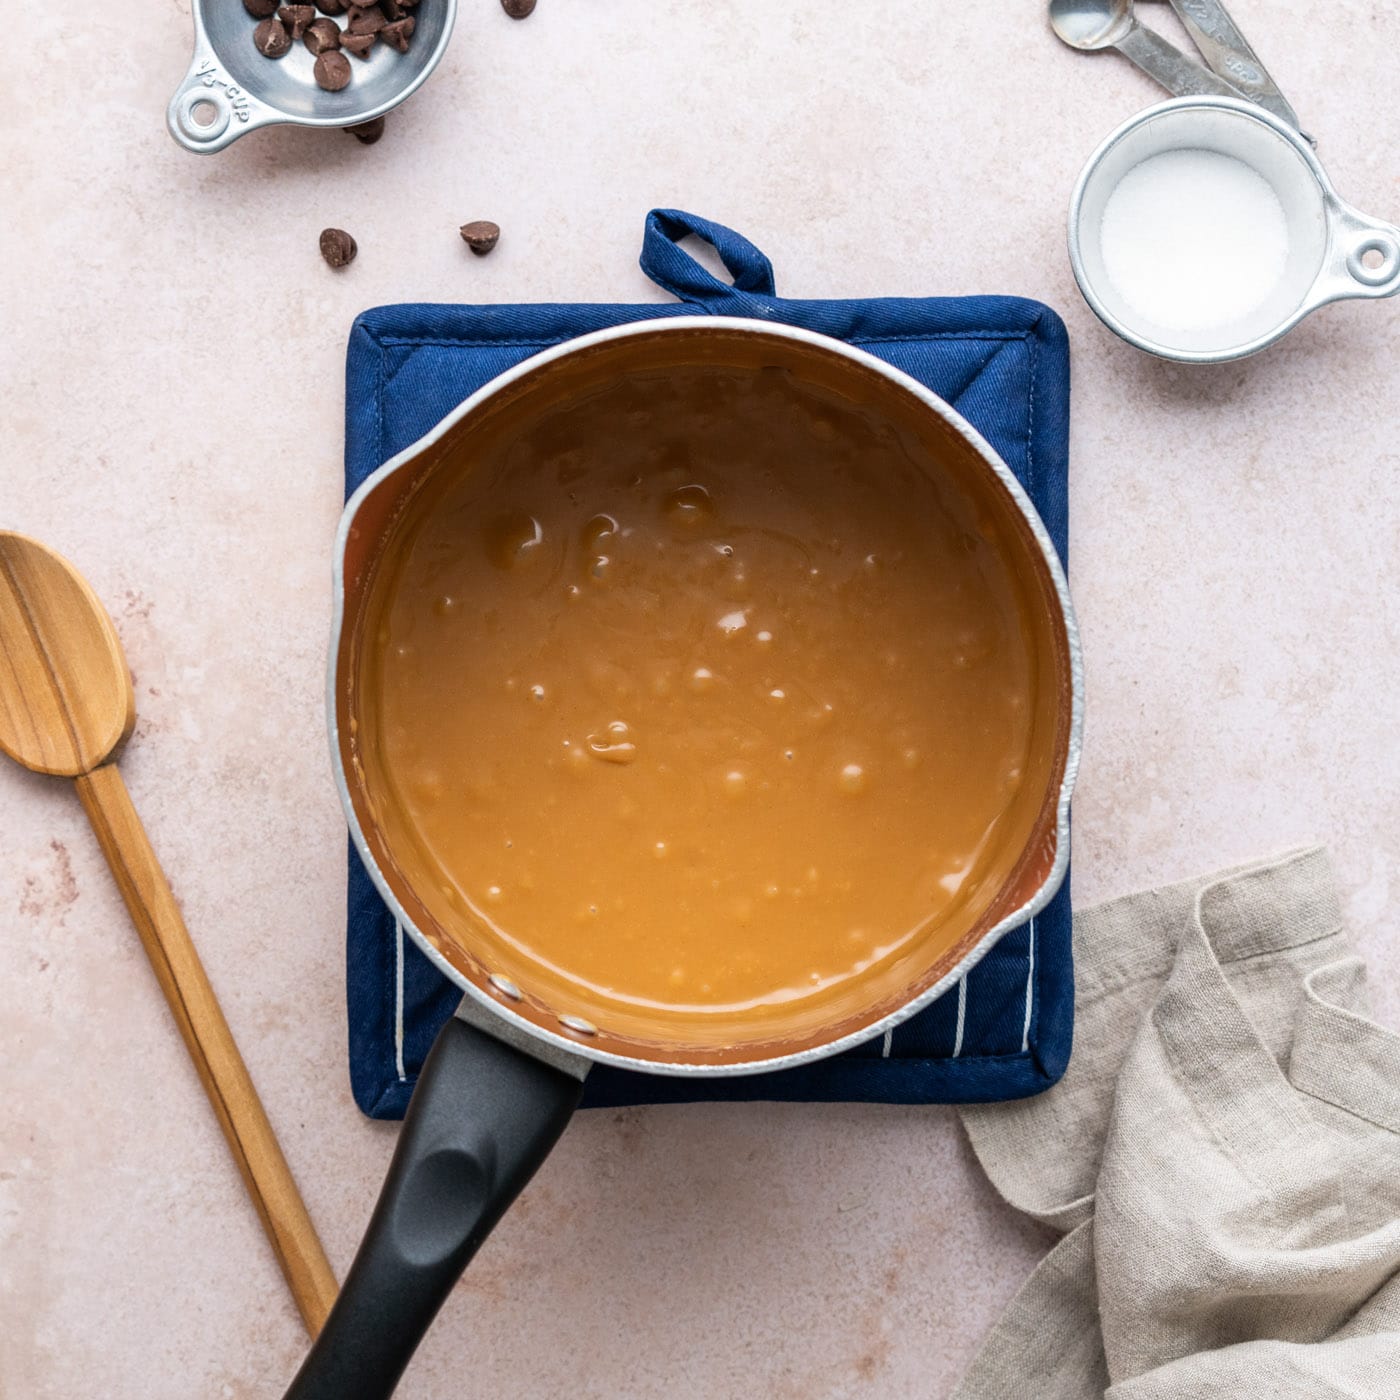
- Remove the caramel from the heat and pour over the baked brownies, spreading it smooth to the edges.
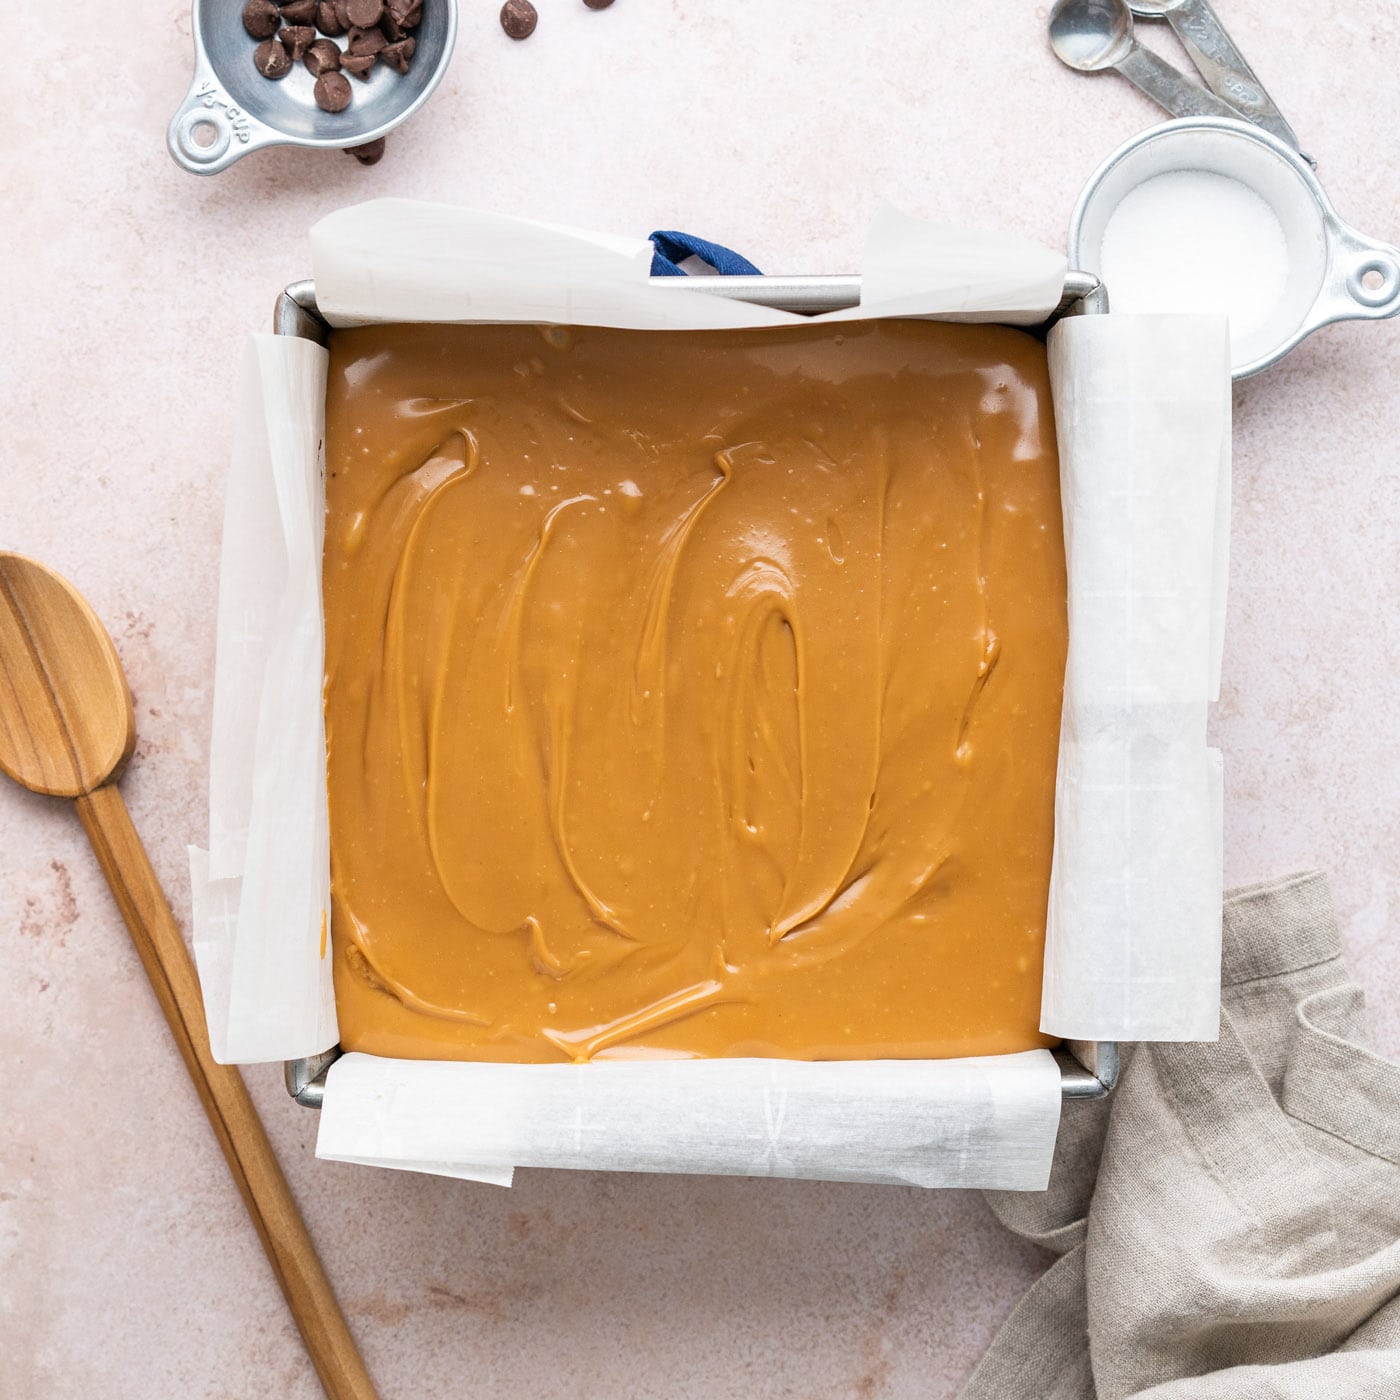
- Chill for at least 30 minutes to firm up the caramel so that it does not displace when the ganache is added.
- To make the ganache, combine the chocolate chips and heavy cream in a microwave-safe bowl.
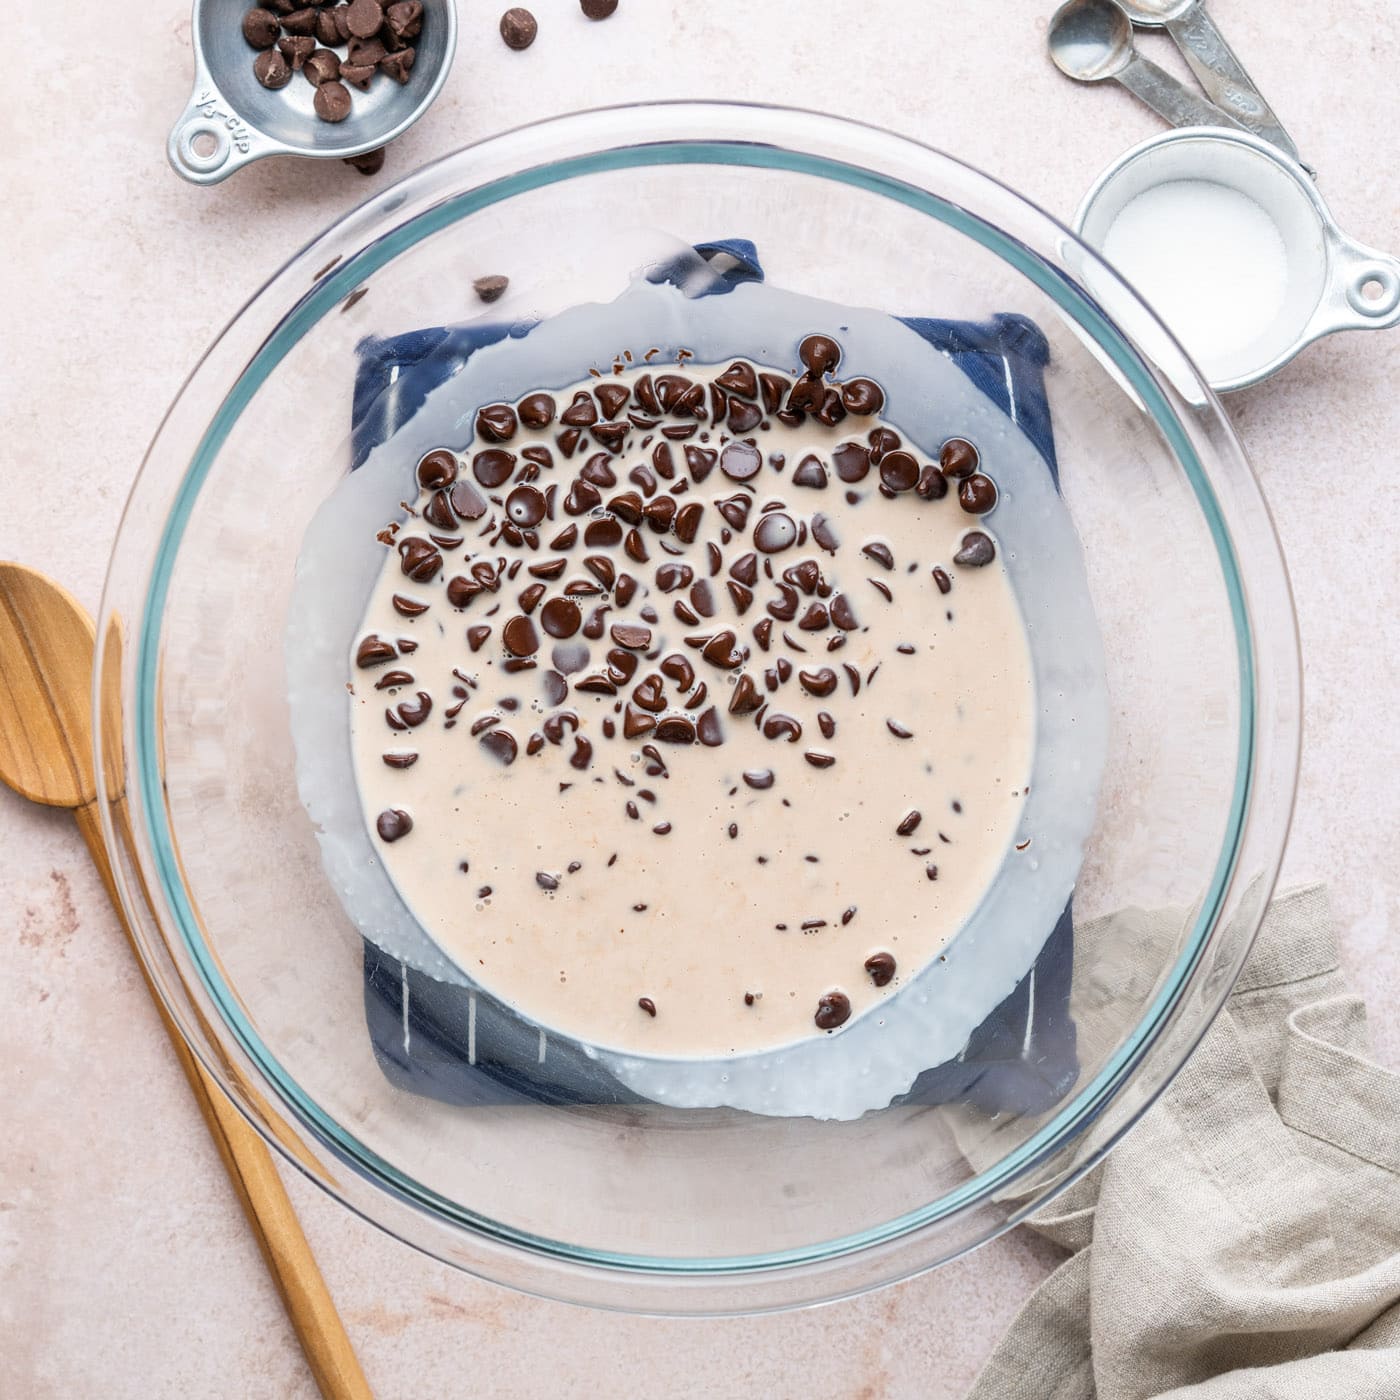
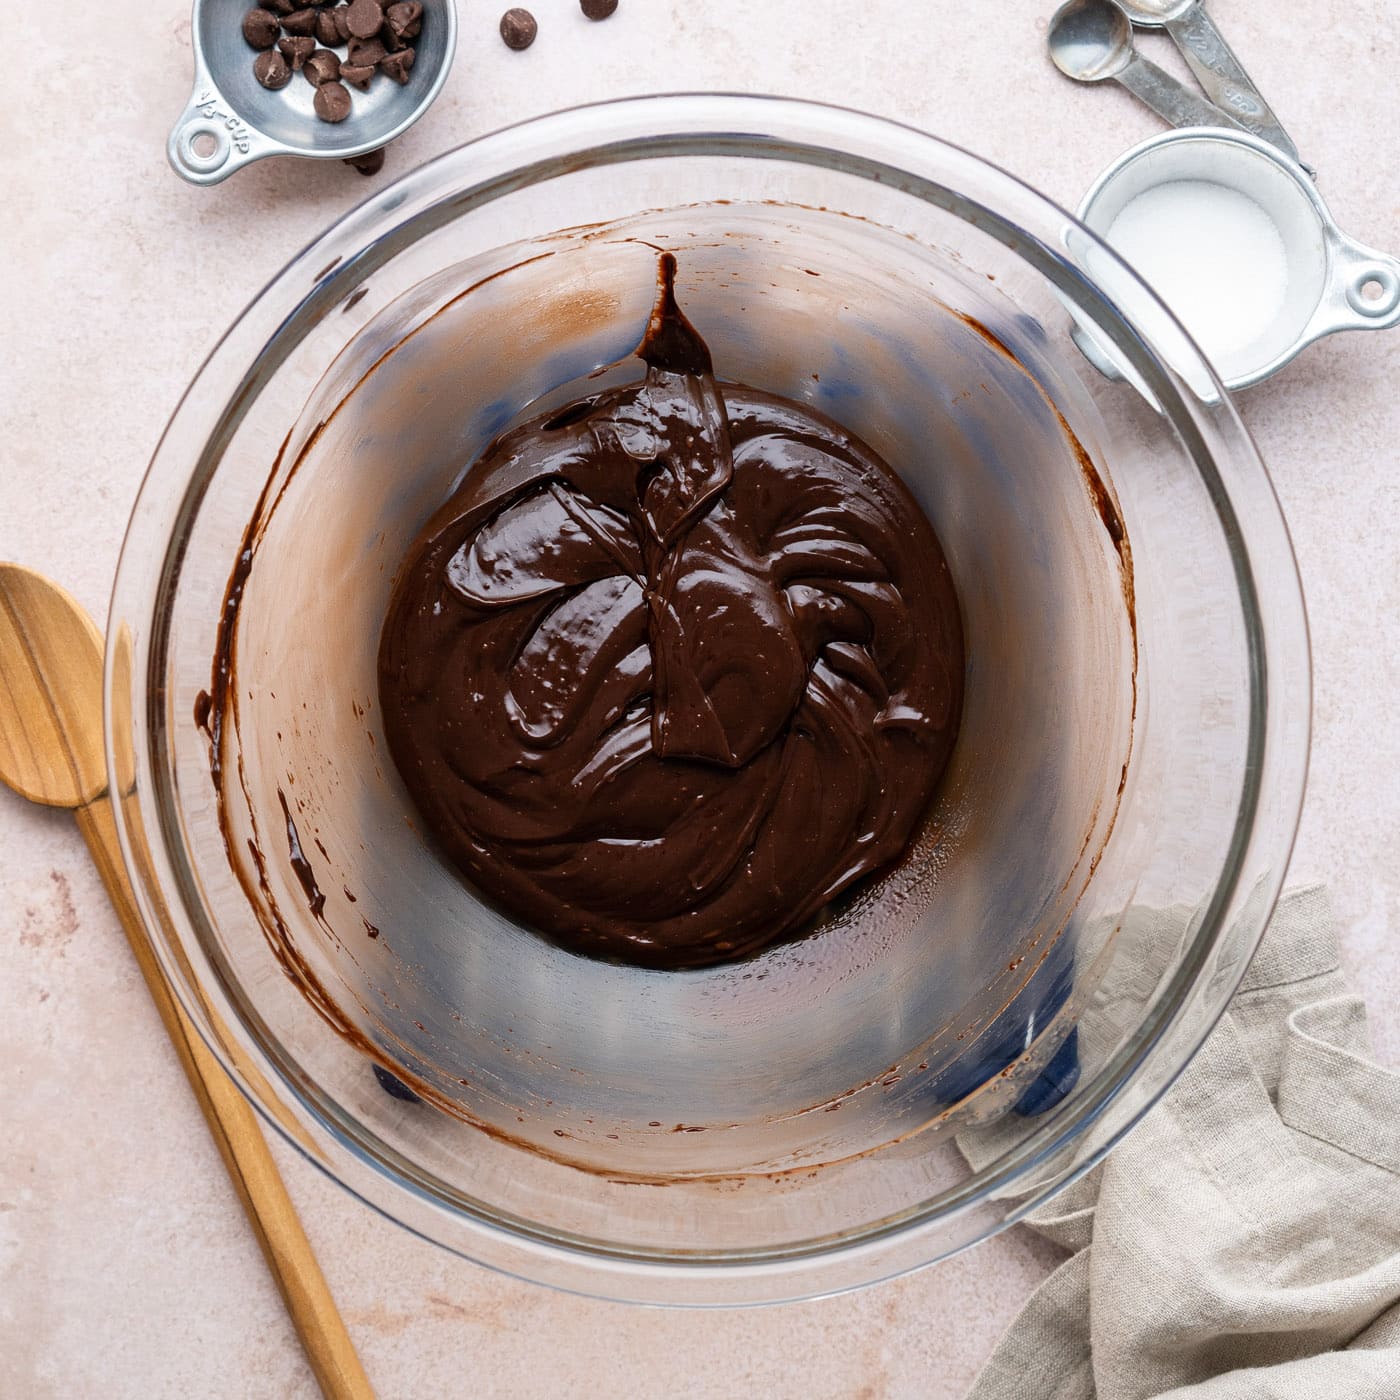
- Heat in 30-second intervals, stirring/whisking between intervals until the chocolate melts and the ganache comes together in a thick, smooth mixture.
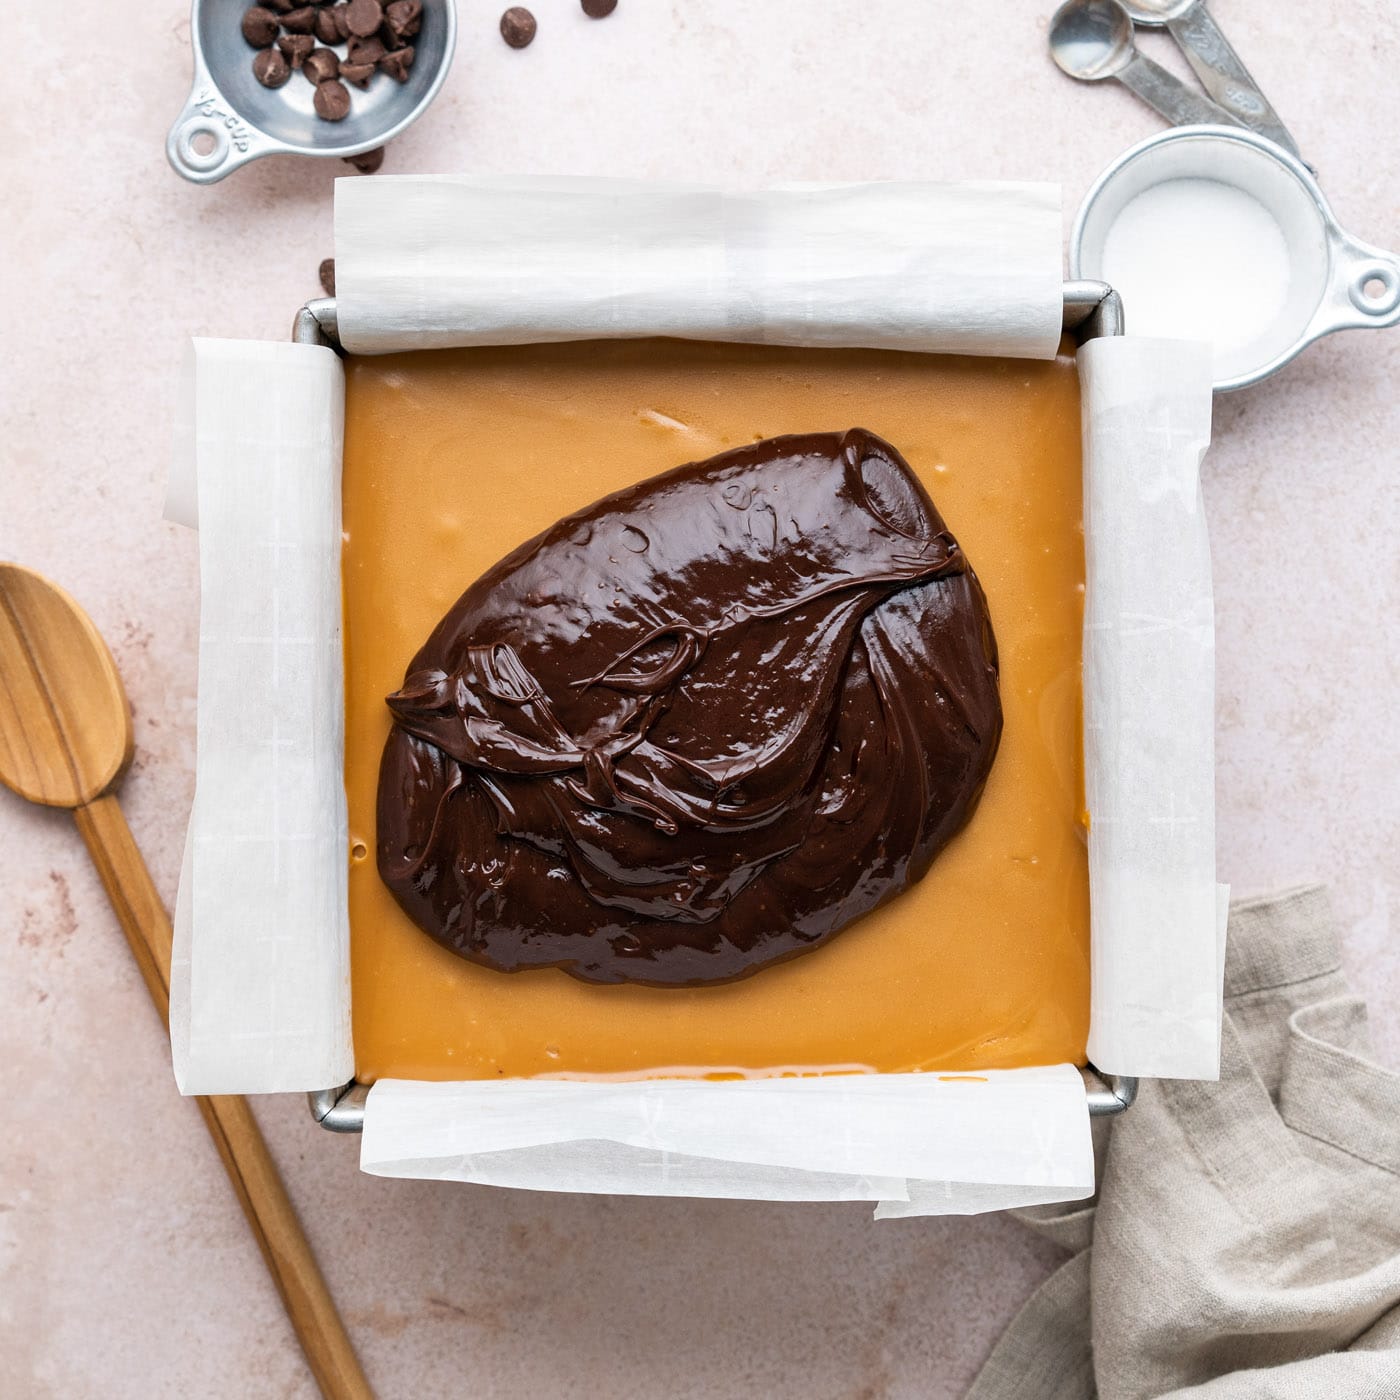
- Spread the ganache over the caramel.
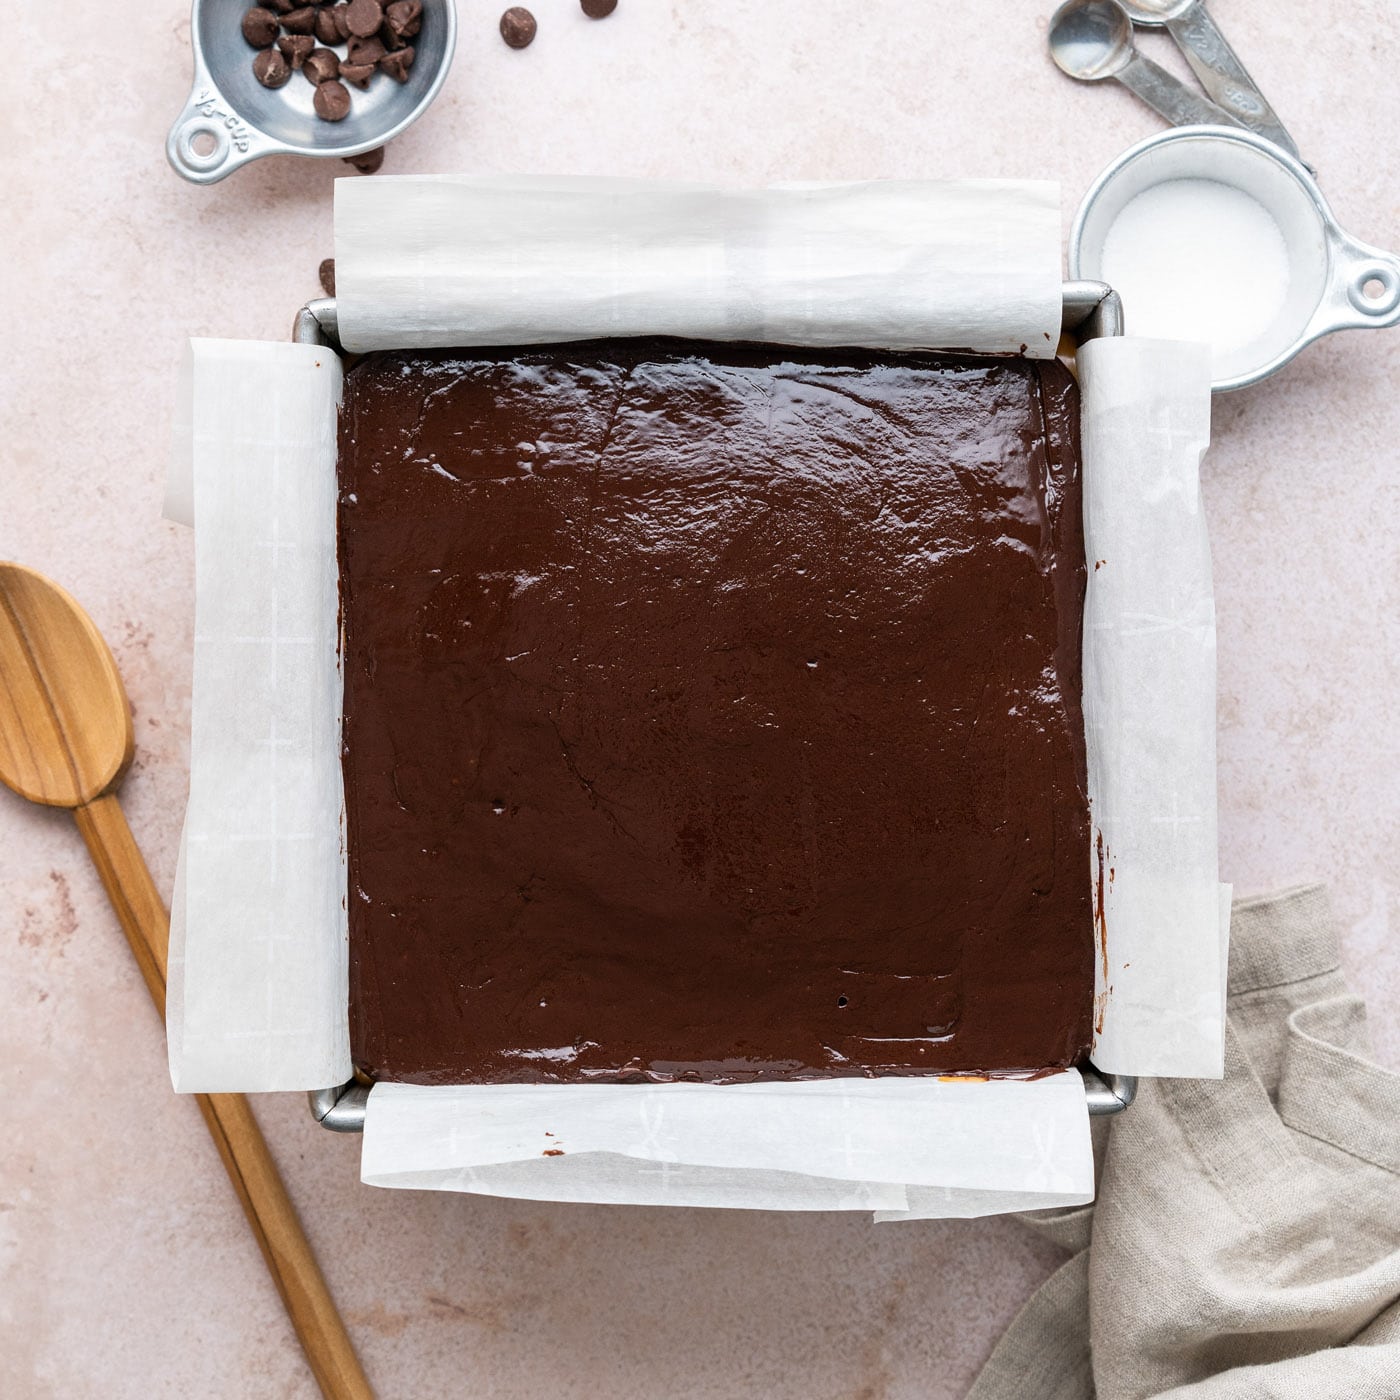
- For the finishing touches, sprinkle flaky sea salt over the top of the ganache. Place in the refrigerator to chill for at least 30 minutes or until the ganache is set.
- Lift the dessert from the pan and cut into bars with a sharp knife.
Frequently Asked Questions & Expert Tips
How do you store millionaire brownies?Store the brownies in an air-tight container kept at room temperature for up to 5 days.
Can you freeze millionaire brownies?Yes, you can freeze them. Once the brownies are fully cooled, wrap them individually in plastic wrap a couple of times then place them in an air-tight container or large zip top bag. You can also freeze the entire slab of brownies after removing them from the pan. Optionally flash freeze them on a baking tray until solid to prevent the ganache layer from sticking. Wrap the slab of brownies in plastic wrap followed by a layer of aluminum foil then pop them into a large zip top bag. Freeze for up to 3 months. Thaw at room temperature.
Serving Suggestions
Optionally garnish the finished brownies with a sprinkle of flakey sea salt. You can also top with chopped nuts such as walnuts or pecans. Enjoy warm or at room temperature with a scoop of vanilla ice cream or as-is.
Millionaire brownies are decadent and perfect for celebrations, but we whip up a batch whenever we want a sweet treat to pick at throughout the week too. There doesn’t always have to be an occasion for something this delicious.
More Related Recipes
I love to bake and cook and share my kitchen experience with all of you! Remembering to come back each day can be tough, that’s why I offer a convenient newsletter every time a new recipe posts. Simply subscribe and start receiving your free daily recipes!
More recipes to try
Eight more recipes from the kitchen.
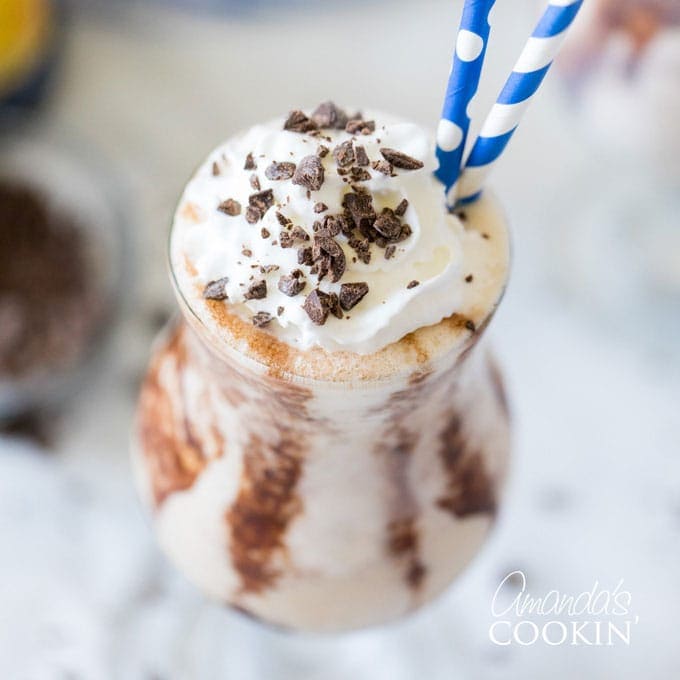
Frozen Mudslide
My favorite adult milkshake is the Frozen Mudslide, hands down. The…

Blue Lagoon Cocktail
The blue lagoon cocktail is a citrusy 3 ingredient summertime drink…
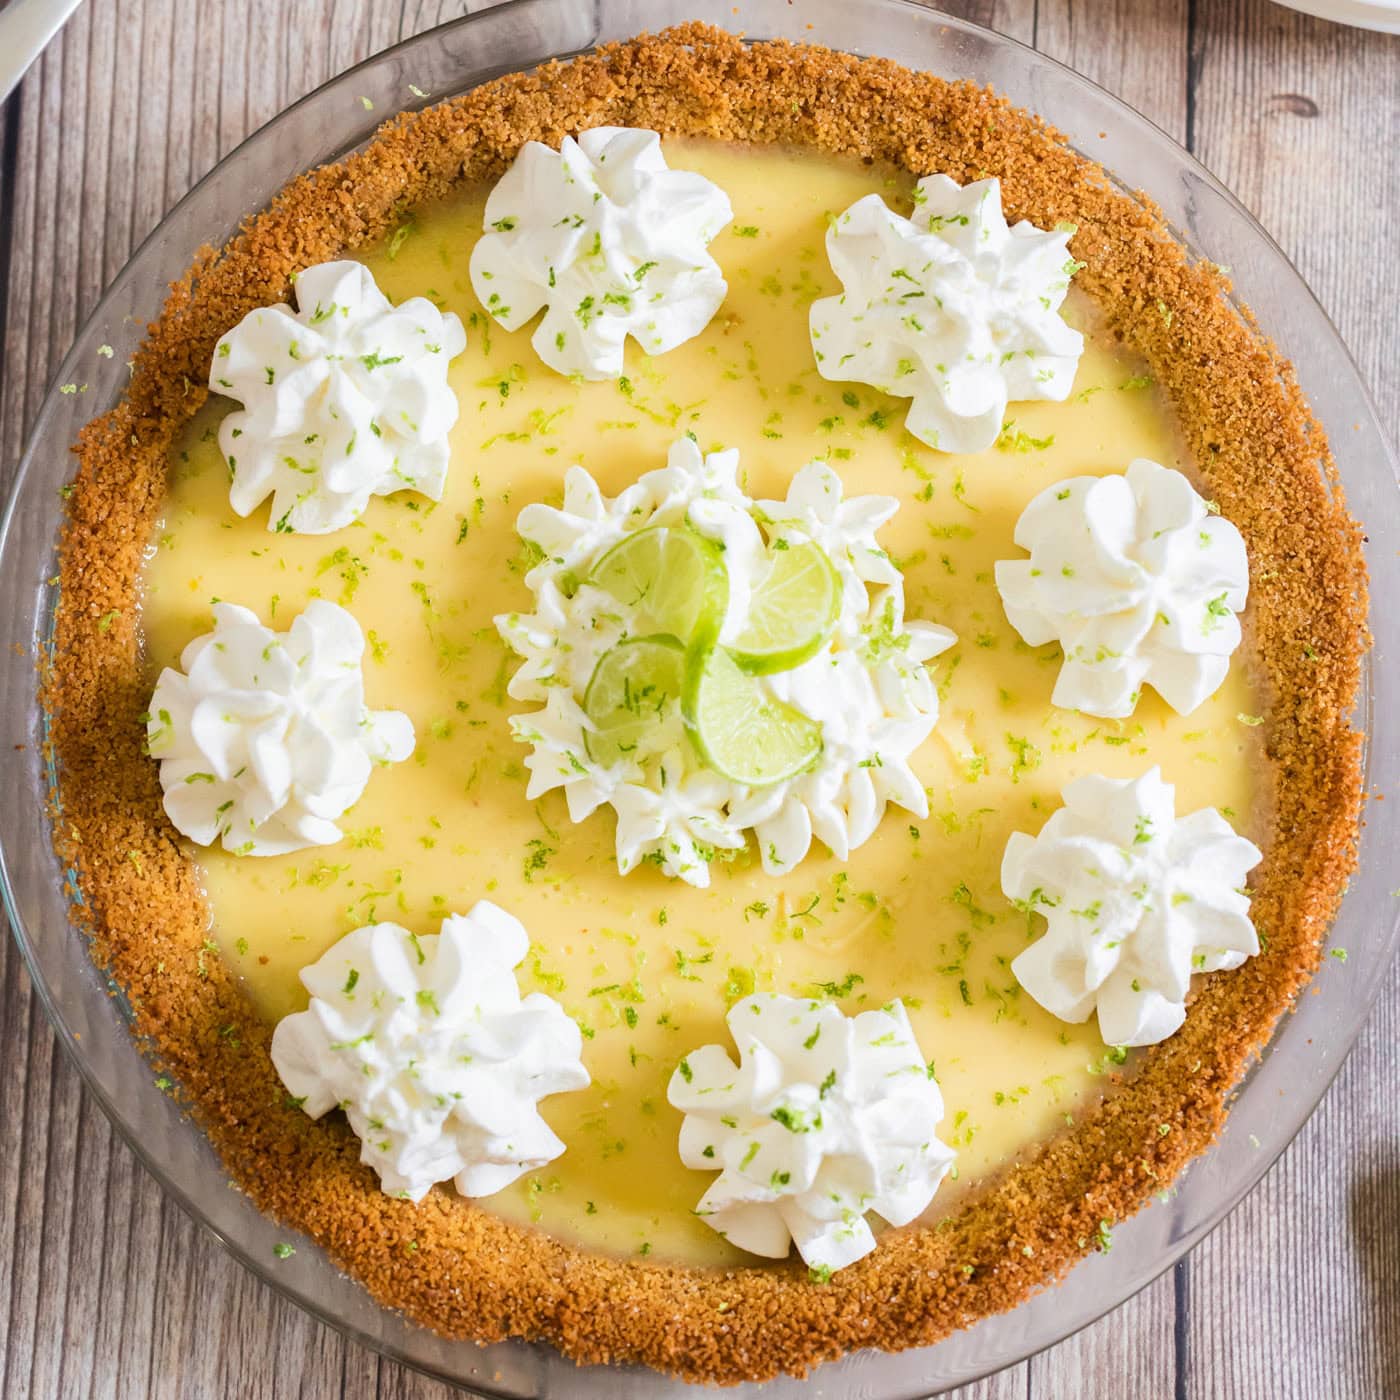
Key Lime Pie
A luscious, creamy key lime pie recipe made with heaps of sweet-tart…
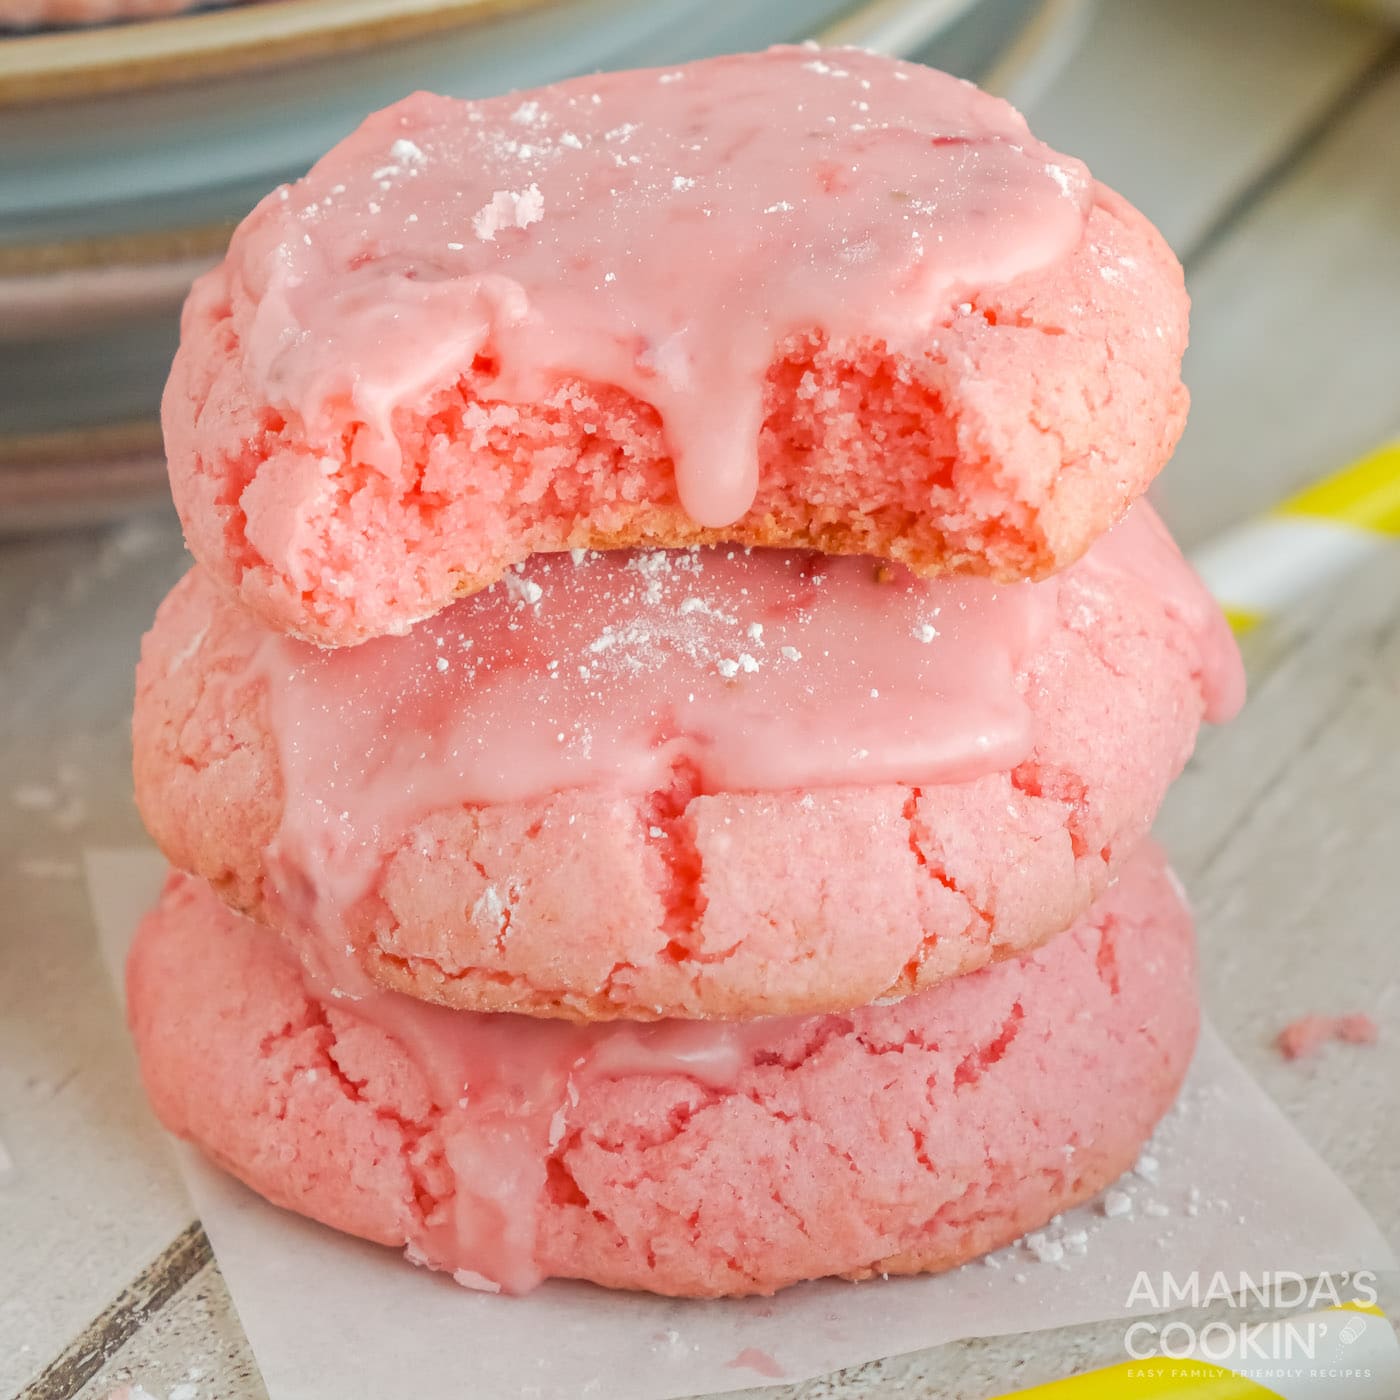
Strawberry Cake Mix Cookies
Strawberry cake mix cookies are soft, chewy, and made with just 4…
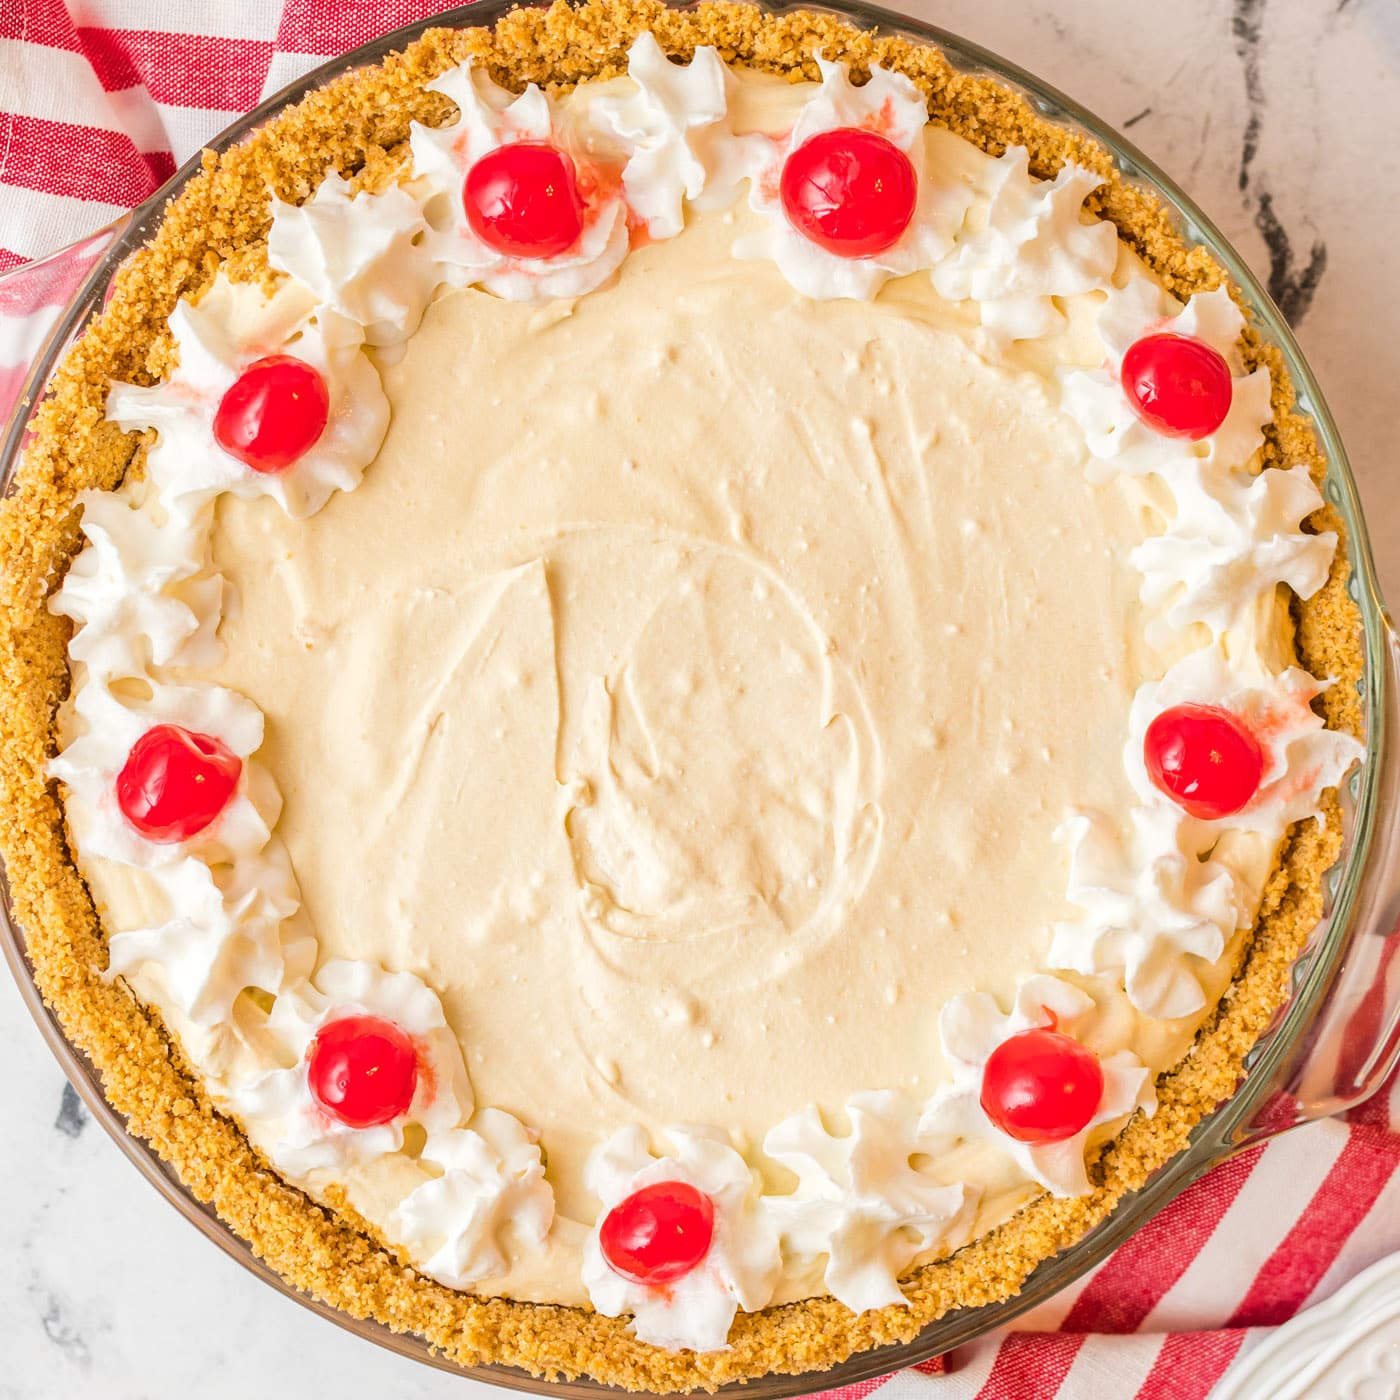
Root Beer Float Pie
Creamy, light, and fluffy this root beer float pie is a fun dessert…
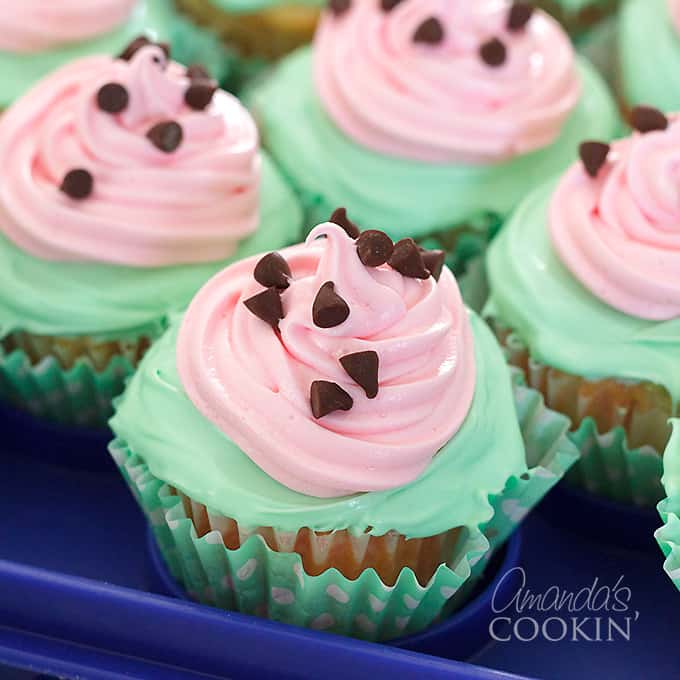
Watermelon Poke Cupcakes
I am a lover of all things watermelon. So when my daughter said she…
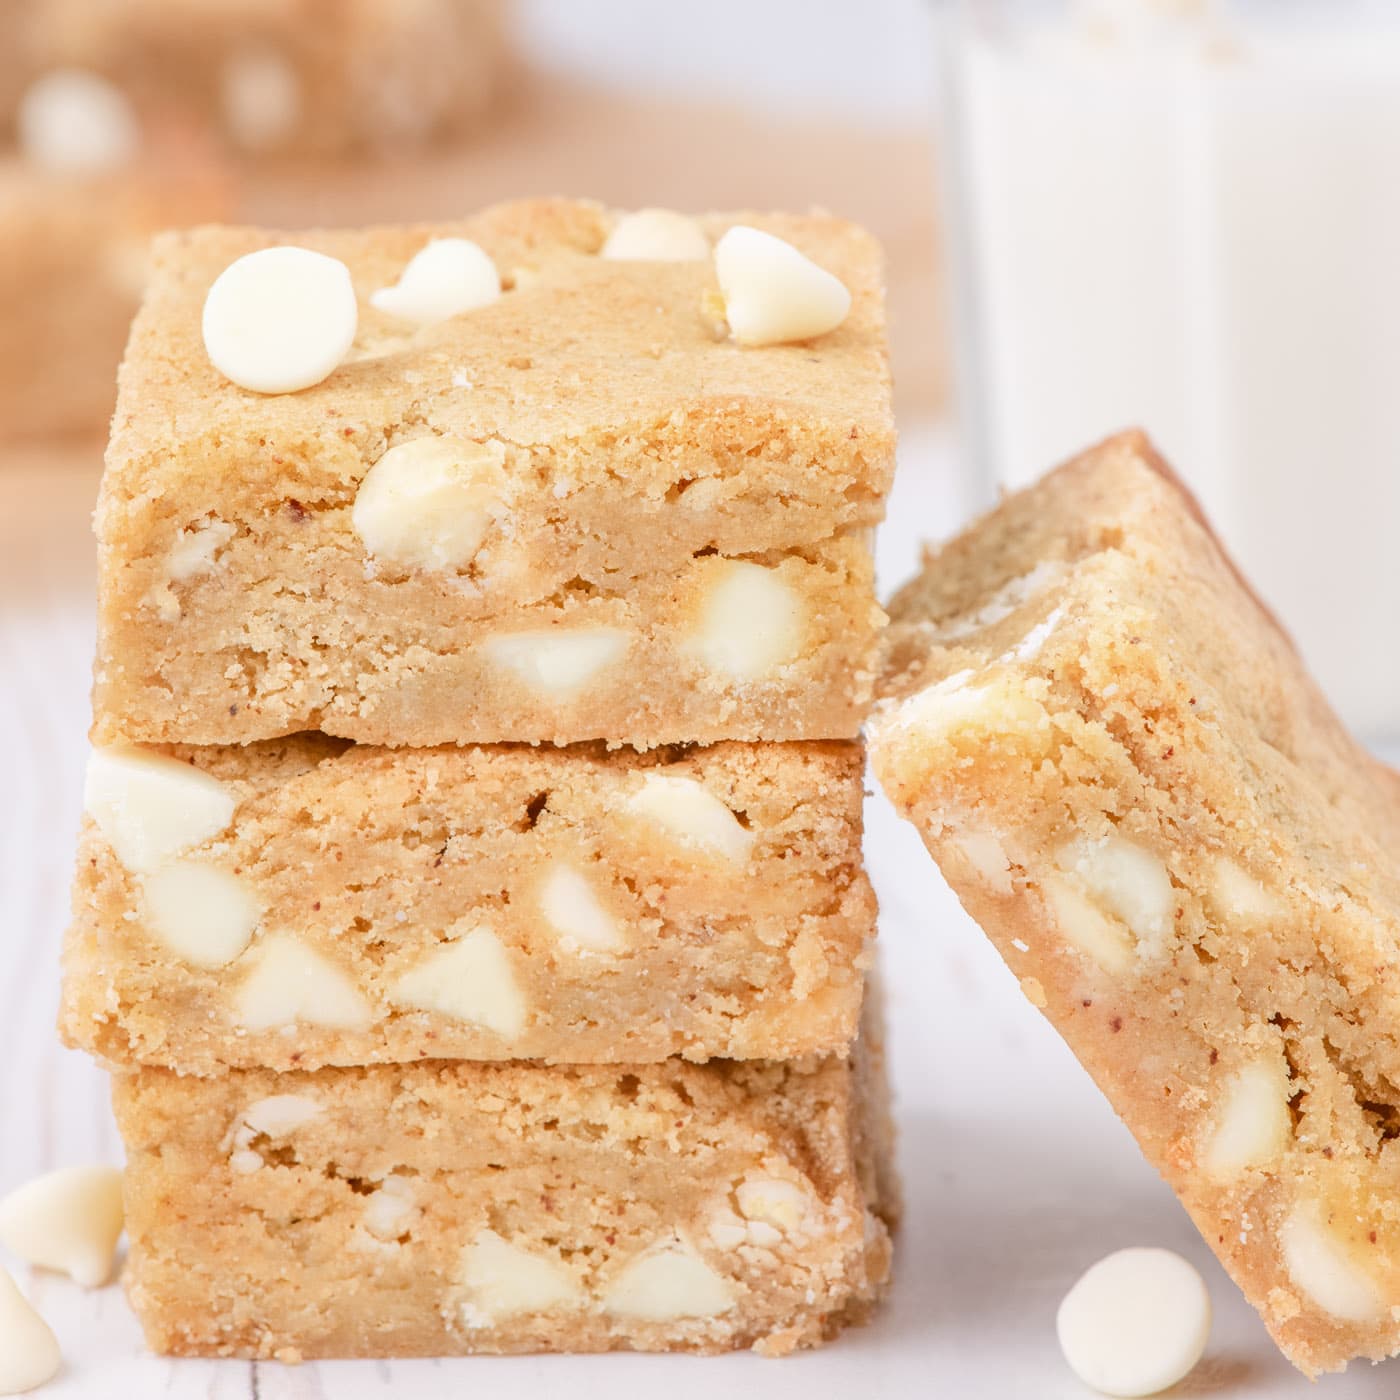
Blondies
Perfectly chewy blondies begin with a browned butter batter that’s…
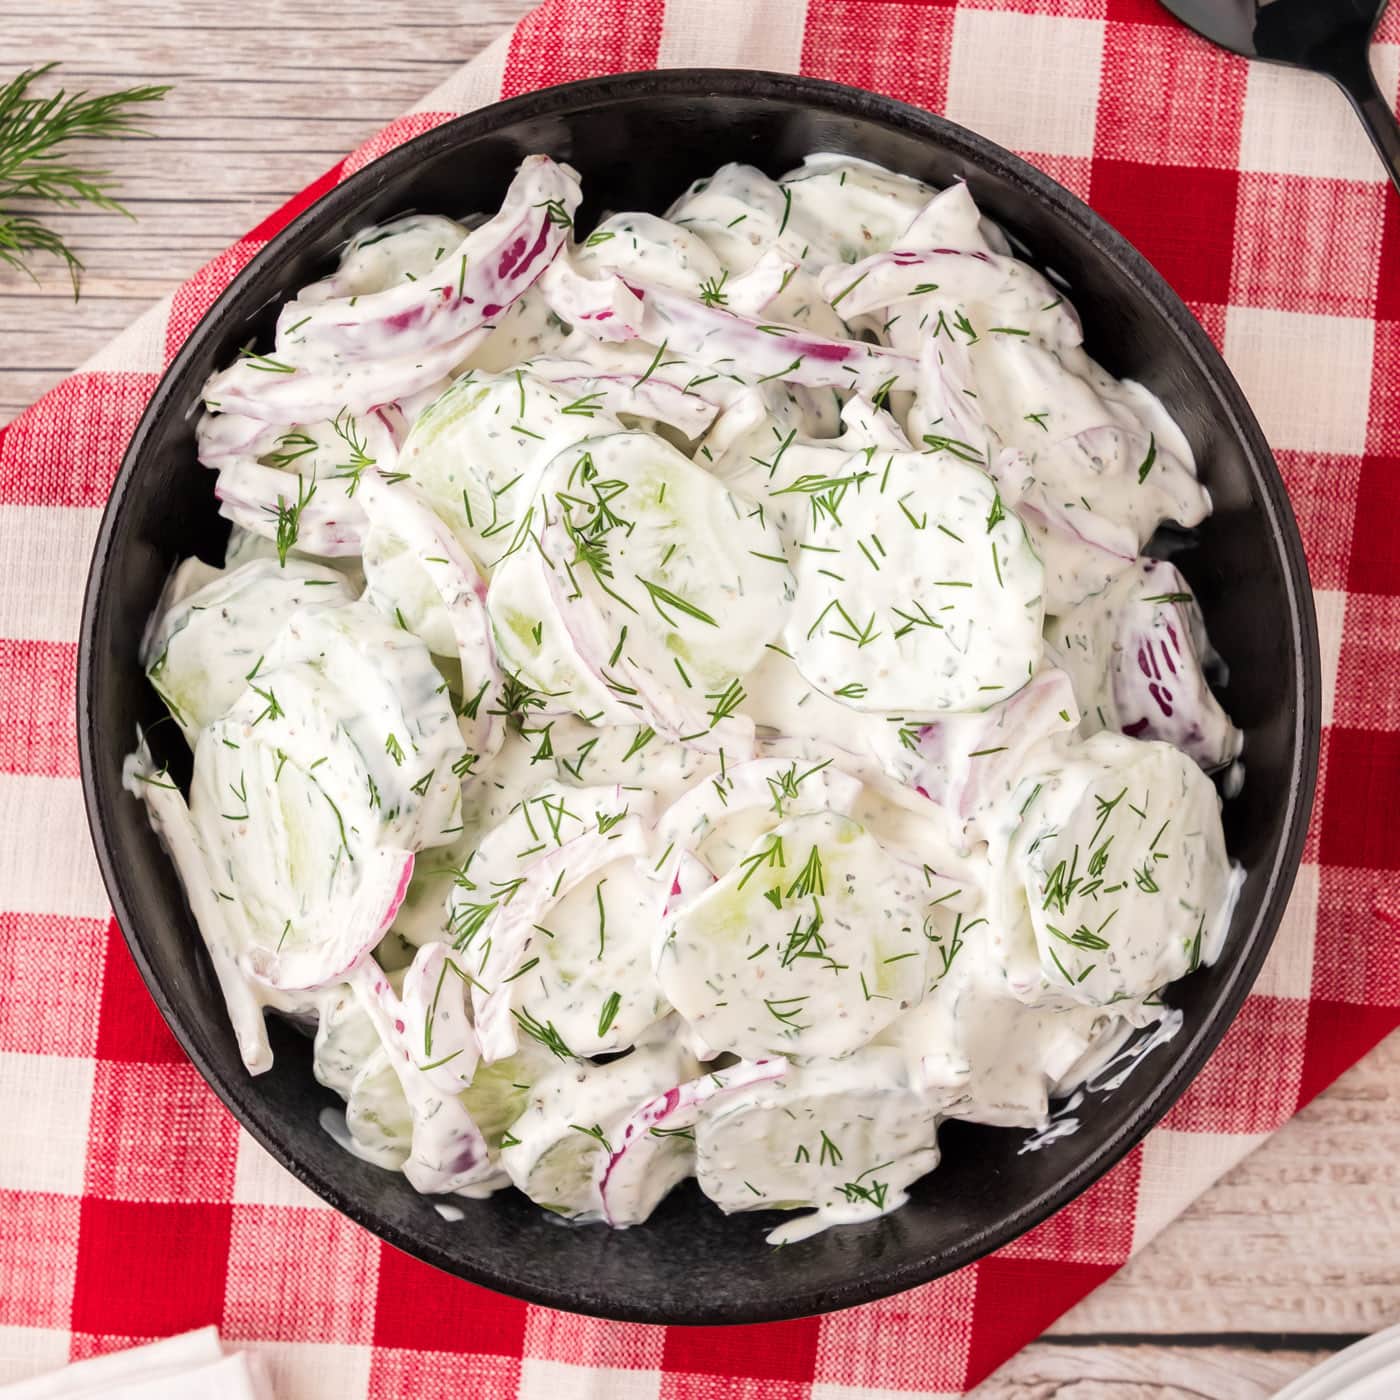
Creamy Cucumber Salad
Deliciously crisp and creamy cucumber salad combines red onions with…