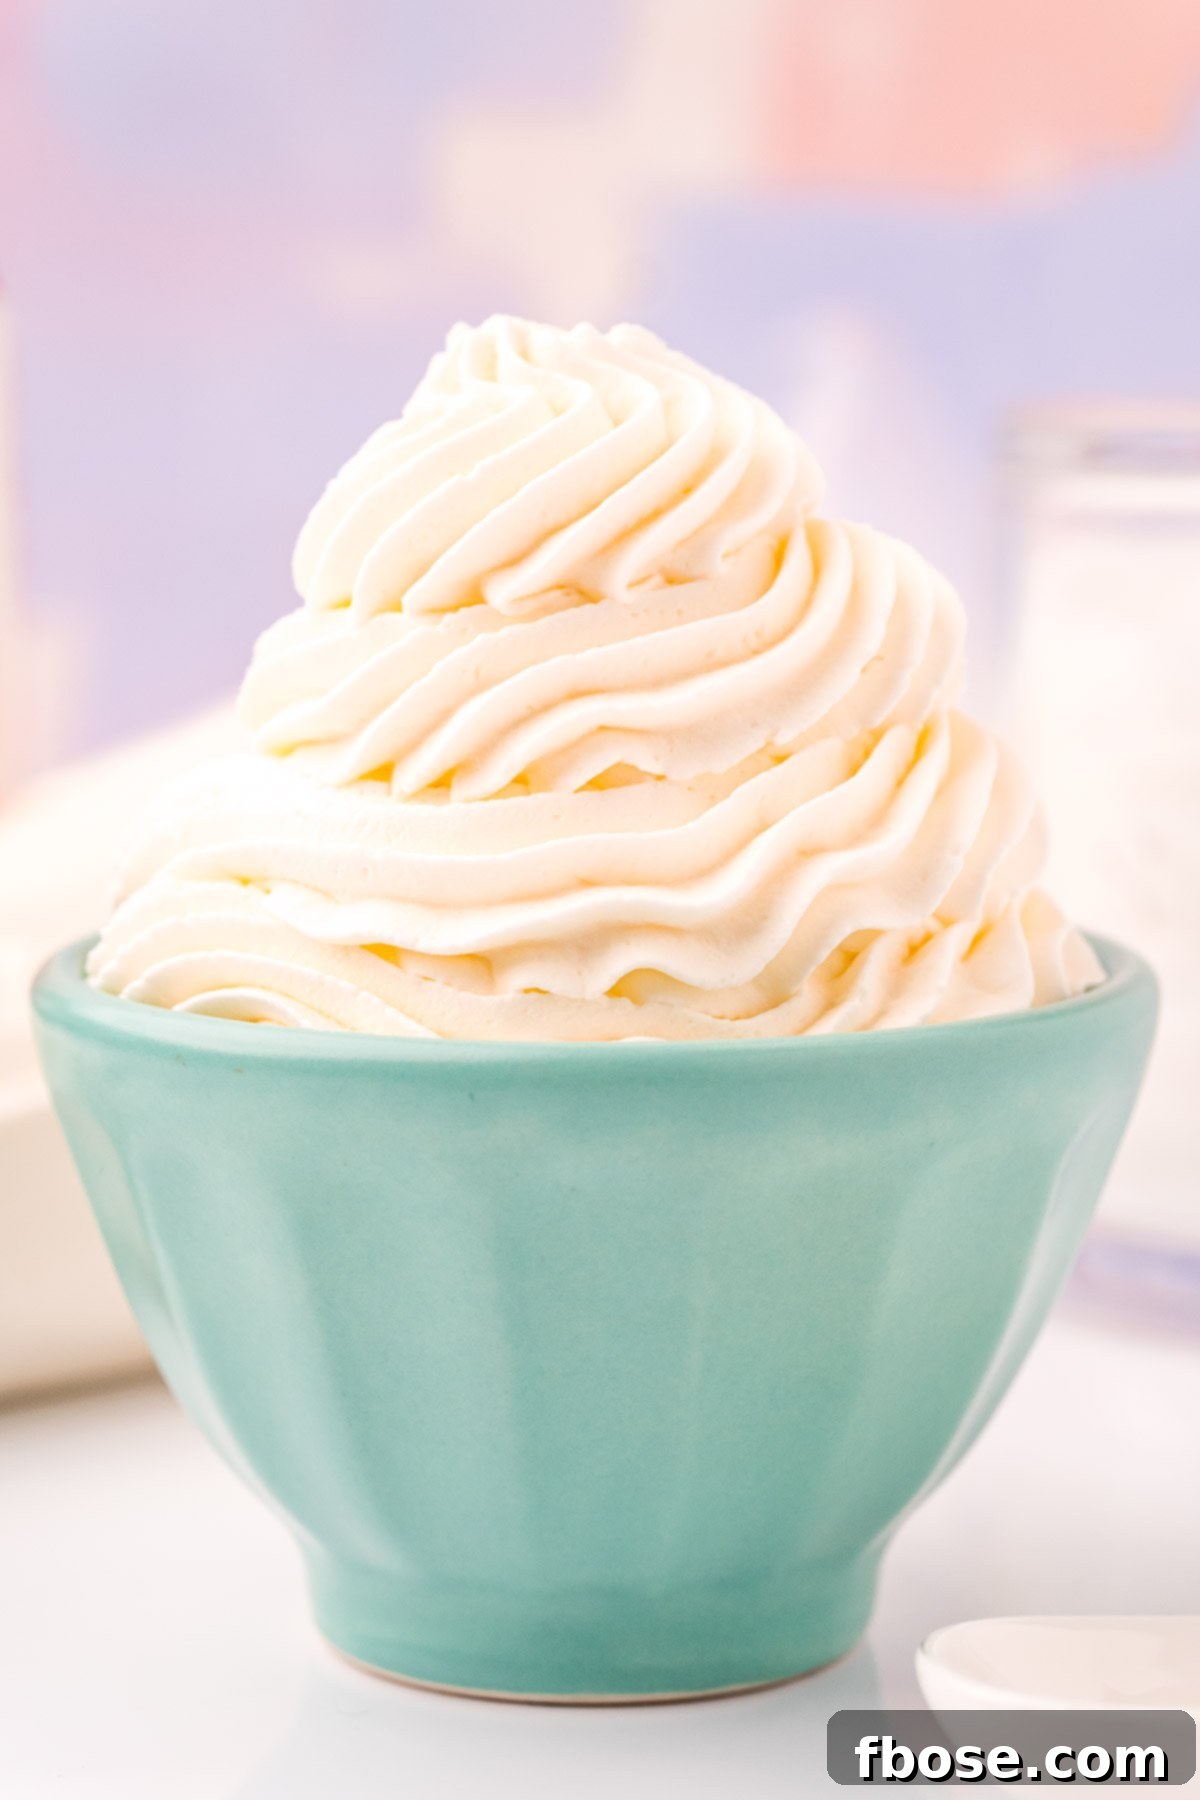
Welcome to the definitive guide on how to create the Perfect Homemade Whipped Cream right in your own kitchen! Forget the aerosol cans; once you master this simple recipe, you’ll discover a world of light, airy, and luxuriously creamy peaks that elevate every single dessert to an unforgettable experience. I’m excited to share all my indispensable tips and tricks to ensure your whipped cream is not just good, but absolutely perfect.
Imagine topping your favorite homemade desserts with a cloud of fresh, sweet cream. It’s a game-changer! And while you’re enhancing your dessert repertoire, why not explore other incredible homemade toppings? Try my Chocolate Ganache, a rich, glossy marvel ready in just 10 minutes with only two ingredients. Or for a deep, caramel indulgence, whip up this rich, sticky Slow Cooker Dulce de Leche Caramel Sauce! These homemade touches are what transform ordinary treats into extraordinary delights.
Why Homemade Whipped Cream is a Must-Try
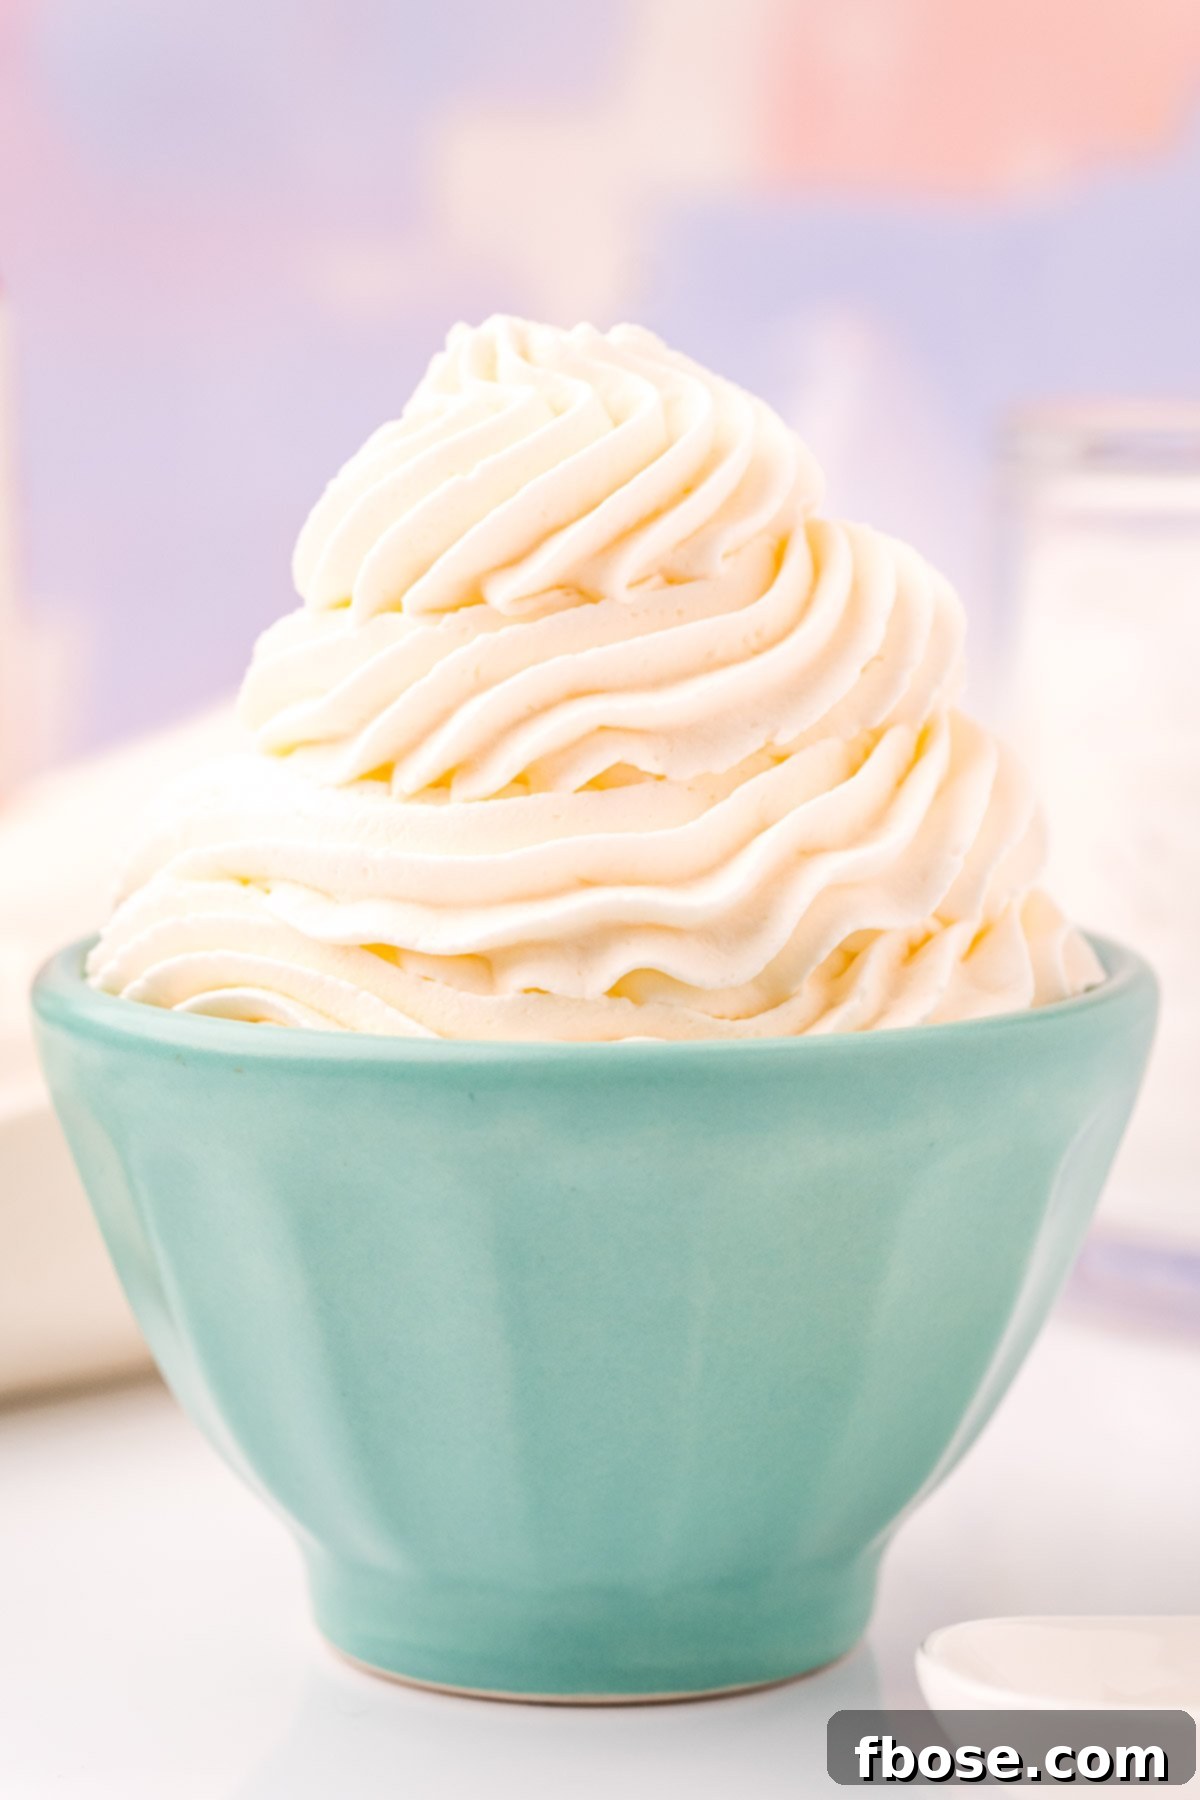
This Perfect Homemade Whipped Cream truly lives up to its name. It’s incredibly light, wonderfully fluffy, and boasts beautiful, stable peaks that hold their shape gracefully on all your cherished treats. Many might wonder why bother making whipped cream from scratch when a convenient can of aerosol spray is readily available at any grocery store. My response is simple: why would you let your exquisite homemade desserts endure the disappointment of an inferior, store-bought topping?
Instead, let your culinary creations truly shine by crowning them with a fresh, luscious dollop of the real deal, easily prepared right in your own kitchen. It requires minimal effort, just three common ingredients you likely already have on hand, and a mere five minutes of your time. This small investment yields unbelievably delicious homemade whipped cream that genuinely elevates the flavor and presentation of any dessert. Whether you’re adding it to a slice of decadent cheesecake, a comforting pie, or a creamy milkshake, this homemade topping is guaranteed to take your desserts from delightful to absolutely divine.
Essential Ingredients for Perfect Whipped Cream
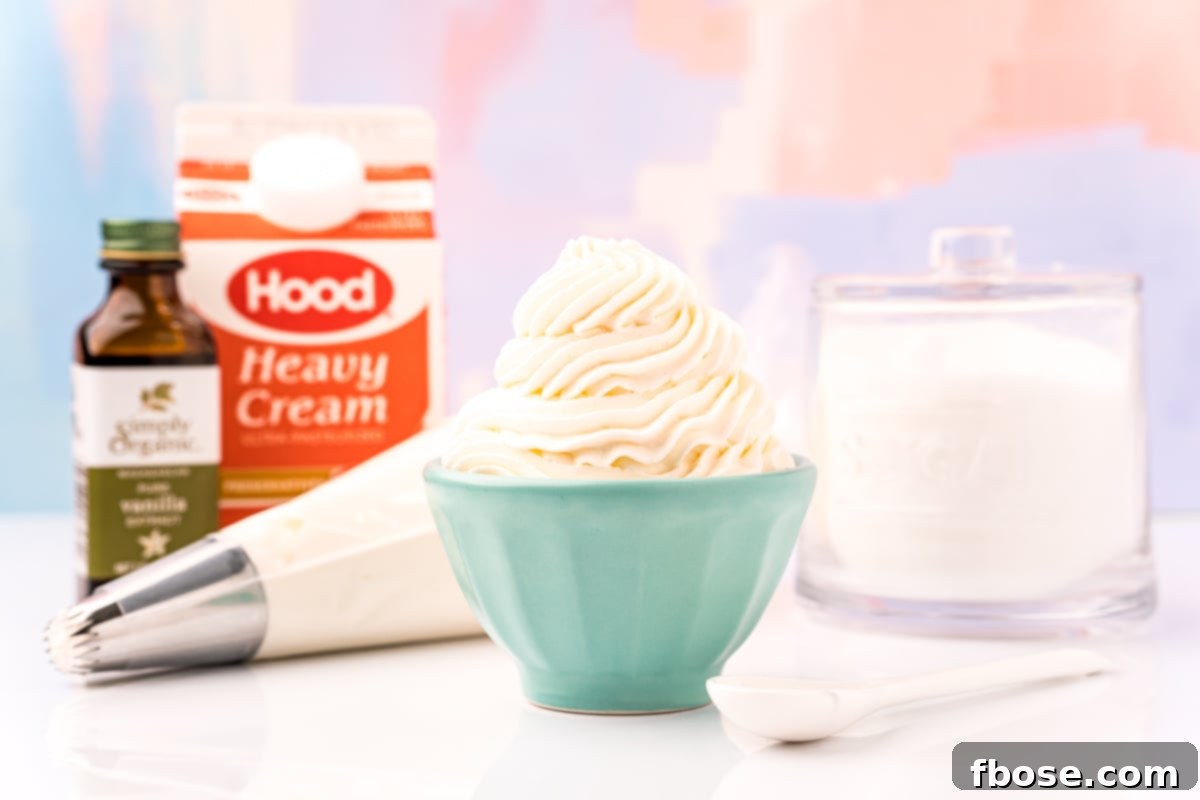
While making anything from scratch can sometimes feel daunting, this Perfect Homemade Whipped Cream Recipe is surprisingly straightforward and incredibly quick to prepare. With just a few key ingredients and minimal effort, you’ll achieve a superior topping that will impress everyone. To whip up a batch of this heavenly cream, you’ll need:
- Heavy Cream: This is the star of our show. The secret to stable, fluffy whipped cream lies in the fat content. It’s crucial to select a heavy cream or heavy whipping cream with a high milk fat percentage, ideally between 36% and 40%. This higher fat content allows the cream to trap air more effectively, resulting in a more stable and voluminous whipped cream.
- Vanilla Extract: For the most authentic and smooth flavor, I highly recommend using pure vanilla extract. Its warm, sweet notes complement the richness of the cream beautifully without overpowering it. However, the beauty of homemade whipped cream is its versatility. Feel free to experiment with other flavored extracts, such as almond, peppermint, or even a citrus extract, to match your dessert!
- Granulated Sugar: My go-to choice for sweetening. It dissolves effortlessly into the cream as it whips, creating a perfectly smooth texture. While powdered sugar (confectioners’ sugar) can also be used and often contains cornstarch which can help stabilize the cream, I find granulated sugar works just as well for light and fluffy peaks without any potential chalkiness. Adjust the amount to your personal preference for sweetness!
Once your homemade whipped cream is ready, the only challenge left is deciding what delicious creation it will adorn! Will you crown a decadent homemade dessert with a generous spoonful? Or perhaps add a sweet, airy finish to your favorite breakfast dish? Personally, you’ll never catch me enjoying a cup of rich Hot Chocolate without a luxurious layer of this fluffy whipped cream on top. It’s truly versatile!
Whipping Cream vs. Heavy Cream: Understanding the Difference
It might come as a surprise to many home bakers, but “whipping cream” and “heavy cream” are indeed two distinct dairy products, though both are excellent for making whipped cream. The primary difference lies in their milk fat content. Whipping cream typically contains about 30% milk fat, while heavy cream boasts a higher fat content of at least 36%. This higher fat percentage in heavy cream often results in a whipped cream that is richer, thicker, and holds its shape for a longer duration. However, both types can be successfully used to make delicious whipped cream, so choose what’s available or what you prefer for texture and stability.
Can You Make Whipped Cream With Milk?
Unfortunately, no, you cannot make traditional whipped cream with standard milk (skim, 1%, 2%, or whole milk). The reason is simple: milk contains a significantly lower fat percentage—typically around 10% for whole milk—compared to heavy cream or whipping cream. The fat molecules in cream are essential for creating the stable structure needed to trap air and form those beautiful, airy peaks. Without sufficient fat, milk simply will not whip up into a stable foam. You’ll end up with frothy milk, not whipped cream.
Step-by-Step Guide: How to Make Homemade Whipped Cream
Creating perfect homemade whipped cream is an easy and rewarding process. Follow these simple steps for light, fluffy, and delicious results:
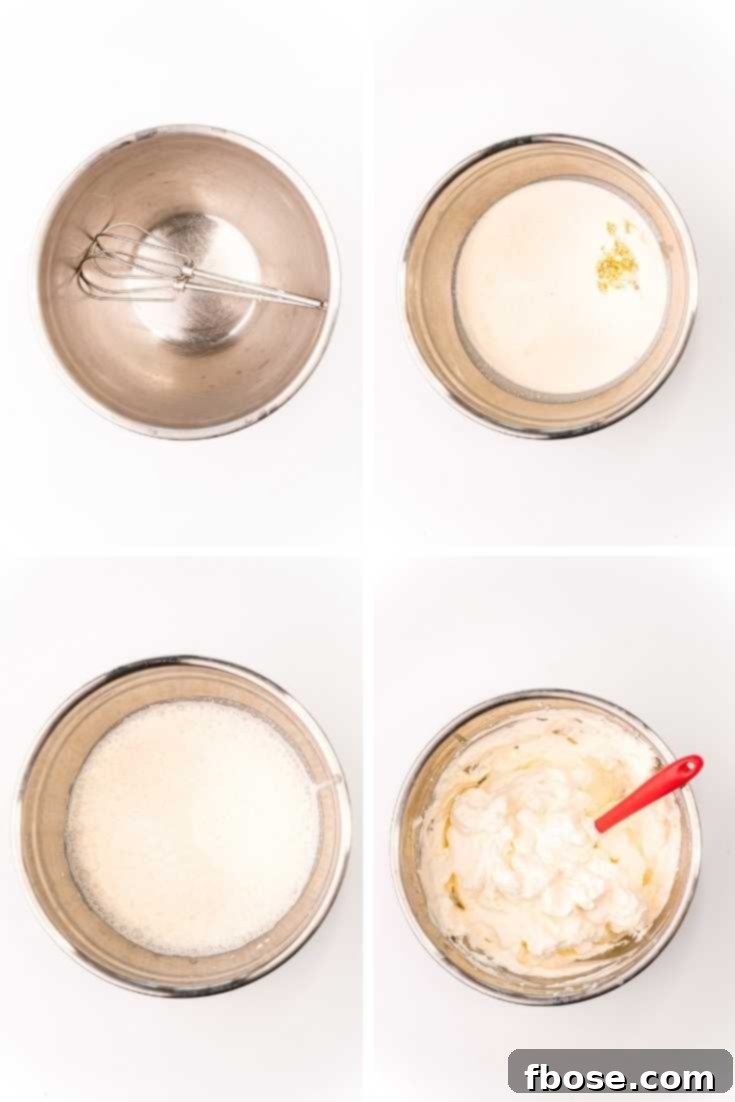
- Prepare Your Equipment: The key to successful whipping is starting cold. Place your mixing bowl (preferably metal or glass) and your beater attachments (from a hand mixer) or the whisk attachment (from a stand mixer) into the freezer for 10 to 15 minutes. This crucial step ensures the cream stays as cold as possible throughout the whipping process, promoting faster and more stable peaks.
- Combine Initial Ingredients: Once thoroughly chilled, remove the bowl and beaters from the freezer. Pour the heavy cream and vanilla extract into the cold bowl. Have your granulated sugar measured out and ready to add.
- Begin Whipping at Low Speed: Start beating the cream mixture at a low speed for about 1-2 minutes. This initial slow speed helps prevent splatters and allows the cream to gradually develop large, frothy bubbles. As these bubbles begin to form and the cream slightly thickens, increase the mixer speed to medium.
- Gradually Add Sugar and Increase Speed: As the cream continues to whip and becomes more opaque and slightly thicker, begin adding the granulated sugar, a tablespoon at a time. Do this slowly, allowing each addition to incorporate before adding the next. If you’re using a stand mixer, you might need to stop occasionally and scrape down the sides of the bowl with a spatula to ensure all the sugar and cream are evenly mixed. Continue beating at medium-high speed until soft, billowy peaks form. These peaks will hold their shape but still have a gentle curve at the top. Be careful not to overbeat!
- Serve Immediately: Once soft peaks are achieved, your homemade whipped cream is ready to be served! It’s best enjoyed fresh, but can be stored for later (see storage tips below).
Can You Whip Cream Too Long?
Yes, absolutely! Over-whipping cream is a common mistake and can quickly lead to undesirable results. If you continue to beat the cream past the soft or even stiff peak stage, the fat molecules will begin to separate from the liquid. What you’ll end up with is a grainy, curdled texture that eventually turns into two separate components: butter and buttermilk. The transformation from perfect whipped cream to butter can happen in a matter of seconds, so always keep a close eye on your cream as it whips and stop as soon as it reaches your desired consistency.
How To Store Fresh Whipped Cream
For optimal freshness and texture, store your homemade whipped cream in an airtight container in the refrigerator immediately after making it. It will maintain its beautiful texture and flavor for up to two hours at cool room temperature (67-70 degrees F), and typically lasts well for 1 to 2 days when properly refrigerated. Beyond that, it may begin to lose its volume and become watery. Always keep it chilled to prevent deflation and melting, especially if preparing in advance.
Mastering the Whip: Expert Tips for Success
Achieving perfect whipped cream every time is simple when you understand the foundational principles. Here are the crucial elements for consistently light, fluffy, and stable results:
1. Temperature is King: Keep it Cold: This cannot be stressed enough. It is absolutely essential to use a chilled mixing bowl, cold beater attachments (or a whisk), and heavy cream straight from the refrigerator. The reason behind this is scientific: cold temperatures help the fat molecules in the cream remain firm. As you whip, these cold fat molecules create a stronger matrix that traps air more efficiently, resulting in a whipped cream that forms peaks faster, is lighter in texture, and much fluffier. A warmer cream will take longer to whip, may not achieve the same volume, and will be more prone to deflating quickly.
2. Fat Content Matters: Choose Wisely: The fat content is the fundamental building block of great whipped cream. You must use heavy cream or heavy whipping cream, which should have a milk fat content ranging from approximately 30-40%. It is these abundant fat molecules that coalesce and bond together during the whipping process, forming the stable air bubbles that give whipped cream its characteristic airy structure. Lower-fat creams simply do not possess enough fat to create this stable emulsion.
3. Sweetness to Taste: The Role of Sugar: Let’s be honest, un-sweetened cream, while functional, often lacks that irresistible dessert appeal. I typically recommend starting with 3 tablespoons of sugar per cup of cream, but this is entirely adjustable to your personal preference. Remember that cream will taste sweeter in its liquid form than once it’s whipped and aerated, so it’s often better to add a little less than you think you need initially and then taste and adjust once soft peaks begin to form. You can always add more, but you can’t take it away!
4. Vanilla: Whipped Cream’s Best Friend: Vanilla extract is the classic companion to whipped cream, providing a smooth, comforting, and universally loved essence of flavor. Always use REAL vanilla extract; imitation vanilla simply won’t deliver the same depth and purity of taste. A good quality vanilla enhances the cream’s natural sweetness and pairs seamlessly with nearly any dessert you can imagine.
5. Gradual Speed for Optimal Texture: Begin the whipping process at a slow speed. This seemingly minor detail is crucial as it significantly reduces splattering and, more importantly, allows the air bubbles to develop gradually and evenly. Building this strong, consistent base of bubbles is vital for stable whipped cream. Once the cream starts to thicken and you begin incorporating the sugar, you can confidently increase the speed to medium or medium-high to achieve your desired peak consistency.
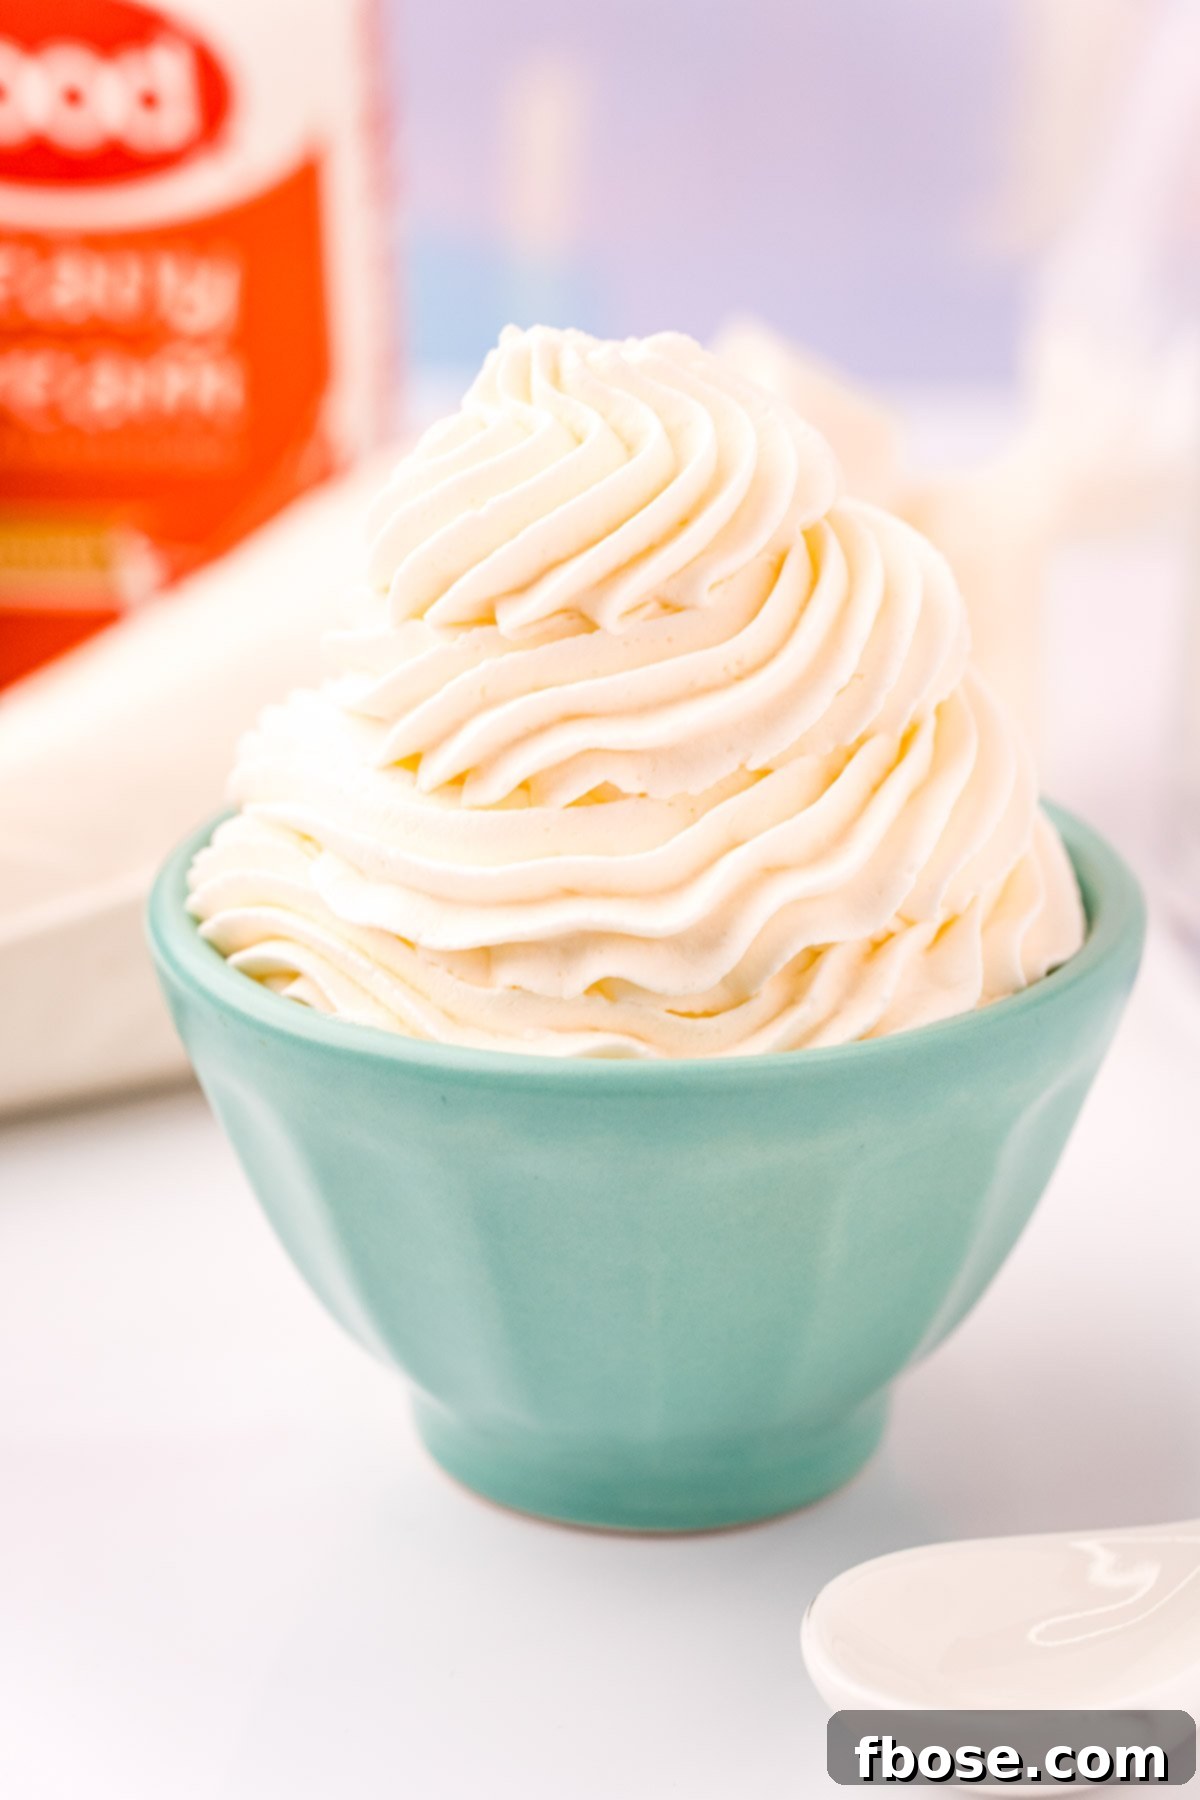
Customizing Your Whipped Cream: Adjusting Sweetness
Absolutely! One of the greatest advantages of making whipped cream from scratch is the ability to fully customize it to your taste. This recipe, as written, tends to yield a wonderfully sweet whipped cream, which is perfect for many desserts. However, if you prefer a less sweet topping to balance out a richer dessert, simply reduce the amount of granulated sugar you add. Conversely, if you have an insatiable sweet tooth and believe sweet whipped cream is truly the best kind, feel free to increase the sugar content to your heart’s desire!
Making Stiffer Whipped Cream for Frosting or Piping
If you need your whipped cream to be extra firm and stable, perhaps for piping elaborate decorations or using it as a light frosting, there are a couple of easy methods. The simplest approach is to continue whipping the cream for an additional minute or so beyond the soft peak stage, until stiff peaks form. Stiff peaks will stand upright when you lift the beater. Alternatively, for even greater stability and a texture similar to frosting, you can add 2 to 3 tablespoons of instant Jell-O pudding powder (any flavor you choose!) per cup of heavy cream. Add the pudding powder along with the sugar, and it will help to thicken and stabilize the cream significantly.
Infusing Whipped Cream with Liqueur or Flavors
Yes, adding liqueur is a fantastic way to introduce a sophisticated twist to your homemade whipped cream! For a subtle alcoholic kick and enhanced flavor, simply add 1 tablespoon of your favorite liqueur per cup of heavy cream. Ensure you incorporate the liqueur into the liquid cream at the beginning of the whipping process, along with the vanilla extract. Popular choices include Kahlúa for a coffee flavor, Grand Marnier for citrus notes, or various fruit brandies for a fruity essence. For non-alcoholic flavor variations, consider adding citrus zest (lemon, lime, orange), a pinch of cinnamon, or even a tiny amount of food-grade essential oil (like peppermint or orange) for a burst of flavor.
How Long Does Homemade Whipped Cream Stay Fluffy?
Homemade whipped cream is at its peak freshness and fluffiness immediately after preparation. It will generally maintain its airy texture for approximately 2 to 3 hours when kept at a cool room temperature (around 67-70 degrees F). However, heat is its enemy; warmer temperatures will cause the delicate air bubbles to collapse, leading to deflation and melting. If you need to prepare your whipped cream in advance, store it covered tightly in the refrigerator for 1 to 2 days. For best results, give it a very gentle whisk right before serving to re-incorporate any separated liquid and restore some of its volume.
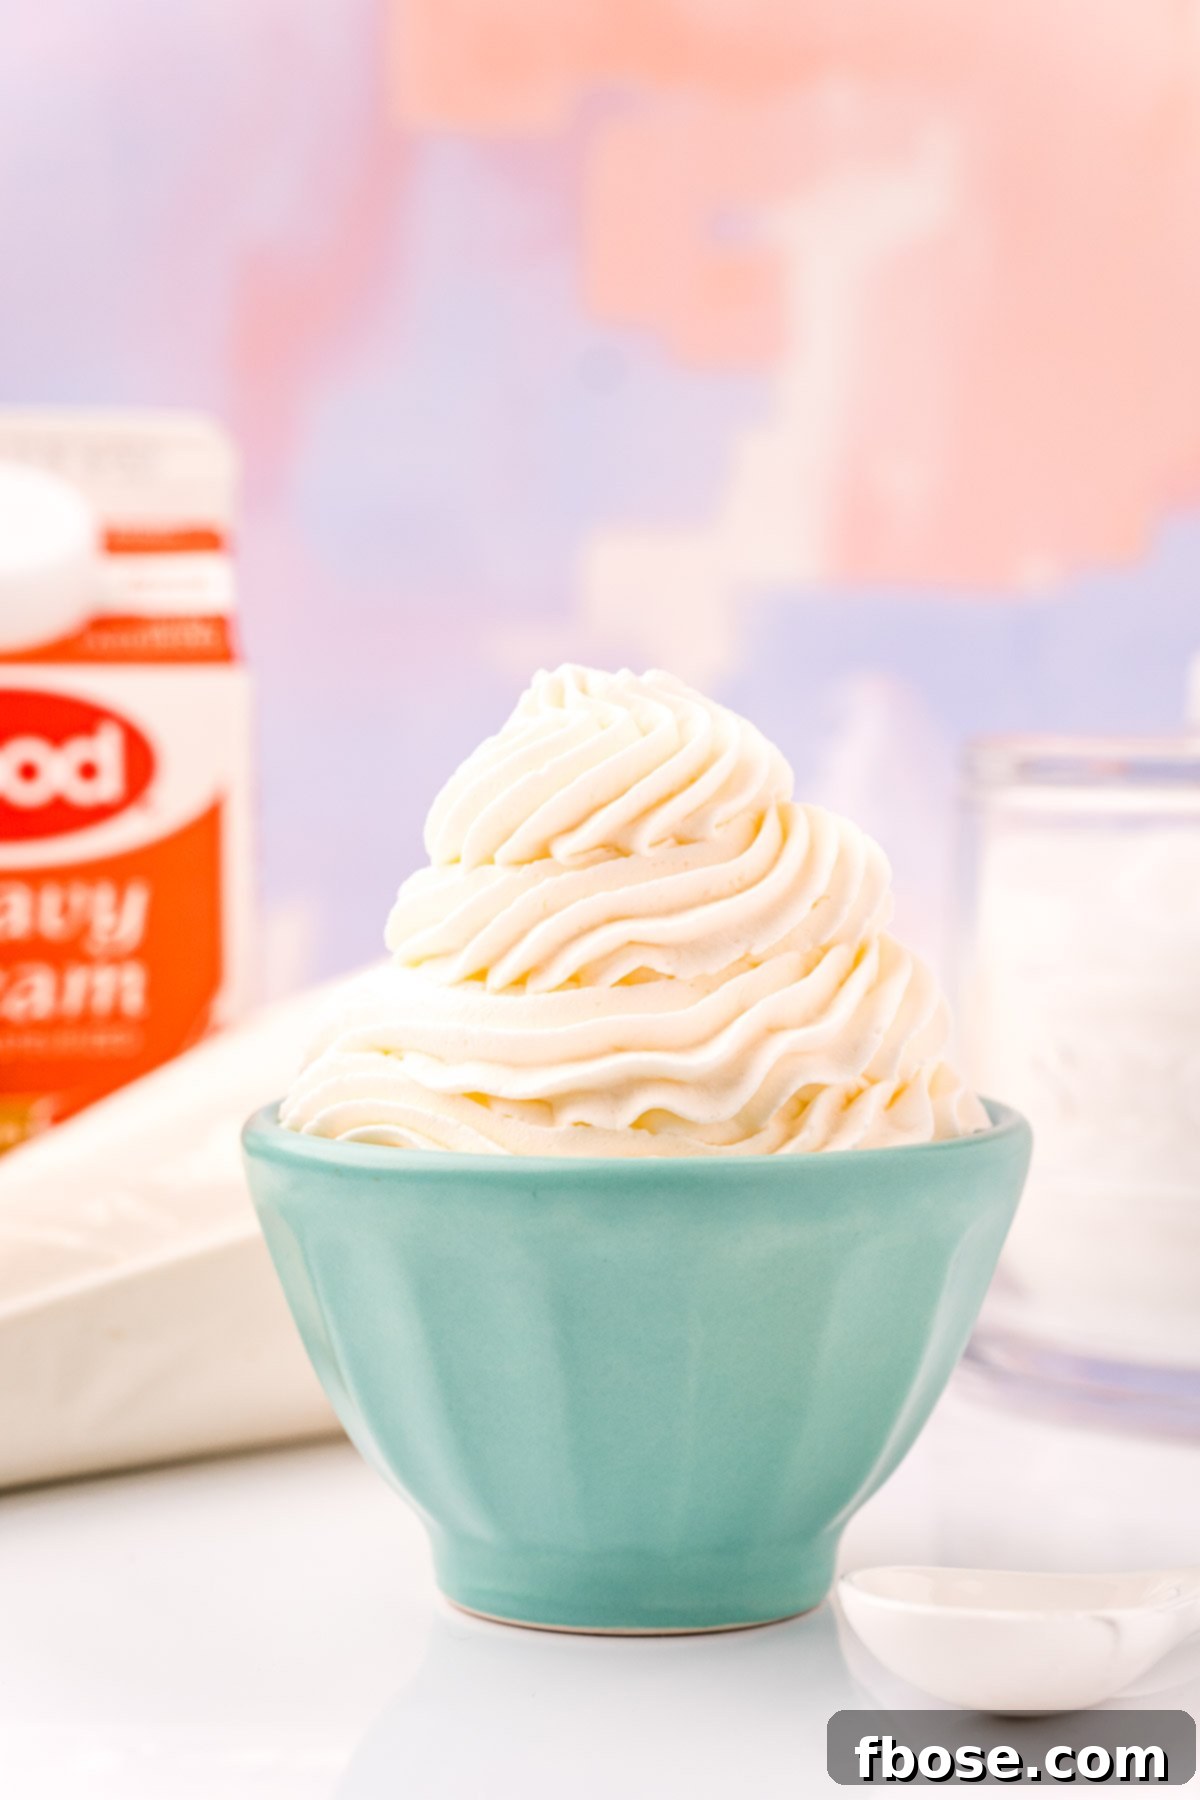
Delightful Ways to Serve Your Perfect Homemade Whipped Cream
This Perfect Homemade Whipped Cream is truly a universal topping, enhancing almost any dessert or even certain beverages. Its light, creamy texture and delightful sweetness make it an ideal accompaniment. Here are some delicious recipes and ideas that would pair absolutely wonderfully with your freshly made whipped cream:
- Homemade Strawberry Shortcake: Elevate this classic summer dessert. Fluffy homemade cream biscuits are generously layered with sweet, chopped fresh strawberries, then crowned with an abundant dollop of light, airy whipped cream for a truly unforgettable treat.
- Decadent Chocolate Waffles: Transform your breakfast or brunch into a gourmet experience. Rich, made-from-scratch chocolate waffles provide the perfect canvas for a luxurious topping of maple syrup, a cloud of fluffy whipped cream, or why not indulge in both for ultimate bliss!
- Refreshing Strawberry Jello Pie: This vibrant and easy-to-make pie is ready in just 10 minutes, featuring ripe, juicy berries suspended in strawberry jello, all nestled in a flaky pie crust. A generous serving of homemade whipped cream adds a delightful creamy contrast and elegant finish.
- Classic Chocolate Milkshake: Indulge in a thick, rich chocolate milkshake, crafted with only two ingredients and ready to sip in just five minutes. Crown it with a mountain of homemade whipped cream for an extra layer of decadence that’s sure to satisfy any sweet craving.
- Warm Apple Dump Cake: This incredibly easy 4-ingredient recipe creates a comforting dessert that beautifully blends the best elements of an apple cake and an apple crisp. Serve it warm with a generous dollop of cold, fluffy whipped cream melting over the spiced apples for a truly heartwarming experience.
- Hot Cocoa or Coffee: A spoonful or two turns any hot beverage into a luxurious treat.
- Fresh Berries: Simple, elegant, and delicious. A bowl of mixed berries with fresh whipped cream is a timeless dessert.
- Pancakes or French Toast: Add a touch of elegance to your breakfast spread.
- Fruit Tarts or Parfaits: Layer whipped cream with fruit and granola for a delightful snack or dessert.
Did You Make This Recipe?
If you’ve tried this recipe, please leave a review in the comments below. I love hearing from you! Don’t forget to tag me – @sugarandsoulco – on Instagram and Pinterest with your photos, or join our Sugar & Soul Show-offs Community and share them there.
Perfect Whipped Cream without Powdered Sugar
Ingredients
- 1 cup heavy cream
- 1 teaspoon vanilla extract
- 3 tablespoons granulated sugar
Instructions
-
Chill your mixing bowl and beater attachments (or whisk attachment for a stand mixer) in the freezer for a minimum of 10 to 15 minutes. This ensures everything is thoroughly cold.
-
Once chilled, remove the bowl and beaters from the freezer. Pour the cold heavy cream and vanilla extract into the bowl. Have your granulated sugar pre-measured and conveniently placed nearby.
-
Begin beating the cream mixture at a low speed for approximately 2 minutes. During this time, you’ll observe large, frothy bubbles starting to form. Once these initial bubbles are established, increase the mixer speed to medium.
-
Continue beating, and slowly begin to add the granulated sugar, one tablespoon at a time, at around the 3, 4, and 5-minute marks. If you are using a stand mixer, pause briefly at the 4-minute mark to scrape down the sides of the bowl with a rubber spatula, ensuring all ingredients are well incorporated.
-
After the final addition of sugar, continue to beat for another one to two minutes, or until soft peaks form. Soft peaks will hold their shape when you lift the beaters but will gently curl at the tips. It’s crucial not to overbeat at this stage; remember, we’re aiming for light whipped cream, not butter!
-
Immediately top your favorite desserts and drinks with your freshly made, perfect homemade whipped cream and enjoy its delightful texture and flavor!
Notes
- For best results and to maintain its airy texture, store homemade whipped cream covered in an airtight container in the refrigerator for up to two hours. It can last longer, but its texture may diminish.
- You have complete control over the sweetness! Feel free to use more or less sugar depending on your personal taste preference. As written, this recipe yields a sweet whipped cream, so adjust accordingly for your desired balance.
- While granulated sugar is recommended for its smooth dissolution, you can also substitute powdered sugar (confectioners’ sugar) for the granulated sugar. Powdered sugar often contains cornstarch, which can help stabilize the whipped cream, making it hold its shape longer.
- If you desire stiffer peaks for piping or more stable decorations, simply whip the cream for an extra minute or so after soft peaks form. Watch carefully to avoid over-whipping and turning it into butter.
- To add different flavors to your whipping cream, incorporate 1/2 to 1 teaspoon of your preferred flavored extract (e.g., almond, peppermint, citrus) per cup of cream. Add it in at the beginning with the liquid cream and vanilla.
- For an adult twist, you can “spike” your whipped cream with 1 tablespoon of your favorite liqueur per cup of cream. Add the liqueur along with the liquid cream and vanilla before you begin whipping.
- If you need an extra firm cream suitable for frosting a cake or filling pastries, consider adding 2-3 tablespoons of instant Jell-O pudding powder per cup of cream. Choose a flavor that complements your dessert. This will significantly stiffen and stabilize the whipped cream.
- Please note that the nutritional information provided is an estimate per cup of prepared whipped cream.
Nutrition
Did You Make This Recipe?
Don’t forget to share it with me on Instagram @sugarandsoulco and follow on Tiktok @sugarandsoulco and Pinterest @sugarandsoulco for more!
Pin Recipe
Share Recipe