
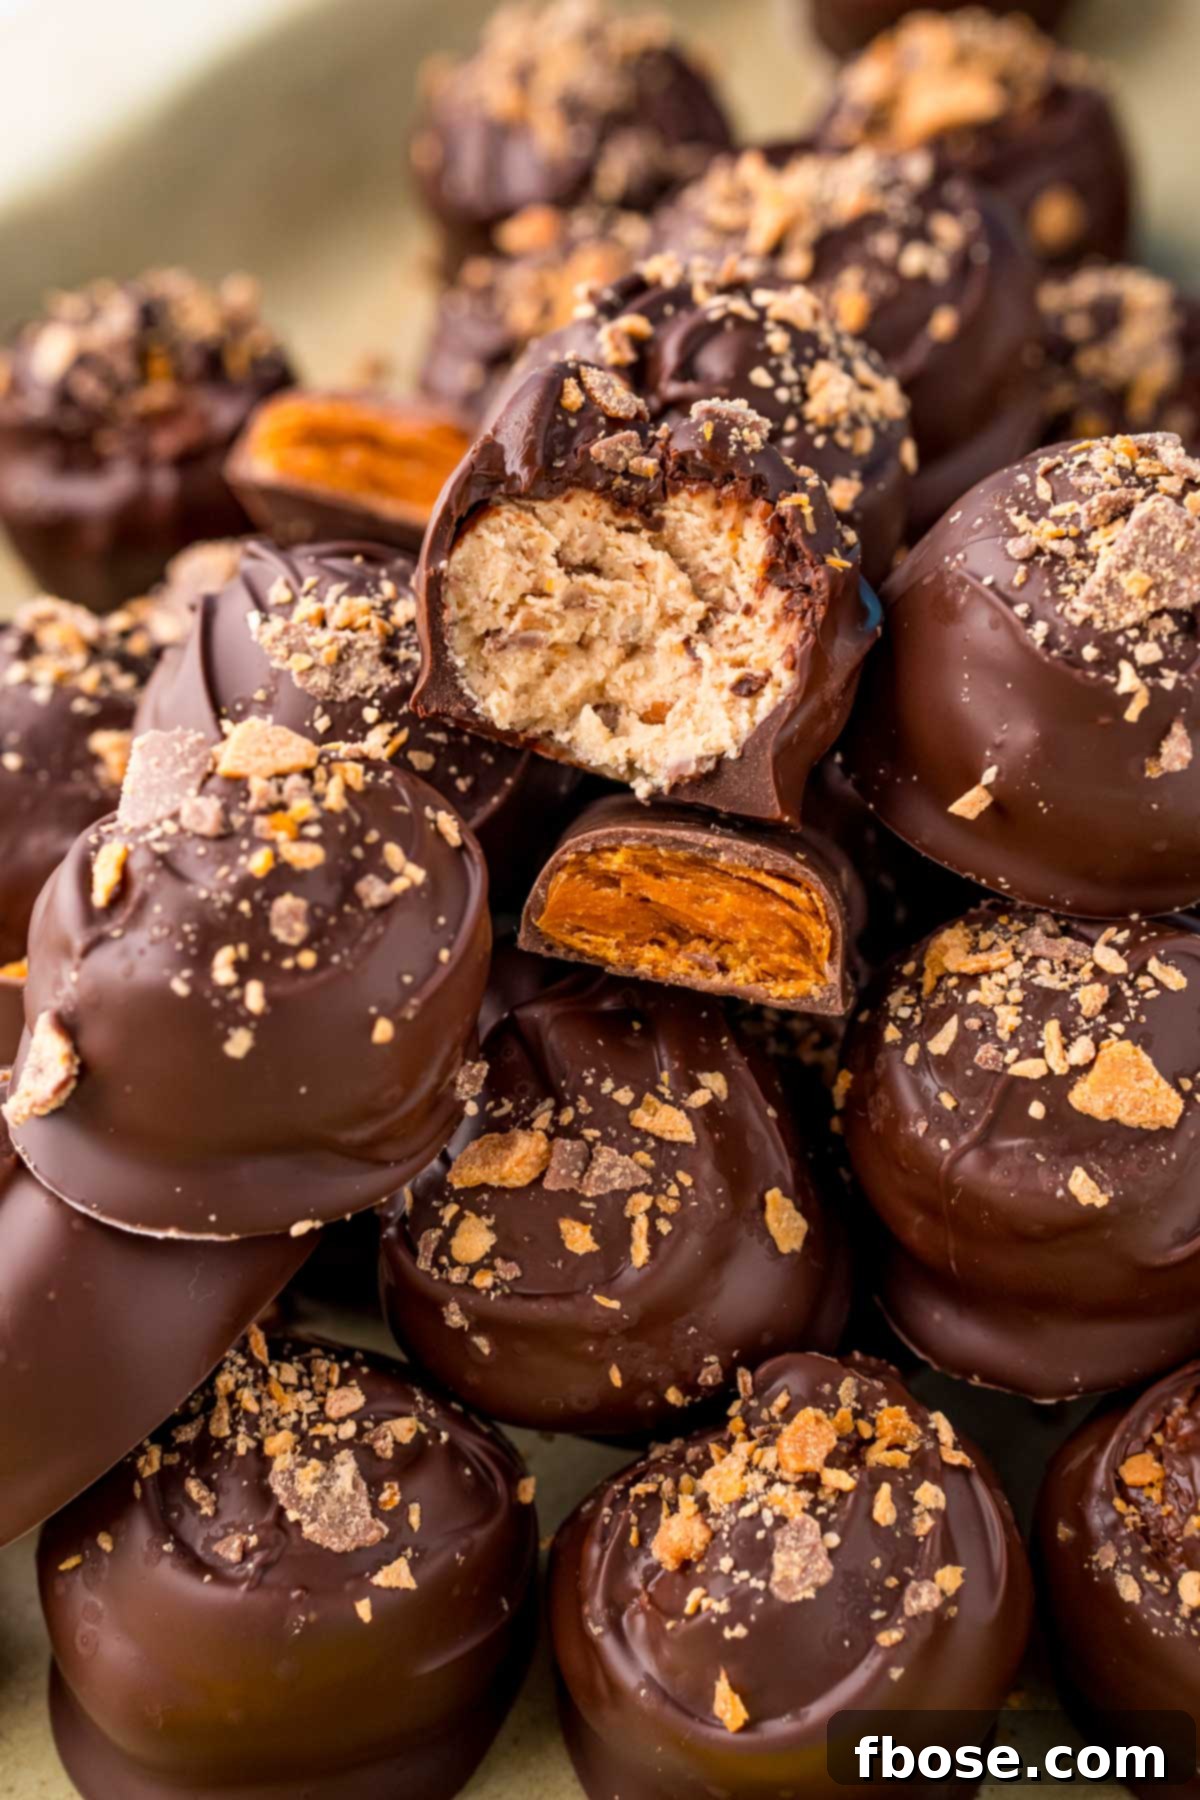
Butterfinger Balls are an irresistible no-bake dessert featuring a creamy, crunchy Butterfinger filling, elegantly dipped in rich melted chocolate, and crowned with extra Butterfinger Bits. This delightful treat captures everything you adore about the iconic Nestle candy bar in a convenient, bite-sized form, perfect for any occasion. With just a handful of simple ingredients and a quick 30-minute prep time, you’ll have a batch of these craveable confections ready to impress!
Craving more decadent, handheld desserts that are guaranteed to be a hit at any gathering? Be sure to explore our other beloved truffle recipes, such as our vibrant Mint Cookie Truffles, or indulge in the pure comfort of Cookie Dough Truffles! These Butterfinger truffles are poised to become your new favorite for potlucks, parties, or simply a sweet moment at home.
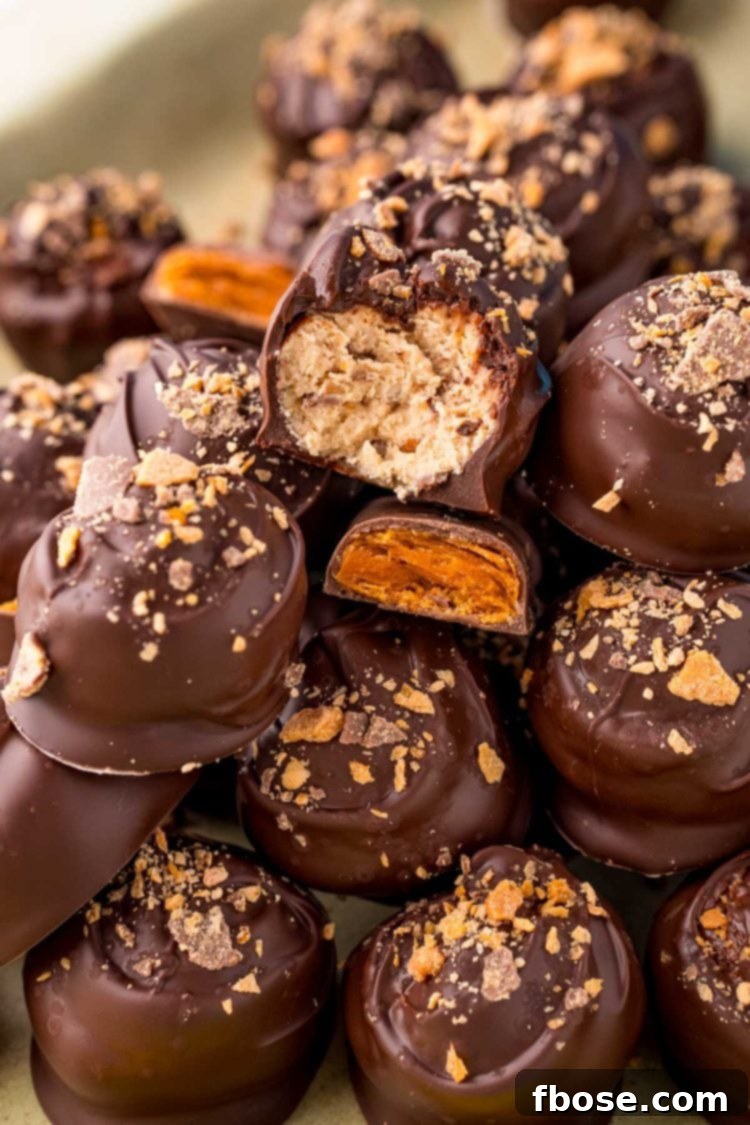
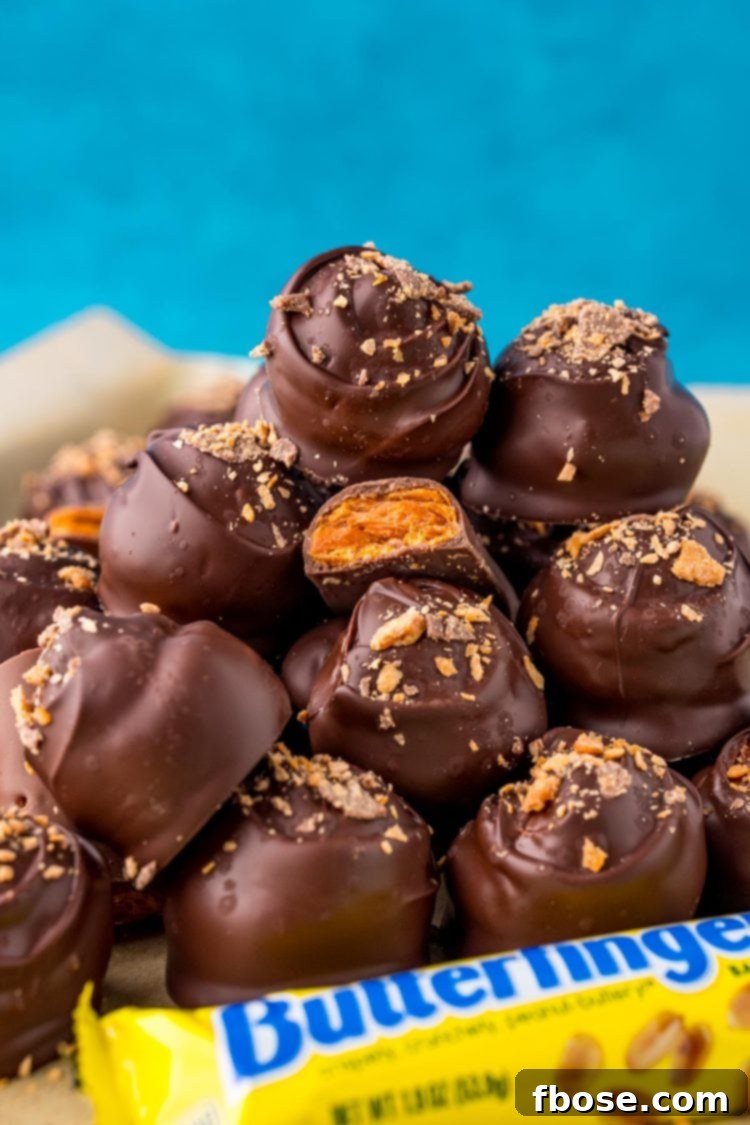
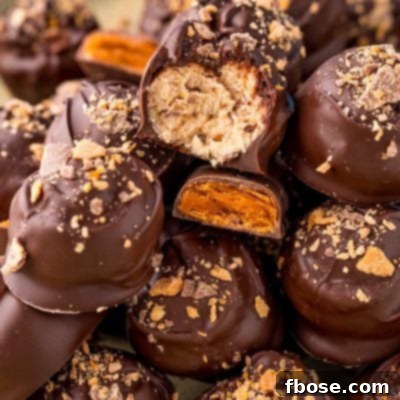
These magnificent Butterfinger Balls effortlessly bring together the iconic flavors and textures of the classic Nestle Butterfinger candy bar into a sophisticated yet playful truffle. Each exquisite bite delivers a smooth, peanut-buttery filling, studded with crunchy Butterfinger pieces, all encased in a glossy chocolate shell, and finished with a final flourish of additional Butterfinger bits for that signature crisp texture and flavor. It’s a symphony of sweet and salty, smooth and crunchy, making it an undeniable crowd-pleaser.
As a passionate enthusiast of truffles and dessert balls, I find them to be the ultimate party treat, especially during holidays or family gatherings. From the nostalgic Peanut Butter Buckeye Balls to the effortlessly delicious Easy Oreo Chocolate Truffles, I’ve yet to encounter a dessert ball that hasn’t captured my heart. The delightful combination of buttery crunch and sweet peanut butter in a Butterfinger candy bar inspired me to transform this beloved flavor profile into a truffle, merging two of my favorite types of treats into one perfectly portioned, easy-to-enjoy dessert experience.
Why You’ll Adore This Butterfinger Balls Recipe!
- Effortless Elegance: These Butterfinger Balls combine gourmet appeal with incredible ease. They look impressive on any dessert platter, yet require minimal culinary skill and time to create, making them perfect for both seasoned bakers and beginners.
- Grab & Go Perfection: While I certainly appreciate a luscious slice of cake or a comforting piece of pie, the convenience of a bite-sized dessert cannot be overstated. These truffles offer a mess-free, handheld indulgence, ideal for mingling at parties or simply enjoying without needing plates and forks.
- Remarkably Simple To Make: Forget complicated baking techniques! The process for these Butterfinger truffles is straightforward: simply blend the filling ingredients, roll them into balls, dip them in melted chocolate, and sprinkle with Butterfinger Bits. It’s so simple that anyone can master this recipe and delight in the results.
- Minimal Ingredients, Maximum Flavor: You’d expect such a rich and flavorful treat to require an extensive list of ingredients, but these truffles are made with surprisingly few—just six core items! This simplicity makes them an accessible and budget-friendly dessert option.
- Generous Yield for Every Gathering: This recipe yields just under three dozen delectable truffles, ensuring there’s plenty to go around for even larger gatherings. Whether it’s a holiday party, a potluck, or a family celebration, these Butterfinger Balls will satisfy every sweet tooth and likely leave you with a few extra to enjoy yourself!
- Versatility for All Seasons: While perfect for holiday trays, these Butterfinger Balls are equally suitable for summer BBQs, school events, or even as a thoughtful homemade gift. Their robust flavor holds up well, and their portable nature makes them a fantastic year-round dessert.
Essential Ingredient Notes for Perfect Butterfinger Balls
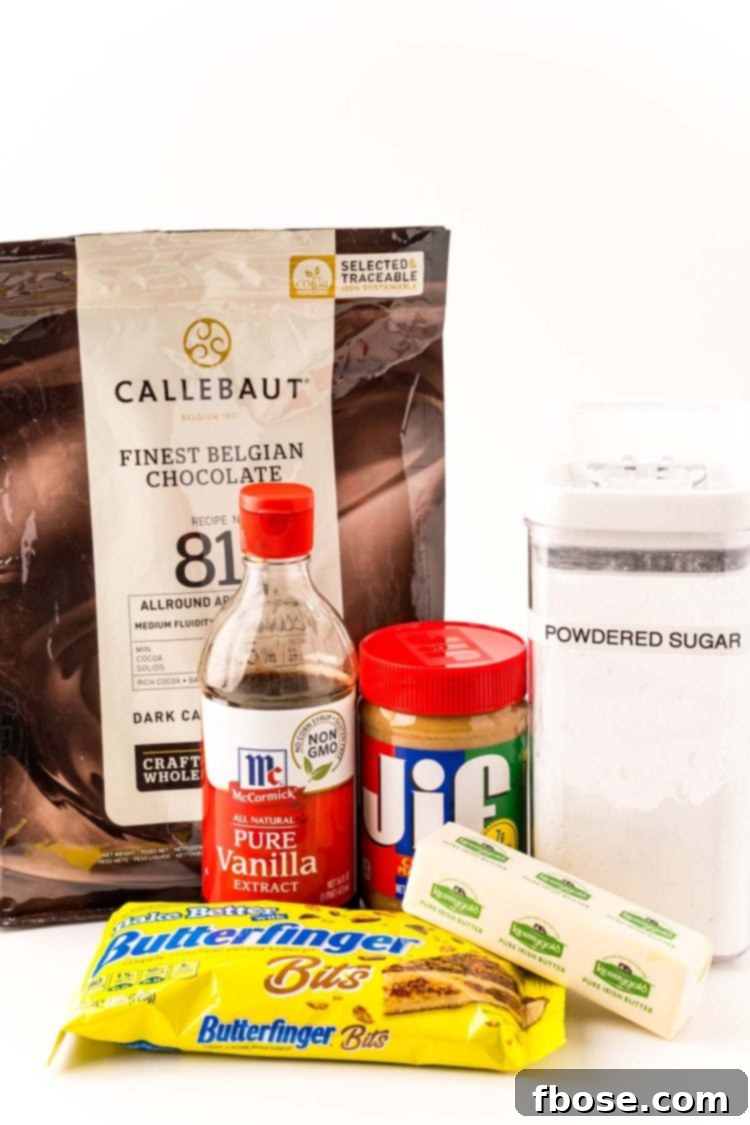
Crafting these delectable Butterfinger Balls begins with their rich and creamy filling. This irresistible core is made by combining smooth peanut butter, softened salted butter, fine powdered sugar, and a touch of vanilla extract. Once these ingredients are harmoniously blended, the true hero of this recipe makes its grand entrance: Butterfinger Bits!
If you’re wondering where to find these convenient Butterfinger Bits, they are typically readily available at major retailers like Walmart, often located in the baking aisle alongside other candy toppings. Should you have difficulty locating pre-packaged bits, a simple solution is to purchase full-sized Butterfinger Candy Bars and crush them yourself. For the best texture, aim for varying sizes—some finer crumbs and some slightly larger chunks—to replicate that signature Butterfinger crunch within the truffle filling.
Once the peanut butter-Butterfinger filling has been perfectly rolled into uniform balls and thoroughly chilled to firm consistency, it’s time for their luxurious chocolate coating. For the smoothest, most professional finish, we recommend using high-quality chocolate melting wafers or a premium brand like Callebaut chocolate. These options are specifically designed to melt evenly and set beautifully without tempering, ensuring a crisp, shiny shell.
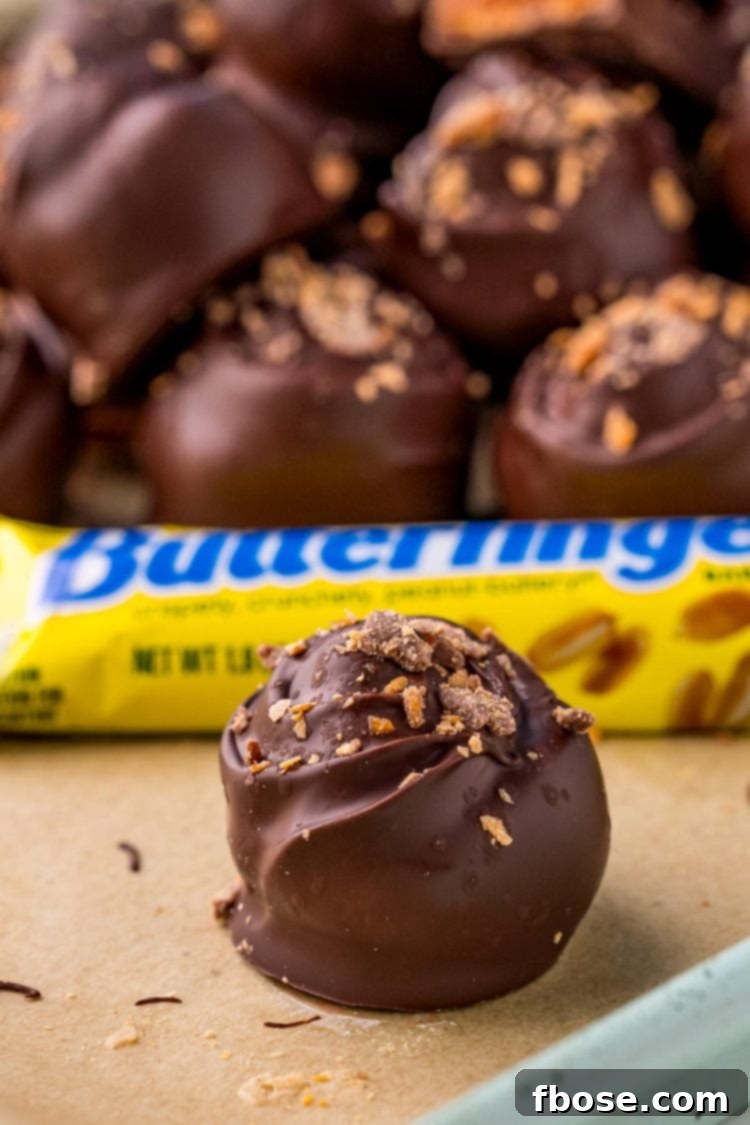
Immediately after each truffle is dipped and still warm from the chocolate coating, a final generous sprinkle of additional Butterfinger bits is added. This not only enhances their visual appeal but also provides an extra layer of that beloved crunchy texture and unmistakable Butterfinger flavor, completing these exquisite treats.
How To Masterfully Craft Butterfinger Balls
Creating these delightful Butterfinger Balls is a straightforward process, but paying attention to each step ensures perfect results every time. Follow these detailed instructions to achieve a batch of irresistible truffles:
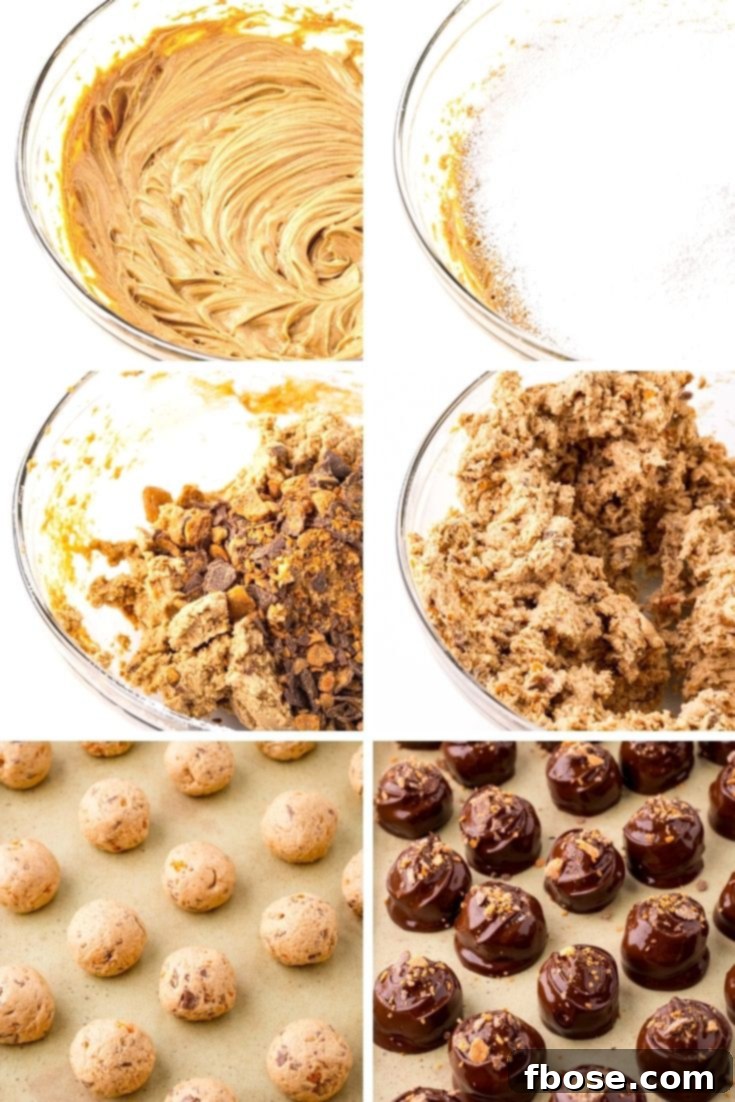
Step 1: Prepare the Base. In a large mixing bowl or the bowl of a stand mixer, combine the creamy peanut butter, softened salted butter, and vanilla extract. Beat these ingredients together for approximately 30 seconds until they are well combined and have a smooth consistency.
Step 2: Incorporate Sweetness. Gradually sift the powdered sugar into the bowl with the peanut butter mixture. Sifting is crucial here to prevent lumps and ensure a silky-smooth filling. Beat the mixture on low speed initially, then increase as needed until the powdered sugar is fully incorporated and the mixture is smooth and lump-free.
Step 3: Add the Signature Crunch. Gently fold in the Butterfinger bits until they are evenly distributed throughout the peanut butter mixture. Avoid overmixing, as this can break down the bits too much. Once combined, cover the bowl and transfer the mixture to the refrigerator to chill for at least 30 minutes. This chilling step is vital for making the mixture easier to handle and roll.
Step 4: Form the Truffle Balls. Line a baking sheet with parchment paper. Using a medium cookie scoop (or about 1 to 1.5 tablespoons), portion out the chilled Butterfinger filling. Roll each portion between your palms to form smooth, uniform balls. Place the formed balls onto the prepared baking sheet. Once all balls are rolled, transfer the baking sheet to the freezer for 20 to 30 minutes. This quick freeze helps the balls firm up significantly, making them easier to dip and preventing them from melting when they hit the warm chocolate.
Step 5: Melt the Chocolate. Just before you are ready to remove the Butterfinger balls from the freezer, prepare your chocolate coating. Place the chocolate melting wafers in a wide, microwave-safe glass or bowl. Microwave in 30-second intervals, stirring thoroughly after each interval, until the chocolate is completely melted and smooth. A wide container is essential for easy dipping.
Step 6: Dip and Coat. Remove the chilled Butterfinger balls from the freezer. Using a fork or a specialized dipping tool, carefully dip each ball into the melted chocolate, allowing any excess chocolate to drip off. Ensure the ball is evenly coated but avoid submerging it completely if you want a slight “bottom” that isn’t fully coated. Gently place the chocolate-dipped balls back onto the parchment paper-lined baking sheet.
Step 7: Final Touches and Set. Immediately after dipping each ball (while the chocolate is still wet), sprinkle the tops generously with additional Butterfinger Bits. This final touch adds visual appeal and an extra layer of crunch. Allow the chocolate to set completely at room temperature or in the refrigerator until hardened, typically about 15-30 minutes. Once set, they are ready to serve and enjoy!
Frequently Asked Questions About Butterfinger Balls
How Do I Store These Butterfinger Truffles?
To maintain their freshness, optimal texture, and prevent the chocolate from blooming, store your finished Butterfinger Truffles in an airtight container in the refrigerator. Properly stored, they will remain delicious for up to 7 days. Ensure they are in a single layer or separated by parchment paper if stacking to prevent sticking.
Do These Freeze Well?
Absolutely! These Butterfinger Balls are excellent for freezing, making them a fantastic make-ahead dessert. To freeze them, first arrange the hardened truffles in a single layer on a baking sheet and place them in the freezer until completely solid. This flash-freezing step prevents them from sticking together. Once frozen, transfer the solid truffles into a Ziploc freezer bag or another airtight freezer-safe container, pressing out any excess air to prevent freezer burn. They can be stored in the freezer for up to 3 months. When ready to enjoy, simply thaw them in the refrigerator for a few hours.
Can I Use All-Natural Peanut Butter In This Recipe?
This recipe was developed and tested using Jif creamy peanut butter, which has a consistent texture and oil content that contributes to the truffle’s structure. While you can certainly experiment with all-natural peanut butter, be aware that its consistency can vary significantly. All-natural varieties often separate and are runnier, which might alter the texture of the filling, making it less firm. If you do try it, you might need to adjust the amount of powdered sugar to achieve the desired consistency.
Why Do I Have So Much Excess Chocolate Leftover After Dipping?
It’s completely normal to have a substantial amount of melted chocolate remaining after dipping your truffles. To achieve a smooth, even coating on each ball, the chocolate needs to be deep enough in your dipping container to fully submerge the truffle almost completely. Attempting to dip with too little chocolate makes it difficult to get a uniform coat and results in a messier process. The leftover chocolate can often be saved, re-melted, and used for other purposes, like drizzling over ice cream or making chocolate bark.
How Long Can I Keep The Butterfinger Balls In The Freezer Before Dipping?
For the best results and to prevent issues with chocolate adhesion, we recommend freezing the Butterfinger balls for no more than 30 minutes prior to dipping. This duration is sufficient to firm them up without making them overly cold or prone to condensation. If you find yourself not ready to dip after 30 minutes, simply transfer the balls from the freezer to the refrigerator to maintain their chilled state without over-freezing.
Why Won’t The Chocolate Stick To The Balls?
If your chocolate isn’t adhering properly to the Butterfinger balls, the most common culprit is condensation. It’s crucial that the Butterfinger balls do not sit out at room temperature for too long before dipping, especially after being chilled. When cold balls warm up in a humid environment, they can begin to “sweat” or form moisture on their surface. This moisture creates a barrier, making it very difficult for the melted chocolate to stick and coat the balls smoothly. Always work quickly and dip the balls directly from the freezer or refrigerator.
Can I Use Chocolate Chips Instead Of Melting Wafers?
Certainly! While melting wafers are designed for easy melting and a smooth finish, chocolate chips can be used as a substitute. To ensure your melted chocolate chips are perfectly smooth and fluid for dipping, add about ½ teaspoon of coconut oil (or a neutral oil like vegetable shortening) for every cup of chocolate chips used. The coconut oil helps thin the chocolate and gives it a beautiful, glossy finish once set.
Tips for Success & Variations
To ensure your Butterfinger Balls turn out absolutely perfect, here are a few extra tips and ideas for variations:
- Room Temperature Butter: Ensure your salted butter is truly softened to room temperature. This is key for achieving a smooth, lump-free filling that blends easily with the peanut butter and powdered sugar.
- Quality Chocolate Matters: Using good quality melting chocolate or chocolate chips will significantly impact the final taste and texture of your truffles. Higher quality chocolate melts smoother and sets with a better snap.
- Double Dipping for Thicker Coat: If you prefer a thicker chocolate shell, allow the first layer to set completely, then briefly re-dip the truffles into the melted chocolate. Be quick, as this can warm the truffle and lead to sweating.
- Experiment with Chocolate Types: While milk chocolate is classic, consider using dark chocolate for a less sweet, more intense flavor profile, or white chocolate for a creamier, distinct taste. You could even drizzle multiple types of chocolate for a decorative effect.
- Salted Caramel Drizzle: For an extra layer of decadence, drizzle a thin stream of homemade or store-bought salted caramel sauce over the chocolate-coated truffles before they fully set.
- Holiday Sprinkles: To make them festive for specific holidays, add holiday-themed sprinkles over the chocolate before it hardens, alongside or in place of Butterfinger bits.
- Gifting Idea: These Butterfinger Balls make wonderful homemade gifts! Arrange them in decorative boxes with parchment paper between layers and tie with a ribbon. They’re sure to be appreciated!
These hand-held Butterfinger Balls are poised to become one of the most cherished and talked-about treats at any party or holiday gathering. Their distinctive flavor and satisfying crunch make them an unforgettable addition to any dessert table. If you’re a fan of these easy-to-make, incredibly delicious truffles, you’ll love exploring these other decadent and equally delightful truffle recipes:
- Easy Oreo Chocolate Truffles – A truly decadent and simple treat that comes together in a mere 20 minutes, perfect for last-minute cravings!
- Muddy Buddy Balls – Experience all the beloved flavors and textures of classic Puppy Chow, artfully rolled into a convenient ball and exquisitely dipped in chocolate.
- Easy Peppermint Oreo Balls – This incredibly simple recipe yields two dozen refreshing and minty dessert bites, perfect for the holiday season or any time you crave a cool treat.
- Homemade Cookie Butter Balls – A sweet and unique treat crafted with just 4 ingredients in only 30 minutes, offering a delightful twist on classic truffles.
- Peanut Butter Balls – A timeless classic featuring a slightly crunchy peanut butter filling, generously coated in melted chocolate, and sprinkled with buttery graham cracker crumbs for added texture.
Let’s Connect and Share Your Creations!
If you’ve taken the plunge and tried this amazing Butterfinger Balls recipe, we would absolutely love to hear from you! Please share your experience and let us know how much you enjoyed them in the comments section below, and don’t forget to leave a star rating. Your feedback helps us and other home bakers create more delicious memories!
We also encourage you to showcase your culinary masterpieces! Don’t forget to tag us – @sugarandsoulco – on Instagram and Pinterest with your beautiful photos. You can also join our vibrant Sugar & Soul Show-offs Community on Facebook, where you can share your creations and even participate in our exciting recipe challenges! Happy baking!
Butterfinger Balls
Ingredients
- 1⅓ cup creamy peanut butter
- ½ cup salted butter softened
- 1 teaspoons vanilla extract
- 2 cups powdered sugar
- 1½ cups Butterfinger Bits plus more for topping (optional)
- 3 cups chocolate melting wafers
Instructions
-
Add the peanut butter, butter, and vanilla to a large bowl or stand mixer and cream together for 30 seconds.
-
Sift the powdered sugar into the bowl and beat until smooth.
-
Mix in the butterfinger bits until incorporated.
-
Chill the mixture in the refrigerator for 30 minutes.
-
Line a cookie sheet with parchment paper and portion the peanut butter mixture out with a medium cookie scoop and roll into balls. Place them on the cookie sheet and chill in the freezer for 20 to 30 minutes.
-
Just before removing the balls from the freezer, melt the chocolate melting wafers in a wide glass on 30-second intervals, stirring between each, until fully melted.
-
Use a fork or dipping tool to dip them in the melted chocolate then place them back on the parchment paper.
-
Sprinkle the tops of the balls with Butterfinger Bits and then allow them to set until the chocolate hardens.
Notes
- Store in an airtight container in the refrigerator for up to 7 days or freeze in a freezer bag for up to 3 months.
- Jif creamy peanut butter was used in this recipe and I have never tested it with all-natural peanut butter.
- Chocolate chips may be used in place of the melting wafers. Add ½ teaspoon of coconut oil to every cup of chocolate chips for smoothness.
- There will be excess chocolate remaining since you need to be able to dip these balls almost fully without covering the tops, so you need the chocolate to be deep enough at all times for the balls to sink in.
- Don’t let the balls sit out too long before dipping because they can start to sweat and it will make it hard for the chocolate to stick.
- Do not freeze for more than 30 minutes prior to dipping. Place in the refrigerator if not ready to dip.