Candy Cane Danish
This super easy candy cane danish is made with crescent rolls and pie filling then topped with a simple icing glaze. Perfect for a festive Christmas breakfast!
- Total 30 minutes
- Serves 16 slices
- Breakfast
- American

This super easy candy cane danish is made with crescent rolls and pie filling then topped with a simple icing glaze. Perfect for a festive Christmas breakfast!
 more
more
Why this recipe works
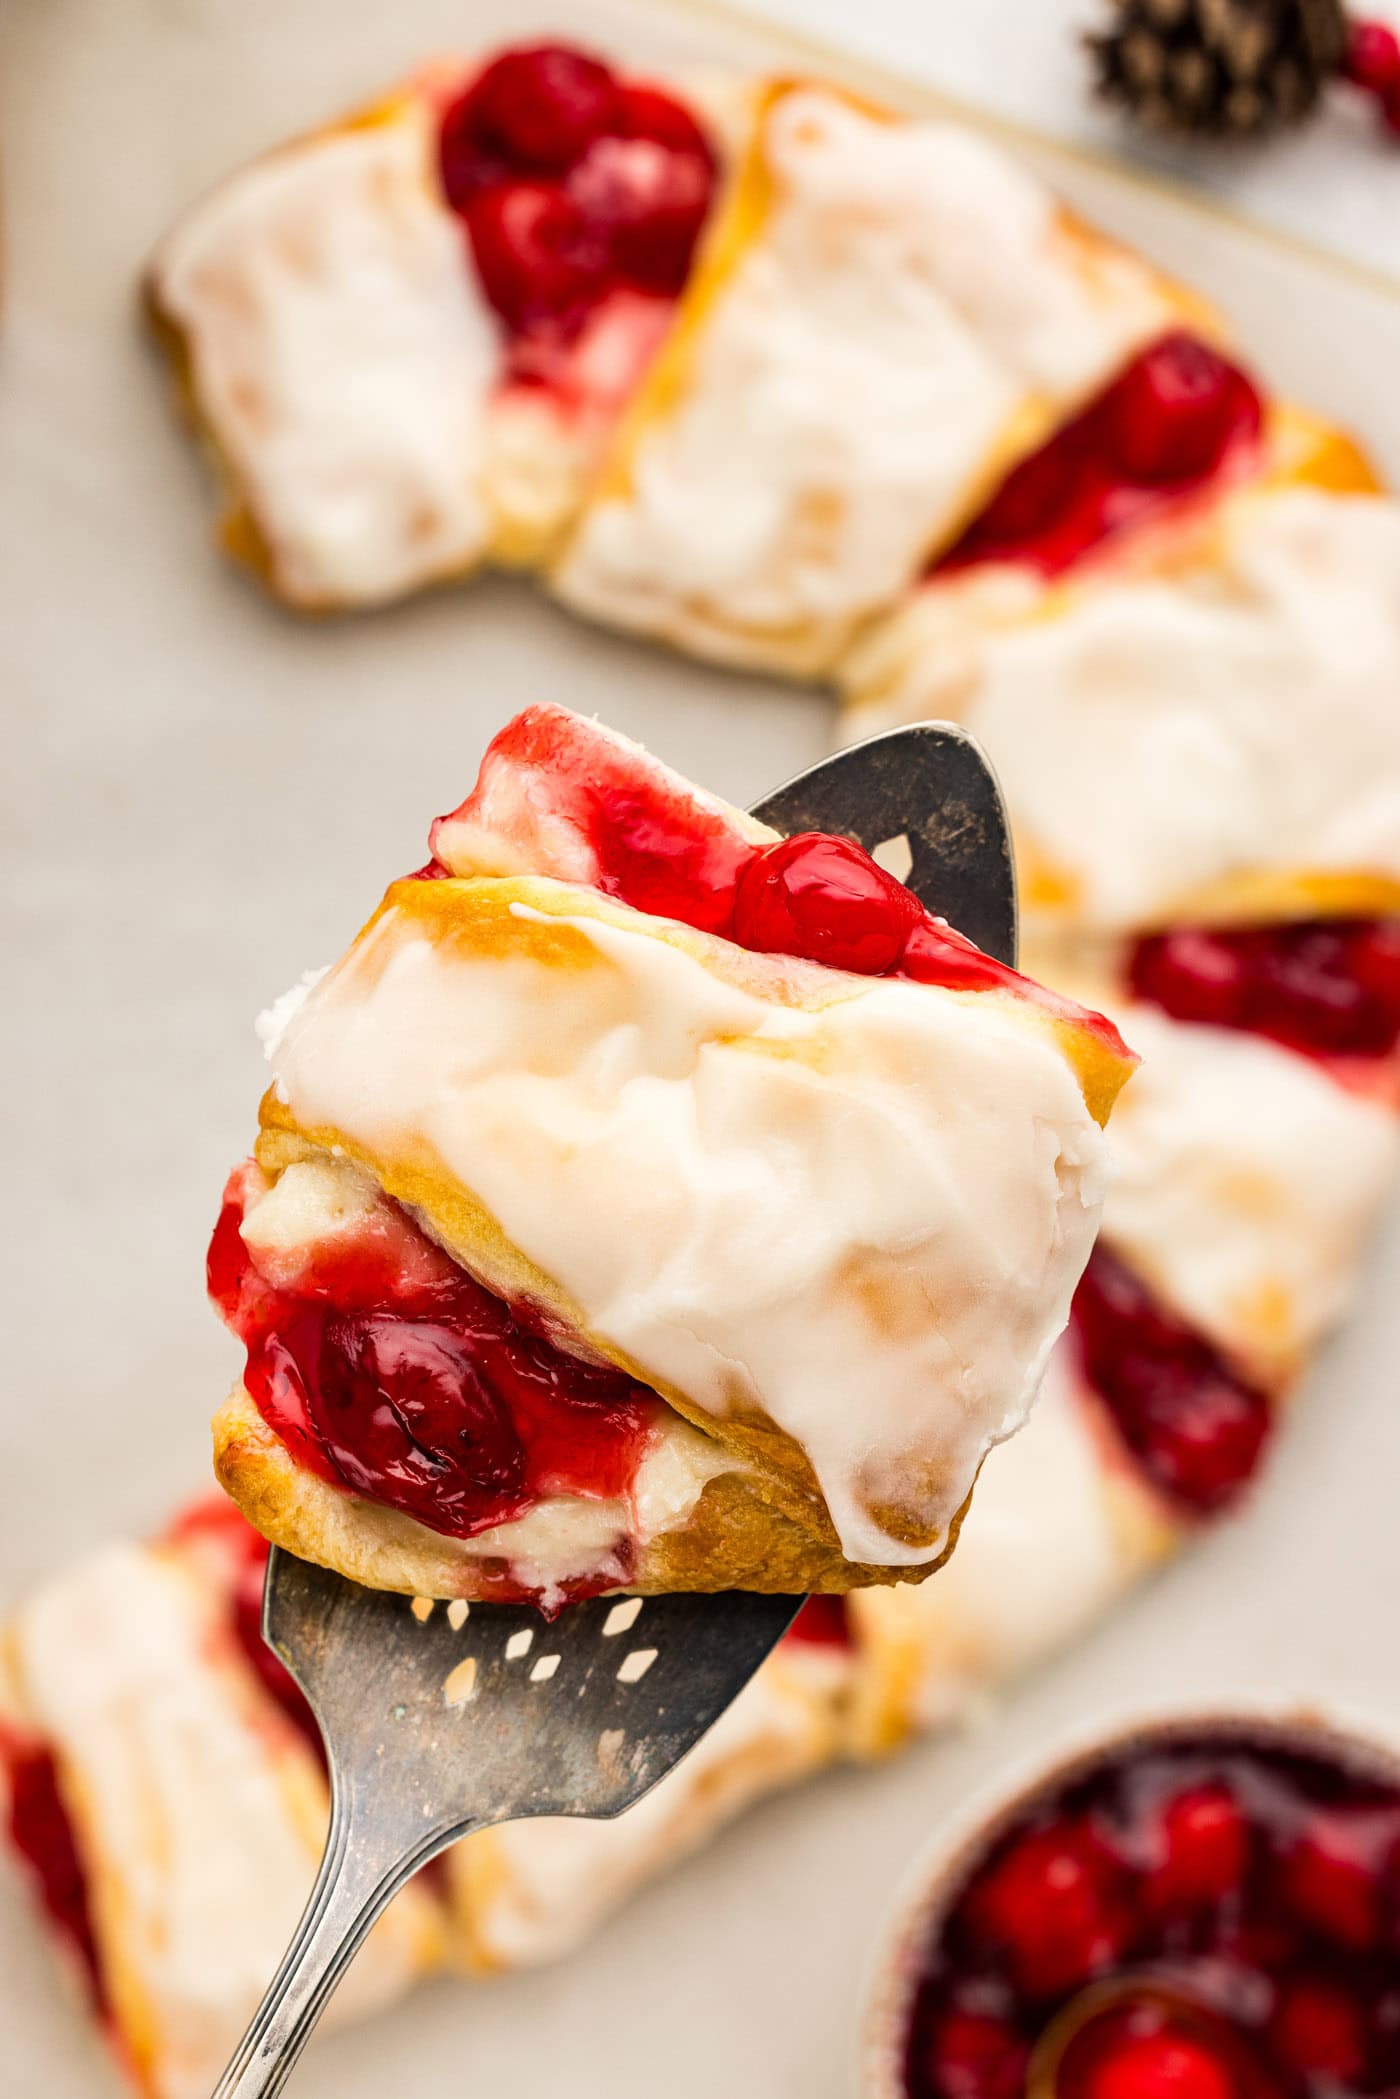
This candy cane danish brings a little whimsy to the breakfast table on Christmas morning. It’s basically an easy-to-make cherry cheese danish baked into the shape of a candy cane.
Crescent rolls and pie filling make this recipe quick so there’s no kneading or dough proofing required. Perfect for one of the busiest mornings of the year! Tie the red and white stripes together with a simple glaze drizzled on top and you’re ready to go.
Ingredients you will need
Get all measurements, ingredients, and instructions in the printable version at the end of this post.
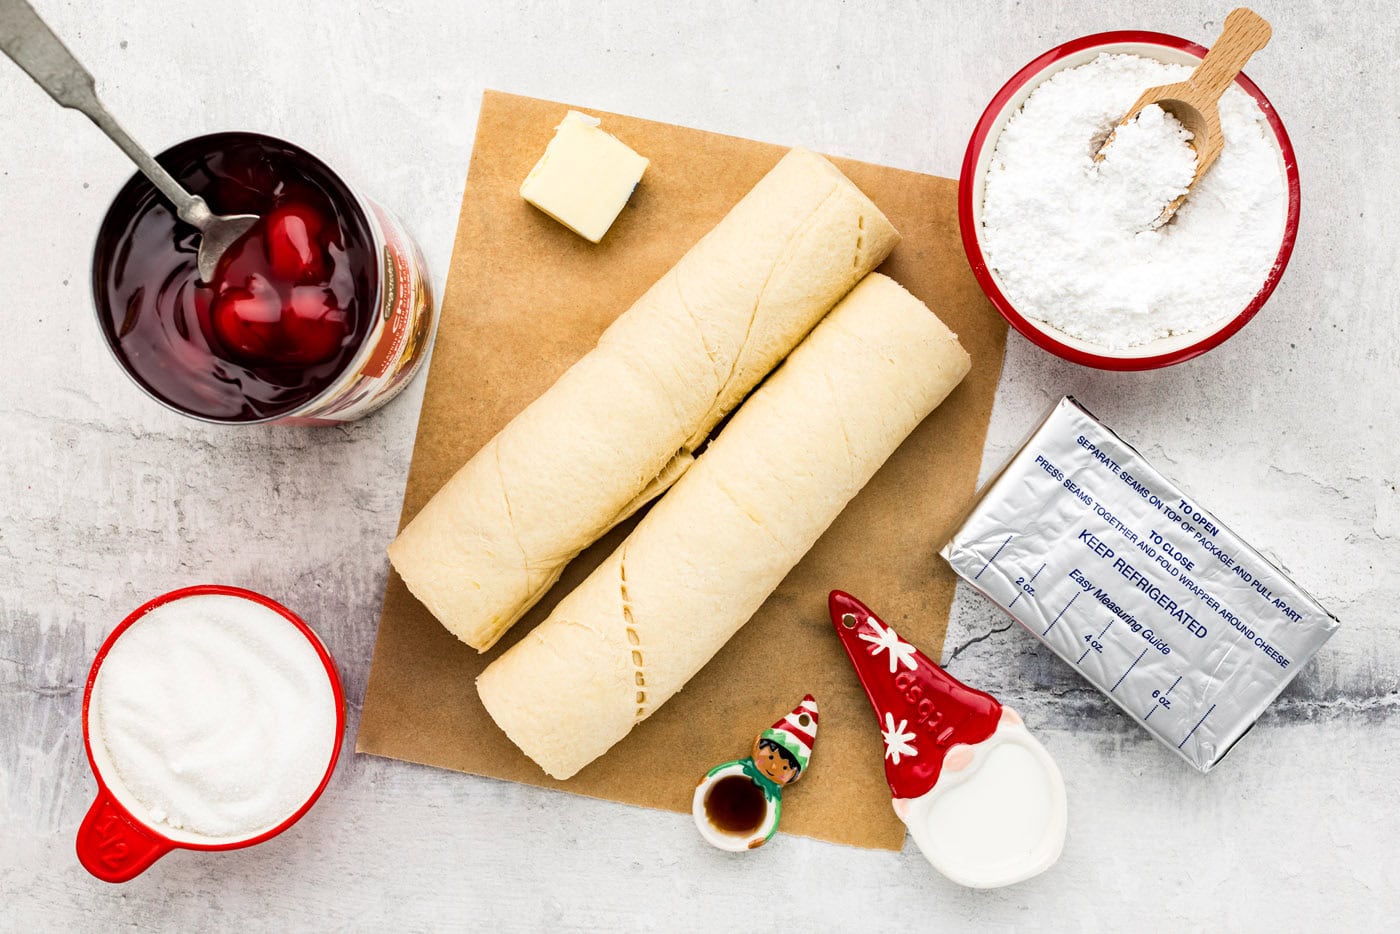
Ingredient Info and Substitution Suggestions
DOUGH – You will need two 8 ounce tubes of crescent rolls for this recipe.
PIE FILLING – You can use store-bought pie filling or homemade cherry pie filling if you prepped some this past year. We have also made it with both raspberry and strawberry pie filling in the past, both were equally as good.
CREAM CHEESE FILLING – The cream cheese filling in this candy cane danish recipe can be flavored with vanilla or a blend of vanilla and almond extracts. The almond complements the cherries so well. Feel free to play around with the flavoring.
How to Make Candy Cane Danish
These step by step photos and instructions are here to help you visualize how to make this recipe. You can Jump to Recipe to get the printable version of this recipe, complete with measurements and instructions at the bottom.
- Preheat oven to 375°F. Line 2 cookie sheets with parchment and set aside.
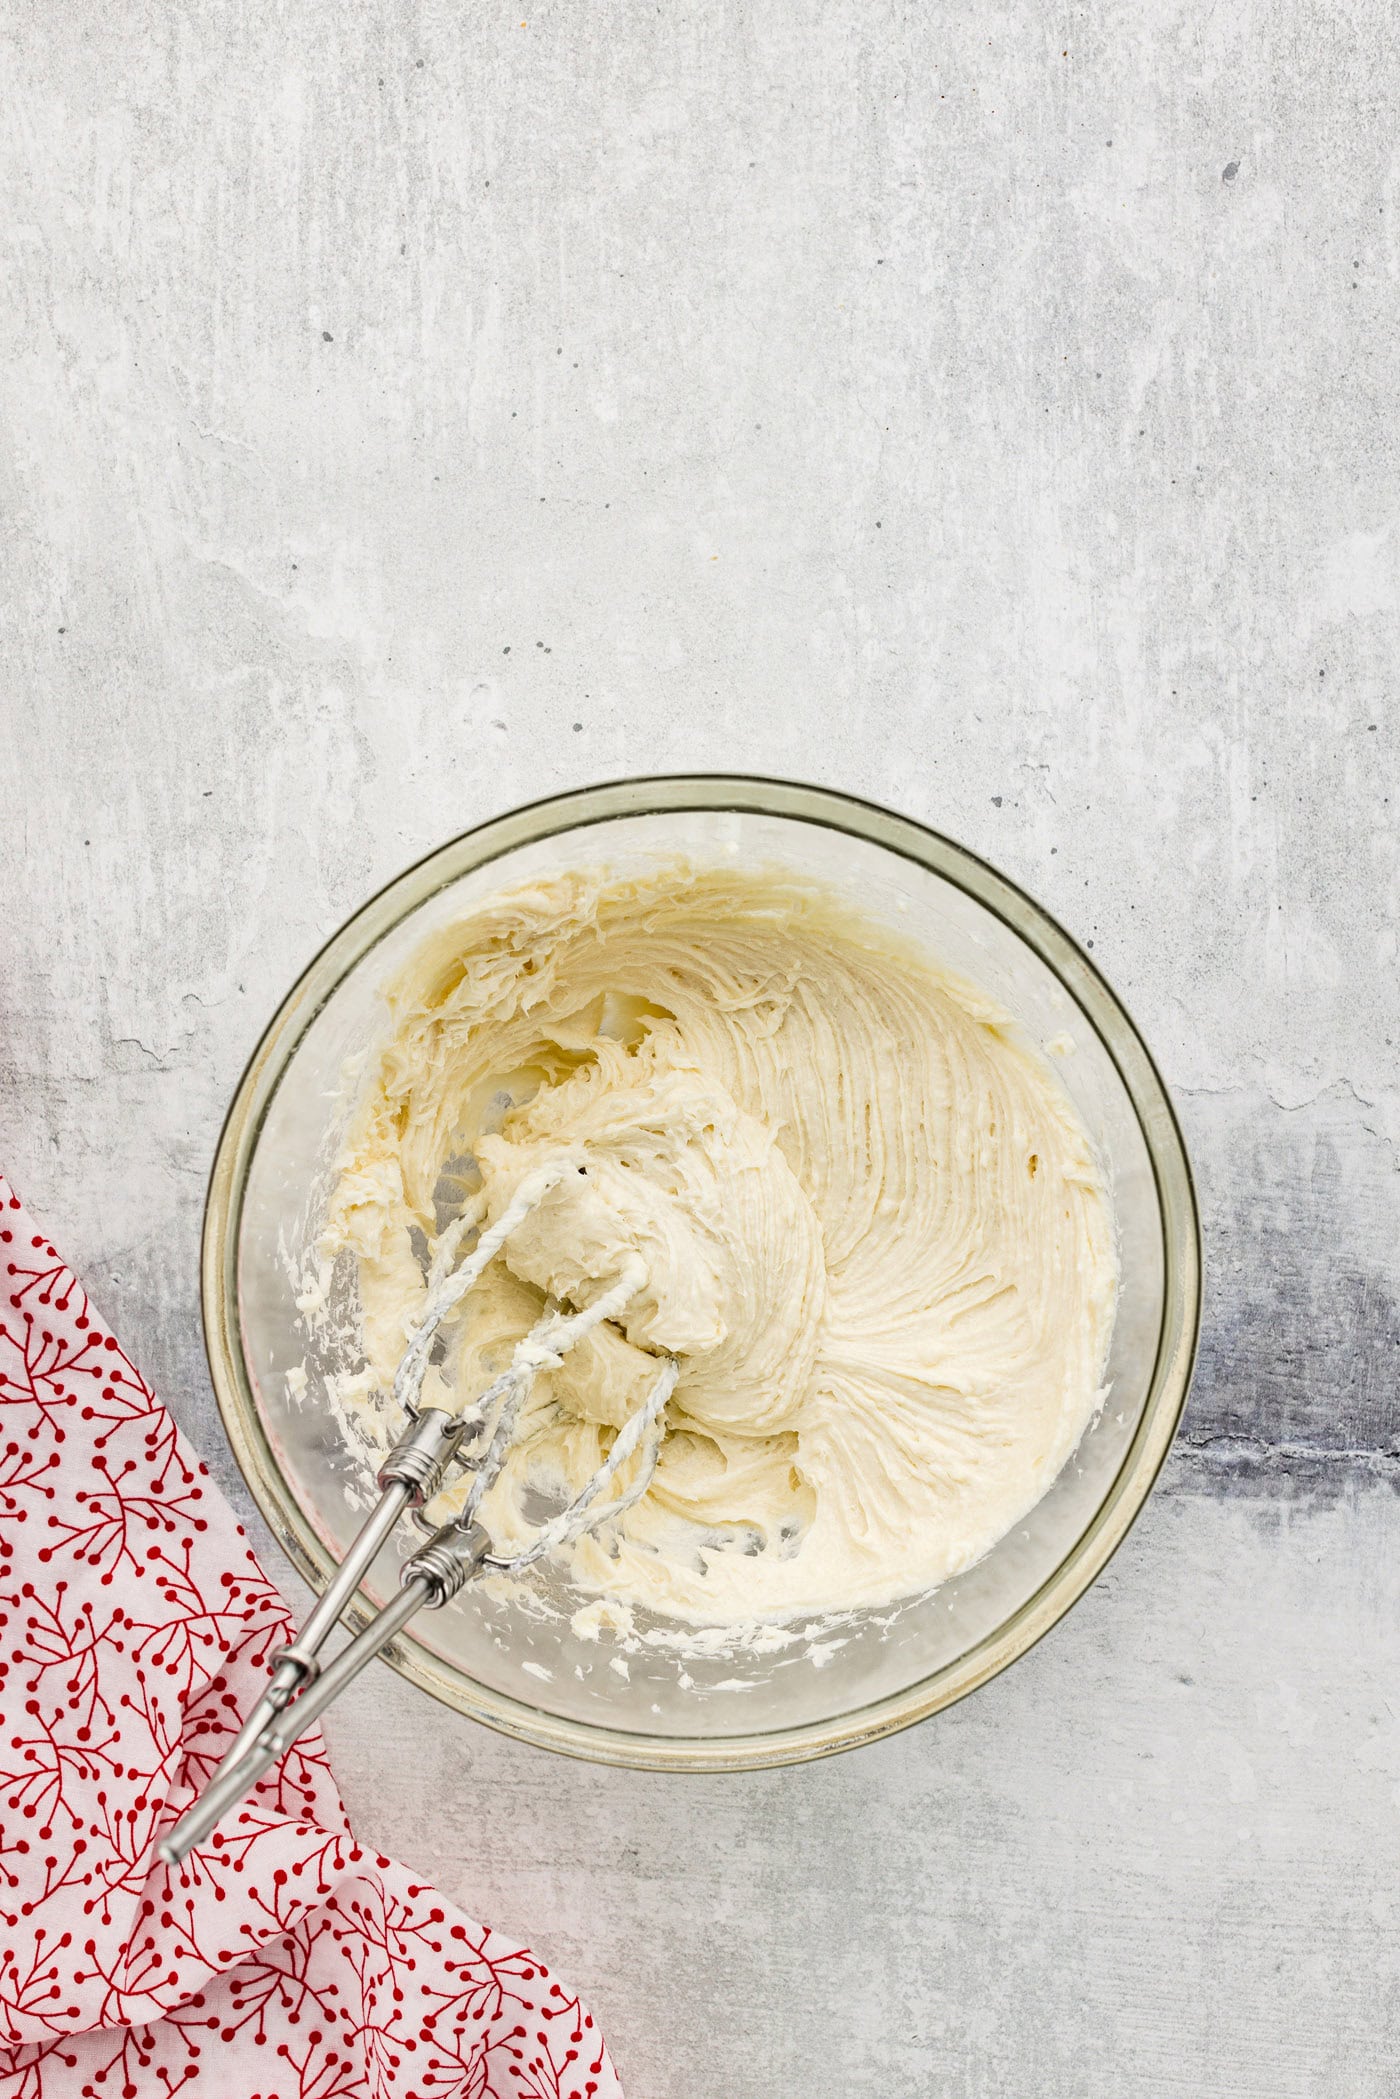
- In a medium mixing bowl, mix together cream cheese, sugar and vanilla (or vanilla and almond extract).
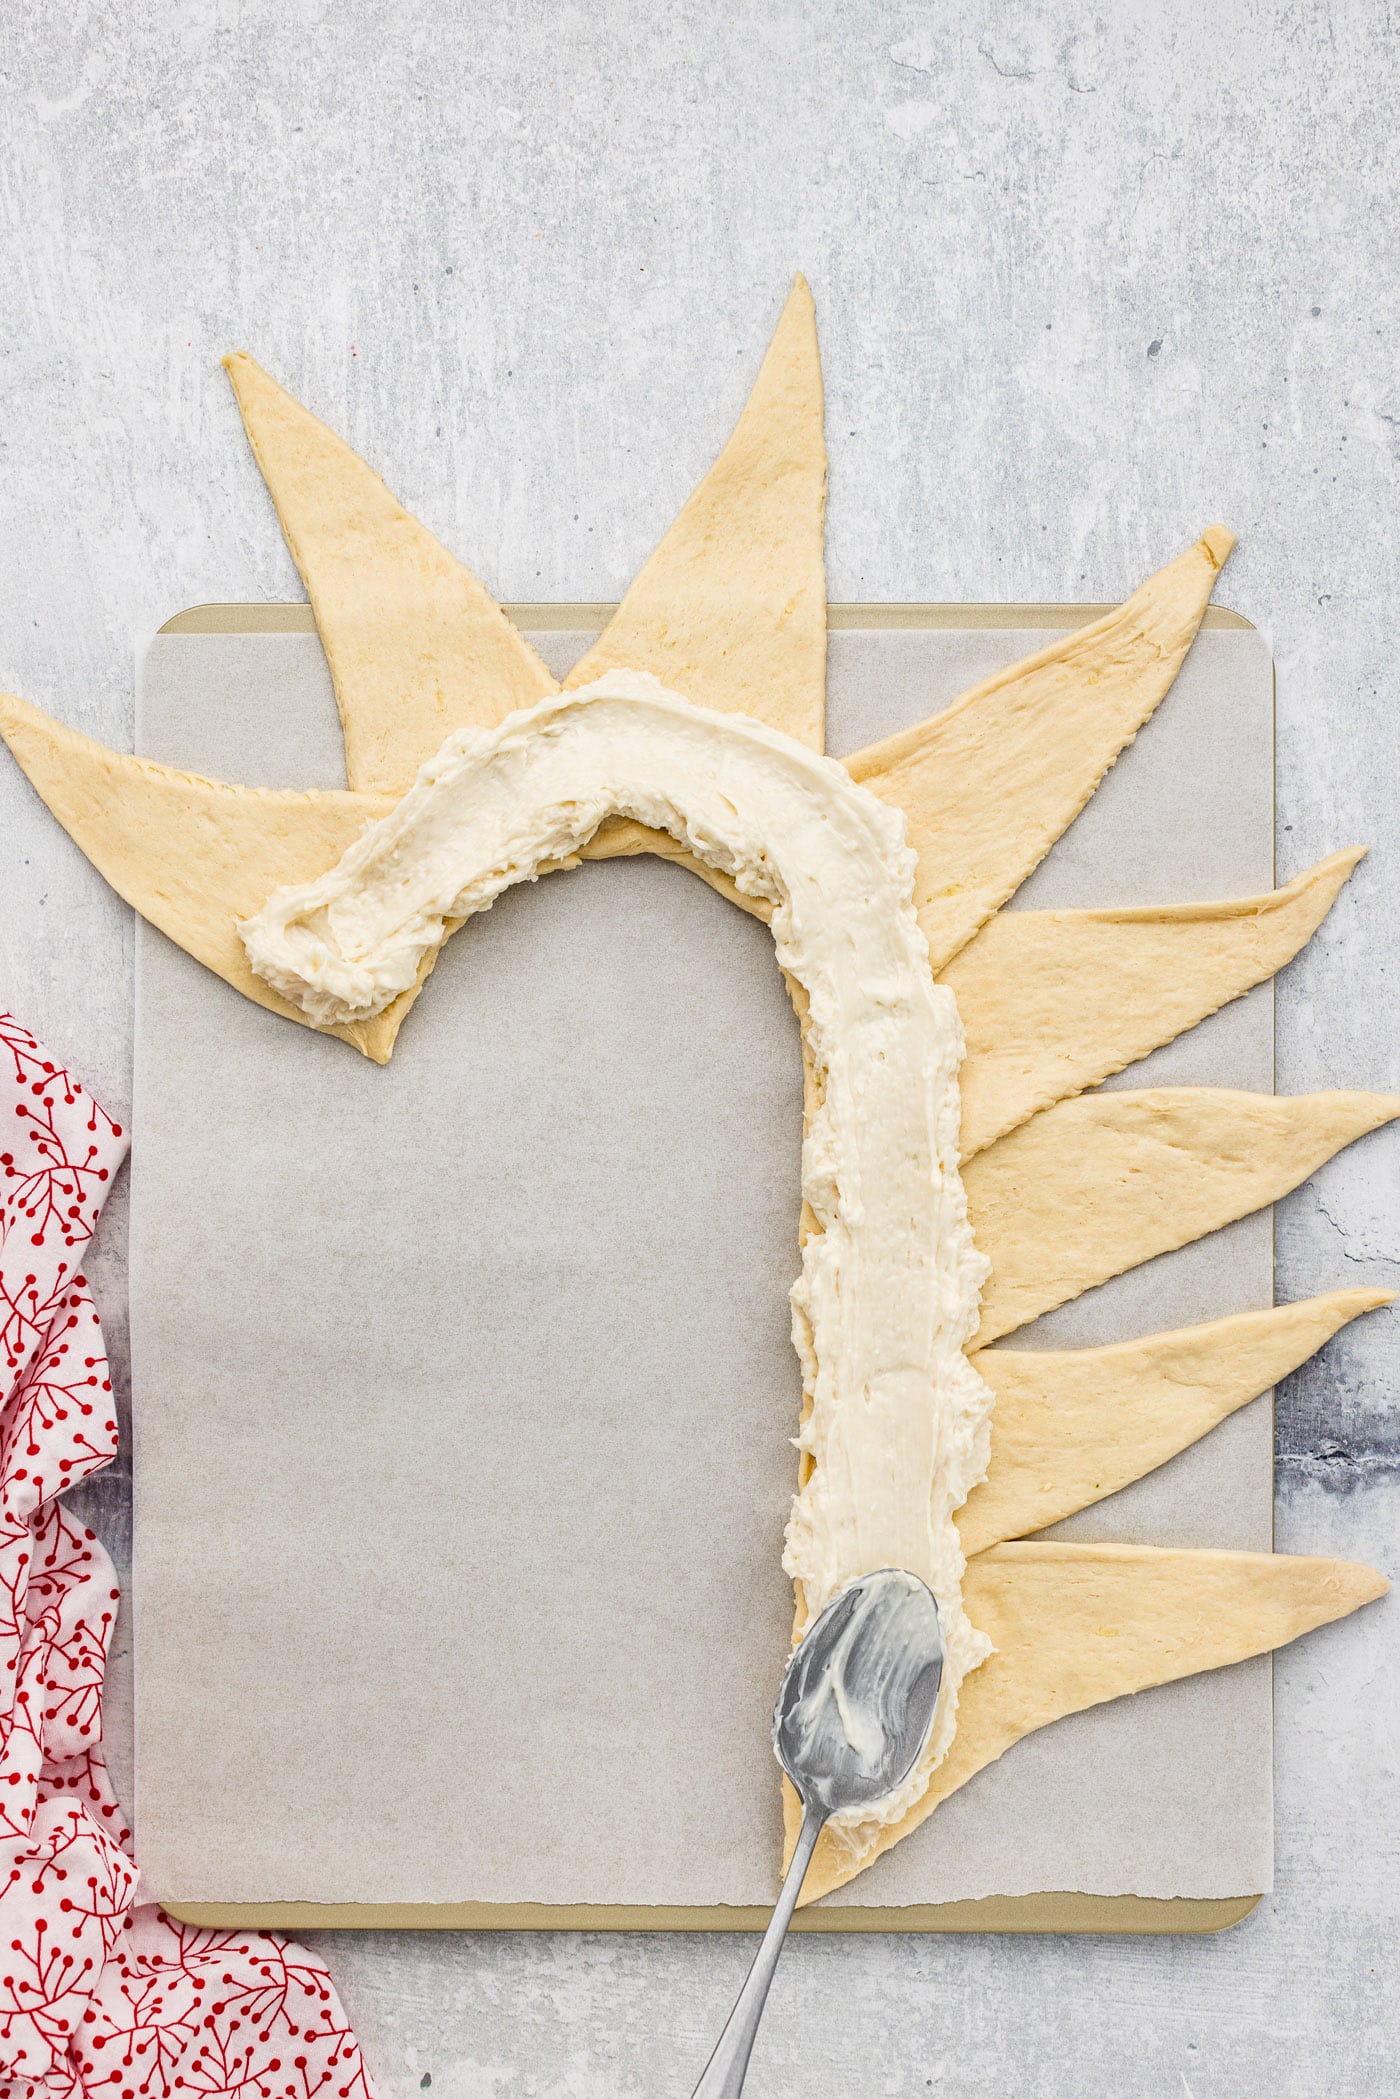
- On one cookie sheet, align four crescent triangles in a straight line along the wide ends, slightly overlapping the corners. Starting with the fifth crescent, begin curving the head of the cane.

- Spread the inside along the wide end of the triangles with half the cream cheese.
- Top with half the cherry pie filling.
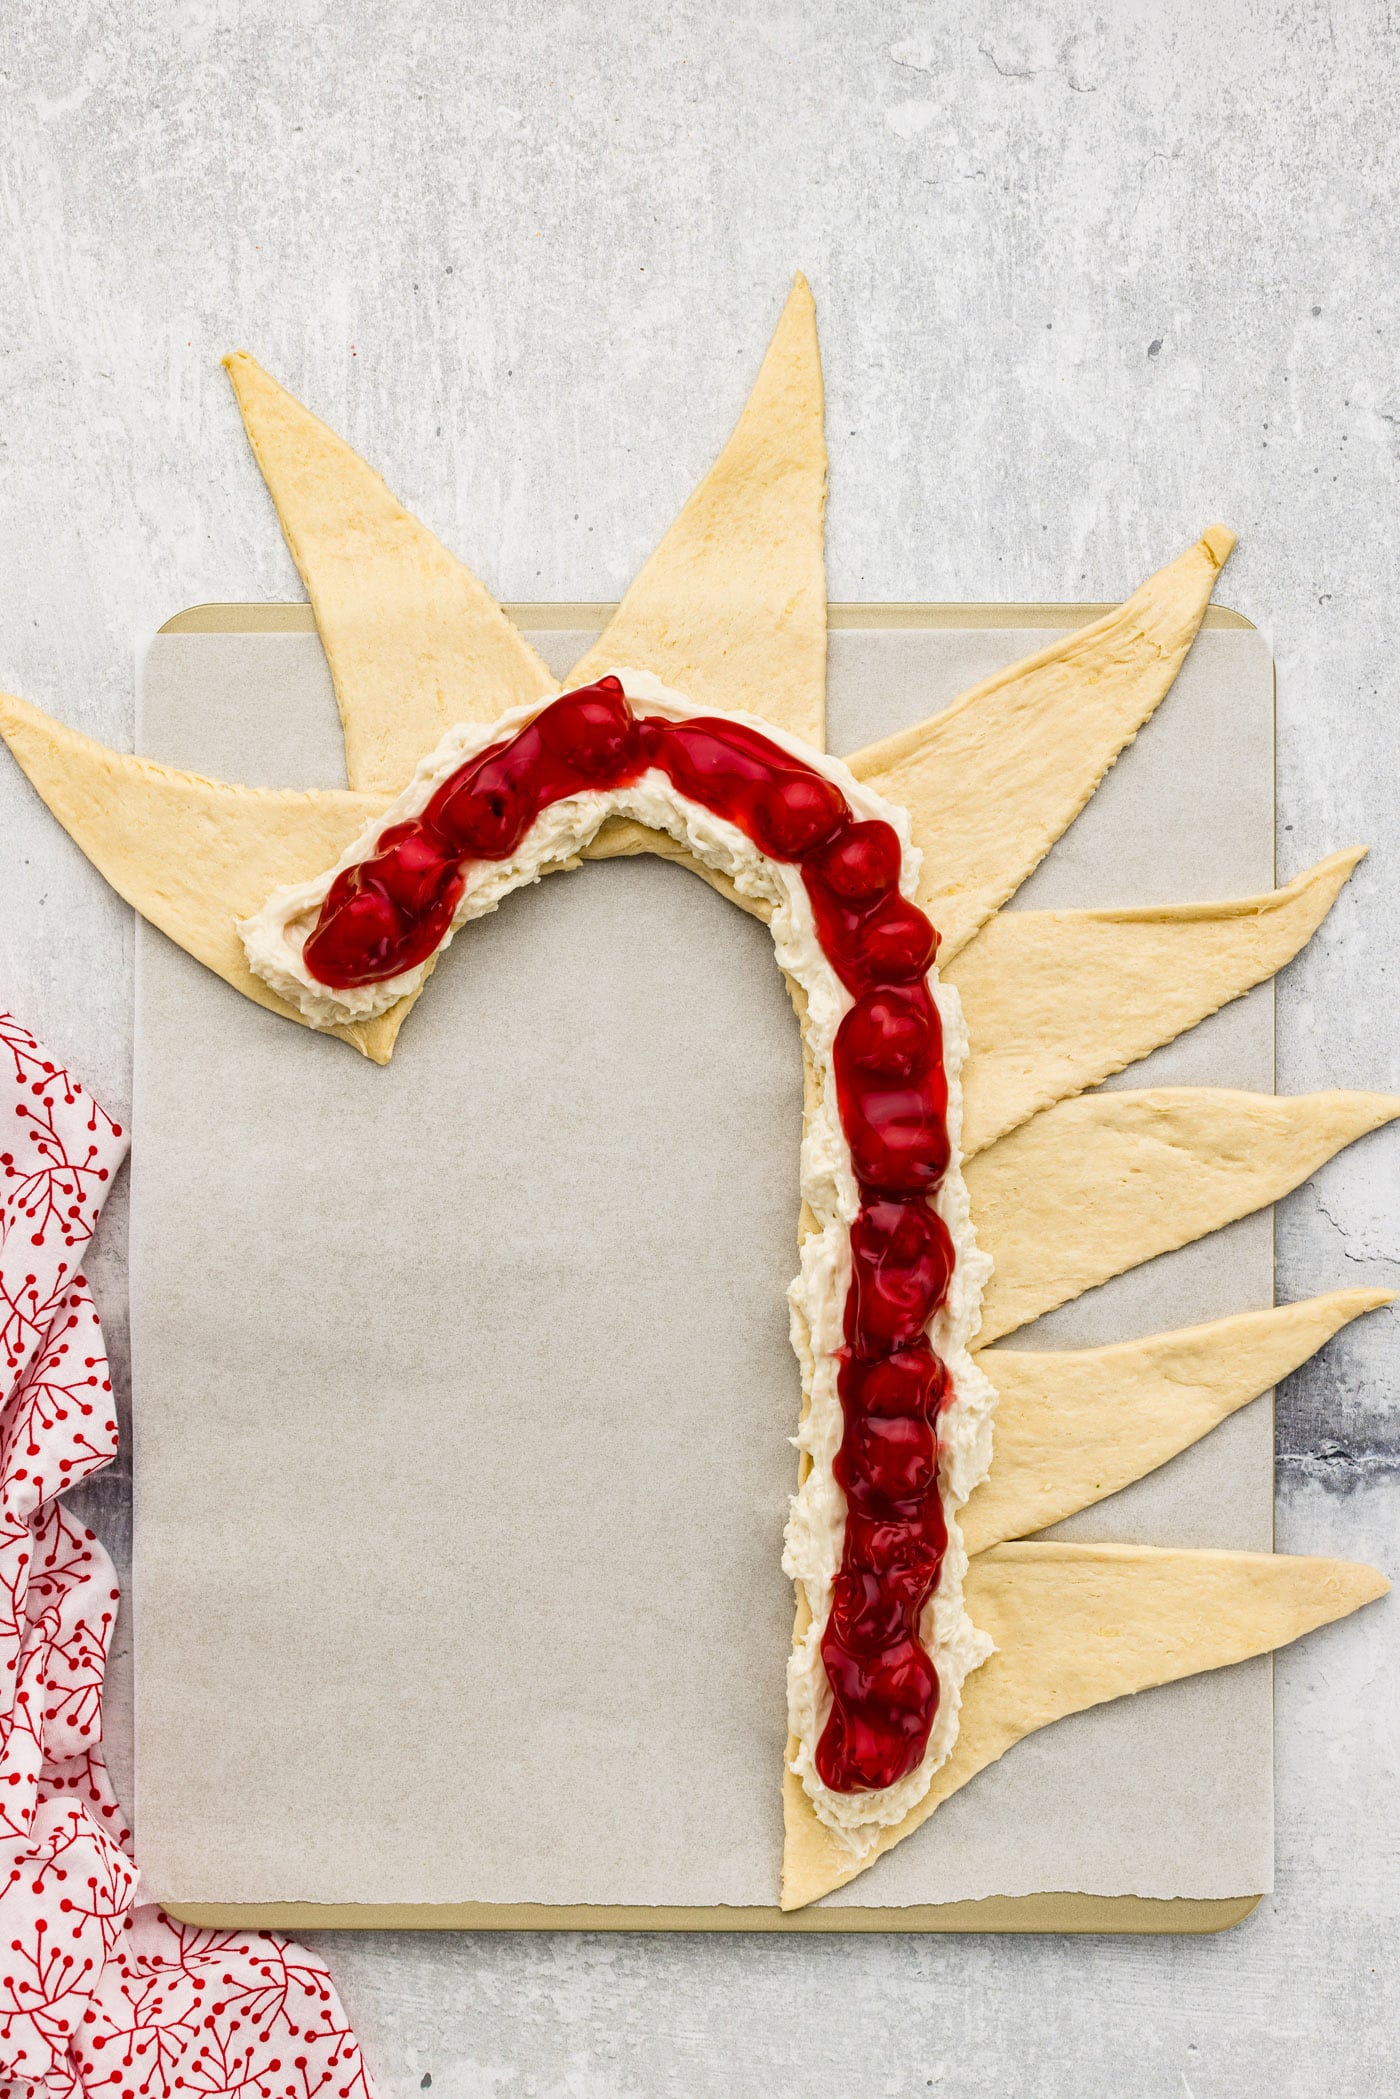
- Fold over the points of the triangles to form stripes. Repeat assembly with remaining tube of crescent rolls, cream cheese, and cherries.
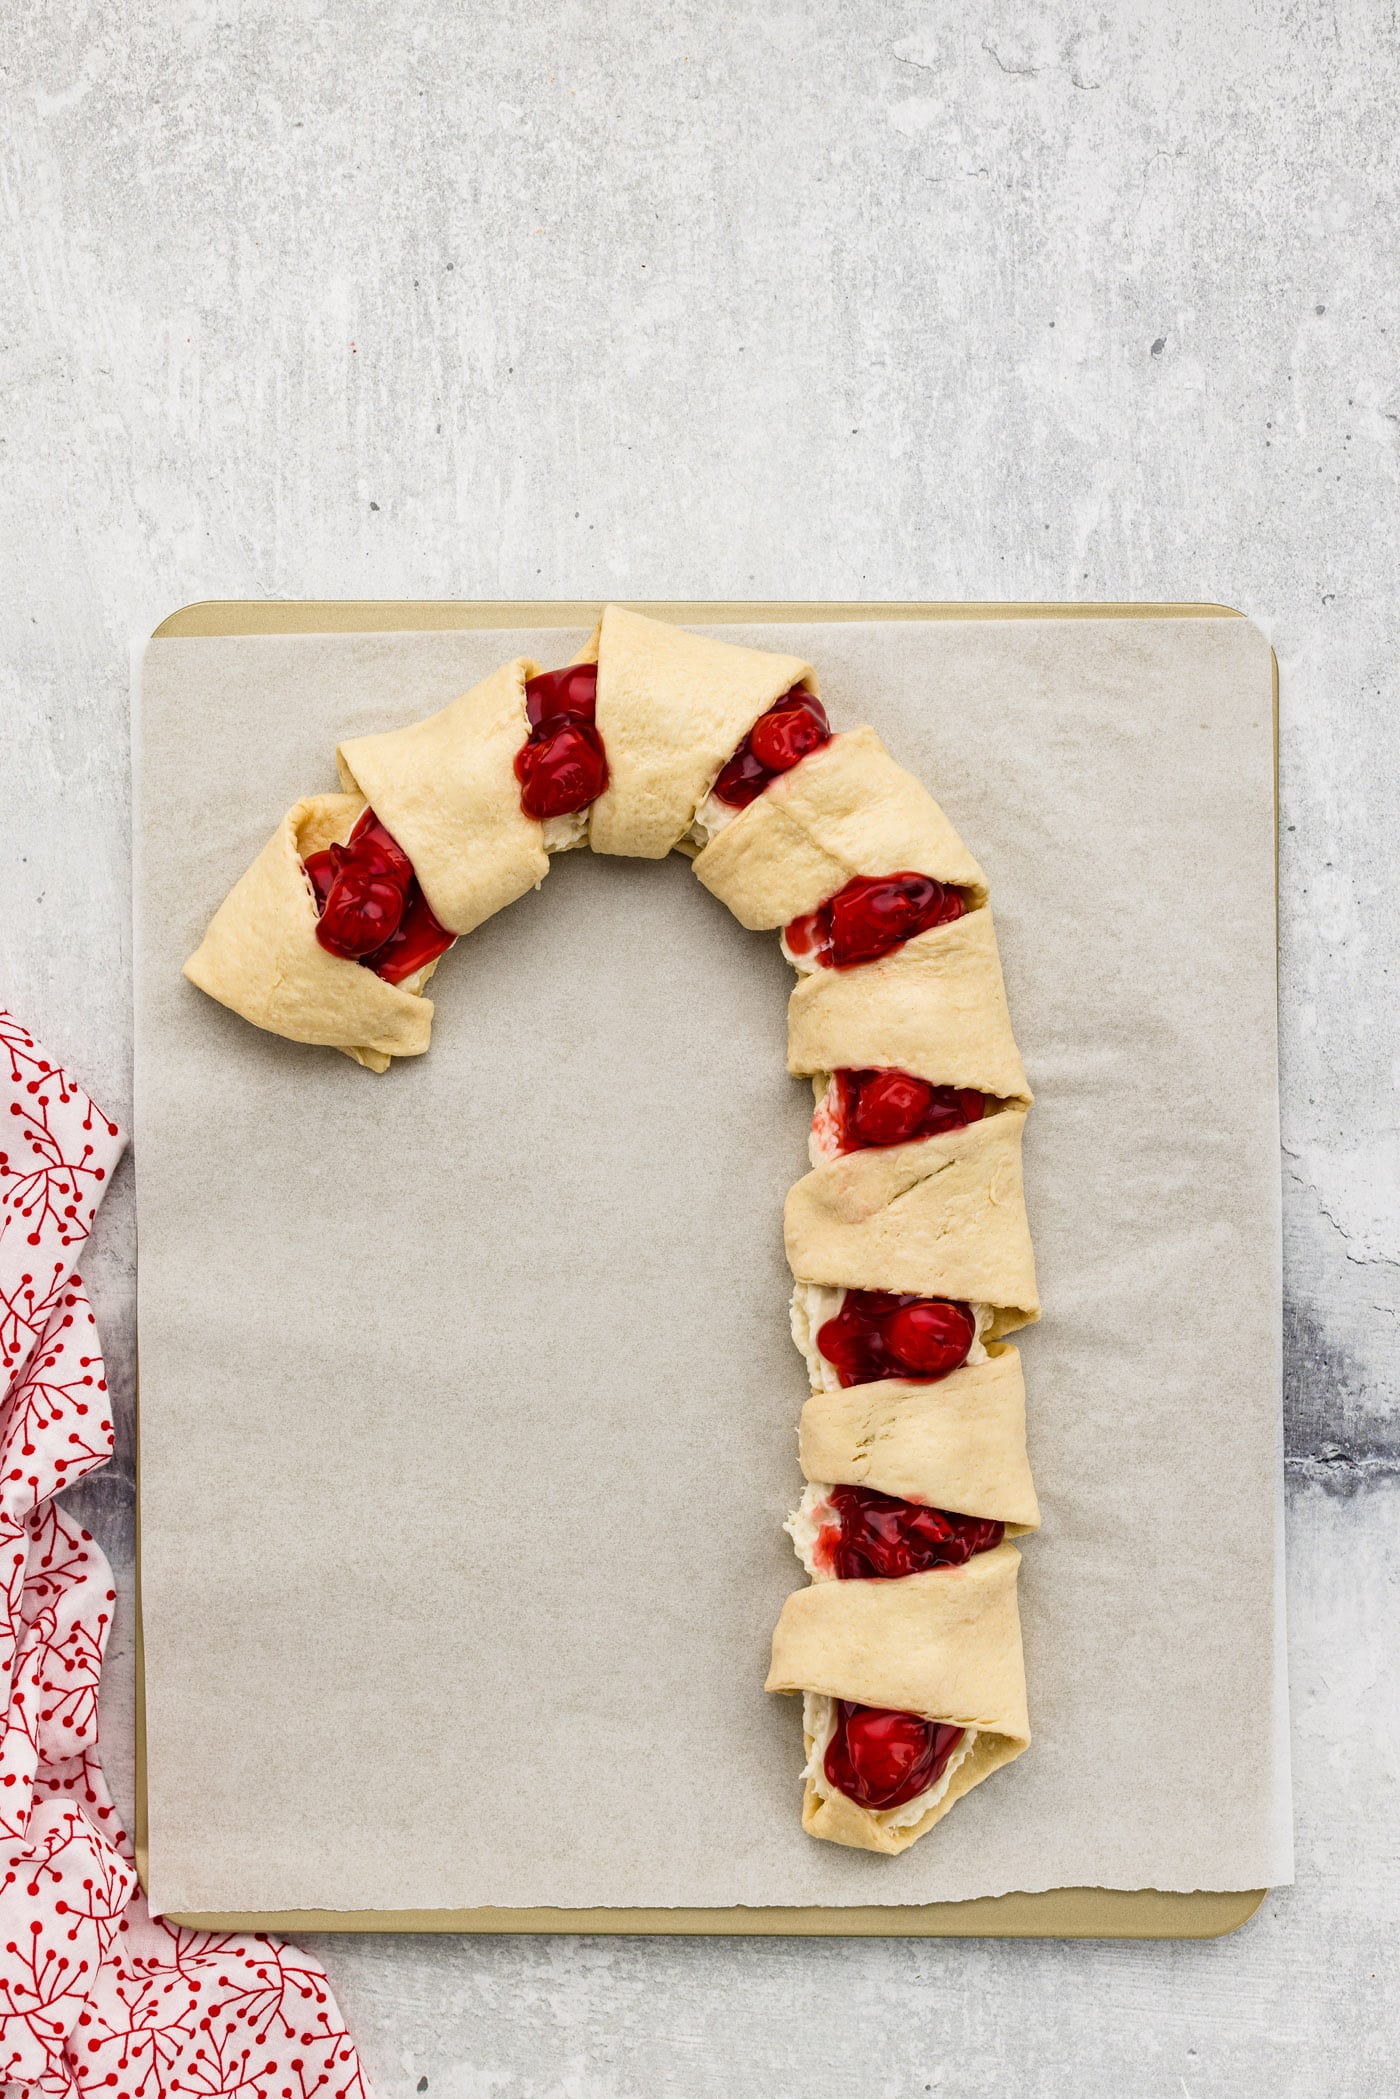
- Bake for 15-20 minutes until golden brown.

- While the pastries are baking, combine all the ingredients for the glaze, mixing until smooth. Frost the danish while it is still warm, taking care to only frost the crescent stripes.
Frequently Asked Questions & Expert Tips
Can you make the candy cane danish ahead of time?Yes, you can assemble the candy cane danish the night before and store it, covered, in the refrigerator. I would recommend assembling and storing it on a parchment-lined baking sheet in the fridge. Bake as directed in the morning.
Can I halve the recipe to make only one danish?Though we have not tried this ourselves, some of our readers have had success doing so!
How do you store leftover candy cane danish?Store leftovers in an air-tight container or tightly covered with plastic wrap in the refrigerator for up to 2 days. Beyond that, your danish may get soggy.

Tips for Making Candy Cane Danish
- This recipe makes two candy cane pastries. If you wanted to make just one, you would need an extremely large baking sheet! For ease, I like to use parchment paper on my pans. It will keep the pastry from sticking to the pan and make cleanup a breeze.
- Use a silicone baking mat or parchment paper so you can easily lift the candy cane danish from the cookie sheet. A rimless insulated baking sheet will also allow you to slide the danish off rather than trying to lift it, running the risk of breaking it.
- After forming the crescent cane shape and adding the filling, start from the top of the cane to fold the triangles over. Gently tuck the ends along the length of the pastry.
- Be sure to add the icing while the danish is still quite warm. The heat from the danish will melt the icing a bit allowing it to level out nice and smooth.
- Chances are you won’t use all the pie filling. If that’s the case save it for some hand pies or cherry pie cookies.
- After adding the icing, use an icing spatula or small rubber spatula to clean up any filling that may have spilled out during baking.

Serving Suggestions
Serve your candy cane danish warm with a cup of coffee or milk. It’s delicious at room temperature as well. I have a feeling this Christmas breakfast will become a tradition just as it has in our household!
More Christmas Recipes
- Antipasto Wreath
- Crockpot Hot Chocolate
- Christmas Tree Cheese Platter
- Christmas Tree Pull Apart Bread
I love to bake and cook and share my kitchen experience with all of you! Remembering to come back each day can be tough, that’s why I offer a convenient newsletter every time a new recipe posts. Simply subscribe and start receiving your free daily recipes!
This post was originally published here on Nov 28, 2016 and has since been updated with new photos and expert tips. Recipe contributed by Rebekah from KitchenGidget.
More recipes to try
Eight more recipes from the kitchen.
Strawberry White Chocolate Hot Cocoa Bombs
These eye-catching strawberry white chocolate hot cocoa bombs are not…

Cranberry Holiday Punch
Cranberry Holiday Punch is filled with fresh cranberries, pomegranate…
Gingerbread Oreo Truffles
Gingerbread Oreo truffles make the sweetest no-bake edible gift for…
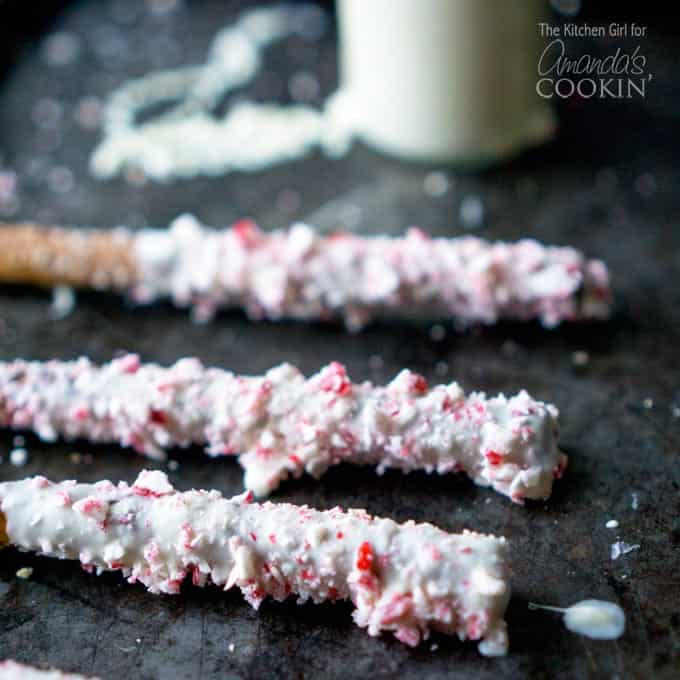
White Chocolate Candy Cane Pretzel Sticks
White Chocolate Candy Cane Pretzel Sticks are one of my most addictive…
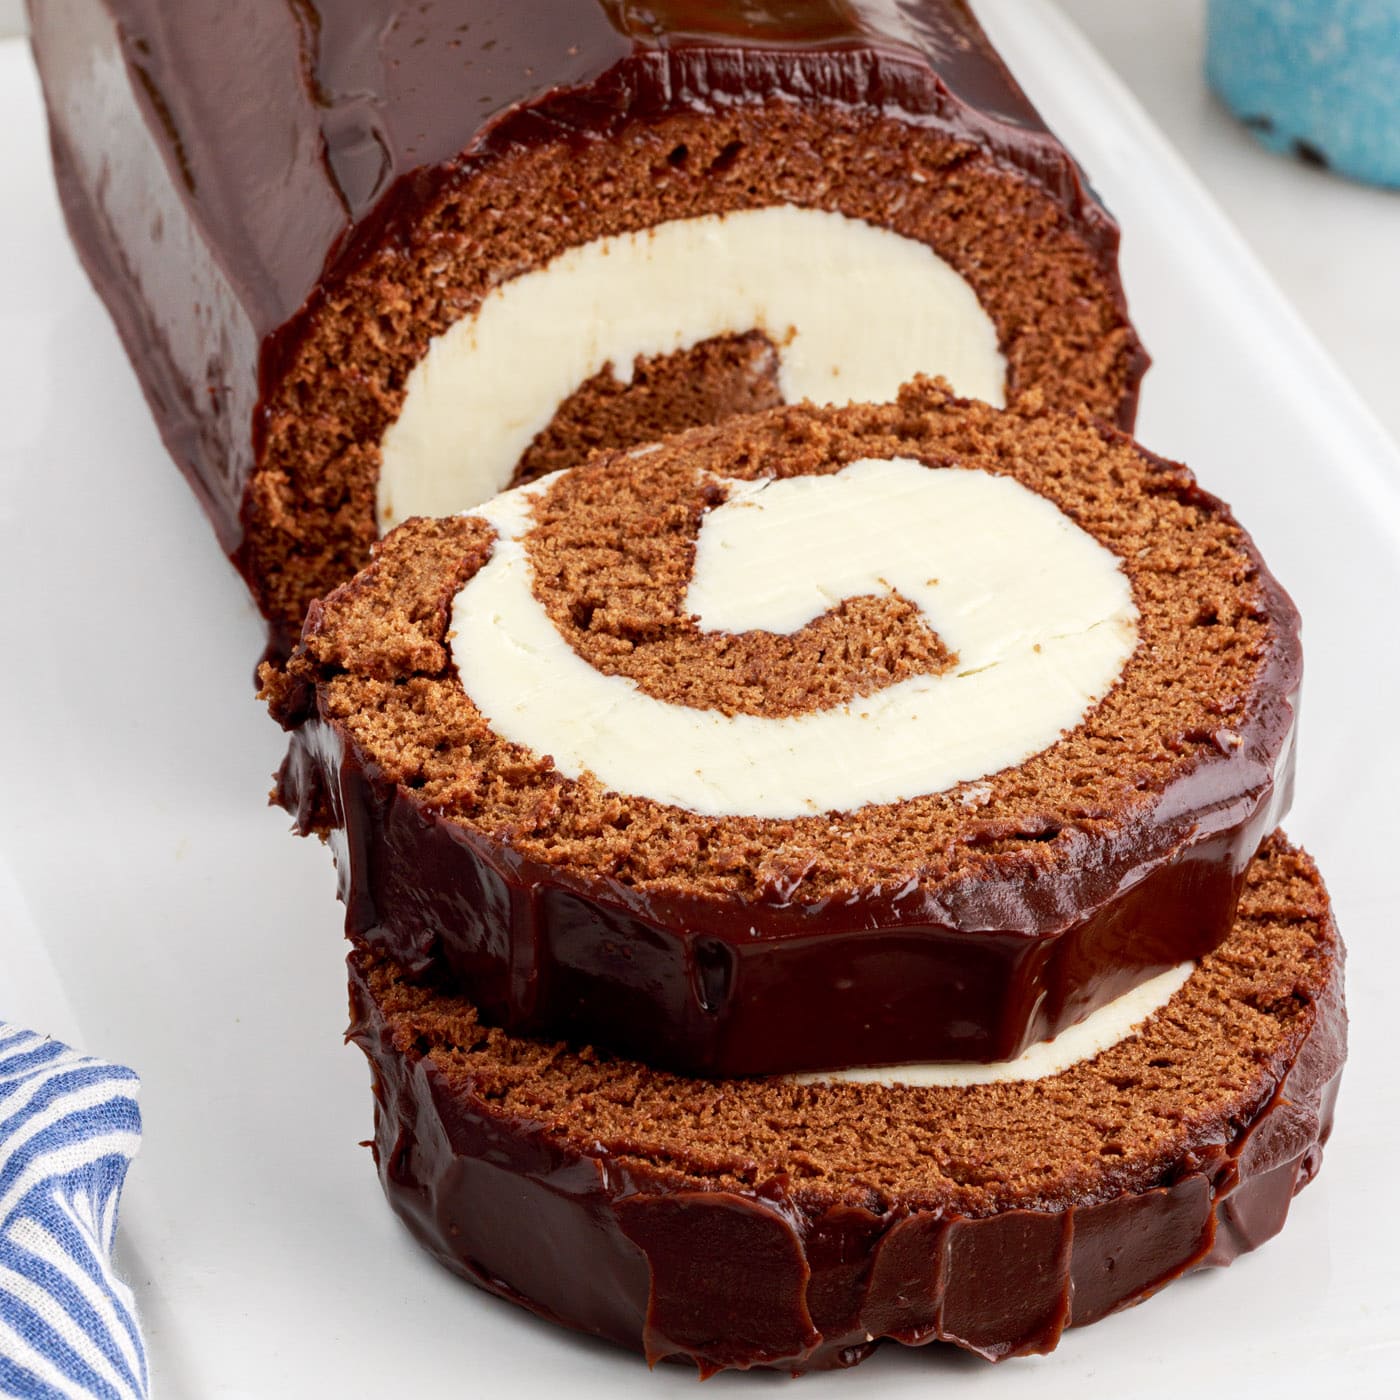
Chocolate Cake Roll
This homemade chocolate cake roll recipe features a tender chocolate…

Christmas Tree Cheese Platter
Make a beautiful Christmas Tree cheese platter for your holiday party…
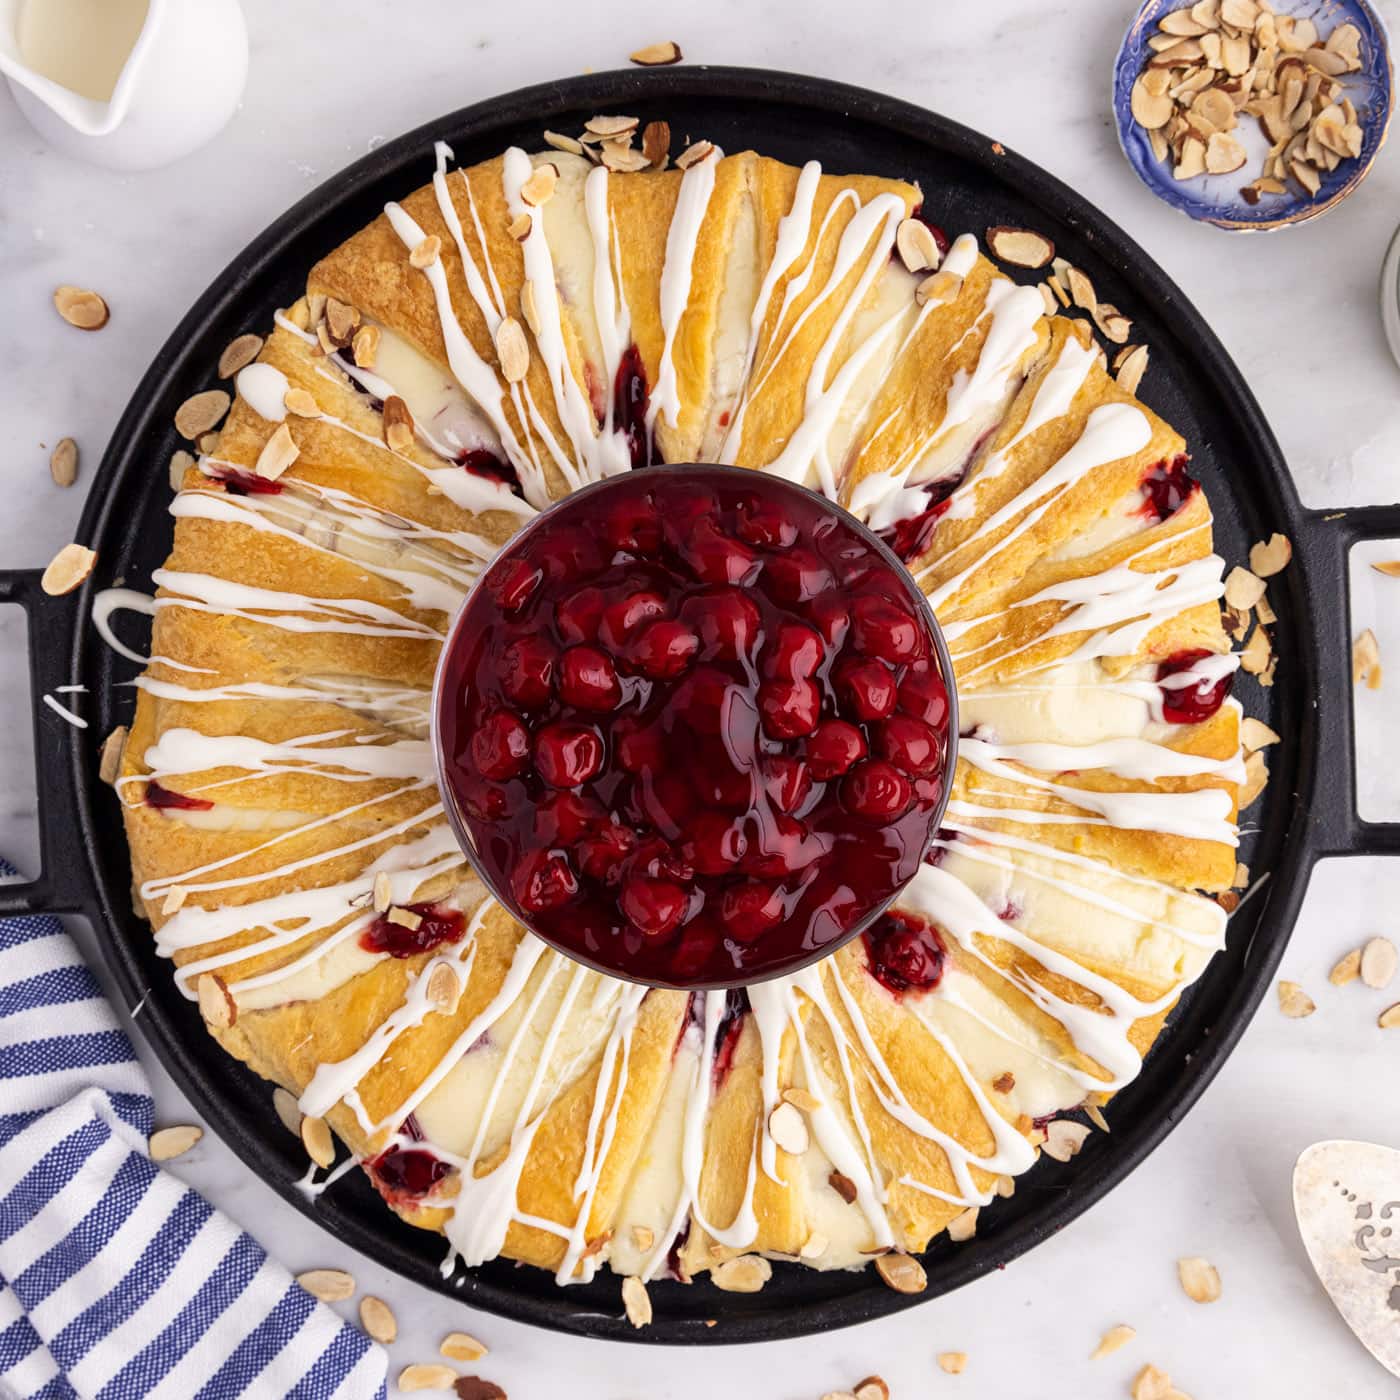
Crescent Danish Wreath
This cherry and cream cheese filled crescent danish wreath is an easy…
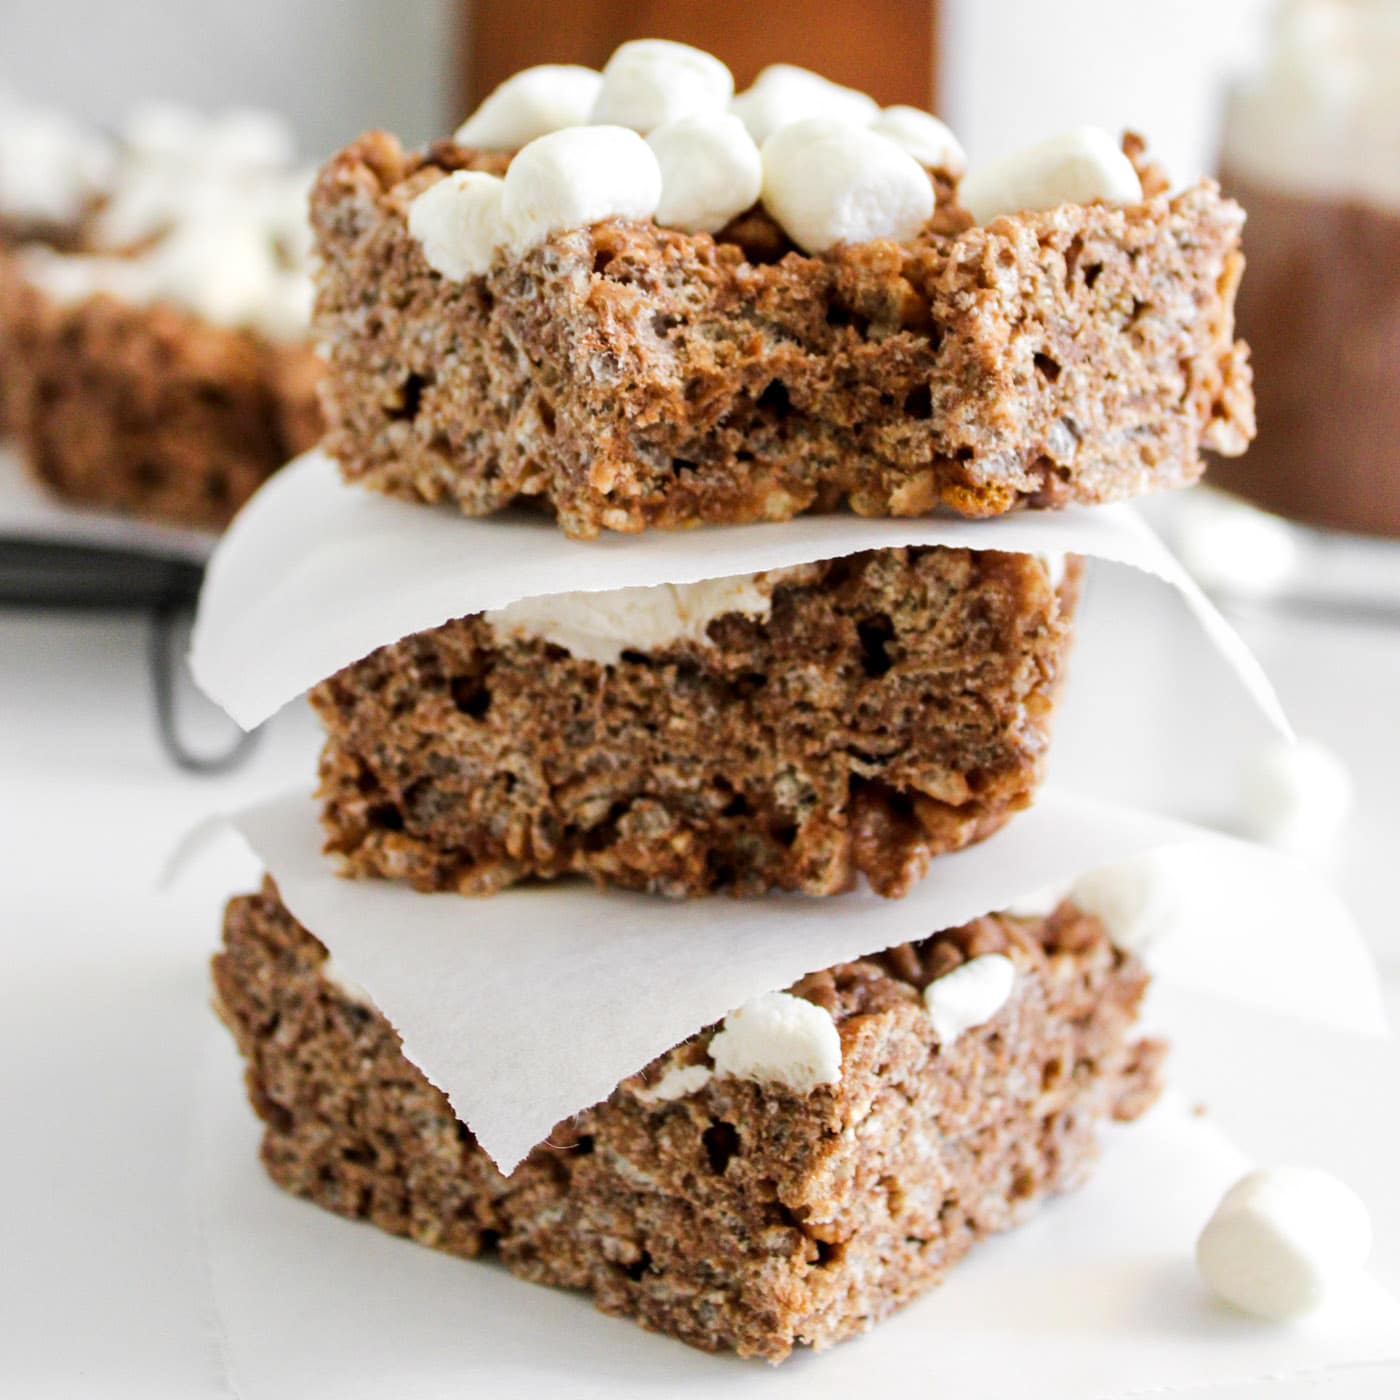
Hot Cocoa Rice Krispie Treats
Hot cocoa rice krispie treats have the best of both worlds. They’re…