
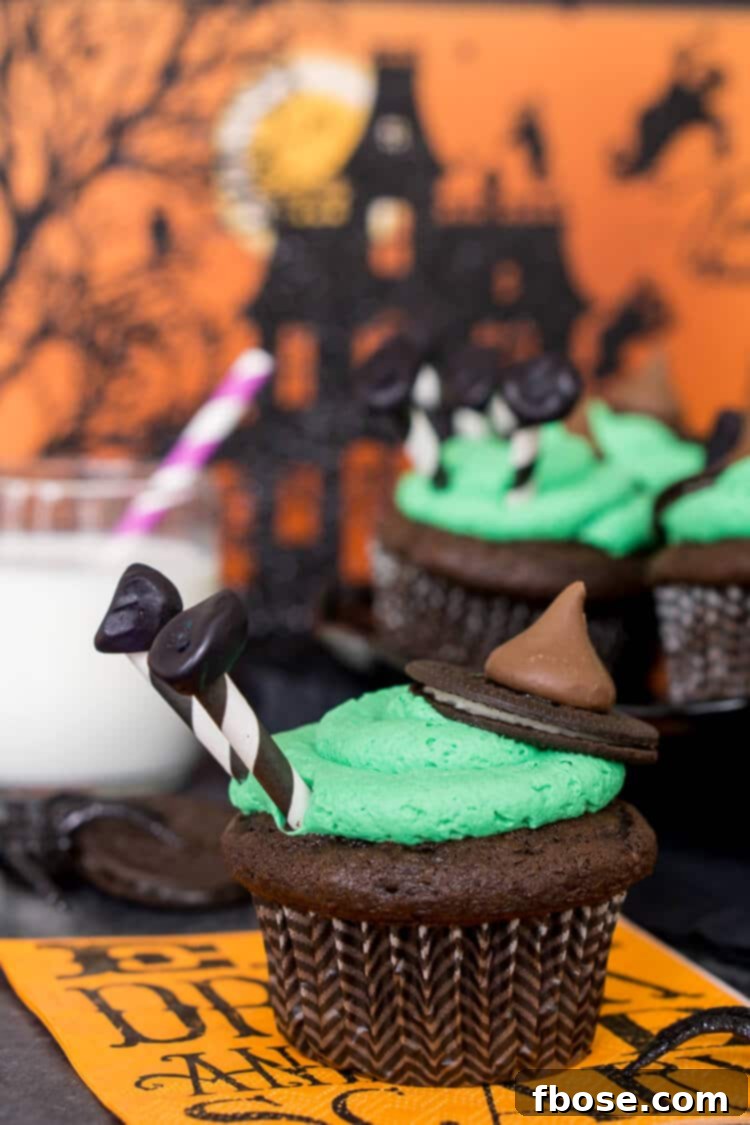
Melted Witch Cupcakes: The Ultimate Spooky Halloween Treat!
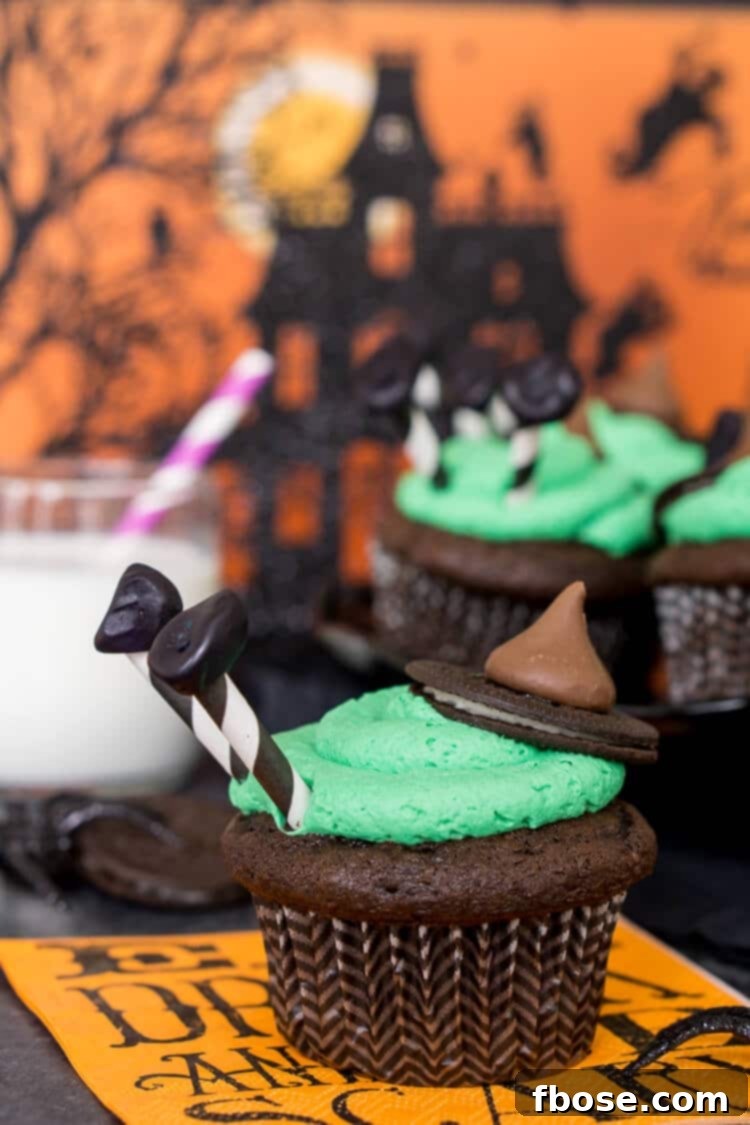
Get ready to cast a spell of deliciousness this Halloween with these enchanting Melted Witch Cupcakes! Fun, irresistibly cute, and incredibly tasty, these festive treats are surprisingly easy to assemble and are guaranteed to be the star of any Halloween gathering. Imagine the delight on everyone’s faces when they see these whimsical witches seemingly melting into a vibrant pool of green frosting atop a rich chocolate cupcake. They’re not just a dessert; they’re an experience, bringing the playful spirit of the season to life in the most delicious way!
As the air turns crisp and spooky decorations begin to appear, it’s the perfect time to embrace the magic of Halloween. While some holidays require elaborate preparations, these melted witch cupcakes offer a fantastic balance of impressive presentation and straightforward execution. Whether you’re planning a grand Halloween bash or simply looking for a fun activity to enjoy with the kids, this recipe is your secret weapon for creating memorable moments and delightful flavors.
Why You’ll Love These Spooktacular Halloween Cupcakes
These aren’t just any cupcakes; they’re a celebration in every bite! Here’s why these melted witch cupcakes are a must-make for your Halloween festivities:
- Unforgettable Visual Appeal: The “melted witch” design is instantly recognizable and utterly charming. Each cupcake tells a mini-story, sparking conversations and smiles.
- Remarkably Easy to Make: Don’t let their intricate look fool you! The recipe leverages convenient ingredients like cake mix and instant pudding, making the baking process simple and enjoyable for bakers of all skill levels.
- Perfect for All Ages: Kids adore helping with the decorating, turning it into a fun family activity. Adults will appreciate the delicious flavor and the nostalgic nod to Halloween fun.
- Ideal Party Dessert: These cupcakes are individually portioned, making them easy to serve at parties without the need for plates and forks. They’re a crowd-pleaser that adds a festive touch to any dessert table.
- Delicious Flavor Combination: A rich, moist chocolate cupcake base paired with light, fluffy vanilla frosting (dyed green for that iconic witchy look) creates a flavor profile everyone will love. The added texture from the Oreo hats and gummy legs makes them even more delightful.
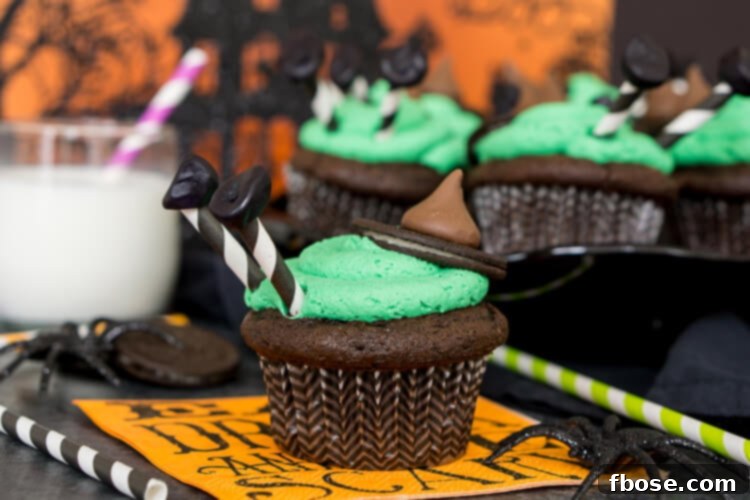
The Inspiration Behind the Magic
Even for those of us who aren’t Halloween fanatics, there’s an undeniable charm to the season’s iconic imagery: the friendly ghosts, the playful black cats, and, of course, the whimsical witches. I often find myself gravitating towards recipes that truly capture the spirit of a holiday without being overly complex or scary. While my October often involves looking forward to sunnier escapes, like a tropical trip, I always make sure to carve out time for a few seasonal recipes that bring joy and festive cheer.
This particular idea for melted witch cupcakes caught my eye while flipping through a copy of *Celebrate!* magazine. It was one of those “aha!” moments where I immediately thought, “Yes, I can absolutely put my own spin on those!” The concept was so clever and fun, perfectly embodying the lighthearted side of Halloween that I love. I envisioned combining this creative visual with my go-to recipes for a moist chocolate cupcake and a luscious, airy whipped vanilla frosting, tinted green to mimic a bubbling witch’s brew or melted skin, depending on how whimsical you want to be!
Keeping the base flavors simple – classic chocolate and vanilla – was a deliberate choice. With so many exciting elements like Oreo hats, Hershey’s Kiss points, and gummy legs, I wanted the foundational cupcake and frosting to be universally appealing and not to compete with the playful toppings. The result was a batch of cupcakes that were not only super cute but also incredibly delicious and wonderfully easy to assemble. They quickly became a favorite for bringing a touch of Halloween magic to any occasion.
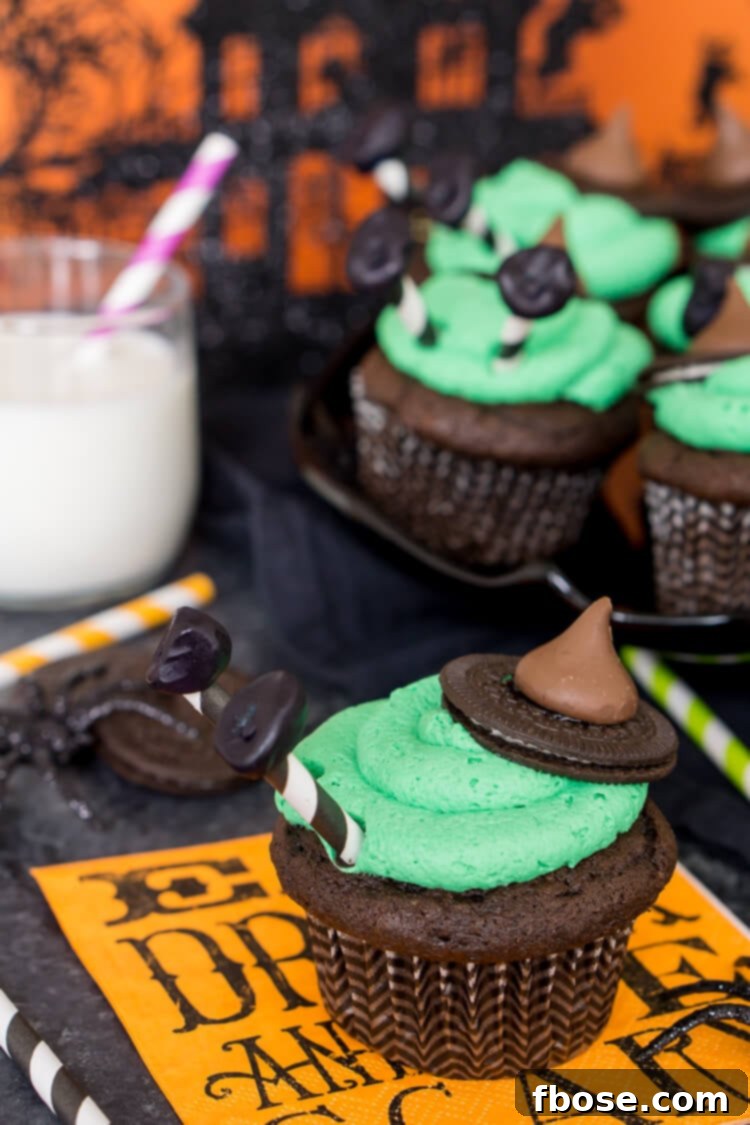
Key Ingredients for Your Wicked Brew
Crafting these adorable melted witch cupcakes requires a few simple yet essential ingredients. You’ll find most of these readily available at your local grocery store, ensuring a hassle-free baking experience.
For the Irresistible Chocolate Cupcakes:
- Duncan Hines Dark Chocolate Fudge Cake Mix: A high-quality cake mix is your shortcut to a perfectly moist and rich chocolate base.
- Jell-O Instant Chocolate Fudge Pudding (3.9 oz package): This secret ingredient adds an incredible boost of moisture and depth of flavor, making your cupcakes unbelievably tender.
- Eggs: Provide structure and richness to the cupcakes.
- Sour Cream: Another moisture-enhancing ingredient that contributes to a tender crumb and a slight tang, balancing the sweetness.
- Vegetable Oil: Helps keep the cupcakes moist and soft.
- Milk: Adds liquid to the batter, ensuring the right consistency.
- Vanilla Extract: Enhances the overall flavor profile of the chocolate.
- Sea Salt: A pinch of salt balances the sweetness and brings out the chocolate flavor.
- Mini Chocolate Chips: Folded into the batter, these provide bursts of melty chocolate goodness in every bite.
For the Vibrant Green Frosting:
- Heavy Cream: The base for our light and fluffy whipped frosting. Ensure it’s very cold for best results.
- Confectioners’ Sugar: Sweetens the frosting and helps stabilize it.
- Instant Vanilla Pudding Powder: This is a key ingredient for making the whipped cream frosting extra stable and flavorful, giving it body and preventing it from deflating.
- Green Gel Food Coloring: Gel coloring provides a vibrant, concentrated color without adding excess liquid, perfect for that classic witchy green.
For the Whimsical Toppings:
- Oreo Thins: These make the perfect brim for the witch hats – thin, crisp, and delicious.
- Hershey Kisses: Placed on top of the Oreo Thins, they form the conical point of the witch hat.
- Black Icing or Frosting: Used to “glue” the Hershey Kisses to the Oreos and to add small decorative details if desired.
- Grape Gummies: These become the witch’s shoes, adding a fun, chewy texture and a pop of color.
- Black and White Paper Straws: Cut into thirds, these form the striped legs that stick out from the “melted” witch.
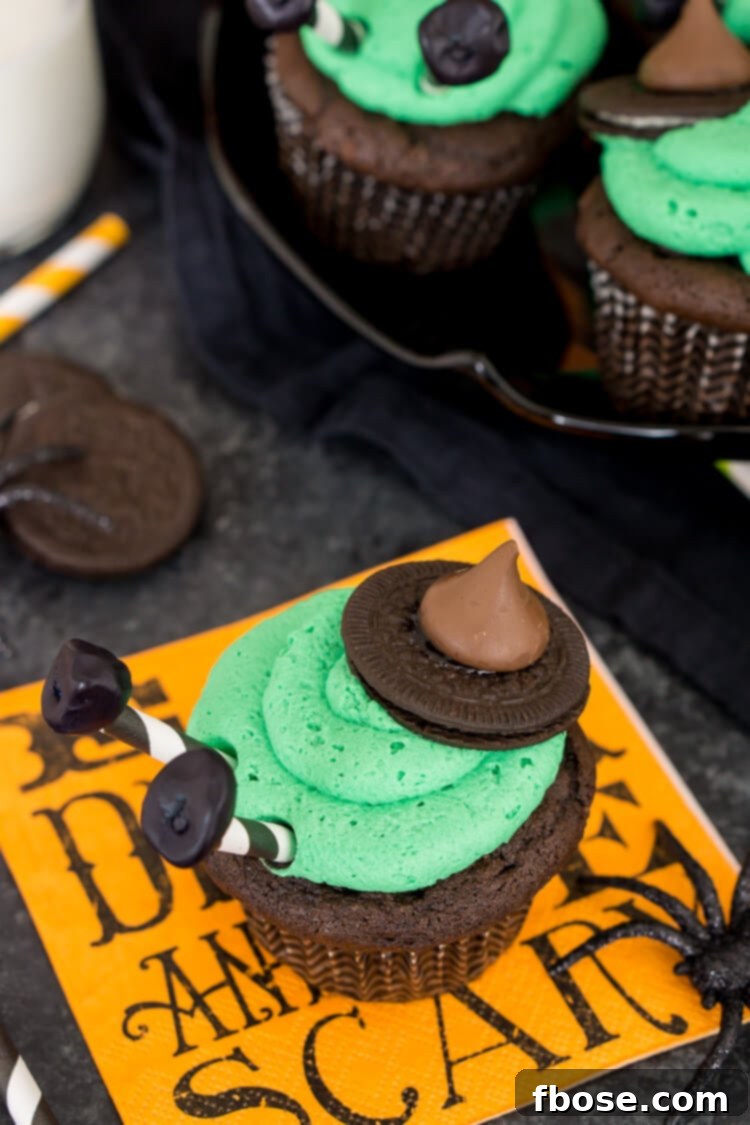
Crafting Your Melted Witch Masterpiece
These cupcakes are not only delicious but also incredibly fun to make and assemble. Follow these simple steps to bring your melted witches to life!
Melted Witch Cupcakes
Author: Rebecca Hubbell
Course: Dessert | Cuisine: American
Prep Time: 30 minutes | Cook Time: 22 minutes | Total Time: 52 minutes
Servings: 24 cupcakes
Ingredients
Cupcakes:
- 1 Box Duncan Hines Dark Chocolate Fudge Cake Mix
- 3.9 oz package Jell-O Instant Chocolate Fudge Pudding
- 4 eggs
- 1 cup sour cream
- ¾ cup vegetable oil
- ½ cup milk
- 1 tbsp vanilla extract
- ¼ tsp sea salt
- 1½ cup mini chocolate chips
Frosting:
- 2 cups heavy cream
- ½ cup confectioners’ sugar
- ¼ cup instant vanilla pudding powder
- 1 tsp green gel food coloring
Toppings:
- 24 Oreo Thins
- 24 Hershey Kisses
- Black icing or frosting
- 48 grape gummies
- 8 black and white paper straws (cut into thirds)
Instructions
Cupcakes:
- Preheat oven to 375°F (190°C).
- Line a 24-cup cupcake pan with paper liners.
- In a large bowl or the bowl of a stand mixer, combine the cake mix, instant chocolate fudge pudding mix, eggs, sour cream, vegetable oil, milk, vanilla extract, and sea salt. Beat on medium speed until all ingredients are thoroughly combined and the batter is smooth.
- Gently fold in the mini chocolate chips until just distributed.
- Fill each cupcake liner with approximately ¼ cup of batter.
- Bake for 18-22 minutes, or until a toothpick inserted into the center of a cupcake comes out clean.
- Remove from oven and immediately transfer the cupcakes to a wire cooling rack to cool completely before frosting.
Frosting and Assembly:
- Once cupcakes have cooled completely, prepare the frosting. In a large bowl or stand mixer fitted with a whisk attachment, beat the heavy cream, confectioners’ sugar, and instant vanilla pudding powder on medium-high speed. Continue beating until the mixture is light, fluffy, and forms stiff peaks, about 2 to 3 minutes.
- Add the green gel food coloring, starting with ½ teaspoon and adding more as needed, until you achieve your desired vibrant witchy green color. Mix until evenly combined.
- Pipe the green frosting onto each cooled cupcake. You can use a piping bag with a large round tip or simply spread it with an offset spatula, creating a slightly uneven, “melted” look.
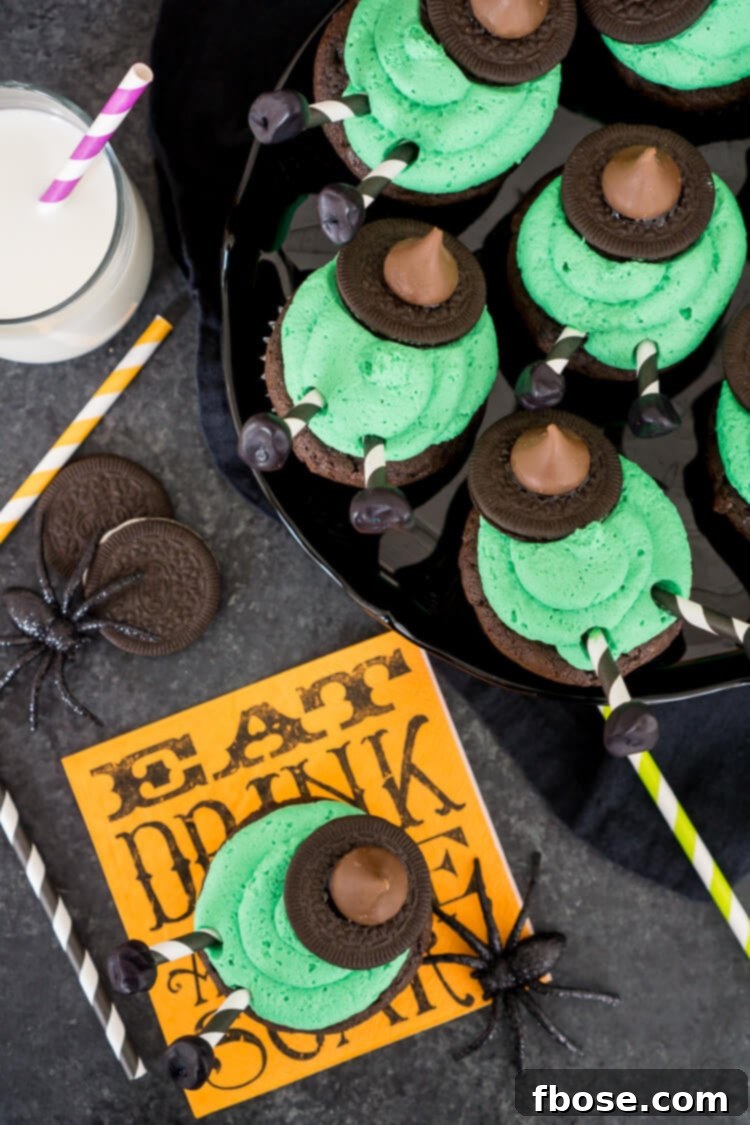
- To create the witch hats: Use a tiny dab of black icing or frosting to stick a Hershey’s Kiss onto the center of an Oreo Thin. Gently press one hat onto the top of each frosted cupcake.
- To create the witch legs: Take the black and white paper straws and cut them into 2-3 inch pieces. Press one grape gummy onto one end of each straw piece to form a “shoe.” Insert two “legs” into each frosted cupcake, positioning them so they appear to be sticking out from the melted witch.
Video
Notes
Inspired by Celebrate! by Women’s World.
Nutrition
Calories: 344kcal | Carbohydrates: 31g | Protein: 3g | Fat: 24g | Saturated Fat: 14g | Cholesterol: 63mg | Sodium: 278mg | Potassium: 115mg | Fiber: 1g | Sugar: 22g | Vitamin A: 435IU | Vitamin C: 0.2mg | Calcium: 83mg | Iron: 1.2mg
Tips for a Spellbinding Result
- Don’t Overmix the Batter: Overmixing can lead to tough cupcakes. Mix until just combined and smooth.
- Cool Completely: Ensure your cupcakes are entirely cool before frosting. Warm cupcakes will cause the frosting to melt and slide off.
- Chill Your Bowl for Frosting: For the best whipped frosting, chill your mixing bowl and whisk attachment in the freezer for 10-15 minutes before beating the heavy cream. This helps the cream whip up faster and hold its shape better.
- Gel Food Coloring is Key: Unlike liquid food coloring, gel food coloring provides intense color without altering the consistency of your frosting.
- Practice Your Piping: If you’re new to piping, practice on a piece of parchment paper first. For a “melted” look, a simple swirl or even spreading with a knife works perfectly.
- Straw Length: Adjust the length of the paper straw “legs” to your preference. Shorter straws will make the legs appear more submerged.
- Secure the Hats: A small dot of black icing or a tiny bit of frosting will firmly attach the Hershey’s Kiss to the Oreo Thin, preventing it from toppling over.
Creative Variations & Customizations
While these melted witch cupcakes are fantastic as is, feel free to unleash your inner mad scientist with these fun variations:
- Flavor Swaps:
- Vanilla Witch: Use a vanilla cake mix and instant vanilla pudding for a lighter flavor profile.
- Red Velvet Spell: Opt for red velvet cake mix and cream cheese frosting (tinted green!) for a rich twist.
- Pumpkin Patch Witch: Incorporate pumpkin puree into a spice cake mix for an autumnal flavor.
- Witch Hat Alternatives:
- Chocolate Wafer Hats: Use round chocolate wafers as the brim and chocolate kisses or pointed chocolates for the hat.
- Fondant Fun: For a more polished look, craft tiny witch hats from black fondant.
- Leg & Shoe Creativity:
- Striped Candy Sticks: Instead of straws, use striped hard candy sticks for the legs.
- Licorice Legs: Black licorice laces can make flexible, dangling legs.
- Chocolate Candy Shoes: Use small, rectangular chocolate candies for shoes instead of gummies.
- Dietary Adjustments:
- Gluten-Free: Many brands now offer gluten-free cake mixes and pudding options.
- Dairy-Free: Explore dairy-free heavy cream alternatives for the frosting and plant-based milk for the cupcakes.
- Additional Decorations: Add edible glitter for a magical sparkle, or small candy eyeballs near the base of the hat for extra character.
Serving and Storage Suggestions
These melted witch cupcakes are best enjoyed within 1-2 days of assembly to ensure the freshest taste and appearance. However, they can be stored for up to 3-4 days if kept properly.
- Serving: Arrange them on a platter with other Halloween decorations for a truly festive display. They pair wonderfully with a spooky beverage like Goosebumps Punch or a cauldron of cider.
- Storage: Store the cupcakes in an airtight container at room temperature for up to 2 days, or in the refrigerator for up to 4 days. If refrigerating, allow them to come to room temperature for about 15-20 minutes before serving for optimal flavor and texture. The paper straws might soften slightly over time, so consider inserting them just before serving for the crispest look if making ahead.
These melted witch cupcakes are more than just a dessert; they’re a centerpiece of Halloween fun. Their playful design and delightful flavors make them an absolute hit at any gathering, from casual family nights to elaborate costume parties. So, gather your ingredients, call your little helpers, and get ready to create some truly magical and memorable treats this spooky season!
Let’s Connect!
If you’ve tried this delightful recipe, I’d love to hear from you! Please share your thoughts and leave a review in the comments below. Your feedback is truly appreciated!
Don’t forget to tag me – @sugarandsoulco – on Instagram and Pinterest with your incredible photos, or join our Sugar & Soul Show-offs Community on Facebook to share your creations and participate in our fun recipe challenges!
Did You Make This Recipe?
Don’t forget to share it with me on Instagram @sugarandsoulco and follow on Tiktok @sugarandsoulco and Pinterest @sugarandsoulco for more!
Pin Recipe
Share Recipe