

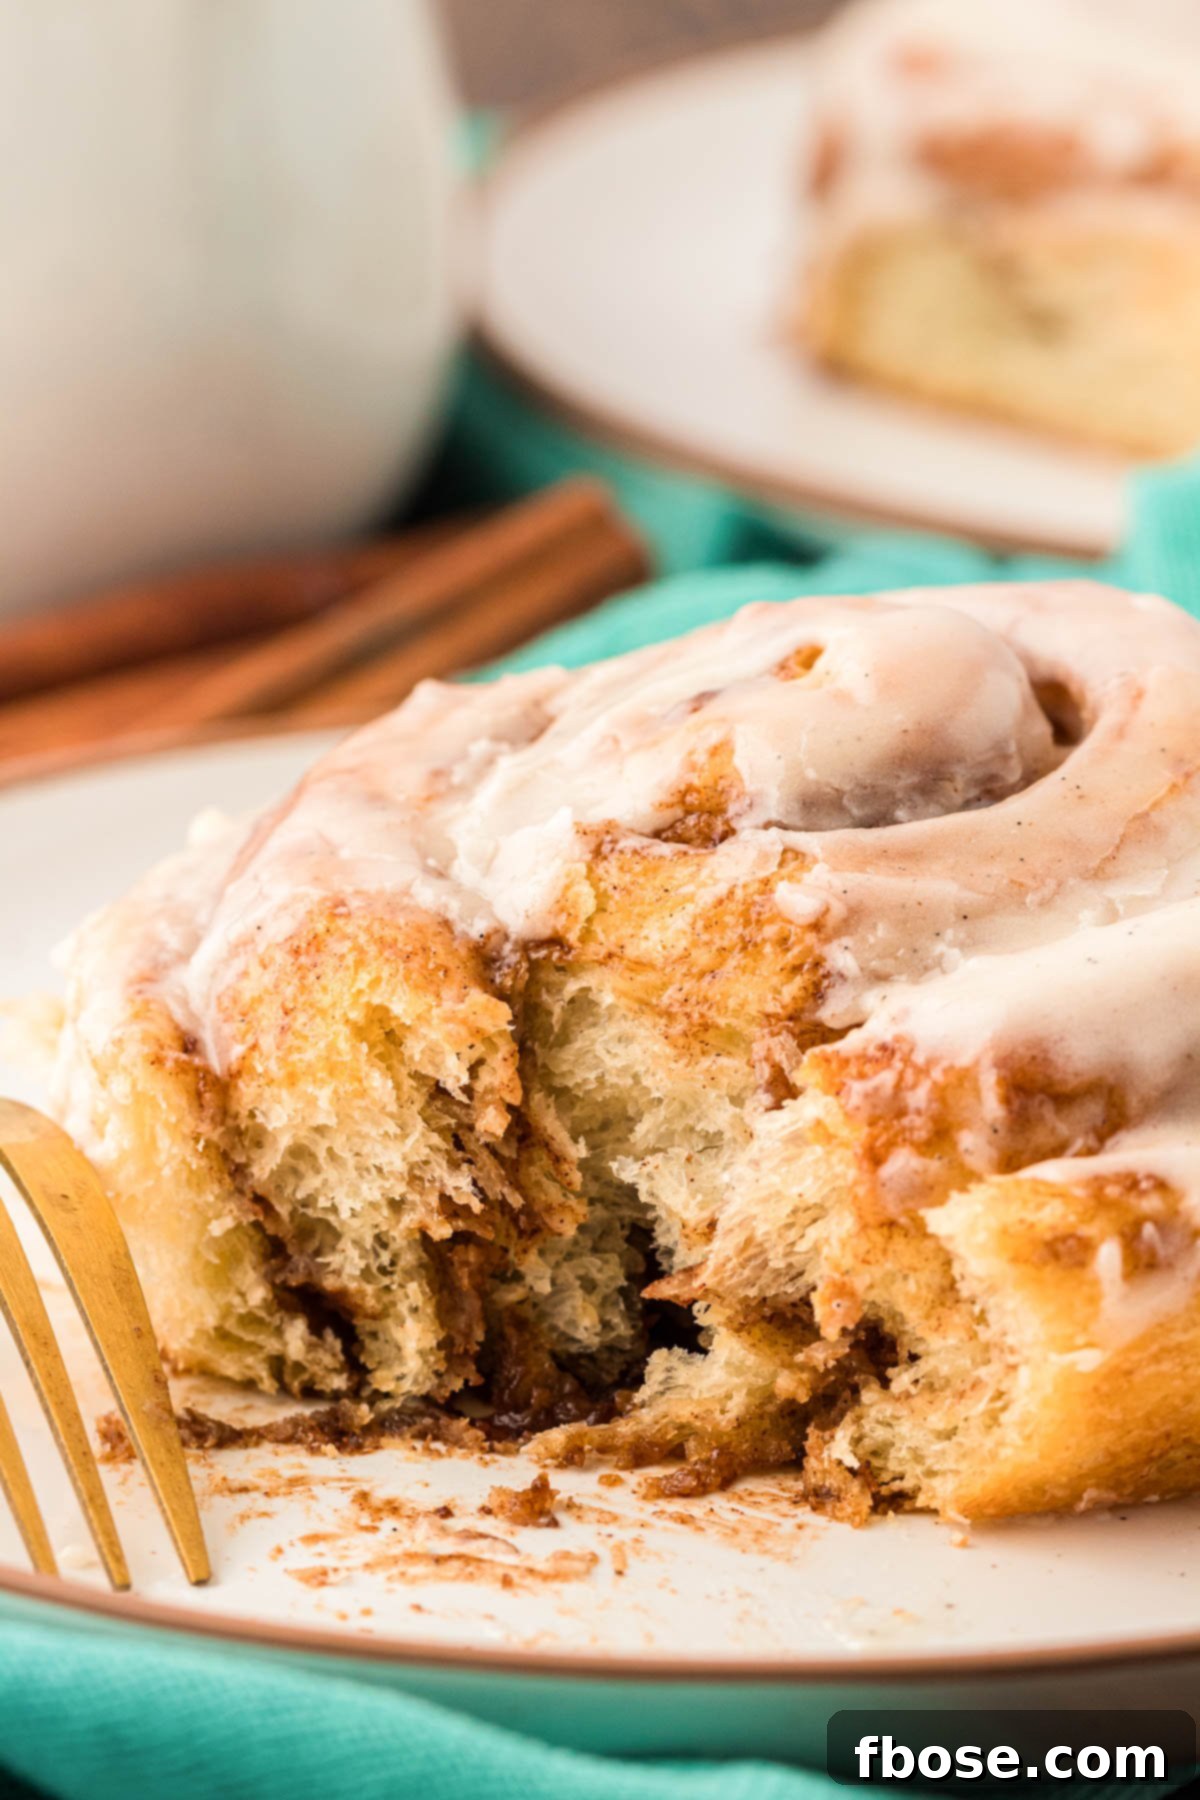
Prepare yourself for the ultimate baking experience with the Softest Cinnamon Rolls with Tangzhong you’ll ever create! These extraordinary rolls are renowned for their impossibly fluffy texture and perfectly balanced sweetness, all crowned with a luscious, thick vanilla bean icing that will tantalize your taste buds. This comprehensive guide, complete with easy-to-follow step-by-step instructions and vivid photos, ensures that every batch you bake will yield perfectly delicious, irresistibly soft cinnamon rolls.
Why You Will Adore These Tangzhong Cinnamon Rolls
Imagine starting your day with a warm, steamy cup of coffee and a pillowy soft cinnamon roll that practically melts in your mouth. With these Tangzhong cinnamon rolls, that dream becomes a delectable reality! It’s a universally acknowledged truth that no bad day can ever begin when a homemade cinnamon roll is involved, and these are truly in a league of their own.
I’ve dedicated countless hours over the years to perfecting this classic pastry, tirelessly trying and testing variations to ensure that when I finally shared this recipe, it would be nothing short of extraordinary. Despite what might appear as a detailed and multi-step process, you’ll discover that the recipe is surprisingly straightforward and incredibly rewarding. The journey to these heavenly rolls is as enjoyable as the first bite.
The secret to their unparalleled tenderness lies in the revolutionary Tangzhong method. This unique technique infuses every bite with an exceptional pillowy softness, rich moisture, and a deeply satisfying sweetness. Beyond their dreamy texture, these rolls boast a warmly spiced cinnamon filling and a decadent vanilla bean frosting. They’re far too good to be reserved solely for breakfast; indulge in them as a delightful midday snack, a comforting evening treat, or even as an unforgettable dessert that will leave everyone craving more.
What Makes Cinnamon Rolls With Tangzhong Uniquely Different?
The Tangzhong method, an ancient Asian baking technique, is the true game-changer behind these incredibly soft and moist cinnamon rolls. It involves cooking a small portion of bread flour with water and whole milk to create a thick, paste-like mixture. This process, also known as a water roux, gelatinizes the starches in the flour, allowing them to absorb and retain a significantly greater amount of liquid than uncooked flour.
Once this Tangzhong mixture has cooled slightly, it is carefully incorporated into the main dough. The magic happens here: this pre-cooked flour paste locks in an abundance of moisture within the dough structure. During baking, this trapped moisture transforms into steam, which in turn helps the dough rise higher and creates an unbelievably light, airy, and fluffy crumb. The result is a cinnamon roll that isn’t just soft upon baking, but one that remarkably retains its tender, moist texture for several days, preventing them from drying out prematurely, a common pitfall of many traditional recipes.
This simple yet impactful extra step elevates the texture to a level that simply cannot be achieved in cinnamon rolls made without the Tangzhong method. It’s the difference between a good cinnamon roll and an absolutely unforgettable one – a difference you’ll taste and feel in every exquisite bite.
Essential Ingredients for Truly Exceptional Milk Bread Cinnamon Rolls
The full recipe, complete with precise ingredient amounts and detailed instructions, is located in the recipe card towards the bottom of this post. Make sure to read through all the helpful tips, step-by-step photos, and additional insights provided here to ensure you create the best cinnamon rolls you’ve ever tasted!
Crafting the softest cinnamon rolls with Tangzhong goes beyond just following a list; it’s about understanding the role each ingredient plays and mastering key techniques. The magic truly lies in steps like preparing and perfectly incorporating the Tangzhong, skillfully working with yeast, and allowing the dough to rise in a warm environment three distinct times. These stages are absolutely critical for achieving the characteristic tender crumb and rich flavor of these rolls.
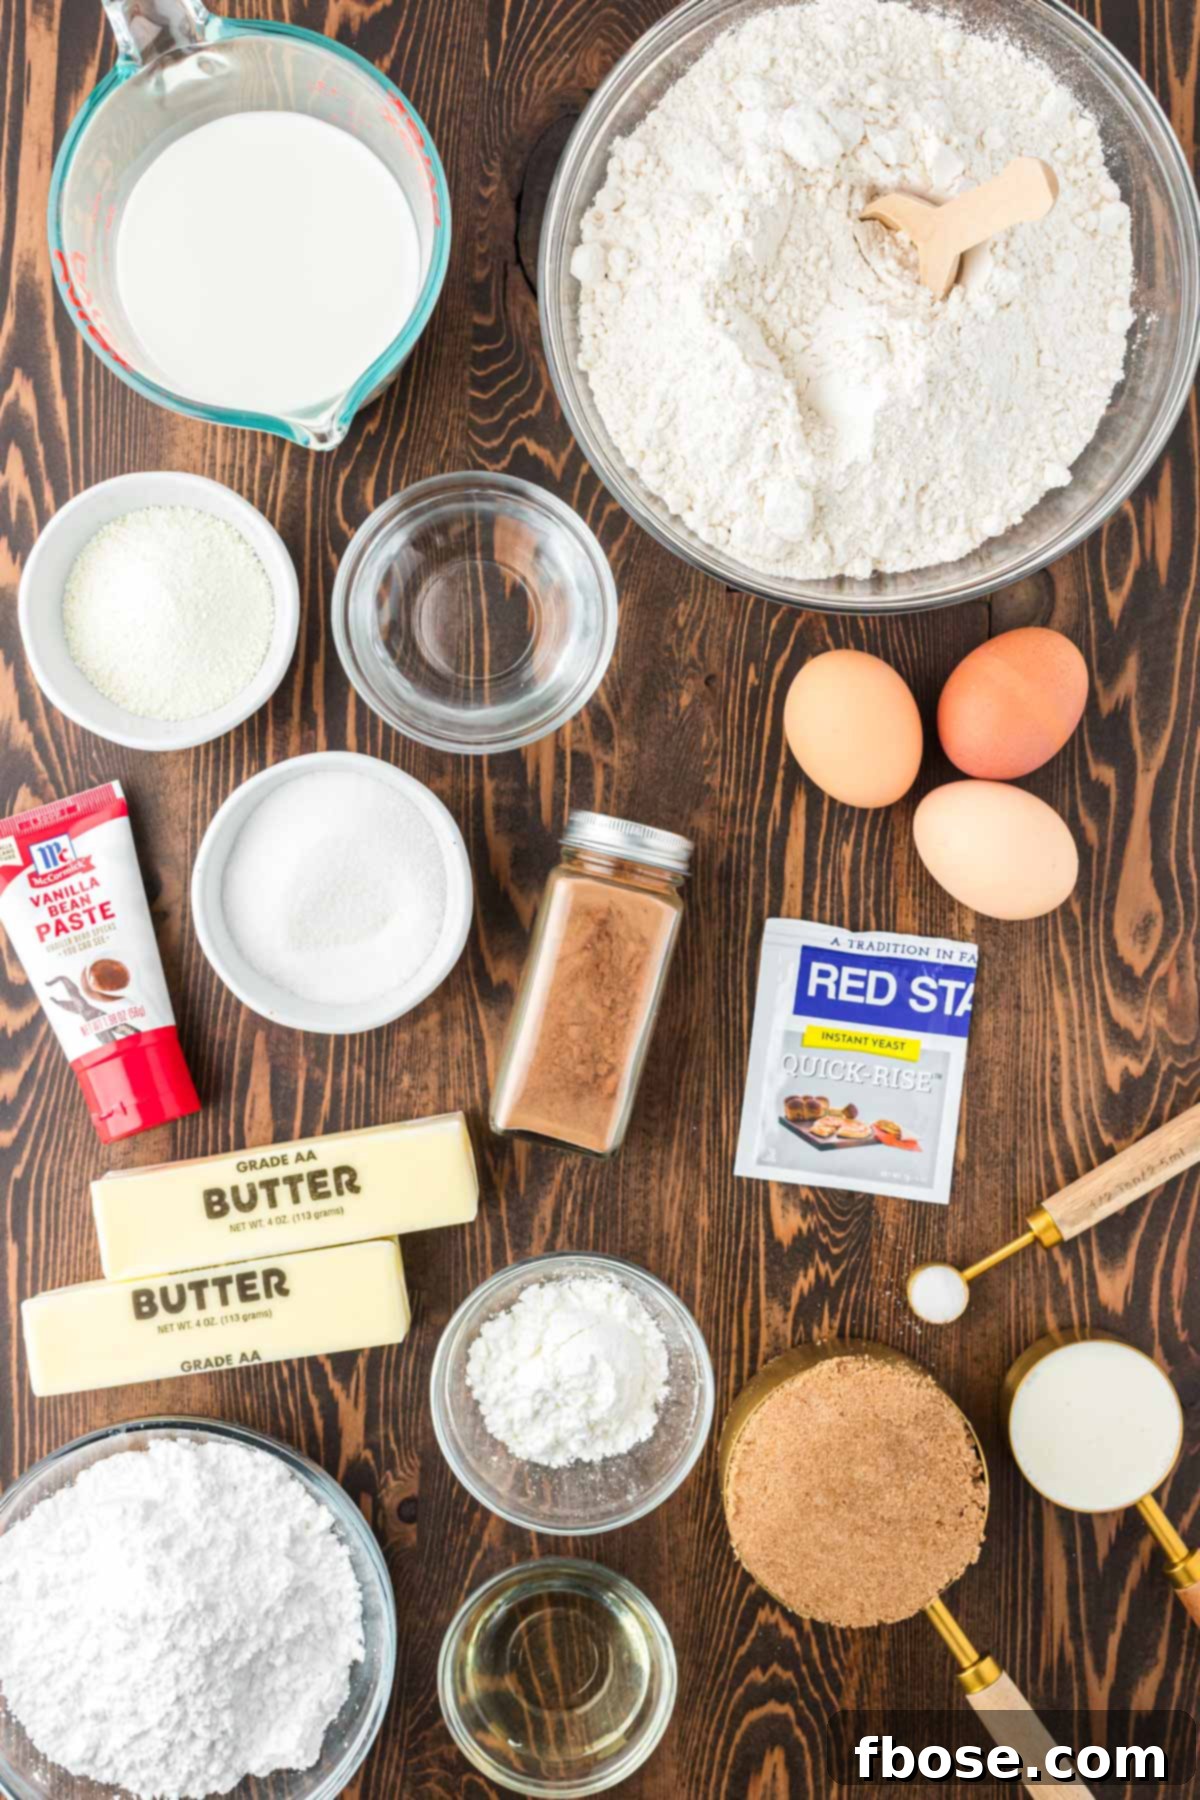
Beyond the technique, several carefully chosen ingredients are fundamental to both the flavor and unparalleled texture:
- Whole Milk: Provides richness and contributes to the dough’s tender texture.
- Water: Essential for the Tangzhong paste and dough hydration.
- Bread Flour: High protein content is key for developing strong gluten, resulting in a superior rise and chewy-soft texture.
- Powdered Milk: Enhances flavor, adds tenderness, and helps create a beautiful golden-brown crust.
- Granulated Sugar: Feeds the yeast and adds sweetness to the dough.
- Instant Yeast: The leavening agent that makes the rolls light and fluffy.
- Salt: Balances flavors and controls yeast activity.
- Large Eggs & Large Egg Yolk: Add richness, moisture, color, and structure to the dough.
- Salted Butter: For both the dough and the irresistible filling and icing, providing flavor and tenderness.
- Vegetable Oil: Used for coating the proofing bowl, preventing sticking.
- Dark Brown Sugar: Creates a deep, molasses-rich sweetness in the filling.
- Corn Starch: A secret ingredient in the filling to prevent it from oozing out during baking, keeping it gooey and luscious.
- Ground Cinnamon: The star spice, providing that iconic aroma and flavor.
- Powdered Sugar: The base for our smooth, decadent icing.
- Heavy Cream: Adds richness to the icing and is crucial for the TikTok variation.
- Vanilla Bean Paste: Elevates the vanilla flavor in the icing to gourmet levels, offering visible flecks of real vanilla bean.
Being careful not to overwork the dough is another critical aspect, but rest assured, the combination of these quality ingredients and precise techniques will culminate in the softest, most delicious cinnamon rolls imaginable.
The TikTok Cinnamon Rolls With Heavy Cream Variation: For Extra Gooeyness
The “heavy cream trick” for cinnamon rolls has exploded in popularity across social media platforms like TikTok over the past year, captivating home bakers with its promise of an even gooier, more decadent treat. While trending now, this brilliant method was actually championed years ago by my talented friend, Julie from Tastes of Lizzy T – she absolutely deserves all the credit for introducing this fantastic hack!
For those who crave an intensely gooey cinnamon roll experience, this variation is a must-try. The process is simple: before covering your shaped cinnamon rolls for their second rise, pour approximately 3/4 cup of heavy cream evenly over the top of them. As the rolls bake, the heavy cream absorbs into the dough and cinnamon filling, creating an incredibly rich, moist, and almost custardy texture. This simple addition transforms them from a “holdable” pastry into a gloriously messy, fork-required indulgence. It’s a small step that yields a dramatically different, utterly delicious result, perfect for special occasions or when you simply want to elevate your homemade cinnamon rolls to an extraordinary level of gooey perfection.
How To Make The Softest Cinnamon Rolls With Tangzhong: A Step-by-Step Guide
Creating these heavenly cinnamon rolls is an enjoyable process. Follow these detailed steps for guaranteed success and a truly delicious result.
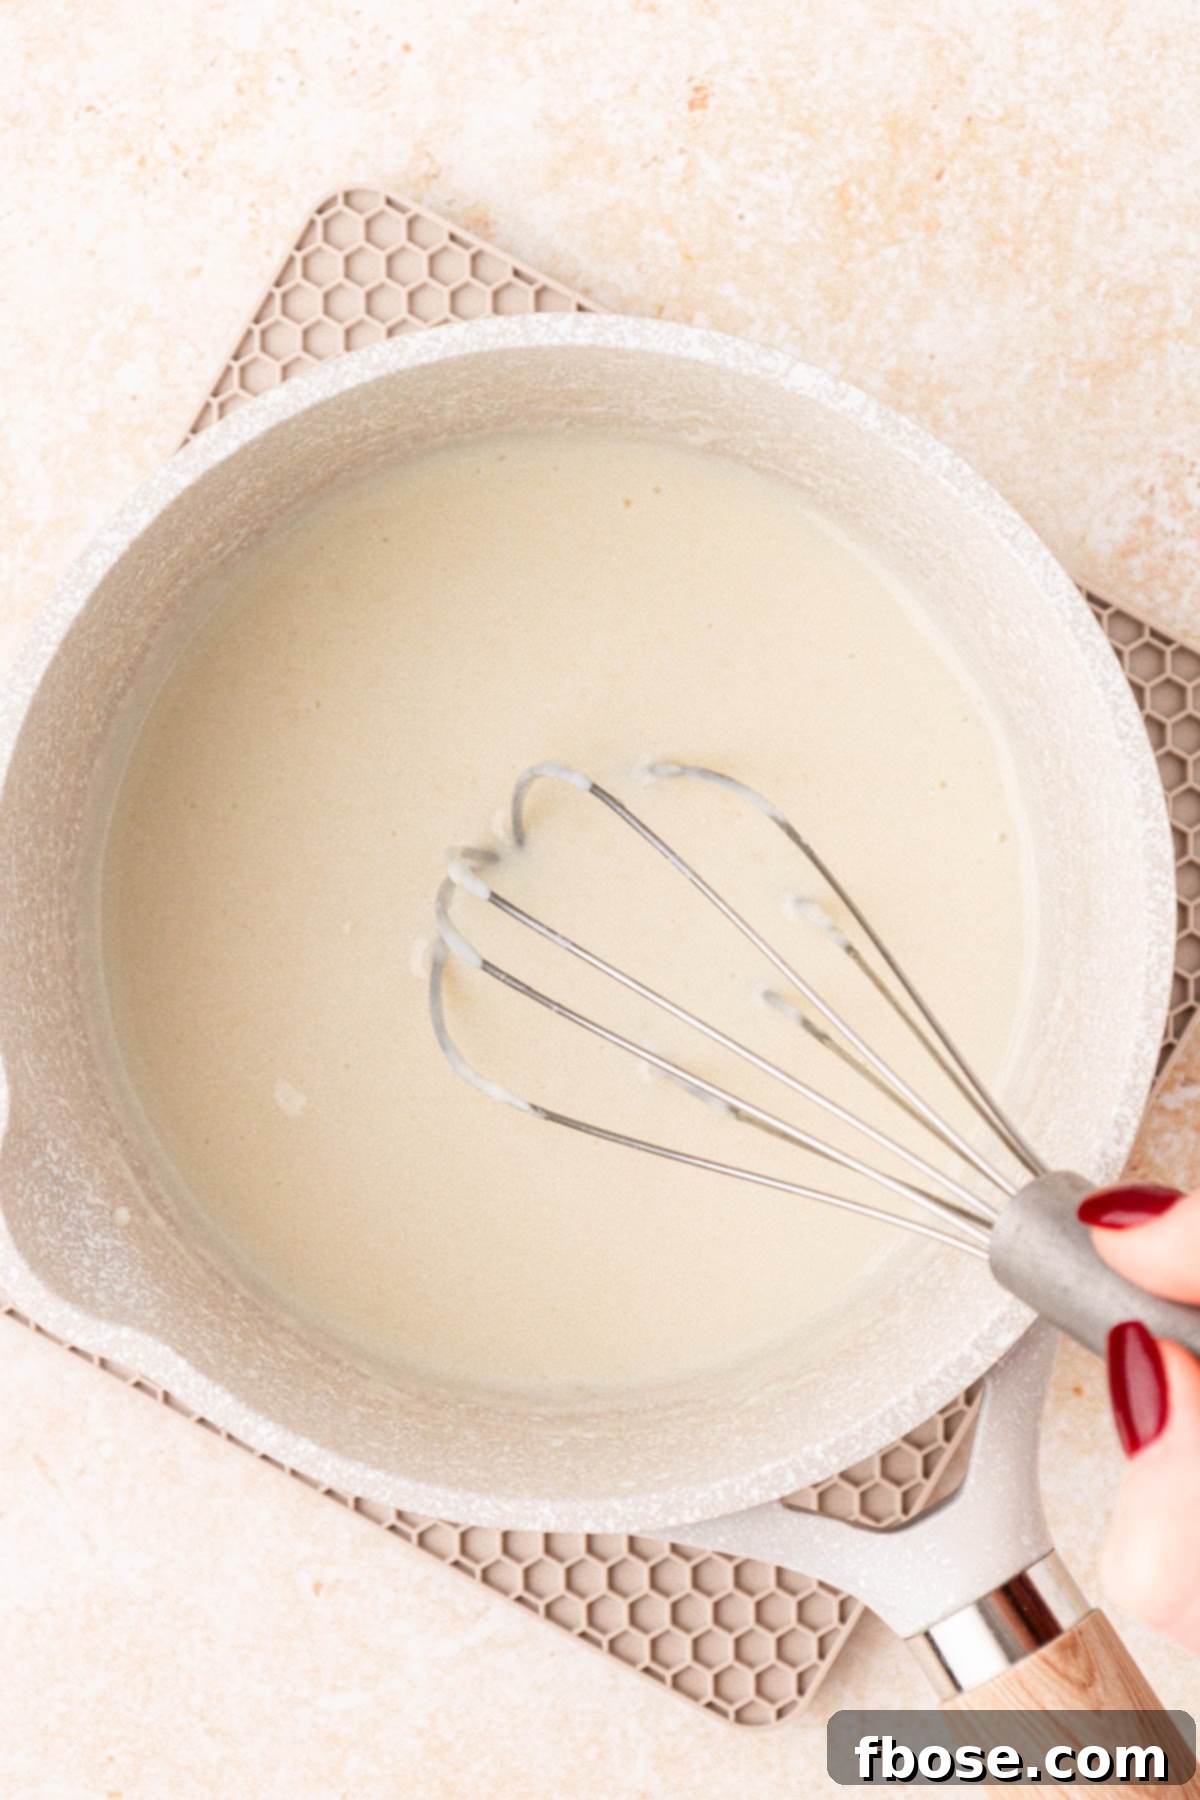
- Prepare the Tangzhong Paste: In a small saucepan, combine 1/2 cup of whole milk, 1/4 cup of water, and 1/4 cup of bread flour. Whisk this mixture continuously until it becomes completely smooth. Place the saucepan over medium heat and cook, stirring frequently, until the mixture thickens into a gelatinous, paste-like consistency, typically taking about 1 to 2 minutes. Once thickened, immediately remove it from the heat and set it aside to cool down completely. It’s crucial that the Tangzhong is at least lukewarm, if not room temperature, before adding it to your dough.
2. Combine Dry Dough Ingredients: In a large mixing bowl or the bowl of a stand mixer fitted with a dough hook attachment, combine the dry ingredients for the main dough. Add 4⅓ cups of bread flour, ¼ cup of powdered milk, ¼ cup of granulated sugar, 1 tablespoon of instant yeast, and ½ teaspoon of salt. Whisk these ingredients together briefly to ensure they are evenly distributed.
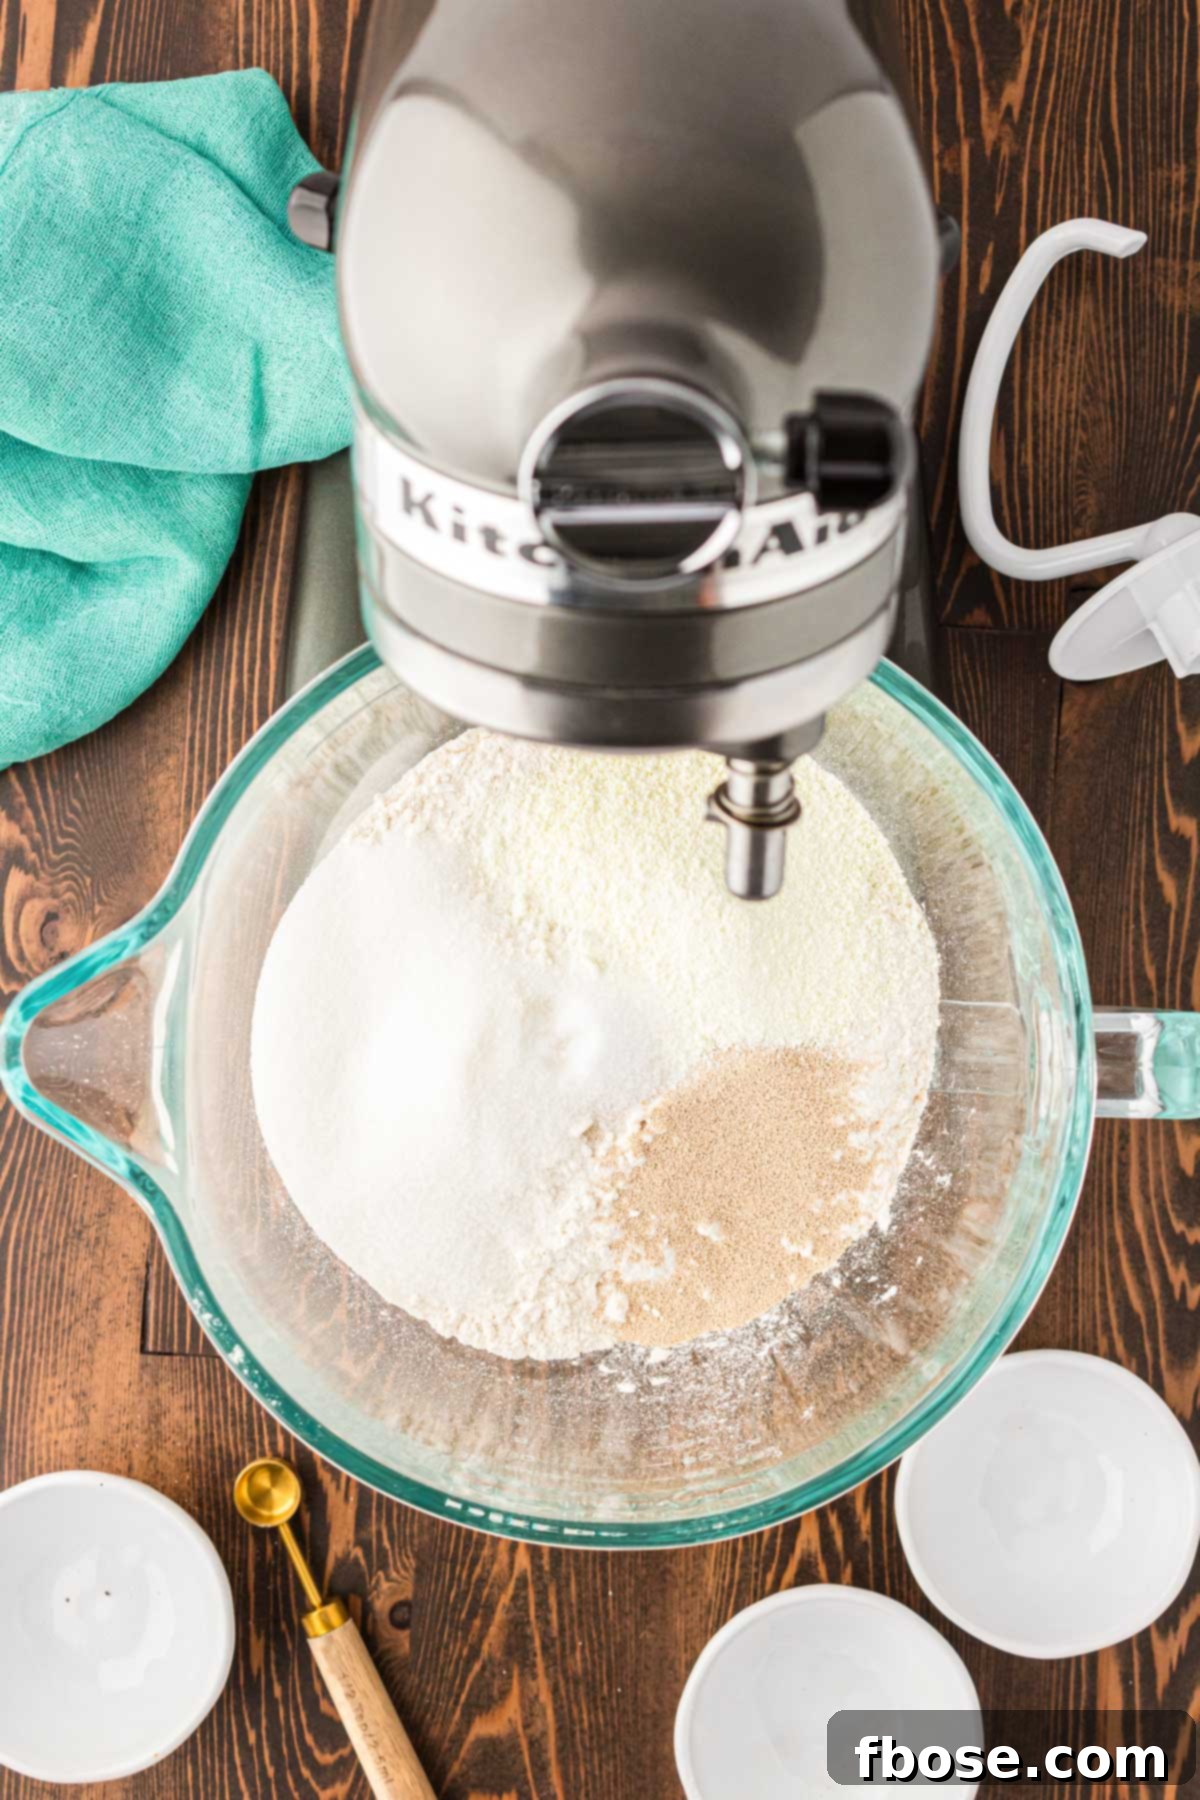
3. Add Wet Dough Ingredients: Pour in 1¼ cups of room temperature whole milk, add 2 large eggs, and the additional large egg yolk into the bowl with the dry ingredients. Begin mixing on low speed until the ingredients are just combined, forming a shaggy dough. This initial mix helps to hydrate the flour.
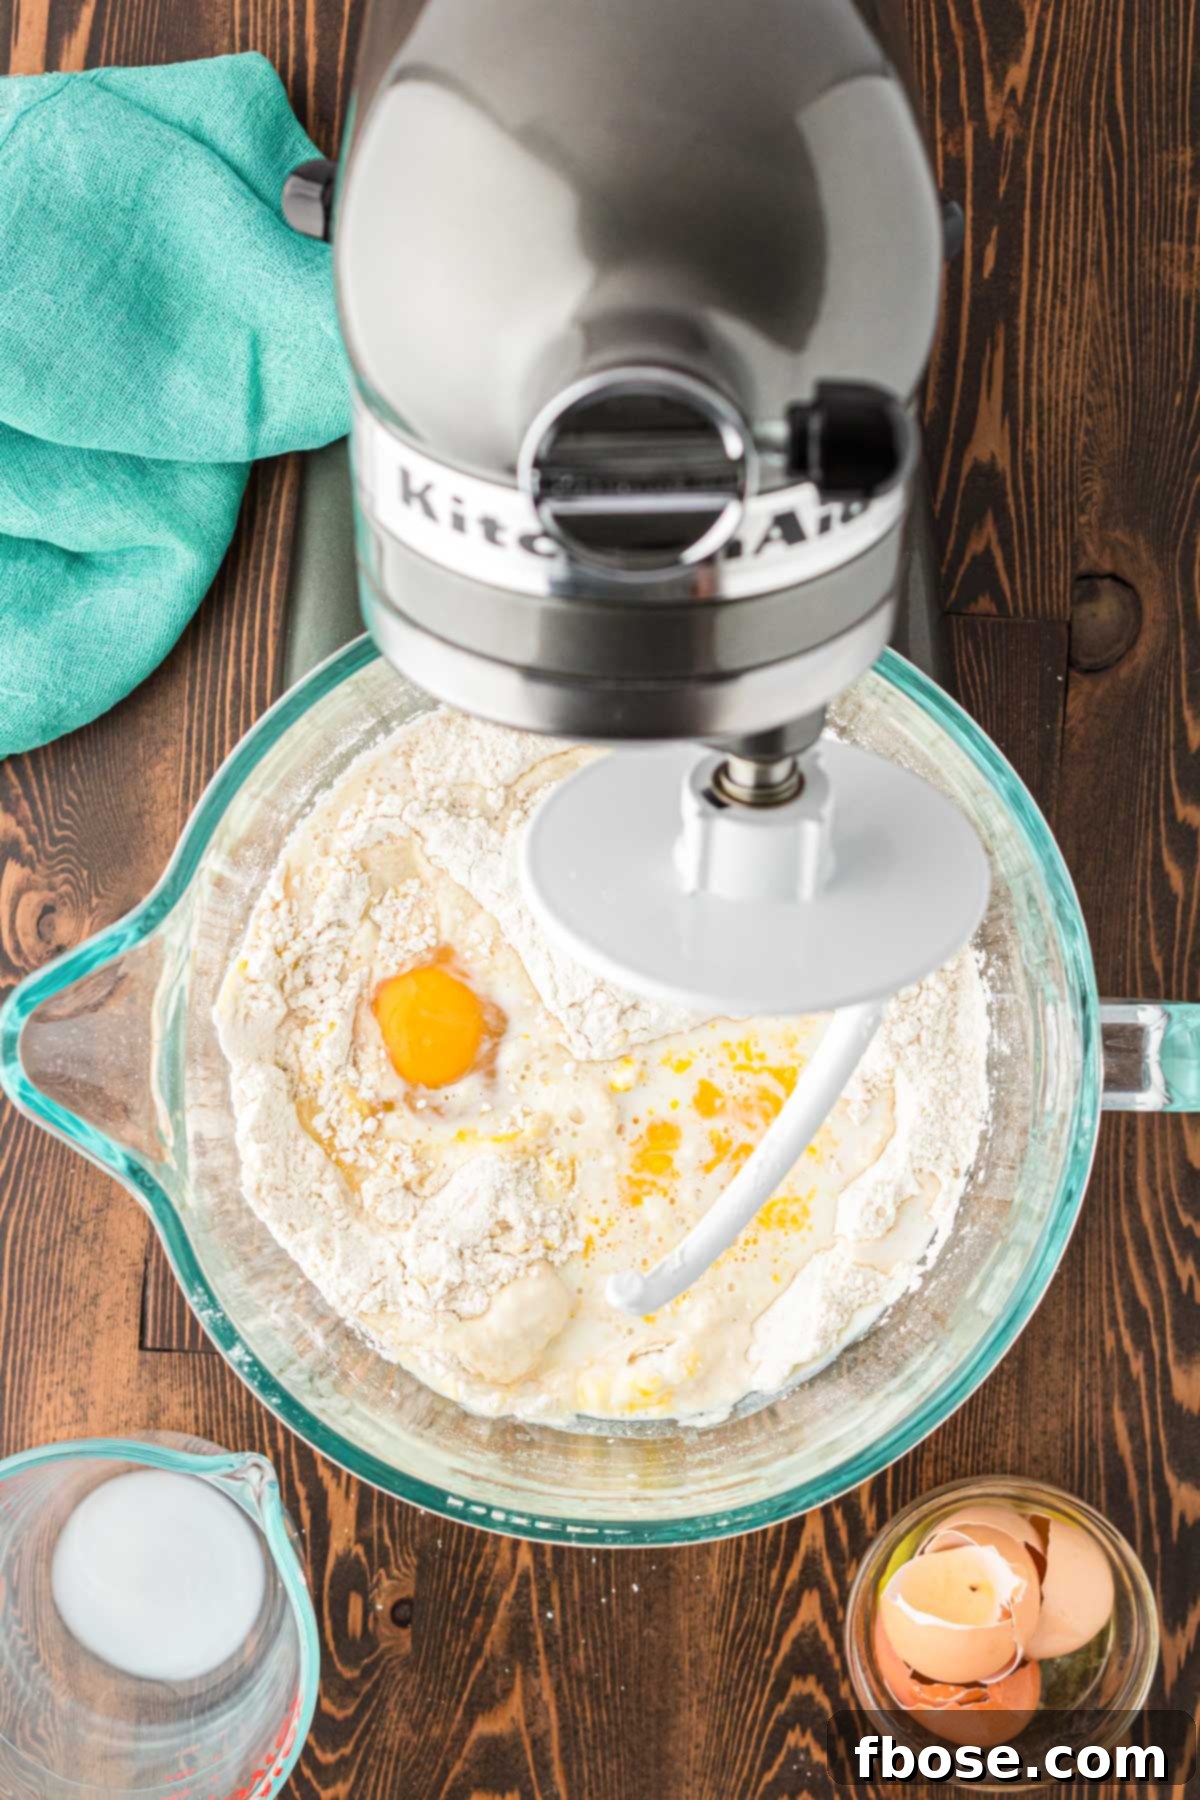
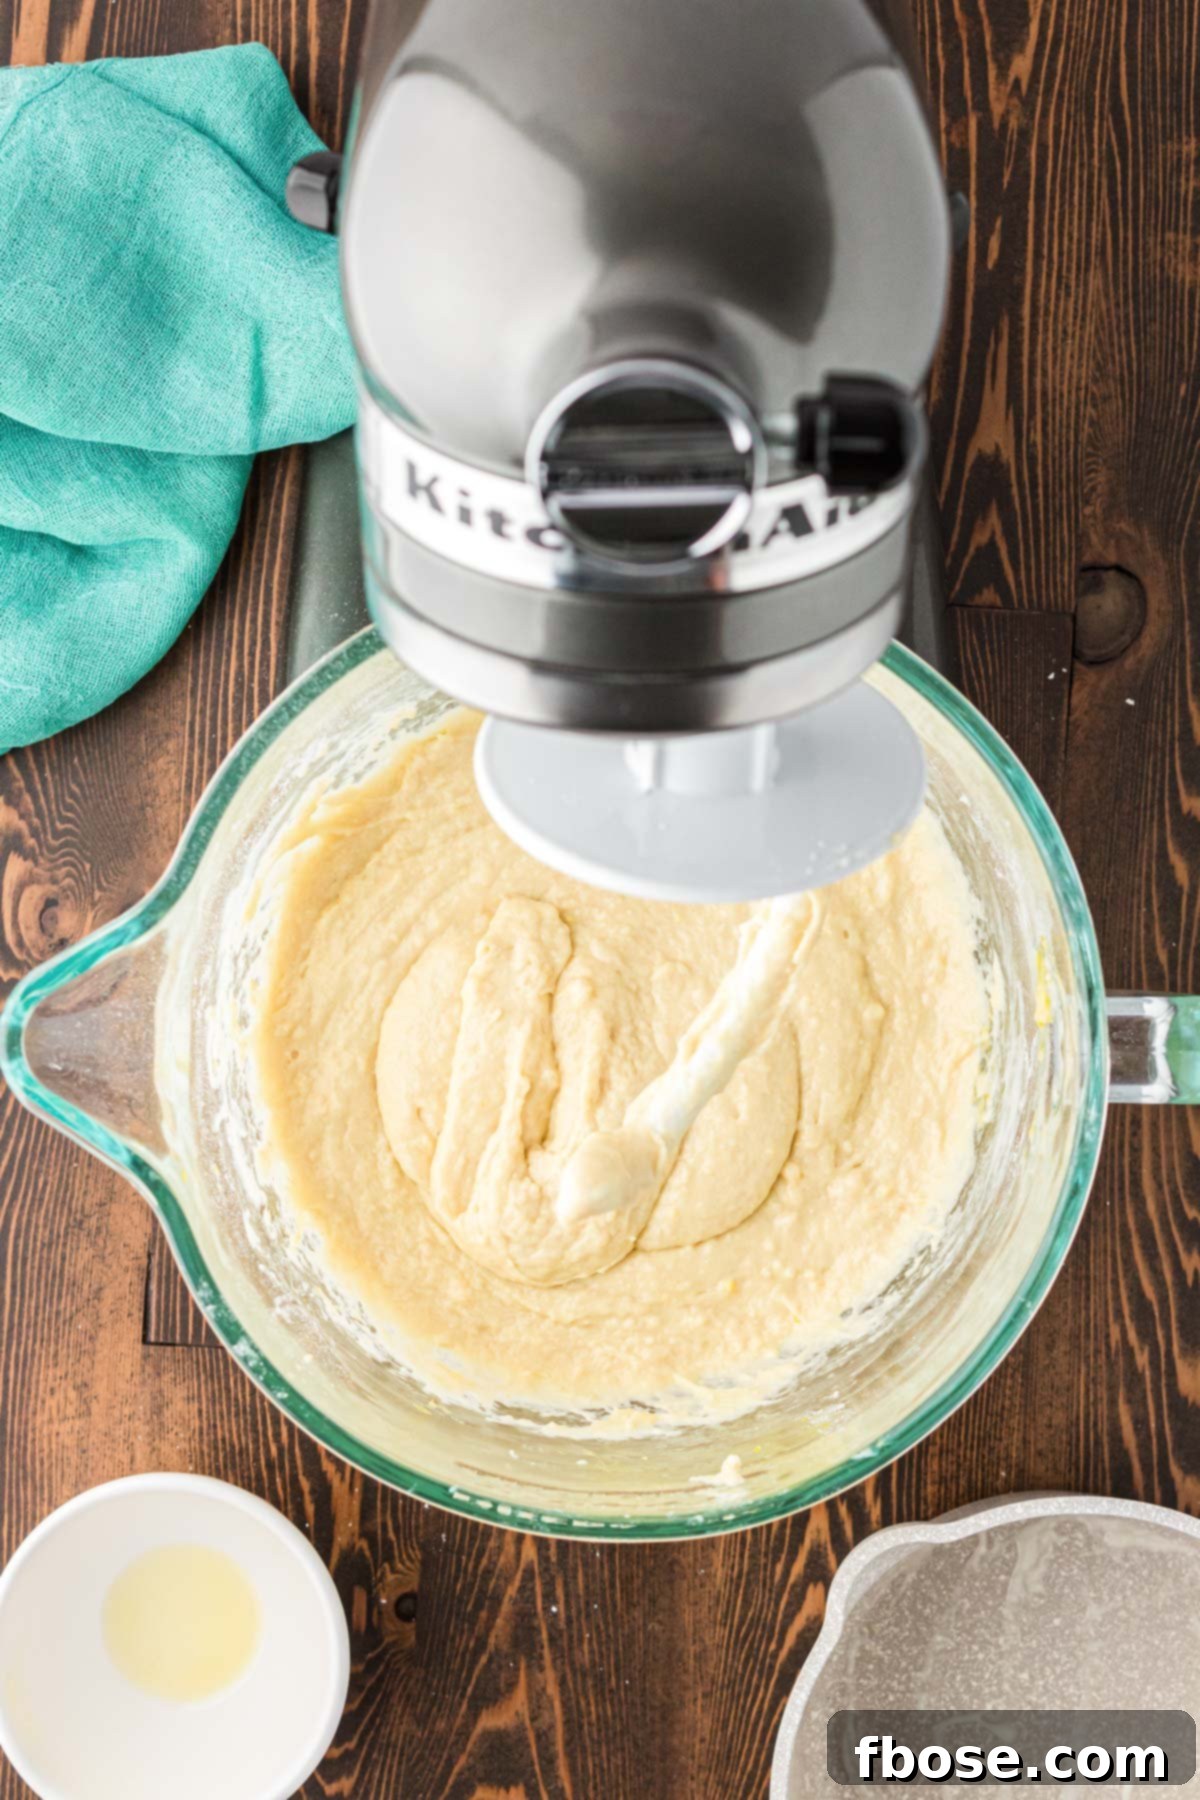
4. Incorporate Butter and Tangzhong: Now, add the 6 tablespoons of super-soft, melted salted butter and the cooled Tangzhong mixture to the dough. Continue mixing on low to medium speed until all ingredients are thoroughly combined and the mixture forms a sticky, cohesive dough. Ensure there are no streaks of butter or Tangzhong visible. The butter should be very soft, almost melty, for easy incorporation.
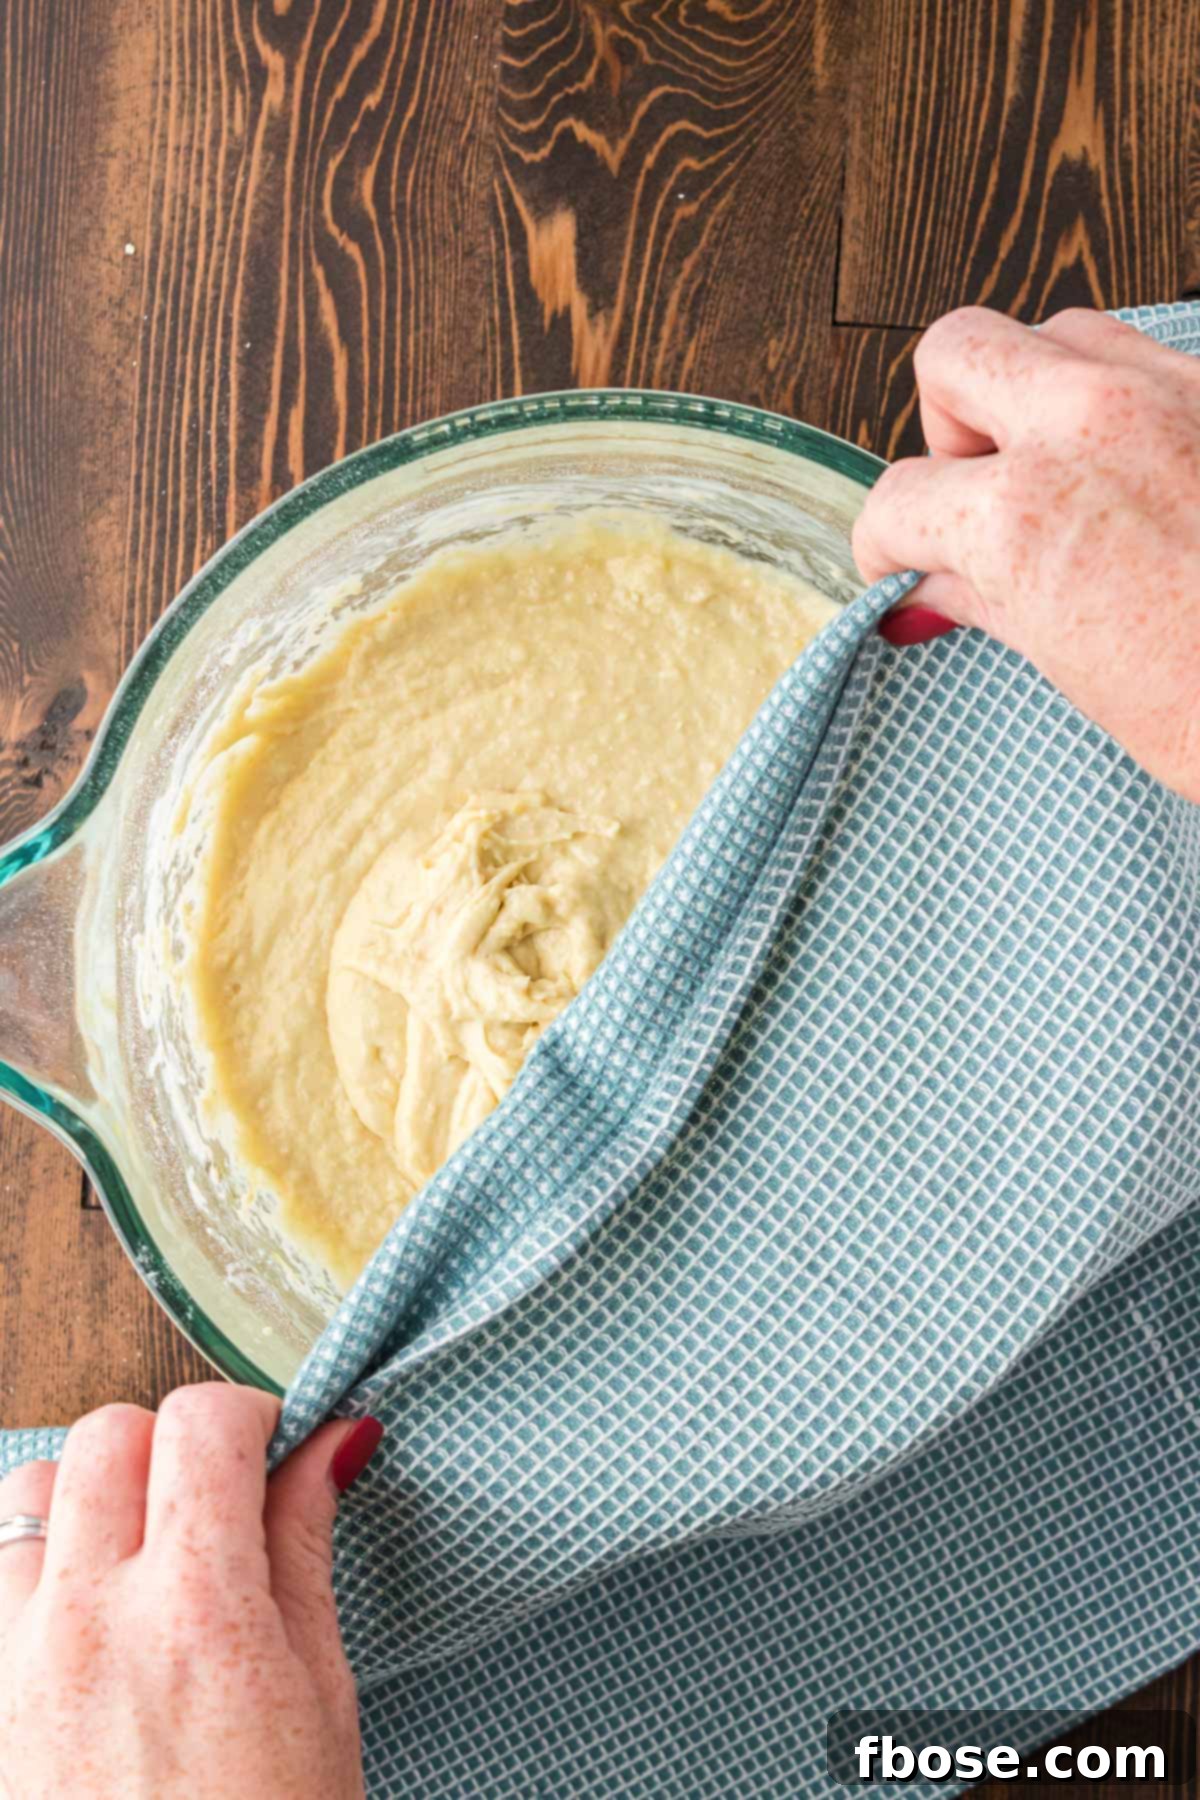
5. First Rest (Autolyse): Cover the bowl containing the sticky dough with a kitchen towel or plastic wrap. Allow it to rest undisturbed for 20 minutes. This resting period, known as autolyse, allows the flour to fully hydrate and the gluten to begin developing without kneading, leading to a more extensible and manageable dough.
6. Knead the Dough: After the resting period, uncover the dough and begin kneading it at medium-high speed (around speed 6 on a stand mixer) for approximately 10 minutes. Continue kneading until the dough transforms into a smooth, elastic, and supple ball. It’s crucial to resist the temptation to add extra flour during this stage, even if the dough seems a bit sticky at first. Proper kneading will develop the gluten, making it less sticky and more manageable.
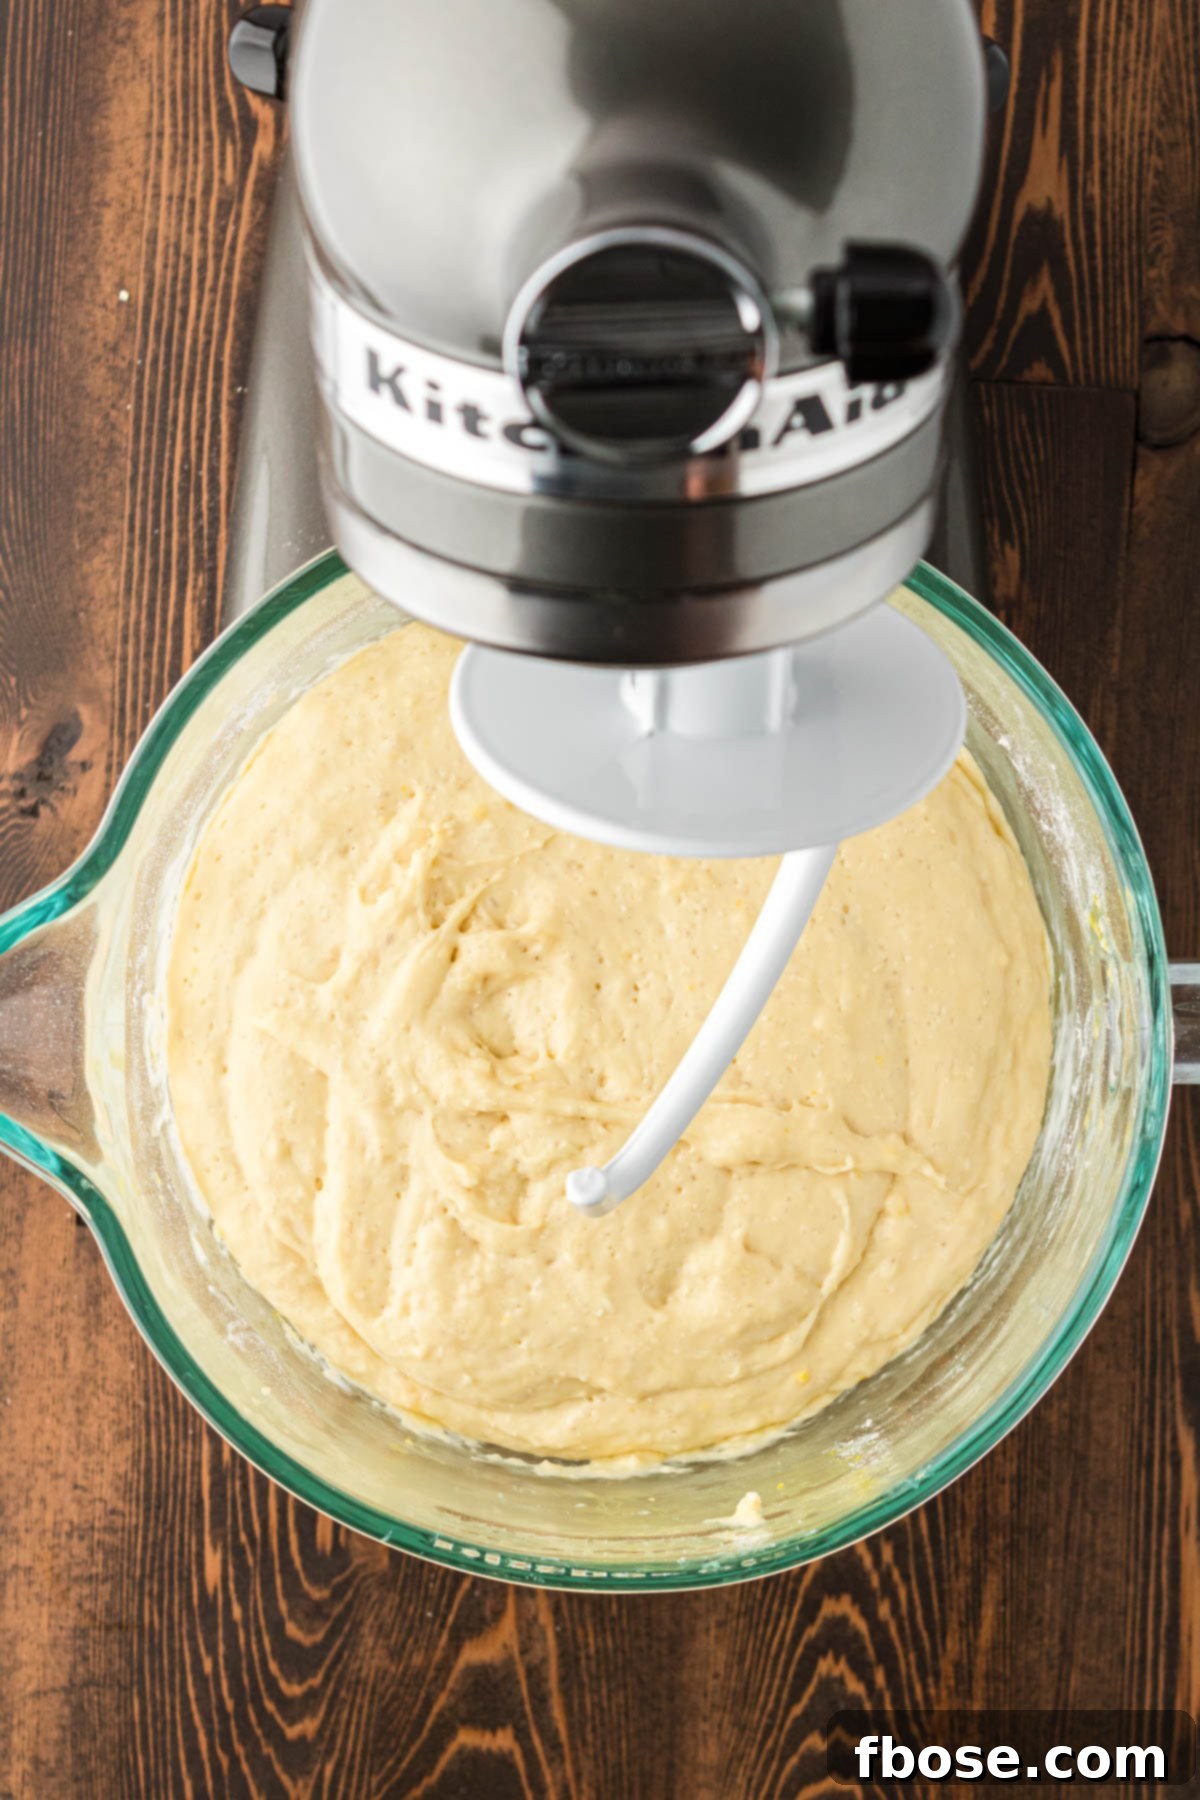
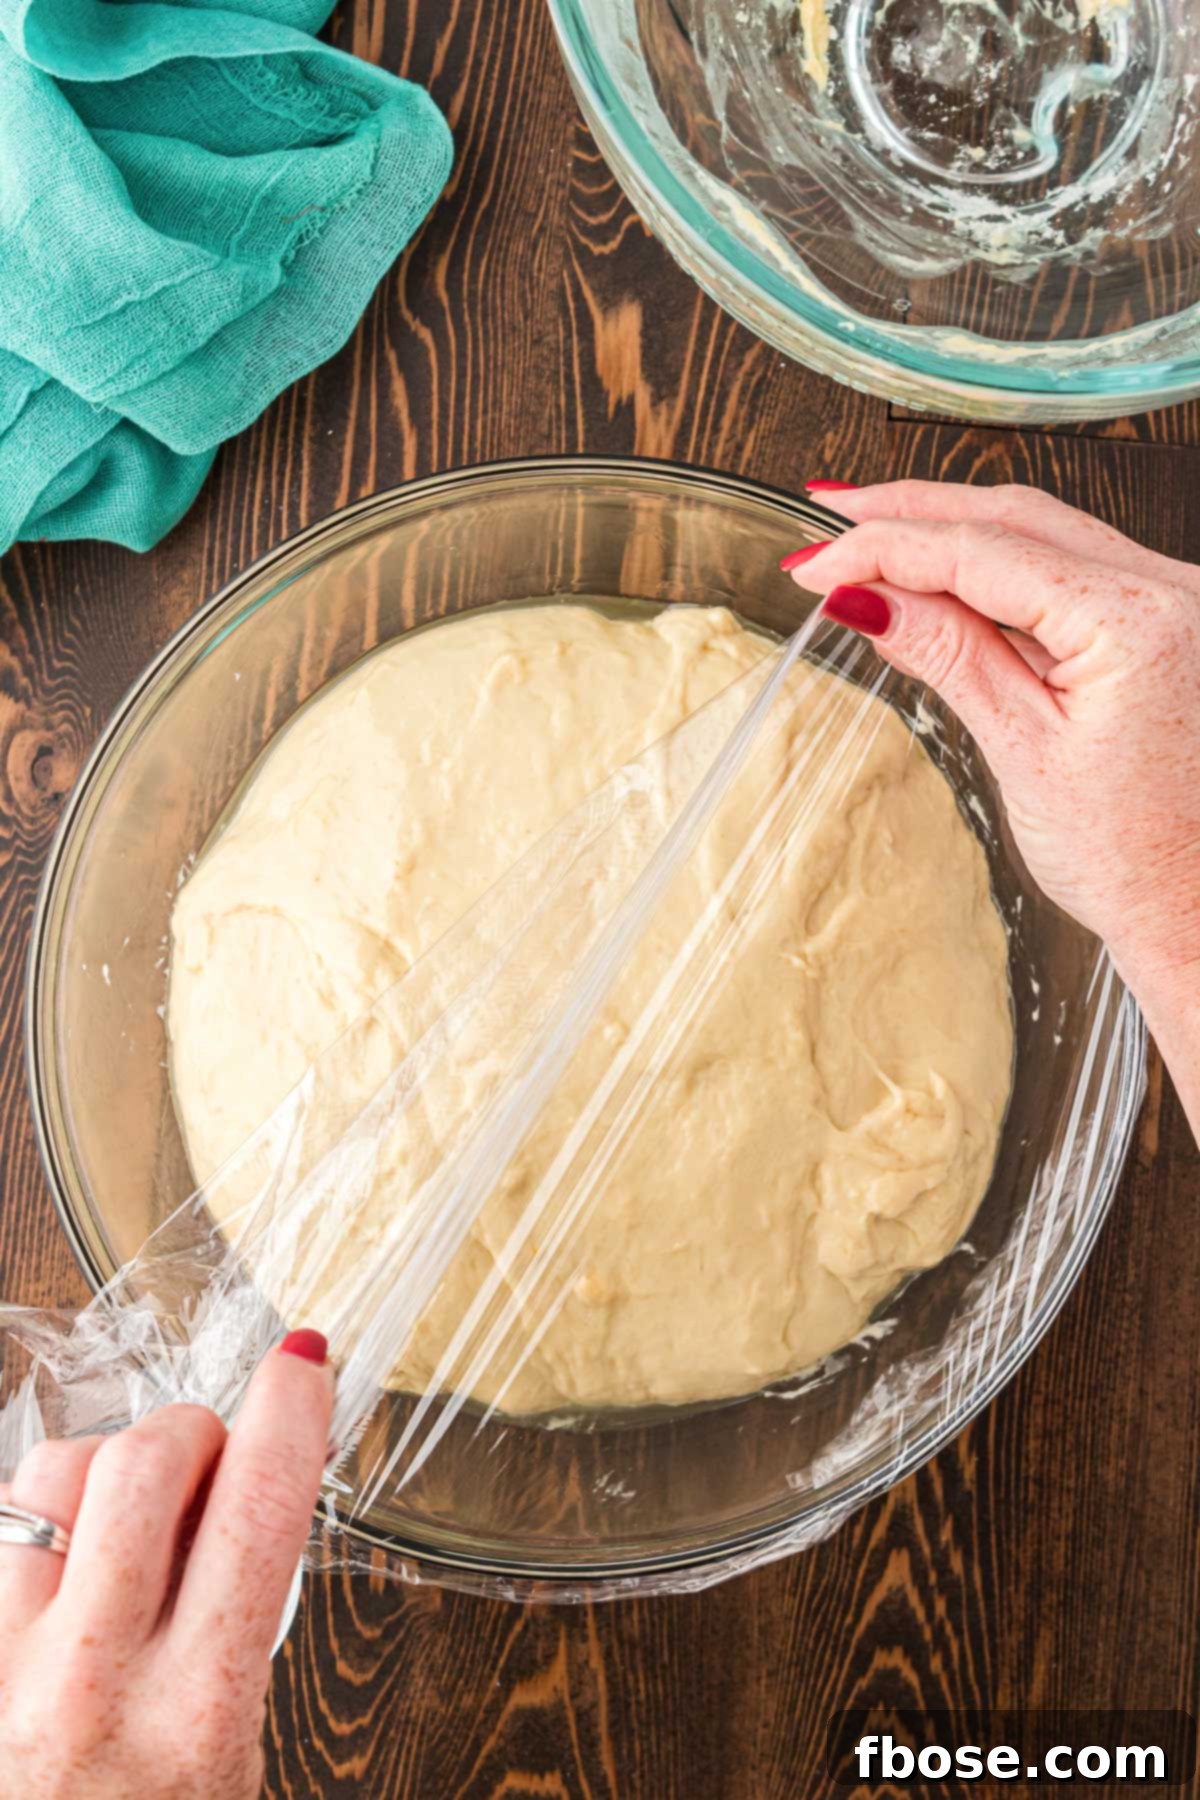
7. First Rise (Proofing): The kneaded dough should feel tacky to the touch but no longer stick to your fingers, and it should be pliable. Lightly grease a large clean bowl with 1 tablespoon of vegetable or canola oil. Transfer the dough into this oiled bowl, rotating it to ensure all sides are coated. Cover the bowl tightly with plastic wrap to prevent a skin from forming, and place it in a warm location in your home. Allow the dough to rise until it has doubled in size. This typically takes about 1 hour in a warm kitchen or 75 to 90 minutes in an air-conditioned environment. A warm spot could be near a sunny window, in a slightly warm (but off) oven, or a proofer.
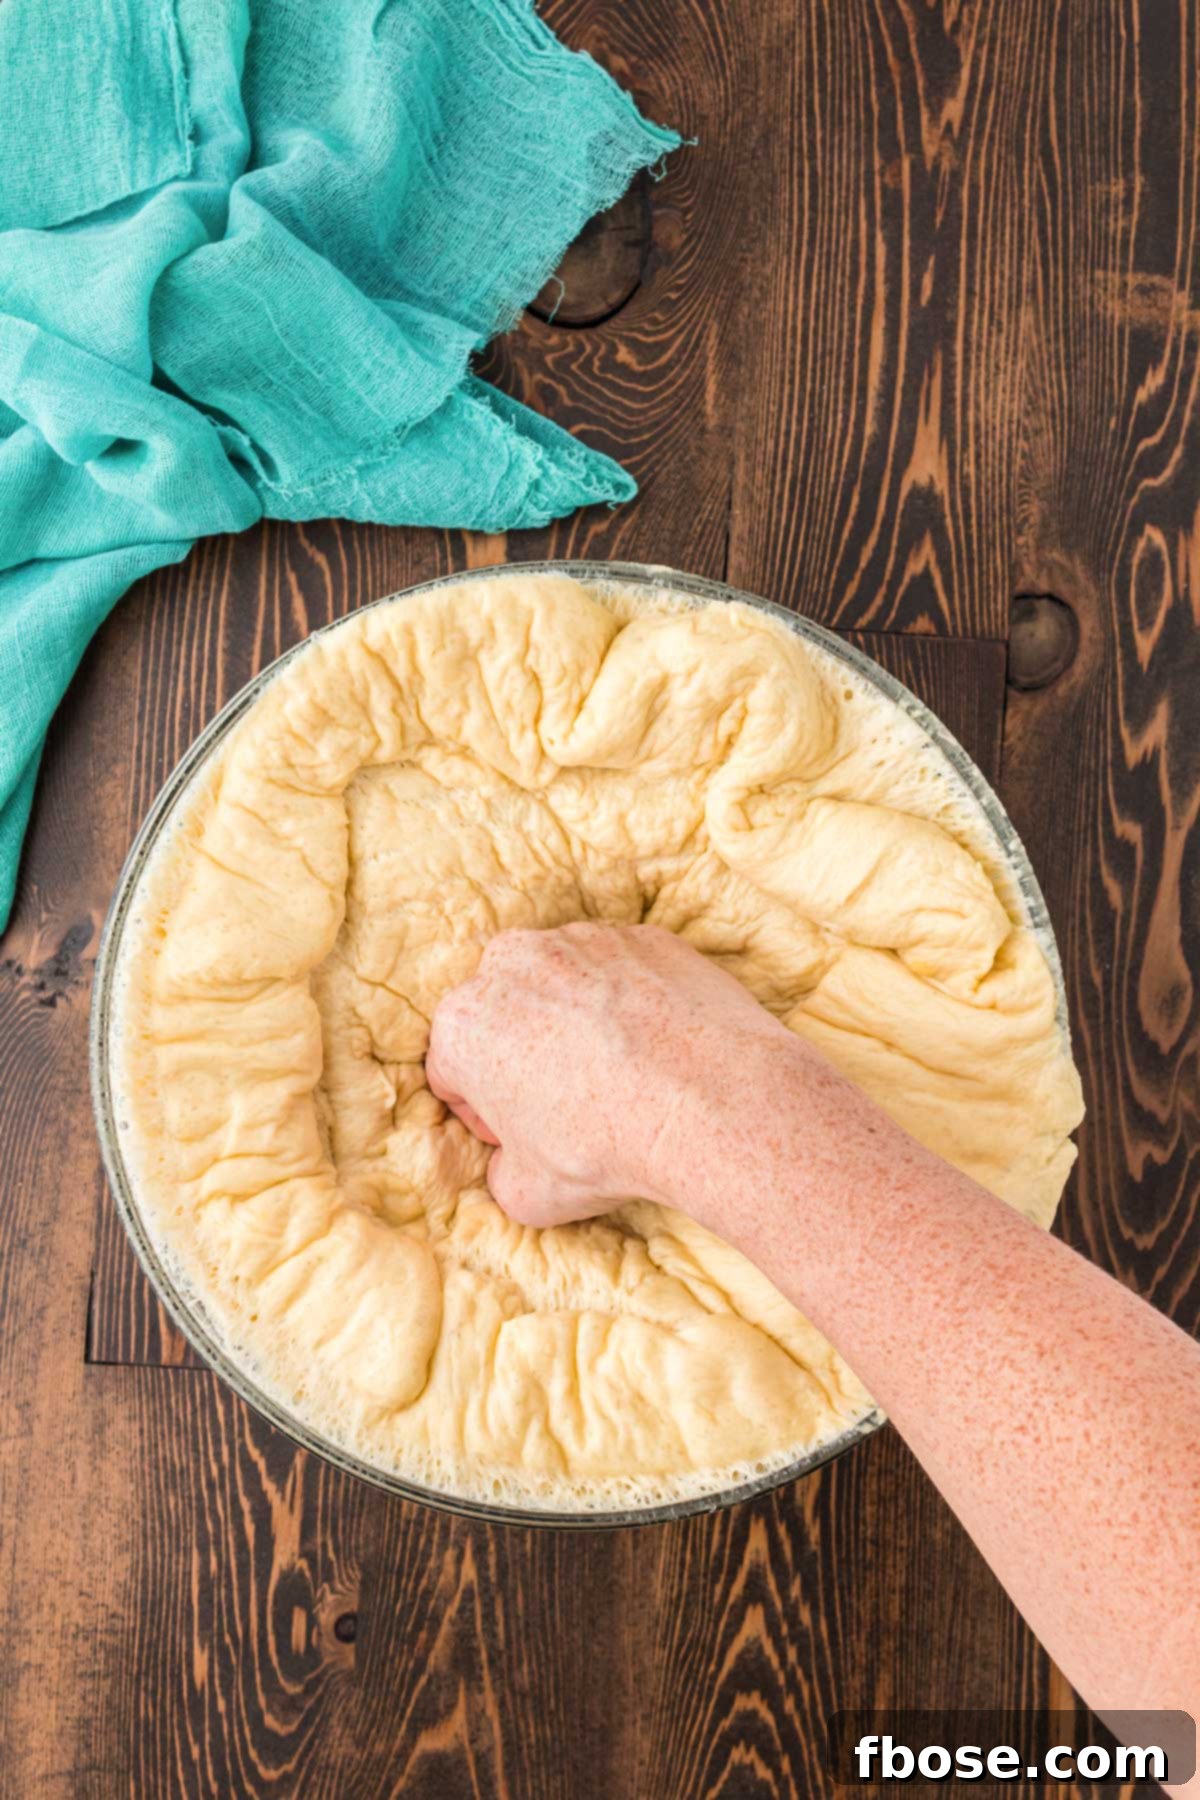
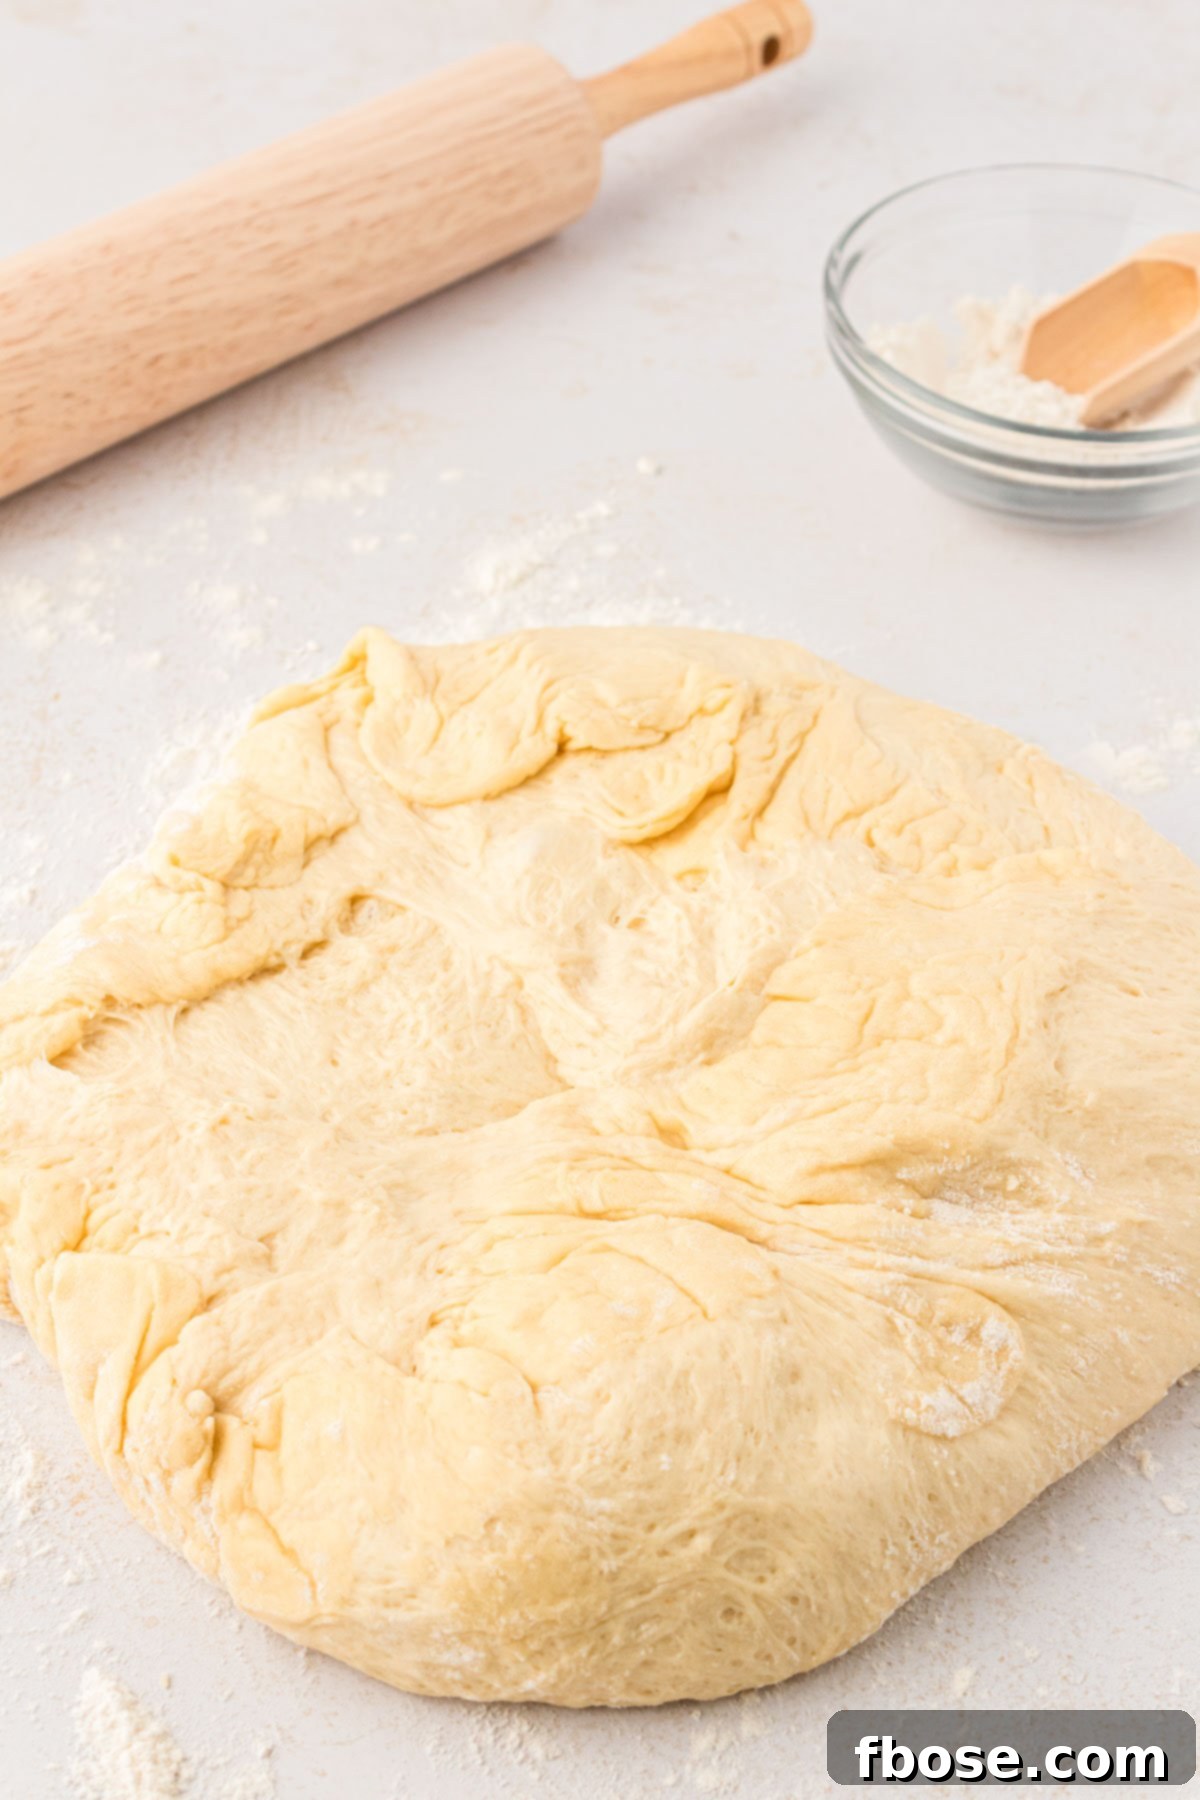
8. Punch Down and Shape: Once the dough has successfully doubled in size, gently punch it down in the center to release the accumulated gases. This step helps to create an even crumb structure. Transfer the dough from the bowl to a lightly floured work surface. Using your hands, gently press and shape the dough into a rough rectangular form. Then, use a rolling pin to roll it out into a large rectangle, approximately 16×18 inches. The exact dimensions aren’t critical, but aim for a relatively even thickness.
Rebecca’s Expert Dough Handling Tips for Success
- Assessing Dough Stickiness: When checking your dough, if it still sticks to your finger, add additional bread flour one tablespoon at a time. Mix thoroughly after each addition. Stop adding flour once the dough feels tacky but no longer leaves residue on your finger. Over-flouring can lead to tough rolls.
- Troubleshooting Dough Rise: If your cinnamon rolls haven’t risen as expected, the most common culprit is a temperature that isn’t warm enough for the yeast to thrive. Simply give them extra time beyond what the recipe card suggests, allowing the yeast ample opportunity to activate. If, after extended time, there’s still no rise, it’s possible your yeast has expired. Alternatively, if you used traditional active dry yeast and scalded your milk, the excessive heat might have killed the yeast. Always ensure liquids are lukewarm (around 105-115°F or 40-46°C) for optimal yeast activity.
- The “No Punch Down” Experiment: Don’t fret if you accidentally forget to punch your dough down after the first rise! I’ve even done an unintentional test recipe with this “no punch” method. Your cinnamon rolls will still turn out great, BUT they tend to become tougher quicker. For the best soft texture, they are ideally enjoyed the day they are baked if you skip this step. For maximum softness and longevity, punching down is recommended.
- Rolling and Cutting Techniques: I’ve found that rolling each slice of dough individually into a pinwheel allows the cinnamon rolls to achieve a perfect, tight spiral shape without the risk of overworking the entire dough. However, if you prefer, you can roll the entire rectangular dough into a log from the longer side and then cut it. If you choose the log method, I highly recommend using unflavored dental floss or a thin, taut string to slice the log into individual rolls. This technique creates clean cuts and prevents the rolls from getting squished, preserving their beautiful spiral shape.
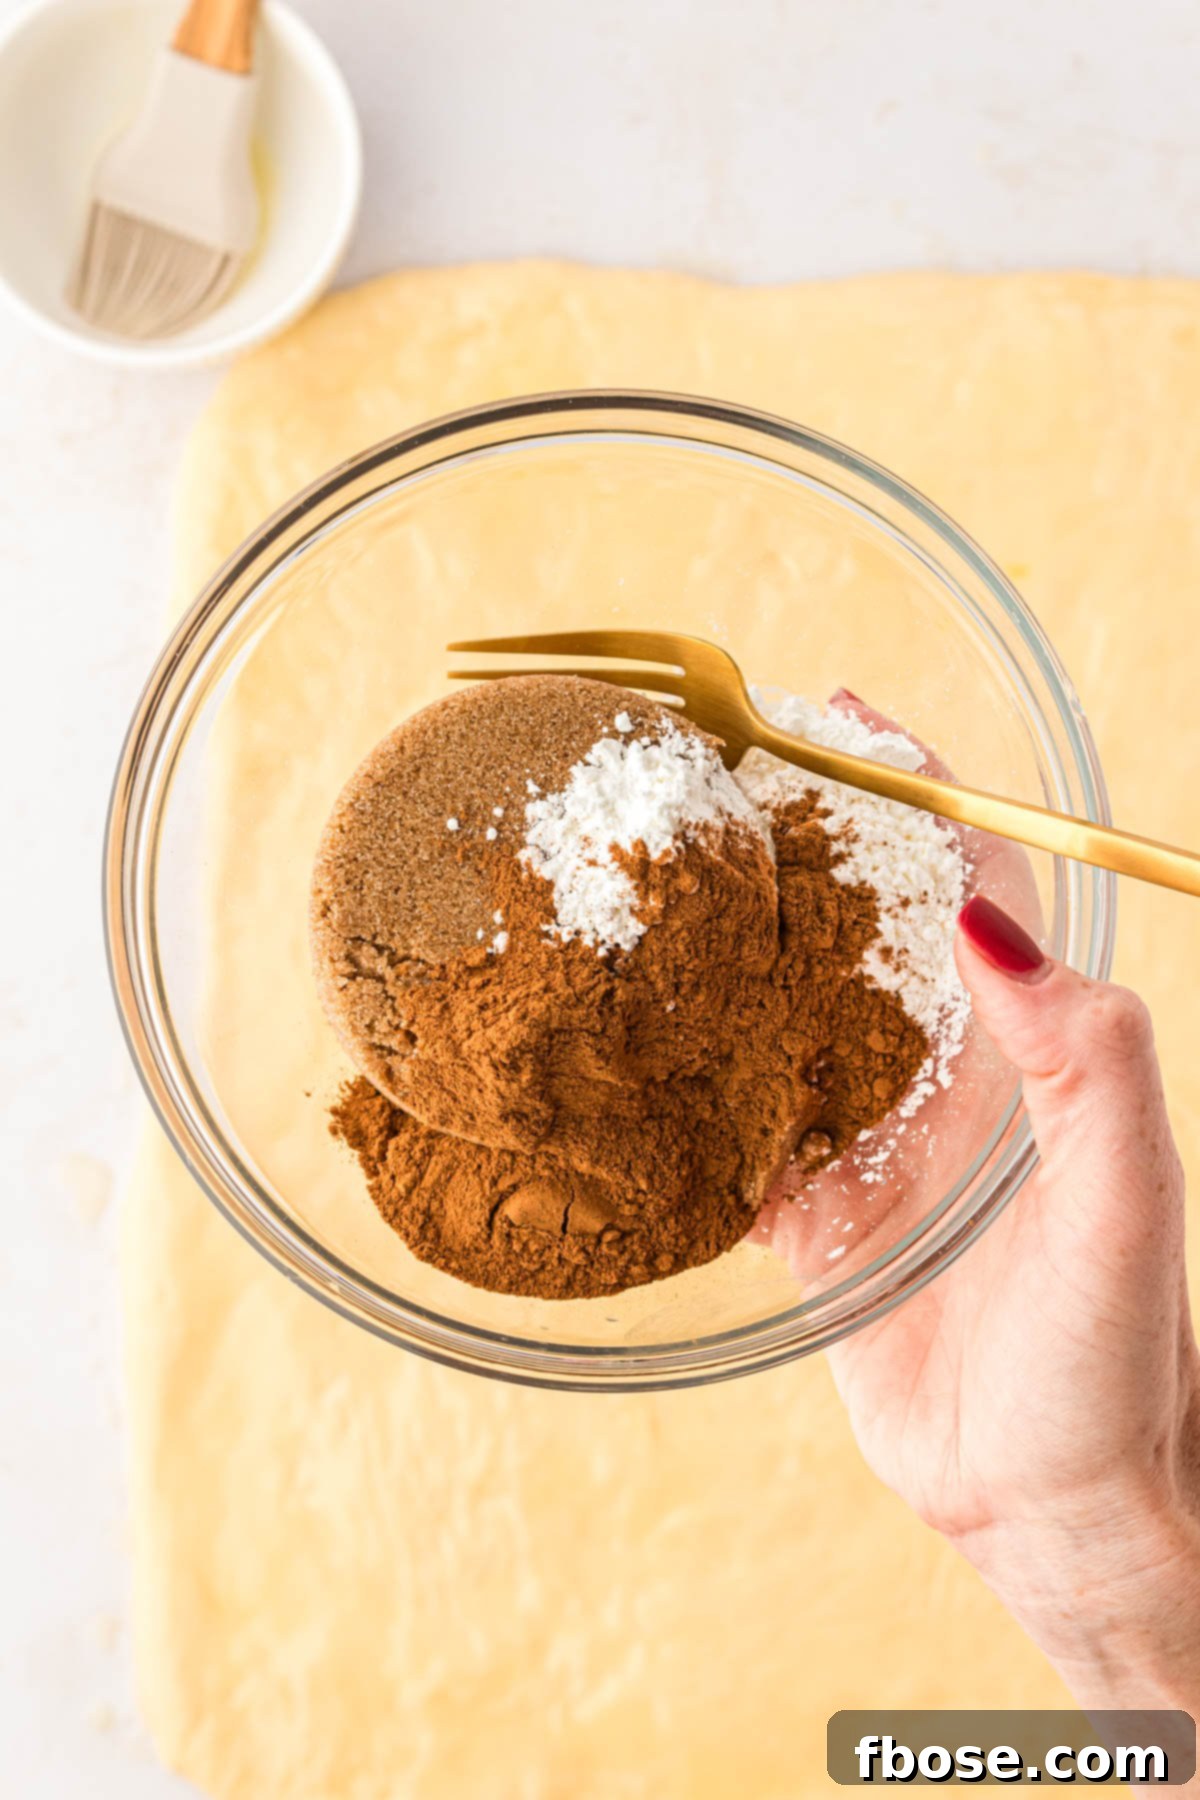
9. Prepare the Cinnamon Sugar Filling: In a medium bowl, whisk together the dark brown sugar, cornstarch, and ground cinnamon until they are thoroughly combined and no lumps remain. The cornstarch is a brilliant addition here; it helps to absorb excess moisture from the butter during baking, preventing the filling from completely melting and oozing out, ensuring a perfectly gooey center.
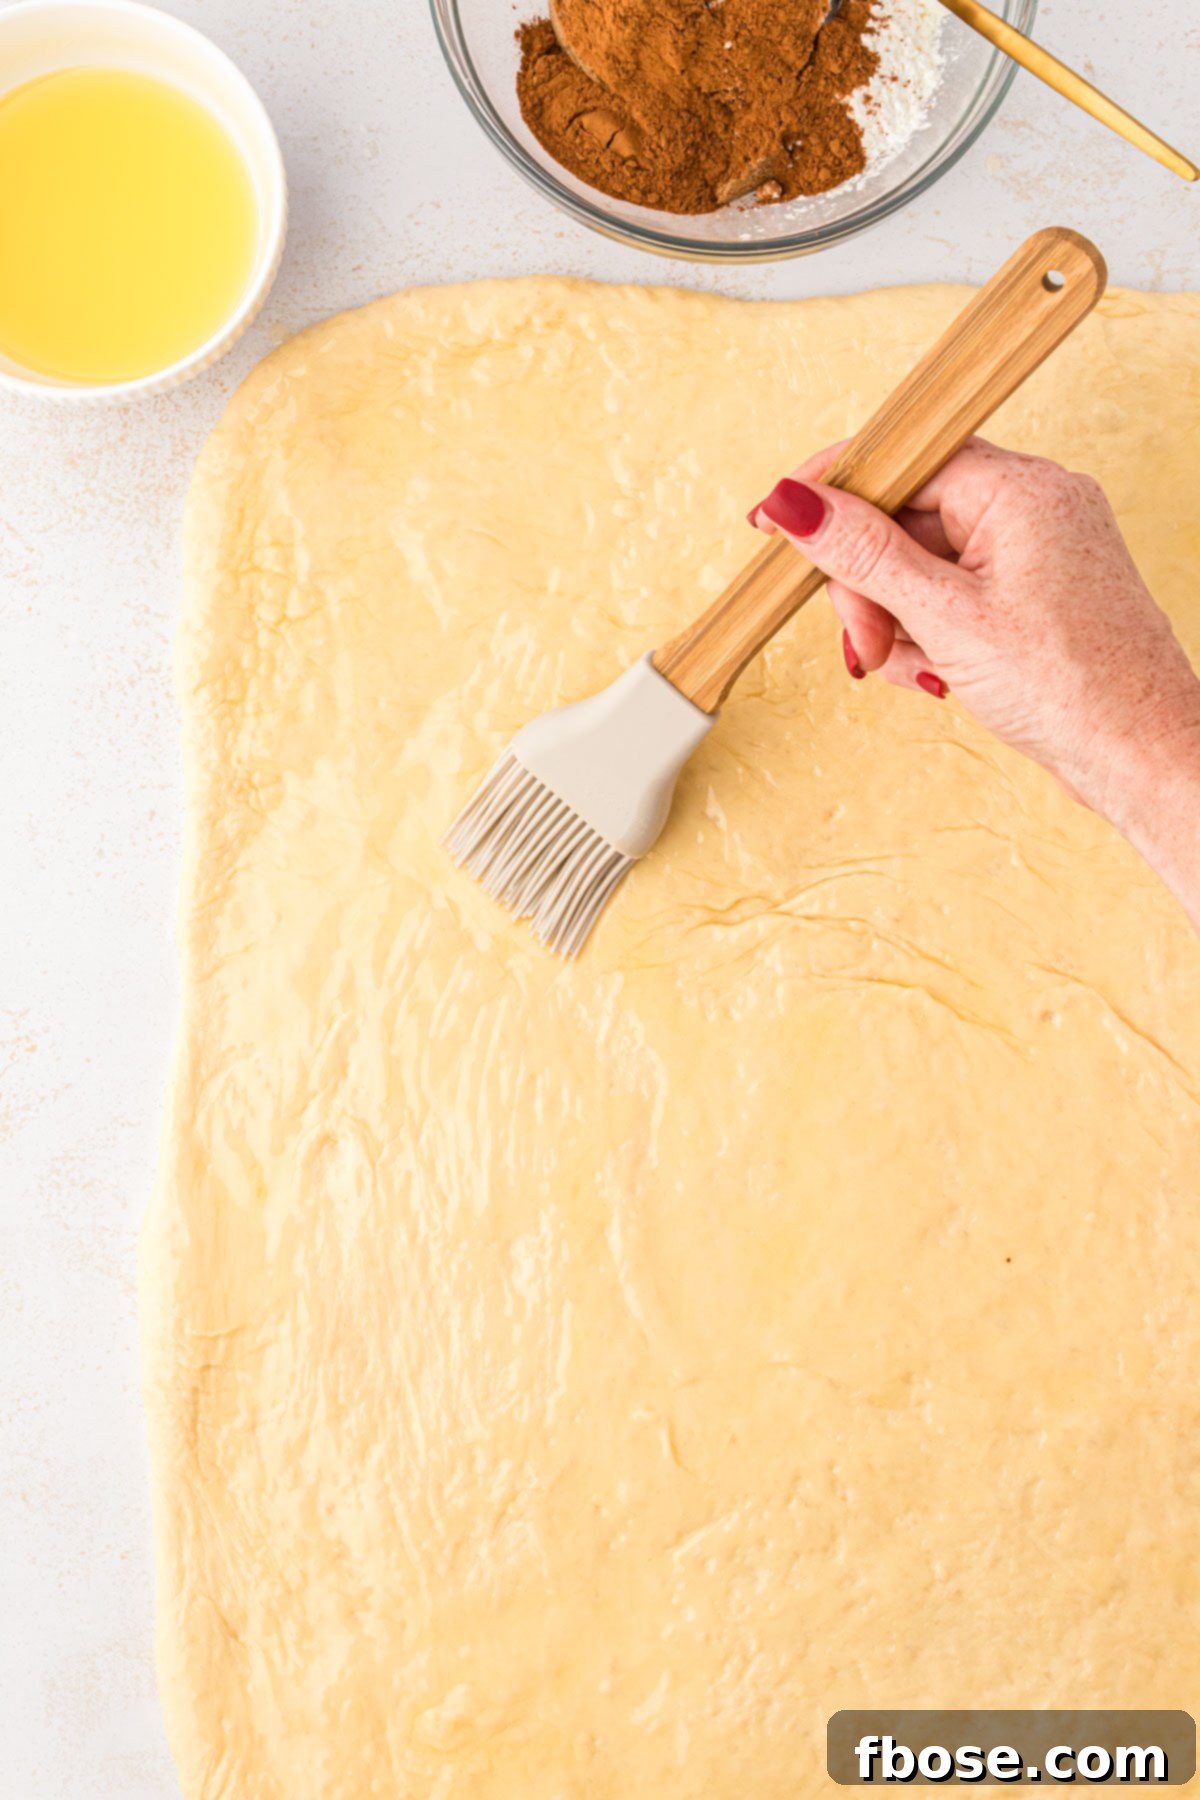
10. Apply Butter to Dough: Line a large, rimmed baking pan (approximately 12×17 inches) with parchment paper. This prevents sticking and makes cleanup a breeze. Next, prepare the cinnamon sugar filling base. Partially melt ½ cup of salted butter in the microwave for about 15 seconds. You want it mostly soft, not fully liquid. Using a pastry brush, gently brush the partially melted butter evenly over the entire surface of the rolled-out dough rectangle. The slightly firm but spreadable butter will create the perfect base for the sugar mixture.
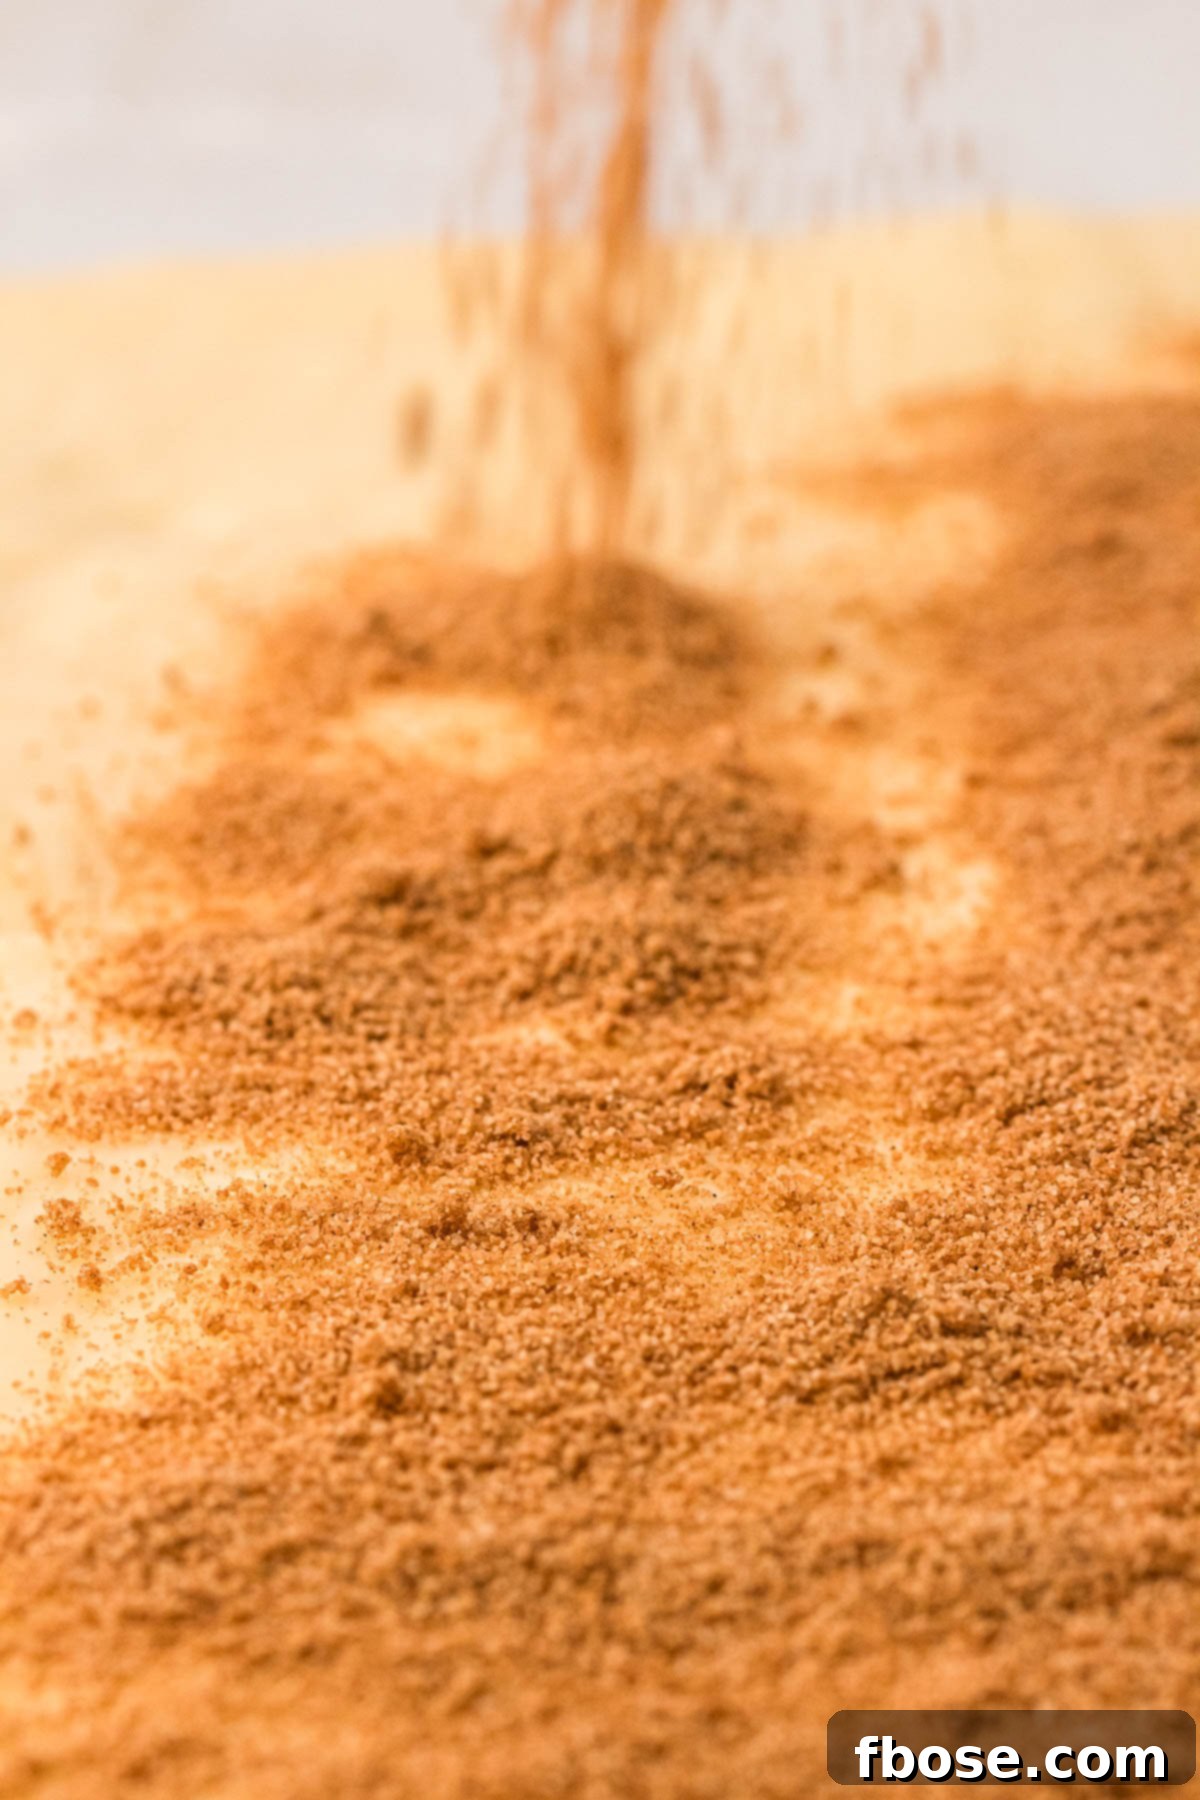
11. Sprinkle and Press Filling: Evenly sprinkle the prepared cinnamon sugar mixture over the buttered surface of the dough. Be sure to leave a ½-inch to 1-inch border along one of the shorter ends of the rectangle. This border will help seal the rolls when you form them. Gently use a rolling pin to lightly roll over and press the sugar mixture into the dough. This ensures the filling adheres well and doesn’t fall out during rolling.
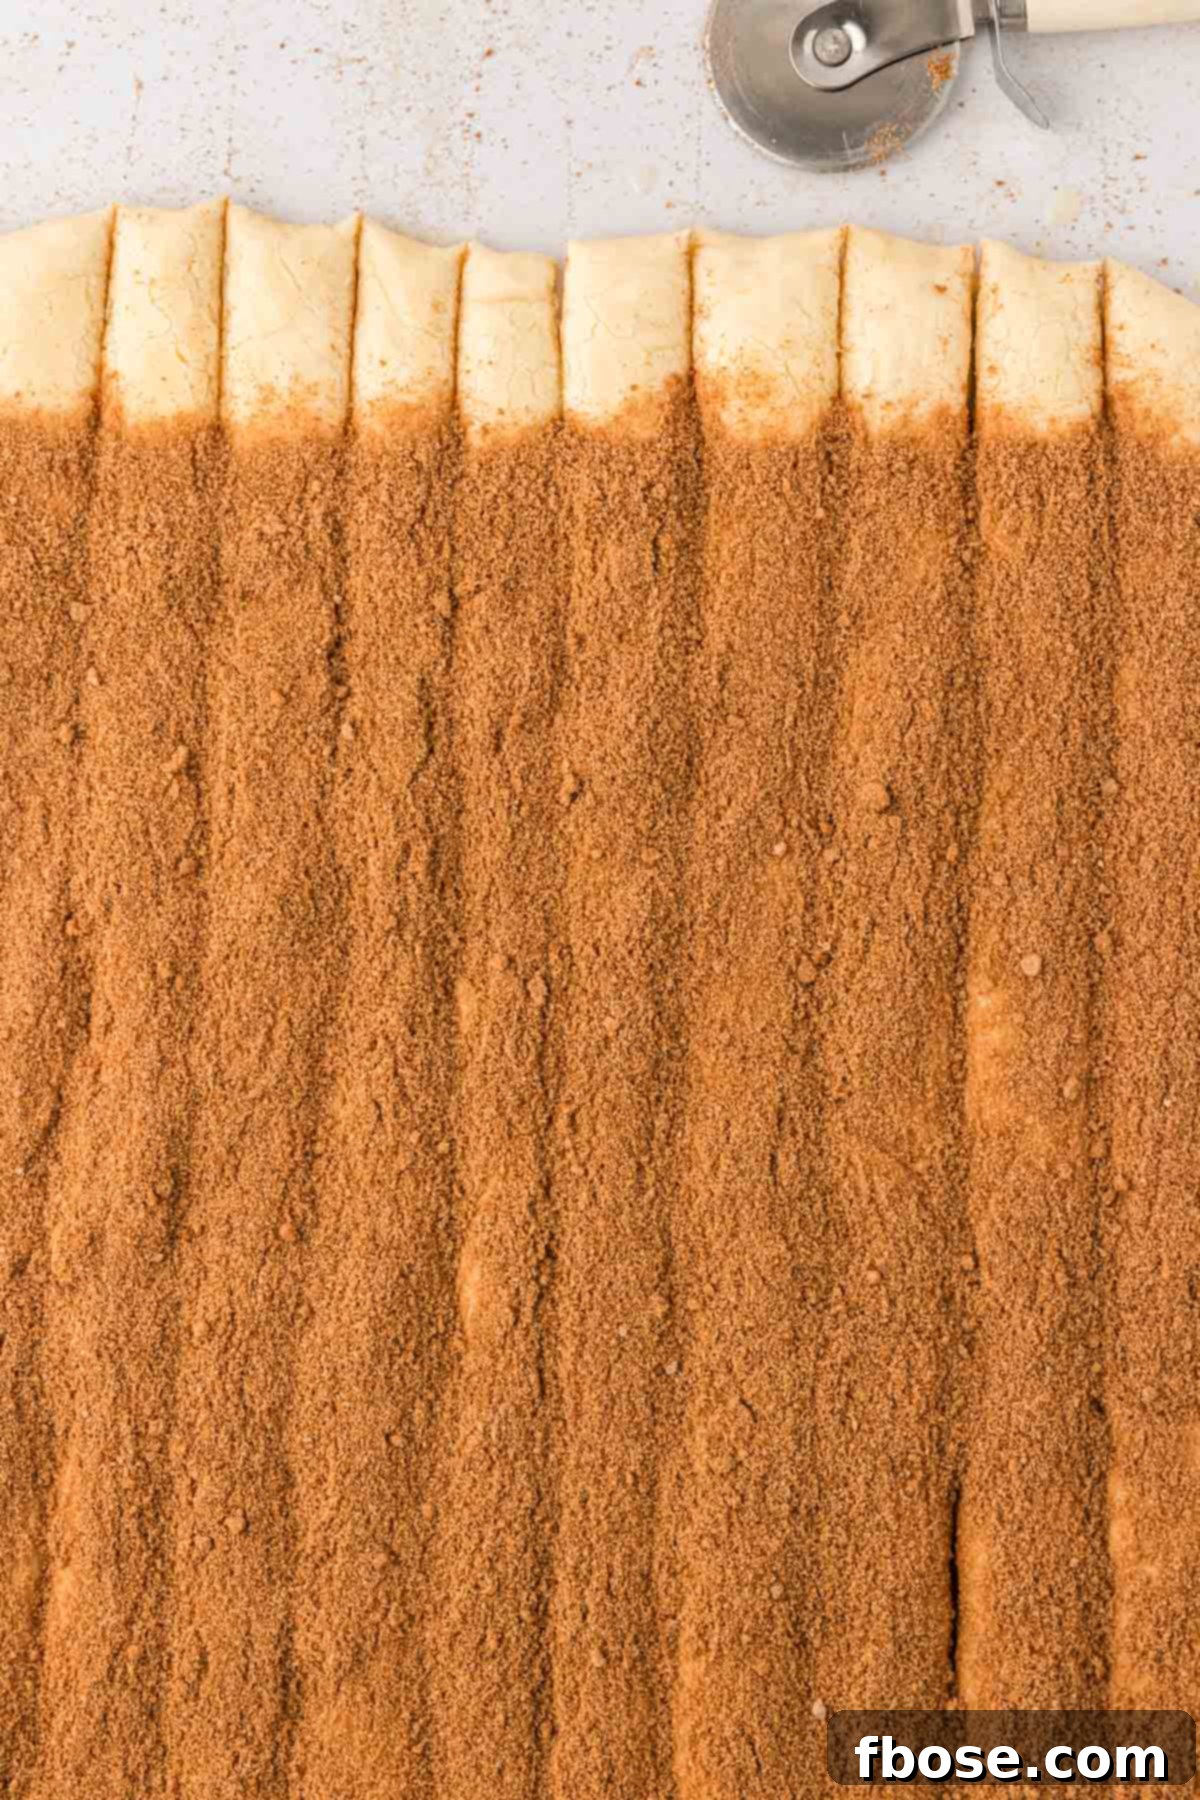
12. Cut Dough Strips: Using a pizza cutter or a sharp pastry cutter, slice the dough into 12 even strips. These strips should be approximately 1⅓-inch wide. Start your cuts from the shorter (16-inch) side of the dough. Precision here helps ensure uniform rolls that bake evenly.
For ultimate precision in measuring and cutting your dough strips, I highly recommend using a Pastry Mat that features built-in measurements along its sides, or a simple sewing tape measure. Achieving consistent strip sizes is crucial for cinnamon rolls, as it ensures they are as evenly sized as possible, leading to uniform baking and a beautiful presentation.
13. Roll the Pinwheels: Take each individual dough strip and carefully roll it up to create a classic pinwheel shape. Begin rolling from the end that has the most sugar (the end opposite the border you left). Roll it fairly tightly to ensure a beautiful spiral. Secure the roll by pressing down the exposed, un-sugared buttered end onto the outer edge of the pinwheel. If needed, you can dab a tiny bit more softened butter onto the outside of the roll to help secure the end firmly in place.
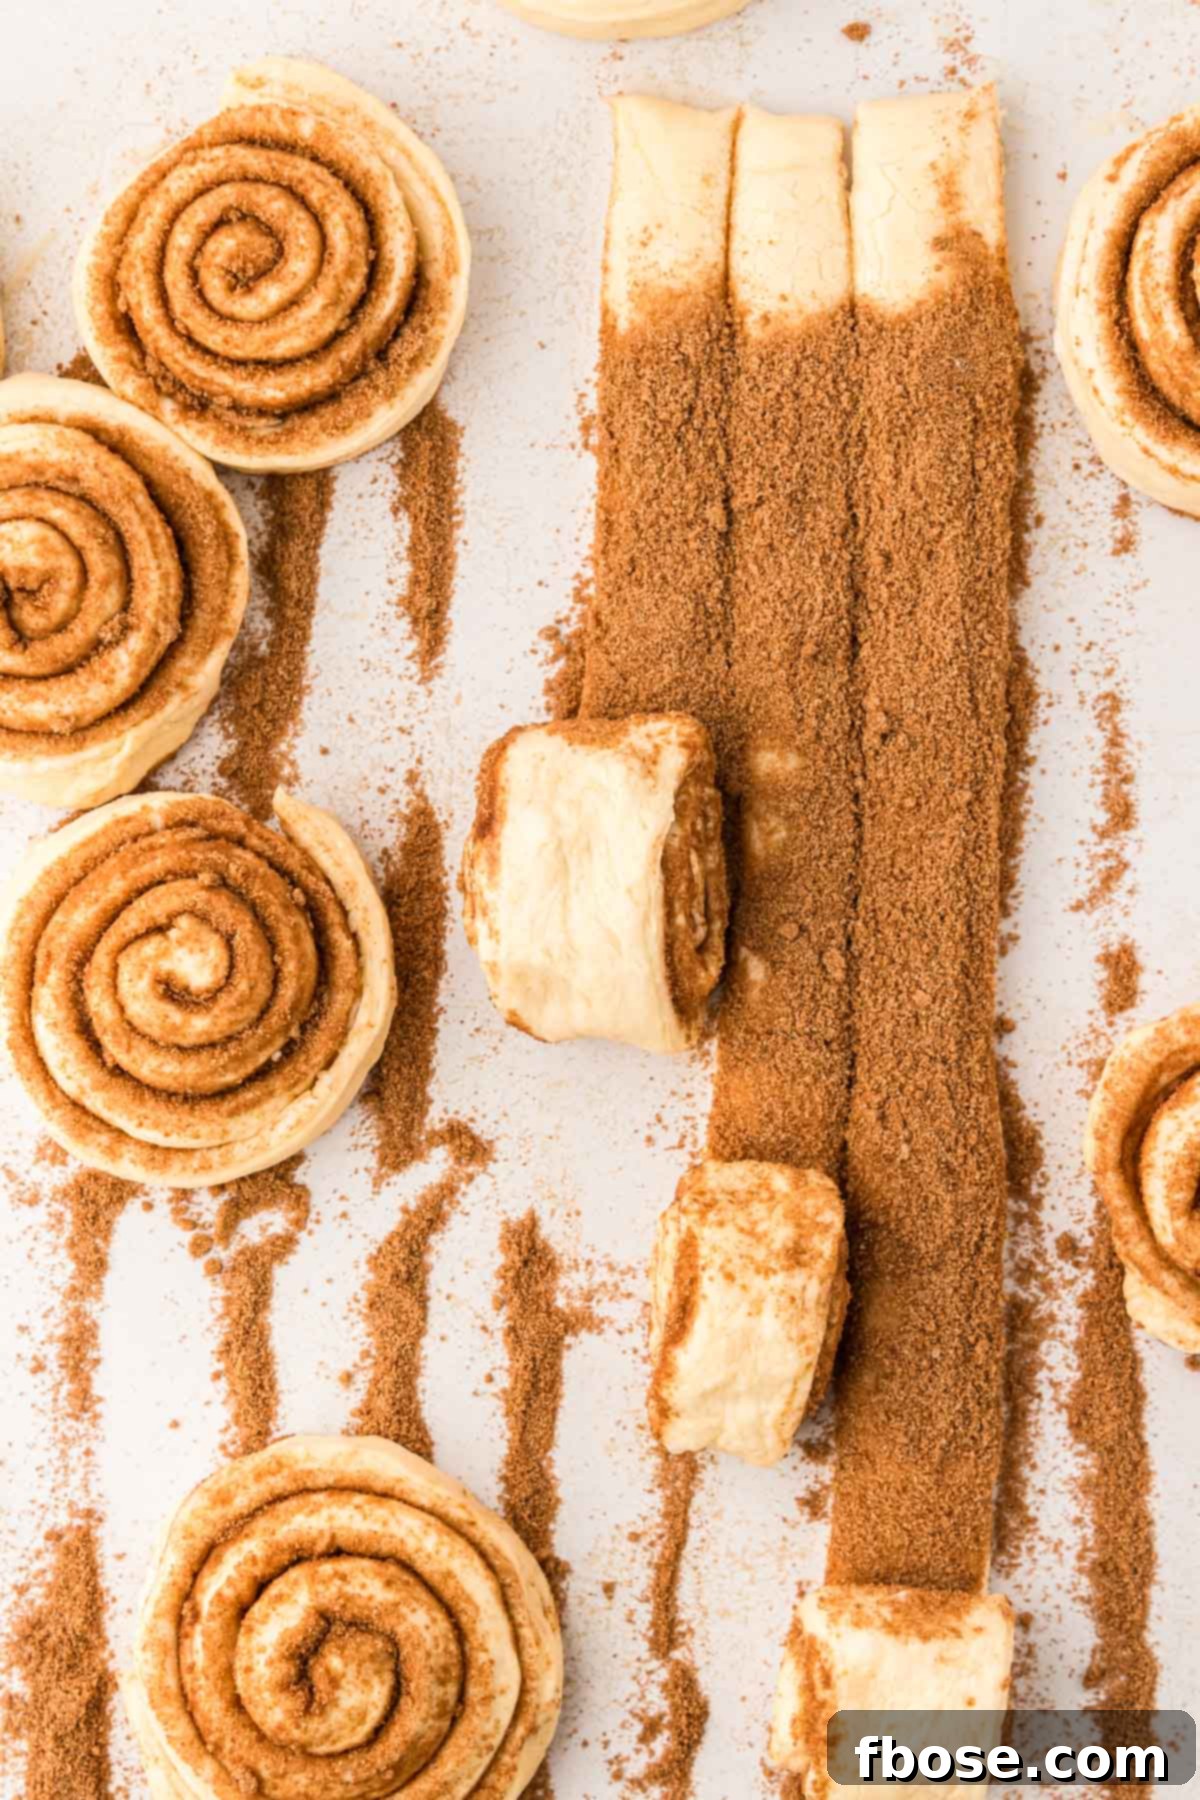
14. Second Rise (Proofing): Transfer the rolled cinnamon rolls to your parchment-lined baking pan, arranging them with a little space between each roll. This allows them room to expand during their second rise. If you’re opting for the popular heavy cream variation (for extra gooeyness), pour ¾ cup of heavy cream evenly over the tops of the rolls at this stage. If not, skip the cream. Cover the pan tightly with plastic wrap and let the rolls rise in a warm spot for another 30 to 60 minutes, or until they are puffy, visibly larger, and lightly touching or crowding each other in the pan.
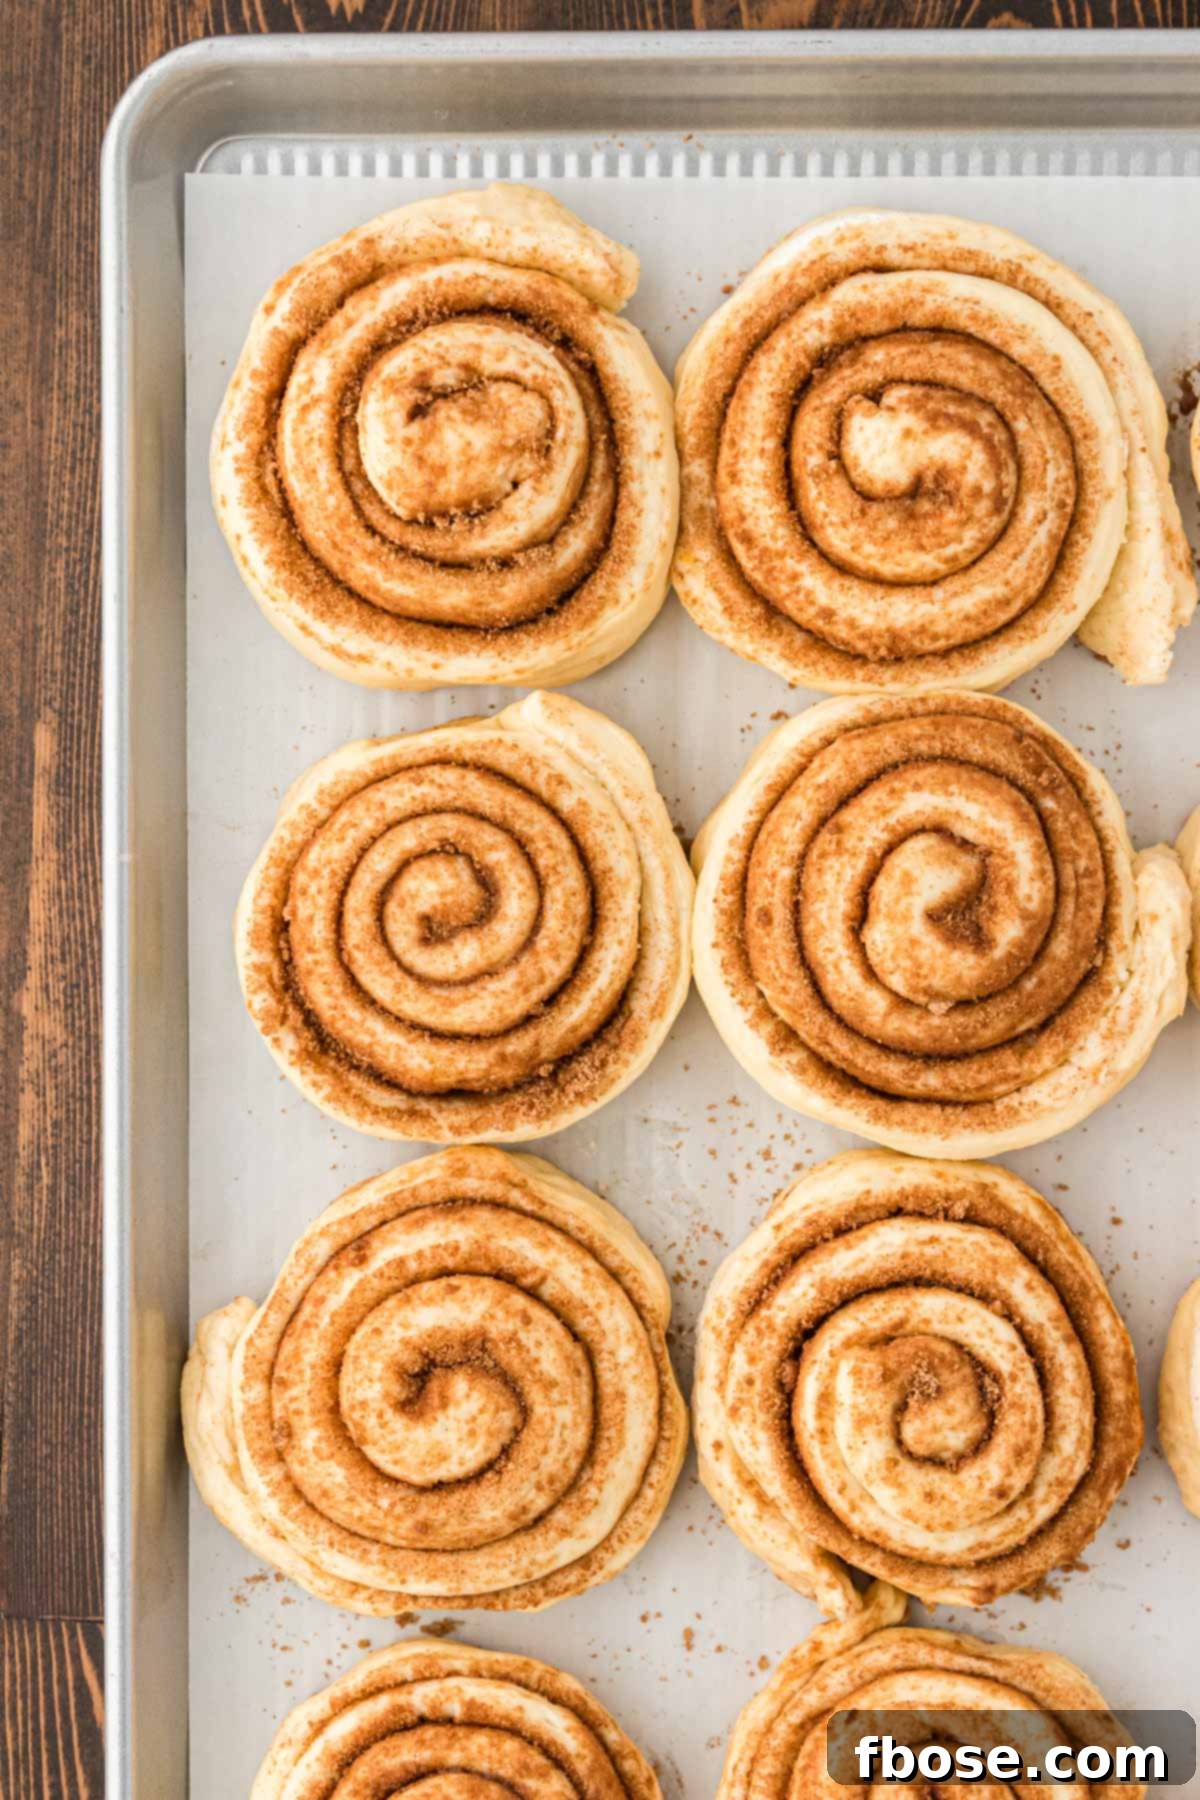
15. Bake to Golden Perfection: Approximately 15 minutes before the end of the second rise time, preheat your oven to 350°F (175°C). Once the oven is fully preheated and the rolls have finished rising, carefully uncover the pan and transfer it to the oven, placing it on the lowest rack. Bake the cinnamon rolls for 22 to 25 minutes, or until their tops are beautifully golden brown and the internal temperature reaches 190°F (88°C) when checked with an instant-read thermometer. Baking on the lowest rack helps prevent the tops from browning too quickly while the centers cook through. Once baked, remove the pan from the oven and transfer it to a wire rack to cool slightly.
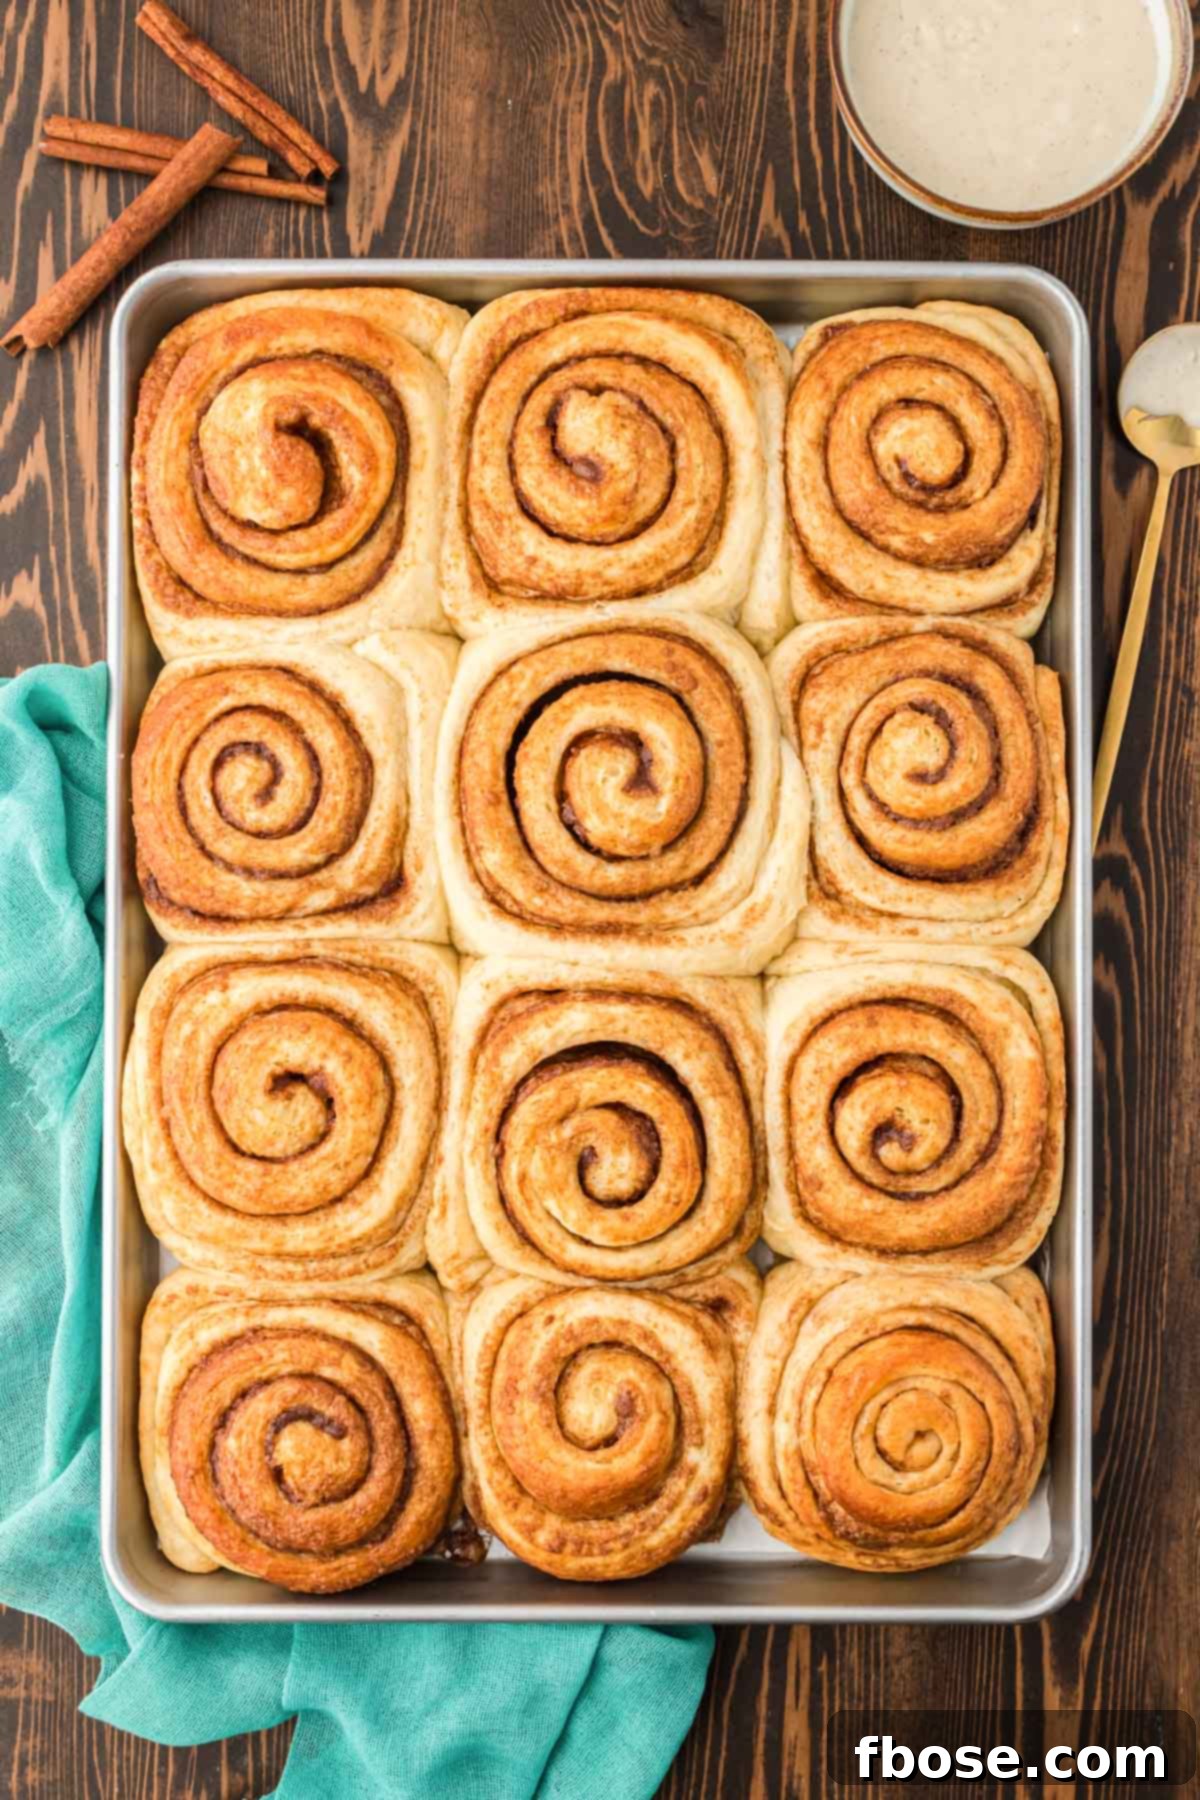
16. Prepare the Vanilla Bean Icing: While the baked cinnamon rolls are cooling slightly, prepare the irresistible vanilla bean icing. In a medium microwave-safe bowl, melt 2 tablespoons of salted butter. Once melted, add 1 cup of powdered sugar, ¼ cup of heavy cream, and ½ tablespoon of vanilla bean paste. Whisk all ingredients together vigorously until the icing is completely smooth, luscious, and free of any lumps. For an extra generous coating, feel free to double this icing recipe!
The Art of Icing Your Milk Bread Cinnamon Rolls
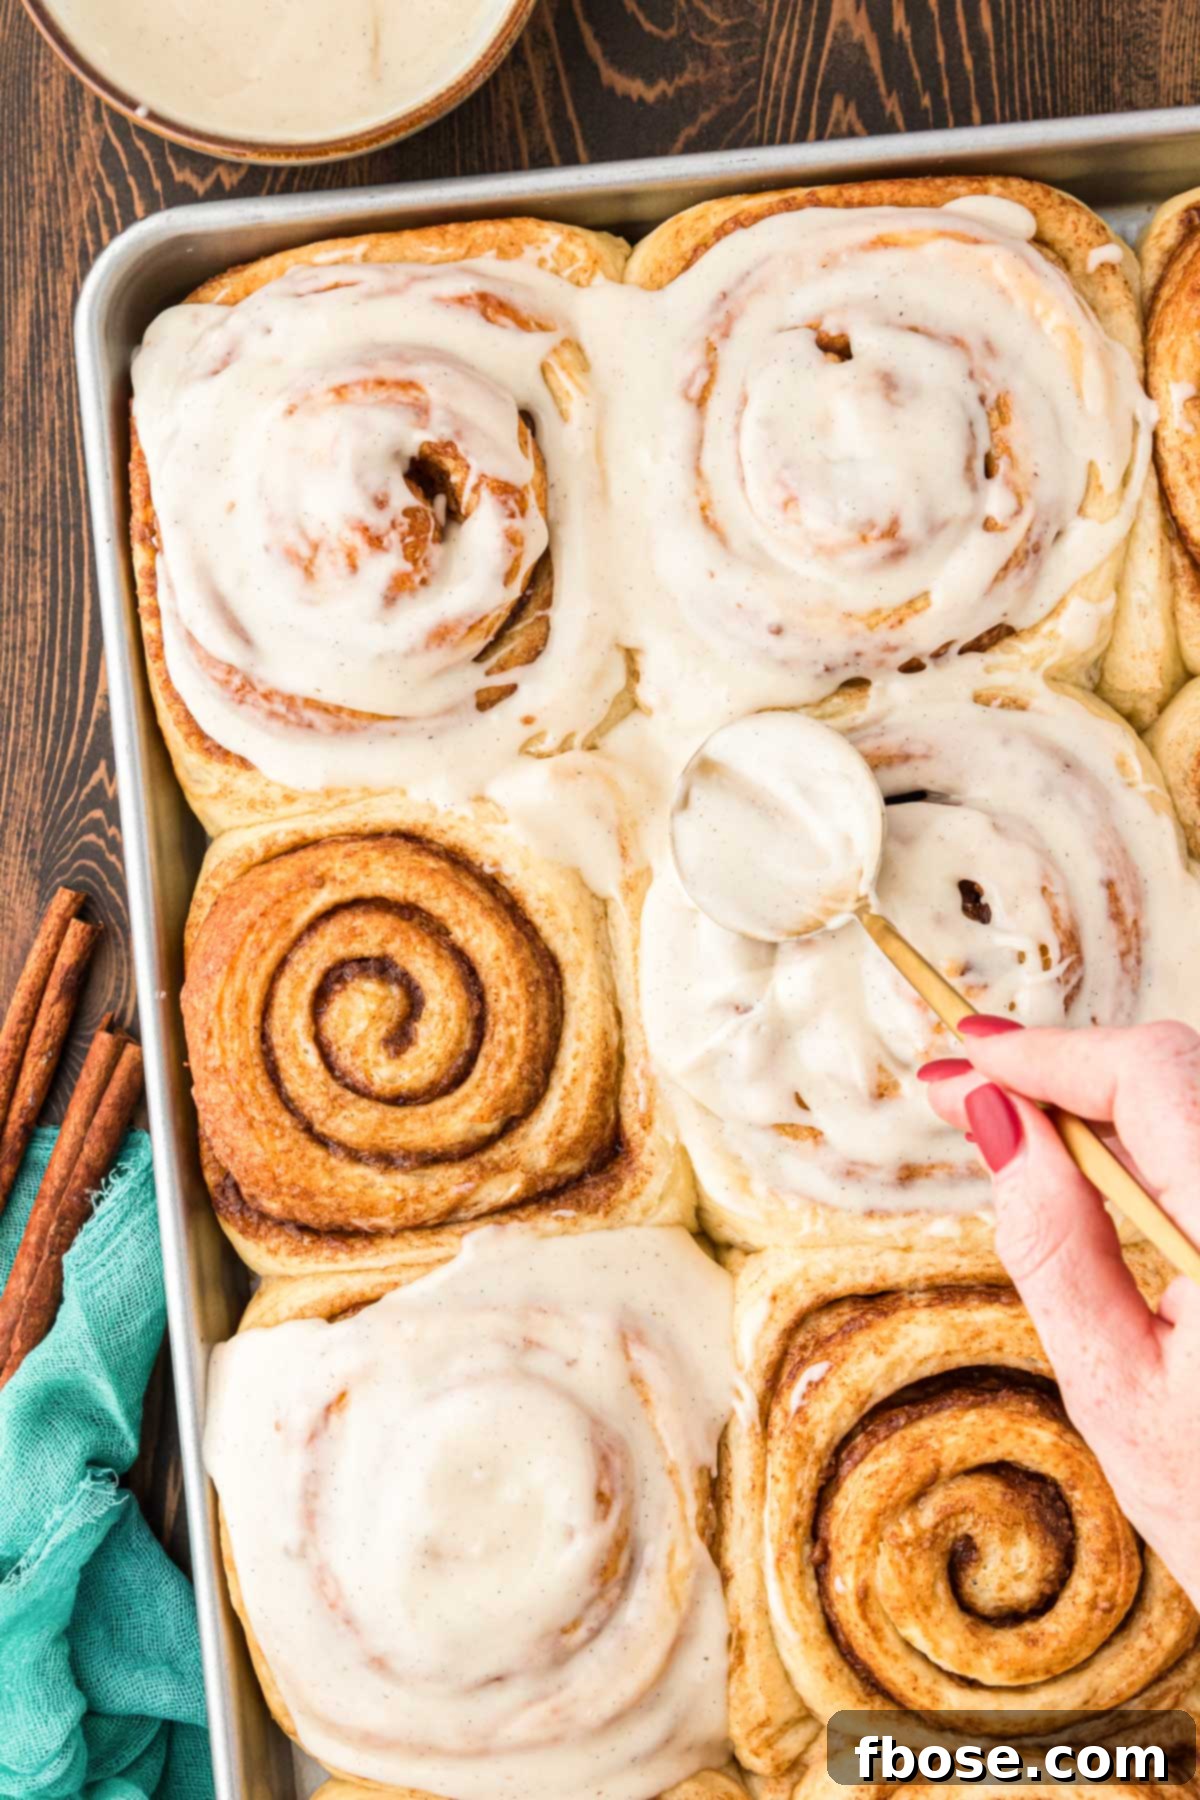
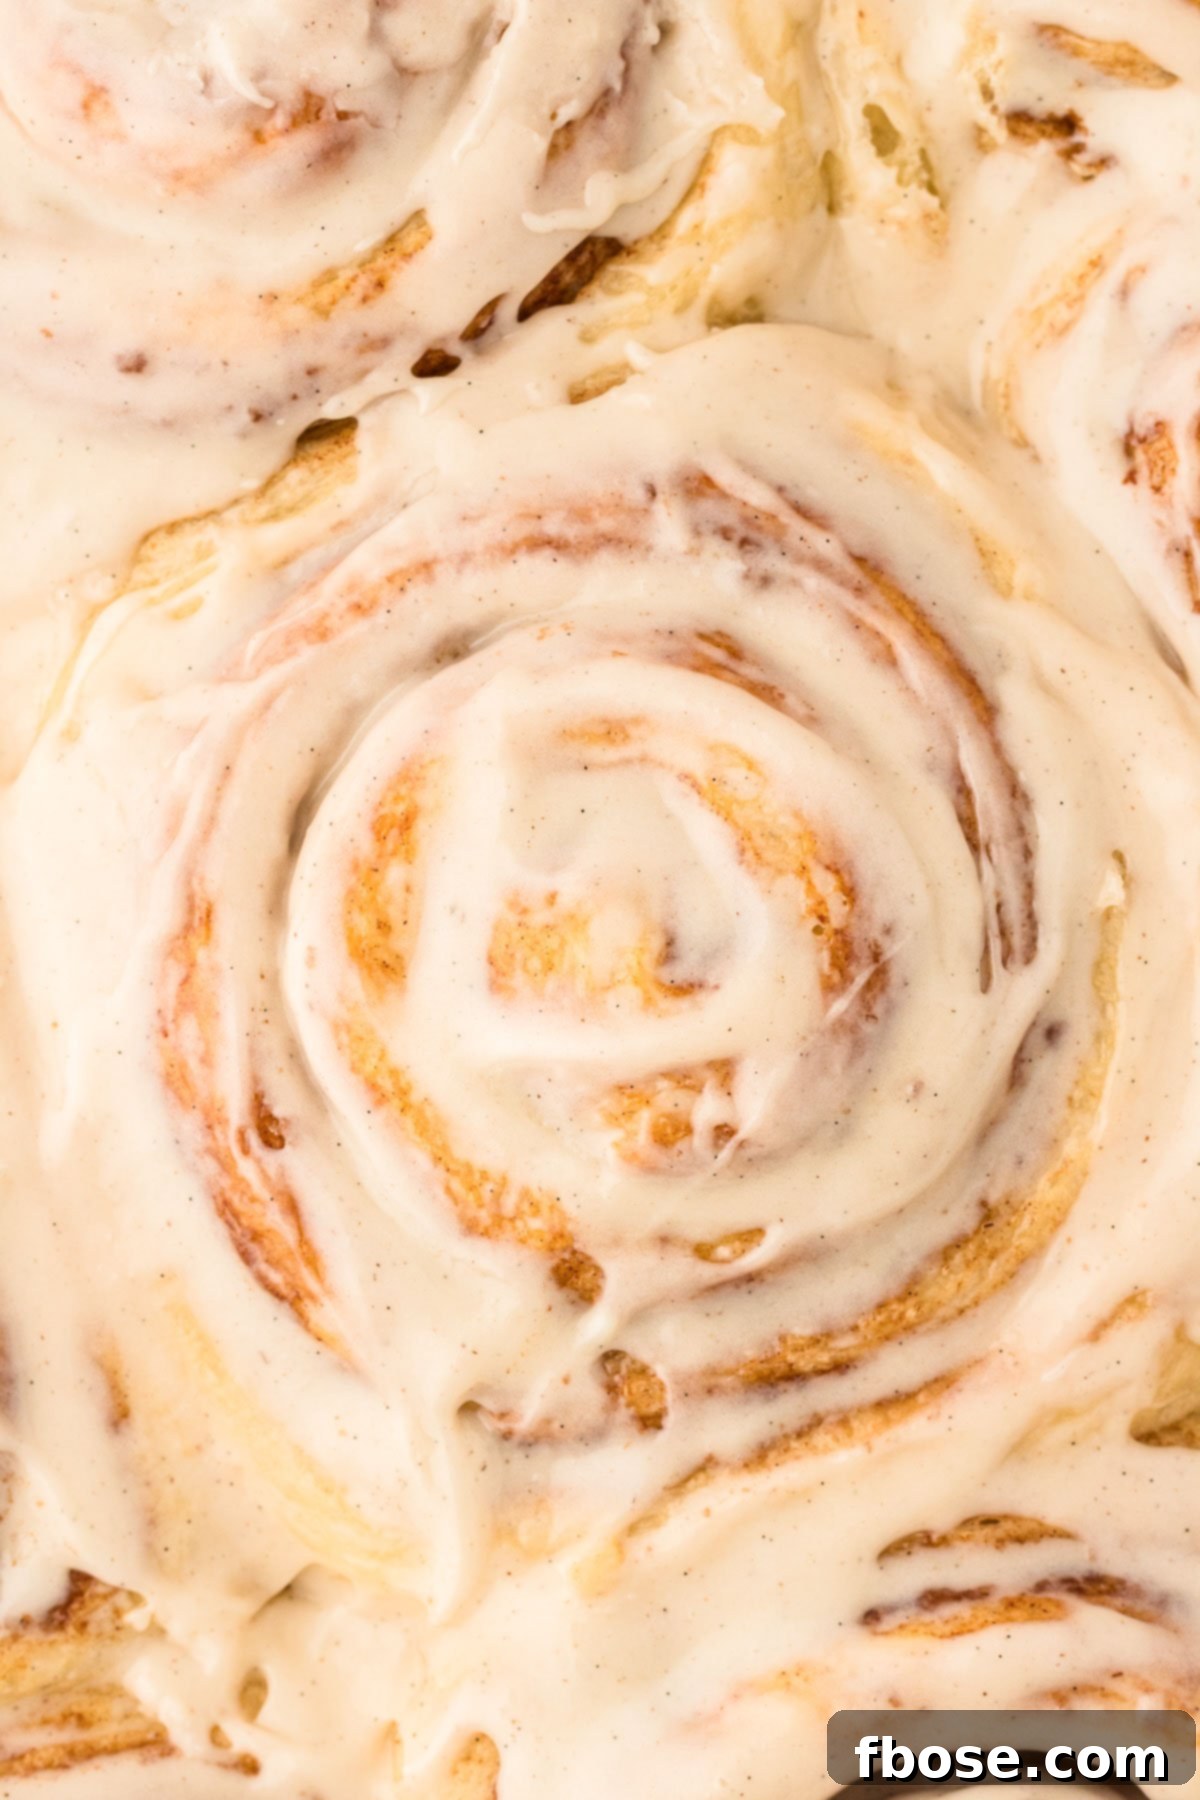
When it comes to icing these exquisite Milk Bread Cinnamon Rolls, I’ve discovered a little trick that makes all the difference: using a rubber spatula or a rubber spoon proves to be much more effective than a knife. The softer, flexible edge of a spatula allows for a smoother, more even spread, ensuring every inch of your warm, fluffy rolls gets coated in that delightful vanilla bean goodness. Simply dip your rubber spatula into the freshly made icing and gently spread it across the tops of the rolls, making sure to distribute the generous layer of icing evenly across all of them while they are still warm, allowing it to melt slightly and seep into every crevice.

17. Ice the Warm Buns: While the cinnamon rolls are still warm (but not piping hot), generously spread the prepared vanilla bean icing over their tops using a rubber spatula or spoon. The warmth of the rolls will allow the icing to slightly melt and beautifully seep into all the nooks and crannies, creating a truly irresistible finish. Serve immediately and enjoy the ultimate soft, gooey, and sweet experience!
Rebecca’s Essential Recipe Tips for Flawless Cinnamon Rolls
- Mastering the Tangzhong Method: The Tangzhong method isn’t just a step; it’s the cornerstone of these cinnamon rolls’ incredible softness and their ability to stay fresh for longer. Its primary function is to lock in moisture. Therefore, it’s absolutely crucial to follow the recipe instructions precisely when creating this flour paste. Ensure it reaches a thick, gelatinous consistency and cools adequately before incorporating it into the main dough for optimal results.
- Precision in Ingredient Measurement: Baking is a science, and even small deviations in ingredient quantities can significantly impact the outcome. Accidentally adding too much or too little of an ingredient can alter the dough’s hydration, rise, and final texture. For complete recipe accuracy, I highly recommend using a kitchen scale to measure ingredients by weight, especially flour. If you only weigh one ingredient correctly, let it be the flour, as measuring it by volume (cups) is notoriously inaccurate. For more detailed guidance, check out these easy ways to measure flour correctly!
- The Power of Bread Flour: Do not underestimate the importance of using bread flour! Bread flour boasts a higher protein content compared to all-purpose flour. This higher protein develops stronger gluten networks, which are essential for creating a dough that has excellent elasticity, a superior rise, and ultimately, a more tender and chewy-soft texture. While all-purpose flour *can* be used in a pinch, it simply won’t deliver the same pillowy soft and fluffy cinnamon rolls that bread flour consistently achieves.
- Understanding Yeast Activity: Yeast is the dynamic leavening agent responsible for making these cinnamon rolls light, airy, and fluffy. It feeds on the sugars in the dough, producing carbon dioxide gas, which causes the dough to expand and rise. To ensure your rolls achieve that perfect lift, your yeast must be high quality and, most importantly, not expired. Always check the expiration date and store yeast properly (often in the refrigerator or freezer) to maintain its potency.
- Optimal Rising Conditions: Dough needs warmth to rise effectively. Always place your dough and later, your shaped rolls, in a consistently warm, draft-free spot in your home. If the environment is too cool, the yeast will be sluggish, and the dough won’t rise properly, leading to dense, heavy rolls rather than light and fluffy ones. The rolls are ready for baking when they appear noticeably puffy, have expanded significantly, and are gently crowding each other in the baking pan.
- Avoid Overworking the Dough During Rolling: When rolling out your dough for the filling, handle it gently. Overworking the dough at this stage can lead to excessive gluten development. This can result in tough, dense, and potentially dry cinnamon rolls, undoing all the tenderness achieved by the Tangzhong method. Work quickly and with a light touch.
- Precision Baking for Moisture Retention: Keep a very close eye on your cinnamon rolls as they bake to prevent overbaking. Overbaked rolls will inevitably be dry and less tender. Utilizing an instant-read kitchen thermometer is your best friend here; aim for an internal temperature of 190°F (88°C) in the center of a roll. This ensures they are perfectly cooked through without becoming dry.
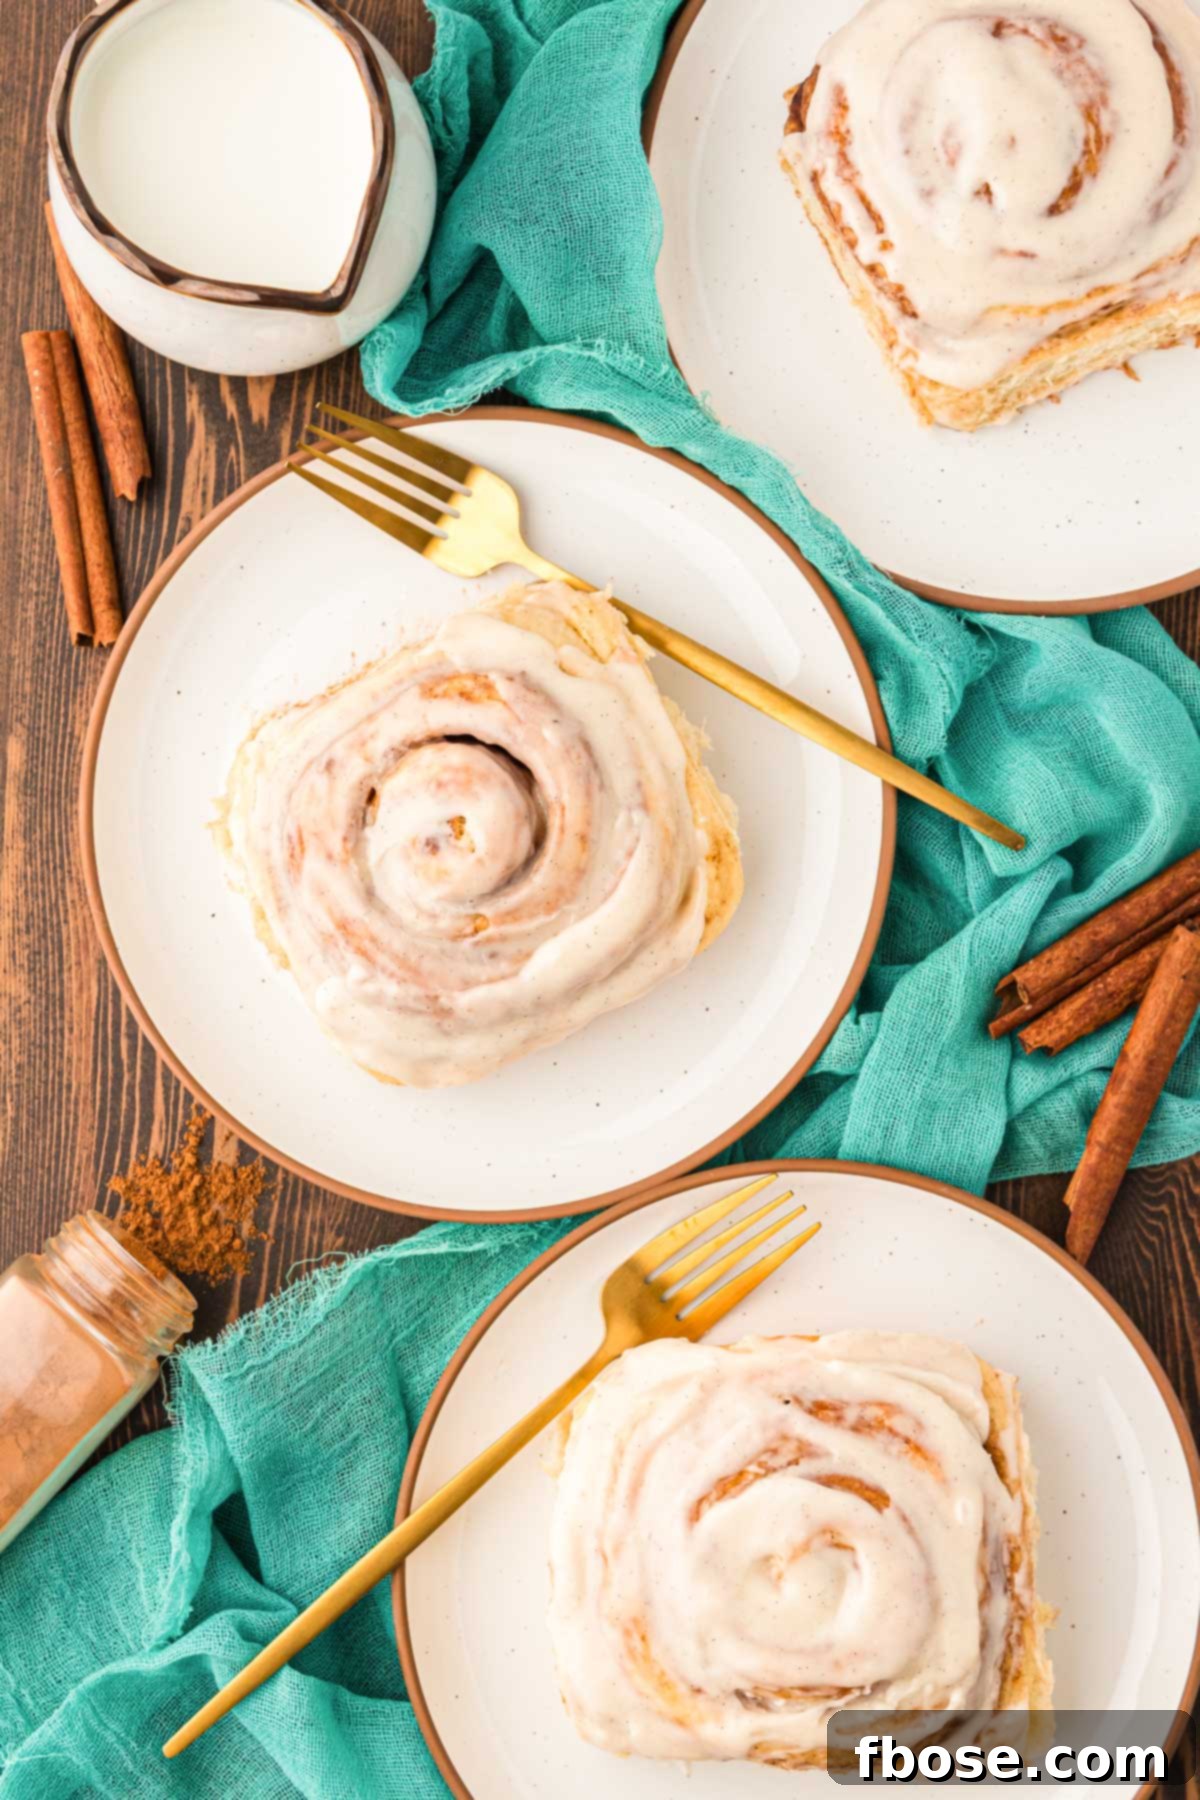
Cinnabon Copycat Cinnamon Rolls: Creative Substitutions & Flavor Variations
While this recipe is meticulously crafted for perfection, there are always opportunities to customize and adapt it to your preferences or what you have on hand. Here are some thoughtful substitutions and exciting variations to consider for your Tangzhong cinnamon rolls:
- Flour Alternatives: If bread flour is unavailable, all-purpose flour can be used. However, it’s important to note that this swap will impact the final texture, resulting in cinnamon rolls that are less light, fluffy, and tender than those made with bread flour due to its lower protein content.
- Cooking Oil Options: Canola oil makes an excellent substitute for vegetable oil when greasing the proofing bowl. Both are neutral in flavor and perform similarly in this context.
- Butter Choices: If you only have unsalted butter, it can absolutely be used in place of salted butter for both the dough and the icing. Just remember to add an additional ¼ teaspoon of fine sea salt to the dough mixture to balance the flavors.
- Vanilla Flavor: For the icing, vanilla extract can be used as a substitute for vanilla bean paste. To achieve a comparable depth of flavor, use 1 tablespoon of high-quality vanilla extract for every ½ tablespoon of vanilla bean paste.
- Cream Cheese Frosting: If you’re a devoted fan of classic cream cheese frosting on your cinnamon rolls, feel free to skip the vanilla bean icing in this recipe. Instead, whip up a batch of your favorite rich and tangy cream cheese frosting to finish off these warm, soft buns.
- Amp Up the Icing: For those who believe more icing is always better (and let’s be honest, who doesn’t?), simply double the icing recipe. A generous amount of glaze makes for an extra gooey and indulgent treat that perfectly complements the fluffy rolls.
- Nutty Addition: For an added layer of flavor and texture, sprinkle a handful of finely chopped pecans or walnuts over the cinnamon sugar filling before rolling the dough.
- Citrus Zest: Incorporate some fresh orange or lemon zest into your icing for a bright, zesty counterpoint to the sweetness.
- Chocolate Swirl: After spreading the cinnamon sugar, drizzle a thin layer of melted dark or milk chocolate over the filling before rolling for a chocolatey twist.
How To Prepare Soft Cinnamon Rolls Ahead Of Time (Overnight Option)
These delightful Tangzhong cinnamon rolls come with a fantastic overnight option, transforming breakfast or brunch preparation into an absolute breeze! This convenient method allows you to do most of the work the day before, so you can wake up to fresh-baked, warm cinnamon rolls with minimal effort on the morning of. To make them ahead of time, follow the recipe exactly up to step 14, where the rolls are placed in the baking pan after being shaped (under the “Filling” instructions).
At this point, instead of allowing them to undergo their second rise at room temperature, simply cover the dish of cinnamon rolls tightly with plastic wrap. Ensure the plastic wrap makes good contact with the rolls or is sealed around the edges of the pan to prevent them from drying out. Immediately transfer the covered pan to the refrigerator. The cold environment will significantly slow down the yeast activity, allowing for a long, slow rise overnight, typically for 8 to 12 hours.
When you’re ready to bake them in the morning, remove the pan from the refrigerator and let it sit at room temperature while your oven preheats. You might notice they haven’t risen quite as much as a room-temperature second rise, but they will puff up in the oven. When baking, add an additional 2 to 3 minutes to the specified baking time to account for the chilled dough. This overnight method is a perfect solution for holiday mornings or any occasion when you want to impress with freshly baked goods without the early morning hustle!
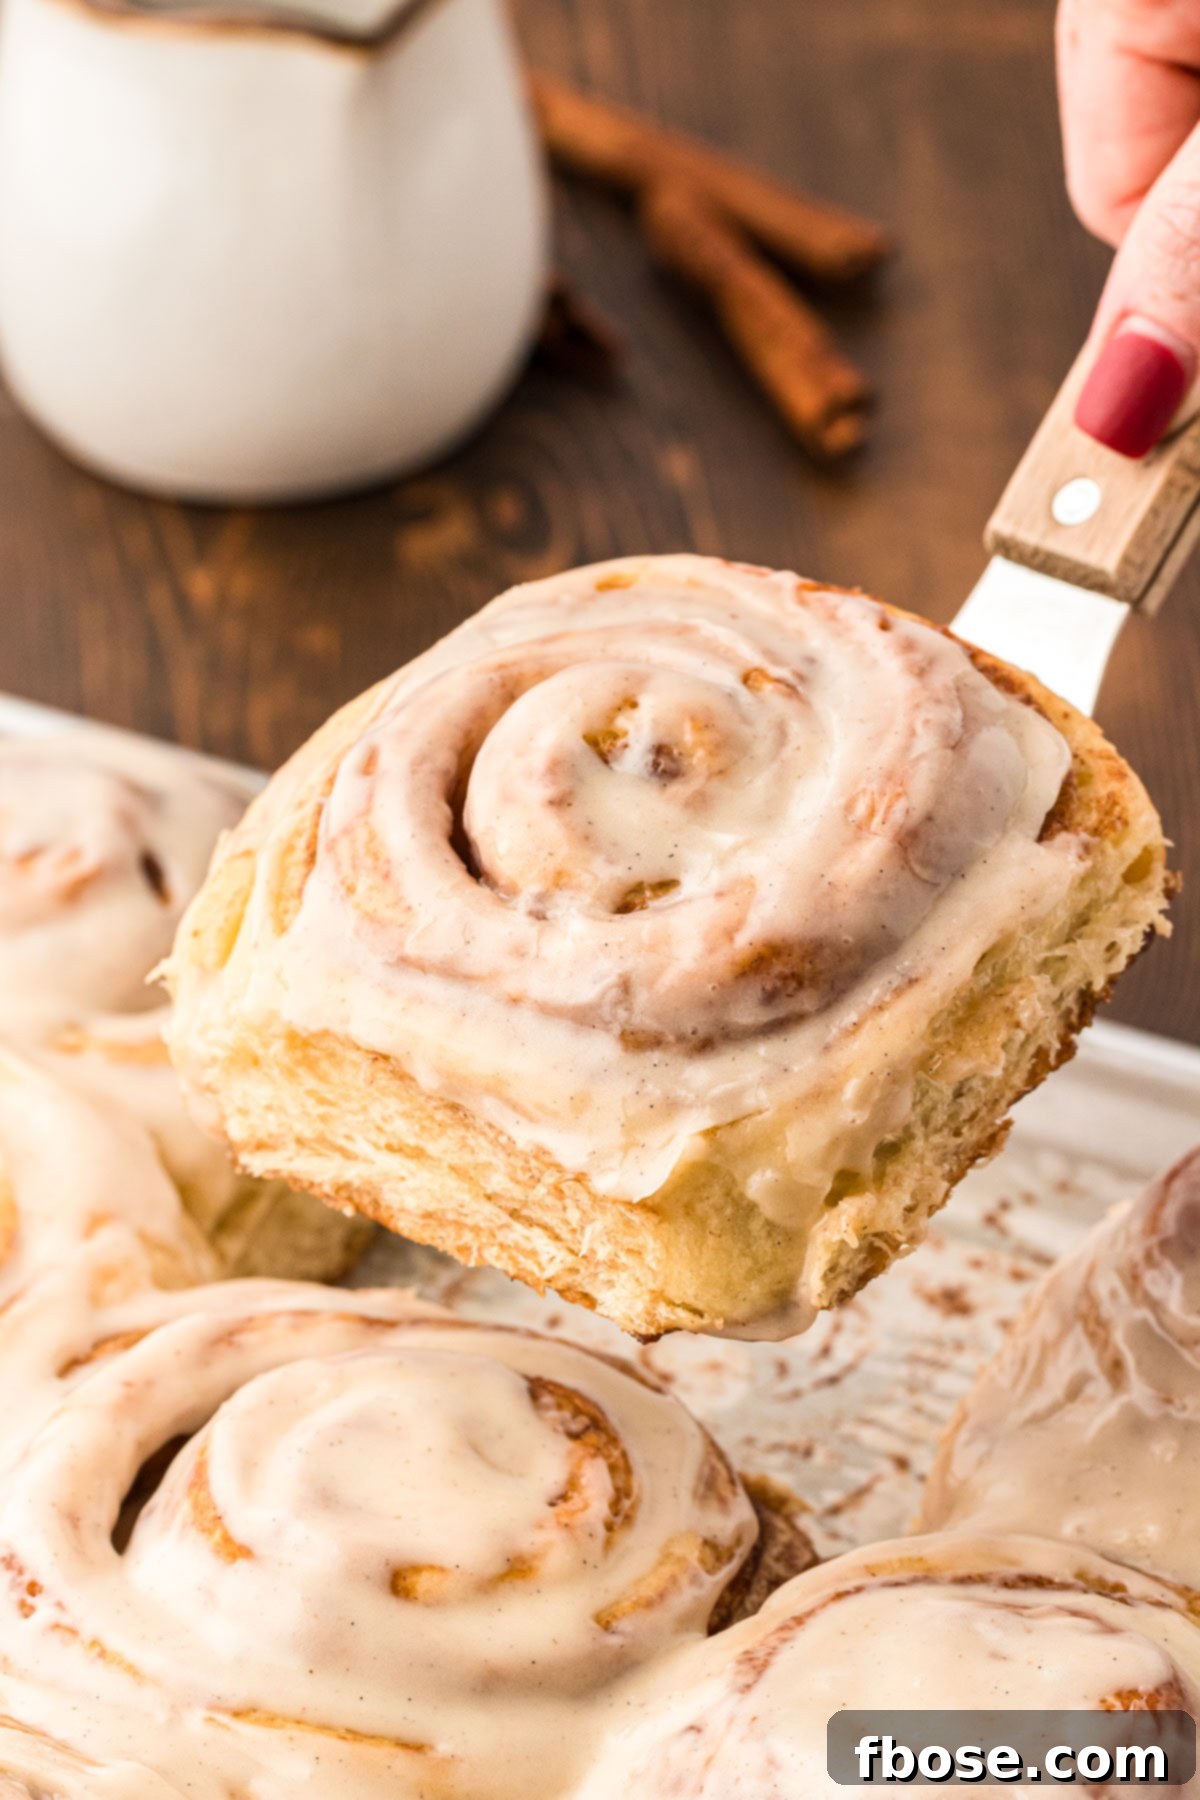
Storing and Freezing Your Fluffy Tangzhong Cinnamon Rolls
One of the most remarkable benefits of making these Cinnamon Rolls using the innovative Tangzhong method is their exceptional ability to retain their soft, moist, and fluffy texture for an extended period. You’ll be able to enjoy their fresh-baked quality for up to 3 days when stored properly. To ensure they remain at their best, place the cooled cinnamon rolls in an airtight container. This prevents air exposure, which can lead to staleness, and keeps them wonderfully soft. Keep the container at room temperature, away from direct sunlight or heat sources.
For longer-term enjoyment, these Tangzhong cinnamon rolls are also incredibly freezer-friendly! You can freeze them for up to one month. To do so, allow the rolls to cool completely after baking and icing (if desired). Place them in a single layer on a baking sheet and freeze until solid, then transfer them to a freezer-safe airtight container or heavy-duty freezer bag. This makes it incredibly convenient to pull out a single roll or a whole batch to enjoy whenever a craving strikes!
How To Reheat Cinnamon Rolls With Tangzhong for Freshness
To bring these delightful Tangzhong cinnamon rolls back to their warm, gooey, and fresh-baked glory, reheating is a simple process. Whether they’ve been stored at room temperature or thawed from the freezer, a quick warm-up will restore their soft texture and melty icing. You have a couple of convenient options:
- Microwave Method: For a single roll or a small batch, the microwave is your quickest friend. Place an individual cinnamon roll on a microwave-safe plate. Heat on high for 15-30 seconds, or until warmed through and gooey. Be careful not to overheat, as this can make them tough.
- Oven Method: For a larger batch or if you prefer a slightly crispier edge, the oven works wonderfully. Preheat your oven to 275°F (135°C). Place the cinnamon rolls in an oven-safe dish or baking pan, optionally covering them loosely with aluminum foil to prevent excessive browning. Heat for 10-15 minutes, or until warmed through. This method is especially great for thawed frozen rolls, as it helps re-crisp the exterior slightly while keeping the interior moist.
No matter your reheating preference, you’ll be able to enjoy their deliciousness just as if they were freshly baked!
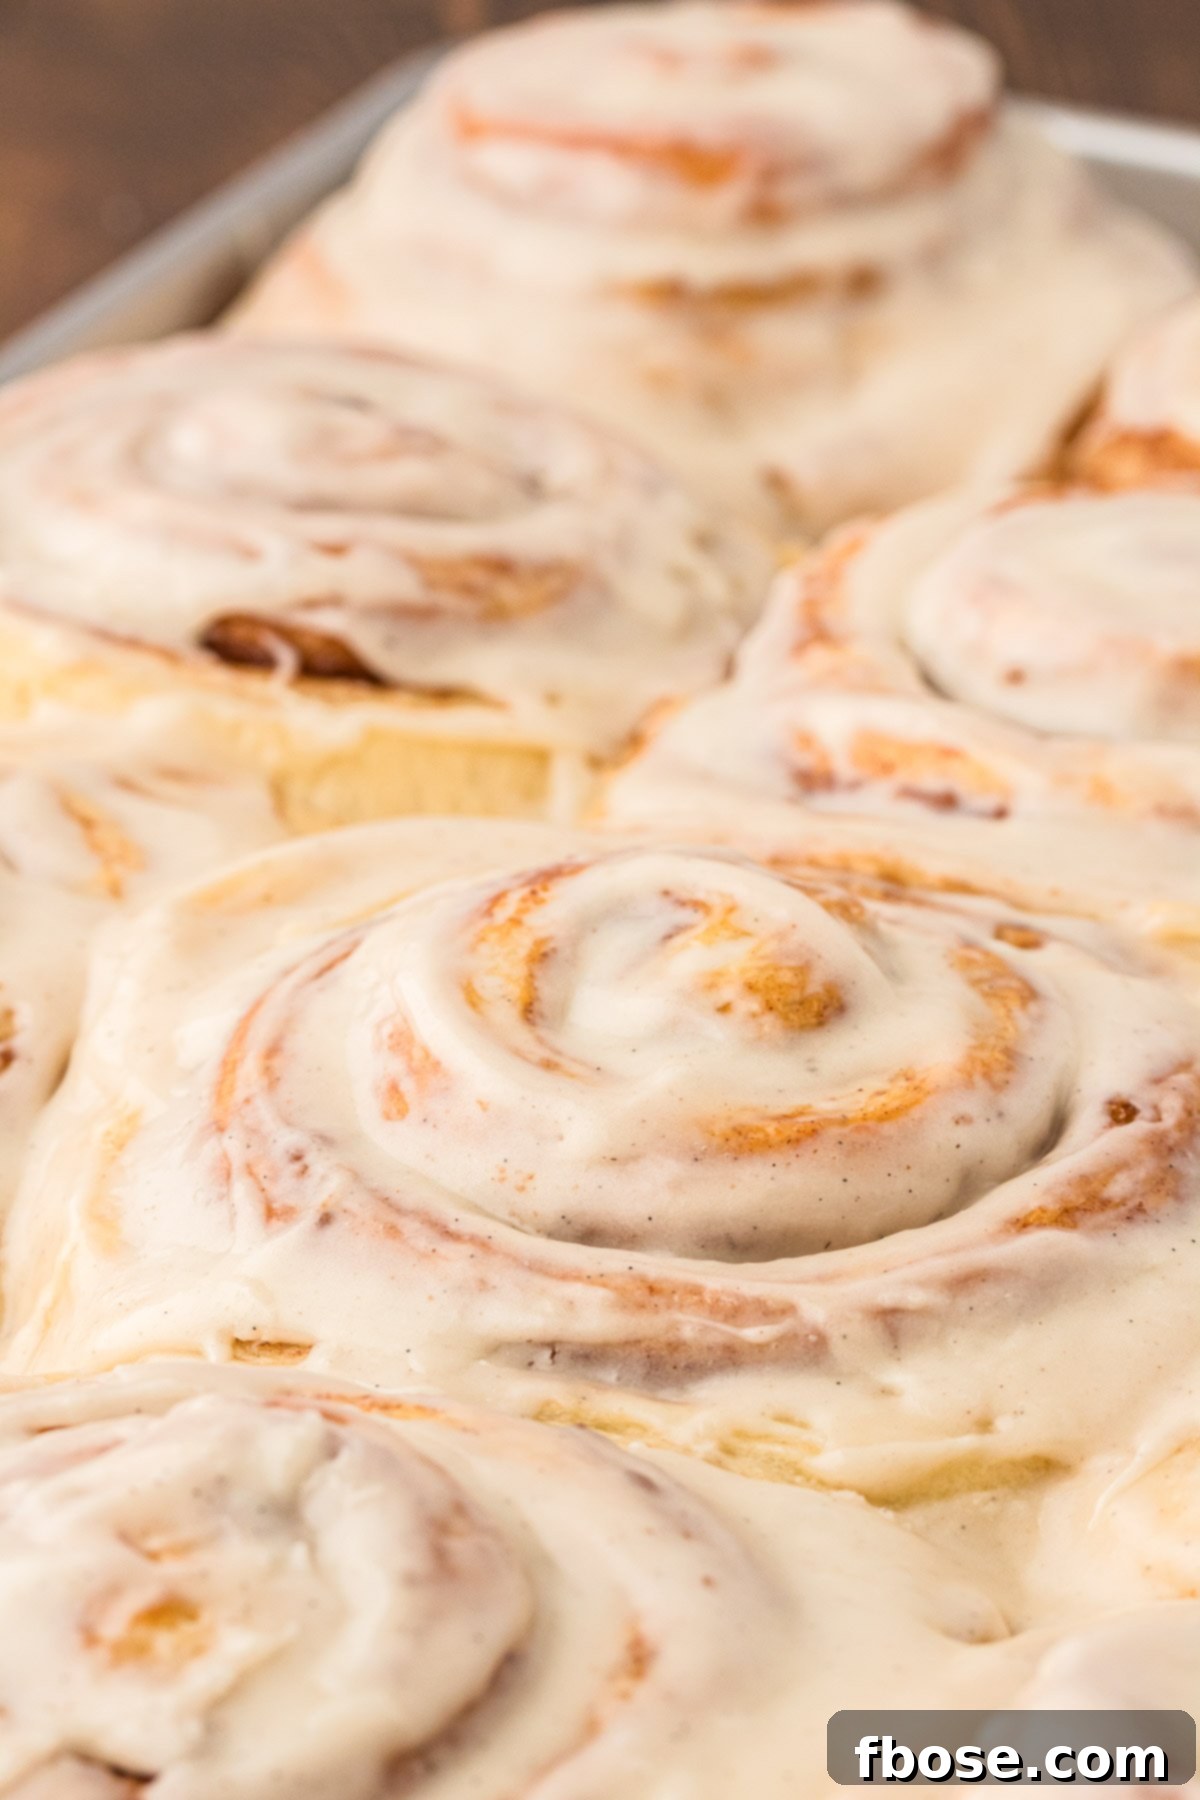
Discover More Sweet Breakfast & Brunch Recipes:
- Air Fryer Donuts – Indulge in fluffy, perfectly crisp donuts made from scratch, generously covered with a sweet, glistening glaze!
- Cinnamon Muffins with Streusel Topping – Enjoy tender muffins crowned with a delightful, crunchy cinnamon streusel topping, perfect for any morning.
- Blueberry Pancake Recipe – Stack up these incredibly fluffy pancakes, bursting with juicy, sweet blueberries in every bite.
- Cinnamon Roll Casserole – A comforting breakfast bake loaded with warm cinnamon, rich maple, crunchy pecans, and so much more!
- Easy Monte Cristo Sliders – A unique and satisfying blend of savory and sweet, these sliders hit the spot every single time for breakfast or brunch.
Did You Make This Recipe?
If you’ve tried this recipe, please leave a review in the comments below. I love hearing from you! Don’t forget to tag me – @sugarandsoulco – on Instagram and Pinterest with your photos, or join our Sugar & Soul Show-offs Community and share them there.
Milk Bread Cinnamon Rolls
These Milk Bread Cinnamon Rolls are super fluffy and perfectly sweet! This recipe includes the popular TikTok heavy cream variation as well as an overnight option! And I promise, they won’t last long!
Rebecca Hubbell
Breakfast
American
45 minutes
25 minutes
2 hours 50 minutes
4 hours
12 people
Ingredients
Tangzhong
- ½ cup whole milk (118ml)
- ¼ cup water (59ml)
- ¼ cup bread flour (35g)
Dough
- 4⅓ cups bread flour (574g), spooned and leveled, plus extra if the dough is sticky
- ¼ cup powdered milk (17g)
- ¼ cup granulated sugar (56g)
- 1 tablespoon instant yeast (8g)
- ½ teaspoon salt (4g)
- 1¼ cups whole milk (300ml), room temperature
- 2 large eggs, room temperature
- 1 additional large egg yolk, room temperature
- 6 tablespoons salted butter (84g), super soft
- 1 tablespoon vegetable or canola oil, for coating the proofing bowl
Filling
- ½ cup salted butter (113g), softened
- 1 cup dark brown sugar (215g), packed
- 2 tablespoons corn starch
- 2 tablespoons ground cinnamon
Icing
- 2 tablespoons salted butter, melted
- 1 cup powdered sugar
- ¼ cup heavy cream
- ½ tablespoon vanilla bean paste
Instructions
Tangzhong
- Add ½ cup whole milk, ¼ cup water, and ¼ cup bread flour to a small saucepan and whisk over medium heat until smooth. Cook until thick and gelatinous, about 1 to 2 minutes. Remove from heat and set aside to cool for a few minutes.
Dough
- In a large bowl or stand mixer fitted with a dough hook attachment, mix together 4⅓ cups bread flour, ¼ cup powdered milk, ¼ cup granulated sugar, 1 tablespoon instant yeast, and ½ teaspoon salt.
- Add in 1¼ cups whole milk, 2 large eggs, and 1 additional large egg yolk and mix for 15 seconds.
- Mix in the 6 tablespoons salted butter and the tangzhong that was prepped earlier and mix until thoroughly combined and the mixture resembles sticky dough. You want the butter to be very soft, either left out overnight or slightly melted in the microwave.
- Cover the dough and let it rest in the bowl for 20 minutes.
- After resting, knead for about 10 minutes at medium-high speed (speed 6 on a stand mixer) until smooth and elastic. Resist the urge to add additional flour.
- When the dough is ready, it should feel tacky (but not sticky) and pliable. Add 1 tablespoon vegetable or canola oil to a large clean bowl and turn your dough out into it. Rotate the dough so it’s oiled on all sides, then cover it with cling wrap and let it rise somewhere warm. It should double in size within 1 hour in a warm home or 75 to 90 minutes in air conditioning.
- Once the dough has doubled in size, punch it down in the center, then transfer it to a lightly floured surface. Use your hands to shape the dough into a rectangular shape, then roll it out into a 16×18-inch rectangle; it doesn’t have to be exact.
- Line a large 12×17-inch rimmed baking pan with parchment paper.
Filling
- Partially melt ½ cup salted butter in the microwave for 15 seconds, then use a pastry brush to stir and brush the butter all over the surface of the dough. Yes, we are partially melting already room temperature butter because this allows us to do a quick partial melt and stir the butter into a creamy paste-like consistency for brushing. You don’t want to use all melted butter for this step because it’s too thin and won’t hold the filling in as well.
- In a medium bowl, stir together 1 cup dark brown sugar, 2 tablespoons corn starch, and 2 tablespoons ground cinnamon with a fork until mixed.
- Sprinkle the cinnamon sugar mixture over the butter, and leave a ½ to 1-inch border at one of the shorter ends. Then use a rolling pin to roll over and press the sugar into the dough.
- Use a pizza or pastry cutter to cut the dough into 12 strips about 1⅓-inch wide, with the cuts starting from the shorter (16-inch) side of the dough.
- Roll up each strip of dough to create a pinwheel, starting with the fully sugared end, making sure it’s fairly tight, then securing with the exposed buttered end without sugar on it. You can brush more butter onto the outside of the roll if needed to secure the end.
- Place the rolls on the parchment-lined baking pan with a little space between.
- Heavy Cream Variation: If you prefer a more gooey cinnamon roll, pour ¾ cup of heavy cream over the top of the cinnamon rolls right before covering for their second rise. These rolls are very tender and soft without doing this, but this method yields a bit more of a gooey texture. Think holdable vs requiring a fork.
- Cover the rolls with plastic wrap and let rise for 30 to 60 minutes. They should now be touching and crowding each other and be fairly puffy.
- Overnight Instructions: Transfer the covered rolls to the refrigerator immediately after placing them on the pan for a second slow rise for 8 to 12 hours. Add 2 to 3 minutes to the bake time with this method.
- With about 15 minutes left of rise time, preheat the oven to 350ºF.
- Bake the rolls on the lowest rack of the oven for 22 to 25 minutes or until golden brown. When done, the center of the rolls should read 190°F on an instant-read thermometer. Transfer the pan to a wire rack to cool.
Icing
- Prepare the icing by melting 2 tablespoons salted butter in a medium bowl in the microwave and then whisking in 1 cup powdered sugar, ¼ cup heavy cream, and ½ tablespoon vanilla bean paste until smooth. If you want extra gooey cinnamon rolls, you can 1.5x this recipe.
- Use a rubber spatula or spoon to spread the icing over the top of the warm rolls.
Notes
You can find full step-by-step photos, variations, FAQs, and tips throughout the recipe post.
Nutrition
Did You Make This Recipe?
Don’t forget to share it with me on Instagram @sugarandsoulco and follow on Tiktok @sugarandsoulco and Pinterest @sugarandsoulco for more!
Pin Recipe
Share Recipe