

Welcome to the definitive guide for crafting the ultimate batch of Classic Homemade Fudge Brownies. This recipe has been meticulously perfected to deliver the richest chocolate flavor, an irresistibly fudgy texture, and that signature crinkly top – all achieved with simple pantry ingredients and an effortless one-pot stovetop method. Prepare to indulge in a brownie experience that will become your new go-to favorite.
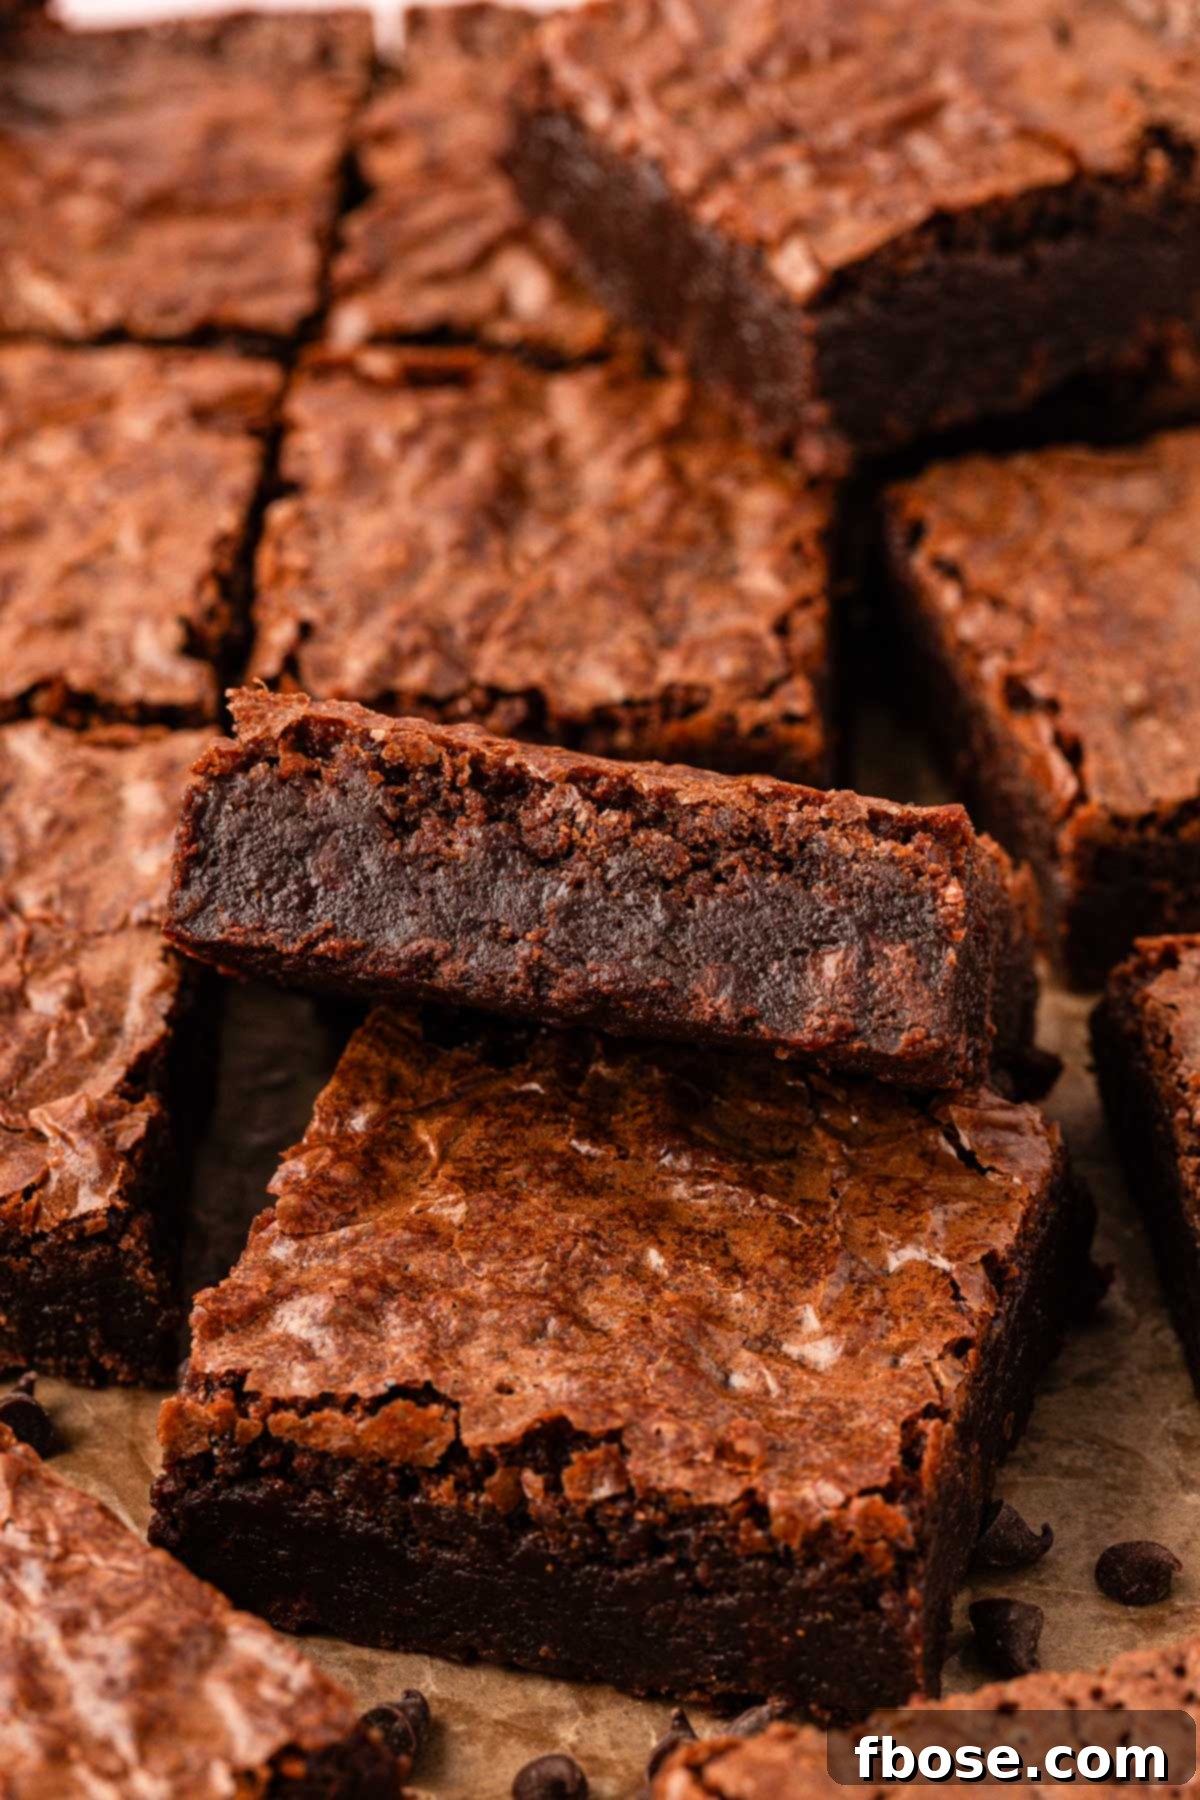
Unveiling the Best Chocolate Fudge Brownies Recipe
The quest for the perfect homemade chocolate fudge brownie ends here. After nearly a year of rigorous testing and refining, this recipe stands as a testament to achieving incredible flavor and texture without any unnecessary complexity. It’s designed to be simple, using basic baking ingredients and requiring just about 10 minutes of active prep time, yet it yields brownies that are nothing short of spectacular.
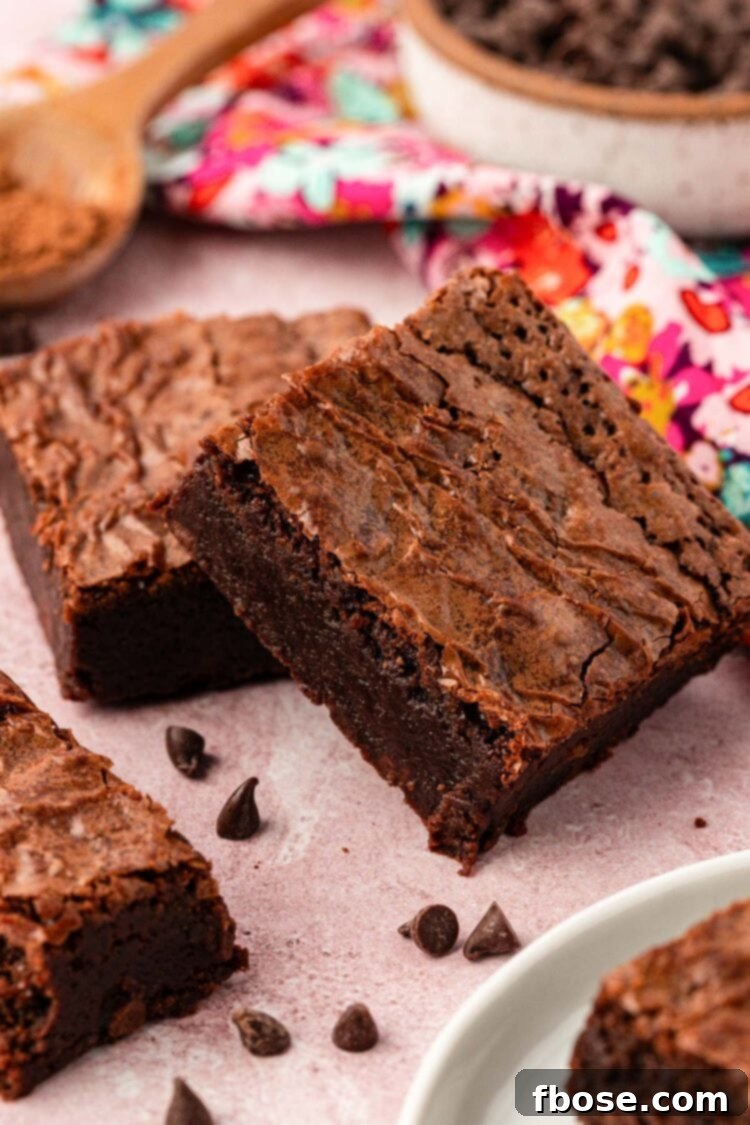
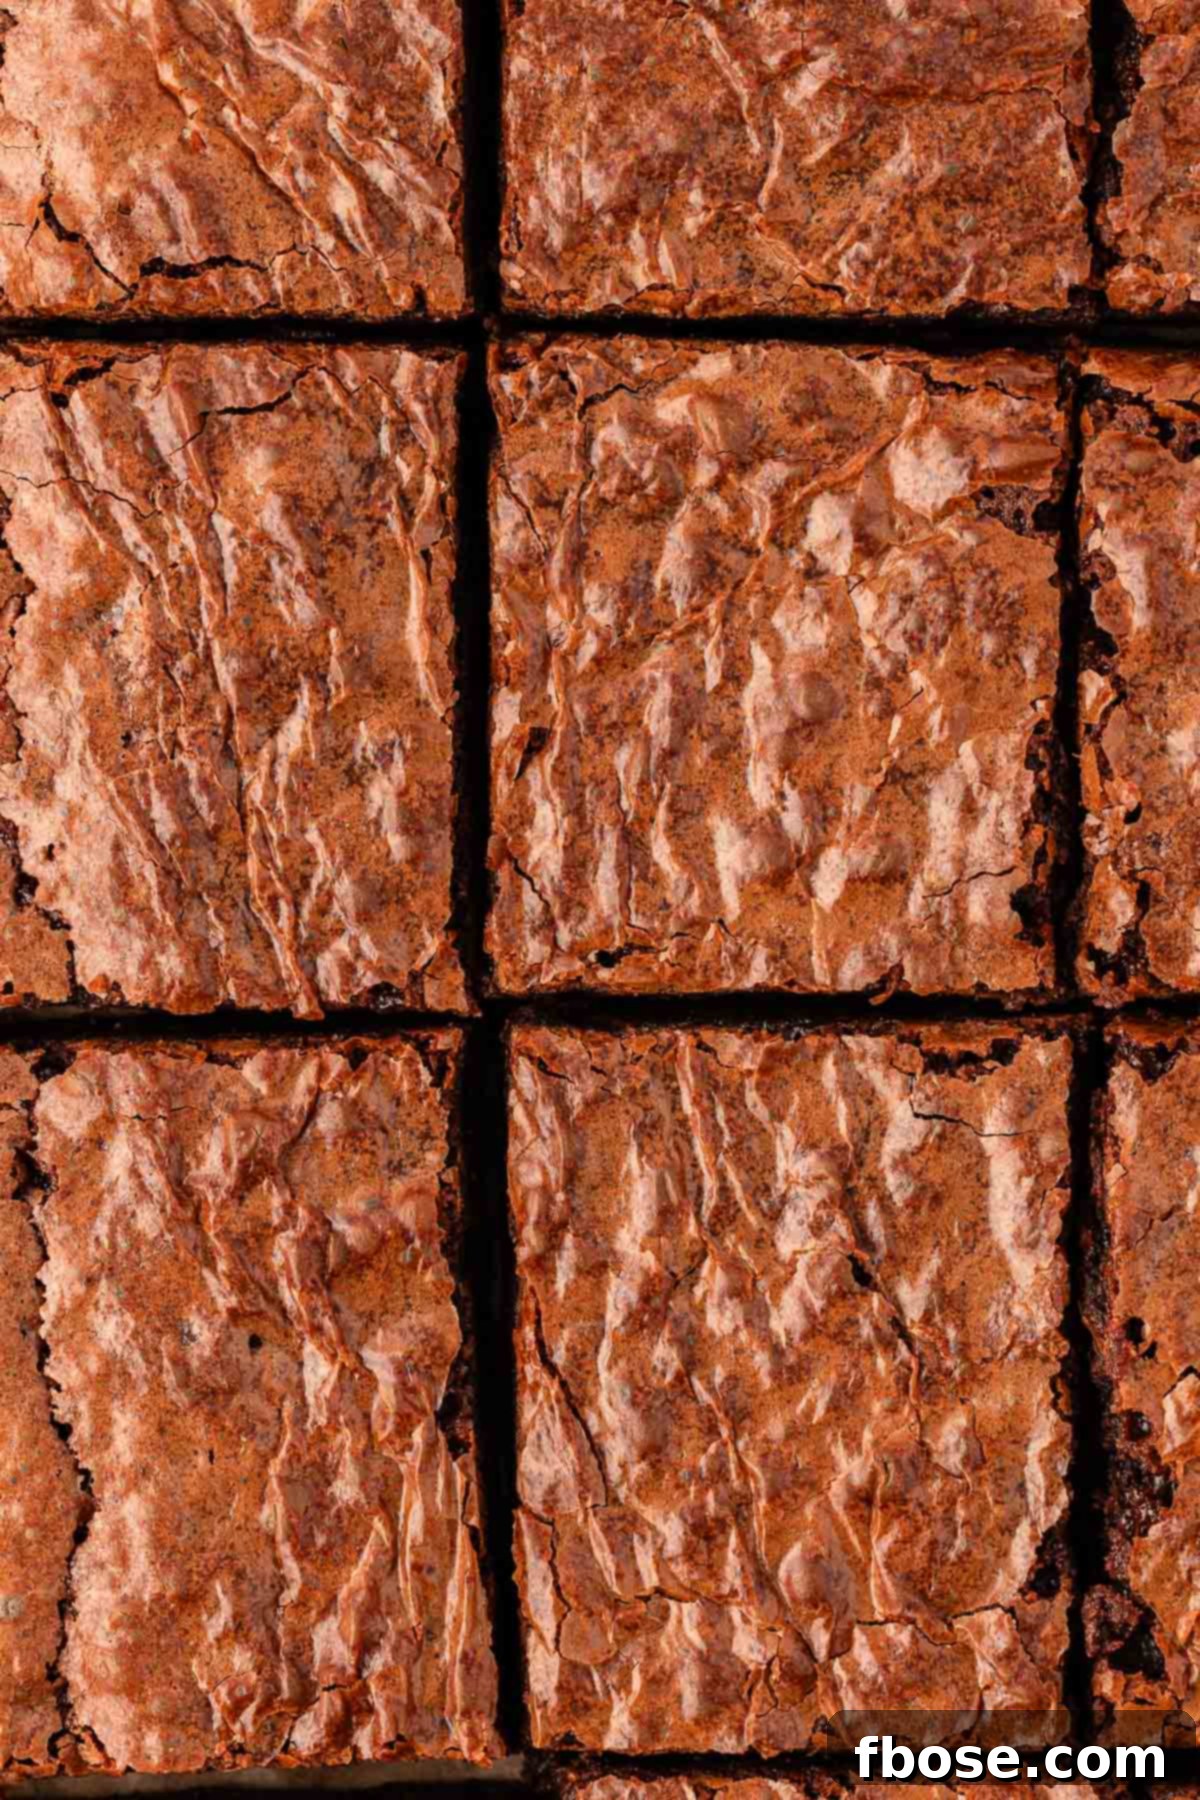
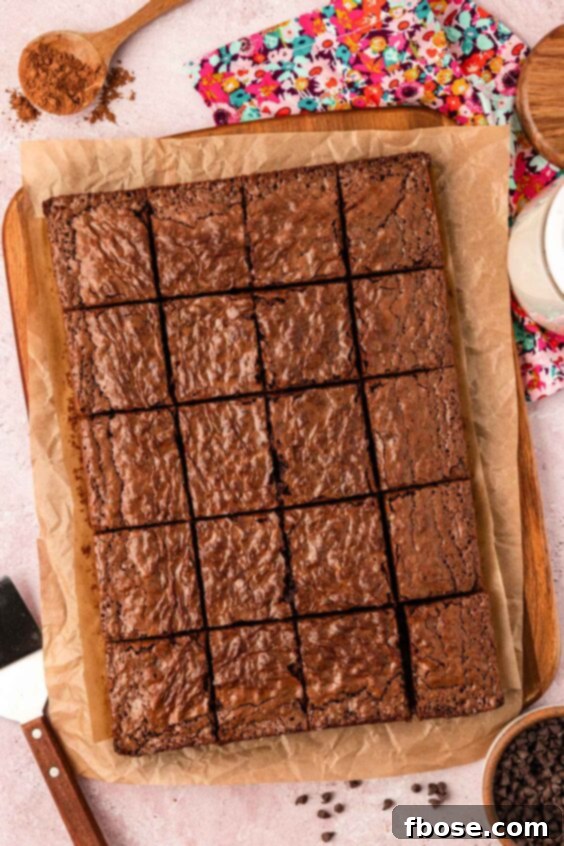
Imagine a brownie with a delightful chewiness, a supremely fudgy interior, and a visually appealing shiny, crinkle top that hints at the deliciousness within. This recipe delivers exactly that, combined with a deep, decadent chocolate flavor that satisfies every craving. This isn’t just a dream brownie; it’s a tangible reality, easily achievable in your own kitchen.
What Makes These Brownies Stand Out?
Several key elements contribute to crowning this the ultimate brownie recipe. It’s a combination of smart techniques and thoughtful ingredient choices that elevate these brownies above the rest:
- One-Pot Preparation: Minimal cleanup means more time to enjoy your brownies. The entire batter comes together in a single pot on the stovetop.
- Perfectly Shiny, Crinkly Tops: This coveted characteristic is a hallmark of a well-made brownie, and our technique guarantees it.
- Versatile Pan Sizes: Instructions are provided for both 9×13-inch and 9×9-inch pans, allowing you to customize your batch size and brownie thickness.
- Butter and Oil Blend: A strategic combination of butter for rich flavor and oil for an extra moist, tender crumb.
- Even Baking: Say goodbye to overly dry edges! This recipe ensures a consistently moist and fudgy texture throughout.
- Malted Milk Powder or Powdered Milk: An optional but highly recommended addition that boosts flavor complexity and adds a subtle, delicious nuance.
Rebecca’s Recipe Review: A Deep Dive into Perfection
As the creator of this recipe, I’ve poured countless hours into perfecting it, and here’s my honest assessment:
Taste: These brownies are intensely rich and deeply chocolaty, embodying everything you could ever desire in a classic brownie. The flavor profile is bold yet balanced, making each bite a truly satisfying experience.
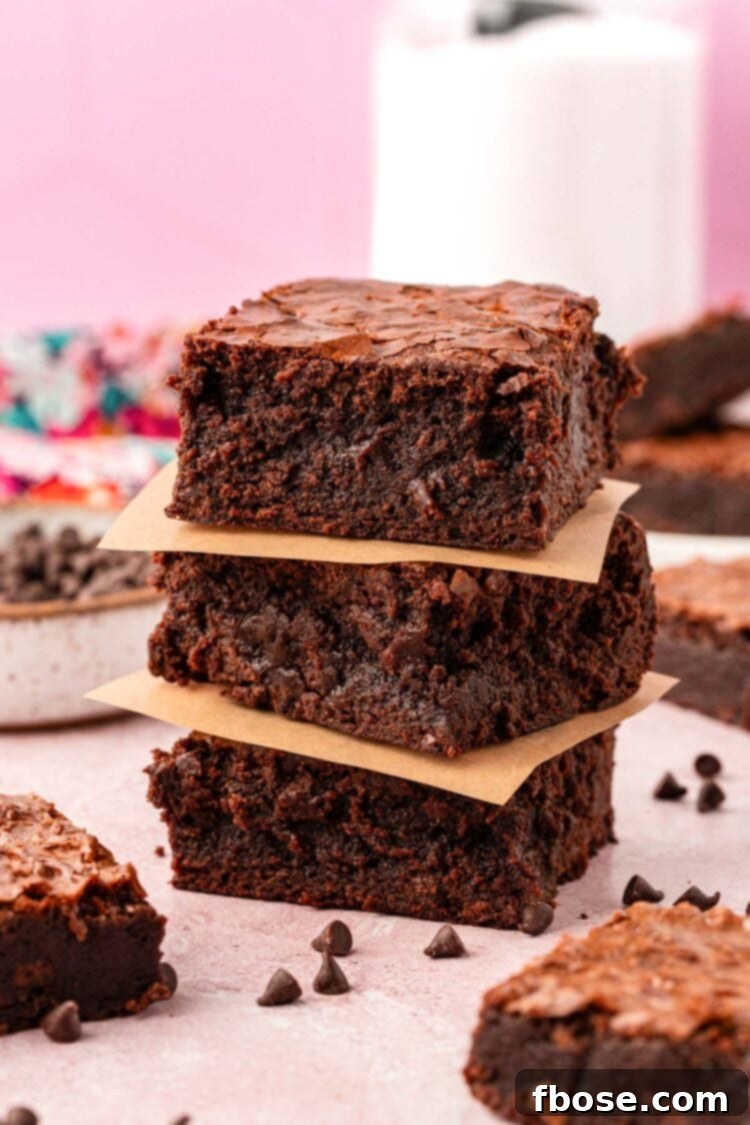
Texture: Expect a firm, slightly chewy bottom, transitioning into a gloriously gooey and fudgy center. The edges offer a delightful chewiness, while the top crust is beautifully crisp and shiny – a textural symphony.
Ease: On a scale of 1-10, I’d rate this a 5/10. While it’s an easy one-pot method, it requires a slightly more attentive prep process than some rudimentary brownie recipes. However, the extra 5-10 minutes are absolutely worth it for the superior result.
Pros: The convenience of a one-pot preparation is unmatched. The flavor is outstanding, and the recipe is adaptable to various pan sizes (8×8, 9×9, or 9×13-inch). It also serves as an excellent foundational recipe for creating gourmet brownie variations.
Cons: If your preference leans towards cake-like brownies, this fudgy recipe might not be for you. It’s designed specifically for those who love dense, rich, and intensely chocolatey treats.
Would I Make This Again? Absolutely, and I do! We prepare these brownies constantly in my household, and I often use this very recipe as a base for many other dessert creations.
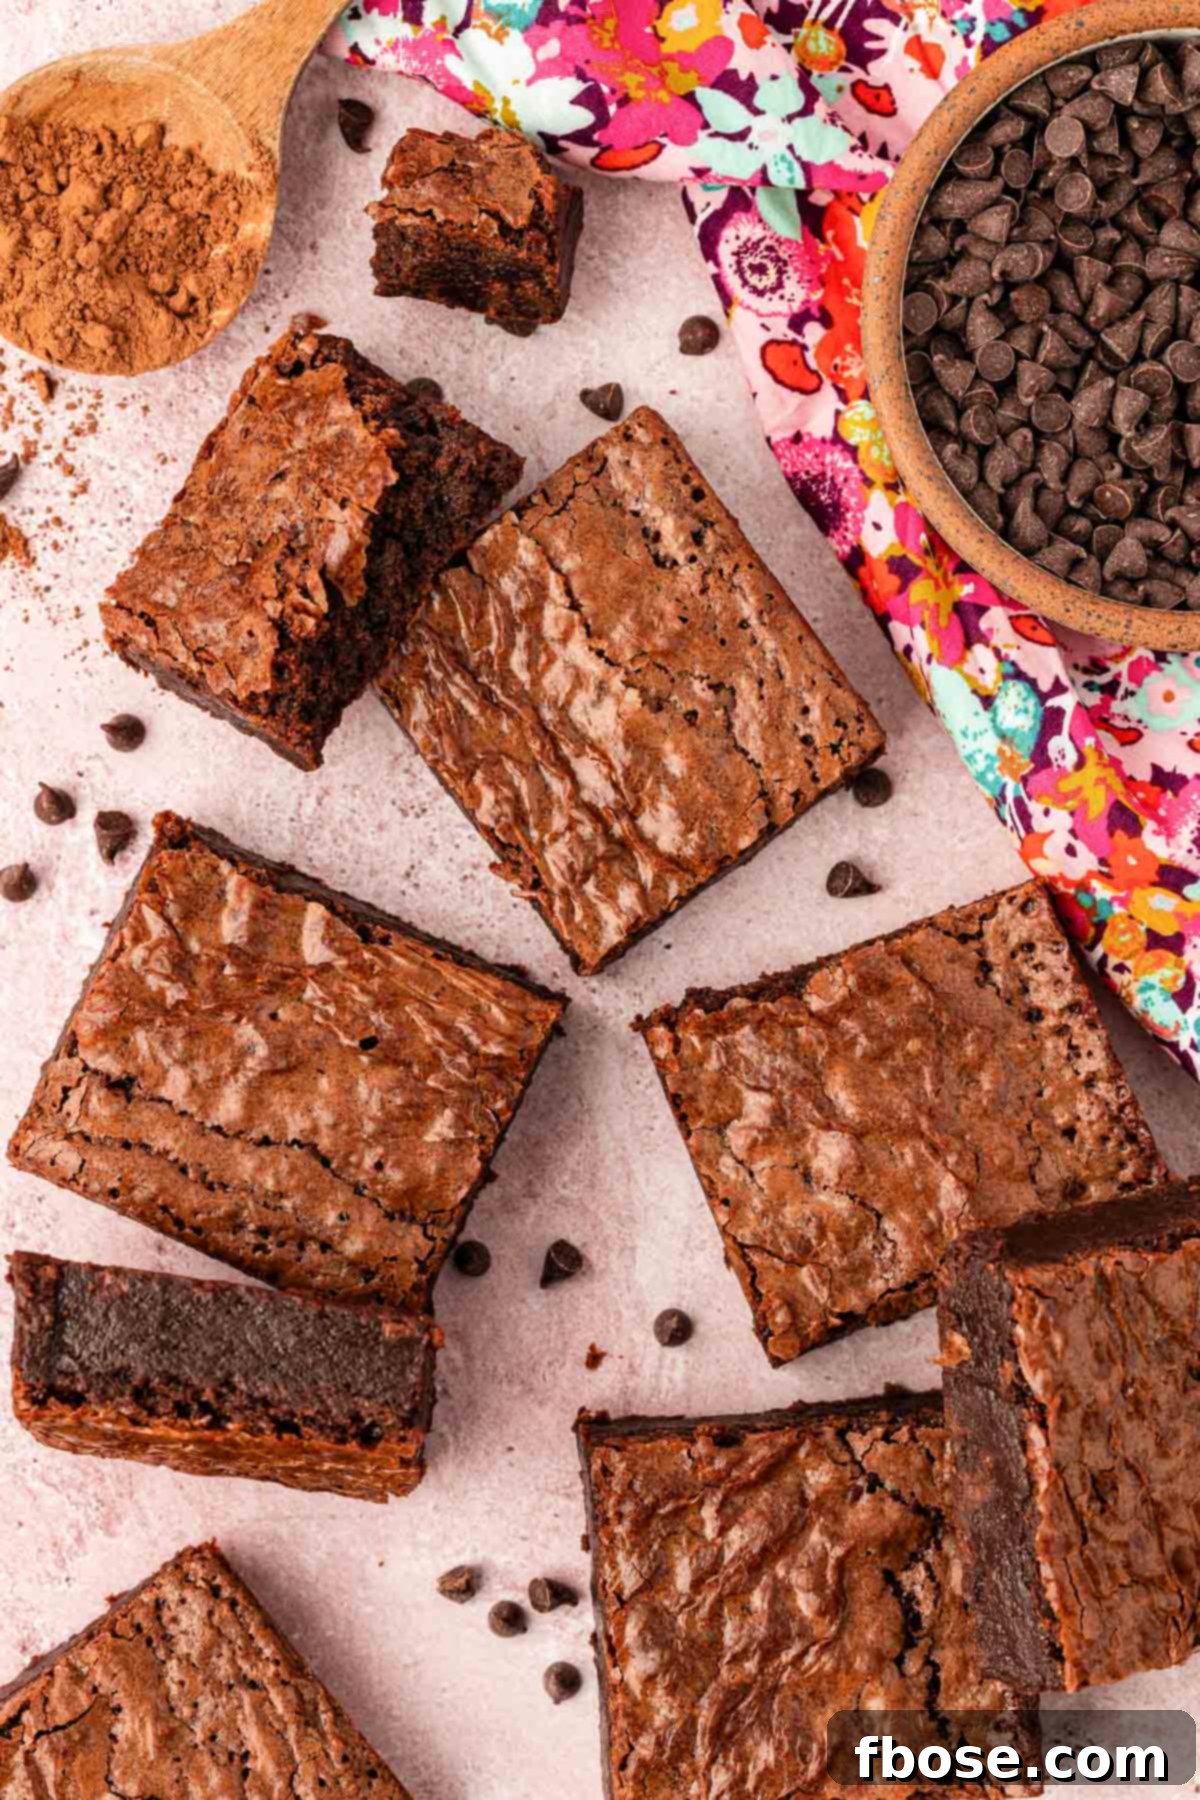
Essential Ingredients for Your Homemade Fudge Brownies
You won’t find any exotic or hard-to-source items in this homemade brownie recipe. The magic lies not in extraordinary ingredients, but in the precise technique. While the ingredients themselves are mostly pantry staples, I highly recommend using high-quality versions for the best possible outcome. This approach ensures that everyone, regardless of their baking experience, can create the most delicious, fudgy, and chewy brownies right in their home oven.
To begin your brownie journey, gather the following:
- Unsalted Butter: The foundation for rich flavor and a tender crumb. Using unsalted butter allows you to control the overall saltiness of the brownies.
- Granulated Sugar: Provides sweetness and contributes to the iconic shiny, crinkly top.
- Canola Oil: Adds an extra layer of moisture, ensuring the brownies remain incredibly soft and fudgy.
- Vanilla Extract: A crucial flavor enhancer that complements and deepens the chocolate notes. Opt for pure vanilla extract for the best taste.
- Large Eggs (a generous amount!): Essential for structure, richness, and contributing to the fudgy texture. The number of eggs in this recipe helps achieve that perfect chew.
- All-Purpose Flour: Provides the necessary structure without making the brownies cake-like.
- Unsweetened Cocoa Powder: The primary source of the intense chocolate flavor. Quality cocoa powder makes a significant difference.
- Salt: Balances the sweetness and enhances all the other flavors, making the chocolate taste even more prominent.
- Malted Milk Powder: (Optional, but highly recommended) This is the one ingredient that might not be a pantry staple for everyone. While not structurally essential, it adds a unique depth of flavor, reminiscent of a classic malted milkshake, which pairs beautifully with chocolate. If you can’t find it, the brownies will still be fantastic without it.
- Mini Semi-Sweet Chocolate Chips or Chopped Baking Chocolate: Folded into the warm batter, these begin to melt, contributing to the brownies’ fudginess and, crucially, helping to create that desirable shiny, crinkly top crust.
For those who love a bit of crunch, feel free to mix in some chopped walnuts or pecans just before baking. They add a wonderful texture and classic flavor pairing.
These have the absolute BEST fudgy middles and were SO easy to make!
Carol S.
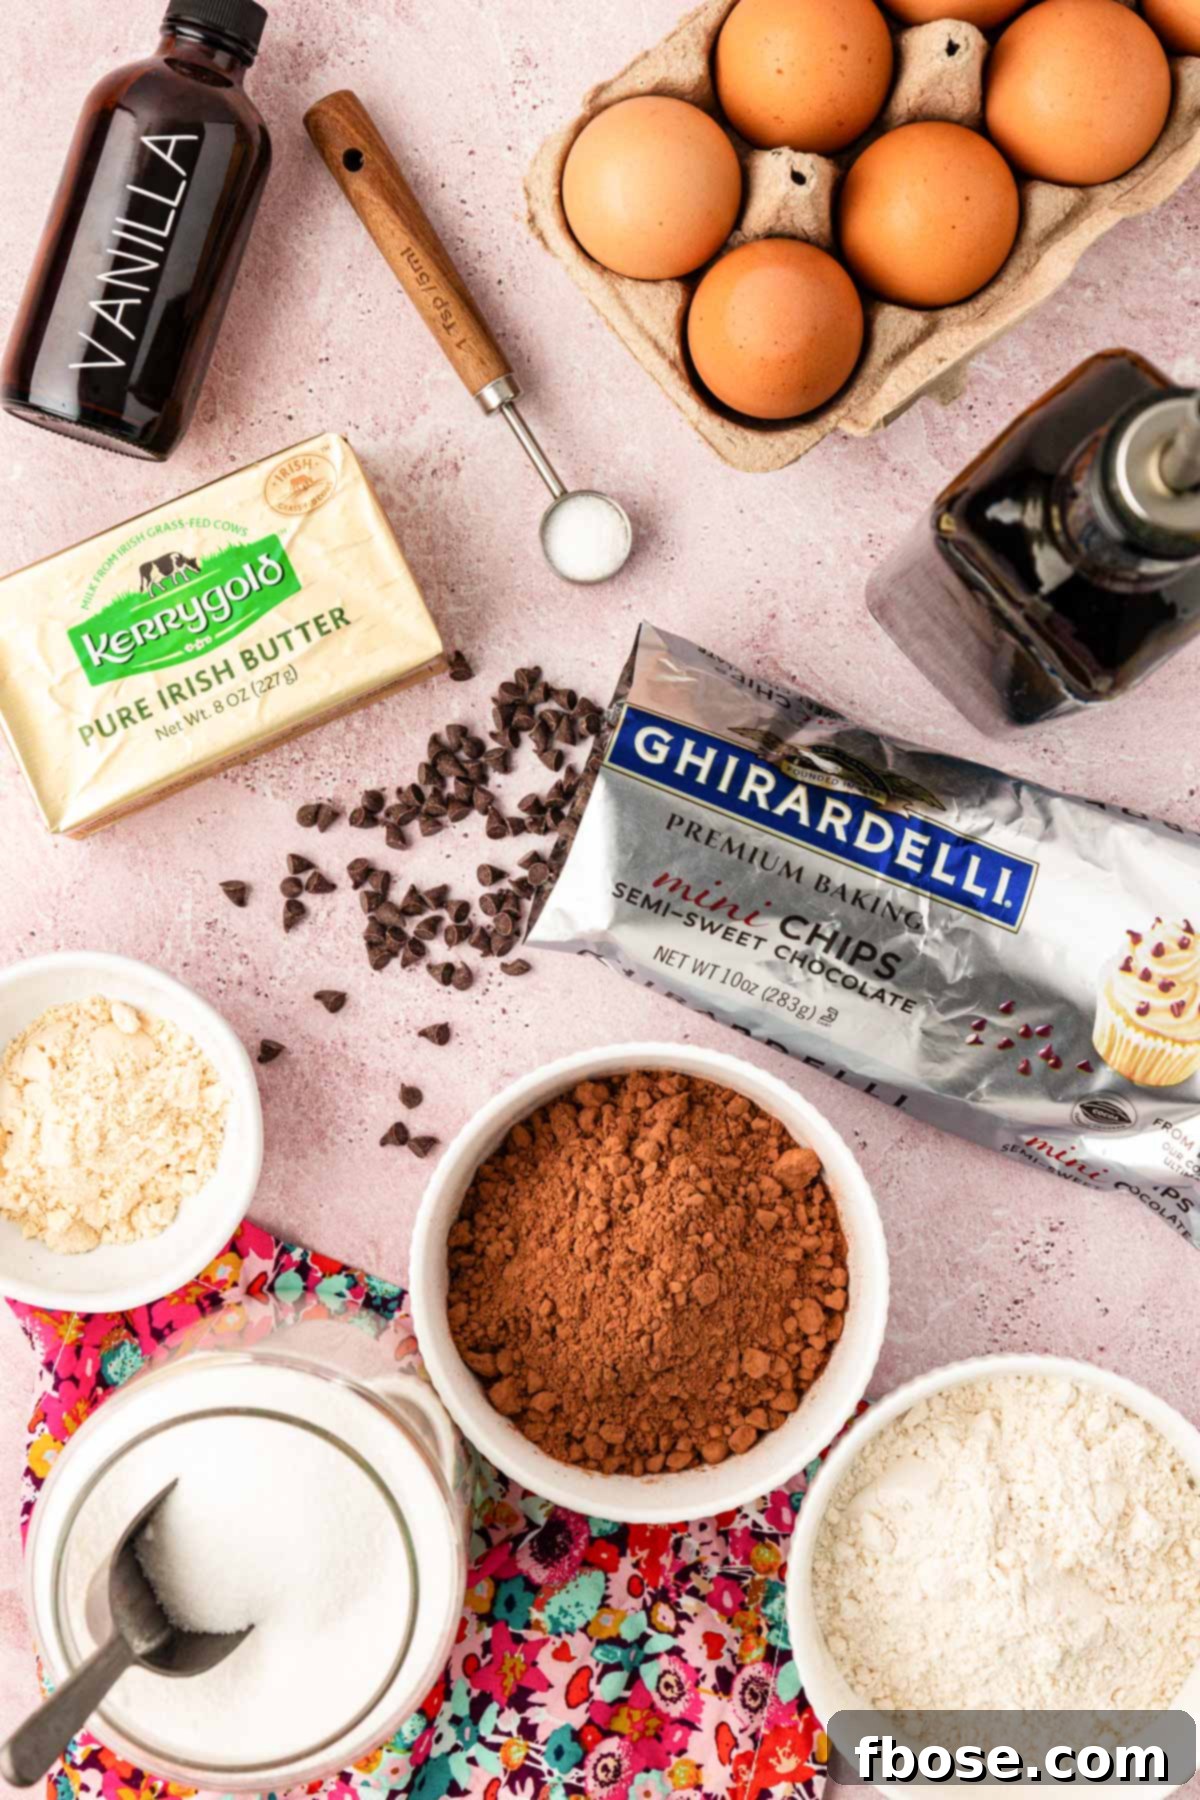
Rebecca’s Tips for Unlocking Flavor with Cocoa Powder
Many believe that the secret to the softest, moistest brownies lies solely in using melted bar chocolate. However, I’m here to tell you that brownies made with high-quality cocoa powder can achieve an even deeper, more intense chocolate flavor, often resulting in a superior soft and moist texture compared to their bar chocolate counterparts. The key is understanding your cocoa.
It’s important to recognize that not all cocoa powders are created equal, nor do they impart the same depth or type of chocolate flavor. Choosing the right cocoa powder can significantly impact your brownie’s final taste. Here’s a breakdown of common types and the flavors they provide, helping you select the perfect one for your ideal brownie:
- Unsweetened Cocoa Powder (Natural Cocoa Powder): This cocoa skips the alkalization process, meaning it retains its natural acidity. It’s lighter in color and provides a more concentrated, sometimes slightly fruity or tangy chocolate flavor. It reacts with baking soda to create lift, though in a dense brownie like this, its primary role is flavor.
- Dutch-Process Cocoa Powder: Made from cocoa beans that have been treated with an alkalizing agent, Dutch-process cocoa is less acidic, darker in color, and offers a smoother, richer, and more mellow chocolate flavor without the bitterness. It doesn’t react with baking soda, so it’s often paired with baking powder or used in recipes that don’t rely on leavening reactions, like this one. If you want an intensely dark and rich brownie, this is an excellent choice.
- Black Cocoa Powder: This is a highly processed, ultra-dark cocoa powder, often Dutch-processed to an extreme degree. It’s almost black in color, much like the cocoa found in Oreo cookies. Black cocoa powder is smooth, non-bitter, and imparts a very deep, distinctive chocolate flavor and color. It’s perfect for creating “blackout” brownies with a unique, robust profile.
Experimenting with different types of cocoa powder can open up a world of chocolate possibilities for your brownies!
The Secret Weapon: Melted Butter for Superior Brownies
Unlike many cookie recipes that call for creaming butter and sugar together, this brownie recipe employs a crucial technique: melting the butter and sugar on the stovetop. This simple yet profound difference is key to achieving that signature fudgy texture and shiny top.
Creaming butter and sugar introduces air into the mixture, which is desirable for light and airy cakes or cookies. However, for fudgy brownies, we want to minimize air incorporation to maintain a dense, chewy texture. By melting the butter and sugar, we eliminate the aeration process, ensuring the batter remains rich and compact, resulting in a brownie with zero cake-like qualities. This method is the cornerstone of truly fudgy brownies.
Furthermore, the warm butter and sugar mixture does wonders for the cocoa powder. When the dry ingredients are later folded in, the warmth “blooms” the cocoa powder, intensifying its chocolate flavor and allowing it to fully release its aromatic compounds. This step alone contributes significantly to the unforgettable, deep chocolate taste of these brownies.
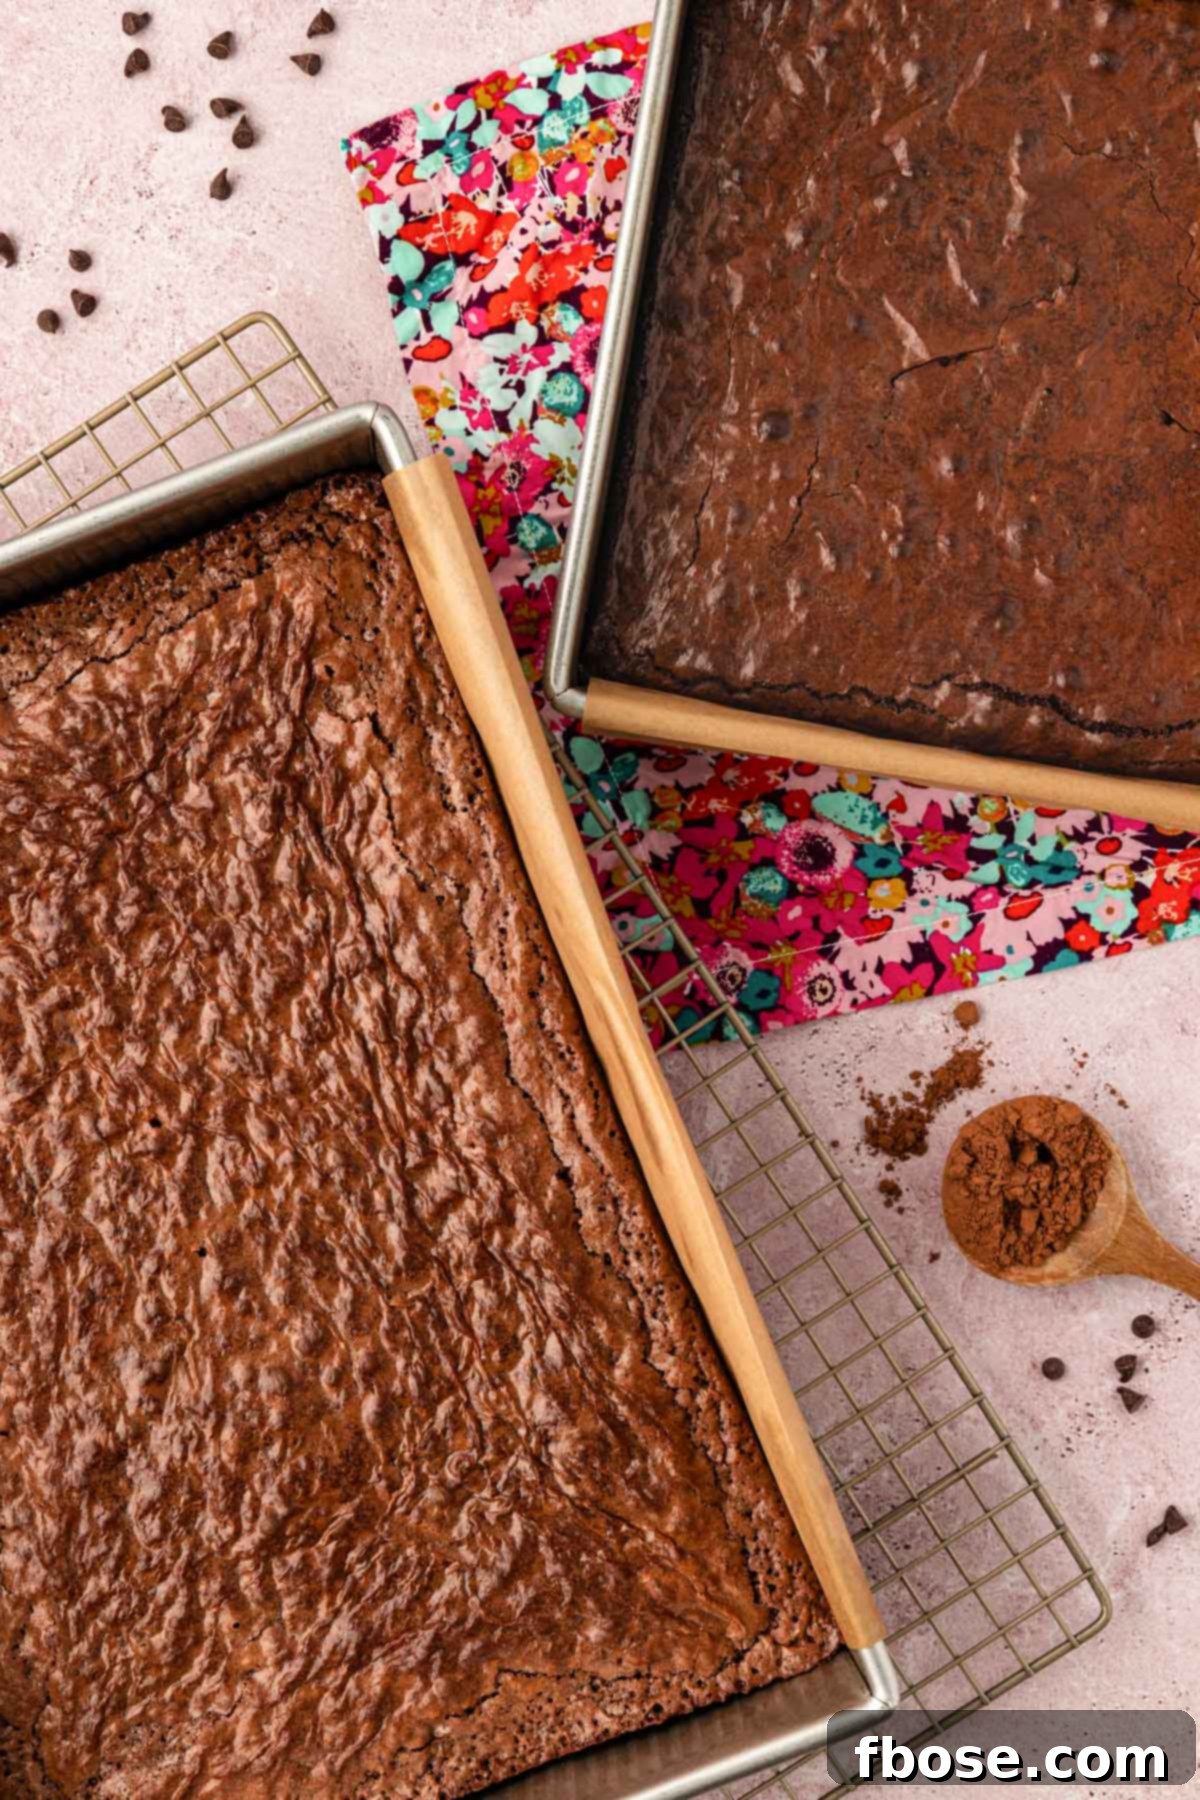
Crafting Your Fudge Chocolate Brownies: A Step-by-Step Guide
Here’s a simplified overview of the baking process. A full, printable recipe card with exact quantities and detailed step-by-step photos can be found at the end of this article. Don’t hesitate to leave a comment if you have any questions!
- Prepare Your Pan: Preheat your oven to 350°F (175°C). Line your chosen baking pan (8×8, 9×9, or 9×13-inch) with parchment paper, allowing some overhang on the sides to create “handles” for easy removal. Lightly spray with cooking spray.
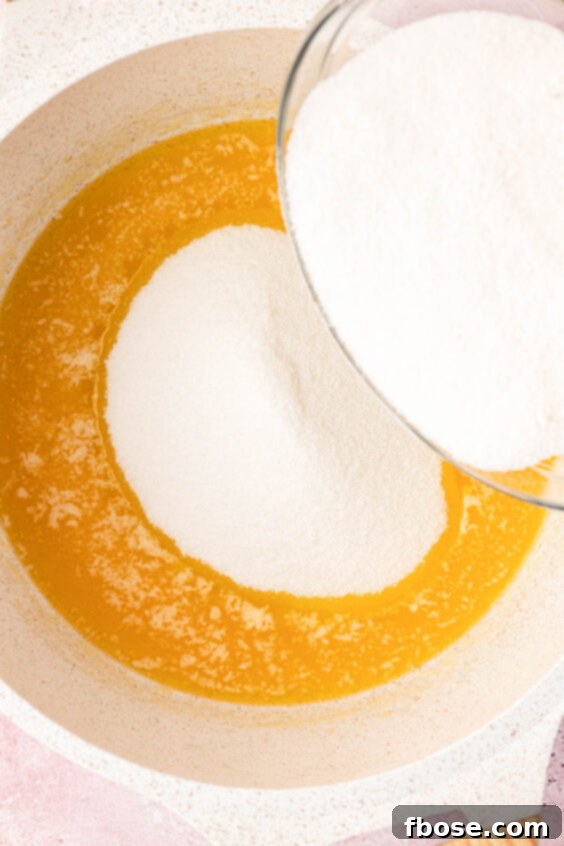
- Melt Butter & Sugar: In a heavy-bottomed saucepan, melt the unsalted butter over low heat. Once melted, stir in the granulated sugar. Continue stirring until the mixture is smooth and the butter and sugar have begun to emulsify, meaning there’s no separation. Remove from heat.
- Cool the Mixture: Allow the butter and sugar mixture to cool for about 5 minutes, stirring frequently to help release the heat evenly. This prevents the eggs from cooking prematurely.
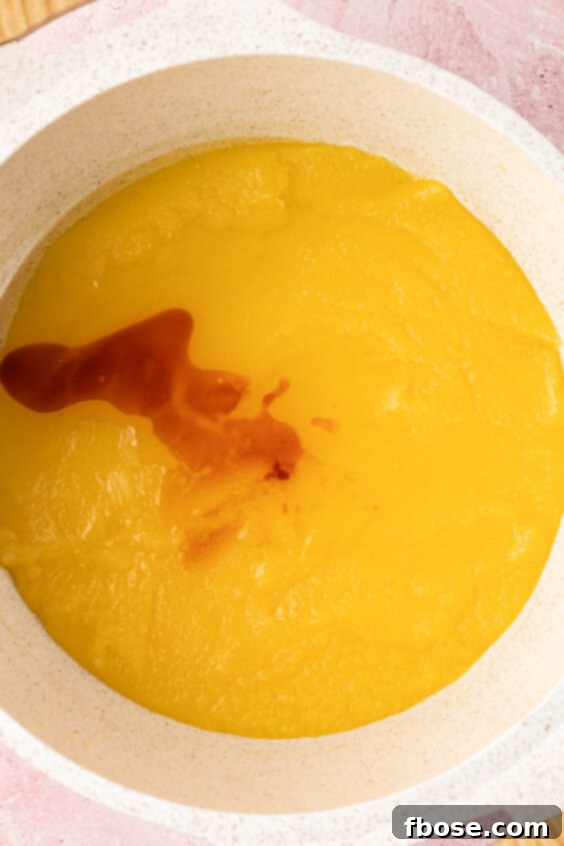
- Add Liquids: Stir in the canola oil and pure vanilla extract until fully combined. Ensure there’s no visible oil separating on top.
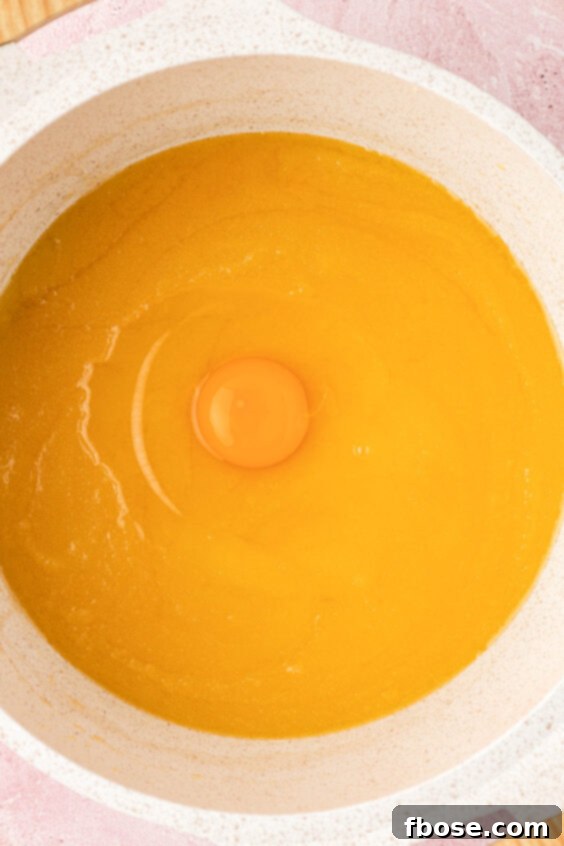
- Incorporate Eggs: Beat in the large eggs, one at a time, using a rubber spatula or fork. Mix thoroughly after each addition until fully incorporated into the batter.
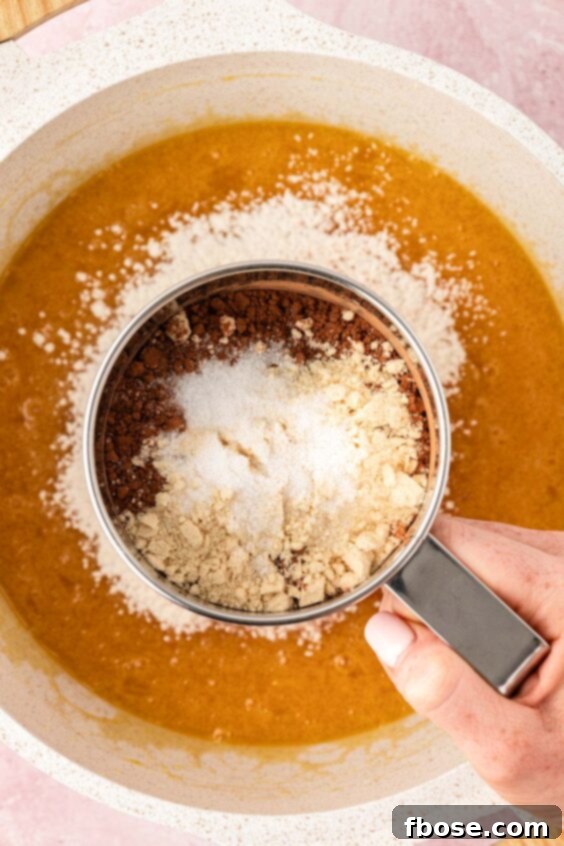
- Sift Dry Ingredients: Sift the all-purpose flour, unsweetened cocoa powder, malted milk powder (if using), and salt directly into the wet mixture. Gently stir with a rubber spatula until just a few dry streaks remain. Be careful not to overmix, as this can lead to tough brownies.
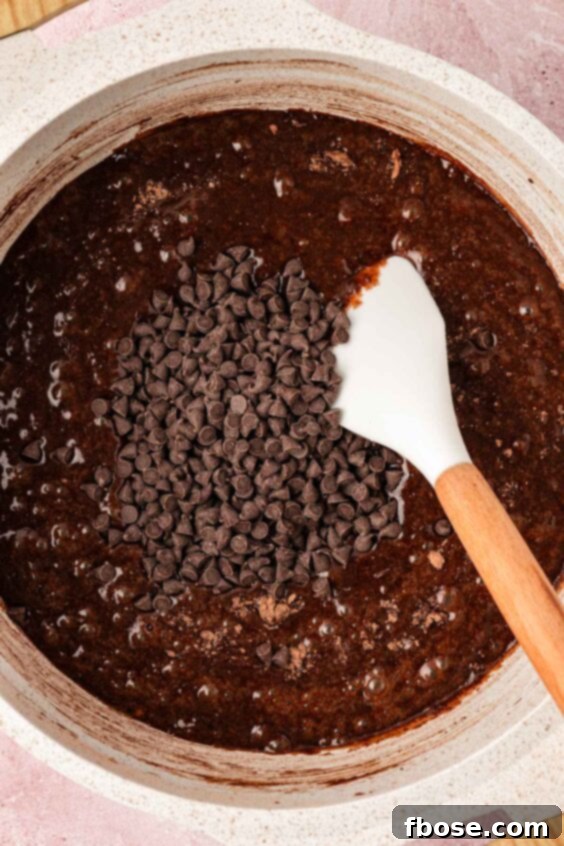
- Fold in Chocolate Chips: Gently fold the mini semi-sweet chocolate chips (or chopped baking chocolate) into the brownie batter. The warmth of the batter will start to melt them, contributing to the fudgy texture and shiny top.
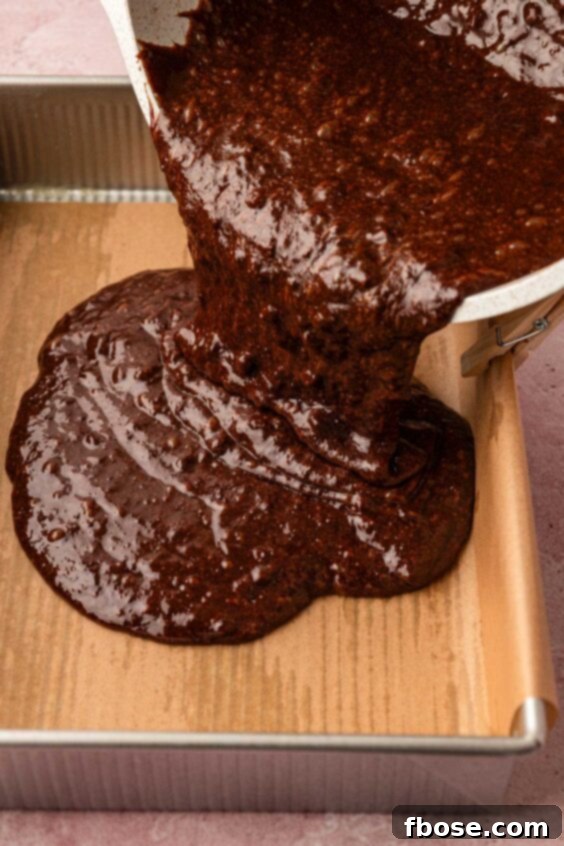
- Bake: Pour the luscious brownie batter into your prepared baking pan. Bake in the preheated oven until a toothpick inserted into the center comes out mostly clean with a few moist crumbs attached.
- Cool & Slice: For the best results and cleanest cuts, allow the brownies to cool completely before removing them from the pan and slicing.
Choosing Your Pan: 9×13 vs. 9×9-inch for Brownies
This versatile recipe can be adapted to produce brownies of different thicknesses and quantities. You can use either a rectangular 9×13-inch pan for brownies that are approximately 1 inch thick, or an 8×8 or 9×9-inch pan for thicker, more indulgent brownies, about 2 inches thick. No modifications to the ingredient quantities are necessary. The only adjustment you’ll need to make is to the baking time.
Thicker brownies in an 8×8 or 9×9-inch pan will naturally require a longer baking period to cook through completely, while maintaining their fudgy center. Always refer to the recipe card for specific baking times for each pan size and use the toothpick test to determine doneness.
Creative Ways to Serve Your Irresistible Brownies
Once your homemade fudge brownies are baked to perfection and completely cooled, it’s time to enjoy them! For the cleanest and most professional-looking slices, I highly recommend using a plastic knife. These knives glide through brownies, whether warm or at room temperature, without sticking or tearing, ensuring beautifully intact squares.
The serving possibilities for these decadent fudge brownies are endless! Here are a few ideas to elevate your dessert experience:
- Simply Classic: Enjoy a thick, slightly warmed slice with a tall, frosty glass of ice-cold milk. It’s a timeless pairing that highlights the brownie’s rich chocolate flavor.
- Brownie à la Mode: Transform your brownie into a substantial dessert by serving it warm with a generous scoop of your favorite vanilla ice cream. The contrast between the warm brownie and cold ice cream is pure bliss.
- DIY Brownie Sundae Bar: Take your dessert game to the next level by setting up a build-your-own brownie sundae station. This is fantastic for parties or family gatherings!
- Start with a warm brownie base and a scoop of vanilla ice cream.
- Add a heaping dollop of homemade whipped cream.
- Offer an assortment of toppings like maraschino cherries, chopped nuts (pecans, walnuts), crushed candies, and plenty of colorful sprinkles.
- Drizzle with rich homemade chocolate syrup or luscious caramel sauce to complete these magnificent sundaes!
Storing Your Delightful Fudge Brownies
To keep your fudge brownies fresh and delicious, proper storage is key. Once completely cooled, place your brownies in an airtight container. If stacking multiple layers, separate them with a piece of parchment paper to prevent sticking. Alternatively, you can place individual slices into a large, sealable bag, again using parchment between layers. If you prefer to store the entire batch in the baking dish, wrap it tightly with aluminum foil or plastic wrap.
Stored at room temperature, these brownies will remain perfectly fresh and fudgy for 3 to 4 days.
Freezing Chocolate Brownies for Later Enjoyment
These fudgy brownies are excellent candidates for freezing, allowing you to enjoy a homemade treat whenever the craving strikes! First, ensure the brownies are completely cooled to prevent ice crystals from forming. Then, you have a couple of options for freezing:
- Container Method: Place individual slices into a freezer-safe container or a large Ziploc freezer bag, separating layers with parchment paper.
- Individual Wrap Method: For ultimate freshness, individually wrap each brownie tightly in plastic wrap, then wrap again in aluminum foil. This double layer provides superior protection against freezer burn.
Properly stored, these fudge brownies can be kept in the freezer for up to 3 months. When you’re ready to enjoy them, simply thaw at room temperature. They’ll taste just as delicious as the day they were baked!
Explore More Cocoa Powder Brownie Recipes
If you’re a fan of cocoa powder brownies, you’ll love these other fantastic recipes that celebrate its rich flavor:
- Brownies with Cream Cheese: A delightful twist featuring a tangy cheesecake swirl.
- No Bake Cookie Brownies: Fudgy brownies generously topped with classic no-bake cookies for an extra treat.
- Peanut Butter Crunch Brownies: The ultimate combination for chocolate and peanut butter lovers, offering incredible crunch and flavor.
- Twix Caramel Brownies: Experience all the beloved elements of your favorite candy bar transformed into a decadent brownie.
- Flourless Brownies (No Weird Ingredients!): A naturally gluten-free option that doesn’t compromise on delicious taste or fudgy texture.
Did You Make This Recipe?
If you’ve tried this recipe, please leave a review in the comments below. I love hearing from you! Don’t forget to tag me – @sugarandsoulco – on Instagram and Pinterest with your photos, or join our Sugar & Soul Show-offs Community and share them there.
This recipe was originally published in June 2017 and was updated in April 2024 with a new and improved recipe and photos.
One Pot Fudge Brownies
Ingredients
- 1 cup unsalted butter 227g, I use Kerrygold
- 2½ cups granulated sugar 500g, I use Domino
- 2 tablespoons canola oil
- 1 tablespoon vanilla extract
- 5 large eggs I use Vital Farms
- 1 cup all-purpose flour 130g, I use King Arthur
- ¾ cup + 1 tablespoon unsweetened cocoa powder 80g, I use Ghirardelli
- 2 tablespoons malted milk powder 20g, optional
- ¾ teaspoon salt
- ½ cup mini semi-sweet chocolate chips or 4oz. chopped baking chocolate
Instructions
-
Preheat oven to 350°F (175°C) and line a metal 8×8, 9×9, or 9×13-inch cake pan with parchment paper and spray lightly with cooking spray. Make sure some of the parchment is over the edge of the pan for easy removal. This may require two sheets, one going in each direction for a 9×13-inch pan – ensure the one that goes across the shorter distance is under the one that goes along the full length of the pan.
-
Melt 1 cup unsalted butter in a heavy-bottomed saucepan over low heat. Add 2½ cups granulated sugar and stir until smooth, the butter and sugar have started emulsifying, and no butter is separated from the sugar. Remove from heat and let the mixture cool for 5 minutes, stirring often to release heat.

-
Add 2 tablespoons canola oil and 1 tablespoon vanilla extract to the butter and sugar and beat them in with a rubber spatula until fully combined and there’s no separation between the ingredients (no oil resting on top).
-
Beat in 5 large eggs one at a time, beating with the spatula or a fork after each one. Mix until fully incorporated.
-
Sift the 1 cup all-purpose flour, ¾ cup + 1 tablespoon unsweetened cocoa powder, 2 tablespoons malted milk powder, and ¾ teaspoon salt into the butter and sugar mixture, stirring gently with a rubber spatula just until almost all the dry streaks are gone.
-
Fold in the ½ cup mini semi-sweet chocolate chips.
-
Pour the brownie batter into the prepared baking pan and bake for 25 to 30 minutes for a 9×13-inch pan or 40 to 45 minutes for an 8×8 or 9×9-inch pan.
-
Cool before removing it from the pan and slicing it for best results. Use a plastic knife for the cleanest cuts.
Video
Nutrition
Did You Make This Recipe?
Don’t forget to share it with me on Instagram @sugarandsoulco and follow on Tiktok @sugarandsoulco and Pinterest @sugarandsoulco for more!
Pin Recipe
Share Recipe