
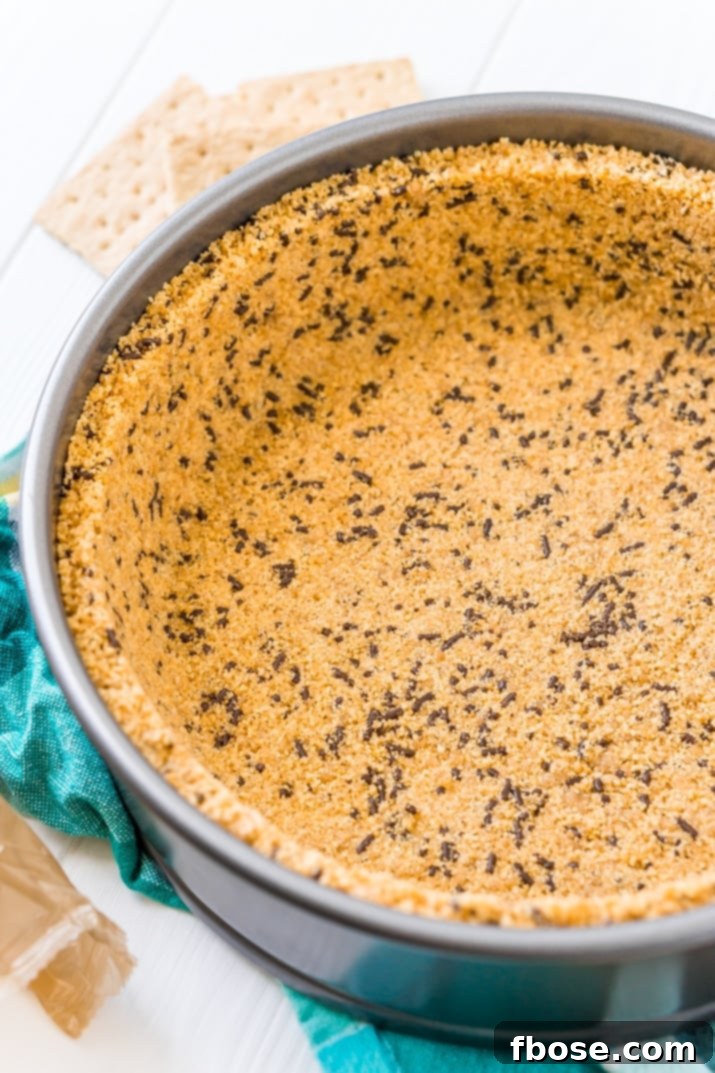
Welcome to the ultimate guide for crafting the Best Graham Cracker Crust Recipe you’ll ever make! This versatile crust is the perfect foundation for an endless array of desserts, whether you’re baking a classic pie or preparing a delightful no-bake treat. Forget flimsy, flavorless store-bought crusts; our homemade recipe promises a rich, buttery, and perfectly structured base every time. We’ll reveal the key ingredients – graham crackers, butter, and sugar – along with a special touch that elevates it above all others. Whether you need a standard pie crust or a deep-dish version, we’ve got you covered with precise measurements and easy-to-follow instructions.
This phenomenal graham cracker crust serves as the ideal base for beloved desserts like a creamy Banoffee Pie and a decadent Peanut Butter Pie. Prepare to impress everyone with your baking prowess!
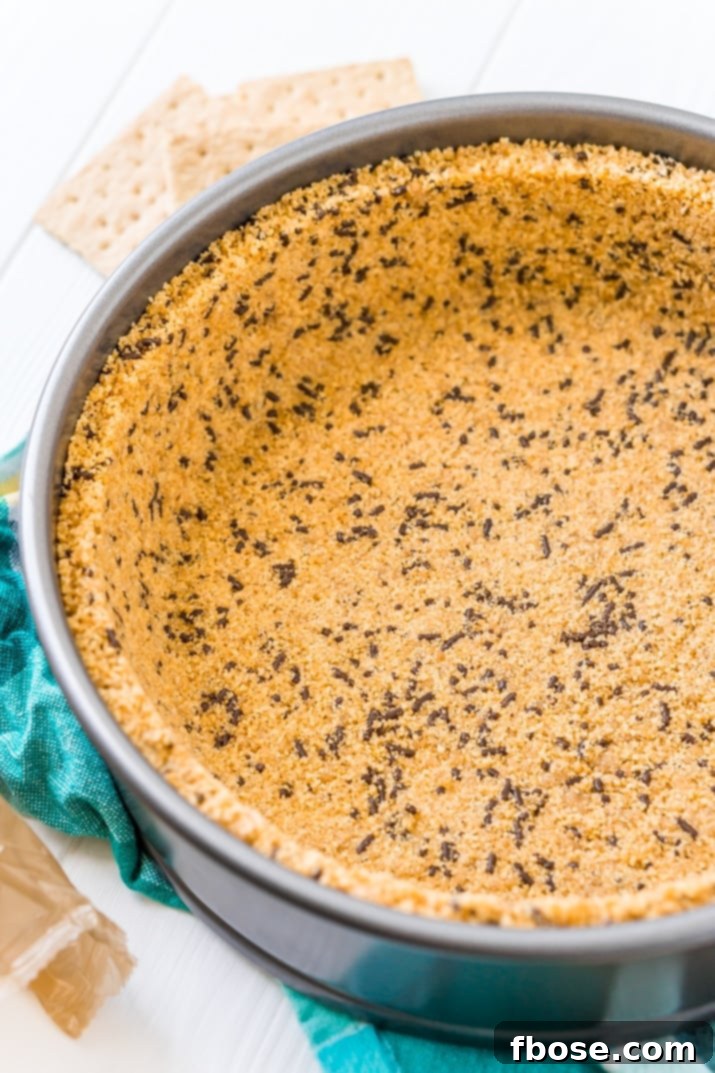
There’s a good reason why this graham cracker crust often gets rave reviews – it’s simply irresistible. Its sweet, buttery profile creates an unparalleled experience, making it a favorite for any pie or dessert. This recipe is meticulously designed to be adaptable for both standard and deep-dish creations, suitable for traditional pie dishes or elegant springform pans. Beyond honey graham crackers, feel free to experiment with chocolate or cinnamon variations to perfectly match your dessert’s flavor profile.
Not just for pies, this crust also provides a fantastic, sturdy foundation for cheesecakes and dessert bars. Its simplicity and incredible versatility make it a must-have recipe in any baker’s repertoire. Whether you’re a seasoned chef or a beginner in the kitchen, mastering this graham cracker crust will open up a world of dessert possibilities, ensuring every bite is a memorable one.
Crafting the Perfect Graham Cracker Crust: A Step-by-Step Guide
While this recipe is remarkably easy, following each step precisely is key to achieving that ideal pie crust texture and flavor. We’ll walk you through the process, ensuring your crust is perfectly crisp, buttery, and ready to complement any filling.

Step 1: Crushing Your Graham Crackers into Fine Crumbs
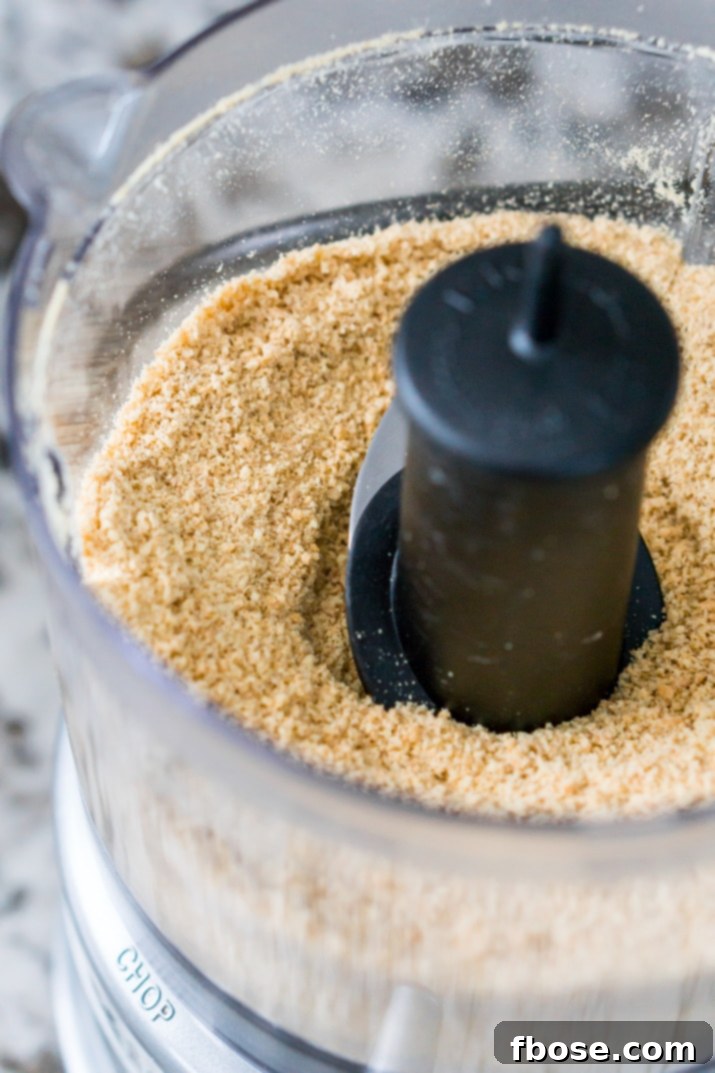
Begin by transforming your graham crackers into fine, uniform crumbs. The easiest method is using a food processor: simply add the crackers and pulse until a consistent, sandy texture is achieved. If you don’t have a food processor, a large, sturdy Ziploc bag and a rolling pin work just as effectively. Place the crackers in the bag, seal it, and roll over them repeatedly until they are crushed into fine crumbs. The goal here is a very fine crumb, almost like sand, to ensure a cohesive and smooth crust.
For ultimate convenience, you can also purchase pre-crushed graham cracker crumbs, readily available in the baking aisle of most grocery stores. These often cost about the same as a box of whole graham crackers and save you a step. If graham crackers are not available in your region, don’t despair! You can substitute them with any sweet, plain cracker or cookie. Biscoff cookies, for example, create a wonderfully flavorful and unique crust. Just be sure to refer to the cup measurements provided in the recipe notes for crumb-based adjustments.
Step 2: Combining the Crumbs with Sugars and Melted Butter
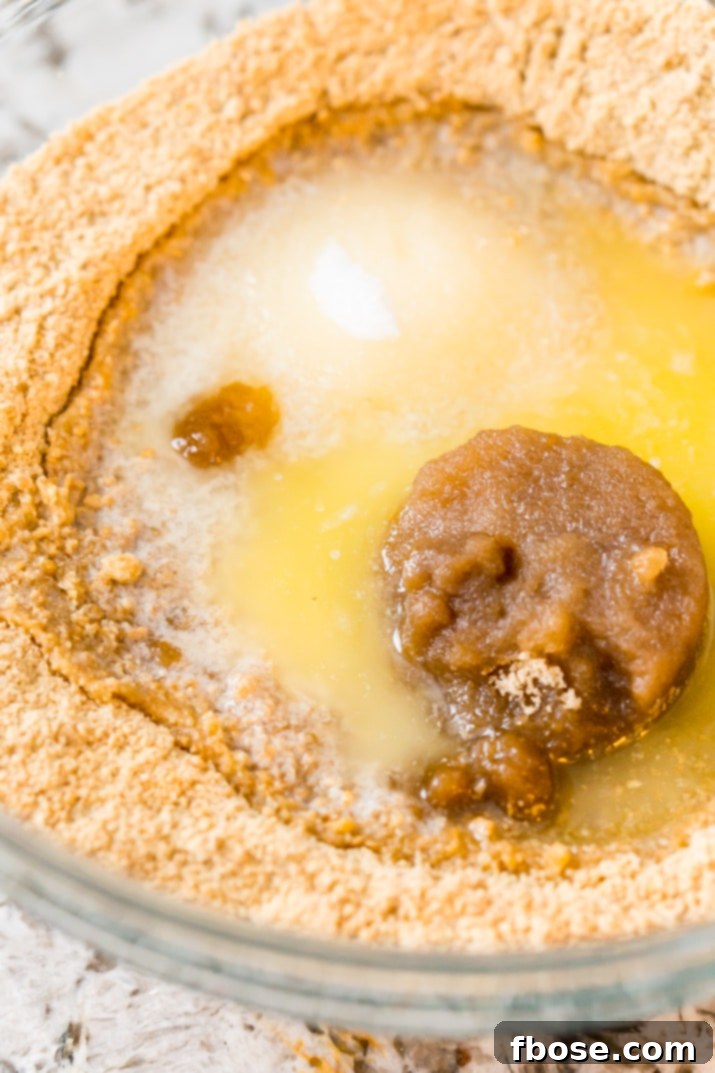
Once your graham cracker crumbs are ready, transfer them to a large mixing bowl. Create a small well in the center of the crumbs. Into this well, pour your chosen sugars – a delightful blend of both brown and granulated sugar – and the melted butter. Using both types of sugar imparts a deeper, more complex flavor profile to the crust, enhancing its overall richness. However, you can certainly adjust this to your personal preference, using all granulated or all brown sugar if you wish. The key is to have the right amount of sweetness.
The sugars and melted butter are crucial binding agents in this recipe. They work together to moisten the crumbs and, once chilled or baked, create a firm, sliceable crust that holds its shape beautifully. Skipping these essential ingredients would result in a crumbly, unmanageable crust, so be sure to measure them accurately.
Step 3: Mixing to Perfection
Using a fork, gently yet thoroughly combine all the ingredients in the bowl. Mix until the butter and sugars are evenly distributed throughout the graham cracker crumbs. The mixture should resemble wet sand and hold together when pressed lightly between your fingers. This even mixing ensures that every part of your crust will be uniformly sweet and buttery, contributing to a consistent texture and flavor.
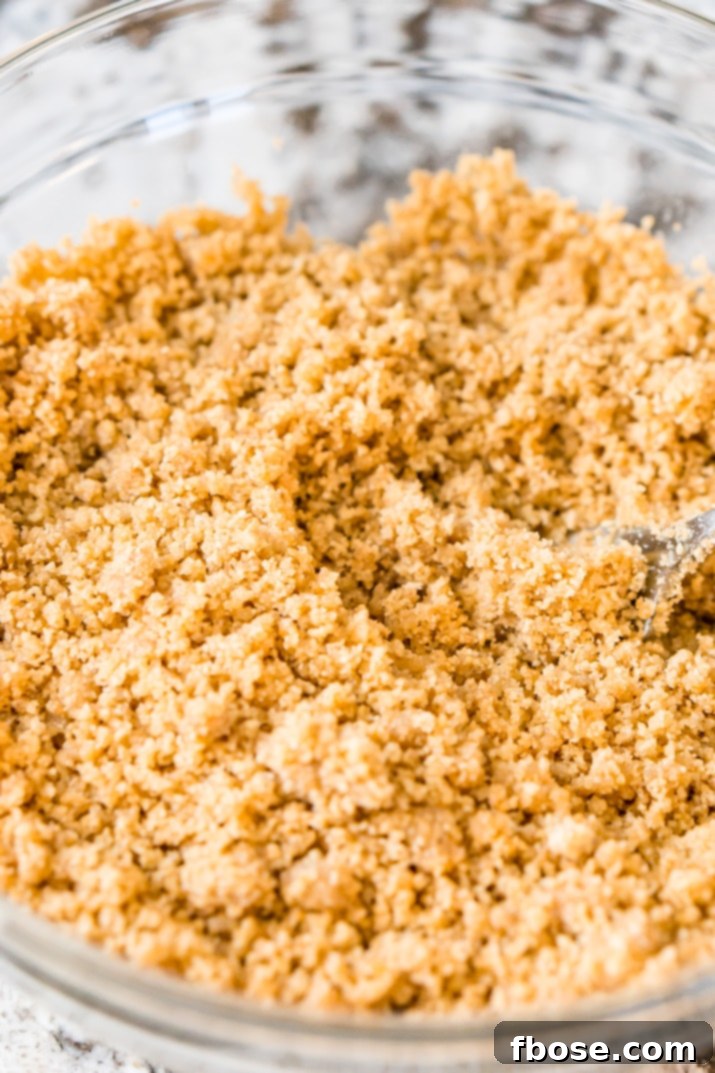
Step 4: The Secret Ingredient – Sprinkles!
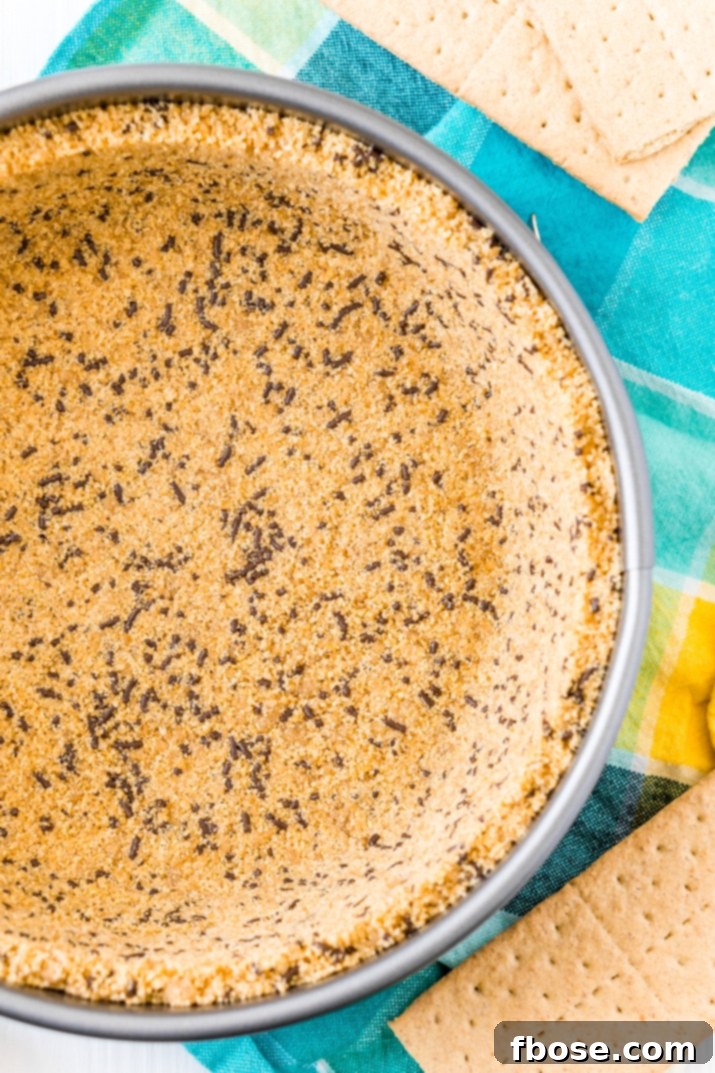
Now for the delightful optional step that adds a touch of whimsy and extra sweetness: sprinkles! While entirely optional, incorporating sprinkles into your graham cracker crust creates a fun, festive presentation, especially noticeable in deep-dish pies or transparent springform pans. Beyond the visual appeal, they also contribute a subtle extra layer of sweetness and a pleasant textural surprise. Choose colorful sprinkles to make your dessert truly pop!
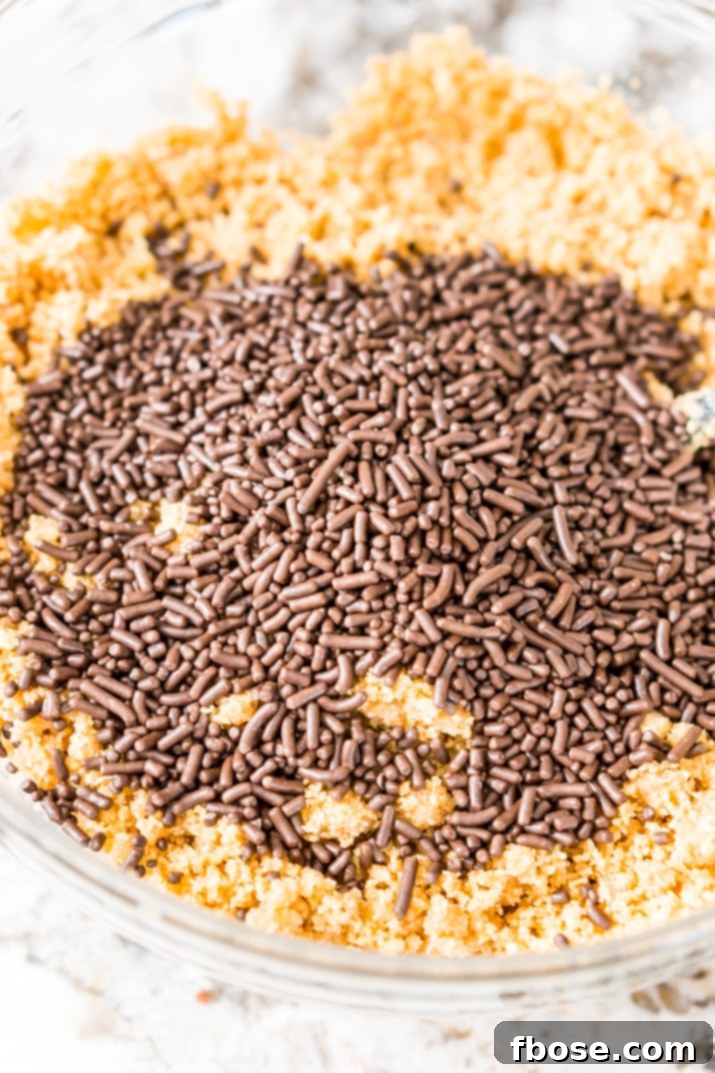
Step 5: Pressing the Crust into Your Pan
Once you’ve mixed in the sprinkles, pour the crumb mixture evenly into your chosen pie dish or springform pan. While the butter content usually prevents sticking, you can lightly spray your pan with cooking spray if you’re concerned about easy release. The next critical step is to firmly press the crumbs into the bottom and up the sides of the pan. A flat-bottomed measuring cup or the bottom of a glass works perfectly for this. Press down firmly and evenly to create a compact, sturdy crust that won’t crumble when sliced. An even thickness ensures consistent baking and structure.
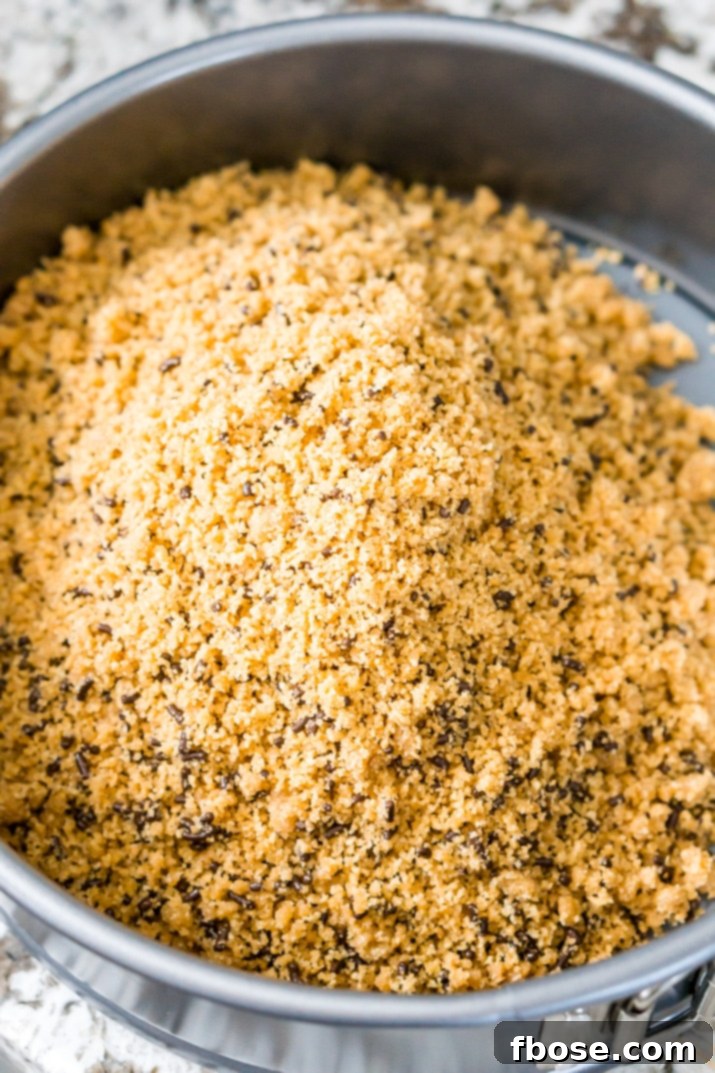
Step 6: Chilling or Baking Your Crust
The final step depends on the type of dessert you’re preparing. For a no-bake pie, the crust requires chilling. Place the pan in the refrigerator for at least one hour (or even overnight) to allow the butter to solidify and bind the crumbs together, creating a firm, stable base. For baked pies, the crust needs a pre-bake before adding your filling. Preheat your oven to 350°F (175°C) and bake the crust for 10 to 12 minutes until it’s lightly golden and fragrant. Allow it to cool completely to room temperature before adding any warm or cold filling. This pre-baking step helps create a crispier crust and prevents it from becoming soggy.
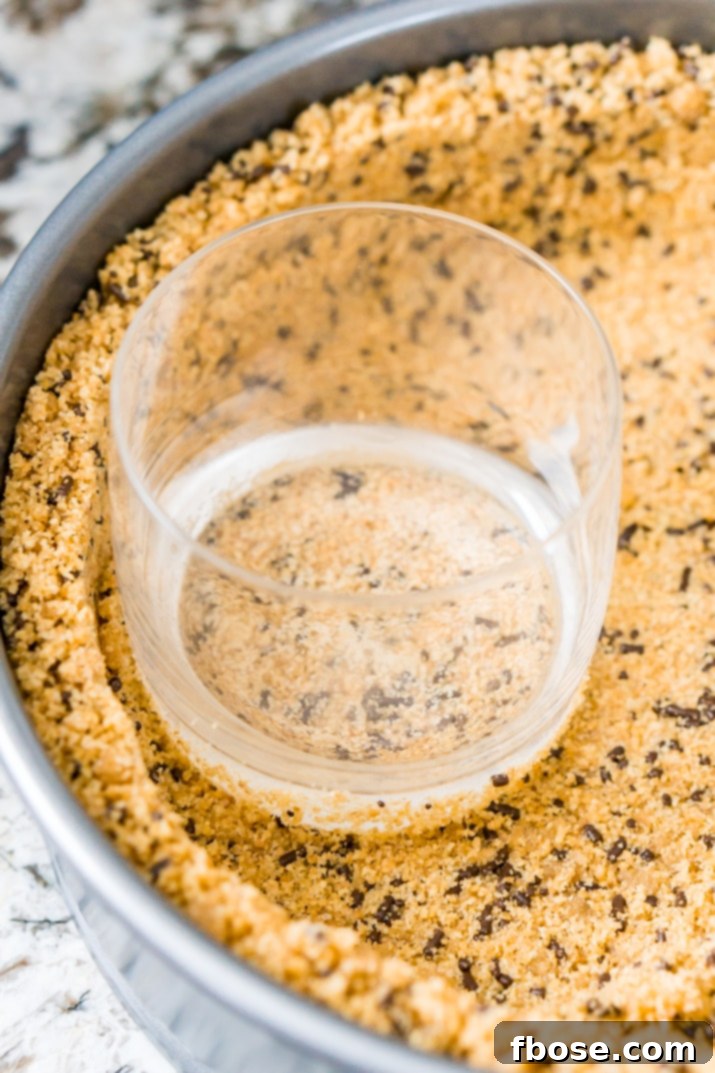
This homemade graham cracker crust is a true game-changer. Its sweet, buttery flavor and robust texture will have everyone asking for your secret. The addition of sprinkles makes it not just a delicious base, but also a visually appealing, fun element that truly elevates your dessert. Say goodbye to mediocre store-bought crusts and hello to a perfectly crafted, show-stopping foundation!
What Delicious Creations Can You Make with a Graham Cracker Crust?
The possibilities are truly endless when you have such a perfect graham cracker crust at your disposal! It’s an incredibly versatile base that can support a wide range of desserts, from creamy no-bake concoctions to rich, baked delights. Here are just a few ideas to inspire your next baking adventure:
- Pies: This crust is the quintessential base for classic pies. Think Key Lime Pie, Chocolate Cream Pie, Coconut Cream Pie, or even a refreshing Lemon Meringue Pie. It provides the perfect counterpoint to rich, smooth fillings.
- Cheesecakes: Whether it’s a baked New York-style cheesecake or a light and airy no-bake version, this graham cracker crust offers the ideal balance of crunch and flavor.
- Dessert Bars: Adapt this recipe to a 9×13-inch pan for easy-to-serve dessert bars. Create delicious layered bars, cheesecake squares, or fruit crumble bars that are perfect for gatherings or lunchboxes.
- Tarts: Mini tarts or a large fruit tart can be beautifully showcased with this crumbly, sweet base.
- Ice Cream Pies: A chilled graham cracker crust is absolutely divine with layers of ice cream, fudge, and whipped cream, making for a truly indulgent frozen dessert.
We hope you and your loved ones enjoy this recipe as much as our family does. It’s a foundational skill that will enhance all your dessert creations. Here are a few specific recipes that shine when paired with this perfect crust:
- Decadent Peanut Butter Chocolate Cheesecake
- Classic Banoffee Pie
- Rich Mississippi Mud Pie
Helpful Kitchen Tools for this Recipe:
Having the right tools can make all the difference in achieving baking success. These items will make preparing your graham cracker crust a breeze:
- Food Processor: Essential for quickly grinding graham crackers into fine crumbs.
- Springform Pan: Ideal for cheesecakes and deep-dish pies, allowing for easy release.
- Pie Pan: A classic choice for traditional pies, available in various depths.
- Mixing Bowl: A large bowl is necessary for combining ingredients thoroughly.
- Measuring Cups & Spoons: For accurate ingredient measurement, crucial for consistent results.
- Rolling Pin: An alternative for crushing graham crackers if a food processor isn’t available.
- Flat-Bottomed Glass or Measuring Cup: For firmly pressing the crust into the pan.
Rating: 5 from 4 votes
Graham Cracker Crust
Author: Rebecca Hubbell
Course: Dessert
Cuisine: American
Prep Time: 10 minutes
Cook Time: 10 minutes
Total Time: 20 minutes
Servings: 1 crust
This is the Best Graham Cracker Crust Recipe for all of your desserts both baked and no-bake! This crust is made with graham crackers, butter, sugar, and an ingredient that makes it better than all the rest! Deep dish and standard measurements included!
Ingredients
Deep Dish
- 18 graham crackers
- 1/4 cup light brown sugar
- 1/4 cup granulated sugar
- 12 tablespoons unsalted butter, melted
- 1/2 cup sprinkles (optional, for fun and extra sweetness)
Standard
- 9 graham crackers
- 2 tablespoons light brown sugar
- 2 tablespoons granulated sugar
- 6 tablespoons unsalted butter, melted
- 4 tablespoons sprinkles (optional, for fun and extra sweetness)
Instructions
- Add graham crackers to a food processor and pulse until fine crumbs form. Alternatively, place crackers in a large Ziploc bag and crush them with a rolling pin. Transfer crumbs to a large bowl and create a well in the center.
- Add the sugars and melted butter to the well. Use a fork to mix everything together until evenly combined and the mixture resembles wet sand.
- Stir in the sprinkles, if using. Then, pour the crumb mixture into your prepared pan. Use the bottom of a cup to firmly press the crumbs into the bottom and up the sides of the pan, ensuring even coverage and a compact crust.
For Baked Pies:
- Preheat your oven to 350°F (175°C). Once preheated, bake the pressed crust for 10 to 12 minutes until lightly golden. Remove from oven and allow to cool completely to room temperature before adding any filling.
For No-Bake Pies:
- Place the crust in the refrigerator for at least one hour (or longer, up to several hours) before adding your fillings. This allows the butter to set and creates a firm, stable crust.
Notes
- If starting with pre-made graham cracker crumbs, the deep-dish recipe will require 3 cups of crumbs, and the standard recipe will require 1 1/2 cups of crumbs.
- The nutrition estimates provided are for the deep-dish pie recipe. For the standard pie, nutrition counts should be approximately half.
- For an extra indulgent crust, consider adding a pinch of salt to balance the sweetness, or a teaspoon of vanilla extract to the melted butter for added depth of flavor.
- Ensure your butter is fully melted but not boiling hot when combining with the crumbs, as excessively hot butter can make the crust greasy.
Nutrition Facts (Deep Dish)
Calories: 3013kcal | Carbohydrates: 371g | Protein: 19g | Fat: 165g | Saturated Fat: 94g | Cholesterol: 361mg | Sodium: 1695mg | Potassium: 559mg | Fiber: 8g | Sugar: 234g | Vitamin A: 4200IU | Calcium: 285mg | Iron: 10.8mg
*Nutrition information is an estimate and may vary based on specific ingredients and preparation methods.
Did You Make This Recipe?
We’d love to see your delicious creations! Don’t forget to share your photos and tag us on Instagram @sugarandsoulco. Follow us on Tiktok @sugarandsoulco and Pinterest @sugarandsoulco for more inspiring recipes and baking tips!
Pin Recipe
Share Recipe
Frequently Asked Questions About Graham Cracker Crust
Can I make this crust gluten-free?
Absolutely! Simply substitute regular graham crackers with gluten-free graham crackers, which are widely available in most grocery stores. The rest of the recipe ingredients and steps remain the same, allowing you to enjoy a delicious gluten-free dessert.
How can I prevent my graham cracker crust from getting soggy?
The best way to prevent a soggy crust, especially for fillings with high moisture content, is to pre-bake it for 10-12 minutes at 350°F (175°C) until it’s lightly golden. This helps create a barrier against moisture. For no-bake pies, ensuring the crust is thoroughly chilled for at least an hour allows the butter to firm up, providing a good defense against a soggy bottom.
Can I prepare the crust in advance?
Yes, this crust is excellent for meal prep! You can prepare and press the crust into your pan up to 2-3 days in advance. Store the unbaked or pre-baked crust tightly covered in the refrigerator. If pre-baked, let it cool completely before covering. This saves you valuable time when you’re ready to assemble your dessert.
What if I don’t have a food processor?
No problem! Place your graham crackers in a large, sturdy resealable plastic bag. Use a rolling pin, the bottom of a heavy pot, or even your hands to crush them into fine crumbs. The key is to achieve a fine, consistent texture, so take your time with this step.
Can I use different types of cookies for the crust?
Yes, the versatility of this recipe extends to using other cookie varieties! You can easily swap graham crackers for crushed Oreos (for a chocolate crust), vanilla wafers, ginger snaps, or Biscoff cookies. Adjust the sugar content slightly if your chosen cookies are already very sweet. For exact measurements, use the crumb-based guidance in the recipe notes.
How do I get the crust to stick to the sides of a springform pan?
When pressing the crumbs into a springform pan, use the bottom of a measuring cup or glass to firmly pack the mixture onto both the bottom and sides. The melted butter will help the crumbs adhere. Chilling the crust thoroughly before adding the filling is crucial for it to set firmly and maintain its shape on the sides.
Conclusion: Your Go-To Graham Cracker Crust
Mastering this simple yet incredibly versatile graham cracker crust recipe will elevate your dessert game to new heights. It’s more than just a base; it’s a foundation of rich flavor and perfect texture that enhances every bite of your favorite pies, cheesecakes, and bars. With clear instructions for both deep-dish and standard sizes, and options for baked or no-bake applications, you’ll find yourself reaching for this recipe again and again. Experiment with different graham cracker flavors, add a festive touch with sprinkles, and customize it to your heart’s content. Say goodbye to store-bought mediocrity and embrace the joy of a truly homemade, irresistible graham cracker crust that will surely become a staple in your kitchen.