

Unlock Deep Flavor: A Comprehensive Guide to Making Toasted Sugar at Home
Discover the secret ingredient that professional bakers swear by to elevate ordinary desserts into extraordinary culinary experiences: Toasted Sugar. This simple yet transformative technique involves gently baking granulated sugar, which coaxes out incredible depth of flavor. As the sugar slowly caramelizes, it develops rich, complex notes reminiscent of toffee, butterscotch, and warm caramel, offering a profound upgrade over plain white sugar. Perfect for cookies, cakes, custards, and even beverages, toasted sugar is an accessible way for home bakers to infuse their creations with sophisticated taste without resorting to expensive specialty ingredients.
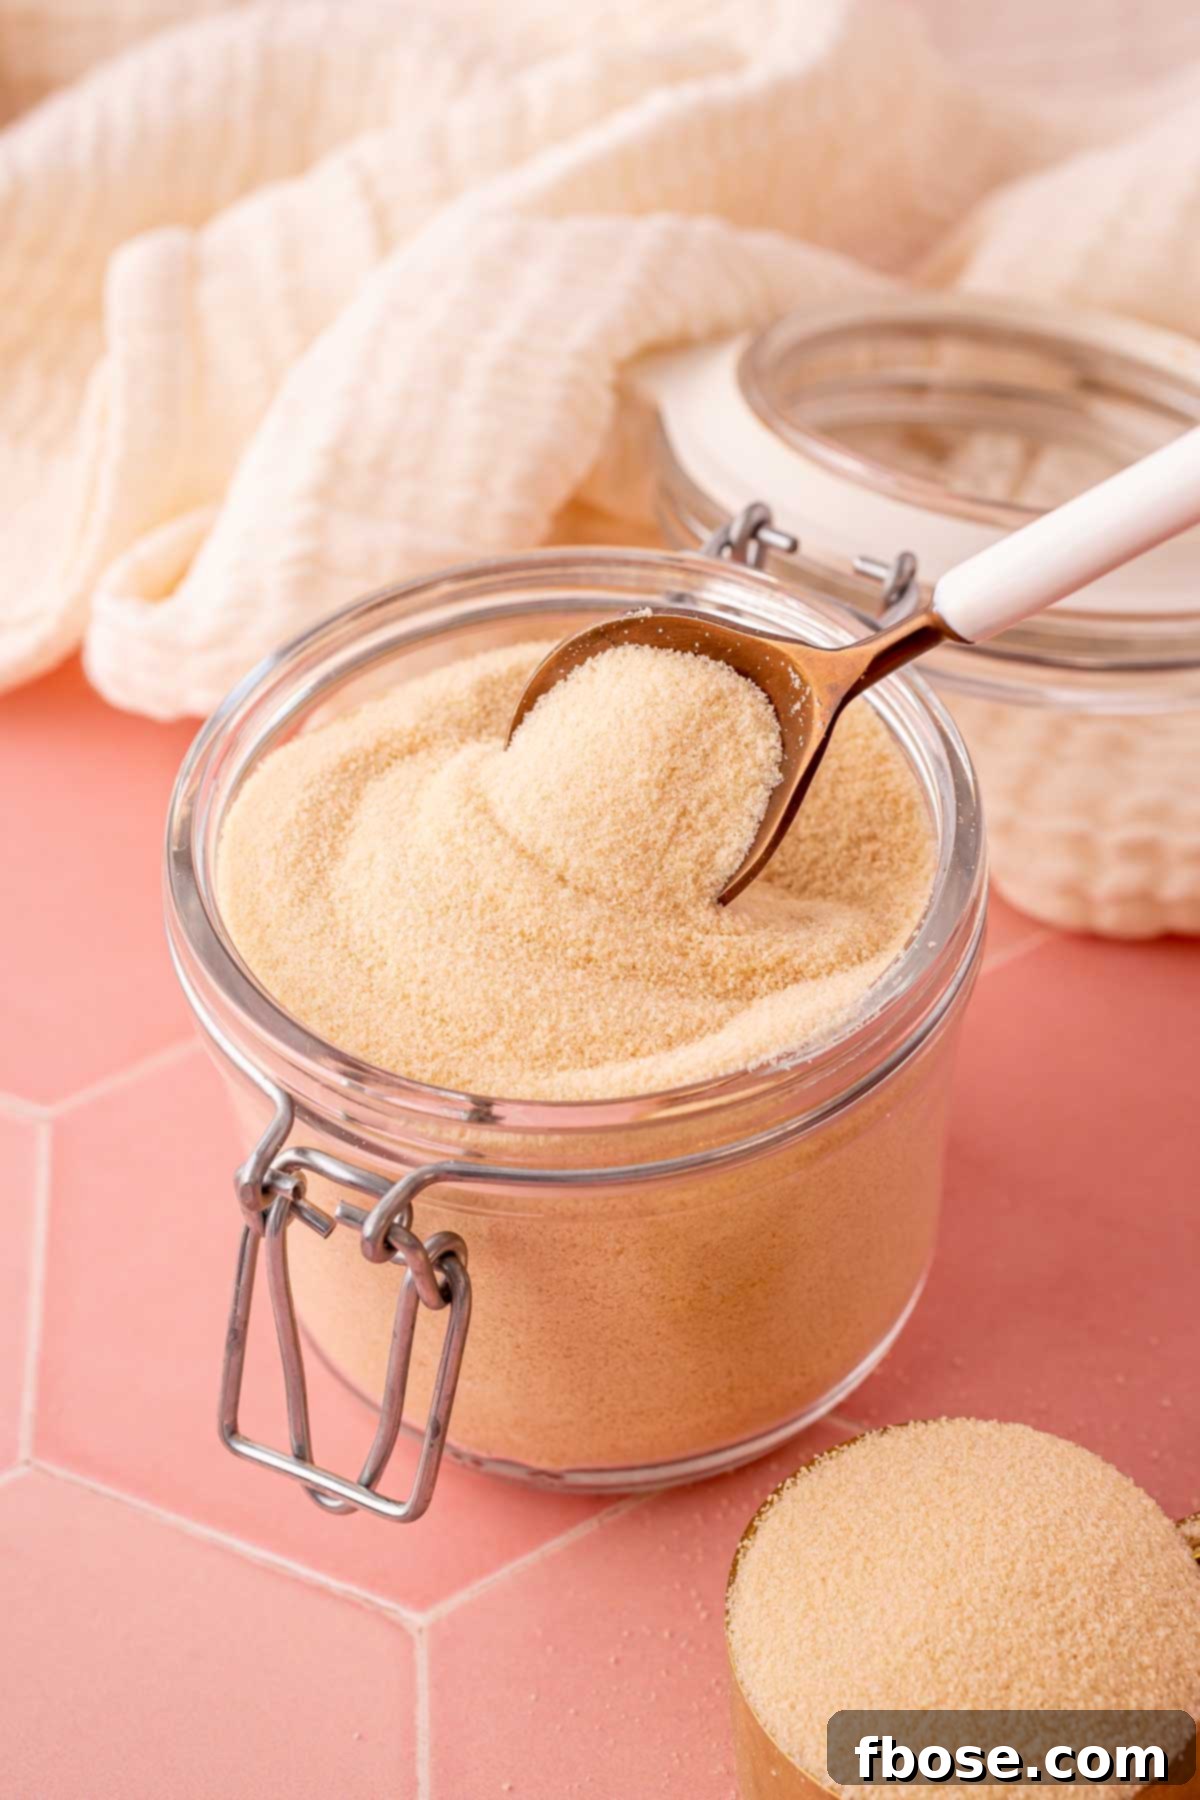
While making toasted sugar requires a bit of patience, the process itself is incredibly straightforward, demanding minimal active involvement. The resulting flavor complexity is truly worth the investment of time. We highly recommend toasting a generous 4-pound bag of granulated sugar at once. This ensures you have a ready supply of this magical ingredient on hand, stored conveniently in your pantry, waiting to transform your next baking project. Once you try it, you’ll find countless applications for its delightful caramel notes!
The versatility of toasted sugar knows no bounds. We adore incorporating it into classic desserts like our irresistible Levain Copycat Cookies, where it adds an unparalleled depth that regular sugar simply cannot achieve. For a delightful twist, mix it with cinnamon to create an aromatic coating for warm, crispy Churros. It even makes an exquisite addition to your morning coffee or espresso, lending a subtle sweetness with a rich, caramelized undertone that elevates your daily brew. This method empowers home bakers to achieve gourmet-level flavors effortlessly, making high-end tastes accessible for everyday culinary adventures.
The Science of Sweetness: Caramelization Without Melting
Did you know that sugar doesn’t actually “melt” in the conventional sense? This might come as a surprise, but granulated sugar undergoes a process called thermal decomposition when it reaches a temperature of around 365 degrees Fahrenheit (185 degrees Celsius). At this point, the sugar molecules begin to break down and reform, creating new compounds that give caramel its distinctive flavor and color. However, when we create toasted sugar, we intentionally avoid reaching these high temperatures. Instead, this granulated caramel recipe employs a much gentler approach.
By baking granulated sugar at a lower heat over an extended period, we initiate a slow and controlled caramelization process. This allows the sugar to develop those coveted deep, rich flavors without fully liquefying or undergoing thermal decomposition. The beauty of this method lies in its simplicity: it transforms white granulated sugar into a light beige or golden brown product that tastes distinctly like caramel, yet retains its original granular texture. This means you can use it as a direct, one-for-one substitute for plain white sugar in almost any recipe, imparting a complex flavor profile without altering the recipe’s structure or consistency.
It’s important to clarify what toasted sugar is not. You are not creating brown sugar, which is essentially white granulated sugar with added molasses, giving it a moist texture and distinct flavor. Nor are you making turbinado or demerara sugar, which are raw or partially refined sugars with naturally larger crystals and a molasses content. Toasted sugar is pure white granulated sugar, meticulously baked to achieve its unique caramel flavor, making it a truly distinct and invaluable ingredient for recipes like crisp shortbread cookies, fluffy cakes, and fudgy brownies. For those eager to dive deeper into the fascinating chemistry, Stella Parks offers a comprehensive scientific explanation behind this culinary marvel, but rest assured, our guide will make the process approachable and entirely enjoyable!
How To Make Toasted Sugar: A Step-by-Step Guide
Creating toasted sugar is a straightforward process, but choosing the right equipment and following key steps will ensure perfect results every time. The most crucial decision is your baking dish material: you’ll need to use a glass or ceramic baking dish. Metal baking pans tend to conduct heat too intensely and unevenly, which significantly increases the risk of burning the sugar along the edges and bottom before the center has had a chance to properly toast. Using two baking dishes is highly recommended as it allows for a thinner, more even layer of sugar, making stirring much easier and more effective for consistent caramelization.
Essential Equipment
- 2 large ceramic or glass baking dishes (approx. 9×13 inch)
- Whisk
- Sifter (fine-mesh sieve)
- Rimmed half sheet baking pan
- Airtight container for storage
- Food processor (optional, for breaking up stubborn clumps)
Ingredients
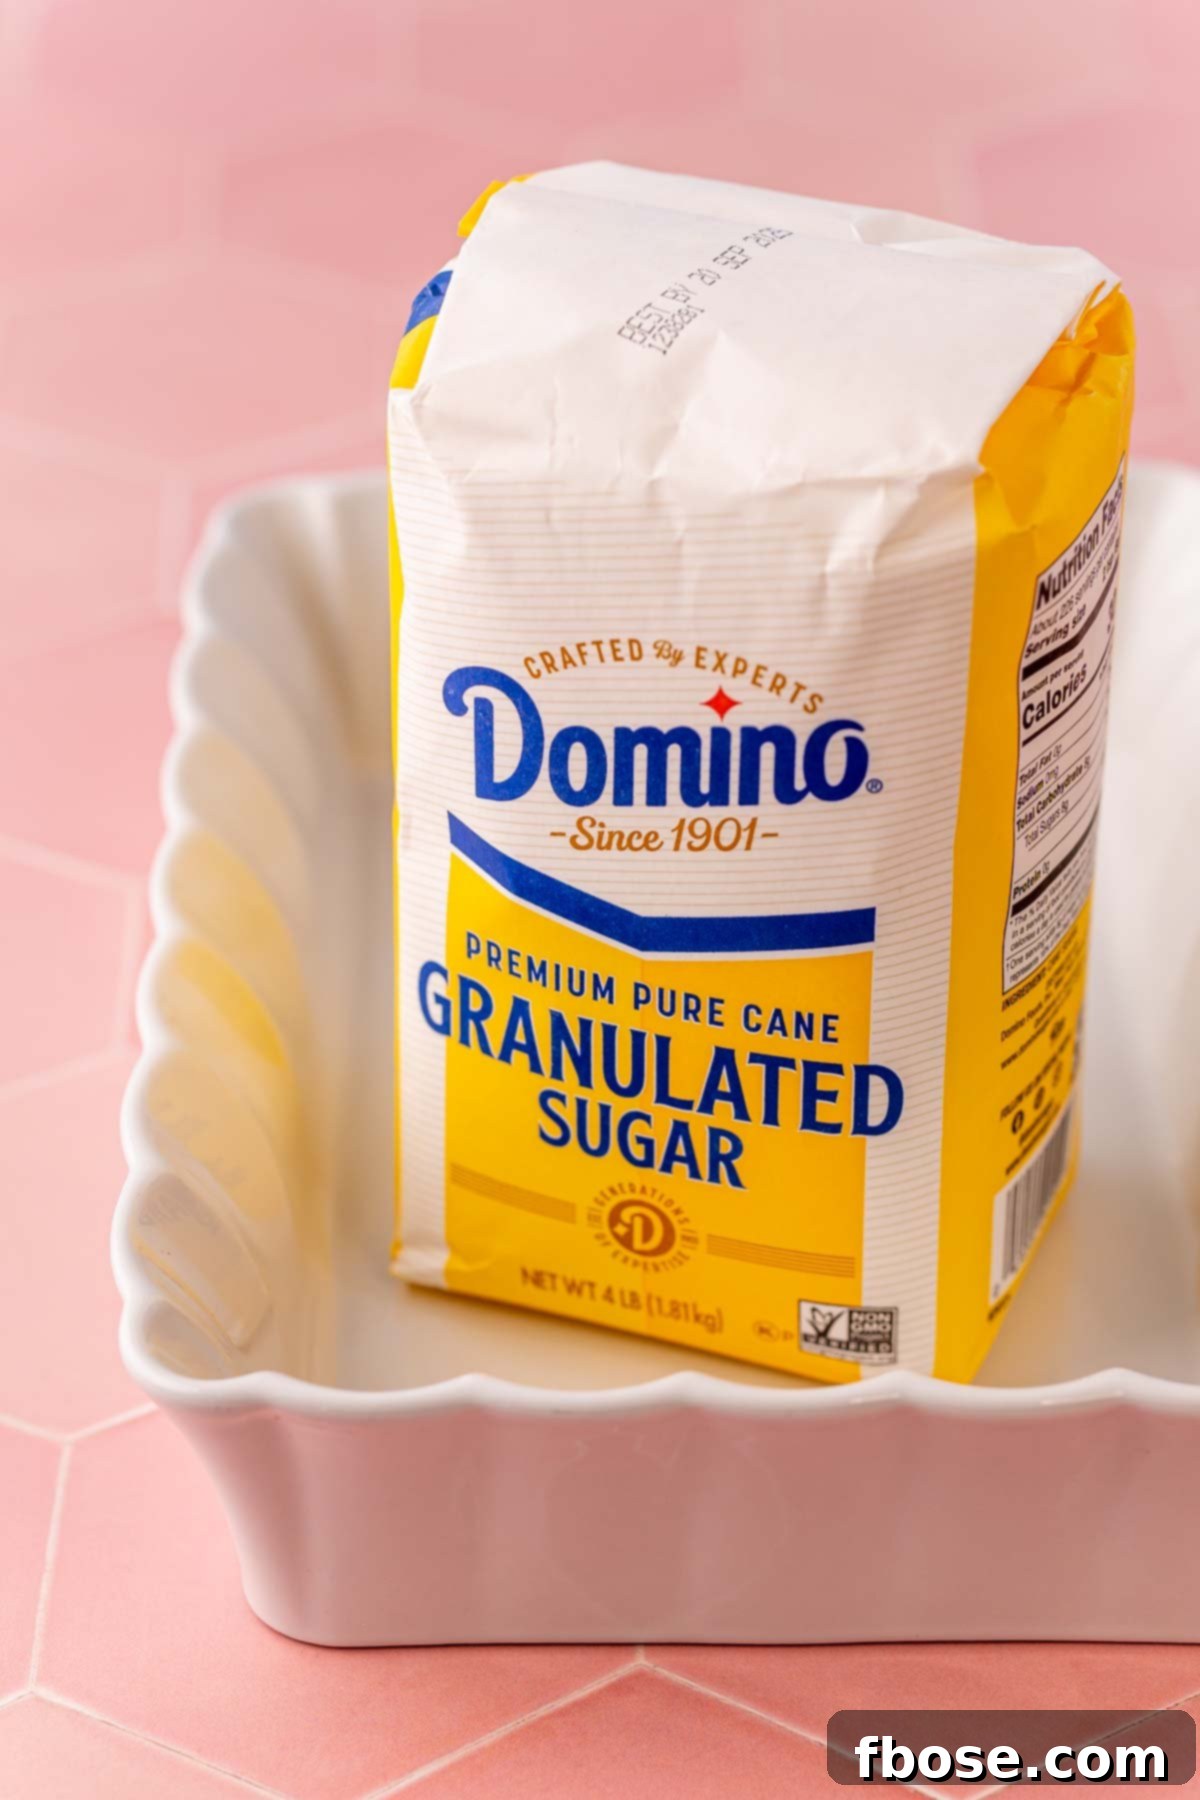
- 4 pounds (approximately 9 cups) granulated sugar
The Roasting Process
- Preparation: Begin by preheating your oven to a consistent 300°F (150°C). Divide the 4-pound bag of white granulated sugar evenly between your two ceramic or glass baking dishes. Spread the sugar into as relatively even a layer as possible in each dish. This uniform distribution is vital for even toasting, ensuring all sugar crystals are exposed to the heat.
- Initial Bake & Stir: Place the baking dishes on a middle oven rack. Bake for 1 hour. After this initial hour, carefully remove the dishes from the oven. Using a whisk or a sturdy spoon, stir the sugar thoroughly. Make sure to scrape the sugar from the edges and corners towards the center, and move the sugar from the center out towards the edges. This prevents scorching at the perimeter and promotes even browning throughout.
- Continued Baking: Return the dishes to the oven and continue baking for an additional 2 hours. During this period, it is absolutely crucial to stir the sugar every 30 minutes. Consistent stirring prevents steam from getting trapped within the sugar, which can lead to significant clumping and uneven caramelization. It also ensures that all sugar crystals are exposed to the heat, gradually developing that signature toasted flavor and color.
- Optional Extended Toasting: If you desire a deeper caramel flavor and a darker golden brown hue, you can continue to bake the sugar for an additional 1 to 2 hours. However, if you choose to extend the toasting time, you must increase the frequency of stirring to every 15 minutes. This is because as the sugar toasts further, it becomes more prone to clumping and burning. We often find that a total of 3 hours yields our preferred balance of rich flavor and ideal texture.

Cooling and Storage
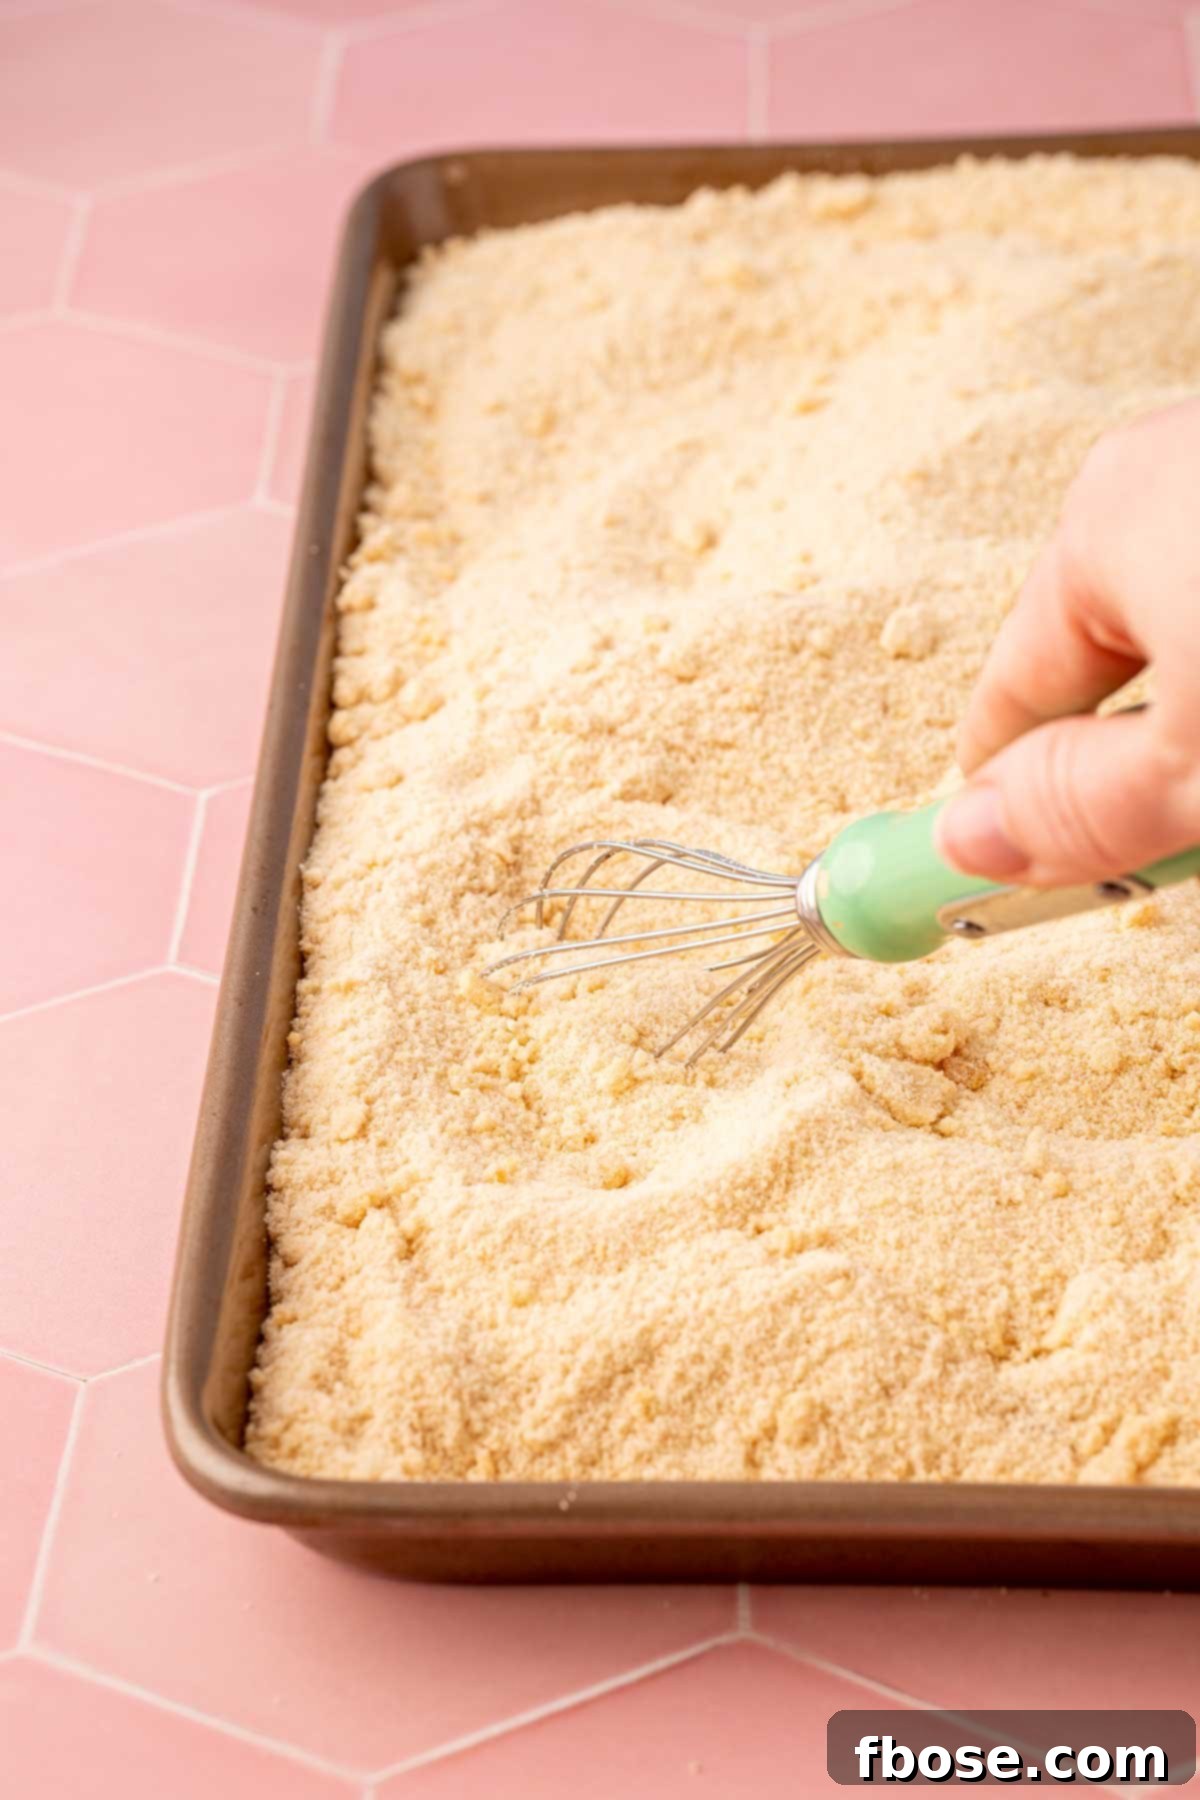
- Cooling Process: Once the sugar has reached your desired level of toastiness (typically 3 to 4 hours), remove it from the oven. Immediately transfer the hot sugar to a large, shallow rimmed baking pan or sheet. Spread it out into a thin layer. Continue to stir the sugar frequently (every 15-30 minutes) as it cools. This step is vital for allowing any residual steam to escape and to prevent the sugar from clumping together as it settles to room temperature.
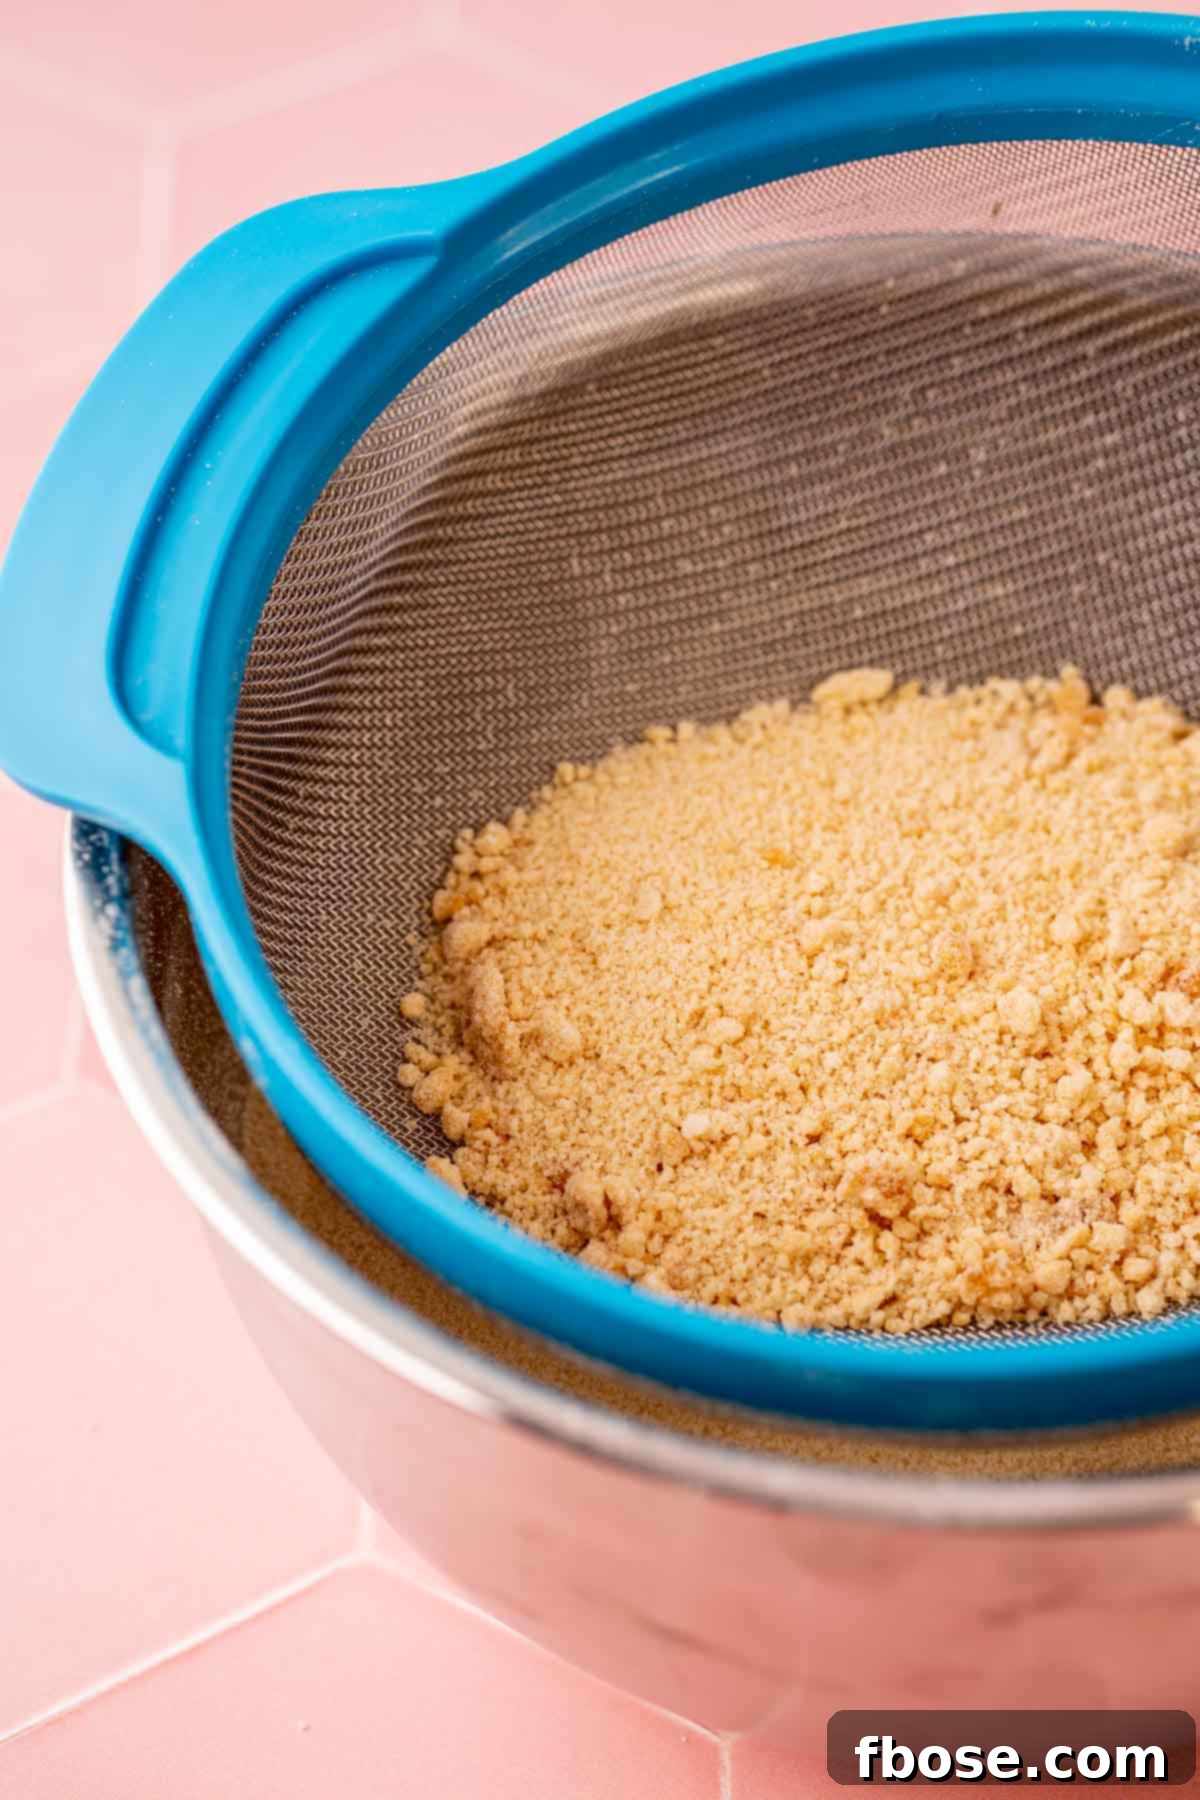
- Sifting and Storing: Once the toasted sugar has cooled completely to room temperature, sift it into a clean bowl using a fine-mesh sieve. Any larger clumps that do not pass through the sifter can be gently broken up. For stubborn clumps, a few quick pulses in a food processor can help restore their granular texture. Finally, transfer the perfectly toasted sugar to an airtight container. Store it in a cool, dry place in your pantry. Properly stored, toasted sugar will last indefinitely, ready to impart its exceptional flavor whenever your baking desires.
Toasted Sugar Transformation: An Hour-by-Hour Visual Guide
Observing the subtle changes in sugar as it toasts is part of the magic. The transformation in both color and flavor is gradual, allowing you to choose the perfect level of caramelization for your specific baking needs. Let’s take a closer look at what you can expect hour by hour:
- After 1 Hour: At this stage, the sugar will no longer be pristine white, but it won’t have developed much color or significant caramel flavor yet. You’ll notice a subtle shift towards an off-white or very pale cream hue. The texture remains completely granular, and it’s a good reminder that this process requires patience.
- By 2 Hours: This is when you begin to see a noticeable change. The sugar will take on a delicate light beige color, resembling fine sand. A faint, sweet, warm aroma might start to fill your kitchen. The flavor, while still mild, will hint at the deeper notes to come, offering a slight nutty or warm undertone.
- By 3 Hours: This is often our preferred stage for toasted sugar. The sugar achieves a beautiful golden color, reminiscent of light brown sugar, and boasts a lovely, distinct caramel taste. The aroma is more pronounced and inviting. This level of toasting offers a balanced caramel flavor that enhances a wide array of baked goods without overpowering other ingredients.
- By 4 Hours: The color really starts to deepen significantly here, moving into a rich golden brown. The caramel flavor becomes much more intense and pronounced, akin to a deeper, more robust butterscotch. At this stage, continuous and frequent stirring (every 15 minutes) is absolutely essential to prevent scorching and to mitigate the increased likelihood of clumping as the sugar’s moisture content changes.
- Beyond 4 Hours (up to 6-7 hours): For those seeking an exceptionally deep, robust, and almost bittersweet caramel flavor, you can continue toasting. However, proceed with caution and increase stirring frequency to every 10-15 minutes. The sugar will turn a darker mahogany brown, and the flavor will become incredibly intense. It’s a fine line between richly caramelized and burnt, so keen observation is key.

Toasted Sugar FAQs: Your Questions Answered
What If My Sugar Sticks To The Bottom Of The Pan?
Sugar sticking to the bottom of the pan is a common issue that typically arises if you haven’t stirred it frequently enough, or if your oven temperature is running hotter than indicated. Don’t panic, it’s usually salvageable! Once you’re done with the baking process, carefully pour the loose, toasted sugar onto your rimmed baking sheet to cool. Leave all the stuck sugar firmly adhering to the bottom of the original baking dish. Allow the baking dish to cool completely. Once cool, the hardened sugar can often be soaked off with hot water and dish soap, or gently scraped away. Remember, using ceramic or glass dishes helps minimize this problem compared to metal.
Some Of My Sugar Is Sticky, What Do I Do?
A little stickiness in some areas, especially the corners of the baking dish where heat tends to be most concentrated, is not uncommon. This often indicates localized spots that got slightly hotter or where steam may have become trapped. Don’t worry too much about these small sticky patches. Just ensure you continue to stir the majority of the sugar thoroughly during the cooling phase. Transfer all the well-toasted, granular sugar to your baking sheet to cool. Any significantly sticky or hardened portions should be left behind in the baking dish. After cooling, clean the baking dish well. For any minor sticky clumps in the good batch, sifting and potentially pulsing in a food processor (as mentioned in the instructions) will help return them to a uniform, granular state.
Can I Use This Toasted Sugar 1:1 for Brown Sugar?
While toasted sugar adds a beautiful caramel flavor, it is not a direct substitute for brown sugar in all recipes, and should not be used as a 1:1 replacement when a recipe specifically calls for brown sugar. Remember, toasted sugar is essentially just granulated sugar that has been heated to develop caramel notes, maintaining its dry, crystalline texture. Brown sugar, on the other hand, contains molasses, which contributes not only a distinct flavor but also moisture and a slight acidity. These properties can significantly impact the texture, rise, and overall chemistry of baked goods. For instance, brown sugar’s moisture helps keep baked goods soft and chewy, while its acidity can interact with leavening agents. So, while toasted sugar offers a fantastic flavor boost, treat it as a flavorful enhancement for white granulated sugar, not a replacement for brown sugar unless specified.
How long does toasted sugar last?
When stored correctly in an airtight container in a cool, dry pantry, toasted sugar has an exceptionally long shelf life, essentially indefinite, just like regular granulated sugar. Because the toasting process removes any residual moisture and doesn’t introduce new perishable ingredients, it remains stable. The key is to keep it away from humidity and direct sunlight to prevent clumping or changes in texture. As long as it smells good and its texture is granular, it’s good to use!
What are the best uses for toasted sugar?
The applications for toasted sugar are wonderfully diverse, adding a layer of complexity to almost anything sweet. Beyond the obvious cookies, cakes, and brownies, consider using it in:
- Pies and Crumbles: Sprinkle it into pie fillings or on top of fruit crumbles for a richer, more nuanced sweetness.
- Whipped Cream: Whip it into heavy cream for a caramel-flavored whipped topping that’s incredible on desserts or coffee.
- Caramel Sauce: Use it as the base for homemade caramel sauce to achieve an even deeper, more complex flavor.
- Custards and Puddings: Replace regular sugar in crème brûlée, rice pudding, or panna cotta recipes for a gourmet touch.
- Oatmeal and Yogurt: A sprinkle over breakfast bowls adds a delightful crunch and flavor.
- Cocktails: Dissolve it into simple syrup for a toasted caramel simple syrup that elevates any cocktail.
- Baked Fruit: Toss with apples, pears, or peaches before baking for intensified flavor.

The Toasted Sugar Recipe Card
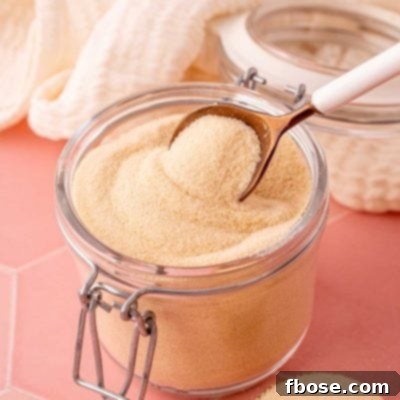
How To Make Toasted Sugar
Author: Rebecca Hubbell
Course: Condiment | Cuisine: American
Prep Time: 2 minutes | Cook Time: 3 hours | Cooling Time: 2 hours
Total Time: 5 hours 2 minutes
Yields: 9 cups
Toasted Sugar is a simple yet effective way to add deep, complex caramel flavor to all your favorite baked goods and desserts. By gently baking granulated sugar, it develops unique caramelized notes that elevate cookies, cakes, and much more.
Equipment
- 2 large ceramic or glass baking dishes
- Whisk
- Sifter
- Rimmed half sheet baking pan
- Airtight container
- Food processor (optional)
Ingredients
- 4 pounds (approx. 9 cups) granulated sugar
Instructions
- Preheat your oven to 300°F (150°C). Divide the 4 pounds of granulated sugar evenly between two ceramic or glass baking dishes, spreading it into a relatively even layer in each dish.
- Bake the sugar for 1 hour. Carefully remove the dishes from the oven and whisk or stir the sugar thoroughly, ensuring to move sugar from the edges and corners into the center and vice versa. This promotes even toasting.
- Return the dishes to the oven and bake for an additional 2 hours, whisking the sugar every 30 minutes. This regular stirring is crucial to prevent clumping and ensure consistent caramelization.
- Once toasted to your desired color (typically light golden brown after 3 hours), remove from the oven. Transfer the sugar to a large rimmed half-sheet baking pan and spread it out. Whisk or stir frequently (every 15 to 30 minutes) as it cools to room temperature, allowing steam to release and preventing new clumps from forming.
- After the sugar has completely cooled, sift it into a bowl. If any large clumps remain, you can pulse them briefly in a food processor to break them up. Transfer the sifted toasted sugar to an airtight container and store it in a cool, dry area for later use.
Recipe Notes
- Use toasted sugar as a 1:1 replacement for regular granulated sugar in most recipes to enhance their flavor with caramel notes.
- For a darker, more intense caramel flavor, sugar can be toasted for up to 6 or 7 hours. However, remember to stir much more often (every 10-15 minutes) to prevent burning and excessive clumping, especially in later stages.
- What if my sugar sticks to the bottom of the pan? This happens if stirring is insufficient or the oven is too hot. Simply pour the loose sugar onto a baking sheet to cool, leaving the stuck sugar in the pan. Once the pan cools, it can be cleaned with hot water and soap.
- Some of my sugar is sticky; what do I do? Stickiness can occur in hotter spots like corners. Don’t worry about small sticky bits. Ensure thorough stirring, transfer salvageable granular sugar to cool, and clean the baking dish well after it’s cooled. Sifting will help remove any remaining sticky clumps from the usable batch.
- Can I use this toasted sugar 1:1 for brown sugar? No, not in all recipes. Toasted sugar is simply caramelized granulated sugar and lacks the molasses, moisture, and acidity of brown sugar. Therefore, it will not function as an equivalent substitution in recipes where brown sugar’s specific properties are essential for texture and chemical reactions.
Nutrition Information
(Per serving, approximate)
Calories: 776kcal | Carbohydrates: 201g | Fat: 1g | Sodium: 2mg | Potassium: 4mg | Sugar: 201g | Calcium: 2mg | Iron: 0.1mg
(Nutrition information is an estimate and may vary based on specific products and preparation methods.)
Did You Make This Flavorful Toasted Sugar?
We’d love to see your creations and hear how toasted sugar has transformed your baking! Don’t forget to share your photos and experiences with us on Instagram @sugarandsoulco. Follow us on Tiktok @sugarandsoulco and Pinterest @sugarandsoulco for even more delicious recipes, tips, and inspiration!
Pin Recipe
Share Recipe
In conclusion, toasted sugar is more than just a culinary trend; it’s a fundamental technique that unlocks an entirely new dimension of flavor from a common pantry staple. Its warm, caramel notes can transform your favorite recipes, making them sing with a richness and complexity that will surprise and delight. While it asks for a little bit of your time, the passive baking process and the spectacular results make it an incredibly rewarding endeavor for any home baker looking to elevate their craft. So, preheat your oven, grab a bag of sugar, and prepare to embark on a sweet journey that will redefine your understanding of dessert perfection!