
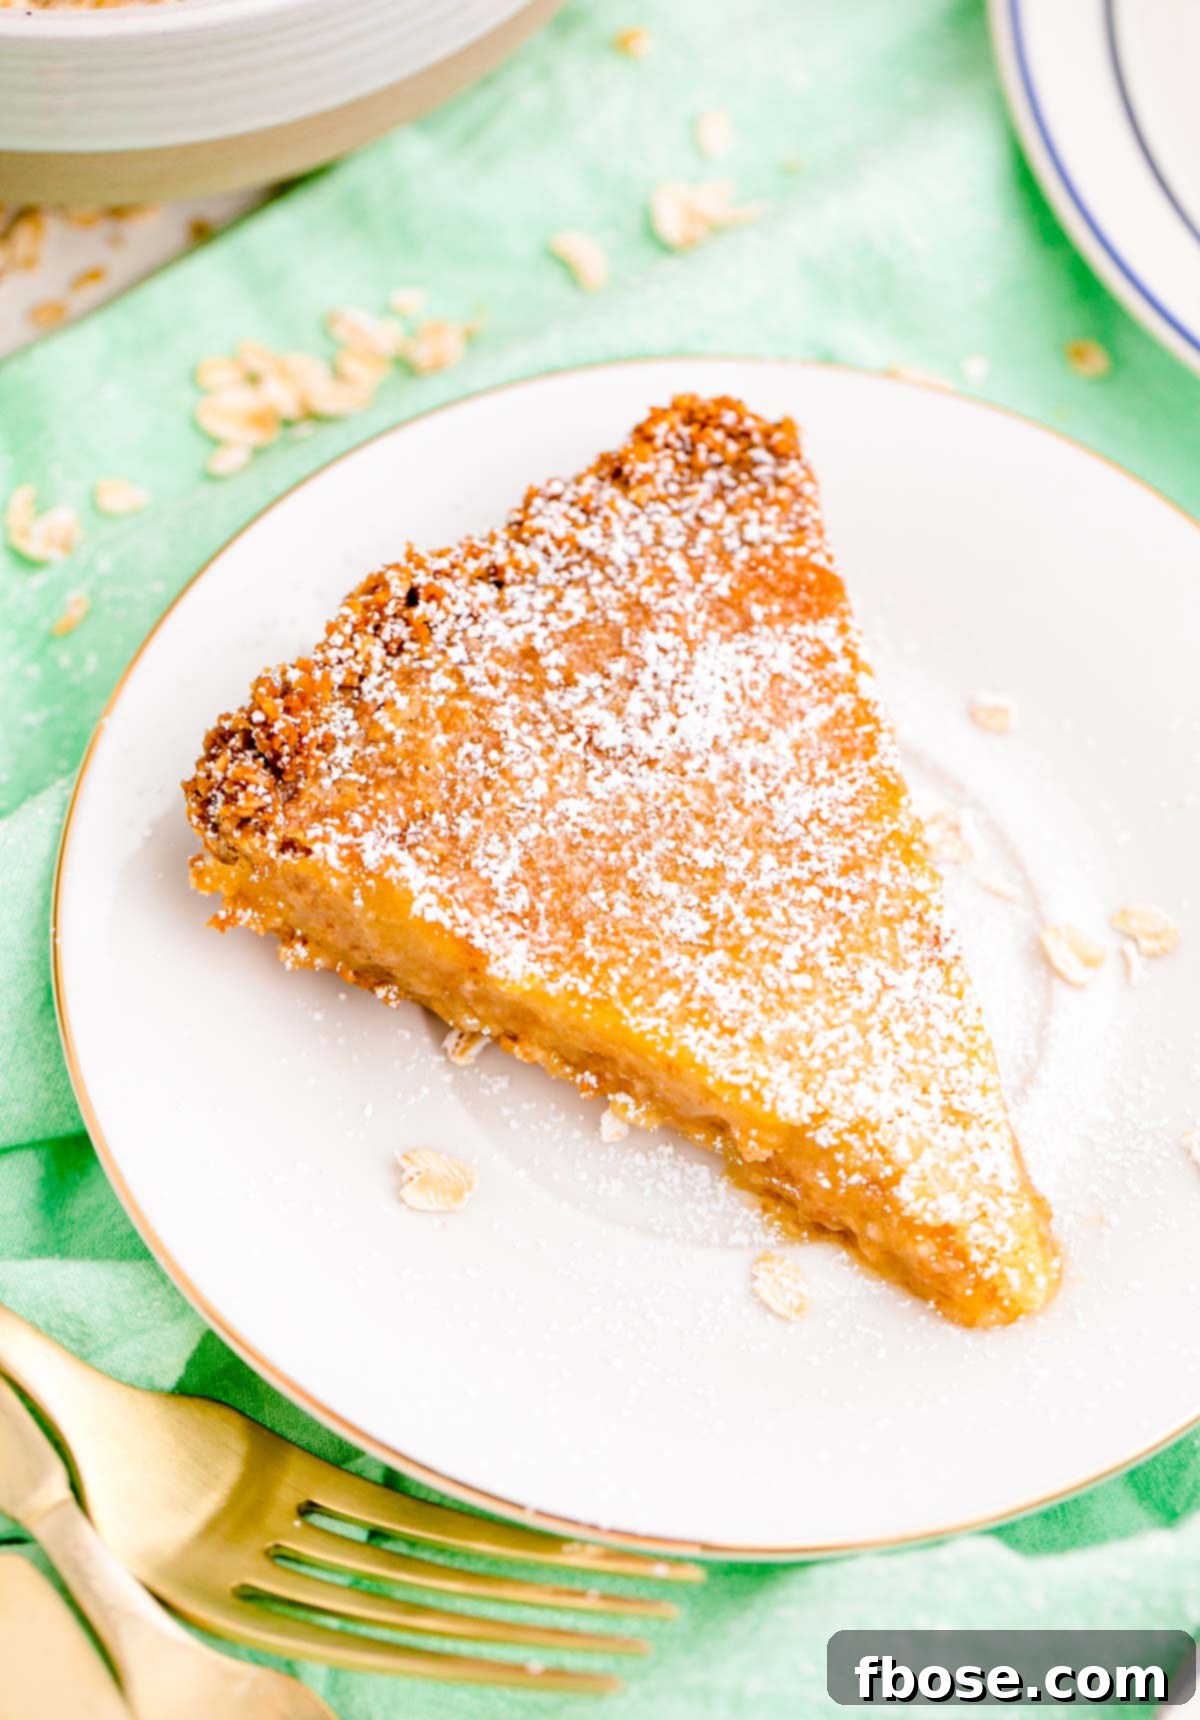
Milk Bar Pie, often affectionately known as Crack Pie, is more than just a dessert; it’s a culinary legend. This iconic recipe delivers an irresistible symphony of salty and sweet flavors, all nestled within a comforting, golden-brown oatmeal cookie crust. If you’ve ever craved the unique deliciousness of Milk Bar’s most famous creation, prepare to be delighted! Our meticulously crafted copycat recipe brings the magic of this highly sought-after pie right into your kitchen, promising the same amazing taste and texture without the trip to the bakery.
For those who adore unforgettable pie experiences, be sure to explore other mouth-watering options like our rich Butterscotch Pie or the decadent Chocolate Cream Pie. Both can be whipped up in just 10 to 20 minutes, offering quick paths to dessert bliss!
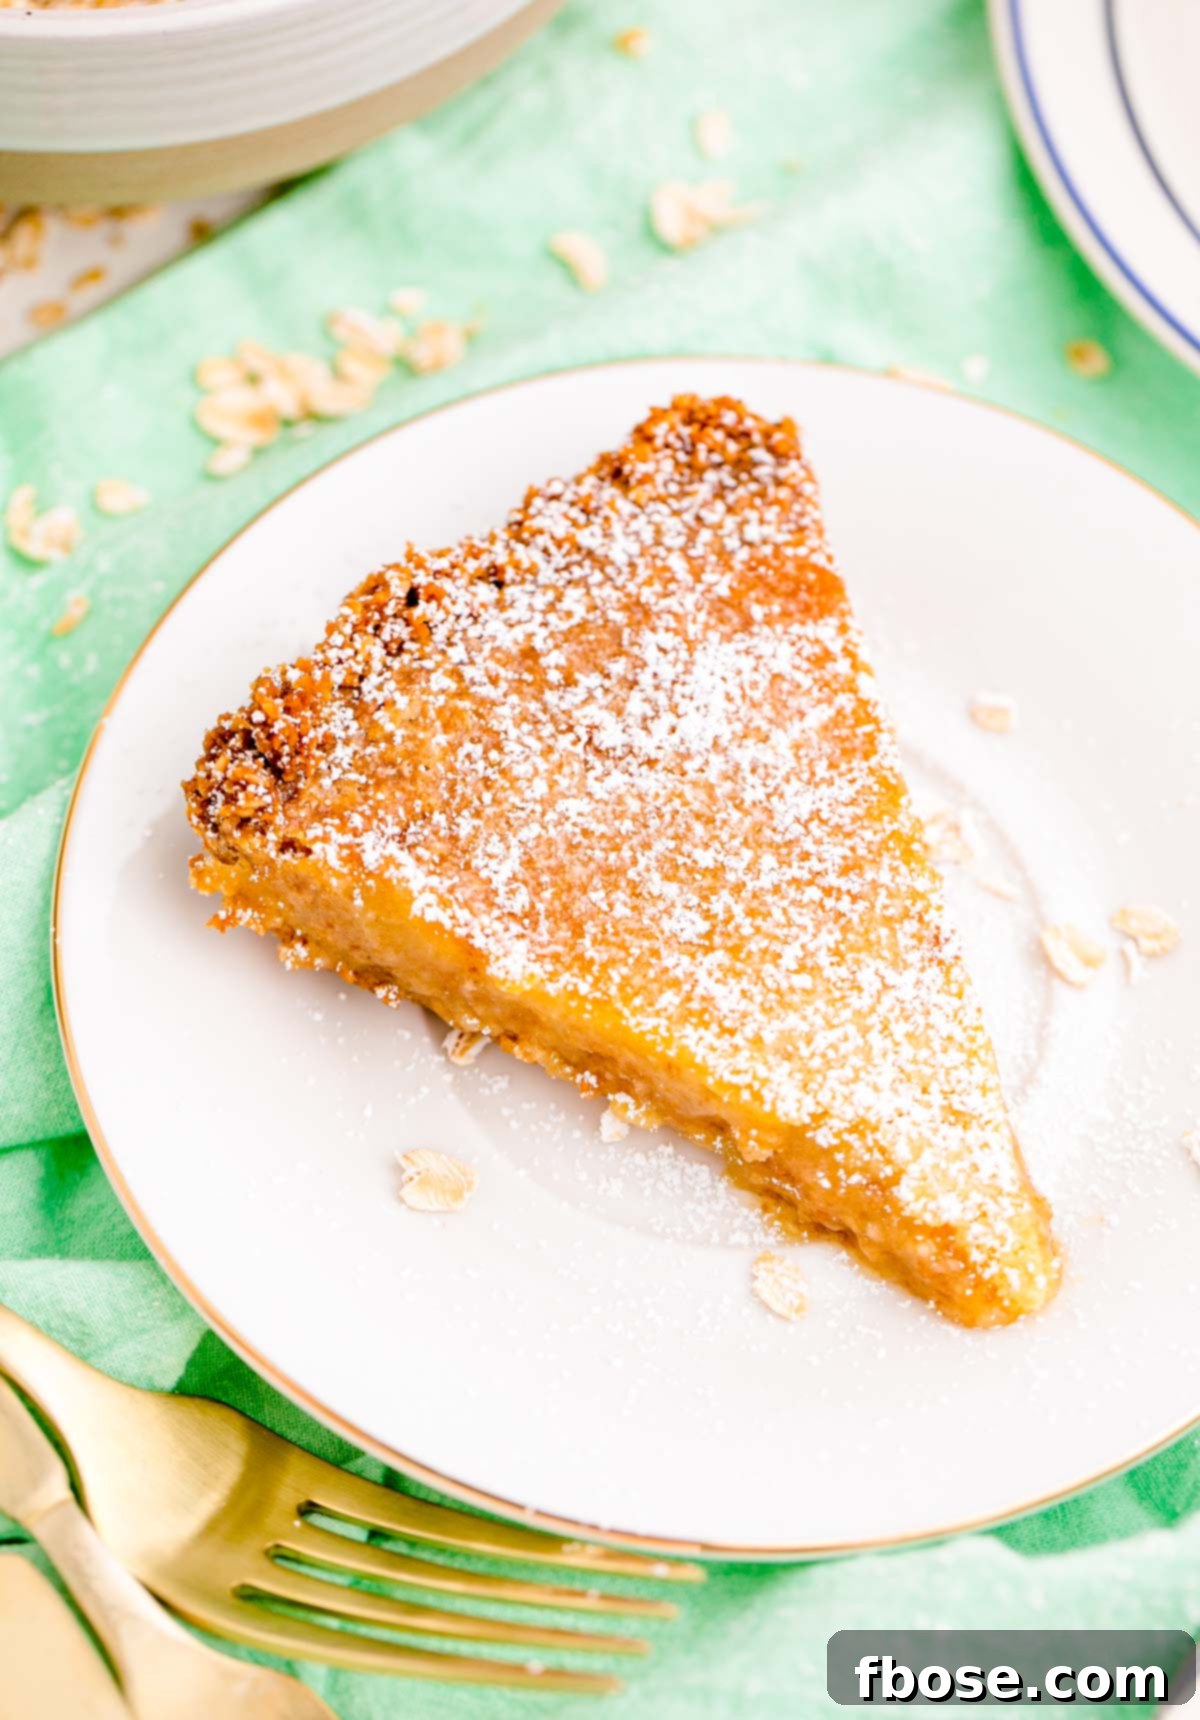
Get ready to grab your fork and savor every single bite of this phenomenal homemade Milk Bar Pie! This recipe is designed for accessibility, utilizing common ingredients you likely already have in your pantry and refrigerator, making it surprisingly simple to prepare in just about 30 minutes of active prep time. Forget complicated techniques or hard-to-find components; this recipe focuses on straightforward steps that yield spectacular results.
Many dessert enthusiasts have pondered, “What exactly IS Milk Bar Pie, and what makes it so special?” You are certainly not alone in your curiosity! And thanks to this detailed copycat recipe, the mystery is now solved. You can recreate this celebrated dessert at home, discovering its unparalleled charm firsthand and understanding why it has captivated taste buds across the globe.
What Makes Milk Bar Pie So Irresistible?
The allure of Milk Bar Pie lies in its perfectly balanced contrasts and deeply satisfying characteristics. It’s a dessert that excites the palate with every spoonful, leaving a lasting impression and an undeniable craving for more.
A Symphony of Flavors: Taste Profile
This homemade copycat pie masterfully combines one of the most beloved dessert pairings: salty and sweet. The star of the show is its buttery, rich, and utterly smooth custard-like filling. Crafted from a harmonious blend of simple yet potent ingredients like butter, egg yolks, the secret weapon — milk powder — and luscious heavy cream, the filling offers a depth of flavor that is both comforting and exhilarating. The subtle saltiness perfectly offsets the sweetness, creating a complex taste that dances on your tongue and keeps you intrigued with every bite.
Perfectly Balanced Textures
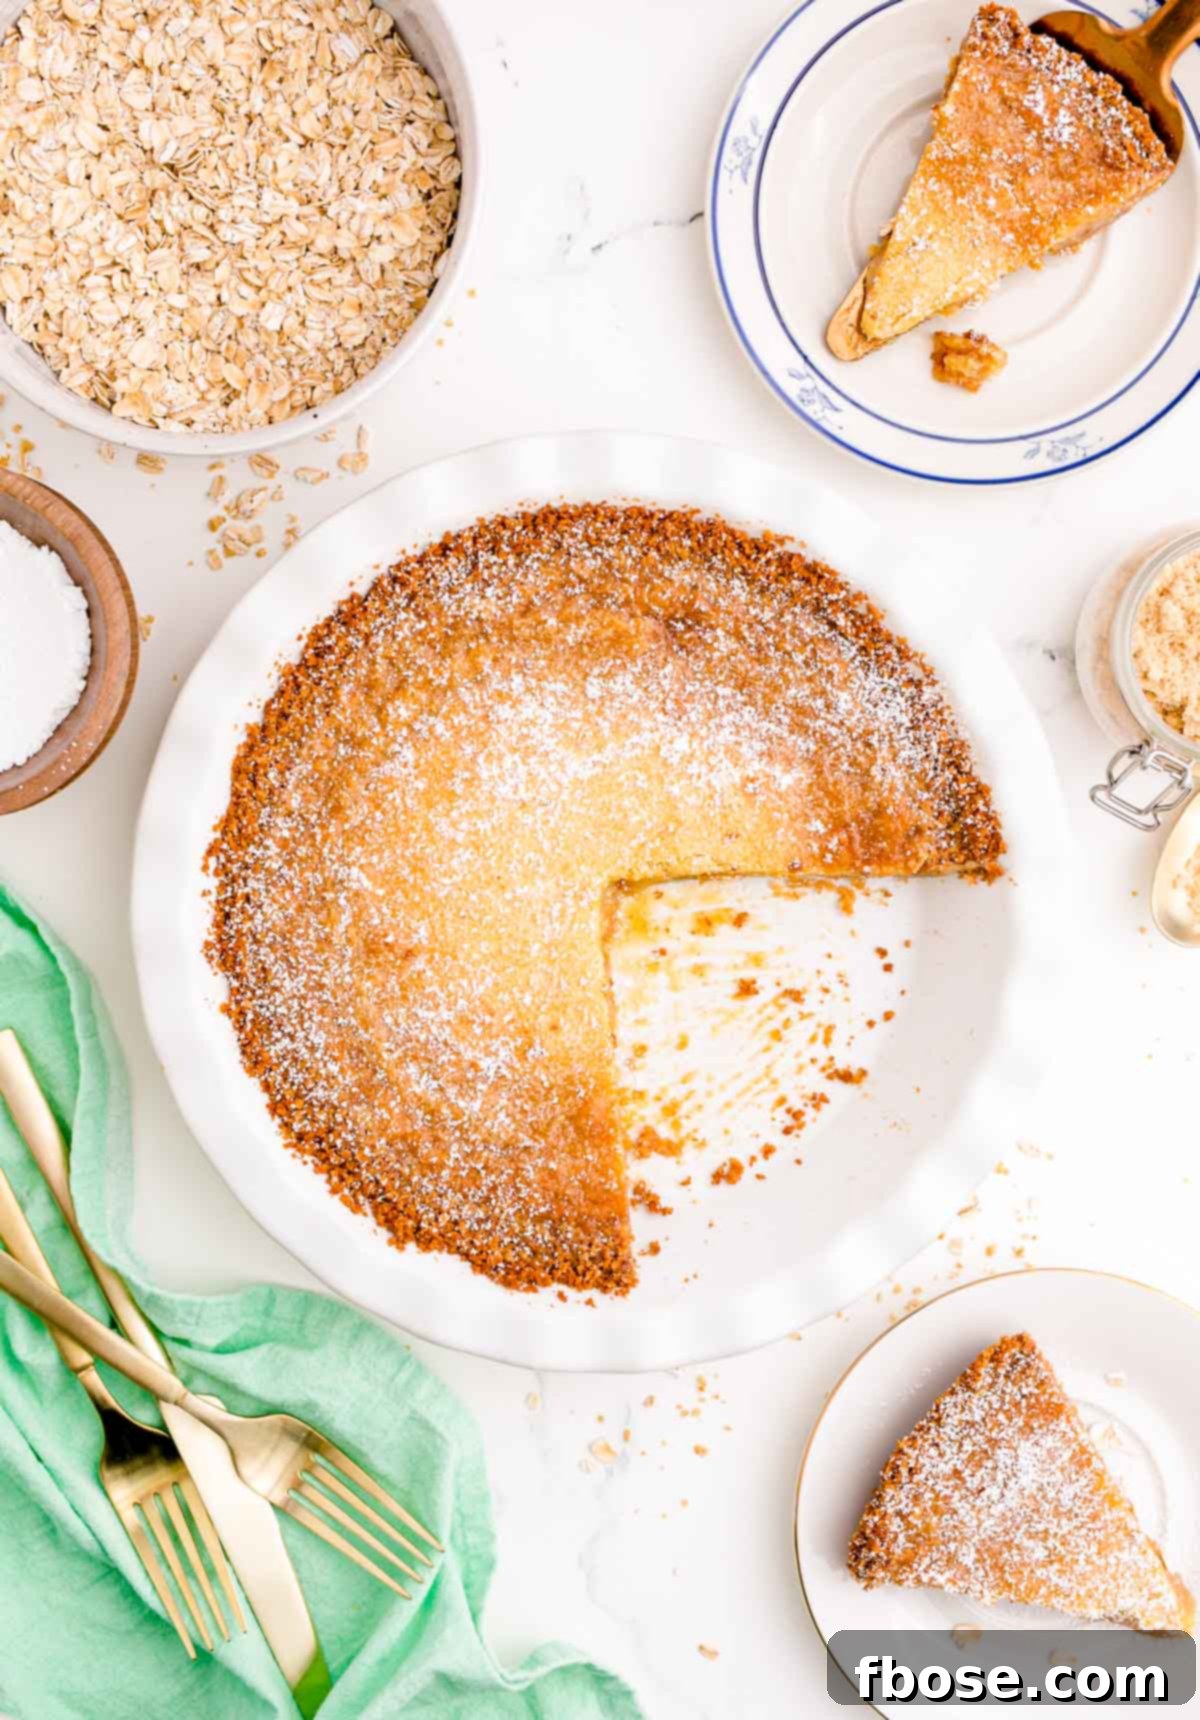
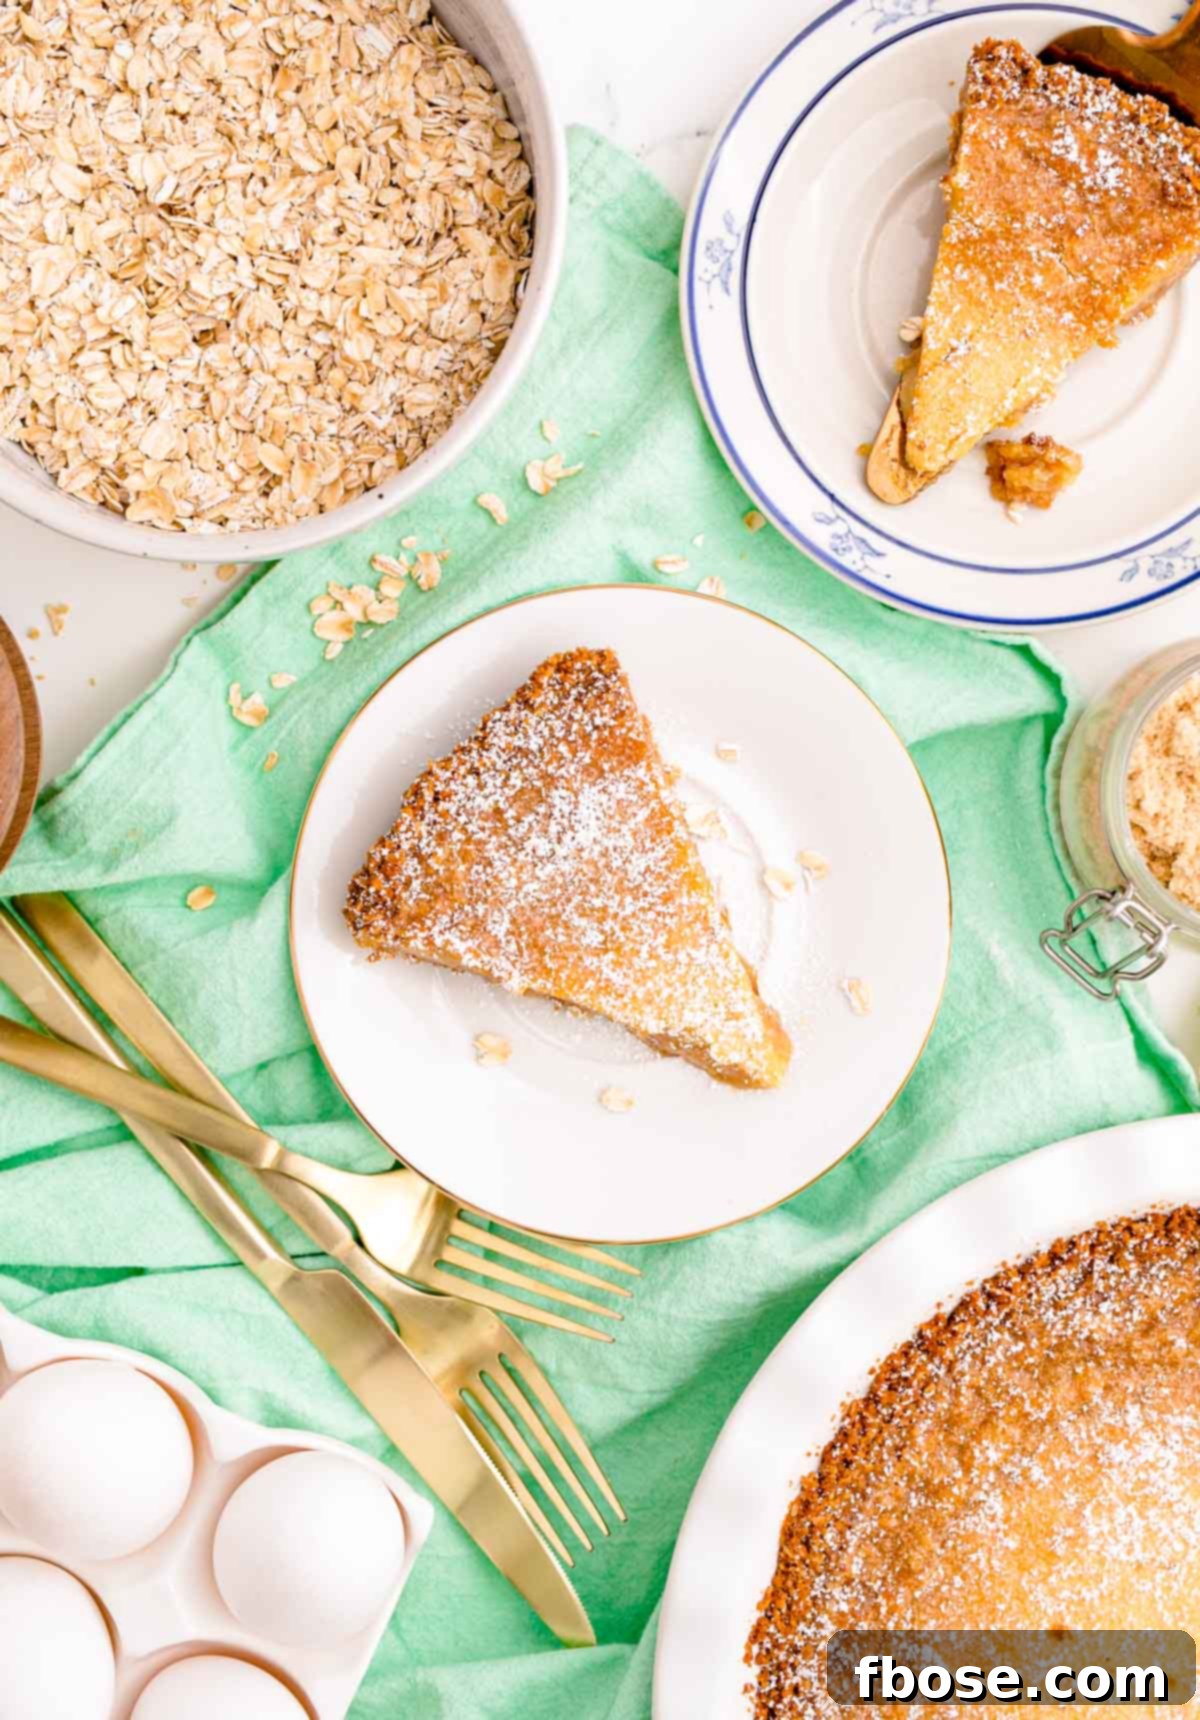
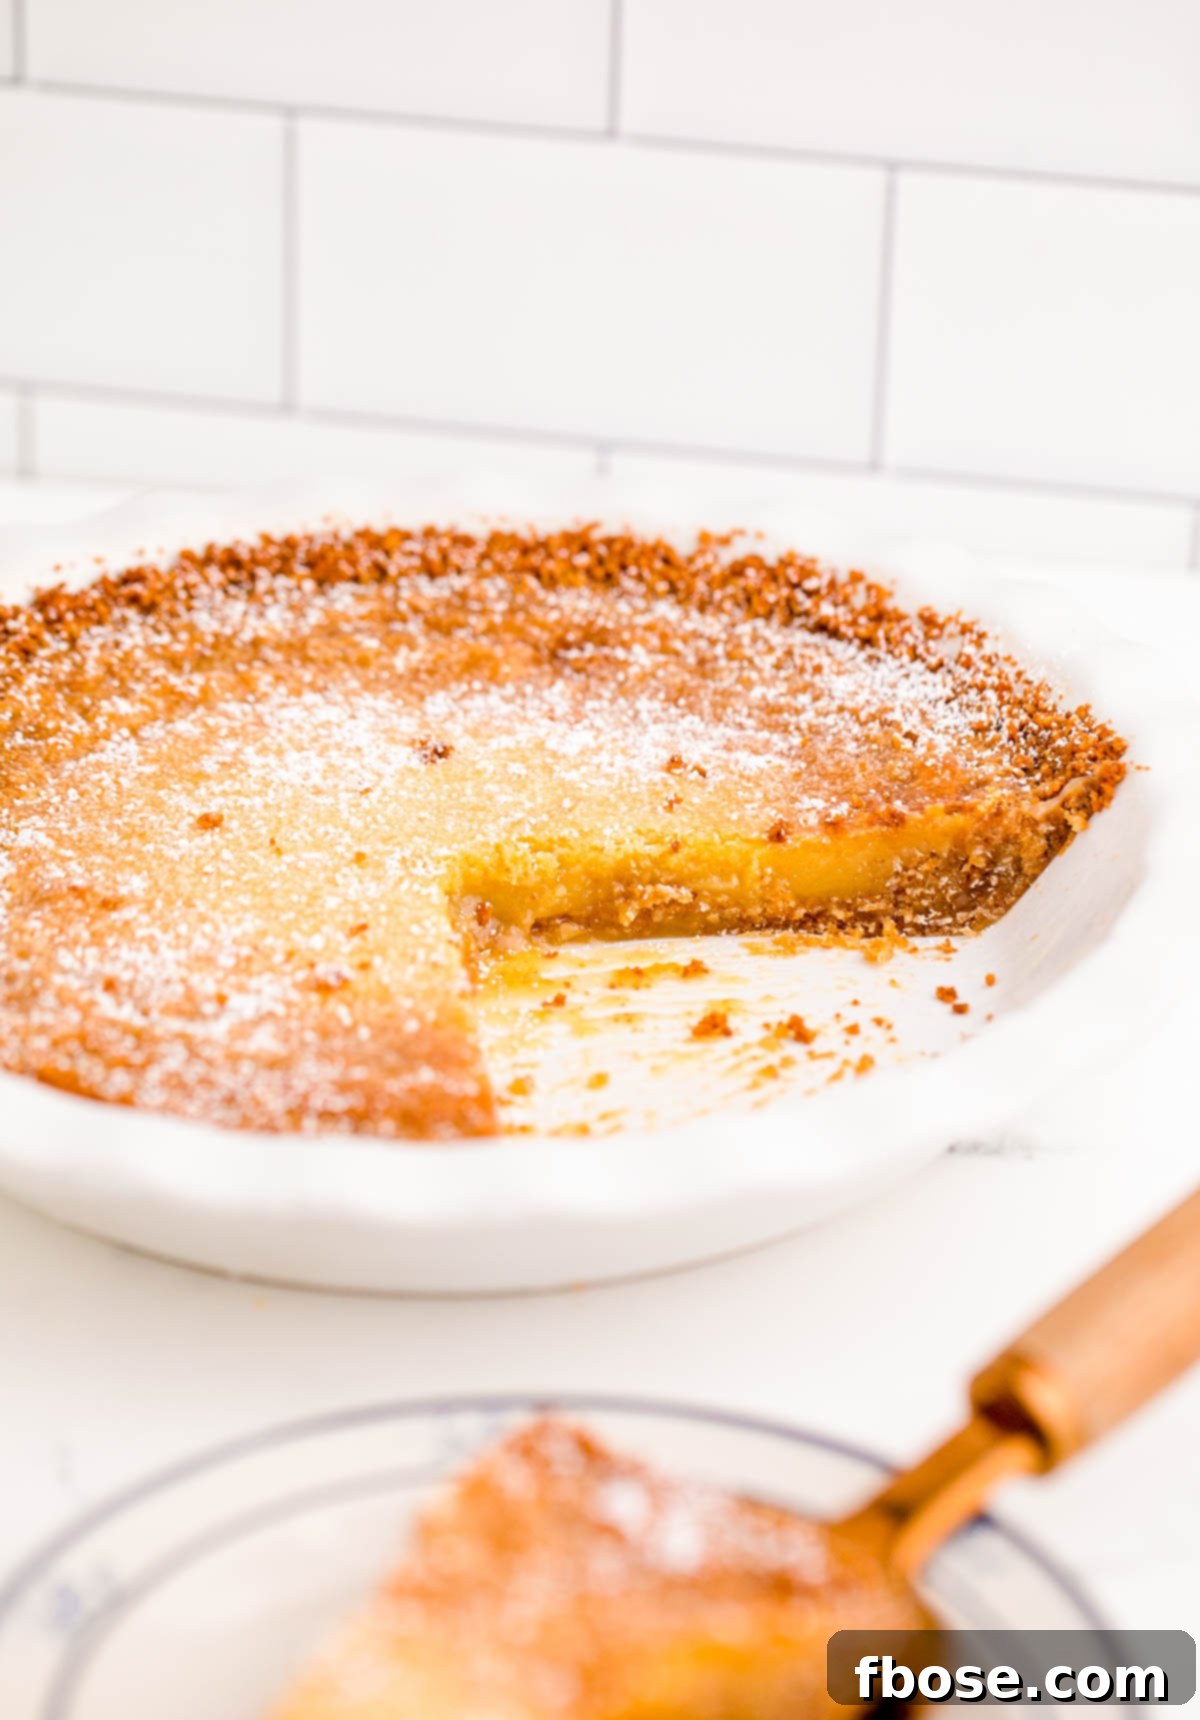
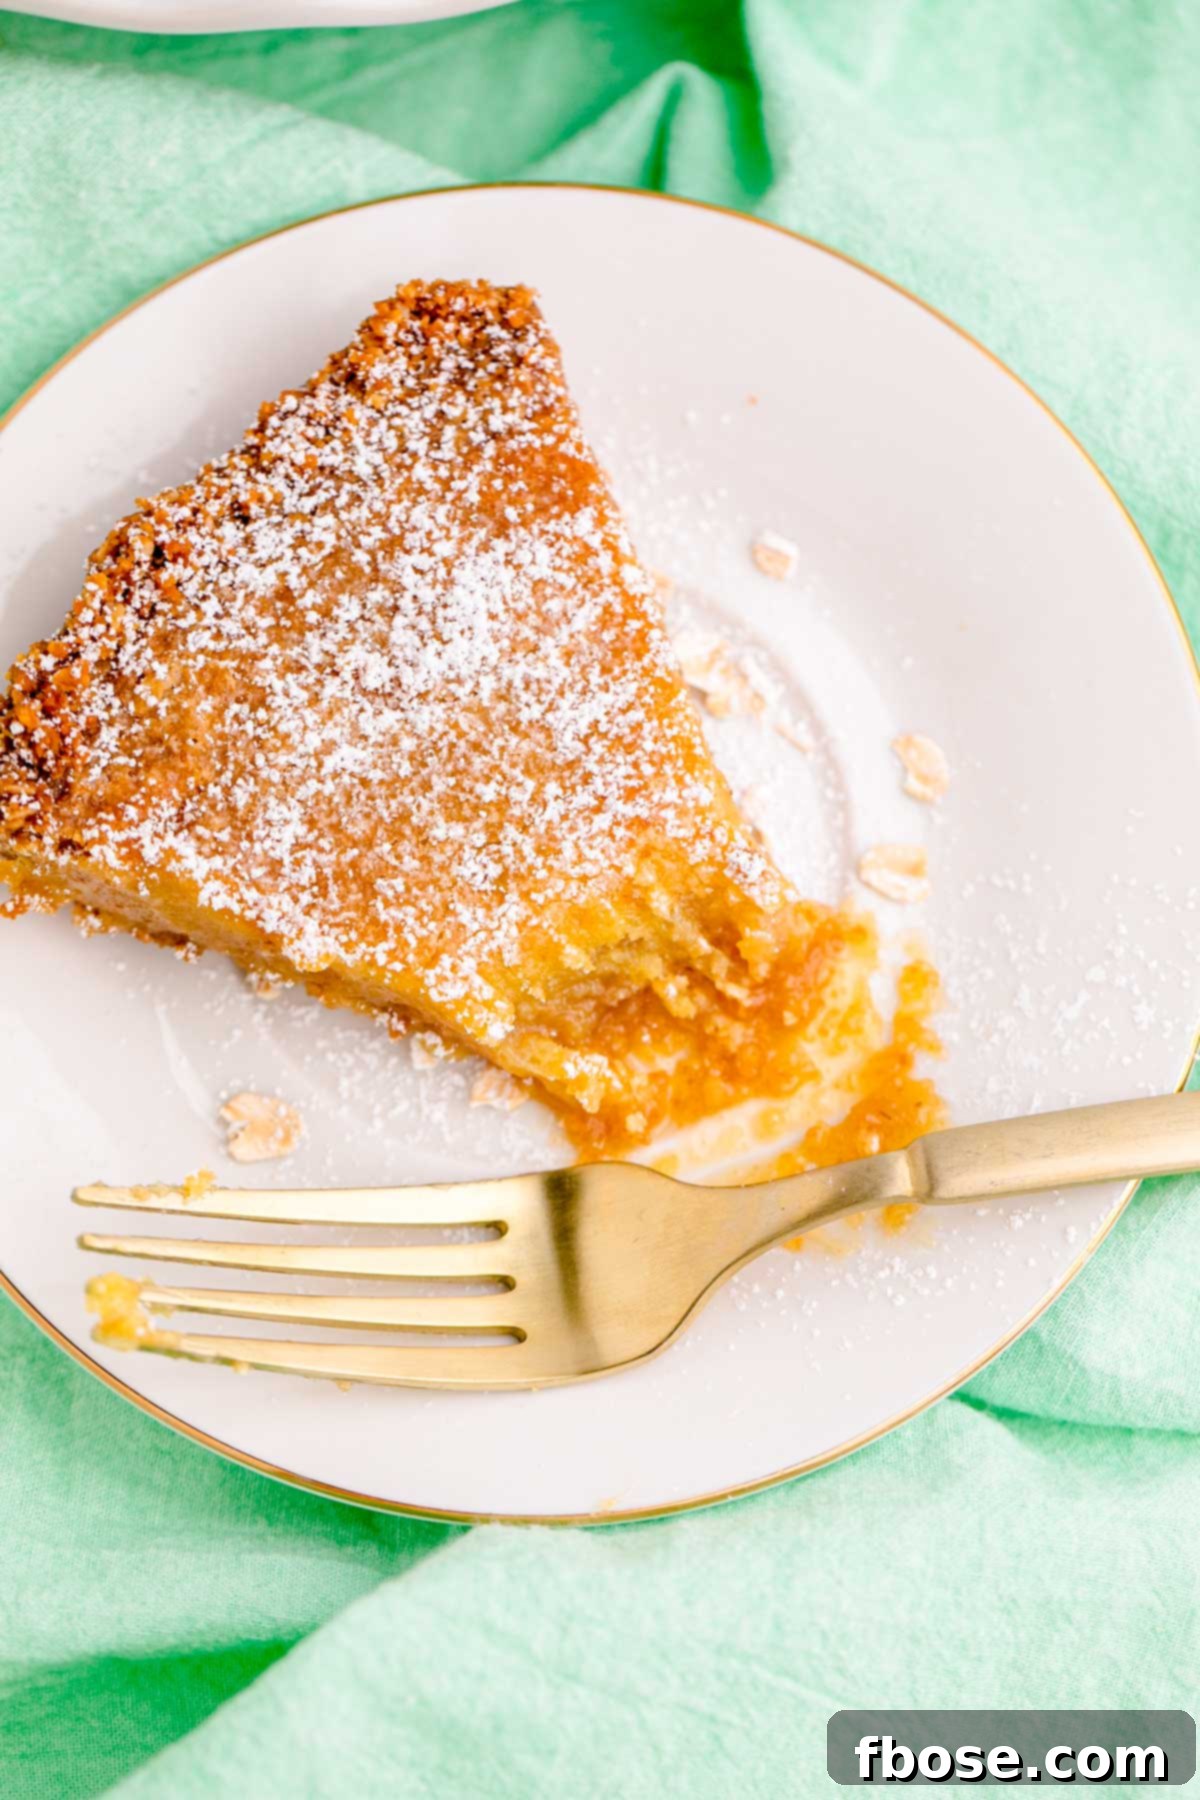
Prepare your senses for an indulgent experience of textures. The filling of this pie is famously ooey-gooey, melting in your mouth with a decadent, almost caramel-like consistency. This rich interior is brilliantly contrasted by a crisp, delightfully crumbly oatmeal cookie crust. The oats add a rustic texture and nutty flavor that complements the creamy filling beautifully. When it’s time to indulge, a light dusting of fluffy powdered sugar not only adds an elegant finish but also contributes a delicate, airy softness that completes this truly texture-rich dessert. Each slice promises a journey through different sensations, from the tender filling to the crunchy crust, making it an absolute joy to eat until the pie plate is sparkling clean!
Pin This Recipe For Later
The Captivating Story Behind Milk Bar Pie
The dessert now known as Milk Bar Pie has a fascinating origin story that’s as unique as its flavor. It was the very pie that propelled Milk Bar, the innovative bakery by Christina Tosi, into the culinary spotlight. The pie was initially conceived during Tosi’s tenure as Pastry Chef at David Chang’s Momofuku restaurant. In a moment of creative experimentation, she tossed together an array of ingredients, creating a dessert that she initially served to the restaurant staff with no grand expectations.
To her surprise, the pie was an instant hit. So much so that a coworker, upon tasting it, famously exclaimed that it was “like crack” – a testament to its addictively delicious nature. This impromptu comment unintentionally gave the pie its original, albeit controversial, name: “Crack Pie.” For years, it was known by this moniker, drawing customers from far and wide to experience its unique appeal.
However, societal awareness and sensitivity evolved. Recognizing the potentially insensitive implications of the name, Momofuku Milk Bar officially changed the pie’s name from “Crack Pie” to “Milk Bar Pie” in April 2019. This re-branding reflected a commitment to inclusivity while ensuring the beloved dessert retained its identity as a culinary masterpiece. Despite the name change, it remains the same extraordinary pie that first put Milk Bar on the map – a truly iconic dessert that continues to garner accolades and adoration.
For those interested in delving deeper into the culinary mind of Christina Tosi and the creative journey behind her famous desserts, I highly recommend watching her captivating episode of Chef’s Table on Netflix (Season 4, Episode 1). It provides wonderful insight into her innovative approach to baking and her philosophy on flavor.
“Brilliant instruction, very clear and easy to follow. Baked this at the request of my son-in-law (out of the blue) as he tasted it on a trip to America many years ago. He was delighted with it and brought back many happy memories.” – Lynda
Mastering Your Homemade Milk Bar Pie: Expert Tips for Success
Crafting the perfect Milk Bar Pie at home is achievable with a few key insights. These tips will guide you through each stage of the baking process, ensuring your pie turns out just as phenomenal as the original.
- Crafting the Oatmeal Cookie Dough: When you’re spreading the cookie dough onto your baking pan, don’t fuss too much about its shape or whether it perfectly fills the entire pan. The beauty of this recipe is that the large cookie will be crumbled later to form the crust, so perfection in its initial spread is not necessary. Focus on an even thickness of about ¼ inch for consistent baking, which ensures a uniform texture when it’s broken up.
- Achieving the Perfect Crumbly Crust: For an impeccably consistent and deliciously crumbly pie crust mixture, a food processor is your best friend. After the cookie has cooled, simply break it into pieces and toss them into the food processor. Pulse a few times until you achieve a texture that resembles coarse, wet sand. This fine crumb allows for a perfectly pressed crust that holds together beautifully. If you don’t have a food processor, don’t worry, a Ziploc bag and a rolling pin work just as well!
- Baking the Signature Gooey Filling: Knowing when your Milk Bar Pie is perfectly baked is crucial. The pie is done when its top edges turn a lovely golden brown, while the very center of the buttery filling still appears pale yellow and might have a slight, gentle wobble when lightly shaken. This jiggly center indicates that the pie is set but still retains its desired gooey texture. If it’s still excessively jiggly after the recommended baking time, give it another 5 minutes, checking frequently. Be careful not to overbake, as this can lead to a less gooey, more cake-like texture.
- The Essential Chilling Process: Once your pie has cooled completely to room temperature, the chilling phase begins, and it’s a non-negotiable step for achieving the iconic Milk Bar texture. Tightly wrap the cooled pie in tin foil and place it in the freezer for a minimum of 2 hours, or ideally, overnight. This extended chilling period is what allows the pie to develop its characteristic dense, chewy, and rich consistency, mirroring the texture of the original Milk Bar Pie. Remember to transfer it from the freezer to the refrigerator about 1 hour before you plan to serve it, allowing it to soften slightly for easier slicing and optimal enjoyment.
Bake Ahead: Convenience Meets Deliciousness
Life often calls for desserts that can be prepared in advance, whether it’s for a busy holiday like Thanksgiving or Christmas, a special family dinner, or a potluck at the office. While some pies don’t hold up well to make-ahead preparations, this Milk Bar Pie is an absolute champion in that regard! Its robust nature makes it an excellent choice for planning, allowing you to enjoy a stress-free serving experience when the time comes.
You can prepare various components of the pie ahead of time, significantly streamlining your baking day. The oatmeal cookie dough, for instance, can be made days in advance. You can either freeze the dough for up to 3 months, keeping it perfectly fresh for future baking endeavors, or simply store it in the refrigerator for a few days. This pre-made dough makes the crust-making process incredibly quick and efficient when you’re ready to assemble the pie.
Similarly, the rich, buttery filling can also be prepared ahead of time. Mix it up and store it securely in an airtight container in the refrigerator for up to 3 days. This flexibility means you can tackle the different stages of the recipe over several days, spreading out the effort. Imagine the ease of simply pressing your pre-made crust, pouring in the pre-mixed filling, and popping it into the oven for baking! This significantly cuts down on the amount of work required on the day of serving, allowing you more time to focus on other preparations or simply relax.
Alternatively, for ultimate convenience, you can bake the entire Milk Bar Pie and store it in the freezer. A fully baked and cooled pie can be frozen for up to one month. When you’re ready to enjoy it, simply transfer it to the refrigerator to thaw slowly for a few hours, or ideally, overnight. This “bake once, enjoy later” approach makes Milk Bar Pie an indispensable recipe for entertaining and meal prepping desserts.
Why Choose Homemade Copycat Recipes?
This Milk Bar Pie copycat recipe isn’t just one of my personal favorites; it embodies the very essence of why copycat recipes are so incredibly rewarding. You get to experience the exact same delicious taste and signature consistency of a famous, often expensive, bakery item, but without the premium price tag! The satisfaction of creating something so professional and delightful in your own kitchen is truly unparalleled.
The beauty of copycat recipes extends far beyond just saving money. When you bake at home, you have complete control over the quality of ingredients, allowing you to opt for organic, local, or specialized products to suit your preferences. Plus, there’s an immense sense of accomplishment that comes from mastering a dish previously only available from a commercial establishment. This is why I adore recipes like this Milk Bar Pie, alongside my Key Lime Pie Cookies (Crumbl Copycat) and the incredibly popular Chick-fil-A Nuggets (Copycat Recipe). They all deliver those cherished, great flavors, freshly made right at home, often for half the cost and with double the pride!
Many of my go-to copycat recipes are inspired by Starbucks, for the sheer joy of savings, hello! You can save yourself a significant amount of money without ever sacrificing taste by exploring my Medicine Ball Tea Recipe, the comforting Cookie Butter Latte, and the vibrant Pink Drink. Embrace the world of homemade copycat creations and elevate your culinary game while keeping your wallet happy!
Frequently Asked Questions About Milk Bar Pie
Here are some common questions about making and storing this delightful dessert, ensuring your baking experience is as smooth as your pie’s filling.
Does Milk Bar Pie Need To Be Refrigerated?
Yes, absolutely. Due to its rich, custard-like filling, Milk Bar Pie requires refrigeration to maintain its freshness, texture, and food safety. To store, ensure the pie is completely cooled, then wrap it tightly with plastic wrap or transfer individual slices into an airtight container. Stored properly in the refrigerator, you can enjoy the pie or its slices for up to 7 days. For longer preservation, the pie can also be frozen for up to 1 month. Just remember to thaw it in the refrigerator before serving for the best texture.
What Size Pie Pan Is Best To Use When Making This Milk Bar Pie?
For this Milk Bar Pie recipe, I’ve found that a 9 to 10-inch glass or ceramic pie dish yields the most consistent and aesthetically pleasing results. These materials distribute heat evenly, which is crucial for the perfect crust and filling. However, if you’re planning to freeze your pie for extended storage or for gifting, disposable aluminum pie tins are an excellent practical choice. They minimize cleanup and are freezer-friendly, allowing you to bake, freeze, and store with ease.
Can I Just Whisk The Ingredients Together Instead Of Using A Stand Mixer?
While a sturdy whisk can be used for some baking tasks, achieving the desired smooth, airy, and uniform consistency for this pie’s filling is significantly easier and more effective with a stand mixer equipped with a paddle attachment. The mixer provides the continuous, powerful beating necessary to properly emulsify the ingredients and incorporate air, resulting in that signature glossy texture. Without a stand mixer, it would be extremely difficult, if not impossible, to reach the ideal consistency required for the authentic Milk Bar Pie experience.
How Do I Prepare The Oat Crust If I Don’t Have A Food Processor?
No food processor? No problem! You can easily prepare the crumbly oat crust by hand. After your baked oatmeal cookie has cooled, break it into smaller pieces. Place these broken pieces inside a sturdy Ziploc bag, making sure to seal it securely, expelling as much air as possible. Then, use a rolling pin (or even the bottom of a heavy pan) to roll over the bag repeatedly, crushing the cookie pieces until fine crumbs form. Once you have your crumbs, transfer them to a bowl and mix in the 2 tablespoons of melted butter. Continue mixing until the entire mixture has a consistent, sandy texture. This method works perfectly to create the foundation for your delicious pie crust.
More Delicious Recipes to Explore
- Cranberry Cookie Recipe
- Raspberry Linzer Cookies
- Coffee Breve
- Cheddar Bay Biscuits Recipe
- Easy Marshmallow Recipe
- Little Debbie Christmas Tree Cake Dip
- Blueberry Pancakes from Scratch
- Copycat Starbucks Banana Bread
- Levain Chocolate Chip Cookie Recipe
- Classic Christmas Cookies
- Thai Chicken Coconut Soup
- Easy Sopapilla Cheesecake
4.92 from 47 votes
Milk Bar Pie (Copycat Recipe)
Author: Rebecca Hubbell
Course: Dessert
Cuisine: American
Prep Time: 30 minutes
Cook Time: 45 minutes
Freeze Time: 3 hours
Total Time: 4 hours
Servings: 8 people
Pin Recipe
Rate this Recipe
Milk Bar Pie is the delicious copycat recipe for Milk Bar’s most popular pie! It piles an irresistible salty, sweet filling into an oatmeal cookie crust!
Equipment
- Baking Sheet
- Parchment paper
- Stand mixer
- Paddle attachment
- Food processor
- Pie dish/plate (9-10 inch)
- Wire rack
- Powdered sugar shaker (or sifter)
Ingredients
Crust
- 8 tablespoons salted butter (113g), softened and divided
- ⅓ cup light brown sugar (67g), packed
- 2 tablespoons granulated sugar
- 1 large egg
- ½ teaspoon vanilla extract
- 1 cup rolled oats (100g)
- ⅓ cup all-purpose flour (43g)
- ½ teaspoon salt
- ¼ teaspoon baking powder
- ⅛ teaspoon baking soda
Filling
- ¾ cup granulated sugar (150g)
- ½ cup light brown sugar (100g), packed
- 2 tablespoons milk powder
- ¼ teaspoon salt
- 8 tablespoons salted butter (113g), melted
- 6 tablespoons heavy cream
- 1 teaspoon vanilla extract
- 4 egg yolks
Garnish
- Powdered sugar
Instructions
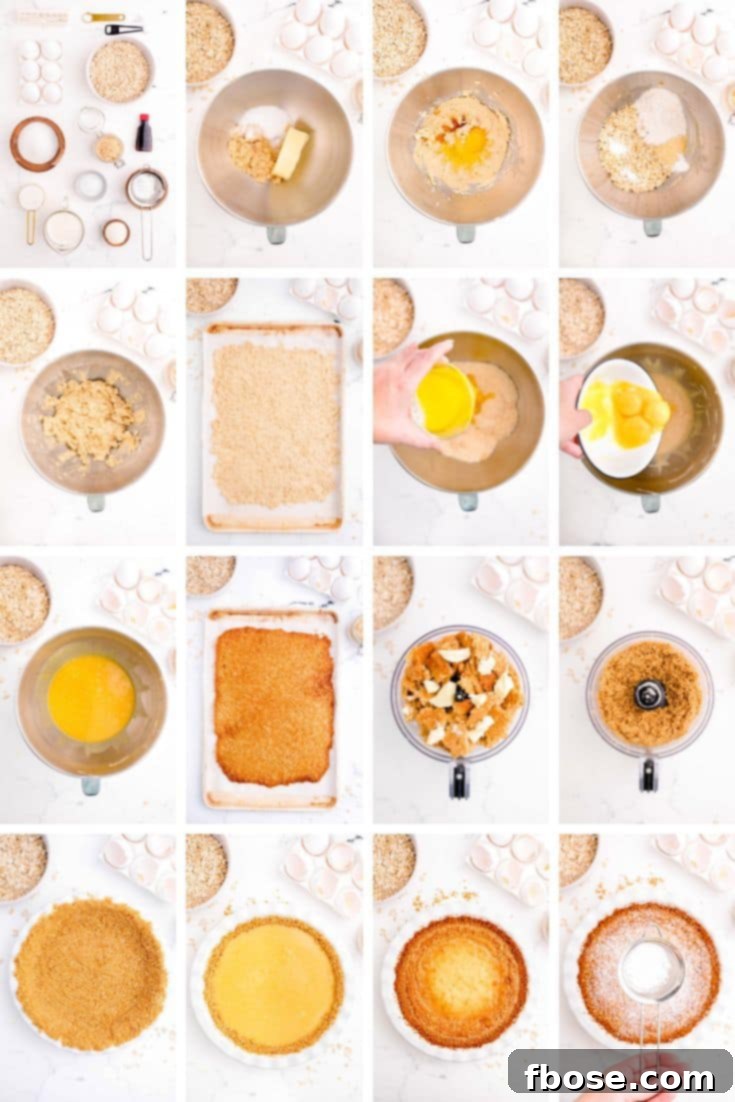
- Preheat your oven to 350°F (175°C) and line a baking sheet with parchment paper. This will be for baking the cookie base.
- In a stand mixer fitted with a paddle attachment, cream together 6 tablespoons of the softened salted butter, ⅓ cup light brown sugar, and 2 tablespoons granulated sugar at medium speed for about 3 minutes until the mixture is light and fluffy. Remember to scrape down the sides of the bowl periodically to ensure even mixing.
- Beat in the 1 large egg and ½ teaspoon vanilla extract. Continue mixing for another 2 minutes until thoroughly combined.
- Reduce the mixer speed to low. Gradually add the 1 cup rolled oats, ⅓ cup all-purpose flour, ½ teaspoon salt, ¼ teaspoon baking powder, and ⅛ teaspoon baking soda. Mix until all ingredients are just incorporated. Be sure to scrape down the sides and bottom of the bowl to ensure no unmixed dry ingredients remain.
- Evenly spread this cookie dough onto the prepared baking pan, aiming for about ¼ inch thickness. The shape doesn’t need to be perfect, as this cookie will be broken up later for the crust.
- Bake the cookie for 15 minutes, or until the edges begin to turn a light golden brown.
- Once baked, remove the pan from the oven and place it on a wire rack to cool completely.
- After the cookie has fully cooled, break it into smaller pieces. Place these pieces into a food processor. Add the remaining 2 tablespoons of melted salted butter to the food processor. Pulse until the mixture is crumbly and resembles coarse, wet sand.
- Press the prepared cookie crumbs firmly into the bottom and up the sides of a 9 or 10-inch pie dish, forming an even crust.
- While the cookie crust is cooling or chilling, begin preparing the filling. In your stand mixer with a paddle attachment, beat together ¾ cup granulated sugar, ½ cup light brown sugar, 2 tablespoons milk powder, and ¼ teaspoon salt at low speed until combined.
- Add the 8 tablespoons of melted salted butter to the sugar mixture and mix until all ingredients are well combined and smooth. Scrape down the sides of the bowl as needed.
- Next, mix in 6 tablespoons heavy cream and 1 teaspoon vanilla extract. Beat for 2 to 3 minutes until these ingredients are fully incorporated, scraping down the sides as necessary to ensure a smooth mixture.
- Keeping the speed set to low, gradually add in the 4 egg yolks, one at a time. Mix this until the mixture becomes glossy and perfectly smooth, which usually takes about 3 minutes.
- Carefully place the pie dish with the crust onto a baking sheet (this makes it easier to transfer in and out of the oven). Pour the prepared filling evenly into the pie dish.
- Transfer the baking sheet with the pie to the middle rack of your preheated oven and bake for 15 minutes.
- Reduce the oven temperature to 325°F (160°C) and continue to bake for another 15 minutes. The top of the pie should be fairly browned, and while the center might still have a slight jiggly motion, it should largely be set. If it feels too liquid-like, bake for an additional 5 minutes, checking closely.
- Remove the pie from the oven and place the pie pan on a wire rack to cool for 30 minutes. After this initial cooling, wrap the pie tightly with tin foil and transfer it to the freezer for at least 2 hours, or ideally, overnight. This crucial step helps achieve the perfect dense, chewy texture. Remember to move the pie from the freezer to the refrigerator about 1 hour before you plan to serve it.
- Just before serving, dust the top generously with powdered sugar for an elegant finish and an extra touch of sweetness. Enjoy your homemade Milk Bar Pie!
Notes
- Does Milk Bar Pie Need To Be Refrigerated? Yes, it absolutely does. To store, wrap the pie tightly with plastic wrap or place individual slices in an airtight container. Keep the pie or slices in the refrigerator to enjoy for up to 7 days. The pie and/or slices can also be frozen for up to 1 month for longer storage.
- What Size Pie Pan Is Best To Use When Making This Milk Bar Pie? A 9 to 10-inch glass or ceramic pie dish works best for this recipe, providing even heat distribution and a beautiful presentation. For convenience, especially if freezing, disposable pie tins are also a great option.
- Can I Just Whisk The Ingredients Together Instead Of Using A Stand Mixer? While possible, it’s very difficult to achieve the desired smooth and glossy consistency for the filling without a stand mixer. A stand mixer is highly recommended for best results.
- How Do I Prepare The Crust If I Don’t Have A Food Processor? You can easily prepare the crust by hand! Place the cooled, broken-up cookie inside a sturdy Ziploc bag, seal it, and roll over it with a rolling pin until fine crumbs form. Then, mix in the 2 tablespoons of melted butter until the mixture achieves a sandy texture.
Nutrition
Calories: 516kcal | Carbohydrates: 57g | Protein: 5g | Fat: 31g | Saturated Fat: 19g | Polyunsaturated Fat: 2g | Monounsaturated Fat: 9g | Trans Fat: 1g | Cholesterol: 193mg | Sodium: 446mg | Potassium: 132mg | Fiber: 1g | Sugar: 45g | Vitamin A: 1051IU | Vitamin C: 0.1mg | Calcium: 64mg | Iron: 1mg
Did You Make This Recipe?
Don’t forget to share your delicious creation with me on Instagram @sugarandsoulco and follow on Tiktok @sugarandsoulco and Pinterest @sugarandsoulco for more amazing recipes and baking inspiration!
Pin Recipe
Share Recipe