
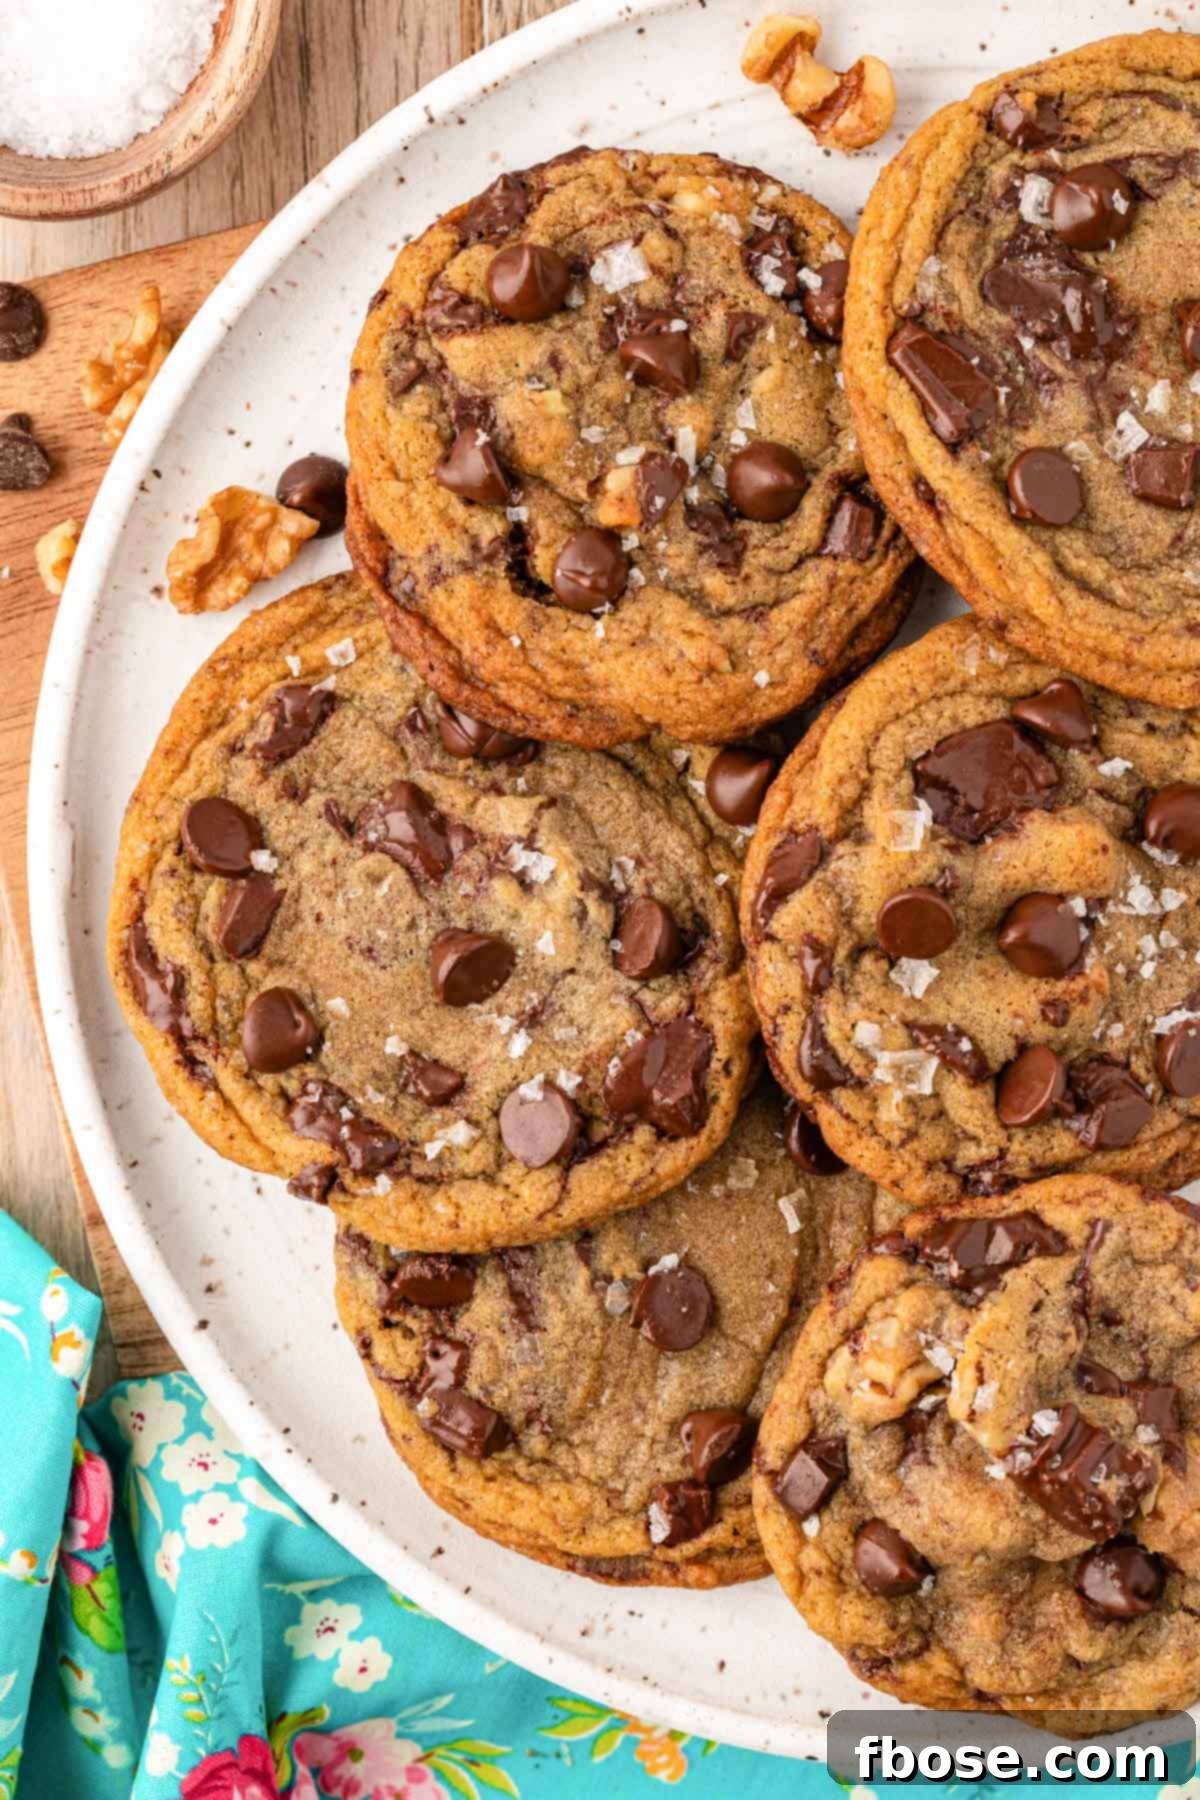
If you’ve always cherished the timeless appeal of classic Toll House Cookies, prepare to discover a recipe that truly elevates them. This rendition creates what we confidently call Better Than Toll House Cookies, achieved through a few simple yet impactful additions: the subtle magic of malted milk powder, the richness of high-quality butter, and the essential step of chilling the cookie dough. Get ready to transform your perception of America’s favorite chocolate chip cookie.
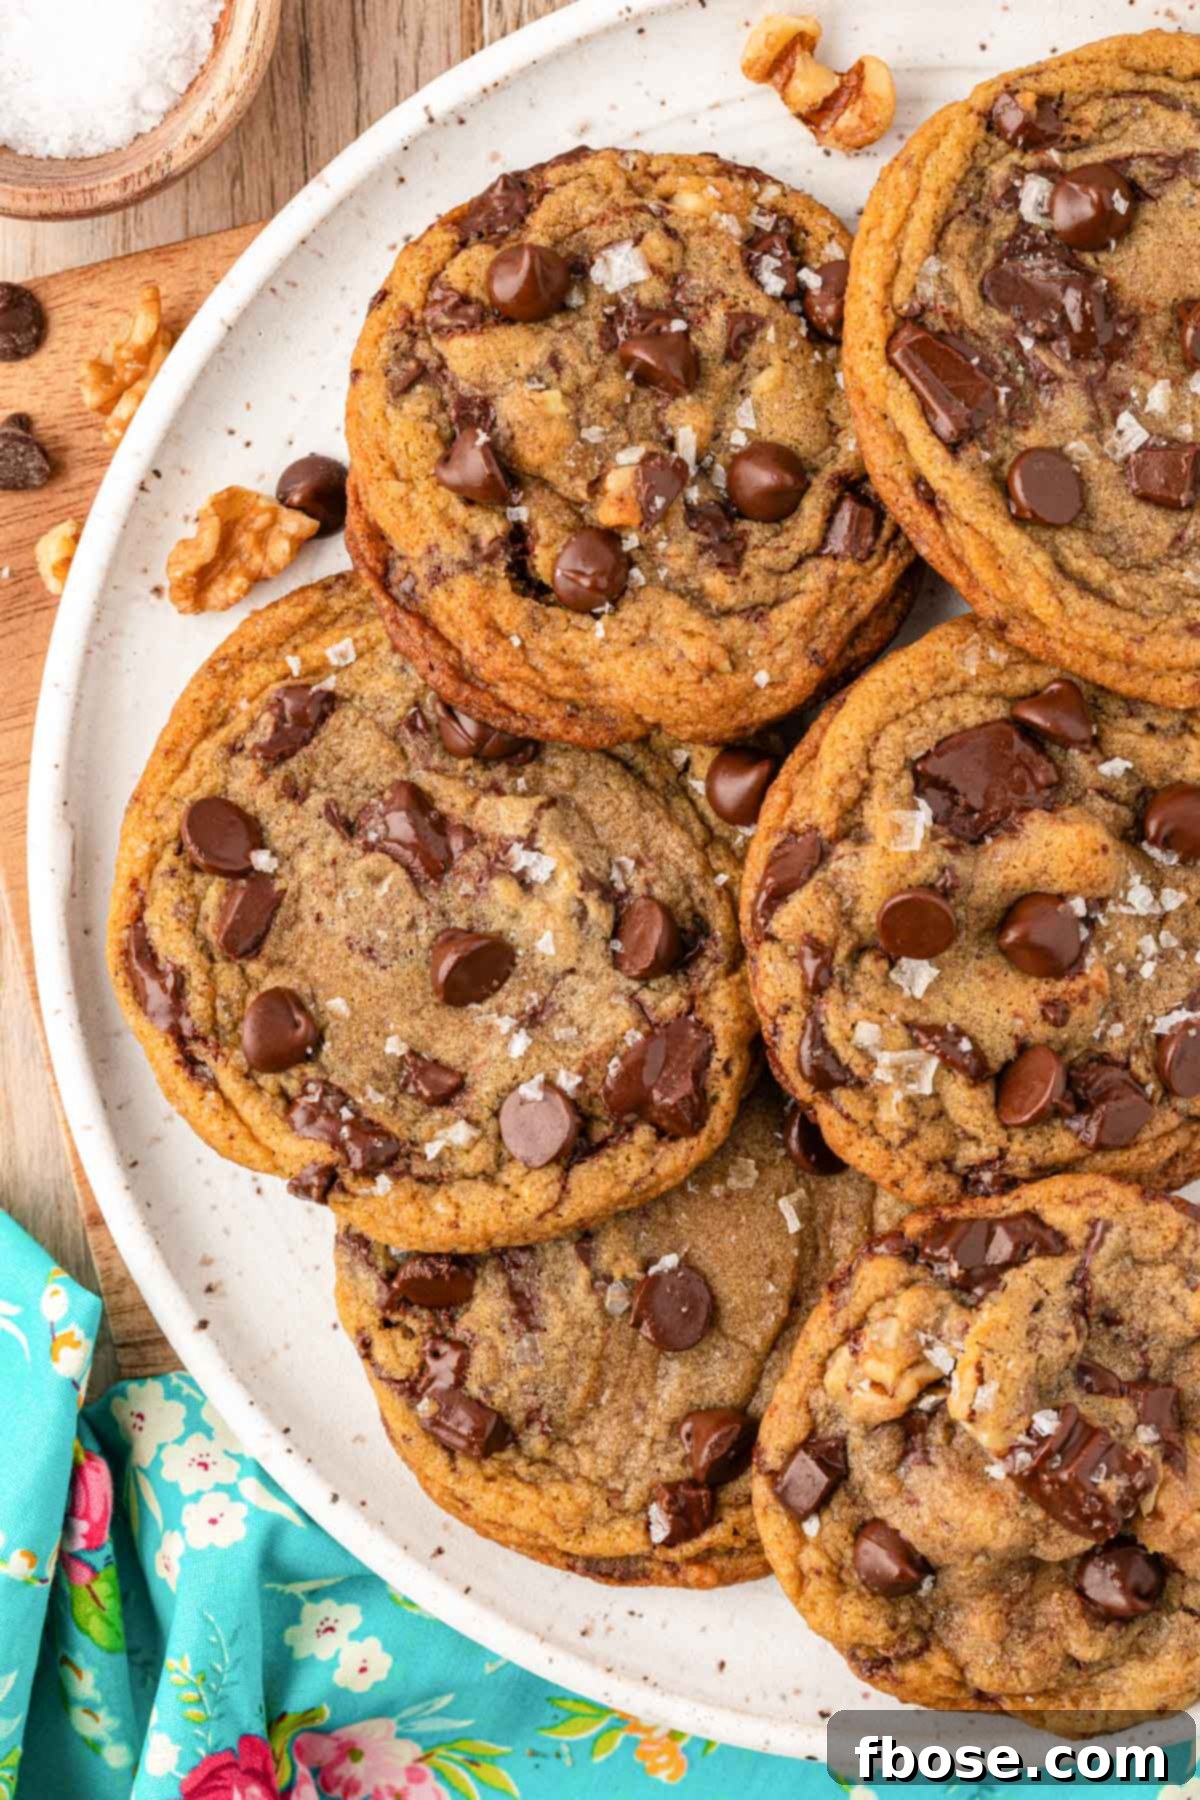
America’s Favorite Cookie, Reimagined and Improved
While some things are best left untouched, a truly great recipe can always be refined. If you believe the classic Nestle Toll House chocolate chip cookie is unbeatable, prepare for a delightful surprise. Just one bite of these exceptional cookies, and you’ll find yourself exclaiming, “These are unequivocally better than Toll House Cookies!”
Many home bakers find themselves in a sweet dilemma: stick to the nostalgic comfort of the original recipe, or venture into a version with a modern, flavorful twist. The Nestle Toll House recipe holds a special place in countless kitchens, but for those who seek a richer, more profound flavor profile, it often leaves a little to be desired. Our quest was to create a chocolate chip cookie that leans heavily on the deep, caramel notes of brown sugar for an irresistibly chewy texture, complemented by a generous splash of pure vanilla extract. These thoughtful enhancements provide an incredible depth of flavor that transforms a simple cookie into an extraordinary treat.
Our updated recipe builds upon the foundation of the original Toll House Cookie, but with critical adjustments that drastically improve the outcome. We’ve incorporated malted milk powder into the dough, an affordable ingredient that surprisingly makes an enormous difference in taste. We’ve also enriched the cookies with premium, cold butter, specifically Kerrygold, known for its superior flavor and fat content. Crucially, the cookie dough is thoroughly chilled for at least three hours, allowing flavors to meld and preventing excessive spread during baking. Furthermore, we’ve reverted to Ruth Wakefield’s original method of using finely chopped chocolate instead of pre-formed chocolate chips (which weren’t invented until years after her recipe gained fame). This ensures delightful pockets and ripples of melting chocolate in every single bite, offering a more luxurious chocolate experience.
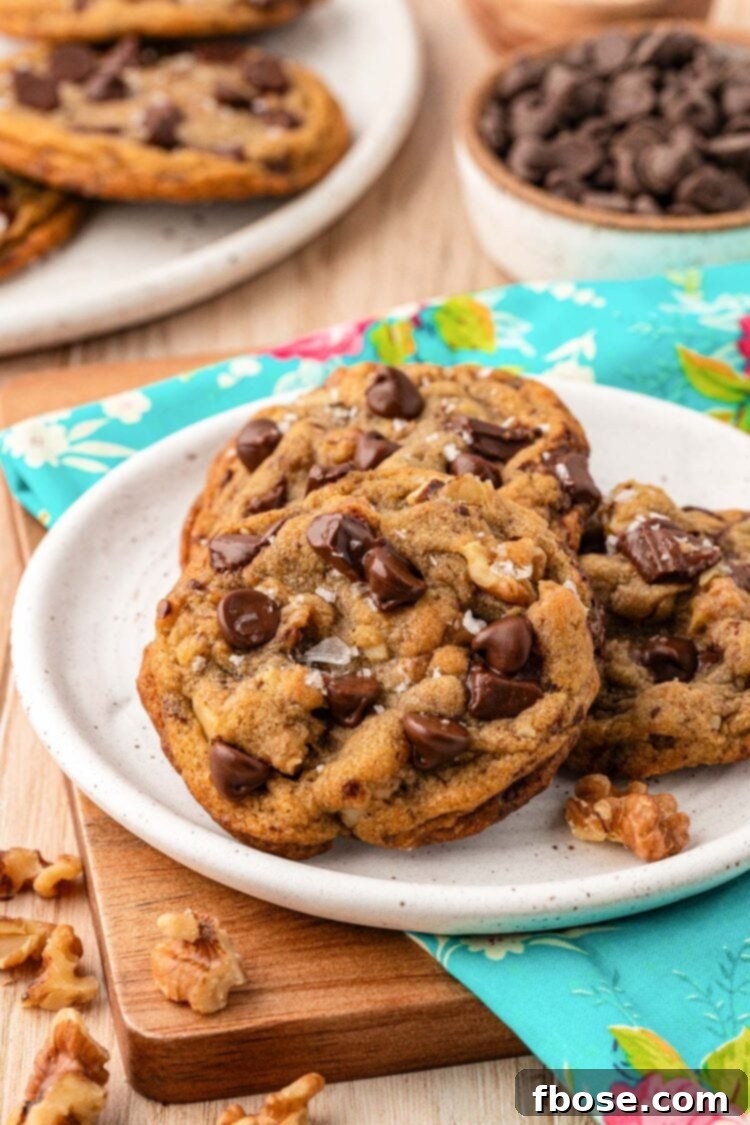
The final result is a cookie that is wonderfully rich, perfectly sweet, with a delicate hint of sea salt. Each cookie boasts slightly crisp, golden edges that give way to a satisfyingly soft, chewy center. It’s a truly drool-worthy treat that promises to become a new family favorite, captivating everyone with its enhanced flavor and texture.
Rebecca’s Recipe Review: A Deeper Dive
My culinary journey often involves refining classic recipes, and these “Better Than Toll House Cookies” represent the culmination of that passion. Here’s my personal breakdown of what makes them truly stand out:
Taste: The flavor profile is far from basic. The dark brown sugar introduces a deep, molasses-rich sweetness, while the malted milk powder adds a subtle, almost malty complexity that elevates the entire cookie. A touch of sea salt perfectly balances the sweetness and enhances the chocolate. The use of chopped chocolate ensures luscious ripples and puddles of melted chocolate, delivering a burst of cocoa in every mouthful. The extended chilling period isn’t just for texture; it allows the flavors to mature and deepen, resulting in a more nuanced and satisfying taste.
Texture: This recipe masterfully achieves the ideal chocolate chip cookie texture. You’ll find delightful crispness around the edges, providing a pleasing contrast to the slightly underdone centers. These centers start incredibly soft and gooey straight from the oven, gradually cooling to a wonderfully dense and satisfyingly chewy consistency. The double-stacked dough method (a key tip we’ll discuss) contributes significantly to this coveted thick, soft chew.
Ease: On a scale of 1 to 10, I’d rate the ease of this recipe a 5. It’s certainly not difficult, but it does require more attention and time than the original Toll House recipe. The primary reason for this rating is the mandatory chilling time for the dough. While this step is non-negotiable for achieving the best results, it does add to the overall preparation duration. However, the hands-on active prep time is still quite minimal, making it manageable for most home bakers.
Pros: The flavor is vastly superior to the standard recipe, offering a depth and complexity that will surprise and delight. A major advantage is that there’s no need to wait for butter to soften, as cold butter is specifically called for. This streamlines the initial mixing process. The instructions provided are clear and detailed, leading to more consistent and reliable results every time you bake. The investment in time and quality ingredients truly pays off.
Cons: The most significant drawback, as mentioned, is the chilling time. Waiting for delicious cookie dough can be agonizing! However, patience is a virtue in baking, and for these cookies, it’s undeniably worth it. Another point to consider is the ingredient cost, particularly the chocolate. This recipe calls for a substantial amount (approximately $10 worth) of high-quality chocolate, which is an upgrade from standard chips, but contributes directly to the superior flavor.
Would I Make This Again? Absolutely, without a doubt! When I crave a chocolate chip cookie with crisp edges and a deeply chewy, flavorful center, this is my go-to recipe. It’s become a staple in my baking repertoire for good reason.
Elevated Toll House Cookie Ingredients: Quality Makes the Difference
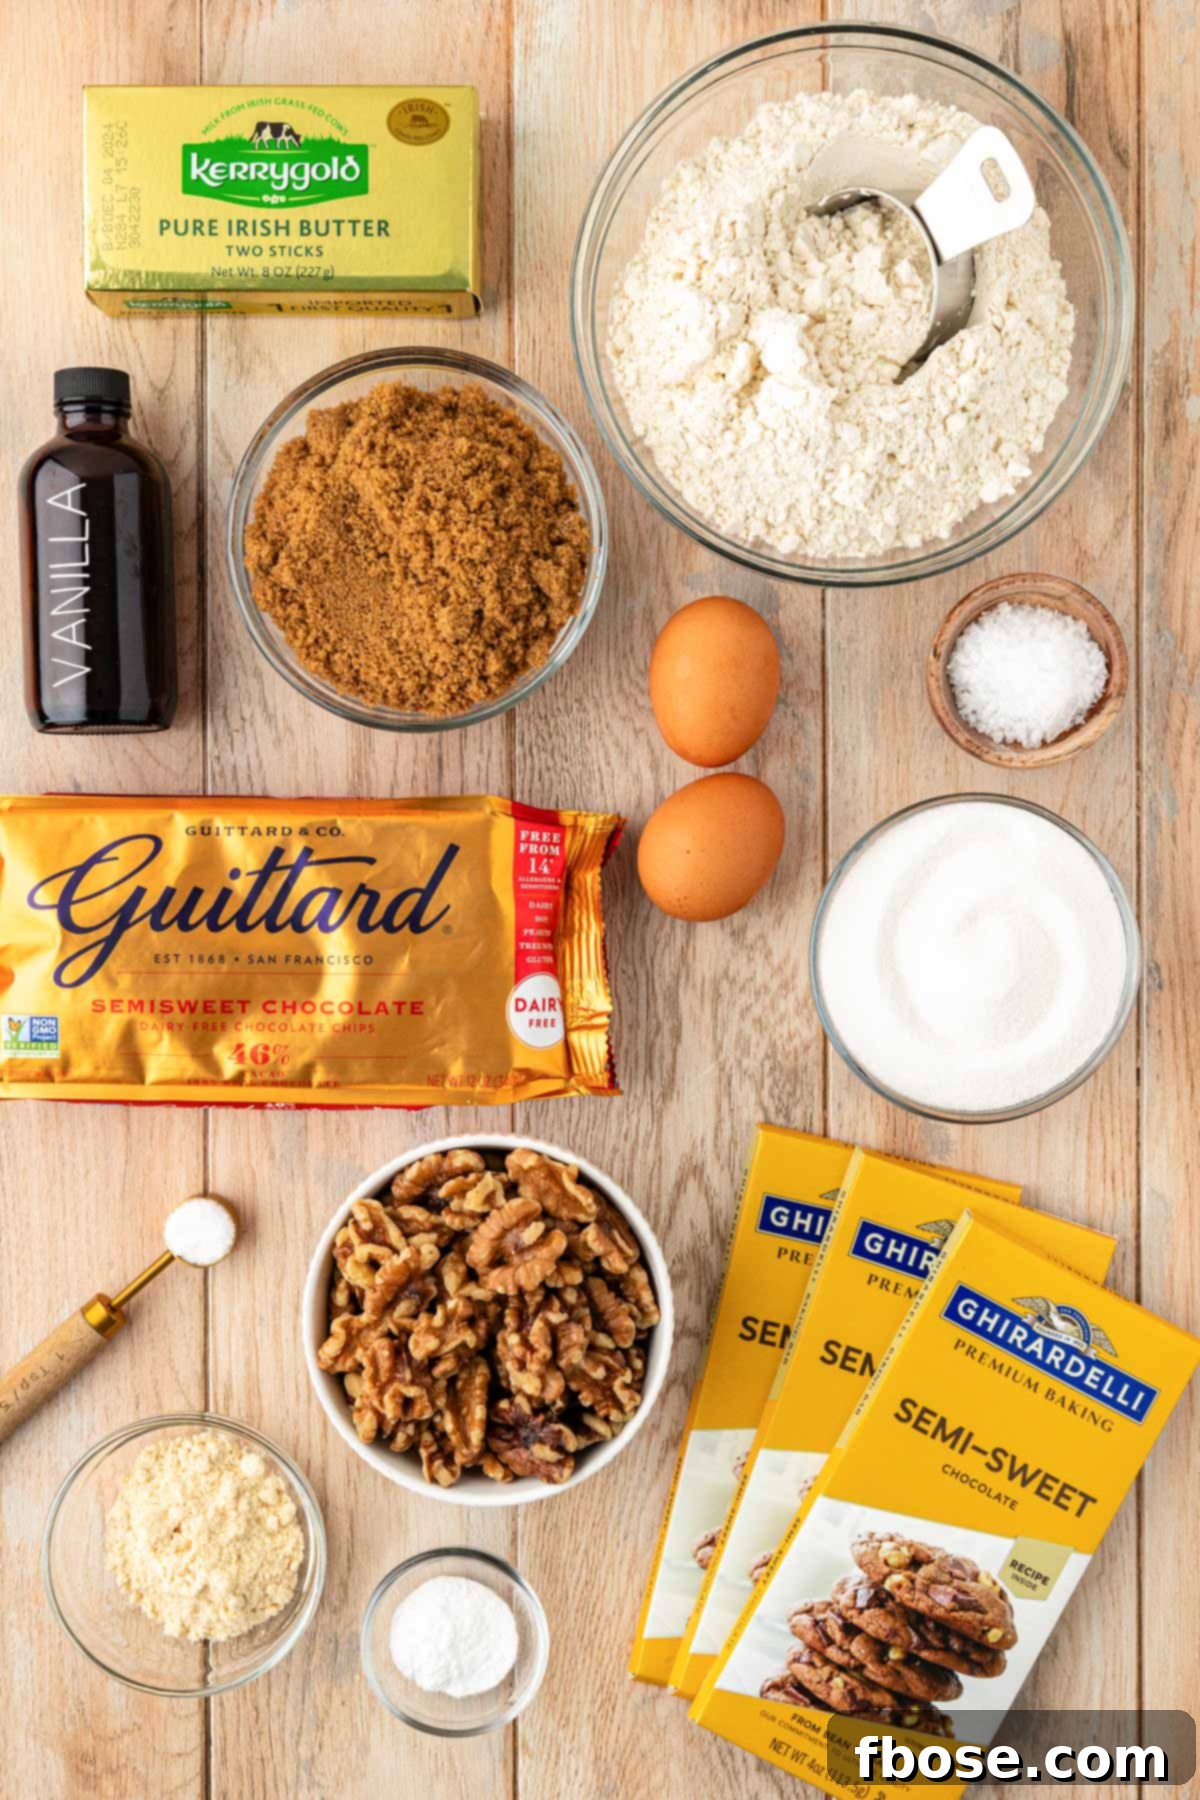
Don’t be daunted by the promise of “better than Toll House Cookies” and assume it requires obscure or exotic ingredients. Our goal was to create a truly scrumptious cookie that’s achievable in any home kitchen, so we focused on elevating pantry staples with just a couple of strategic additions. The majority of ingredients are likely already in your kitchen, ensuring accessibility without compromising on gourmet results.
This exceptional cookie recipe starts with familiar baking essentials: all-purpose flour, baking soda, salt, granulated sugar, dark brown sugar, vanilla extract, and fresh eggs. The magic truly begins with the flavor-building additions of malted milk powder and, crucially, high-quality butter like Kerrygold salted butter. These ingredients are chosen for their superior ability to impart a rich, nuanced flavor that truly transforms the cookie.
While malted milk powder isn’t structurally essential to the cookie, it introduces an unforgettable depth and unique flavor dimension that undeniably pushes these cookies into “better than Toll House” territory. Its subtle, savory-sweet notes enhance the caramelization from the brown sugar and complement the chocolate beautifully. If malted milk powder isn’t available, you can substitute it with powdered milk or even powdered coffee creamer for a similar (though not identical) effect. For those with gluten sensitivities, a 1:1 gluten-free flour blend, such as Bob’s Red Mill, can be used in this recipe. Alternatively, explore other fantastic Gluten-Free Chocolate Chip Cookie recipes if you prefer a dedicated gluten-free option.
Another specific ingredient that makes a significant impact is Kerrygold butter. Since this recipe calls for a full cup of butter, using a high-quality option is paramount. Kerrygold, with its higher fat content and rich, creamy flavor, creates a more decadent and buttery cookie that regular butter simply can’t match. It’s an investment that truly pays off in the final taste and texture.
For the chocolate, we depart from standard chocolate chips and embrace a combination of finely chopped semi-sweet chocolate and semi-sweet chocolate chips. We consciously moved away from the more commonly used Toll House brand chocolate chips because if you’re dedicating the effort, including the crucial three-hour chilling period, you might as well use superior chocolate. Chopped chocolate melts more unevenly, creating enticing puddles and ripples throughout the cookie, rather than uniform chips. For excellent chocolate choices, brands like Guittard and Ghirardelli are highly recommended. More budget-friendly yet still delicious options include Trader Joe’s and Target’s Good and Gather chocolate chips. The quality of your chocolate directly impacts the richness of your finished cookie, so choose wisely!
For an added layer of flavor and texture, consider folding in some chopped walnuts and sprinkling a pinch of flaky sea salt on top before baking. These optional additions can further enhance the complexity of the cookie.
Nuts You Can Add for an Extra Crunch
While not strictly necessary, adding nuts to your chocolate chip cookies offers a delightful textural contrast and an extra layer of flavor. Chopped walnuts are the traditional choice for Toll House-style cookies, lending a classic, earthy crunch. However, pecans also work wonderfully, bringing a slightly sweeter, buttery toastiness to each batch. Simply fold your chosen nuts into the dough along with the chocolate for that irresistible nutty goodness.
If you’re feeling adventurous and want to experiment, try using chopped almonds for a more delicate bite or even macadamia nuts for a richer, tropical twist. These additions not only enhance the overall flavor profile but also make every bite a little more interesting and satisfying. Nuts contribute a fantastic depth of flavor and a pleasing crunch that complements the soft, chewy cookie perfectly.

How To Make These Superior Toll House Cookies
Crafting these “Better Than Toll House Cookies” involves a few distinct steps that differentiate them from the traditional method, but each one is crucial for achieving their incredible flavor and texture. A comprehensive recipe card with precise ingredient quantities and step-by-step photos is available at the end of this post to guide you through the process. Feel free to leave a comment if any questions arise that aren’t covered here!
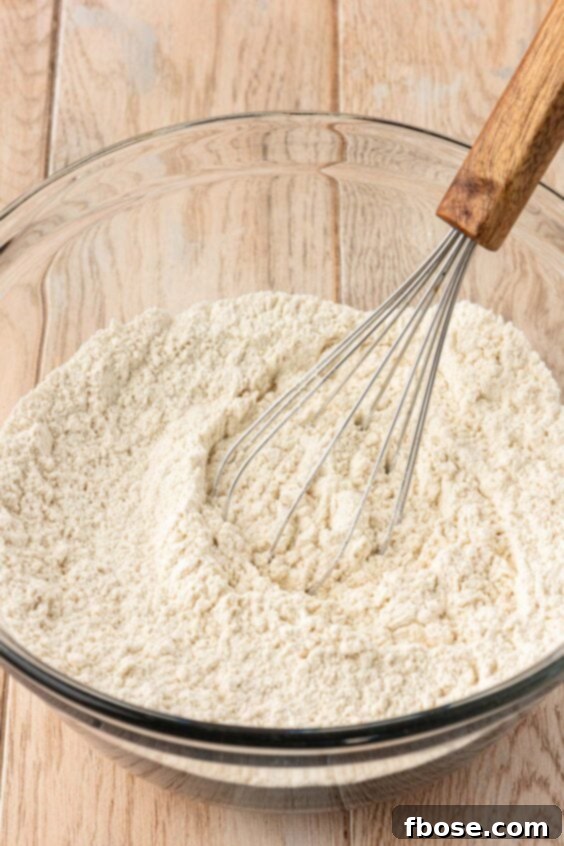
- Prepare the Dry Ingredients: In a medium mixing bowl, combine the all-purpose flour, malted milk powder, baking soda, and fine sea salt. Whisk these dry ingredients together thoroughly to ensure even distribution, then set the bowl aside. This prevents overmixing when combined with the wet ingredients later.
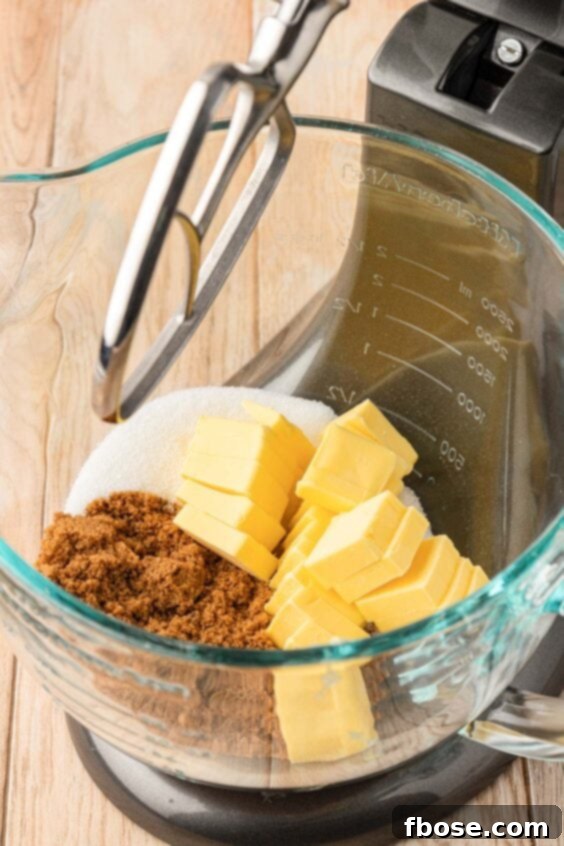
- Cream the Wet Ingredients: In the bowl of a stand mixer fitted with a paddle attachment, cream together the cold, sliced high-quality butter, granulated sugar, dark brown sugar, and vanilla extract. Beat these ingredients on medium speed for about 3 minutes, stopping to scrape down the sides of the bowl after each minute. Using cold butter is key here; it helps create air pockets and contributes to the cookie’s final texture, eliminating the need to wait for butter to soften.
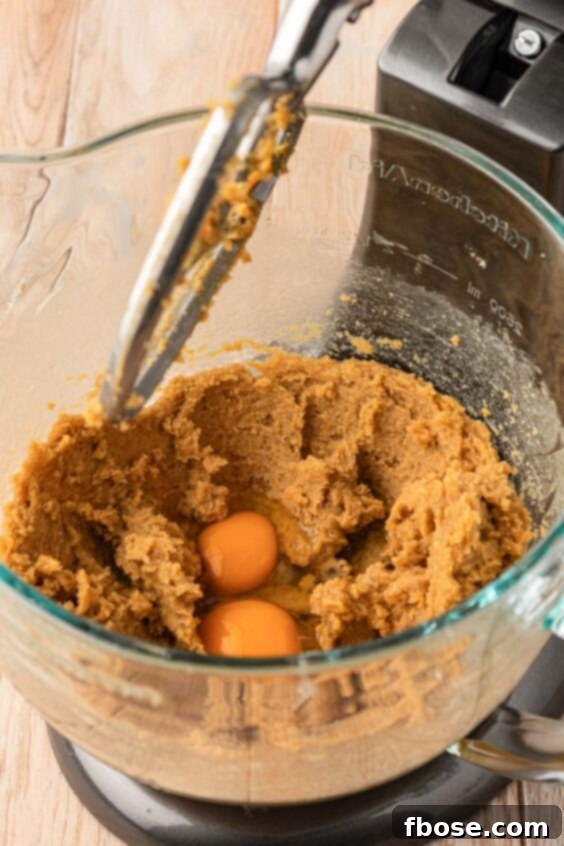
- Incorporate the Eggs: Add the large eggs to the creamed mixture, one at a time, mixing until each is fully combined before adding the next. Ensure the mixture is smooth and cohesive.
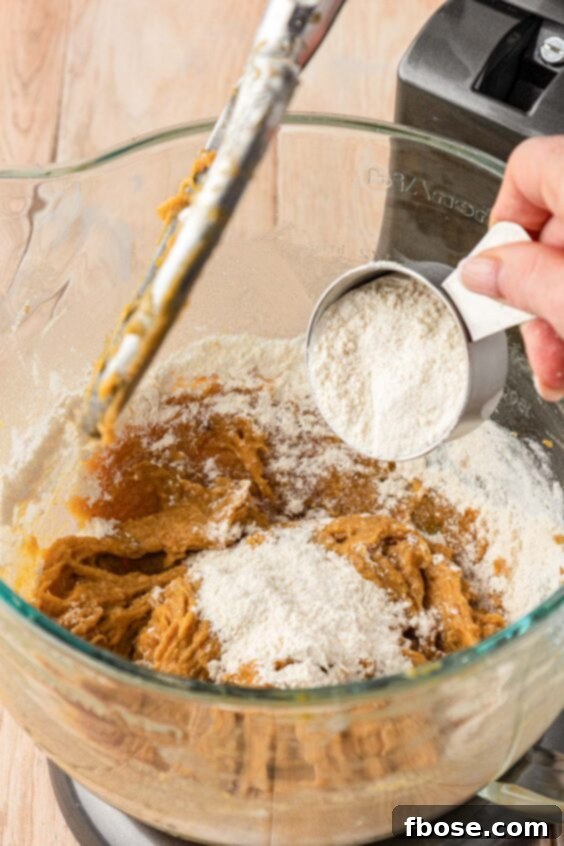
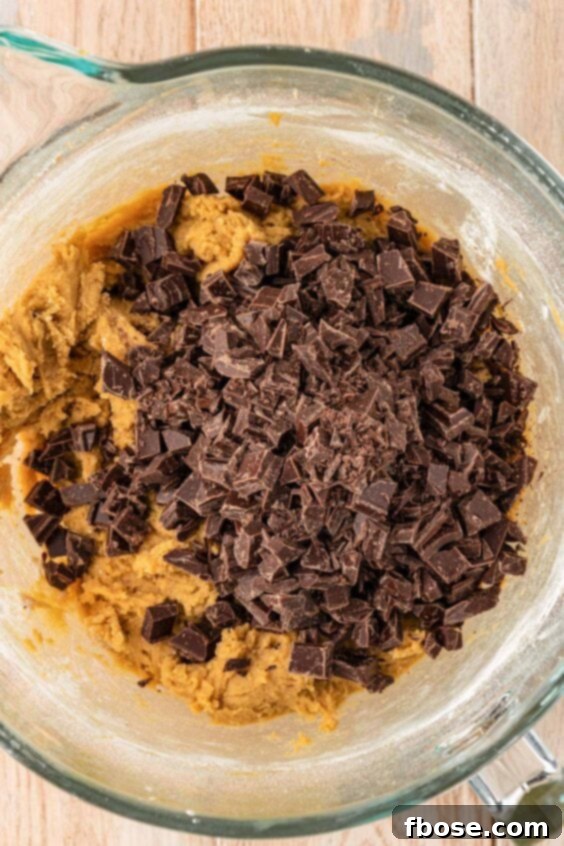
- Combine and Fold: Gradually add the reserved flour mixture to the wet ingredients in the stand mixer. Mix on low speed until just combined, being careful not to overmix, which can lead to tough cookies. Once the flour streaks are almost gone, gently fold in the finely chopped semi-sweet chocolate and any optional chopped walnuts. Mixing by hand at this stage helps prevent overdevelopment of gluten and ensures the mix-ins are evenly distributed without being broken down too much.
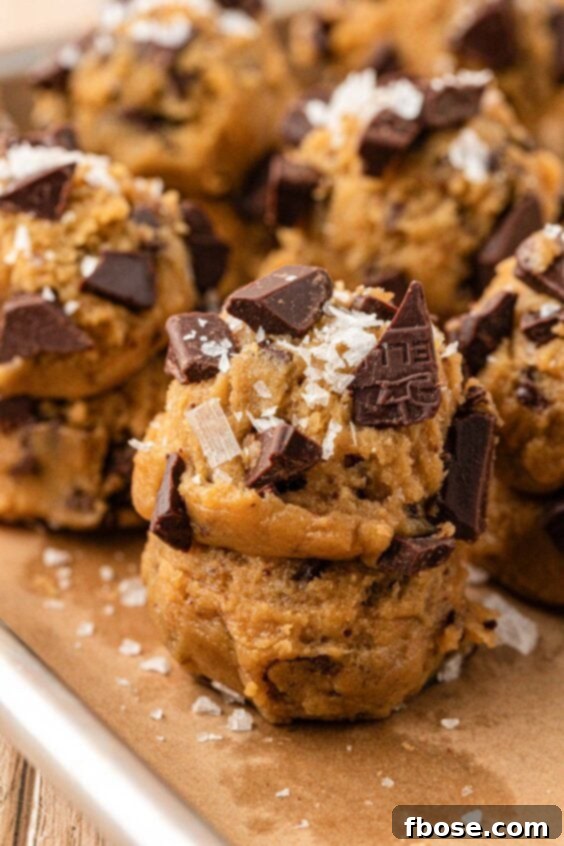
- Scoop and Stack the Dough: Use a medium cookie scoop (approximately 1.5 tablespoons) to portion out the cookie dough. Place each scoop onto a baking sheet lined with parchment paper. For extra thick, chewy cookies, gently press a second scoop of dough directly on top of the first, creating a double-stacked portion. This technique significantly contributes to the thick, soft centers we’re aiming for.
- Add Toppings: Top each double-stacked dough ball with a few additional chocolate chips, pressing them gently into the dough. Then, sprinkle a pinch of flaky sea salt over each cookie. These steps enhance both the visual appeal and the flavor balance of the baked cookies.
- Crucial Chilling: Place the baking sheet with the scooped and stacked cookie dough into the refrigerator. Chill the dough for a minimum of 3 hours. This step is absolutely critical for flavor development, preventing the cookies from spreading too much during baking, and achieving that perfect chewy texture. Do not skip or shorten this chilling time for the best results.
- Preheat and Prepare for Baking: When you’re ready to bake, preheat your oven to 350°F (175°C). Line a fresh baking sheet with parchment paper, ensuring you have enough space for the cookies to spread.
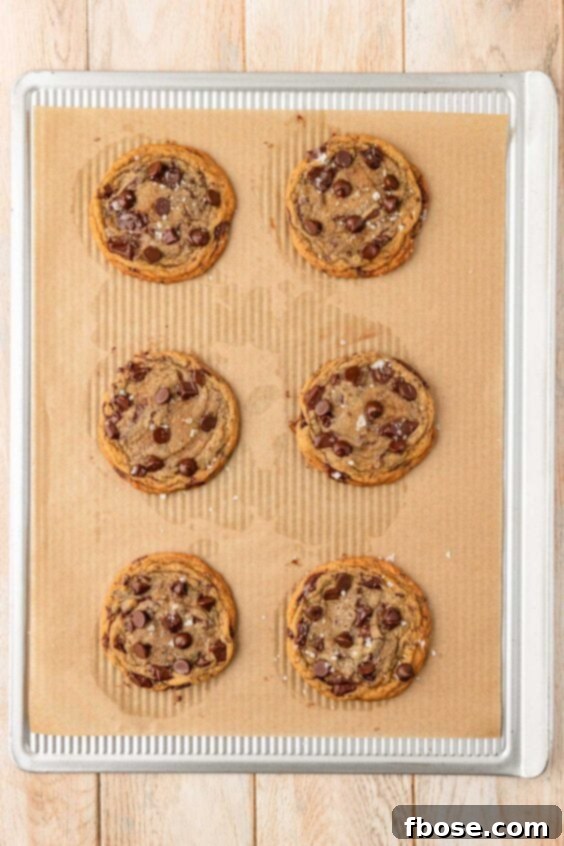
- Bake to Perfection: Transfer 6 of the chilled cookie dough balls onto the prepared baking sheet, ensuring they are spaced at least 3 inches apart to allow for spreading. Bake for 9 to 12 minutes, or until the edges are golden brown and the centers have lost most of their glossy appearance. The centers will still look slightly underdone and gooey when you remove them from the oven, but they will continue to set on the hot baking sheet.
- Optional Chocolate Finish: Immediately upon removing the cookies from the oven, gently press a few additional semi-sweet chocolate chips into the tops of each cookie while they are still warm on the pan. This optional step provides that classic, appealing chocolate chip cookie aesthetic with beautiful, melted chocolate pools.
- Cooling Process: Once your delicious batch emerges from the oven, smelling absolutely heavenly, resist the urge to move them immediately. Allow the cookies to cool on the baking sheet for approximately 2 to 3 minutes. This crucial resting period allows them to firm up slightly, ensuring they won’t fall apart when transferred. After this initial cooling, gently move them to a wire rack to cool completely. This dual cooling process helps achieve the desired crisp edges and chewy centers.
- Repeat Baking: Continue baking the remaining chilled cookie dough in batches. If your baking sheet is still warm, either use a second parchment-lined pan or place the used pan in the refrigerator for a few minutes to cool down before adding the next batch of dough. Baking on a cool sheet prevents premature spreading.
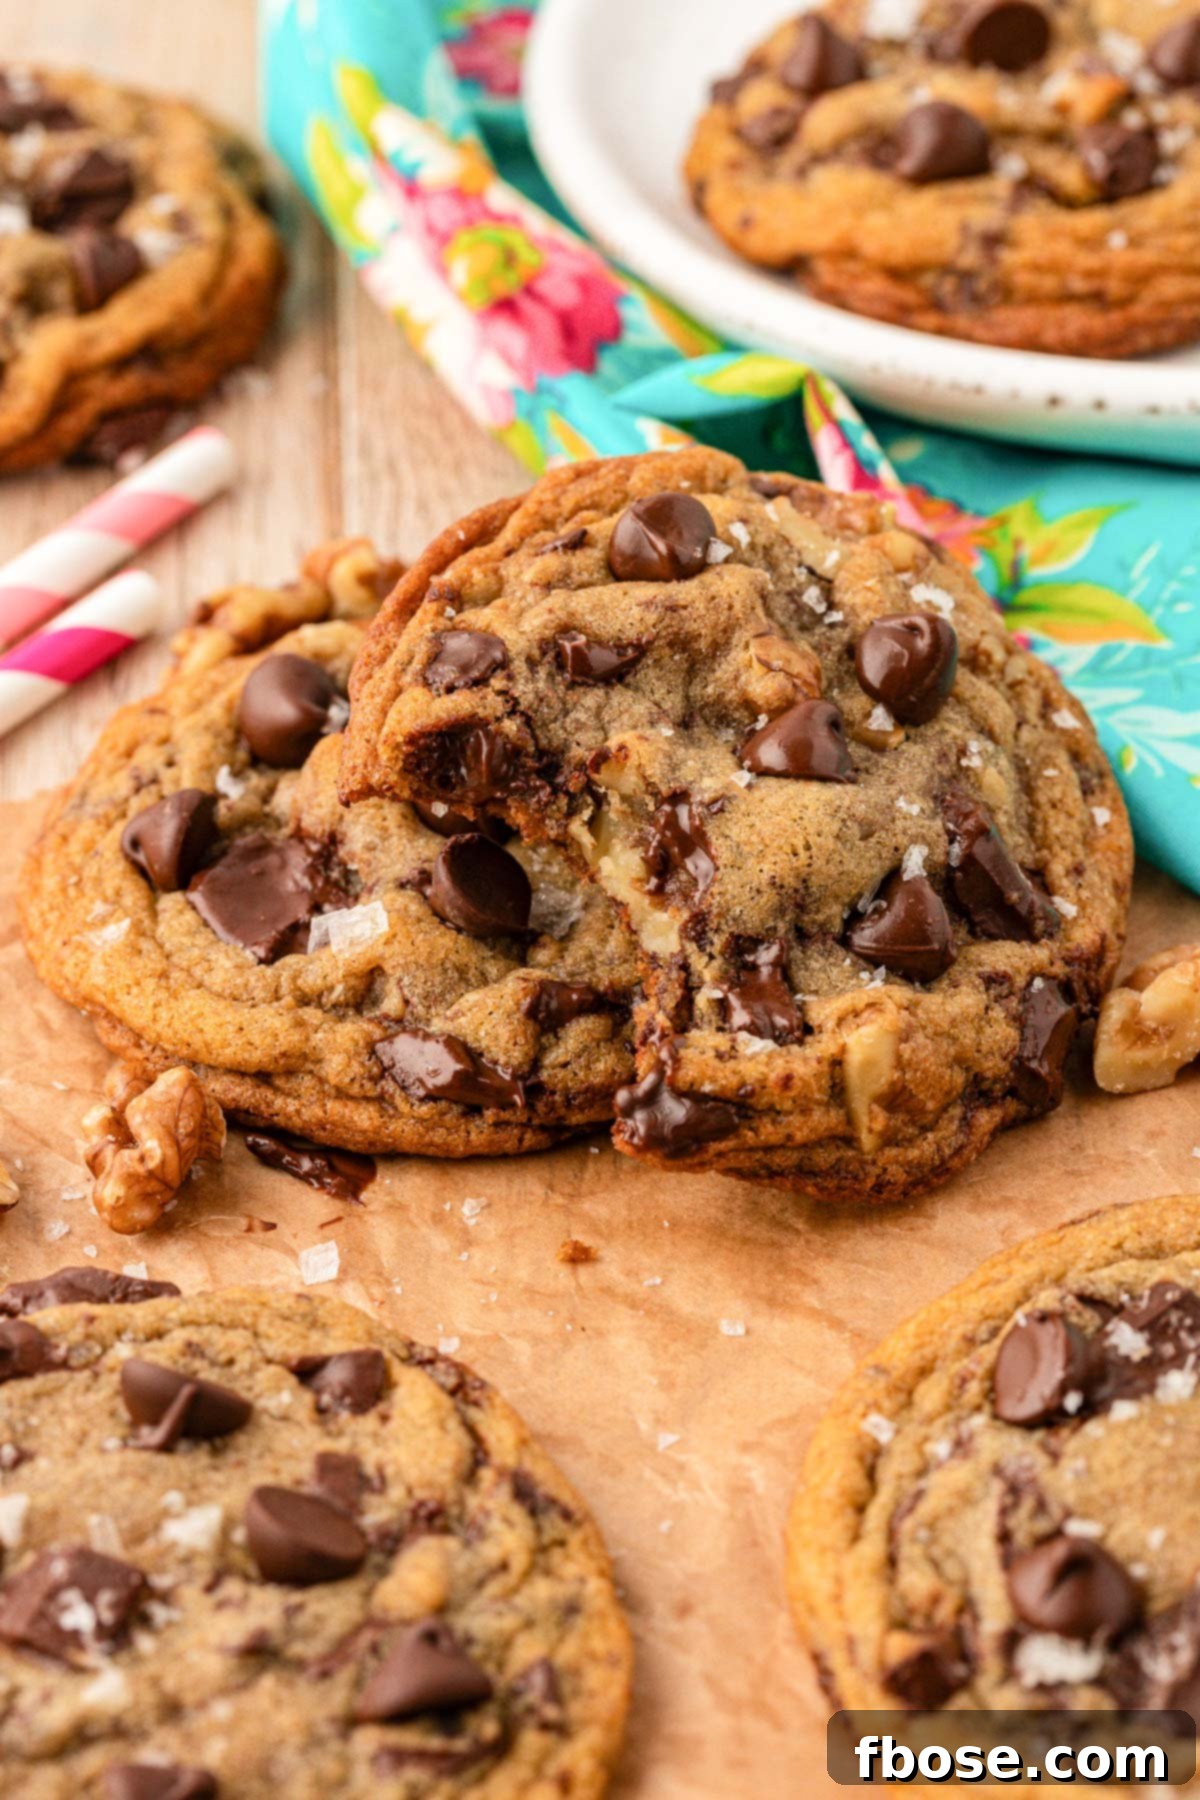
- Enjoy! Cookies will be wonderfully crisp on the edges and gooey in the center when warm. As they cool and rest, the centers will become beautifully chewy and less gooey, reaching their optimal texture.

Rebecca’s Essential Tips for Perfect Toll House Cookies
Achieving the perfect chocolate chip cookie involves a few key techniques and considerations. Drawing from my own baking experience, here are my top tips to ensure your “Better Than Toll House Cookies” turn out absolutely flawless every time:
- The Non-Negotiable Chill: One of the most frequently overlooked steps in modern adaptations of the Toll House recipe is adequate chilling time. However, chilling the dough is absolutely paramount for creating soft, chewy cookies with rich, developed flavors. Without this step, your cookies are likely to spread too much in the oven, resulting in flat, crispy disks rather than the thick, satisfying cookies we’re aiming for. The cold butter and flour hydrate slowly, and the flavors deepen, making it a critical step for success.
- Mastering the Double Stack: Don’t just scoop and bake—double stack your scoops of dough! This ingenious technique is what yields exceptionally thick cookies that are wonderfully soft and perfectly chewy in the middle. The extra height helps the cookie resist spreading too rapidly, allowing the edges to set while the center remains delightfully tender.
- Precision in Measurements: While volumetric measurements (cups and spoons) are common, this recipe truly shines when ingredients are measured by weight using a kitchen scale. It’s incredibly easy to inadvertently add too much or too little of an ingredient, especially flour, when using cups. Excess flour can significantly impact the final texture, leading to dry or crumbly cookies. Grams offer accuracy and consistency, guaranteeing the best possible result.
- The Power of Cold, High-Quality Butter: As mentioned in the ingredients, ensure your butter is cold when you start creaming it. This is counter-intuitive for many recipes that call for softened butter, but here it’s intentional. Cold butter creates steam as it melts in the oven, contributing to the cookie’s lift and chew. Opt for Irish or European-style butter, such as Kerrygold, for the richest flavor and higher fat content, which yields a more tender and luxurious cookie.
- The Parchment Paper Advantage: Even if you’re using a high-quality non-stick baking pan, I strongly advocate for lining it with parchment paper. Parchment paper not only prevents sticking but also promotes more even baking by creating a barrier between the metal and the dough. It also makes cleanup a breeze and allows for easy transfer of the delicate, warm cookies.
- Walnuts: A Matter of Preference: The addition of walnuts is entirely up to your personal taste. Feel free to omit them if you prefer a pure chocolate chip experience. However, I genuinely believe that walnuts elevate these cookies by adding a delightful crunch and a subtle nutty flavor that complements the rich chocolate and sweet dough. The two images below clearly illustrate the difference in appearance between cookies made with and without walnuts, with no other recipe changes. Both versions are delicious, but the walnuts do add a special touch.
- Salted vs. Unsalted Butter: I almost invariably reach for salted butter when I’m baking cookies. That touch of salt truly enhances all the other flavors, giving the cookies an extra “oomph” that makes them addictive. However, if you only have unsalted butter on hand, don’t fret! You can easily adjust. Simply add 1/4 teaspoon of fine sea salt for every 8 tablespoons (one stick) of unsalted butter used in the recipe. This small tweak will balance the flavors and ensure your cookies are just as delicious and comforting, every single time.
How To Serve and Store Your Baked Toll House Cookies
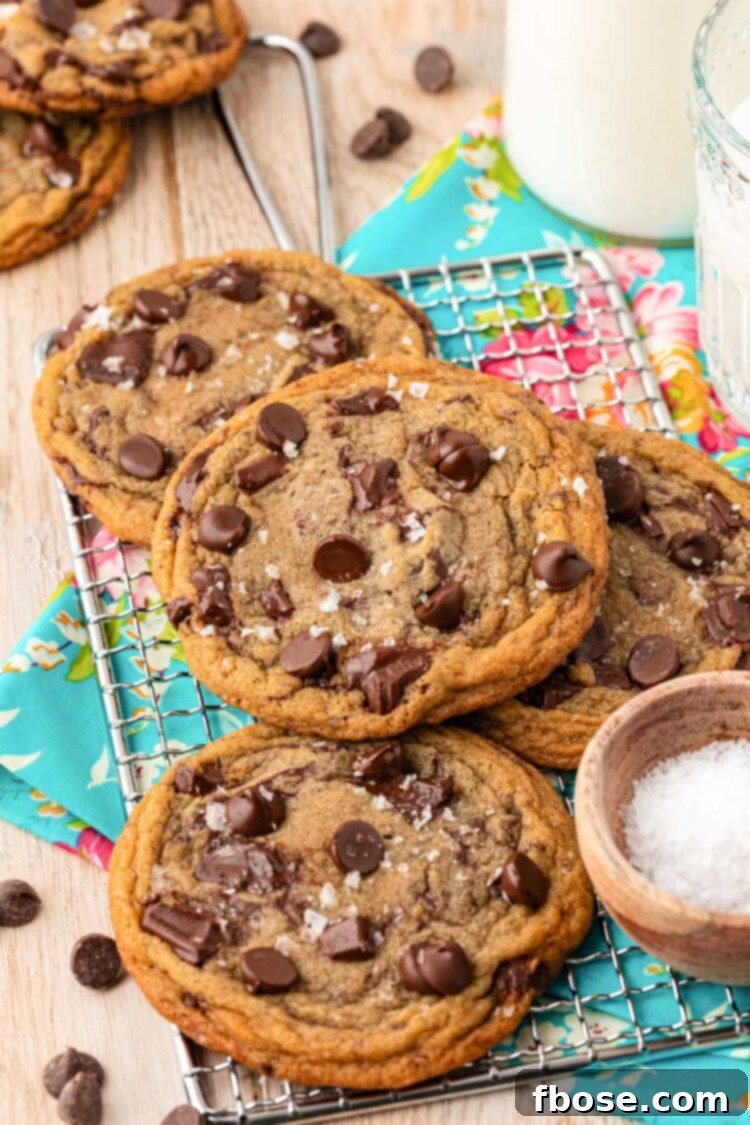
These “Better Than Toll House Cookies” are a treat in themselves, but pairing them with the right accompaniments can elevate the experience even further. Every ooey-gooey, fresh-from-the-oven chocolate chip cookie finds its perfect match with a tall, ice-cold glass of milk. The cool, creamy milk provides a wonderful contrast to the warm, rich cookie, making for a truly nostalgic and comforting indulgence.
Beyond the classic milk pairing, these cookies are absolutely phenomenal when used to create ice cream sandwiches. Simply place a scoop of your favorite ice cream between two cookies for a decadent dessert that’s perfect for a warm evening or any time you crave a frozen treat. I often make a batch of these cookie ice cream sandwiches to keep in the freezer, ready for when a craving strikes. Alternatively, for a quick and easy dessert, gently warm a single cookie in the microwave for a few seconds until it’s soft and gooey, then top it with a scoop of vanilla ice cream. The warm cookie and cold ice cream create a magical combination of textures and temperatures.
How to Store Your Baked Toll House Cookies
To ensure your freshly baked “Better Than Toll House Cookies” retain their delicious flavor and texture, proper storage is key. Once completely cooled, store them in an airtight container at room temperature. They will remain wonderfully soft and delectable for 3 to 5 days – though it’s unlikely they’ll last that long! If you’re lucky enough to have a few extras, these cookies also freeze exceptionally well for longer storage, allowing you to enjoy a homemade treat whenever the mood strikes.
How To Freeze Chocolate Chunk Cookies for Later Enjoyment
Freezing these chocolate chunk cookies, whether baked or as dough, is a fantastic way to ensure you always have a delightful treat on hand. For baked cookies, once they are completely cool, simply place them in an airtight freezer-safe container or a heavy-duty freezer bag, separating layers with parchment paper to prevent sticking. They’ll keep well for up to 3 months. Thaw them at room temperature or warm briefly in the microwave for that fresh-baked feel.
Even better, learn how to freeze cookie dough! Freezing the raw cookie dough allows you to bake these “Better Than Toll House Cookies” straight from the freezer. This means you can enjoy a warm, homemade cookie anytime without the mess and effort of mixing a full batch from scratch. It’s the ultimate convenience for fresh-baked indulgence.
More Delicious Chocolate Chip Recipes!
If you’re a true chocolate chip cookie enthusiast, you’ll love exploring these other delightful recipes that celebrate the irresistible combination of chocolate and dough. Each offers a unique twist on this beloved classic, perfect for any occasion:
- Edible Cookie Dough – A fantastic eggless recipe that includes a simple step to heat-treat the flour, making the dough completely safe and delicious to eat raw. Perfect for when you can’t wait for the cookies to bake!
- Pumpkin Chocolate Chip Pancakes – Infuse your breakfast with the cozy flavors of fall! These pancakes taste just like your favorite seasonal cookie, bringing warmth and sweetness to your morning.
- Chocolate Cookie Dough Cake – An impressive and incredibly decadent cake featuring layers of rich chocolate cake and creamy cookie dough frosting. It’s a showstopper that everyone will adore.
- Cookie Dough Truffles – Bite-sized balls of rich, edible cookie dough, often dipped in chocolate. These are perfect for parties, holiday gatherings, or even game days when you need a delightful, easy-to-share treat.
- Brownie Cookies – Imagine the fudginess of a brownie combined with the chewiness of a cookie. These rich, chocolatey delights are a must-try, having earned 5-star ratings from hundreds of satisfied bakers!
Did You Make This Recipe?
If you’ve tried this recipe, please leave a review in the comments below. I love hearing from you! Don’t forget to tag me – @sugarandsoulco – on Instagram and Pinterest with your photos, or join our Sugar & Soul Show-offs Community and share them there.
This recipe was originally published in April 2018 and was updated in March 2024 with new photos and an improved recipe.
(Better Than) Toll House Cookie Recipe
Ingredients
- 2½ cups all-purpose flour 325g, spooned and leveled, King Arthur brand recommended
- 2 tablespoons malted milk powder 20g
- 1 teaspoon baking soda
- 1 teaspoon fine sea salt or ½ teaspoon salt
- 1 cup salted butter 227g, cold and sliced, Kerrygold brand for best results
- ¾ cup granulated sugar 150g
- ¾ cup dark brown sugar 165g, packed
- 1 teaspoon vanilla extract
- 2 large eggs Vitals Farms, Happy Eggs, or Nellie’s brand recommended
- 12 ounces semi-sweet chocolate finely chopped
- 1 cup chopped walnuts optional
- ½ cup semi-sweet chocolate chips optional for topping
- flaky sea salt optional for topping
Instructions
-
Line a large baking sheet with parchment paper and set aside.
-
In a medium bowl, whisk together the 2½ cups all-purpose flour, 2 tablespoons malted milk powder, 1 teaspoon baking soda, and 1 teaspoon fine sea salt and set aside.

-
Slice 1 cup salted butter (use cold for best results) into tablespoons and cream with ¾ cup granulated sugar, ¾ cup dark brown sugar, and 1 teaspoon vanilla extract in a stand mixer fitted with a paddle attachment at speed 4 for 3 minutes, scraping down the sides of the bowl after each minute.
-
Mix in the 2 large eggs until fully combined.
-
Gradually add in the flour mixture and mix until fully combined.
-
Fold in most of the chopped 12 ounces semi-sweet chocolate and 1 cup chopped walnuts (if using).
-
Use a medium cookie scoop (1.5 tablespoons) to scoop the cookie dough into 1-ounce portions and place the scoop on the prepared baking sheet. Then, gently press another scoop of dough into the top of the first so they are stacked.
-
Top the scoops of dough with the remaining chopped chocolate and sprinkle with flaky sea salt.
-
Chill the dough for at least 3 hours before baking for best results.
-
When ready to bake, preheat the oven to 350°F and line another large baking pan with parchment paper
-
Place 6 of the chilled cookie dough balls at least 3 inches apart on the baking pan. Bake for 9 to 12 minutes or until the edges are golden brown and the centers have lost most of their glossiness (they will still be gooey in the center when you pull them out and will continue cooking on the pan).
-
As soon as the cookies come out of the oven, gently press a few of the ½ cup semi-sweet chocolate chips into the tops of each one while they are still on the pan. This is optional if you really want that classic chocolate chip cookie look.
-
Allow the cookies to cool on pan for 2 to 3 minutes before transferring to a cooling rack.
-
Repeat with the next 6 cookies, either using another pan or chilling the pan from the first batch in the fridge for a few minutes.
-
Cookies will be crisp on the edges and gooey in the center when fresh out of the oven. After cooling and resting, the centers will become more chewy and less gooey.

Video
Notes
- Not chilling the dough could result in flatter cookies with underdeveloped flavor.
- Light brown sugar can be used in place of dark.
- Nutritional information is an estimate that includes the optional nuts and chocolate chips.
- Adapted from Nestle Toll House.
Nutrition
Did You Make This Recipe?
Don’t forget to share it with me on Instagram @sugarandsoulco and follow on Tiktok @sugarandsoulco and Pinterest @sugarandsoulco for more!
Pin Recipe
Share Recipe