Thanksgiving Cookies: Turkeys, Leaves and Pumpkins, Oh My!
So I said I would write a post about these a few days ago. I got to thinking, what the heck am I going to write? I have a bunch of totally cool pictures, but I don’t feel confident enough to give a tutorial on these, and the recipes aren’t mine either. Hmm.
- Desserts
- American
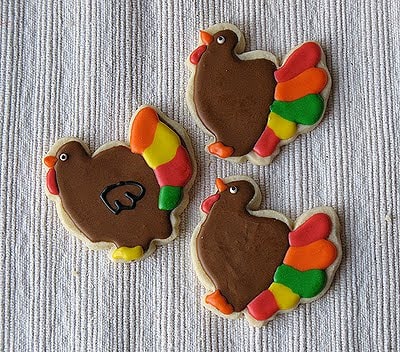
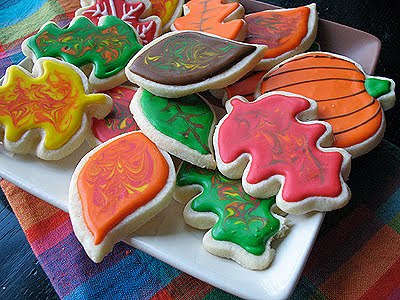
So I said I would write a post about these a few days ago. I got to thinking, what the heck am I going to write? I have a bunch of totally cool pictures, but I don’t feel confident enough to give a tutorial on these, and the recipes aren’t mine either. Hmm. So I thought I would just share some things that worked for me and provide you with the recipes I used and give a little link love to the person who shared it with me;)
So first off, this is going to be an obsession with me, I can already see it. Between my craft blog and this food blog, this is definitely right smack dab in between. Because they are edible, any royally iced cookies will be posted here. But I’m warning you now, I will probably find every occasion and holiday to make these. So feel free to zoom on past the decorated cookie posts if I start to bore you LOL This blog certainly certainly won’t be dedicated to cookies, but they are just too dang fun not to make them when an occasion arises.:)

So on with the post. When in WalMart a few days before Halloween looking for a clown wig, I noticed some cute cookie cutters hanging on the wall. By now I had already fallen in love with decorating cookies after making the football jersey cookies for my boys’ football teams. So I just HAD to get the cookie cutters.:) It was a three pack including a turkey, leaf, and a pumpkin. I had another leaf shaped cutter at home, and also a bunch of alphabet letters, and so this post was born.
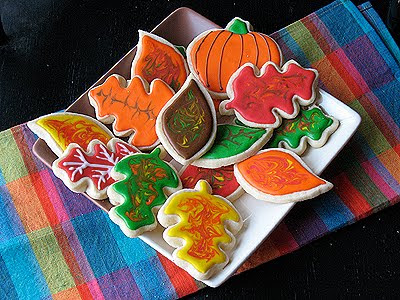
The sugar cookie recipe as well as the icing recipe I used comes from my Florida friend, Leslie, of The Hungry Housewife (p.s. don’t google that, you mind end up with an eyeful if you click to the wrong site bahahaha!). Leslie gives a bunch of great tips for making these cookies, so click over to her site and bookmark that link to refer back to. Great stuff. The recipe is also listed at the end of this post.
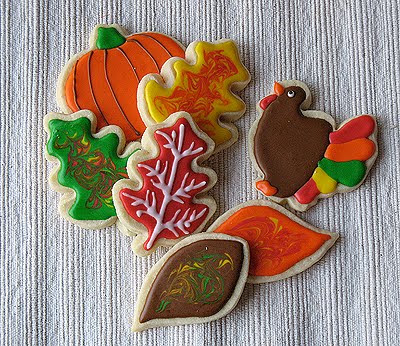
Another great link is The Baker’s Banter from King Arthur Flour. If you follow that link, you will find a very cool way to turn parchment paper into small piping bags for making fine lines. These work really great and it’s perfect for details. Not only because of the small lines and dots you can create, but also because it only holds a small amount of icing, so I don’t feel like I’m wasting putting a bunch into piping bags. I used these little bags to make the lines on the pumpkins, the eyes on the turkey, and the dots on the alphabet letters. Fabulous.
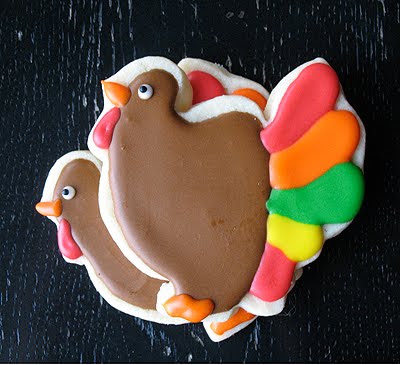
Now I’m sure that decorator tips are great and all, but when you only have one and you are trying to decorate with a bunch of different colors AND you don’t want to mess with couplings and switching the tip from bag to bag, you might do what I did. I just filled the disposable bags with the colored icings and snipped the end of the tip off the bag. Overall it does a great job. While the piping tip is definitely more precise, this method certainly worked fine for me.

Also, I wanted to mention that Leslie had pointed out that outlining all your cookies first and coming back and filling the centers afterward (we are talking about with the same color, so outline in red, fill in red for example) can leave visible border lines because those borders dry before you get back to them. So instead, she suggested piping the border and filling the center immediately. Again, this is only if you are outlining and filling with the same color. She was so right. When I made the jersey cookies I did this with the colored ones and they were great. When I made the white jerseys, I outlined them all first then came back and tried a flooding method I saw on a different blog using these fun icing bottles. Na da. Ended up with border lines. Not doing that again.
When I filled my centers in, I just basically kept going around the inner border of the outline, working my way inward, until I reached the center. Then I gently tapped the cookie against the side of the cookie sheet, or you an pick it up and shake it side to side a little to make the icing spread out. If there are any bubles, pop with a toothpick and shake again. You can also use a toothpick to spread the icing out, you just have to work quickly so the icing doesn’t dry before you fill all the gaps. Do one cookie at a time, that’s key.
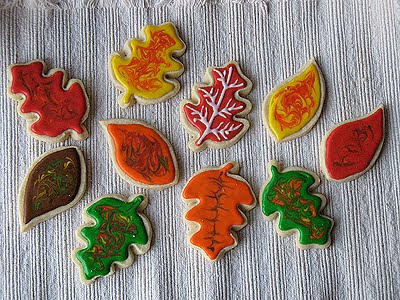
Something else fun that I experimented with was blending colors on the leaves. These could be so much better, but not bad for being a newbie! The trick is to add the secondary color(s) right away while the base coat is still wet. Then just drag a toothpick through it and swirl around.
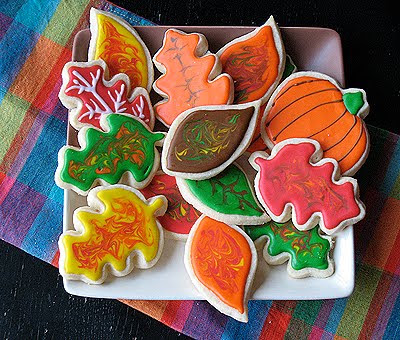
Even if you don’t want to mess around with Royal Icing, which is really easy, you should still try this cookie recipe. Very yummy, overall winner, and even fun to decorate with canned frosting! You can still use Royal icing to top the cookies, and sprinkle with jimmies, nonpareils, or colored sugar too. Just remember you have to add those right away before the icing sets.

And so I give thanks to my friend Leslie, she answered several questions and provided two great recipes from which I yielded these yummy treats. My family thanks you too.:)
Oh and sorry for all the pictures. I couldn’t decide which ones to use, so I just used them all! LOL Hope you have a Happy Thanksgiving!
Looking for something more kid friendly? Try this Thanksgiving turkey treat from The Idea Room the kids will love!
Cut Out Sugar Cookies
from The Hungry Housewife
NEW! Be sure to subscribe to my newsletter, Foodie in the Craftroom, to receive updates and tips from both and Crafts by! Visit https://amandascookin.com/p/subscribe-to-newsletter.html
More recipes to try
Eight more recipes from the kitchen.
Sweet Potato Souffle
This smooth and creamy sweet potato souffle topped with crumbly pecan…
Classic Buttermilk Pancakes
Put that boxed pancake mix back in the cabinet and level up your…
40+ Pie Recipes, Crust Types, Spice Mixes and Homemade Fillings
It wouldn’t be the holidays without pie. There are so many pie recipes…
Pumpkin Cake Roll
A soft, moist pumpkin cake base is wrapped with a swirl of rich cream…
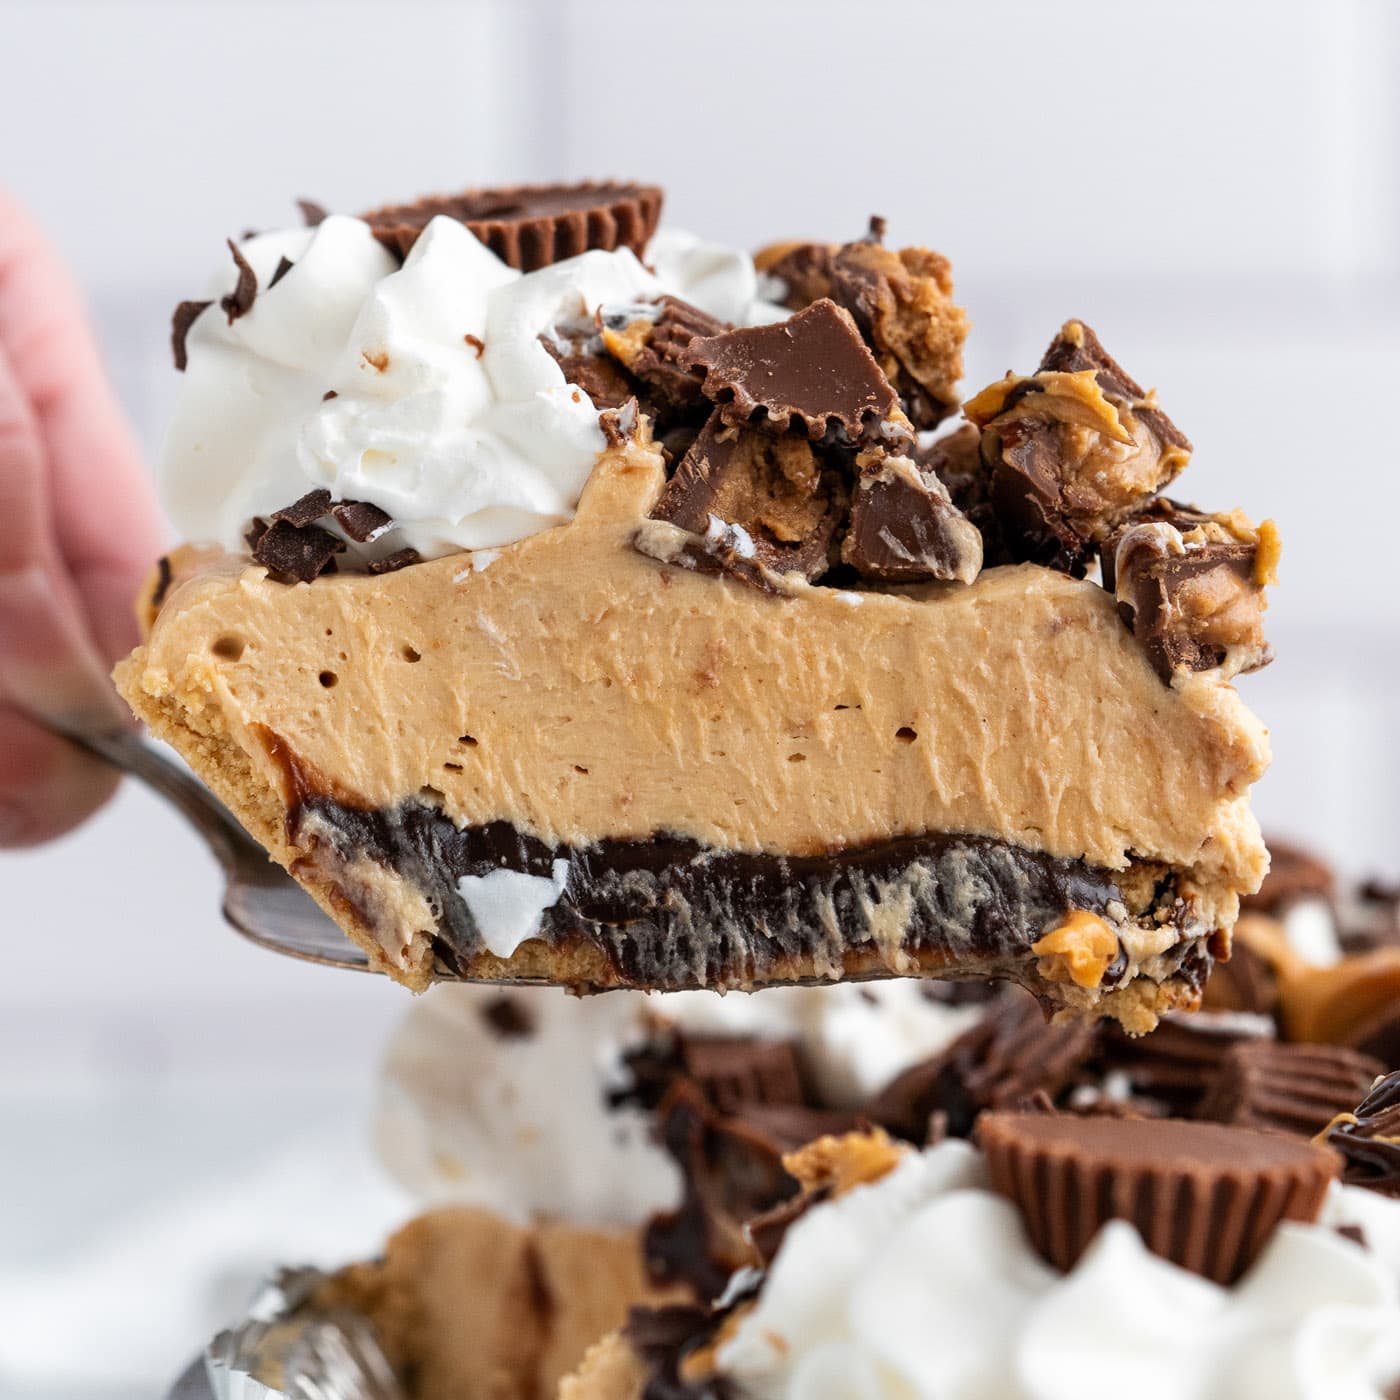
Reeses Pie
Smooth and creamy peanut butter pie filling meets a layer of decadent…
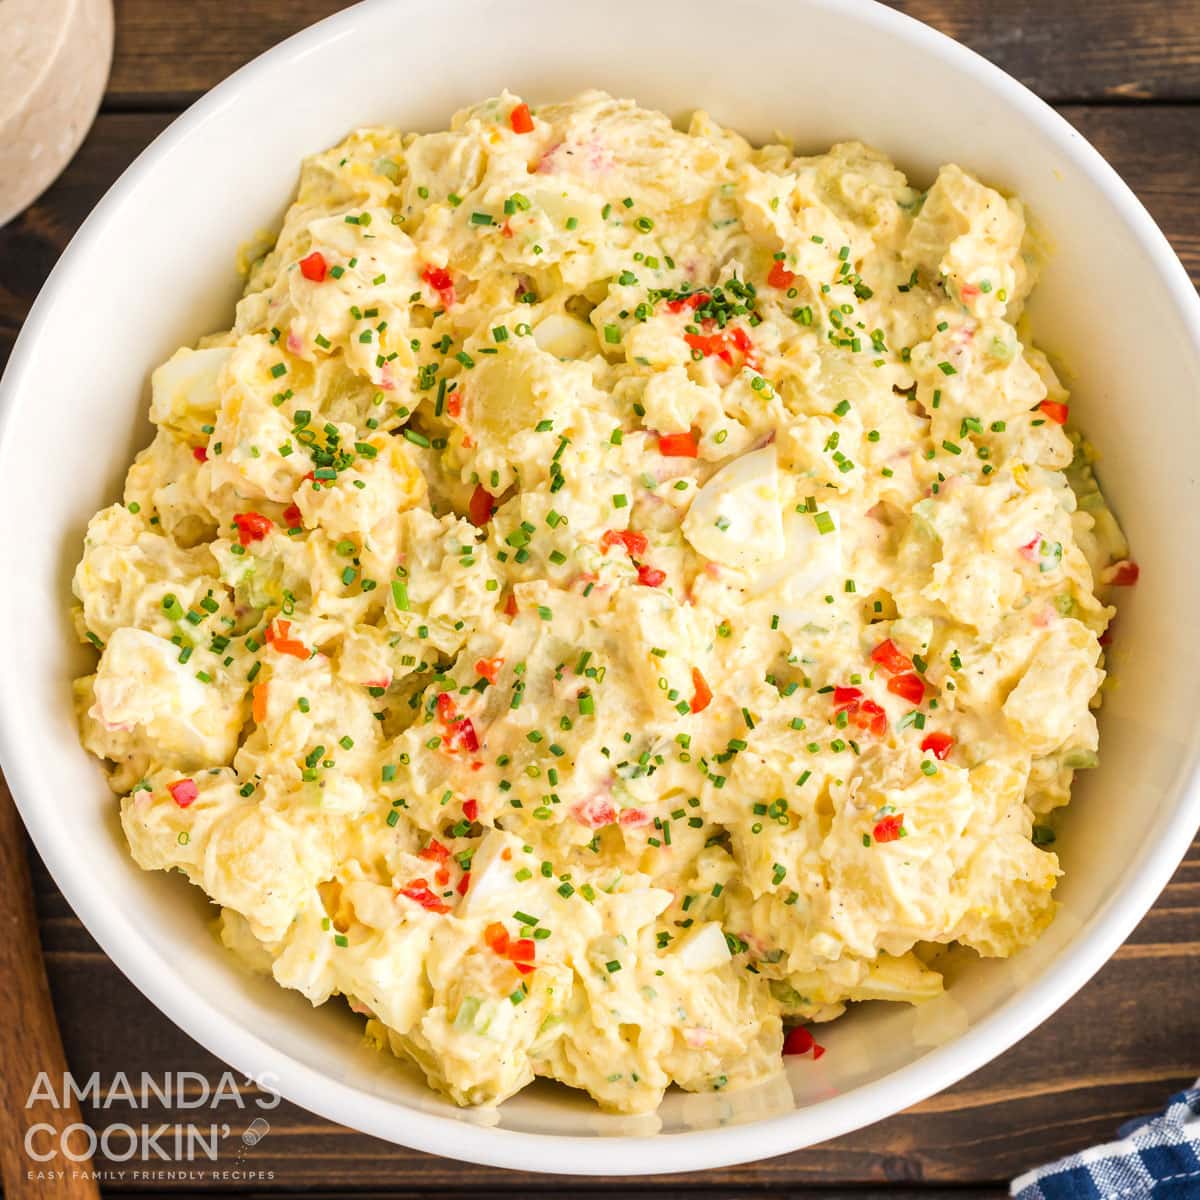
Mom’s Potato Salad
If you’re looking for that perfect potato salad, you have to try my…
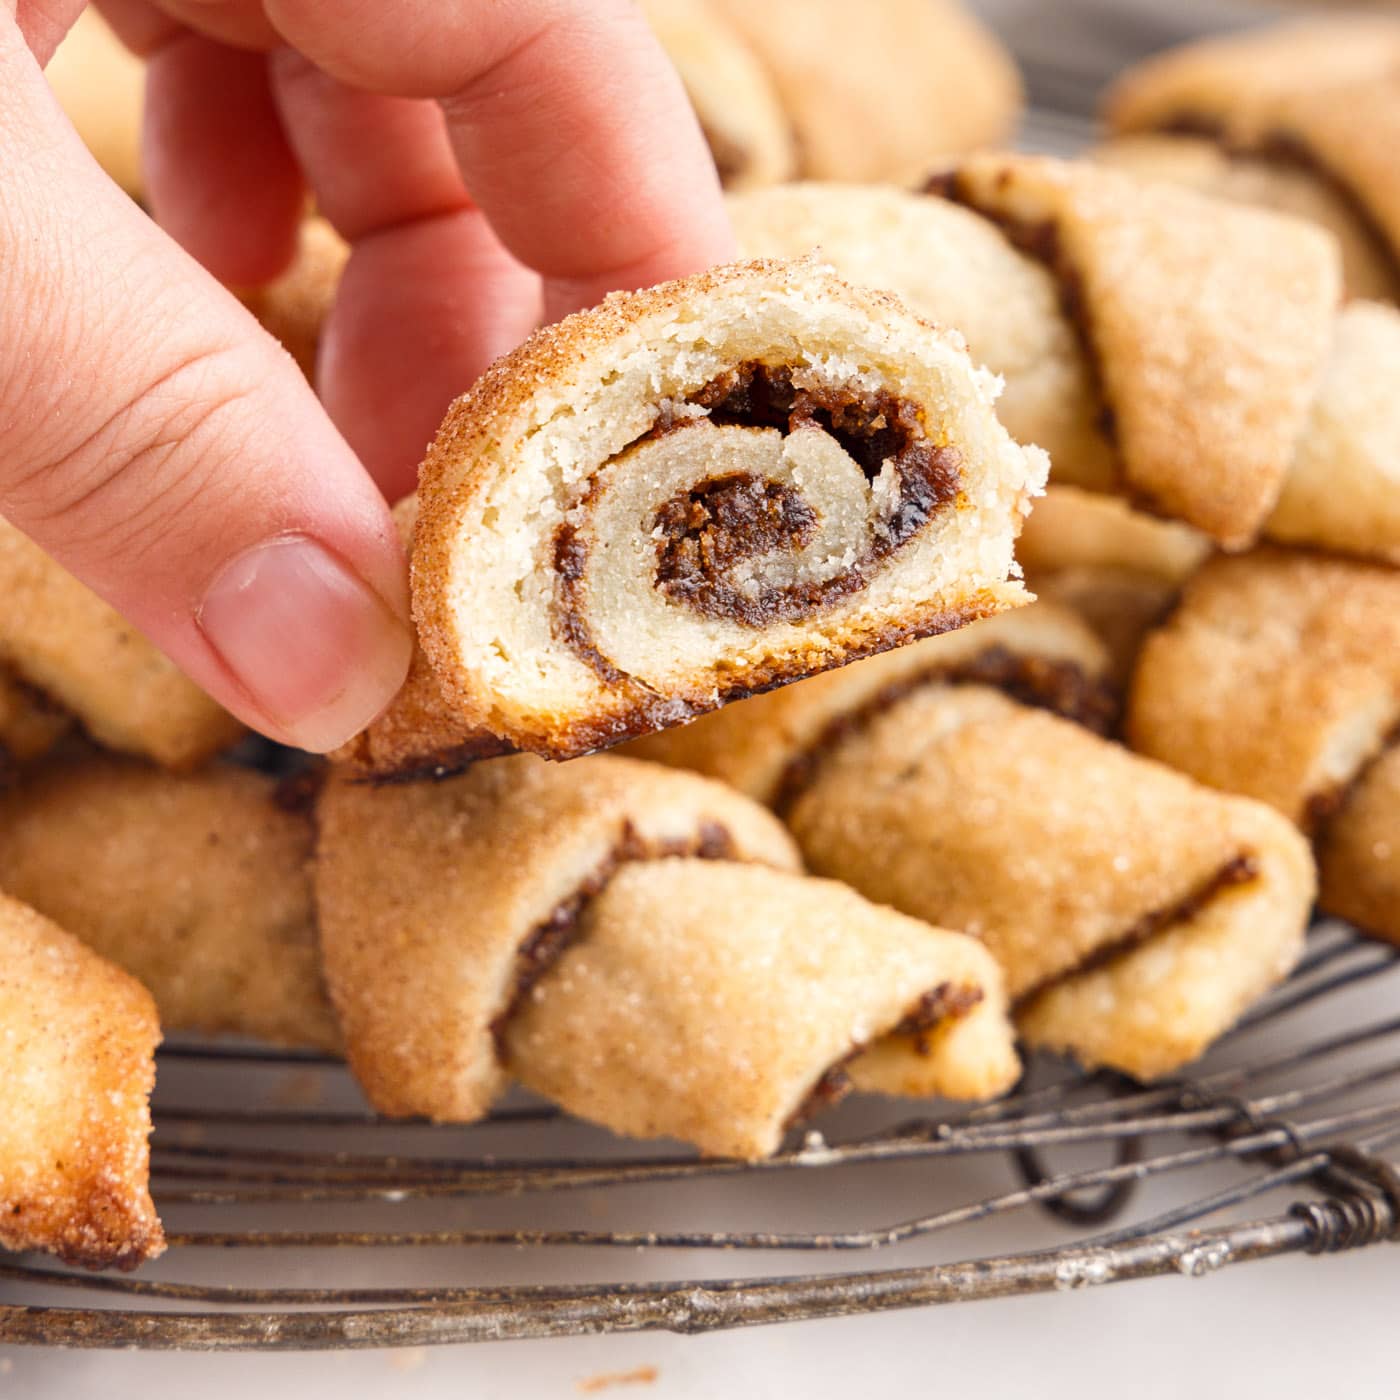
Rugelach
Flakey cream cheese rugelach dough rolled crescent style surrounding a…
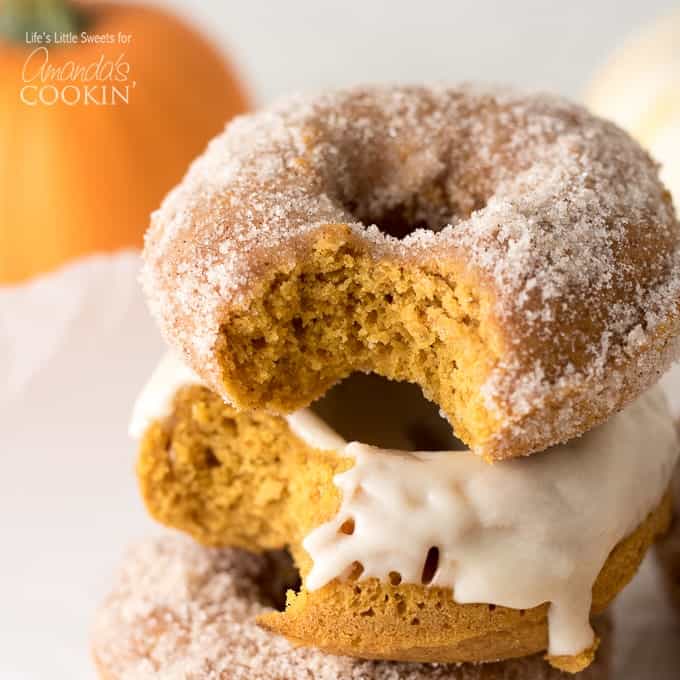
Pumpkin Spice Donuts
These Pumpkin Spice Donuts are moist, baked cake donuts and can be…