

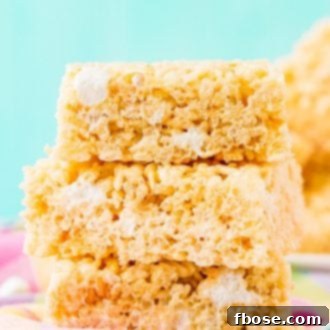
Rice Krispie Treats are a timeless delight, bringing together the perfect blend of salty butter, sweet, gooey marshmallow, a hint of warm vanilla, and the satisfying crunch of rice krispies cereal. They’re more than just a dessert; they’re a bite of pure nostalgia and joy.
Prepare to fall in love with this ultimate no-bake dessert that’s not only incredibly delicious but also surprisingly quick to make, ready in under 30 minutes! Forget complex baking techniques or lengthy cooling times; this recipe delivers maximum flavor with minimal effort. If you enjoy these, you’ll also adore my Fruity Pebbles Treats or the whimsical Cap’n Crunch Treats!
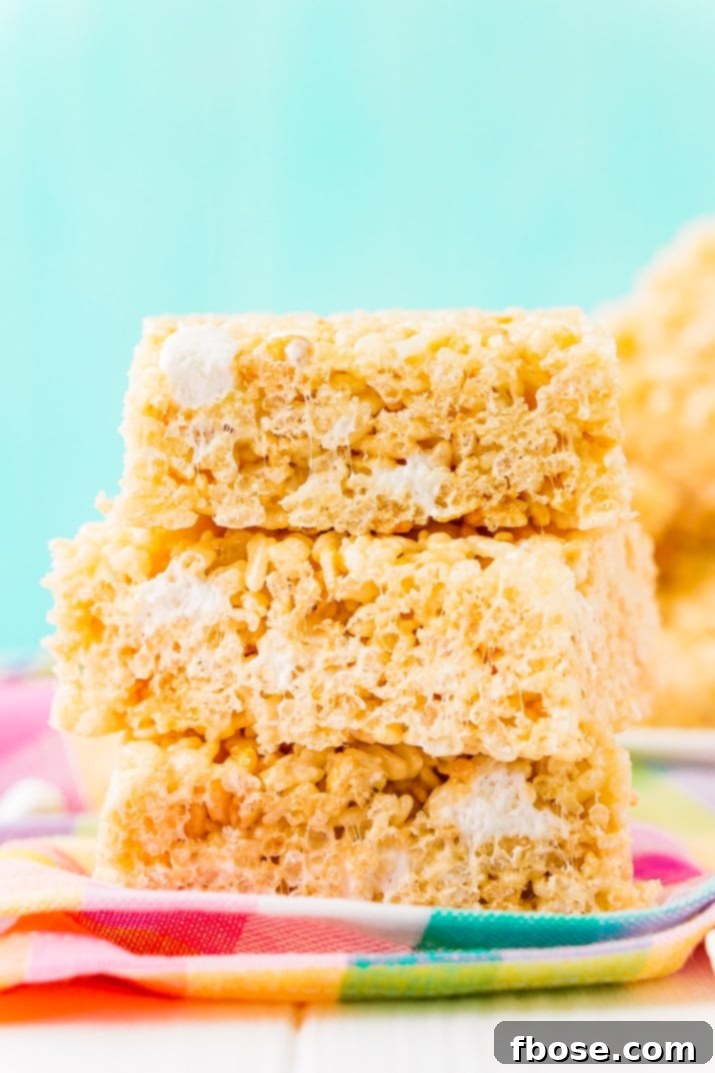
The Irresistible Allure of Homemade Rice Krispie Treats
For many, Rice Krispie Treats are synonymous with childhood memories. I certainly grew up with them, a cherished classic that my Nana would whip up as an after-school delight. That magical combination of salty butter, creamy marshmallow, a whisper of vanilla, and the signature crispy cereal has held a special place in my heart ever since. What truly sets them apart, beyond their incredible taste, is their remarkable simplicity. They’re a no-bake wonder, incredibly easy to prepare, making them a go-to treat for any occasion.
My Nana, like countless others, always followed the classic recipe found on the back of the cereal box. And while that recipe is certainly good, I’ve discovered a way to elevate these beloved treats to an extraordinary level. This isn’t just another Rice Krispie Treat recipe; it’s a perfected version that guarantees unparalleled gooeyness and flavor, making them truly “AMAZE-balls!”
Why This Recipe Stands Out: The Secret to Perfect Gooeyness
What makes these Rice Krispie Treats the best you’ll ever taste? It all comes down to a meticulously balanced ratio of butter to marshmallow to cereal. Unlike the standard recipe that can sometimes result in overly stiff or dry treats, our adjusted proportions ensure every bite is perfectly gooey and delightfully chewy. Adults and kids alike will be captivated by the luxurious texture and rich flavor. The subtle addition of vanilla extract, often overlooked, enhances the marshmallow’s sweetness and depth, creating a more sophisticated and comforting taste profile. This recipe prioritizes that craveable, melt-in-your-mouth experience that keeps everyone coming back for more.
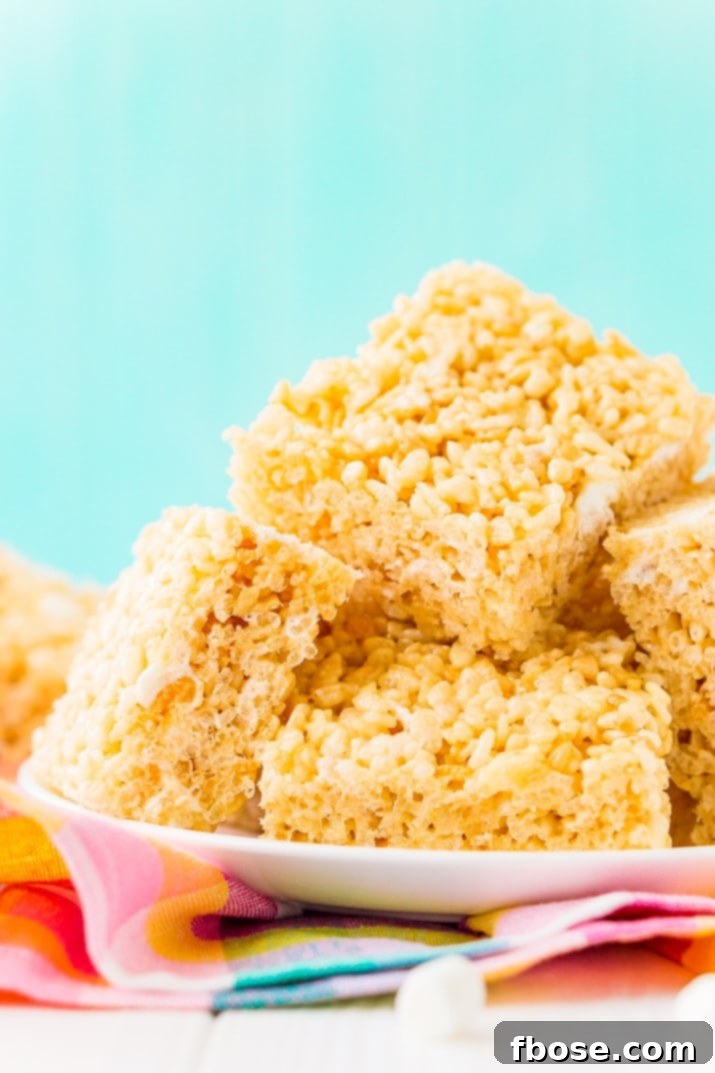
How To Make the Best Rice Krispie Treats: A Simple Guide
This no-bake dessert recipe is a testament to simplicity, requiring minimal ingredients, basic kitchen tools, little effort, and hardly any time. It’s truly one of the easiest, most rewarding things you’ll ever whip up!
Essential Ingredients You’ll Need:
- **Salted Butter:** The hero of our flavor profile, providing that essential salty counterpoint to the sweet marshmallow.
- **Mini Marshmallows:** Divided for maximum gooeyness and delightful pockets of sweetness.
- **Rice Krispies Cereal:** The classic crispy base that gives these treats their signature crunch.
- **Vanilla Extract:** Our secret ingredient for enhancing and deepening the overall flavor.
Recommended Equipment:
- 9×13-inch baking pan
- Aluminum foil
- Non-stick cooking spray
- Large, heavy-bottomed pot (at least 6-quart capacity)
- Rubber spatula or wooden spoon
Step-by-Step Instructions for Flawless Treats:
- Prepare Your Pan: Start by thoroughly lining a 9×13-inch baking pan with aluminum foil. This crucial step makes removing the cooled treats incredibly easy and prevents sticking. Once lined, lightly spray the foil with non-stick cooking spray. Set the pan aside; you’ll need it ready as the mixture cools very quickly and becomes harder to work with.
- Melt the Butter: In a large, sturdy pot (I highly recommend a 6-quart pot or larger to prevent overflow when stirring), melt the butter over low heat. Using low heat is important as it prevents the butter from burning and ensures a smooth, even melt, which is key for a well-incorporated mixture.
- Melt Most of the Marshmallows: Once the butter has completely melted, add 8 cups of the mini marshmallows to the pot. Stir continuously with a rubber spatula or wooden spoon until the marshmallows have completely melted and are smooth and creamy. Constant stirring helps prevent scorching and ensures a consistent marshmallow base.
- Remove from Heat and Combine: Immediately remove the pot from the heat. Quickly stir in the Rice Krispies cereal, vanilla extract, and the remaining 2 cups of mini marshmallows. Mix gently but thoroughly until the cereal is evenly coated with the melted marshmallow mixture and the reserved marshmallows are just beginning to soften and create those wonderful pockets of gooeyness.
- Press into Pan and Cool: Transfer the warm mixture immediately to your prepared baking pan. To prevent the mixture from sticking to your hands, spray your hands lightly with non-stick cooking spray. Gently and evenly press the mixture into the pan. Remember, do not press too hard, as over-compressing can lead to tough, dense treats. Allow the treats to cool at room temperature for about 20 minutes. This setting time is essential for them to firm up slightly while retaining their signature chewiness.
- Slice and Serve: Once cooled, lift the treats out of the pan using the aluminum foil. Place them on a cutting board and slice into 24 even pieces. Serve and enjoy your perfectly gooey, crispy, and utterly delicious Rice Krispie Treats!
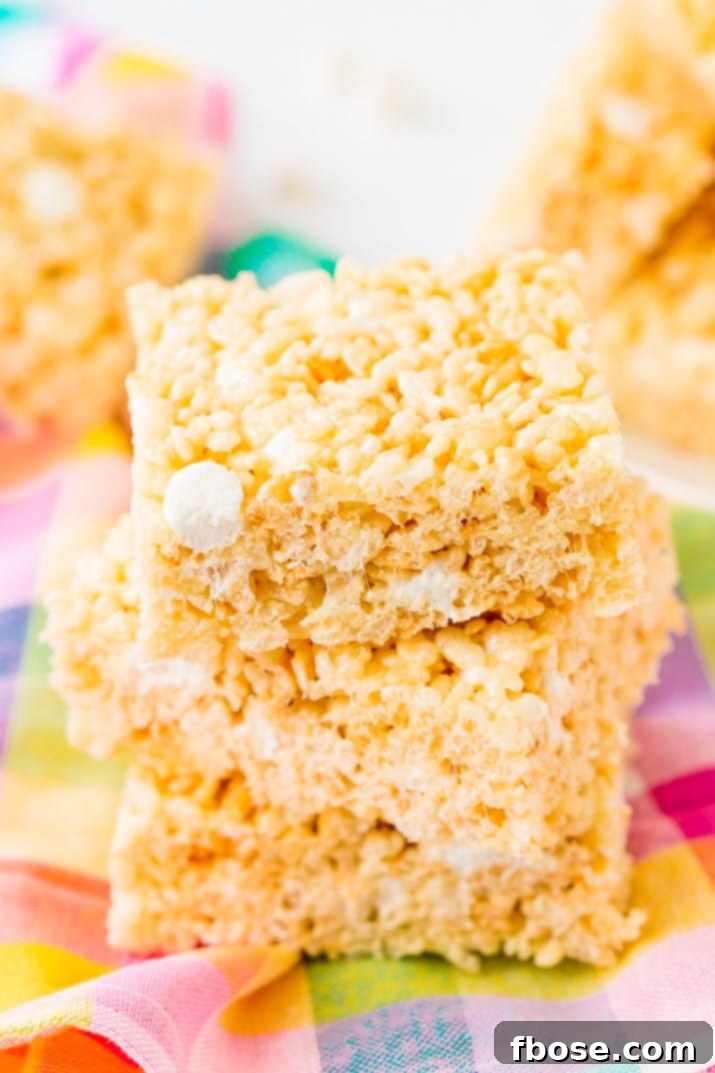
Pro Tips for Making the Best Rice Krispie Treats Ever:
- Coat Your Hands (or Spatula) with Cooking Spray: This is a game-changer! Before pressing the mixture into the pan, lightly spray your hands or the back of your spatula with non-stick cooking spray. This simple trick prevents the sticky marshmallow mixture from adhering to your hands, making it much easier to spread and press evenly without frustration.
- Don’t Press Too Hard: It’s a common mistake, but compressing the mixture too much results in dense, hard, and less enjoyable treats. You want your Rice Krispie Treats to be firm enough to hold their shape, yet wonderfully chewy and tender. Apply gentle, even pressure to spread the mixture into the pan, allowing it to settle rather than compacting it heavily.
- Choose Your Butter Wisely: While many sweet recipes call for unsalted butter, Rice Krispie Treats truly benefit from the depth of flavor provided by salted butter. The hint of salt perfectly balances the sweetness of the marshmallows, creating a more complex and addictive taste profile. If you only have unsalted butter, you can absolutely use it, just add a pinch (about 1/4 teaspoon) of fine sea salt to the melted butter-marshmallow mixture, or sprinkle a tiny bit of flaky sea salt over the finished treats just before serving for an extra gourmet touch.
- Embrace Vanilla Extract: This ingredient is often omitted from traditional Rice Krispie Treat recipes, but it shouldn’t be! A teaspoon of good quality vanilla extract dramatically amplifies the warm, comforting flavor of the marshmallows, adding a layer of depth and sophistication that takes these treats from good to extraordinary. It’s a subtle addition that makes a huge difference.
- Reserve Extra Marshmallows for Texture: Instead of melting all the marshmallows at once, I highly recommend reserving about 2 cups to add in with the cereal. These partially melted marshmallows create delightful, soft pockets of gooey goodness throughout the treats, adding an irresistible textural contrast to the crispy cereal. If you’re a true marshmallow lover, feel free to add a couple more cups of reserved marshmallows for an even more decadent experience!
- Slice Just Before Serving: To maintain optimal freshness, chewiness, and to prevent your treats from drying out or becoming overly crispy around the edges, it’s best to slice them just before you plan to serve them. This helps lock in their soft texture and ensures every bite is as delicious as the first.
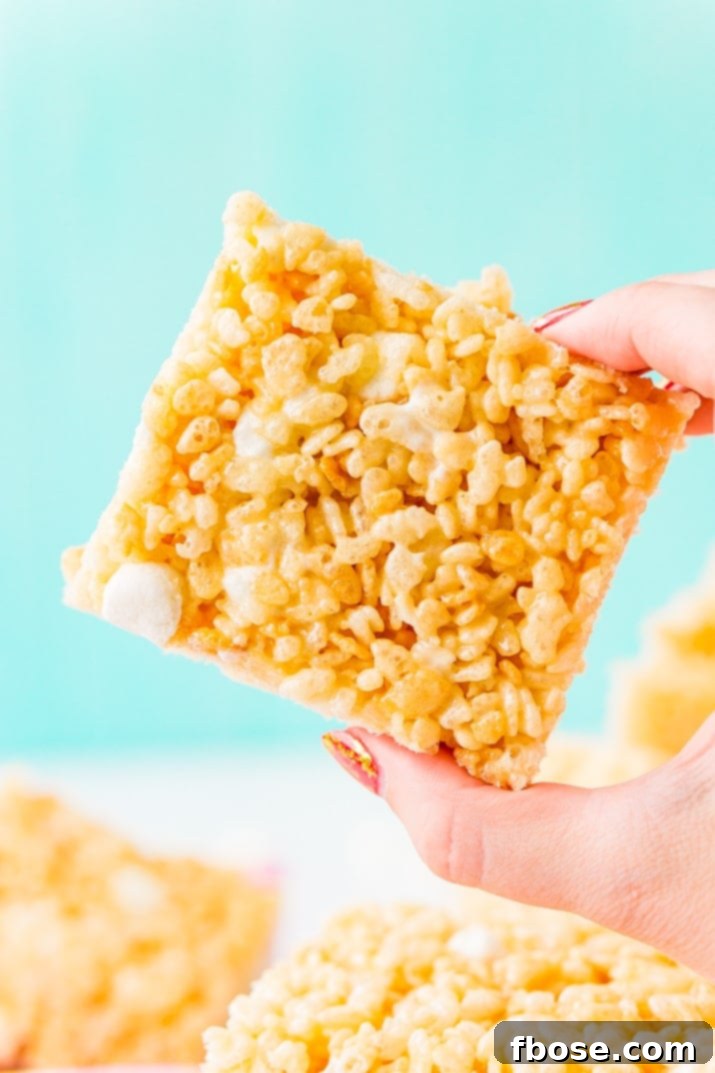
Creative Variations & Flavor Enhancements
While the classic Rice Krispie Treat is perfect as is, it’s also a fantastic base for creativity! Here are a few ideas to customize your next batch:
- Chocolate Drizzle: Melt some chocolate chips (milk, dark, or white) and drizzle generously over the cooled treats. A sprinkle of sea salt on top of the chocolate is divine!
- Add-Ins: Fold in sprinkles (great for holidays or birthdays!), mini chocolate chips, crushed candies (like M&Ms or peppermint), or even a handful of chopped nuts with the cereal.
- Flavored Extracts: Experiment with almond extract, peppermint extract, or even a touch of orange zest for a different flavor profile. Add these with the vanilla extract.
- Brown Butter Goodness: For a richer, nuttier flavor, brown your butter before adding the marshmallows. Just cook the butter a bit longer over medium-low heat until it turns a golden amber color and smells nutty.
- Nut Butter Swirl: Swirl in a couple of tablespoons of peanut butter or almond butter with the melted marshmallows for a creamy, nutty twist.
How Long Will They Stay Good For?
To enjoy their optimal chewiness and freshness, store your Rice Krispie Treats in an airtight container at room temperature for up to 3 days. While they might last a little longer, their texture starts to firm up after this period. For best results, keep them away from direct sunlight and excessive heat.
Can Rice Krispie Treats Be Frozen?
Absolutely! Rice Krispie Treats freeze surprisingly well, making them perfect for meal prep or enjoying a single treat later. Simply cut them into individual portions, wrap each piece tightly in plastic wrap, then place them in an airtight freezer-safe container or bag. They can be stored in the freezer for up to 6 weeks. When you’re ready to enjoy, just let them thaw at room temperature for about 15-30 minutes until soft and chewy again.
An Easy and Crowd-Pleasing Party Dessert!
This recipe for homemade Rice Krispie Treats will yield approximately 24 deliciously chewy squares, making them an ideal dessert for any gathering or party. Their status as a comforting, well-loved classic means everyone knows and adores them! They require no baking, minimal cleanup, and can be made ahead of time, reducing stress on party day. For a more festive look, consider adding colorful sprinkles into the mixture or drizzling with melted chocolate to make them seem a little more upscale and celebratory.
So, what are you waiting for? I’ve shared all the tips and tricks for crafting these perfect, gooey, and chewy Rice Krispie Treats. By now, you should be thoroughly convinced that these delicious, nostalgic treats need to be in your belly STAT! I promise you won’t regret a single bite. And if you’re a fan of chocolatey cereals, I bet you’ll also love these Cocoa Pebbles Treats!
More Delicious No-Bake Recipes to Explore:
- No-Bake Peanut Butter Cookies
- Creamy Peanut Butter Fudge
- Crunchy Cornflake Cookies
- Safe Edible Cookie Dough
- Magical Lucky Charms Treats
Save This Perfect Rice Krispie Treats Recipe!
Pin It For Later
Click the button above to save this delicious recipe to your Pinterest board!
👋 Let’s Connect!
If you’ve tried this fantastic Rice Krispie Treat recipe, please let me know how you liked it! Leave a comment below and don’t forget to add a star rating. I absolutely love hearing from you and seeing your delicious creations!
Be sure to tag me – @sugarandsoulco – on Instagram and Pinterest with your photos, or join our Sugar & Soul Show-offs Community and share them there! We even host recipe challenges you can participate in!
Rice Krispies Treats
Ingredients
- 8 tablespoons salted butter
- 10 cups mini marshmallows divided
- 9 cups Rice Krispies Cereal
- 1 teaspoon vanilla extract
Instructions
-
Line a 9×13-inch baking dish with aluminum foil and spray with cooking spray and set aside.
-
Melt the butter in a large pot, once the butter has melted, add in 8 cups of the marshmallows and stir continuously with a wooden spoon or rubber spatula until the marshmallows have melted.
-
Add in the cereal, vanilla, and the remaining 2 cups of marshmallows and stir until the cereal is evenly coated.
-
Transfer the mixture to the prepared baking dish, spray your hands with non-stick spray and gently press the mixture into the pan, don’t press down too hard or you’ll end up with hard treats.
-
Allow the treats to cool for about 20 minutes before removing from the pan and slicing into 24 pieces.
Notes
- Coat your Hands with Non-Stick Spray: This helps prevent your fingers from sticking to the treat mixture and makes it easier to handle when pressing it into the pan.
- Don’t Press Too Hard: You want your treats to be firm, but still chewy. Pressing too hard on the mixture when you put it in the pan will cause treats to become tough.
- Pick Your Butter: Normally with sweet treats you use unsalted butter, but when it comes to Rice Krispie Treats, I prefer to use salted, because half the deliciousness is from the salty buttery taste. However, you can use unsalted and add salt as needed or sprinkle the treats with sea salt just before serving.
- Add Vanilla: This isn’t an overly common ingredient in Rice Krispies Treats, but it should be because it amplifies the flavor of the marshmallows and makes them taste that much better!
- Reserve Some Marshmallows: I don’t like to melt all of my marshmallows into the mixture, I always reserve 2 cups to go in with the cereal because this leaves little pockets of marshmallow goodness throughout the treats. You can add in a couple more cups if you really want to load these babies up with marshmallows!
- Slice Just Before Serving: To ensure that your treats to get dried out or crispy around the edges, slice them just before serving!
- Shelf Life: Once they have been cut up, any that are not enjoyed immediately can be stored in an air-tight container at room temperature for up to 3 days.
Nutrition
Carbohydrates: 24g |
Protein: 1g |
Fat: 4g |
Saturated Fat: 2g |
Cholesterol: 10mg |
Sodium: 99mg |
Potassium: 11mg |
Sugar: 12g |
Vitamin A: 735IU |
Vitamin C: 5.9mg |
Calcium: 2mg |
Iron: 2.9mg
Did You Make This Recipe?
Don’t forget to share it with me on Instagram @sugarandsoulco and follow on Tiktok @sugarandsoulco and Pinterest @sugarandsoulco for more!
Pin Recipe
Share Recipe
Frequently Asked Questions About Rice Krispie Treats
- What kind of marshmallows are best for Rice Krispie Treats?
- Mini marshmallows are generally preferred because they melt more quickly and evenly, leading to a smoother, gooier base. While large marshmallows can be used, they might take a bit longer to melt and require more consistent stirring.
- Can I use brown butter instead of regular butter?
- Absolutely! Browning the butter before adding the marshmallows will add a wonderful nutty, caramel-like depth of flavor to your treats. Just melt the butter over medium-low heat and continue cooking until it turns golden brown and smells fragrant. Be careful not to burn it!
- How do I prevent my Rice Krispie Treats from getting too hard?
- The key is gentle handling! First, use low heat when melting the butter and marshmallows to avoid overcooking the sugar, which can make them stiff. Second, when pressing the mixture into the pan, do so very gently. Over-compressing the treats squeezes out air and leads to a denser, harder texture. Lightly spray your hands with cooking spray and press just enough to form an even layer.
- Can I add other cereals or mix-ins?
- Yes, Rice Krispie Treats are incredibly versatile! You can substitute some or all of the Rice Krispies with other cereals like Fruity Pebbles, Cocoa Pebbles, or even crushed cornflakes for different flavors and textures. For mix-ins, consider mini chocolate chips, sprinkles, chopped nuts, or even crushed candies. Add these with the cereal for best results.
- How do I make them gluten-free?
- Ensure you use a certified gluten-free rice cereal, as not all rice cereals are. Most marshmallows are naturally gluten-free, but always check the label to be certain.
- What’s the best way to cut Rice Krispie Treats cleanly?
- For neat slices, allow the treats to cool completely but not become rock-hard. Using a sharp, lightly oiled knife (or one sprayed with non-stick spray) will help prevent sticking. You can also run your knife under hot water before each cut.
- My treats are too sticky, what did I do wrong?
- If your treats are excessively sticky, it could be due to a few factors. You might have used slightly too much marshmallow or not enough butter, or perhaps didn’t cook the marshmallow mixture quite long enough to reach the right consistency. Ensure accurate measurements and sufficient melting until smooth, but avoid overcooking.
- Can I double or halve the recipe?
- Yes, this recipe scales well. If doubling, make sure you have a large enough pot (at least 10-12 quarts) and a larger pan (e.g., a full sheet pan). If halving, use a smaller pot and an 8×8-inch or 9×9-inch baking pan.