
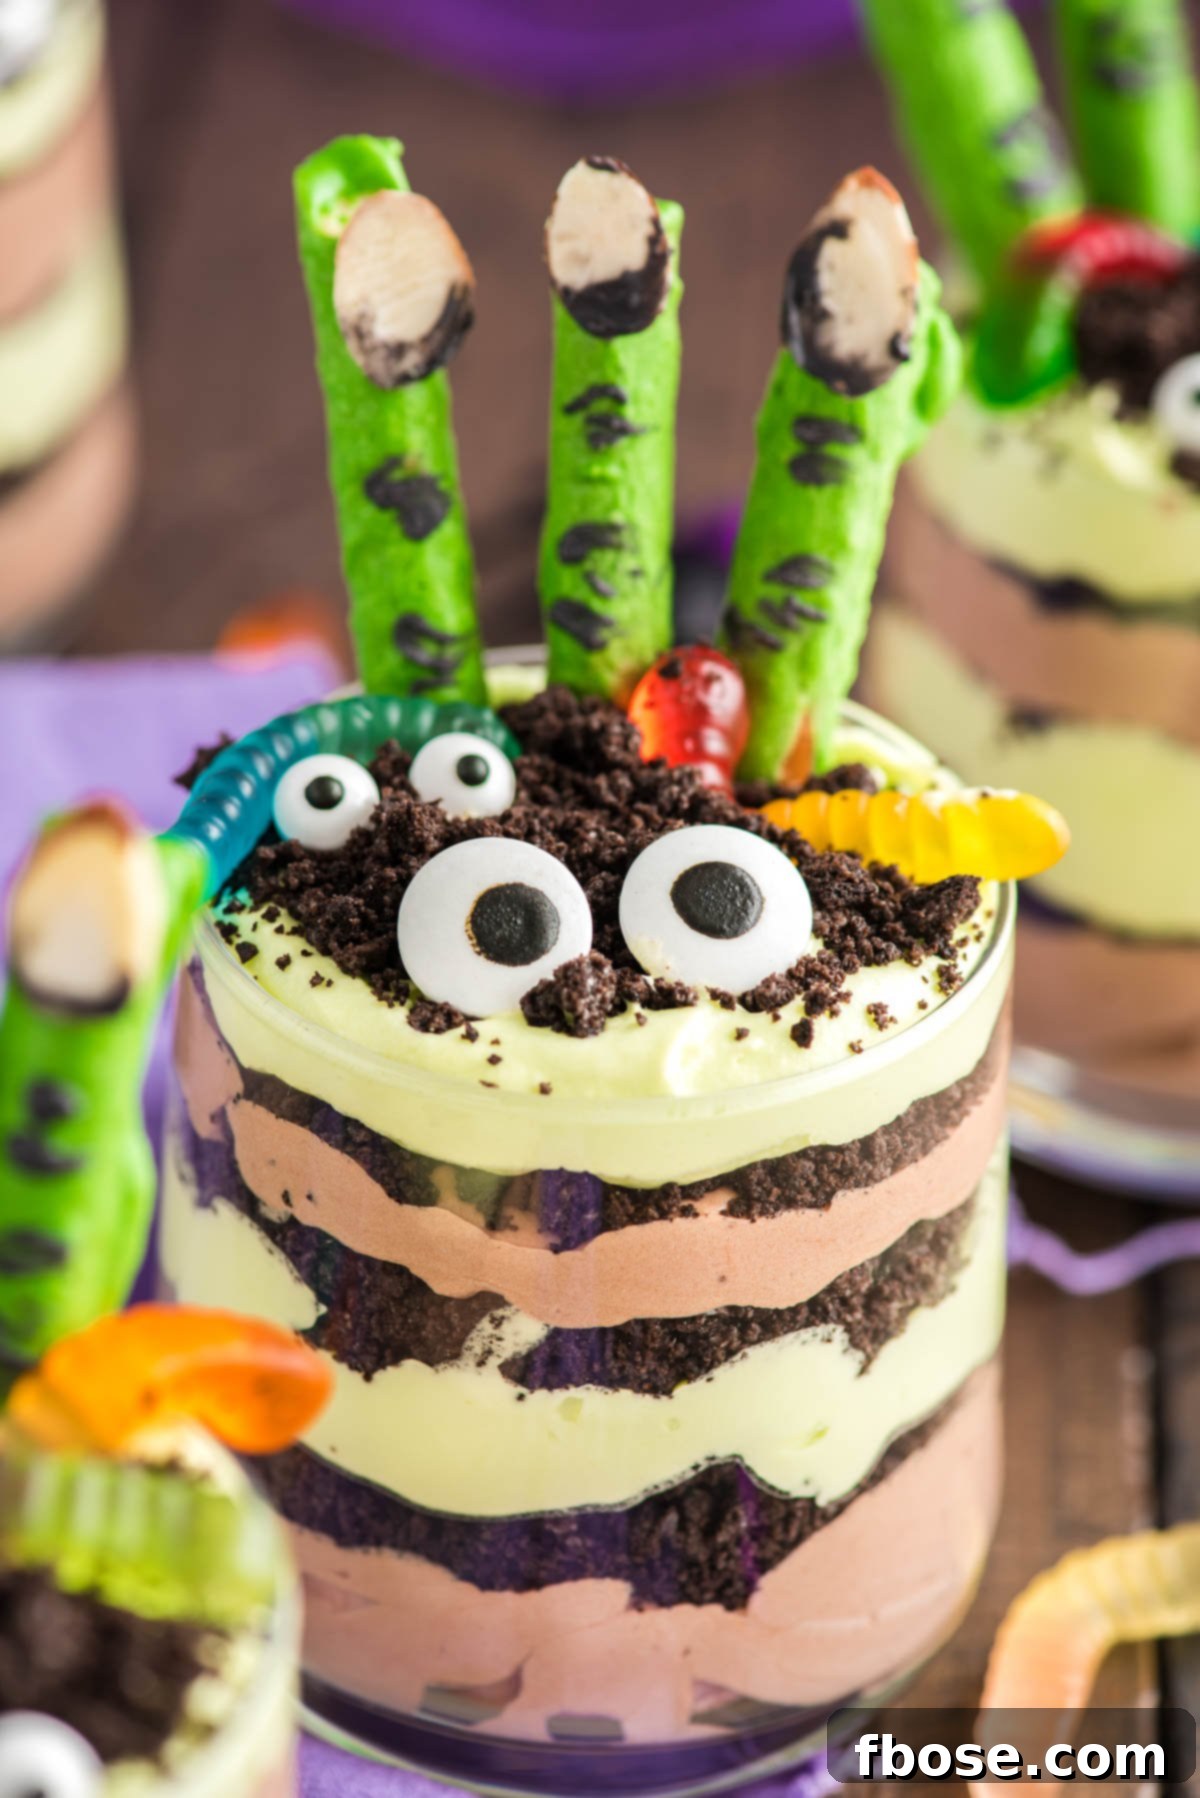
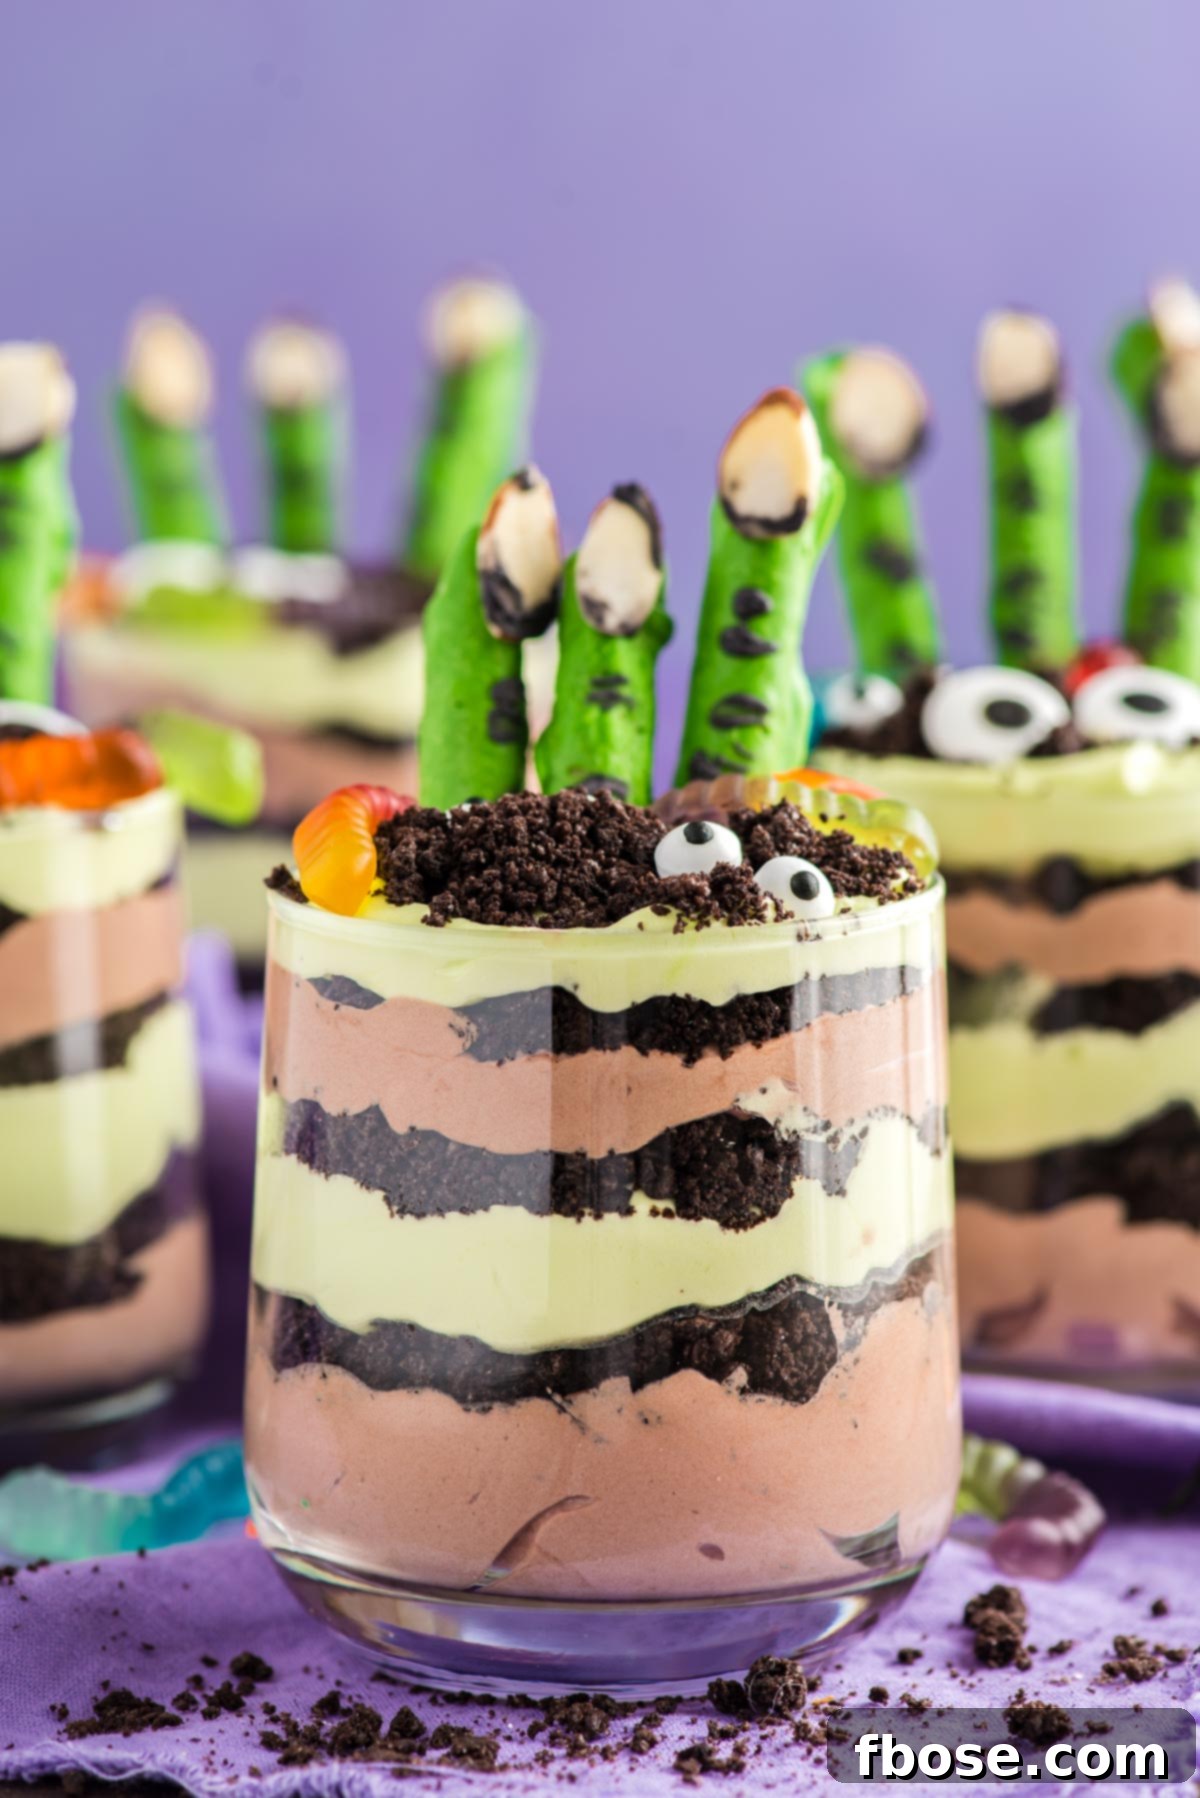
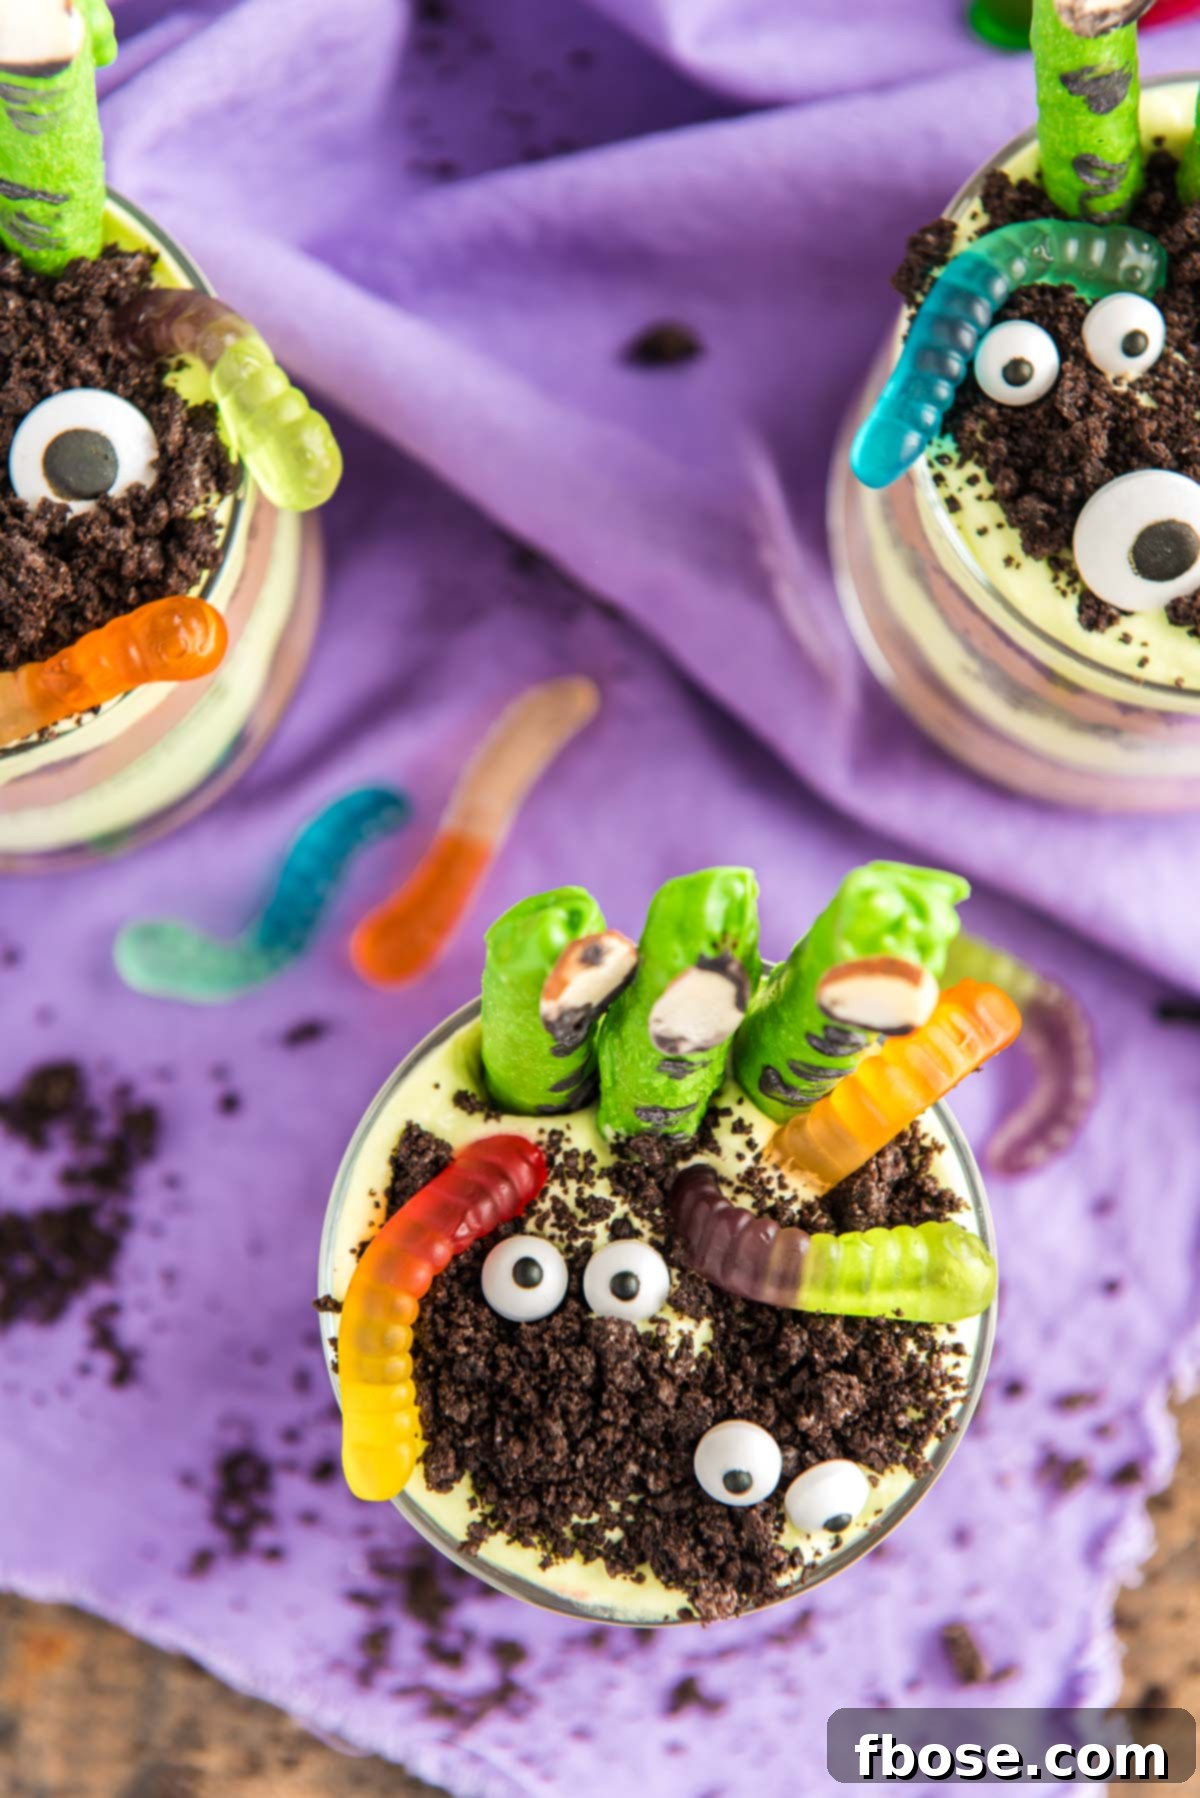
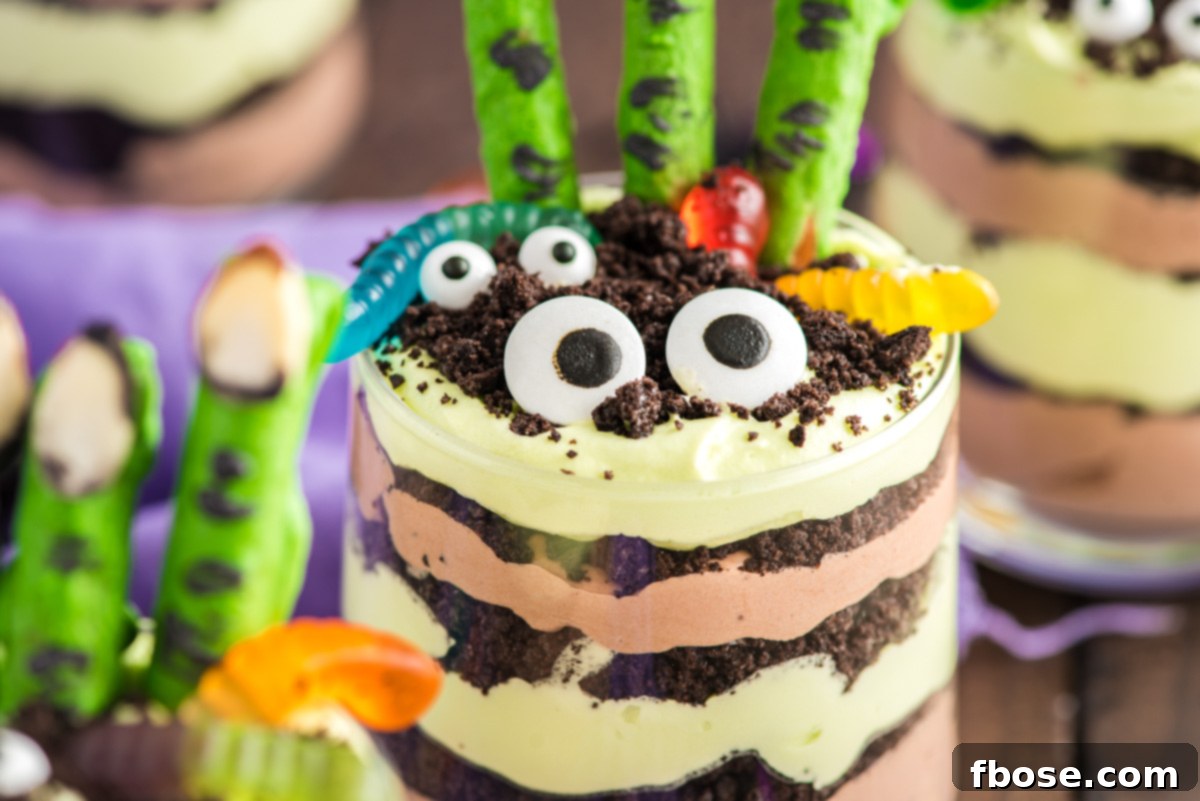
Halloween Dirt Cups are a whimsical and delicious dessert that perfectly captures the spooky spirit of the season. Imagine layers of rich, creamy chocolate and vibrant green vanilla pudding, artfully disguised beneath a generous sprinkle of crushed Oreo cookies resembling fresh earth. But the eerie fun doesn’t stop there! Each individual cup is then adorned with delightfully creepy chocolate pretzel “monster fingers,” playful gummy worms emerging from the “dirt,” and watchful candy eyeballs, creating a truly unforgettable treat that’s as enchanting to look at as it is delightful to eat.
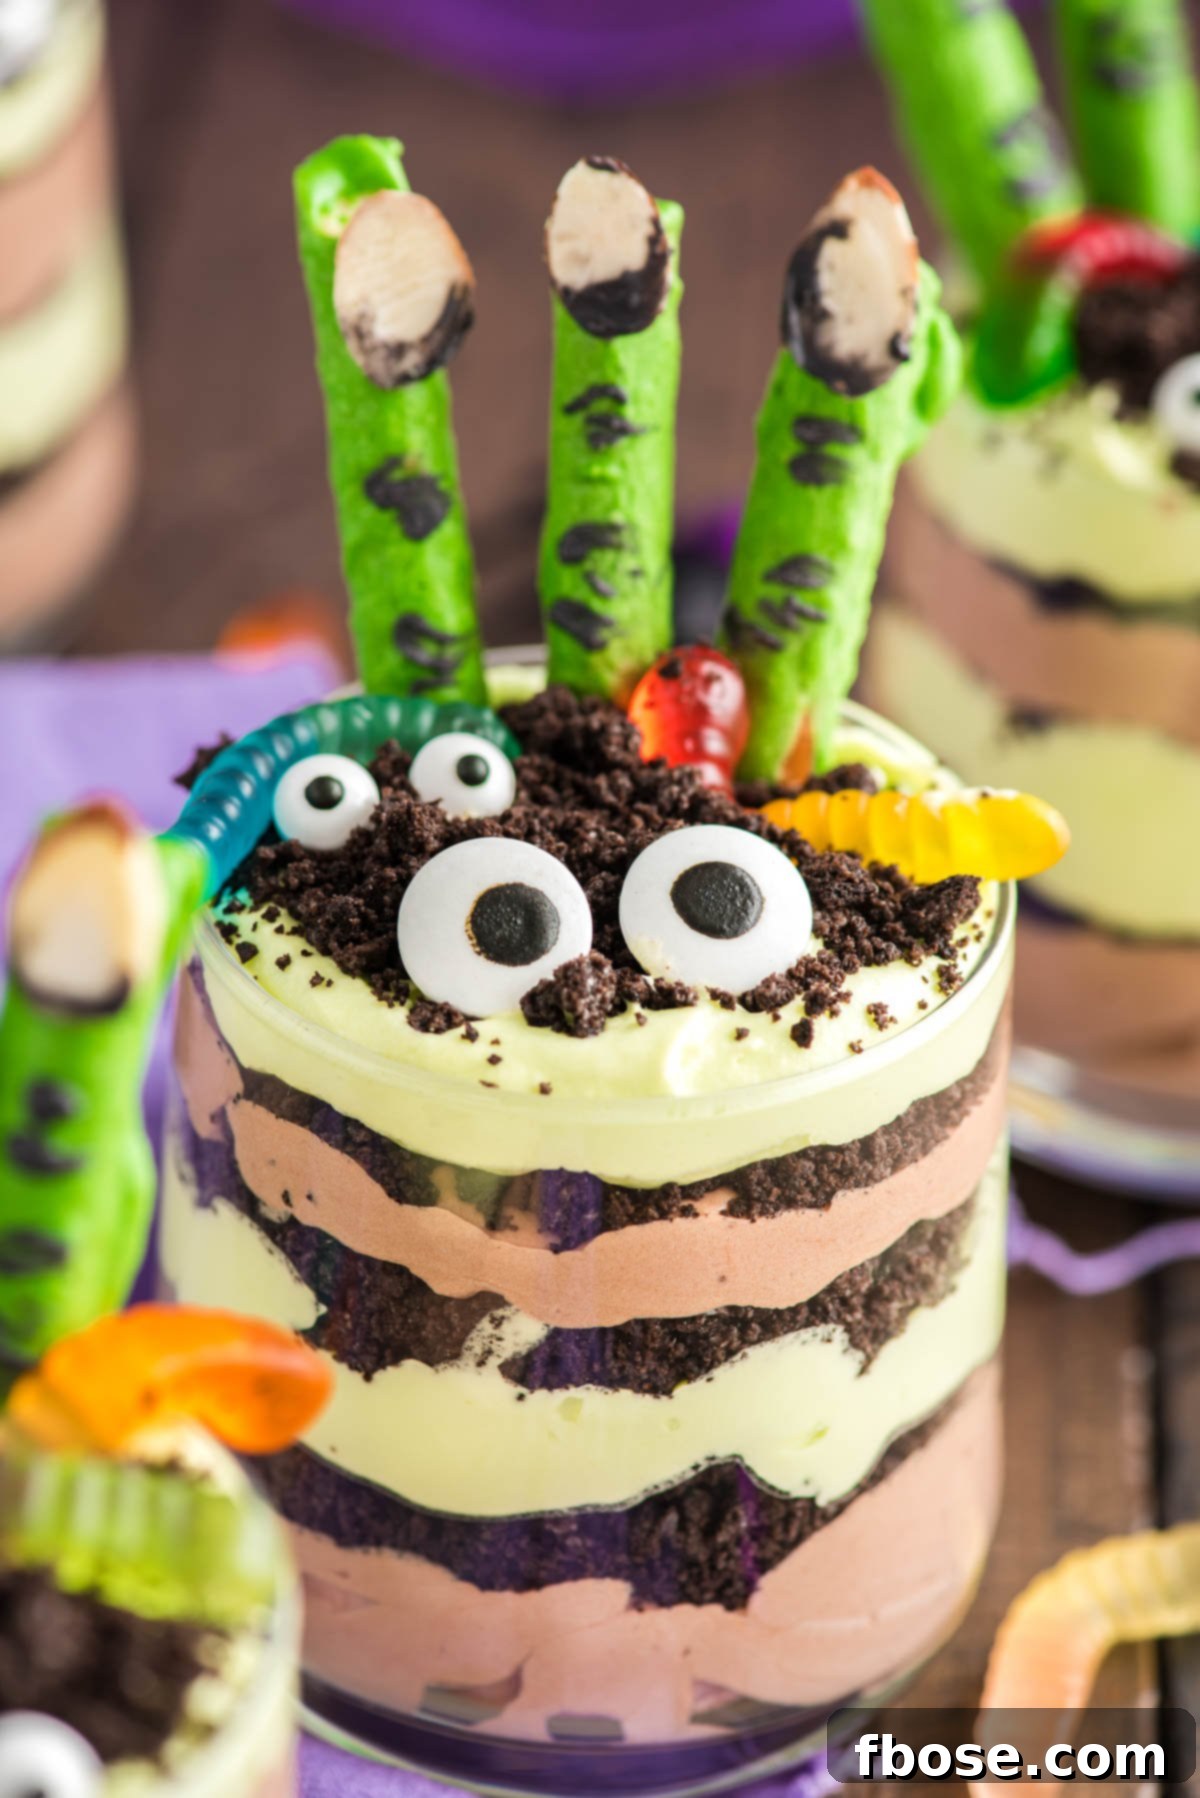
While many variations of pudding dirt cup recipes exist, this particular rendition stands out for its exceptional creaminess and genuinely spooky presentation, making it a Halloween favorite. What elevates this recipe above the rest is the luxurious blend of cream cheese, butter, powdered sugar, and whipped topping incorporated into the pudding layers. This rich addition transforms ordinary instant pudding into a velvety, custard-like delight that is incredibly satisfying and indulgent.
These individually portioned desserts are incredibly versatile and perfect for any Halloween occasion. Whether you’re curling up with the family for a spooky movie marathon, hosting a ghoulish Halloween party with friends, or simply looking for a fun project to do with the kids, Halloween Dirt Cups are guaranteed to be a hit. Their single-serving format makes them easy to distribute and enjoy, minimizing mess and maximizing enjoyment for all your guests.
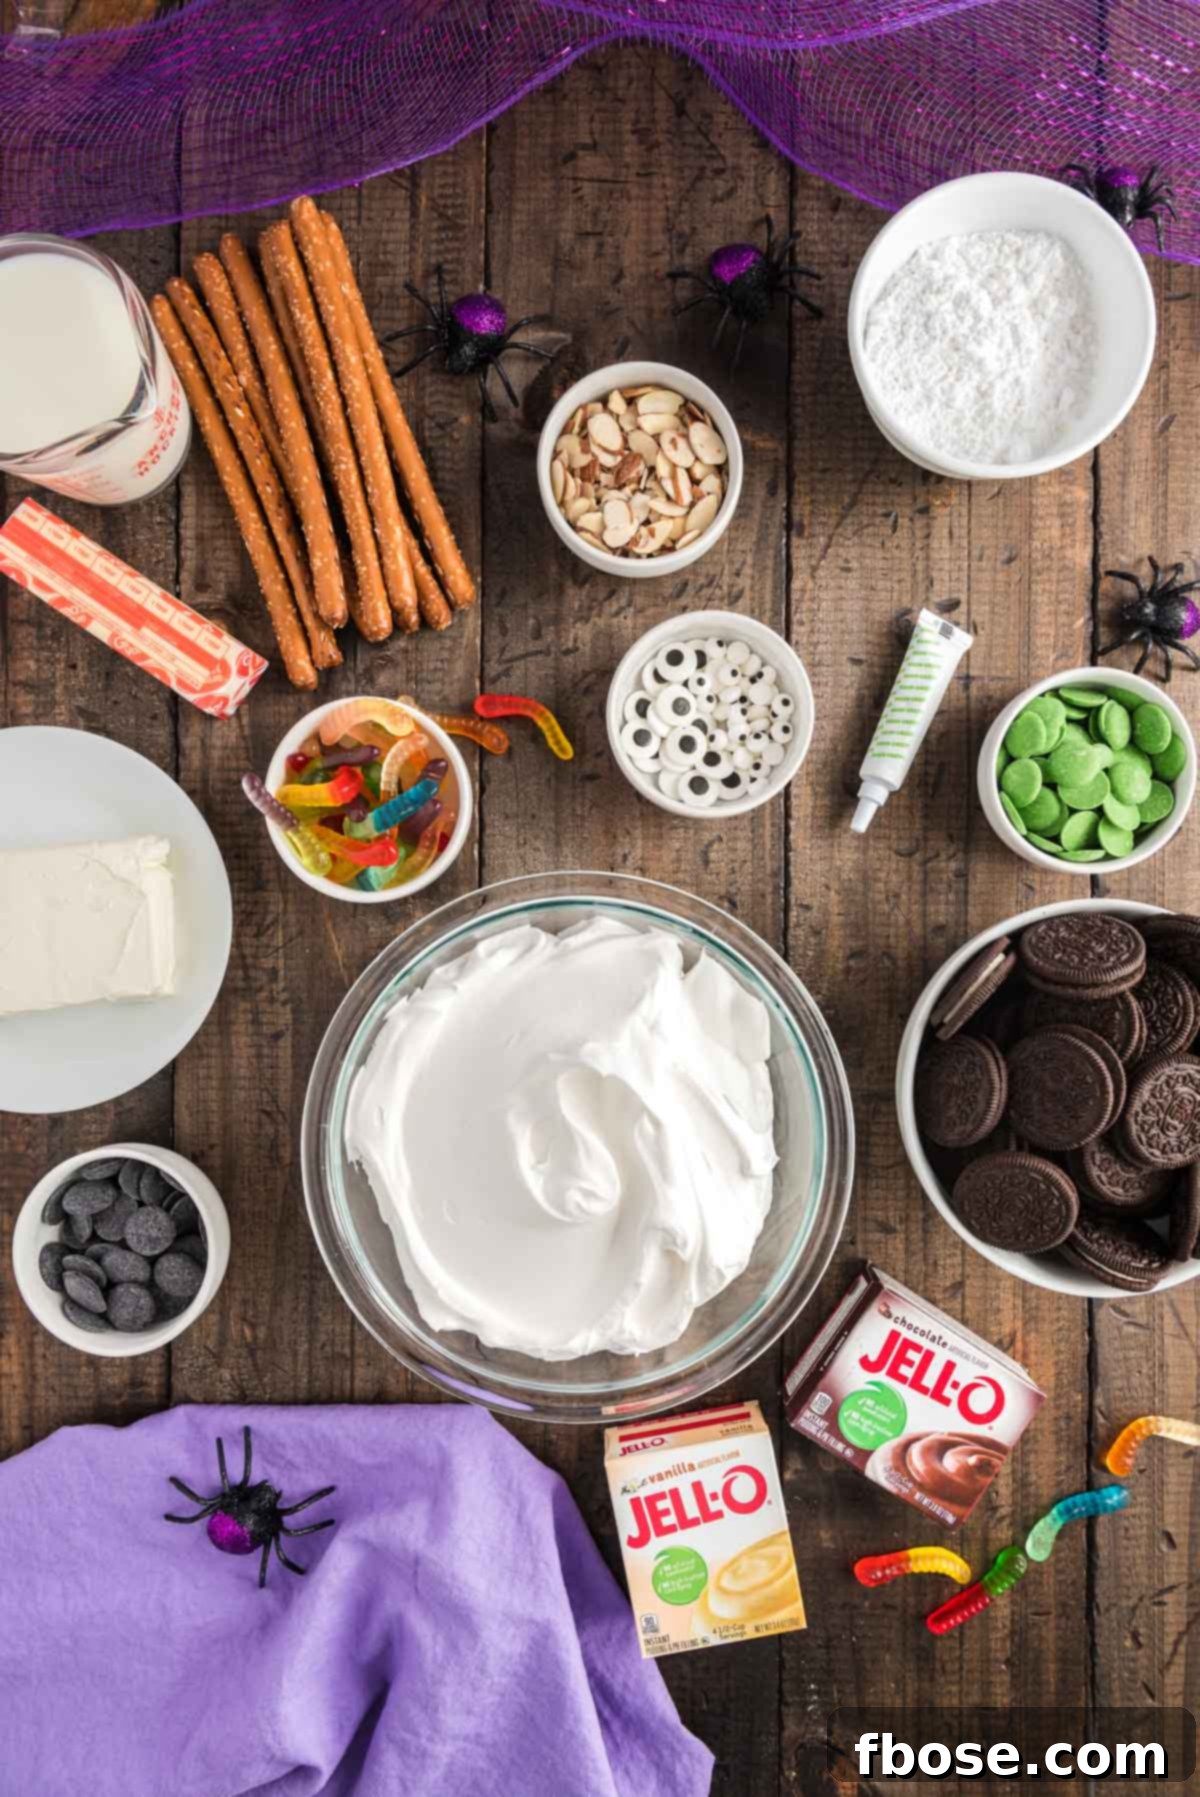
Creating these delightful Halloween Dirt Cups is surprisingly straightforward, involving a manageable amount of prep work that is undoubtedly worth the effort. It’s a fantastic recipe for getting children involved in the kitchen, offering a fun and creative outlet as they help crush cookies, dip pretzels, and arrange the spooky decorations. The process itself becomes part of the Halloween celebration, building excitement for the final, edible masterpieces.
Crafting Spooky Monster Fingers: Essential Ingredients
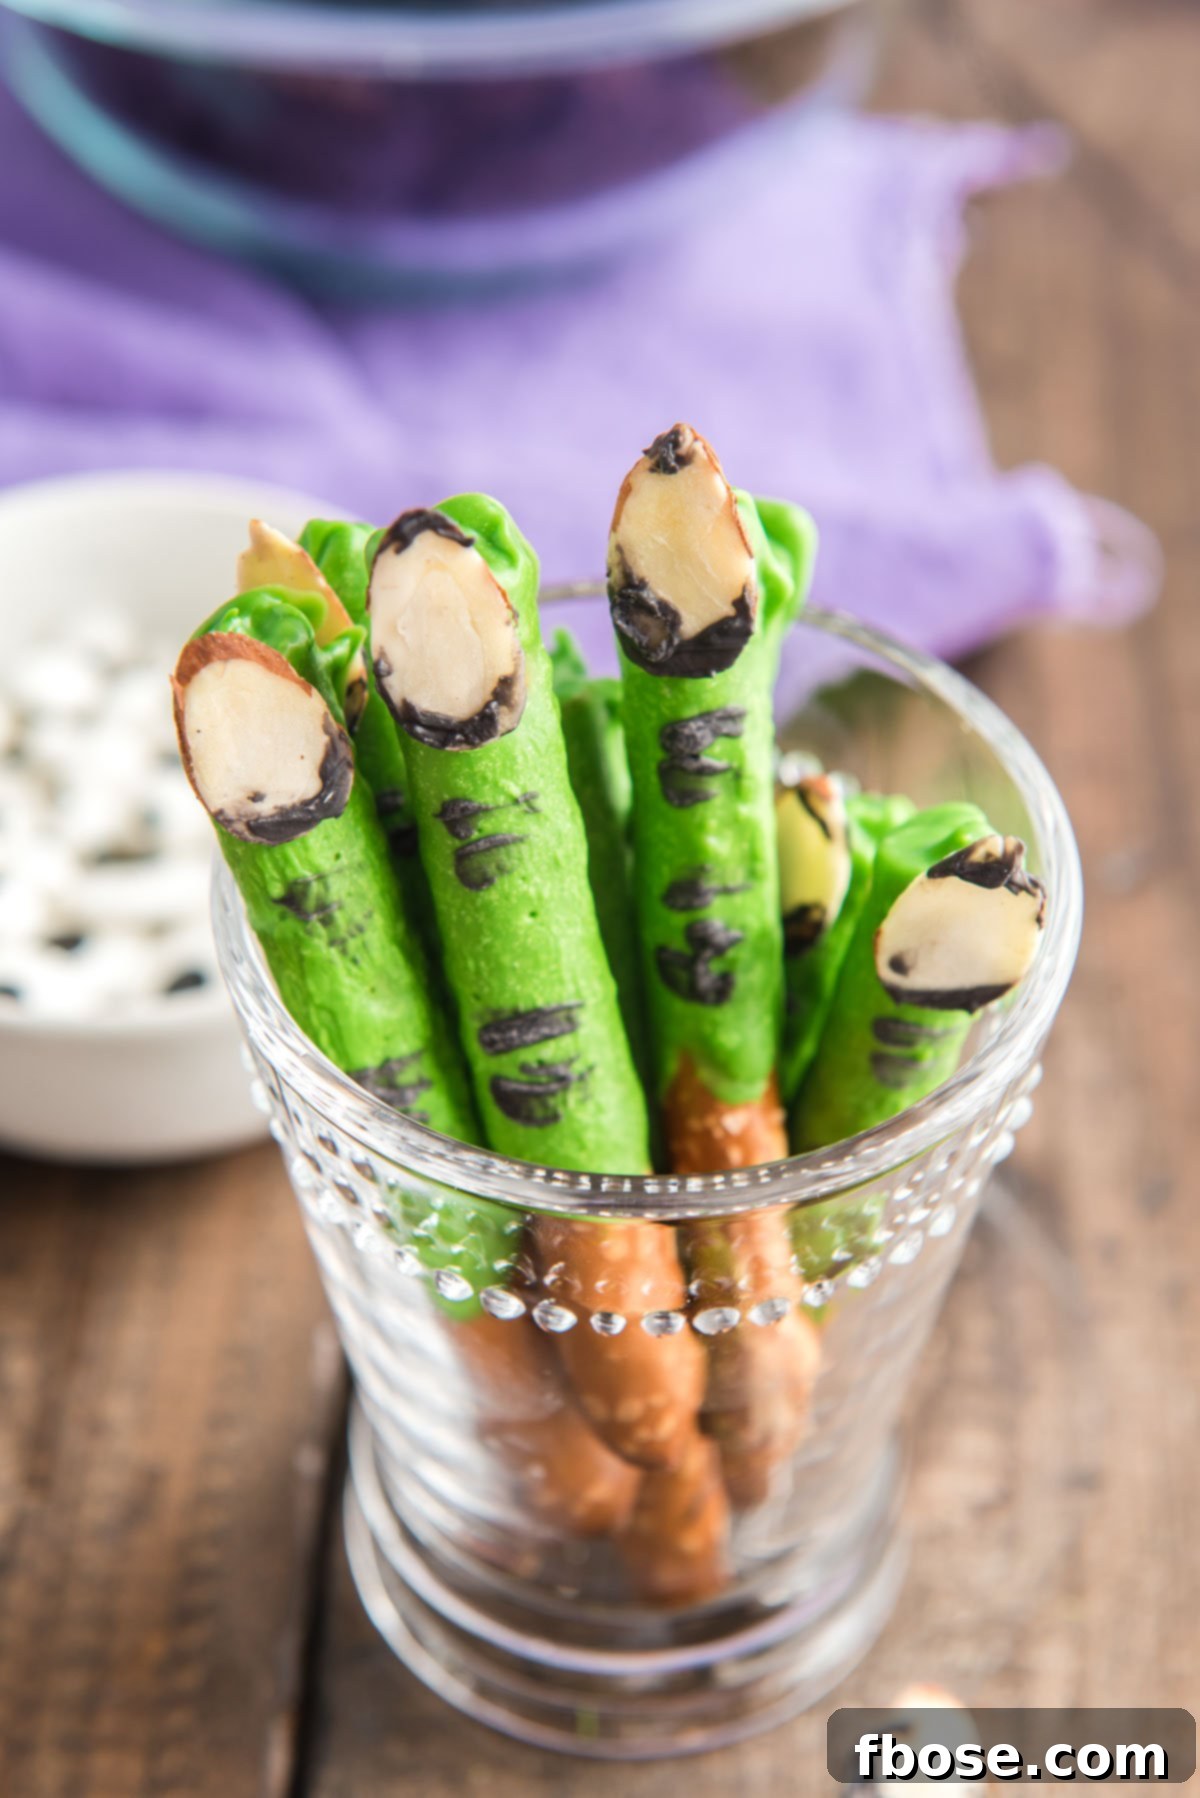
These edible monster fingers are the perfect eerie accompaniment, adding a touch of macabre whimsy to your dirt cups. Here’s what you’ll need to create them:
- Pretzel Rods: These long, slender pretzels form the bony structure of our monster fingers. Their salty crunch provides a wonderful contrast to the sweet candy coating.
- Green Candy Melts: Providing the ghastly, vibrant green hue, these candy melts are specifically designed for easy melting and a smooth, even coating. They set quickly, making the decorating process a breeze.
- Black Candy Melts: Used for adding fine details, these black candy melts allow you to draw realistic knuckles and create sinister nail beds for a truly grotesque effect.
- Sliced Almonds: These simple almond slivers are transformed into surprisingly convincing monster nails, adding a final, chilling touch to your edible digits.
Delicious Dirt Cup Ingredients: The Heart of the Treat
The foundation of these heavenly dirt cups lies in a few key ingredients that combine to create layers of exquisite flavor and texture:
- Oreo Cookies: The iconic chocolate sandwich cookies are the star here. When finely crushed in a food processor, they brilliantly mimic the appearance of rich, dark “dirt,” providing a classic, beloved flavor and a satisfying textural element.
- Chocolate Instant Pudding Mix: This forms a luscious, dark layer that resembles rich mud. The instant variety ensures quick preparation and a perfectly set, creamy consistency.
- Vanilla Instant Pudding Mix: This versatile pudding base is dyed with green food coloring, transforming it into a ghoulishly vibrant, eerie green layer that adds both visual appeal and a delightful vanilla flavor.
- Cream Cheese, Salted Butter, and Powdered Sugar: This powerful trio is the secret to the dirt cups’ unparalleled richness and creamy, custard-like texture. Be sure to use softened butter and cream cheese to ensure they blend smoothly and effortlessly, preventing lumps and creating a perfectly uniform mixture.
- Whipped Topping (thawed): Opt for a stable whipped topping like Cool Whip, rather than fresh whipped cream, as fresh cream tends to liquefy over time. This ingredient is gently folded into both the vanilla and chocolate pudding mixtures, adding an airy lightness and an extra boost of creaminess that makes each bite incredibly smooth.
- Green Food Coloring: Essential for transforming the vanilla pudding into a vivid, spooky green, perfectly complementing the Halloween theme. A few drops are all it takes to achieve a striking hue.
A Step-by-Step Guide: How to Make Halloween Dirt Cups
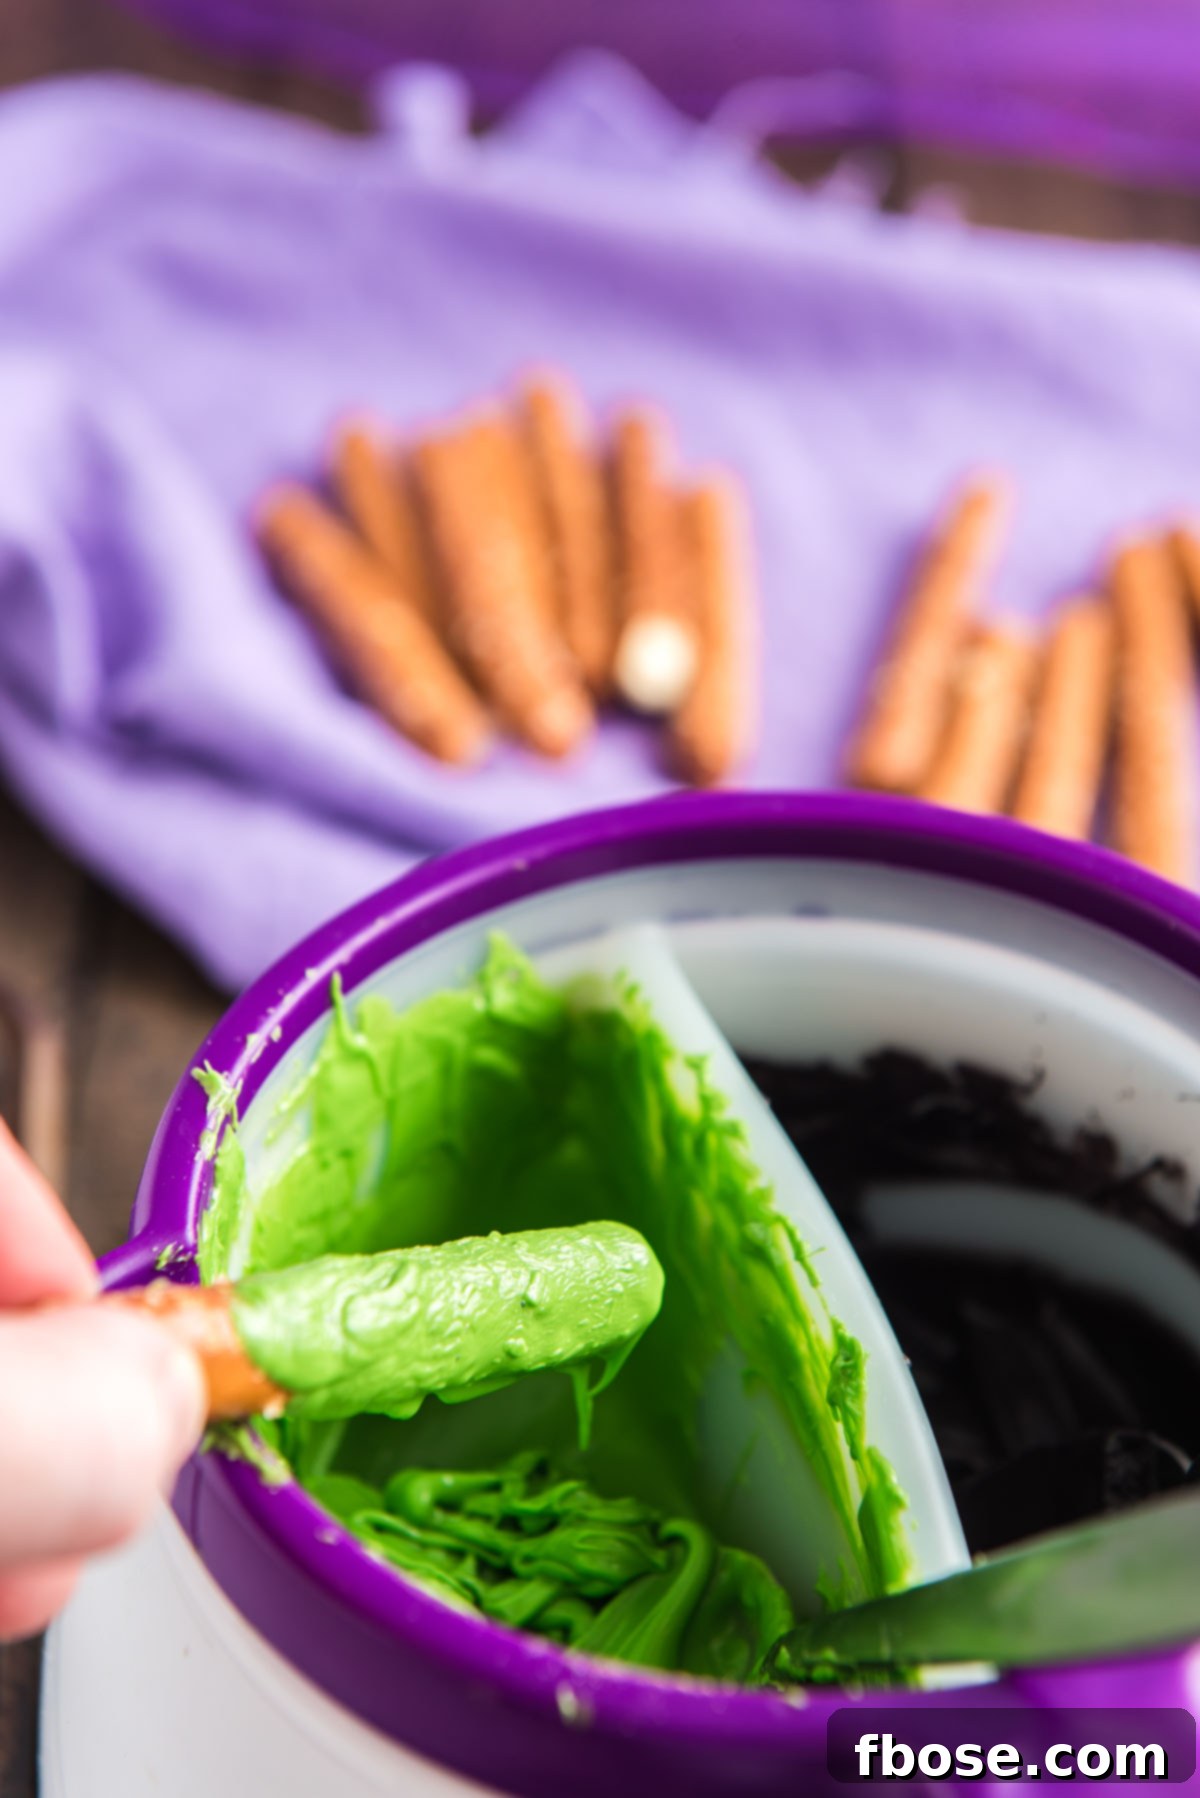
Embark on your spooky dessert adventure by first creating the chilling monster finger pretzel sticks, an optional yet highly recommended addition that truly elevates the Halloween theme. Begin by carefully melting your green candy melts. If you’re using a candy melting pot (like the one often seen in photos), this process is quite simple. Alternatively, you can use a double boiler or a microwave-safe glass bowl, heating in 30-second increments and stirring until completely smooth. Once melted, dip one end of each pretzel rod into the vibrant green candy, ensuring a good coating. Place the dipped pretzels on a sheet of parchment paper to allow the candy to set firmly. For an extra ghoulish touch, add a few drops of water to the melted green candy and stir it in—this creates a lumpy, uneven texture that gives the monster fingers a more authentic, creepy appearance.
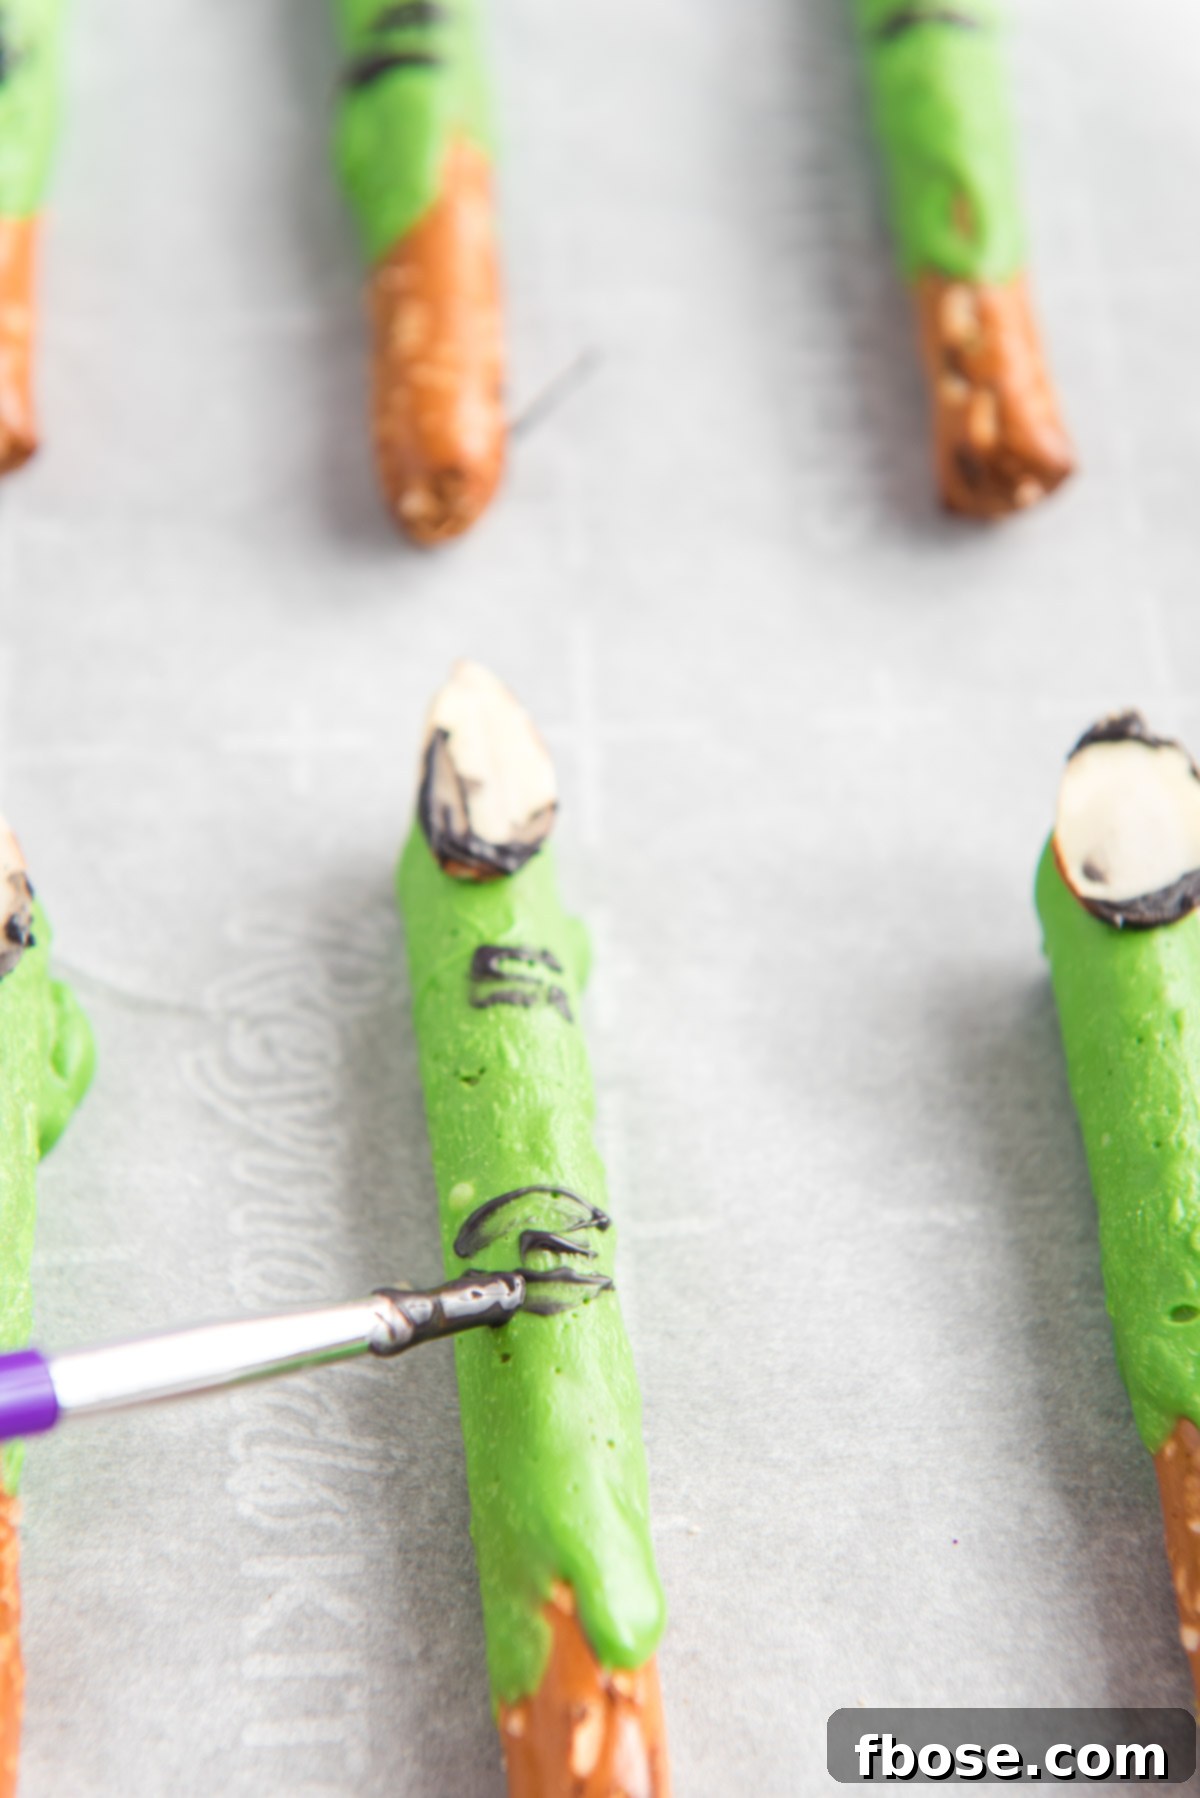
Next, melt your black candy melts using the same method. With the black candy melted, grab a food-safe paintbrush or a toothpick. Use this to meticulously draw thin lines on the green pretzel rods, creating the unsettling appearance of knuckles and wrinkles. Then, carefully brush a small amount of black candy onto the back of your sliced almond “nails” and adhere them firmly to the ends of the pretzel rods, securing them in place as ghastly monster fingernails. Allow these to cool completely until the candy is firm.
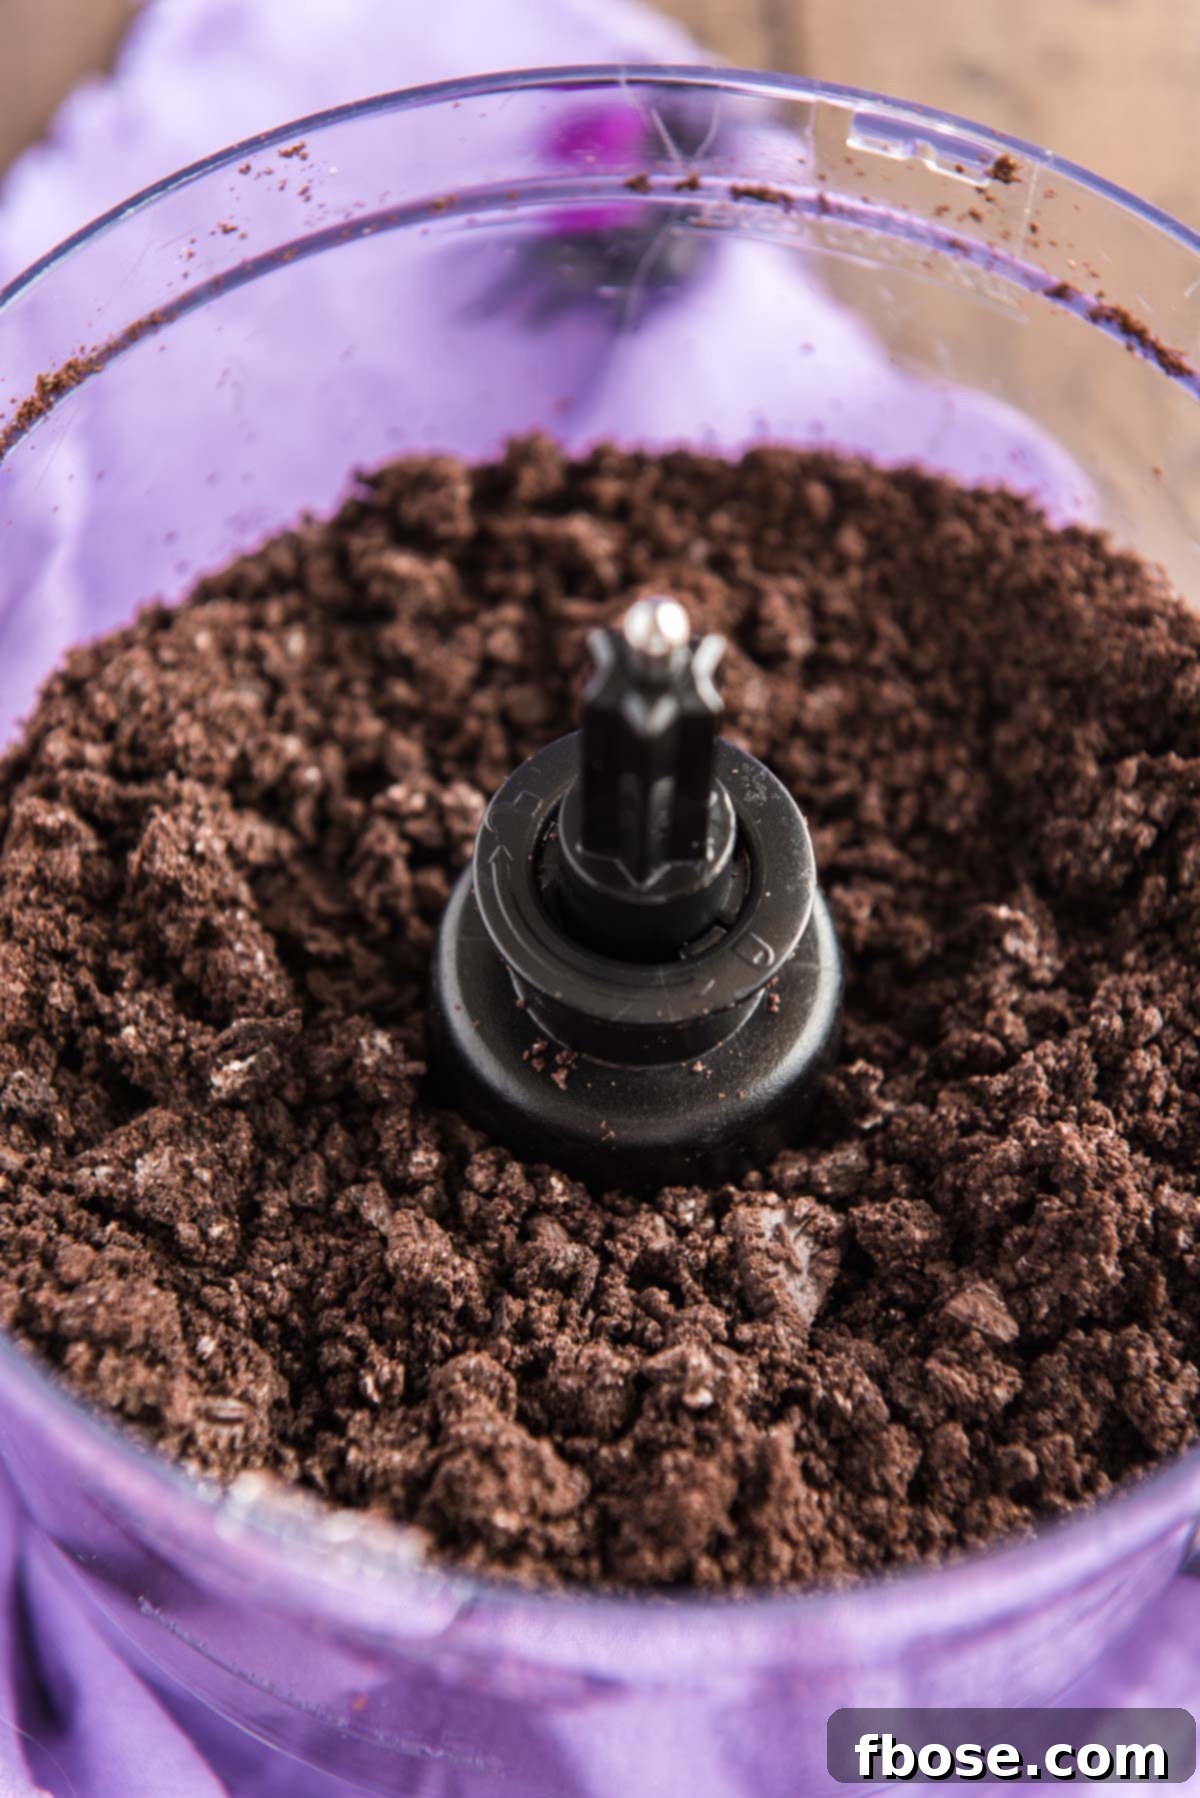
Now, let’s prepare the “dirt.” Take your Oreo cookies and place them into a food processor. Process them until they form fine, even crumbs. This crumbly texture is essential for achieving the realistic “dirt” effect in your cups. If you don’t have a food processor, simply place the cookies in a large zip-top bag and use a rolling pin to crush them thoroughly.
In a spacious mixing bowl, combine the softened cream cheese, butter, and powdered sugar. Beat these ingredients together until the mixture is incredibly smooth and creamy, without any lumps. This forms the rich base that will be incorporated into your puddings. In two separate large bowls, prepare your vanilla and chocolate instant puddings according to package directions, but use 1½ cups of milk for each, as specified in the recipe card. Once prepared, place both puddings in the refrigerator for a few minutes to allow them to soft-set, which helps achieve the desired consistency for layering.
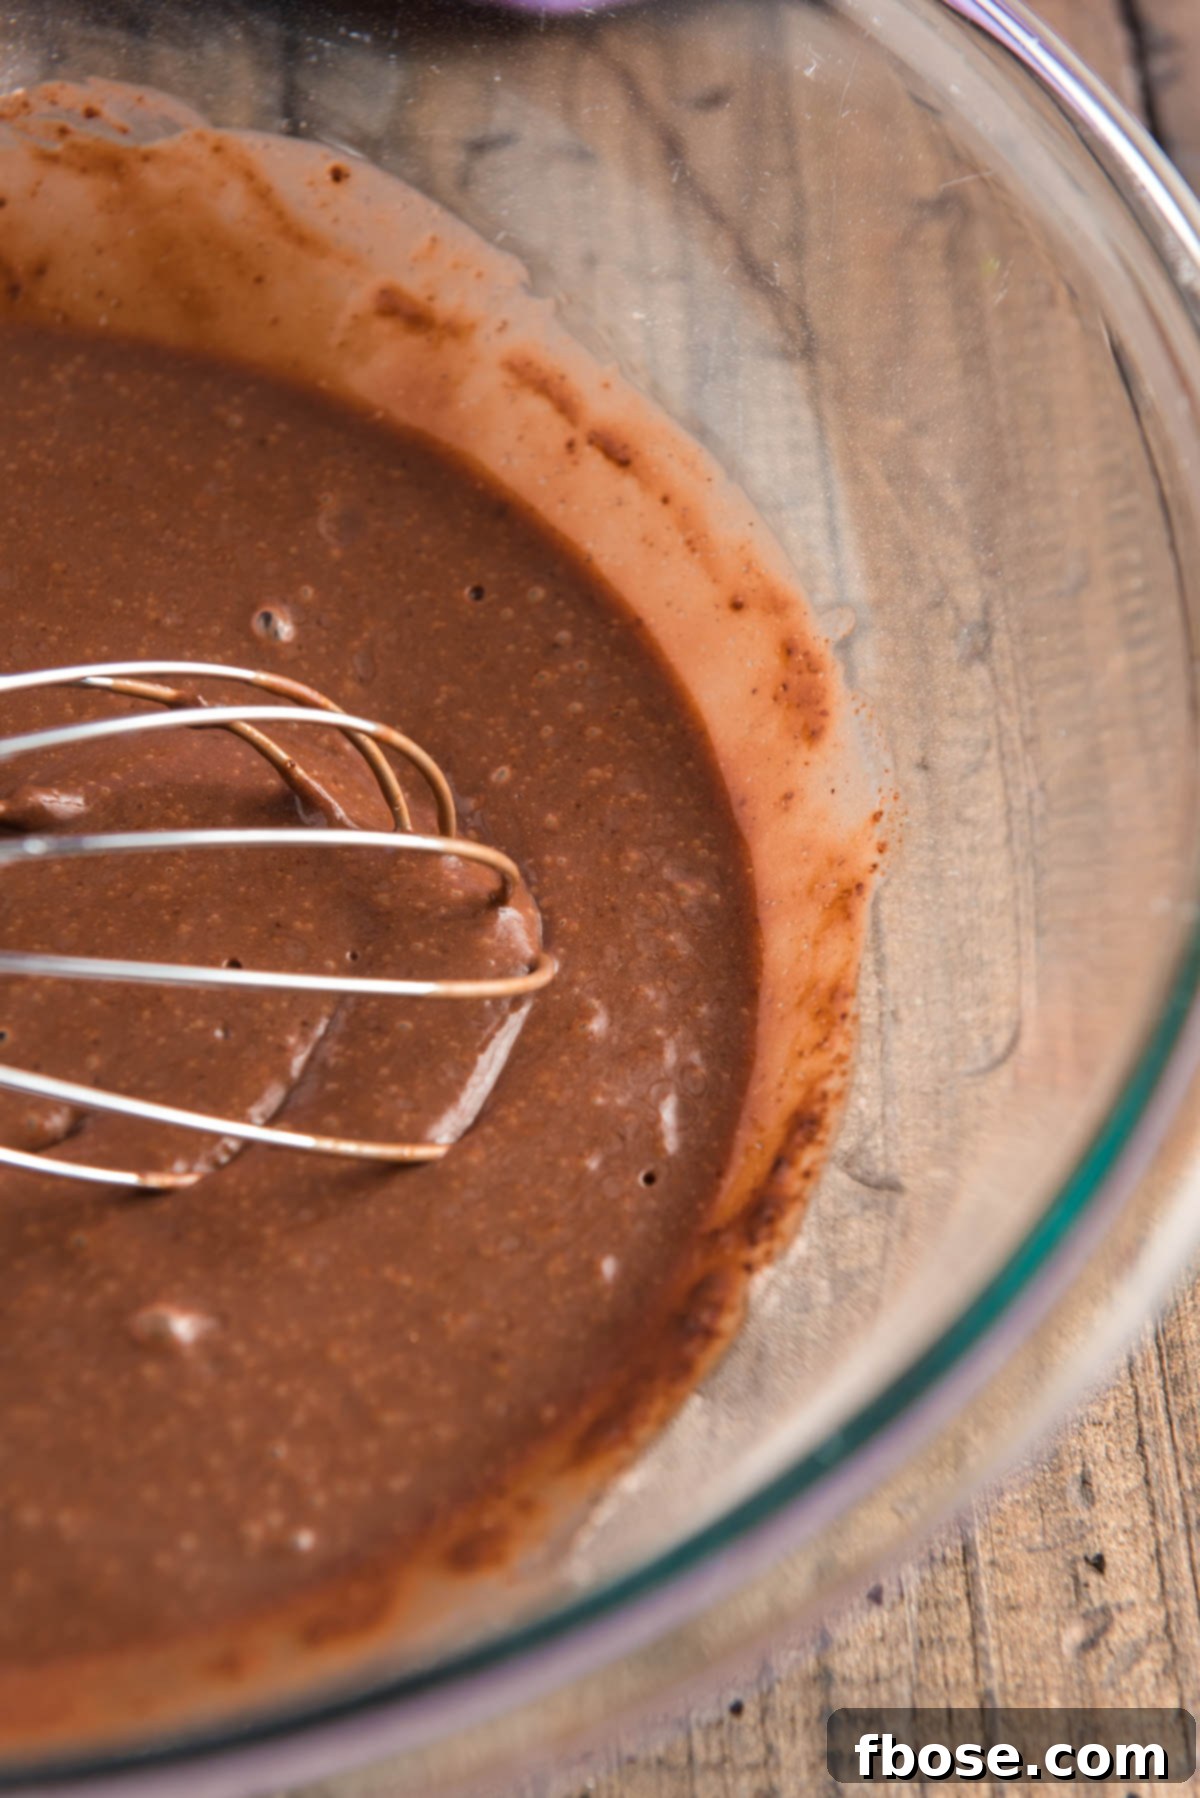
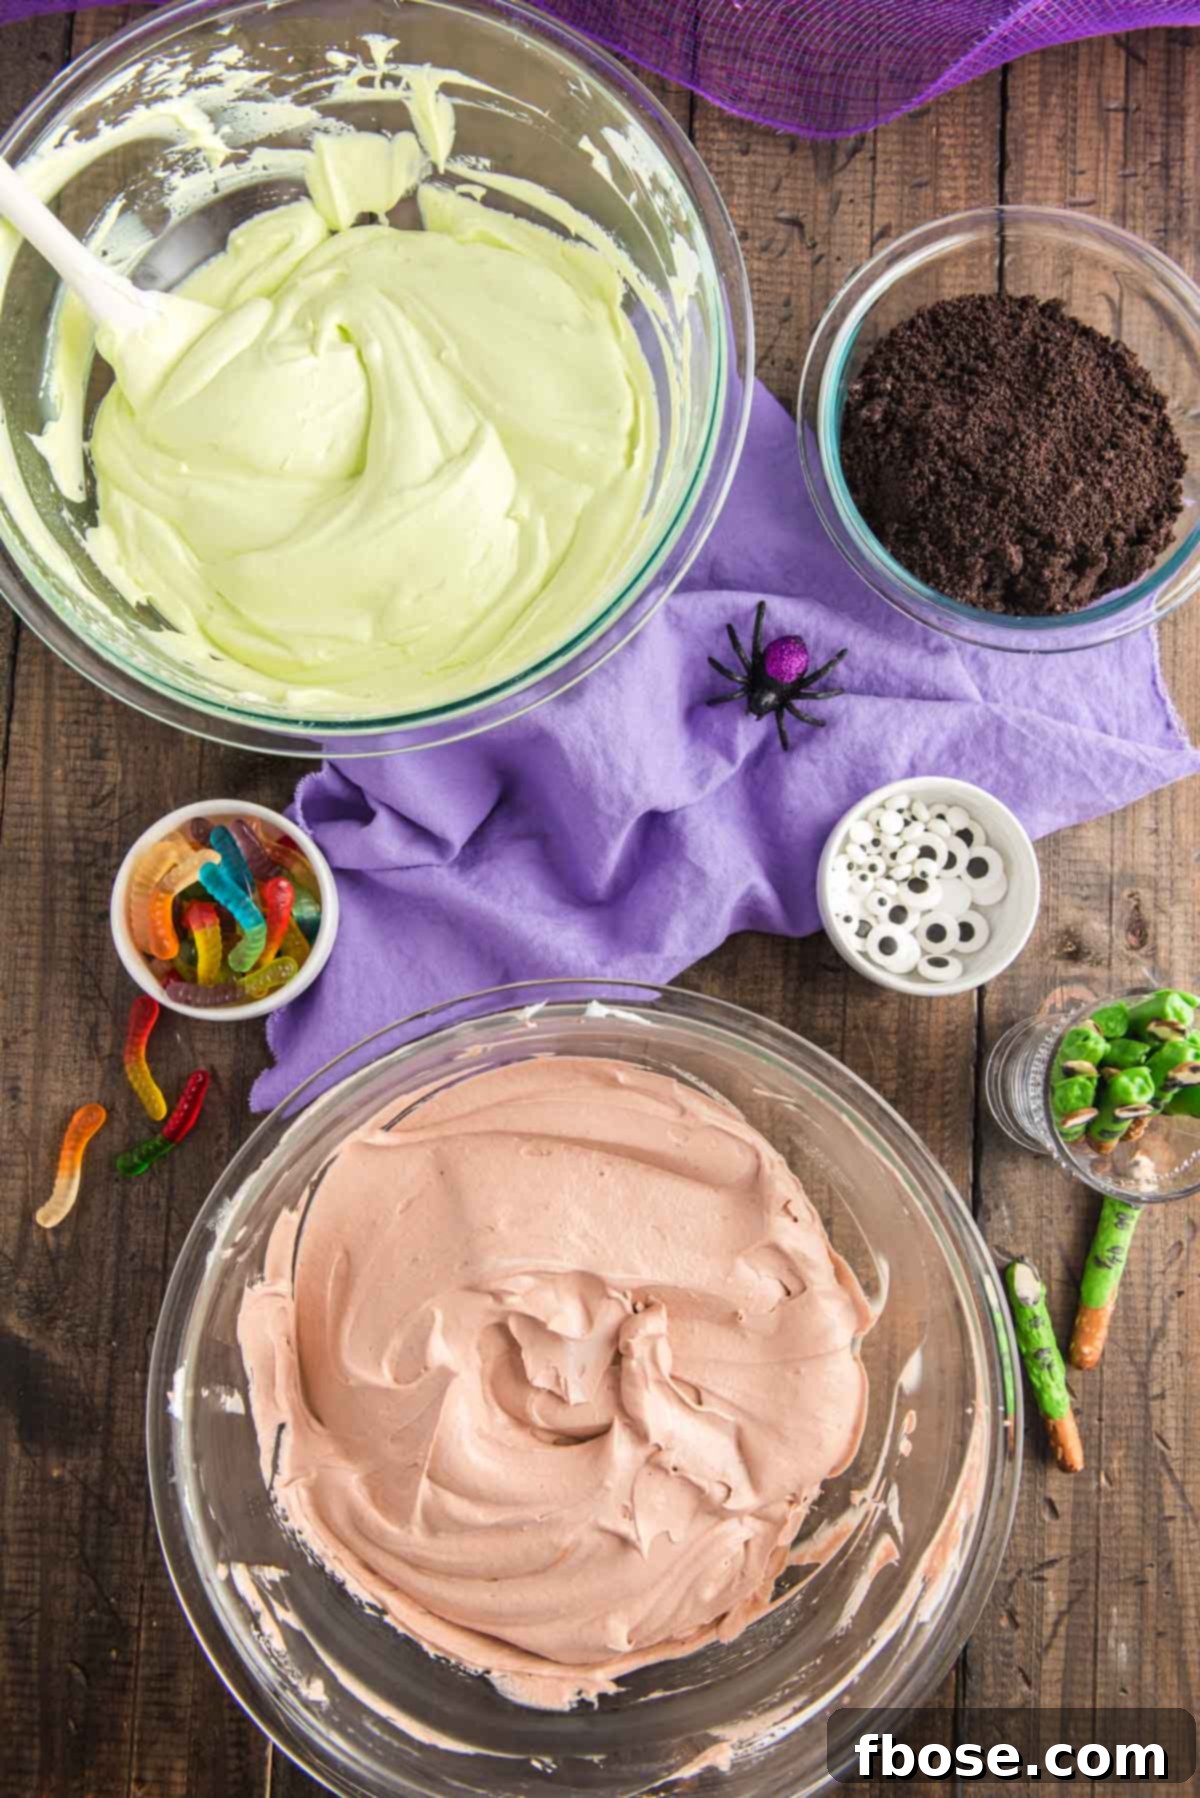
Once the puddings have soft-set, retrieve them from the fridge. Divide the prepared cream cheese mixture evenly between the chocolate and vanilla puddings, stirring each until thoroughly combined and smooth. Next, gently fold half of your thawed whipped topping into each pudding mixture. This step significantly enhances the creaminess and lightness of the dessert. To give your vanilla pudding its signature spooky look, add a few drops of green food coloring, stirring until you achieve your desired ghoulish green shade. Remember to add color gradually to control the intensity.
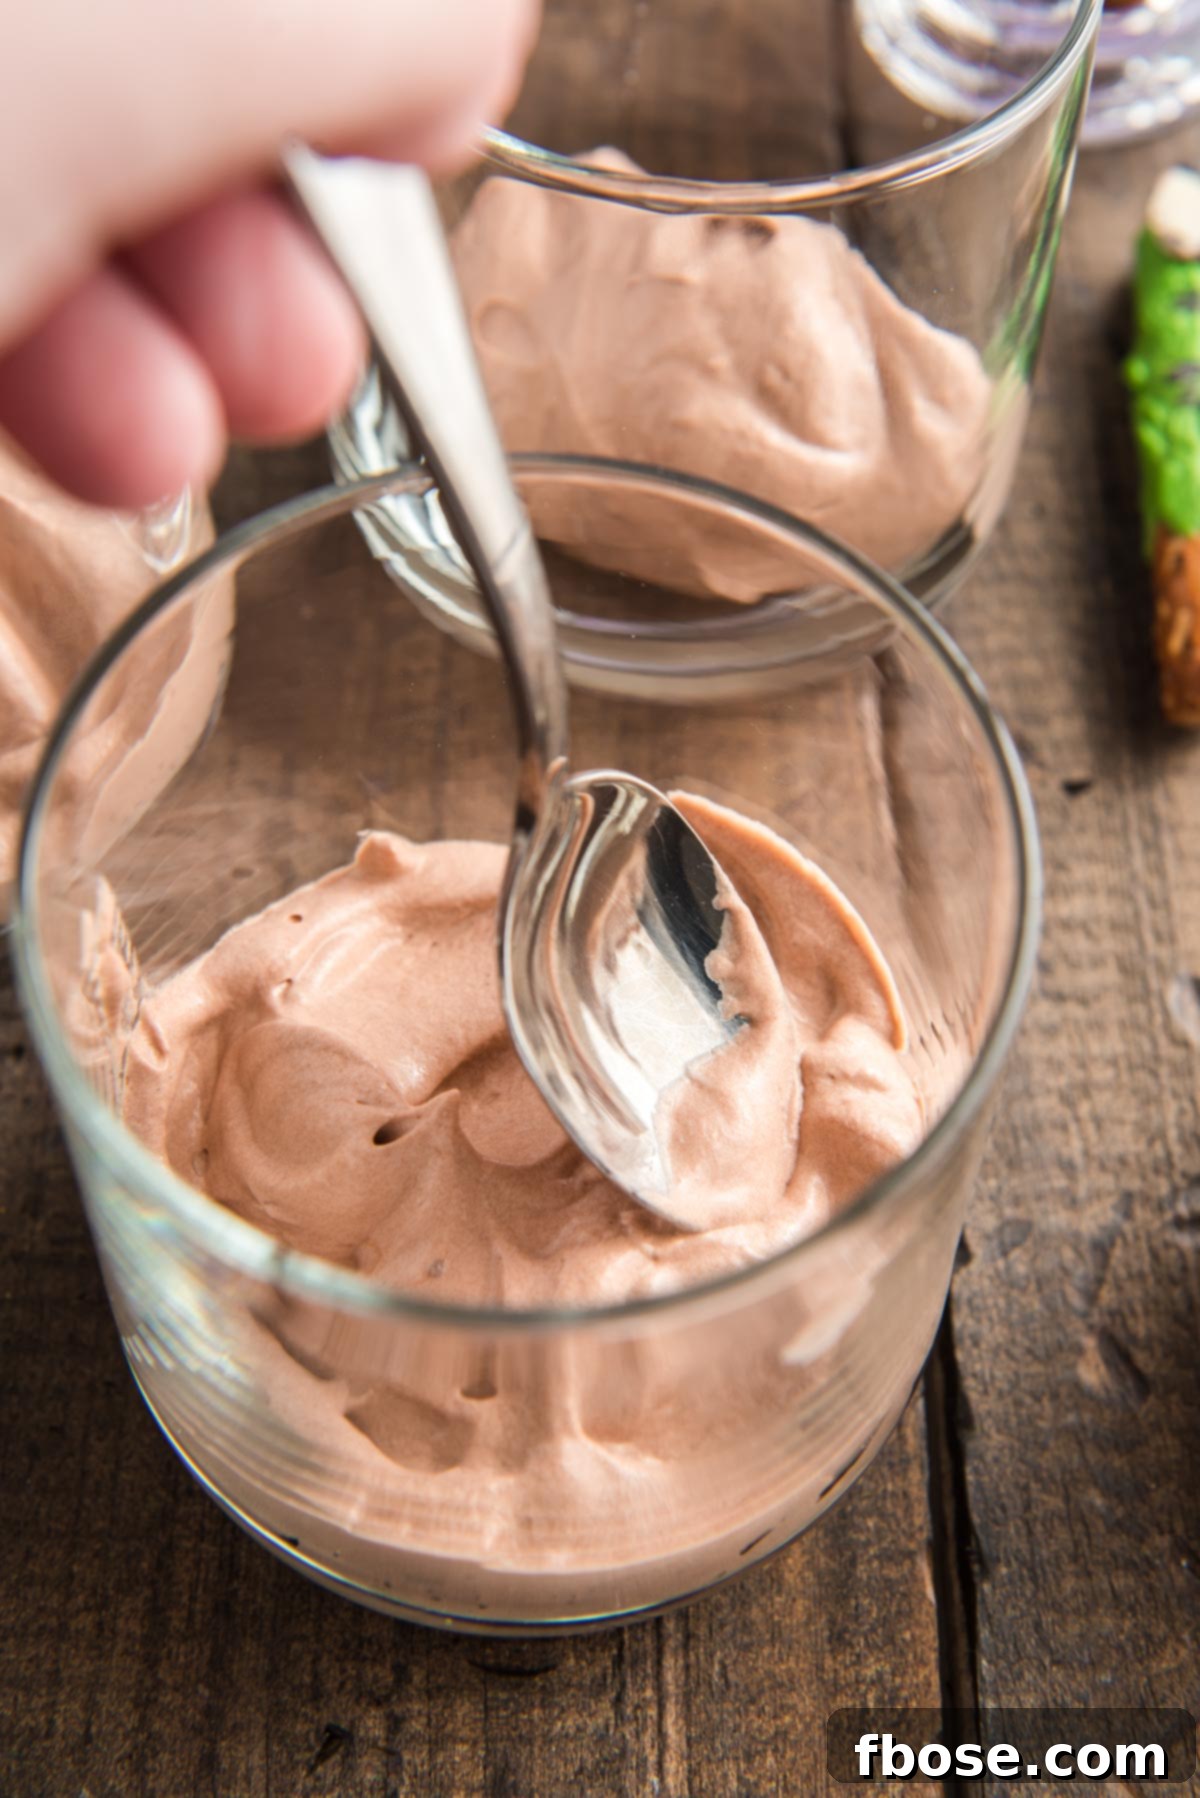
Now comes the exciting part: assembling your Halloween Dirt Cups! Take your individual serving cups and begin by adding a generous layer of the rich chocolate pudding mixture to the bottom of each. Follow this with a sprinkle of your crushed Oreo “dirt.” Then, add a layer of the vibrant green vanilla pudding. Repeat these layers—chocolate pudding, Oreo crumbs, green vanilla pudding—until your cups are filled to the brim. This layering creates a visually appealing and texturally dynamic dessert that mirrors overturned earth.
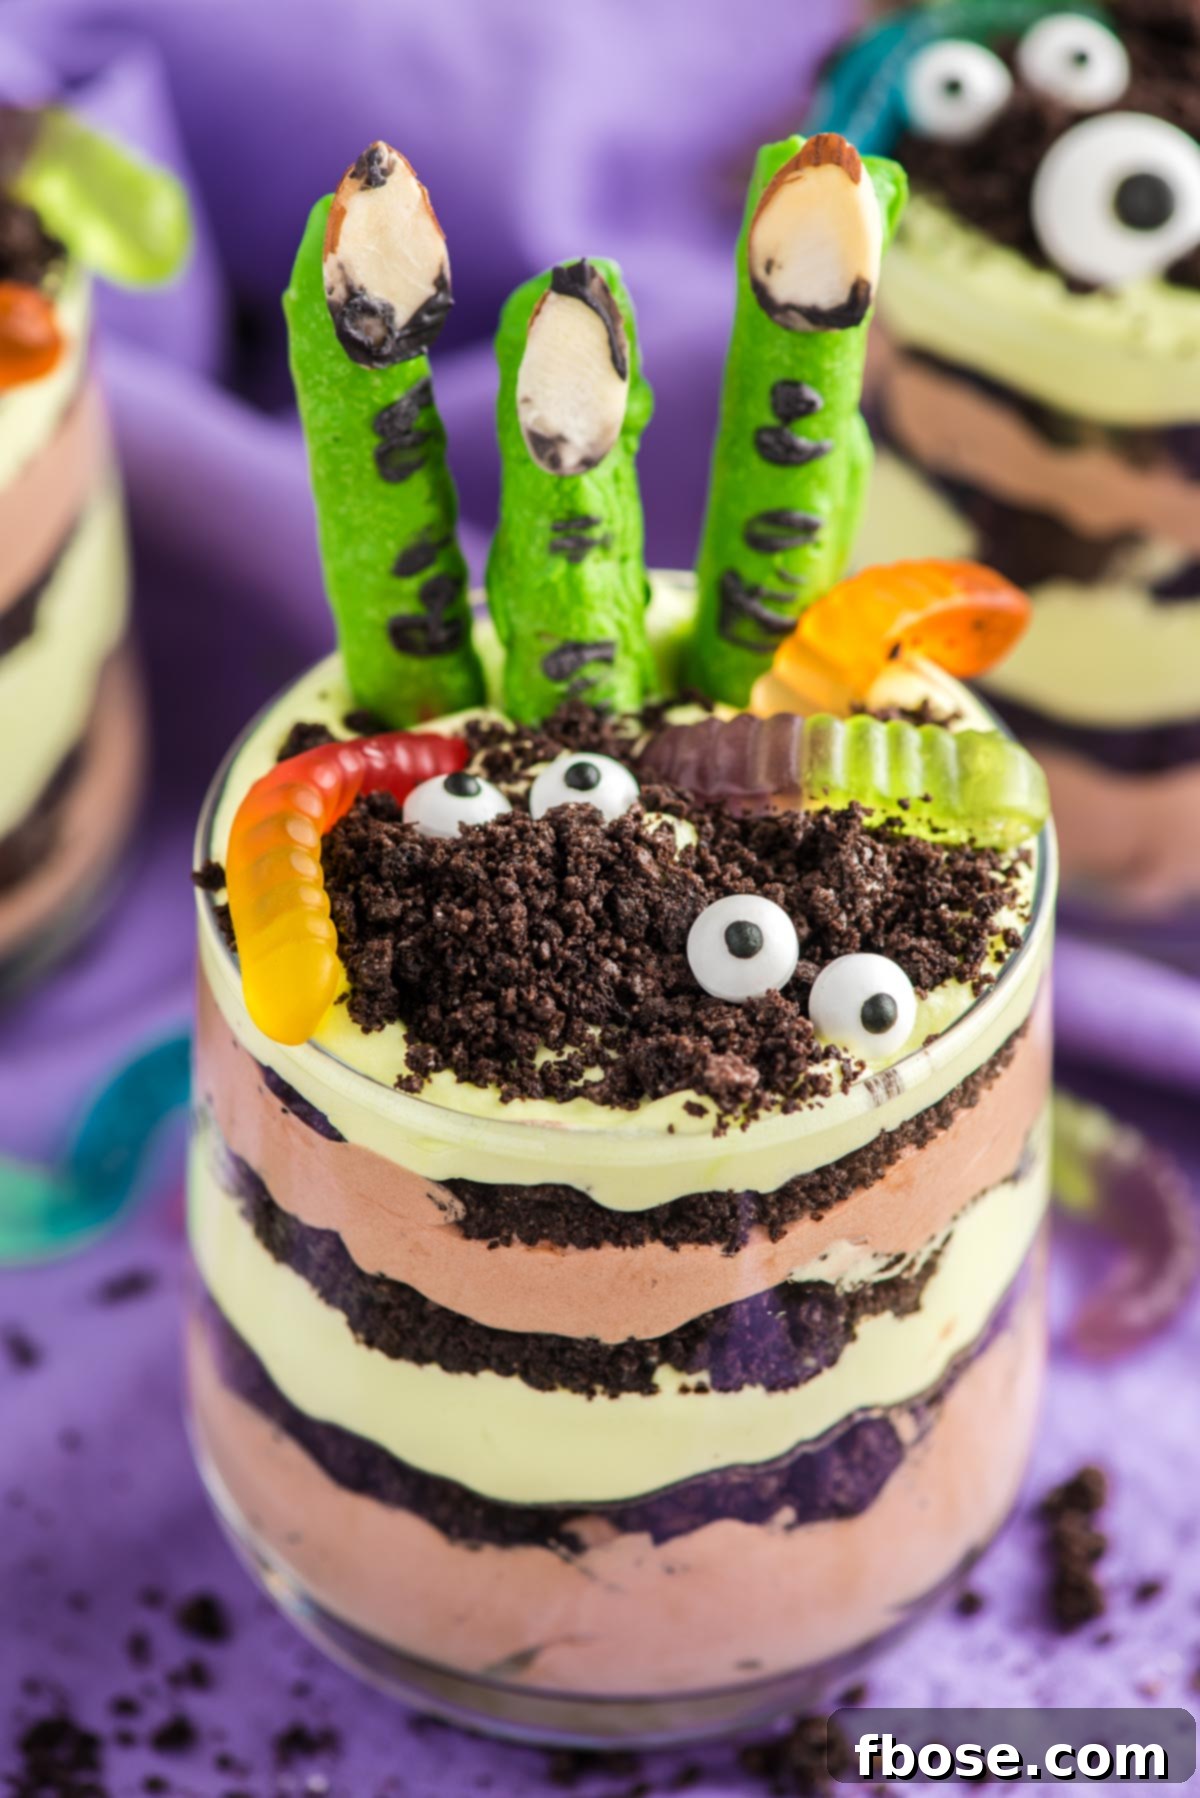
The final touch is where the true Halloween magic happens! Carefully decorate each of your assembled dirt cups by inserting a few of the eerie monster fingers into the top, arranging them as if they are emerging from the “dirt.” Scatter some wriggly gummy worms across the surface, making them appear as if they’ve just burrowed up. Finally, place a couple of candy eyeballs on top, giving each cup a watchful, spooky personality. These finishing touches transform a simple pudding dessert into a captivating, themed treat that will delight all ages!
Frequently Asked Questions: Your Halloween Dirt Cup Queries Answered
How do you make dirt cups specifically for Halloween?
Are these Halloween Dirt Cups suitable for those with peanut allergies?
Can I prepare these dessert dirt cups the night before my Halloween event?
How long do Oreo dirt cups last once assembled?
Creative Substitutions & Spooky Variations: Make It Your Own!
One of the best aspects of this dirt pudding recipe is its incredible adaptability. There are countless ways to customize these Halloween Dirt Cups to suit your taste, dietary needs, or desired level of spookiness. Get creative and make them uniquely yours!
- Making Oreo crumbs without a food processor: No food processor? No problem! Simply place your Oreo cookies in a large, sturdy zip-top bag. Seal the bag, removing as much air as possible, then use a rolling pin to firmly roll over the cookies until they are finely crushed into crumbs. This method works perfectly and is a great way to release some stress!
- Beyond the basics: Exciting additions for your dirt cups:
- Gummy Bugs: For an extra creepy-crawly effect, include various gummy bugs like spiders, beetles, or centipedes alongside or instead of worms.
- Halloween Sprinkles: Add a festive burst of color with orange, black, and purple Halloween-themed sprinkles.
- Chocolate Chips: Mini chocolate chips sprinkled between layers or on top provide bursts of extra chocolatey goodness.
- Crushed Candy Bars: Elevate the flavor with crushed Andes Candies, Heath bars, Reese’s cups, or Kit Kat bars for different flavor profiles and textures.
- Reese’s Pieces: These colorful peanut butter candies add a nutty crunch and a pop of vibrant orange and yellow.
- M&M’s: A handful of M&M’s brings a familiar chocolate taste and delightful textural contrast.
- Candy Corn: A classic Halloween treat, candy corn adds a distinctive flavor and festive look.
- Mini Marshmallows: For a soft, sweet surprise, sprinkle mini marshmallows between your pudding and dirt layers.
- Graham Cracker Sticks: These can be used as mini “tombstones” or simply added for extra crunch.
- Chopped Nuts: If not dealing with allergies, chopped peanuts or walnuts can add a rich, earthy flavor and satisfying crunch.
- Shredded Coconut: To mimic spiderwebs or mold, lightly toasted shredded coconut can add a unique texture and flavor.
Explore More Spine-Chilling Halloween Desserts!
If you’re still in the mood for more spooky treats after mastering these Halloween Dirt Cups, be sure to check out these other fantastic Halloween-themed dessert recipes:
- Halloween Chocolate Covered Oreos – A simple yet irresistible treat, these Oreos are dipped in festive chocolate and decorated for a delightful crunch.
- Halloween Seven Layer Magic Bars – Imagine all the best parts of trick-or-treating baked into one magical bar. These are a decadent mix of spooky delights!
- Halloween Monster Cookies Recipe – These hearty chocolate cookies are packed with oats, rich peanut butter, chocolate chips, and colorful M&M’s, making them monstrously delicious.
- Melted Witch Cupcakes – Adorably clever and surprisingly easy to make, these cupcakes feature a melting witch design that’s sure to draw smiles.
- Goosebumps Punch – A fantastic beverage that looks like a bubbling potion! This refreshing lemon-lime soda is topped with a scoop of sherbet and adorned with gummy worms, making it both spooky and delicious.
Halloween Dirt Cups
Pin It For Later
Click the button above to save this delicious recipe to your board!
Let’s Connect and Share Your Spooky Creations!
If you’ve had the pleasure of trying this wonderfully spooky recipe, we’d absolutely love to hear from you! Please take a moment to share your experience and leave a review in the comments section below. Your feedback means the world to us!
Don’t forget to tag us – @sugarandsoulco – on Instagram and Pinterest with your fantastic photos. You can also join our Sugar & Soul Show-offs Community and proudly share your creations there, and even participate in our exciting recipe challenges!
Halloween Dirt Cups
Ingredients
Monster Fingers:
- 20 large pretzel rods
- 1 (12oz.) package green candy melts
- Sliced Almonds
- 1 (12oz.) package black candy melts
Dirt Cups:
- 1 (14.3oz.) package Oreo cookies
- 8 ounces cream cheese softened
- ½ cup salted butter softened
- ¾ cup powdered sugar
- 3 cups whole milk divided
- 1 (3.5oz.) package Instant vanilla pudding mix dry
- 1 (3.5oz.) package Instant chocolate pudding mix dry
- 1 (12oz.) package whipped topping thawed and divided
- Green food coloring
Garnish:
- Gummy worms
- Edible Candy Eyeballs
Instructions
Monster fingers:
-
Break pretzel rods in half and set aside.
-
Place green candy melts in your candy melting pot and heat, (Please see notes if you do not have an electric melting pot) stirring until smooth. Add a few drops of water and stir into the chocolate to give a lumpy, uneven texture for the monster fingers.
-
Line a baking sheet or large tray with parchment paper. Dip your pretzel rod into the green melts, leaving the small area where you are holding it. Place your candy dipped pretzels on the parchment paper to cool. Repeat until all pretzels have been dipped.
-
Next, place black candy melts in your candy melting pot and heat, stirring until smooth. Using a food-grade paintbrush or toothpick, brush the melted black candy melts onto the edges of the sliced almonds. Proceed to paint knuckles and wrinkles on the candy-dipped pretzel rods.
-
Attach the sliced almonds onto the fingers by adding a small amount of melted chocolate to the back of each one and pressing down onto the tip of each monster finger. Set aside and allow to cool.
Dirt Cups:
-
Place Oreo cookies in a food processor and blend into crumbs. Set aside.
-
In a large mixing bowl, beat softened cream cheese, butter, and powdered sugar until smooth.
-
In a separate bowl, whisk 1½ cups of milk and the vanilla pudding and refrigerate for 5 to 10 minutes until soft-set.
-
In a separate bowl, mix 1½ cups of milk and the chocolate pudding until combined and refrigerate for 5 to 10 minutes until soft-set.
-
Add half of the cream cheese mixture to vanilla pudding and mix until well combined. Fold in half of the container of whipped topping. Stir in a few drops of green food coloring (small amounts at a time to reach desired color).
-
Add remaining half of cream cheese mixture to chocolate pudding and mix until well combined. Fold in the second half of the container of whipped topping.
-
In small cups, layer chocolate pudding, cookie crumbles, green vanilla pudding, and cookie crumbles. Repeat until filled to the top.
-
Add 3 monster fingers, candy eyes, and gummy worms to the top of each cup. Enjoy!
Notes
- This recipe is incredibly flexible and can easily serve a larger gathering, such as a classroom size of around 20-24, if smaller cups are utilized. For a family-style presentation, consider layering all the ingredients in a 9”x13” pan instead of individual cups.
- If you don’t have an electric candy melting pot, you can still perfectly melt your candy wafers. A double boiler method works wonderfully, or you can use a microwave-safe glass bowl. When microwaving, heat in short 30-second increments, stirring thoroughly after each interval until the candy is smooth and fully melted.
- To maximize convenience, this entire dish can be prepared the night before your event. However, for the best textural experience, it is highly recommended to hold off on adding the garnishes (monster fingers, gummy worms, candy eyeballs) until just before you are ready to serve. This ensures everything remains fresh and visually appealing.
- For those who love an extra textural dimension, reserve a few Oreo cookies and crush them roughly in a plastic bag, leaving larger, chunky pieces. Sprinkle these among your fine “dirt” layers for a satisfying, extra crunch.
- If a food processor isn’t available, don’t worry about creating the Oreo crumbs. Simply place the cookies in a large, sturdy plastic bag and use a rolling pin to crush them quickly and effortlessly.
- When serving these delightful treats to small children, please exercise caution. It’s advisable to remove the pretzel rods (especially if topped with nuts) and any other small, hard garnishes that could pose a choking hazard.
- The decorated monster fingers are excellent for make-ahead preparation. You can craft them several days in advance and store them in an airtight container at room temperature. This helps streamline your Halloween party prep!
- Feel free to experiment with different candy melt colors to match your Halloween theme. Classic options like orange, purple, and green work wonderfully. For an extra gruesome effect, consider using red candy melts for the monster fingernails, making them appear bloody and truly creepy!
Nutrition
Did You Make This Recipe?
Don’t forget to share it with me on Instagram @sugarandsoulco and follow on Tiktok @sugarandsoulco and Pinterest @sugarandsoulco for more!
Pin Recipe
Share Recipe