Spiderman Cake and Homemade Marshmallow Fondant
Learn how to make a Spiderman cake with homemade fondant and a cake mix or your favorite homemade cake recipe! Perfect for Spiderman parties!
- Total 30 minutes
- Serves 12
- Desserts
- American
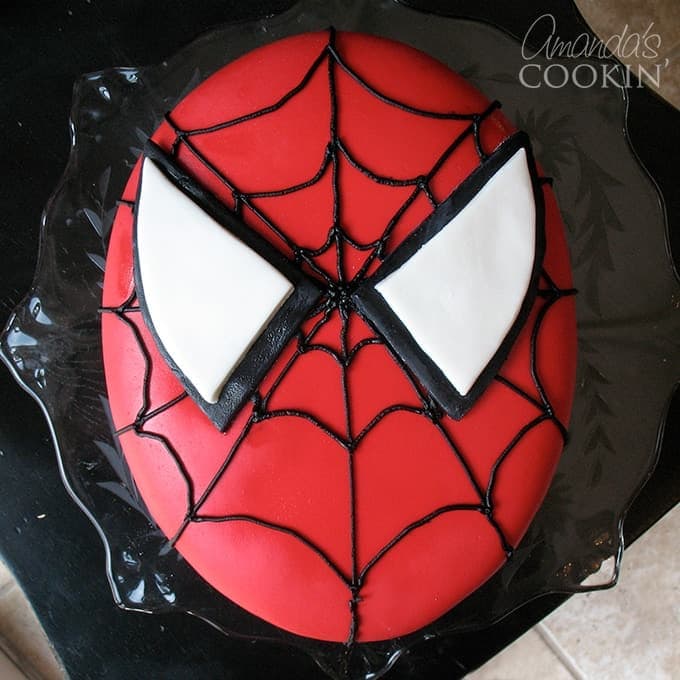
Learn how to make a Spiderman cake with homemade fondant and a cake mix or your favorite homemade cake recipe! Perfect for Spiderman parties!
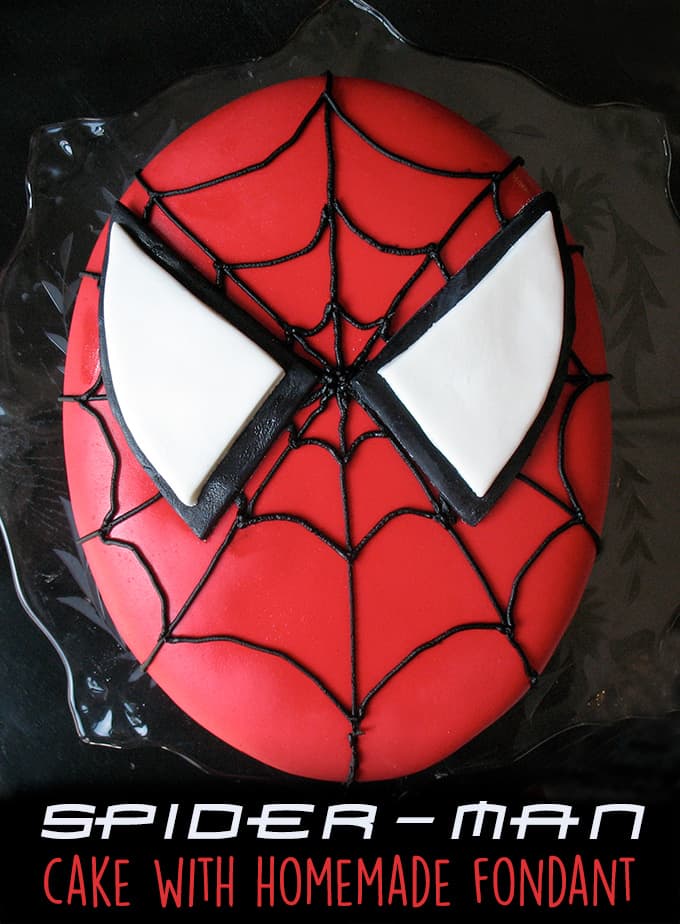 more
more
Back in the summer of 2010 my (then) 16 year old daughter asked me to make a Spiderman cake (yes, technically Spiderman should be hyphenated as Spider-man, but for the sake of my sanity I am typing it in this post as Spiderman, no hyphen.) for her best friend’s birthday. I was surprised to hear that her BFF wanted a Spiderman cake, but my daughter insisted that she was indeed obsessed with all things Spiderman. So who am I to question, or for that matter, to say no?
Making a Spiderman Cake with Homemade Fondant
So I set out on a quest to find a fun Spiderman cake design. At first I was going to use this cake pan with a simple white frosting, pipe black frosting around it and drag a knife through it to create a spider web design. Kristen wanted a Spiderman face in the middle, so I could have just gone with this light up Spiderman cake topper… but instead I decided to use fondant.
Yikes. Fondant. I had never used fondant. It had been one of those “I have to tackle that one of these days” things. It wasn’t nearly as hard as I thought it would be. In fact it was quite easy. I found a great video on working with fondant here and used that to come up with my Spiderman cake.
Using homemade fondant for my Spiderman Cake
So on with my adventure in fondant. I had heard that store bought fondant is pretty gross tasting, and have heard some great things about homemade marshmallow fondant, so I decided to make my own. This definitely did not go off without a hitch, there were several issues, even though it did all work out in the end. This could have really turned into a long post, so I trimmed the mishaps down a bit. Also, I don’t have a lot of step by step photos as I was so concentrated (and nervous) that I didn’t want to stop to stage photos.
Making and shaping the cake
Kristen wanted boxed cake and container frosting. I baked a chocolate cake in two 9″ round cake pans. When cool, I chilled them in the freezer for an hour so that I could easily saw off the uneven tops with a serrated knife.
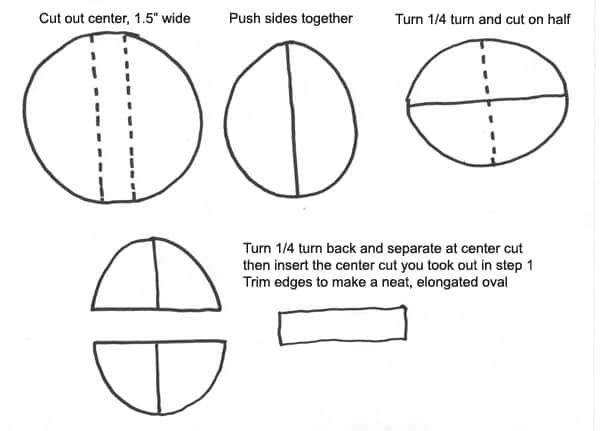
Next, I cut a section out of the middle of each cake layer, about 1.5″ wide and set those pieces aside. I slid the two sides together on each cake to make ovals. However, the ovals weren’t long enough to pass as a face, so I turned the cakes a quarter turn, then cut then in half. I separated the two halves and reinserted sections of the pieces I removed earlier. I was able to make longer ovals this way. While this was going quite well, at one point I almost dropped a layer on the floor. I swear I would have cried.
After it chilled a while, I assembled the layers with a layer of white frosting between the two, then I gave the cake a crumb coat. Back into the freezer for another couple hours. I finished it off with the rest of the frosting, smoothed it out really well by misting it with water and smoothing with an icing spatula. Back into the fridge.
Making the homemade fondant
There are lots of different posts and tutorials on making homemade marshmallow fondant. The one that ultimately influenced me the most was this video. However, I must warn you, it’s way too long. She really could have edited a lot of stuff out and still made a great tutorial. I found myself saying “Yeah yeah, get on with it already!” Just sayin’.
I almost hosed up the fondant completely. You are supposed to melt 16 oz of marshmallows with a little water, then mix it with 2 pounds of sifted powdered sugar. (recipe at the end if you want it)
- I forgot that 16 oz. is actually about 1.5 packages – I only melted 1 package.
- I forgot to add the water to the marshmallows before microwaving them.
- I ended up adding more powdered sugar that the recipe called for because of my other boo-boo’s.
All seemed to work out well, so I wrapped it tightly and let it rest overnight.
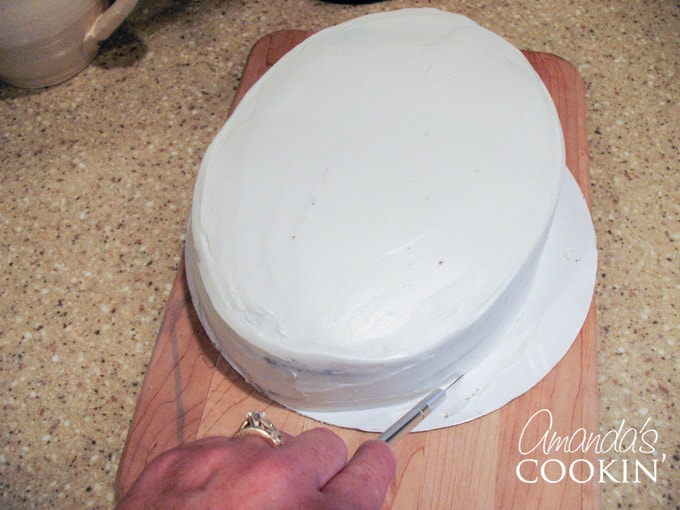
Once I had a couple of cups of coffee in me, I set out to finish this cake. First thing I did was take the cake out and trim the cake cardboard with a x-acto knife to be the same shape as the cake. This allows you to trim the ends of the fondant easily once you’ve placed it on the cake.
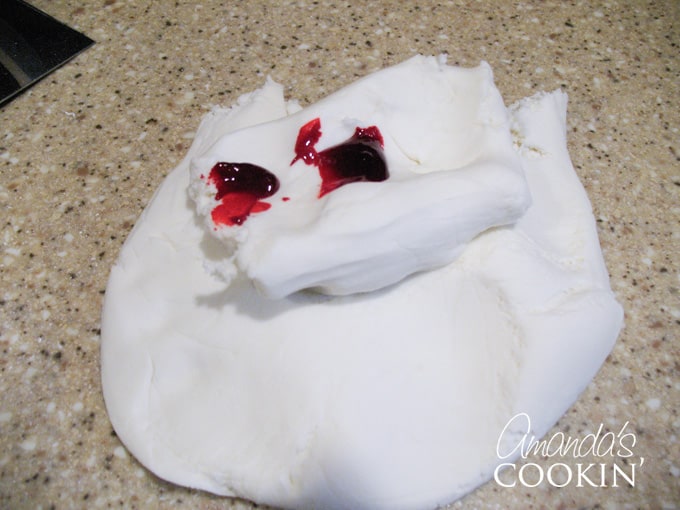
I separated the fondant so I could color the bulk of it red. I pulled out my red gel food coloring and started working it into the fondant, and then I RAN OUT.
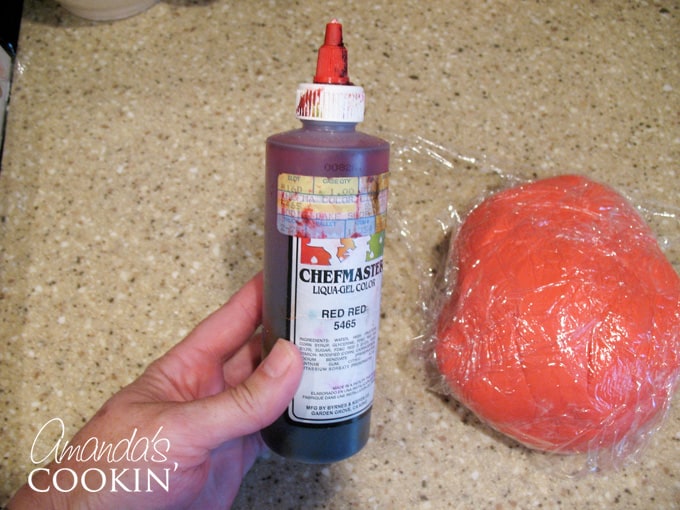
Luckily for me the bakery in town had an extra bottle and sold me one. Phew!
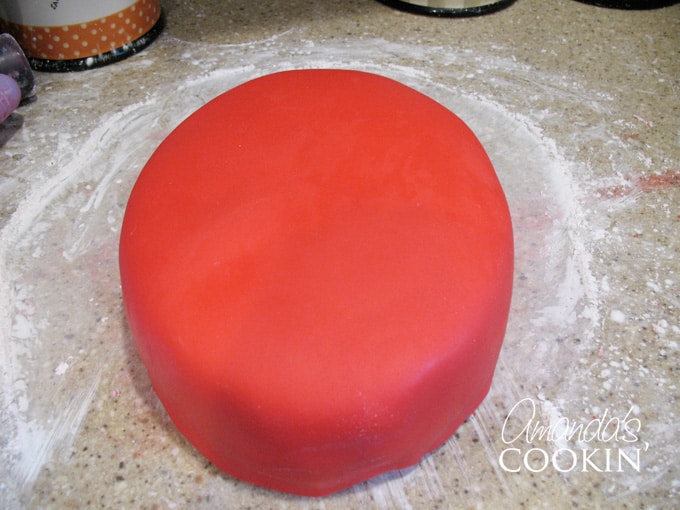
Rolling the fondant out was easy, just make sure you use a good amount of cornstarch on the work surface or it will stick. Roll it 1/4″ thick as suggested by every tutorial I ran across. It lifted easily and went right on top of the cake without an issue.
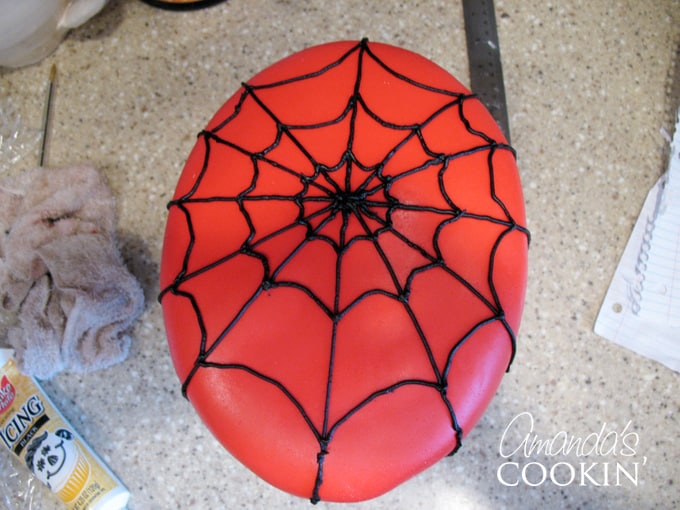
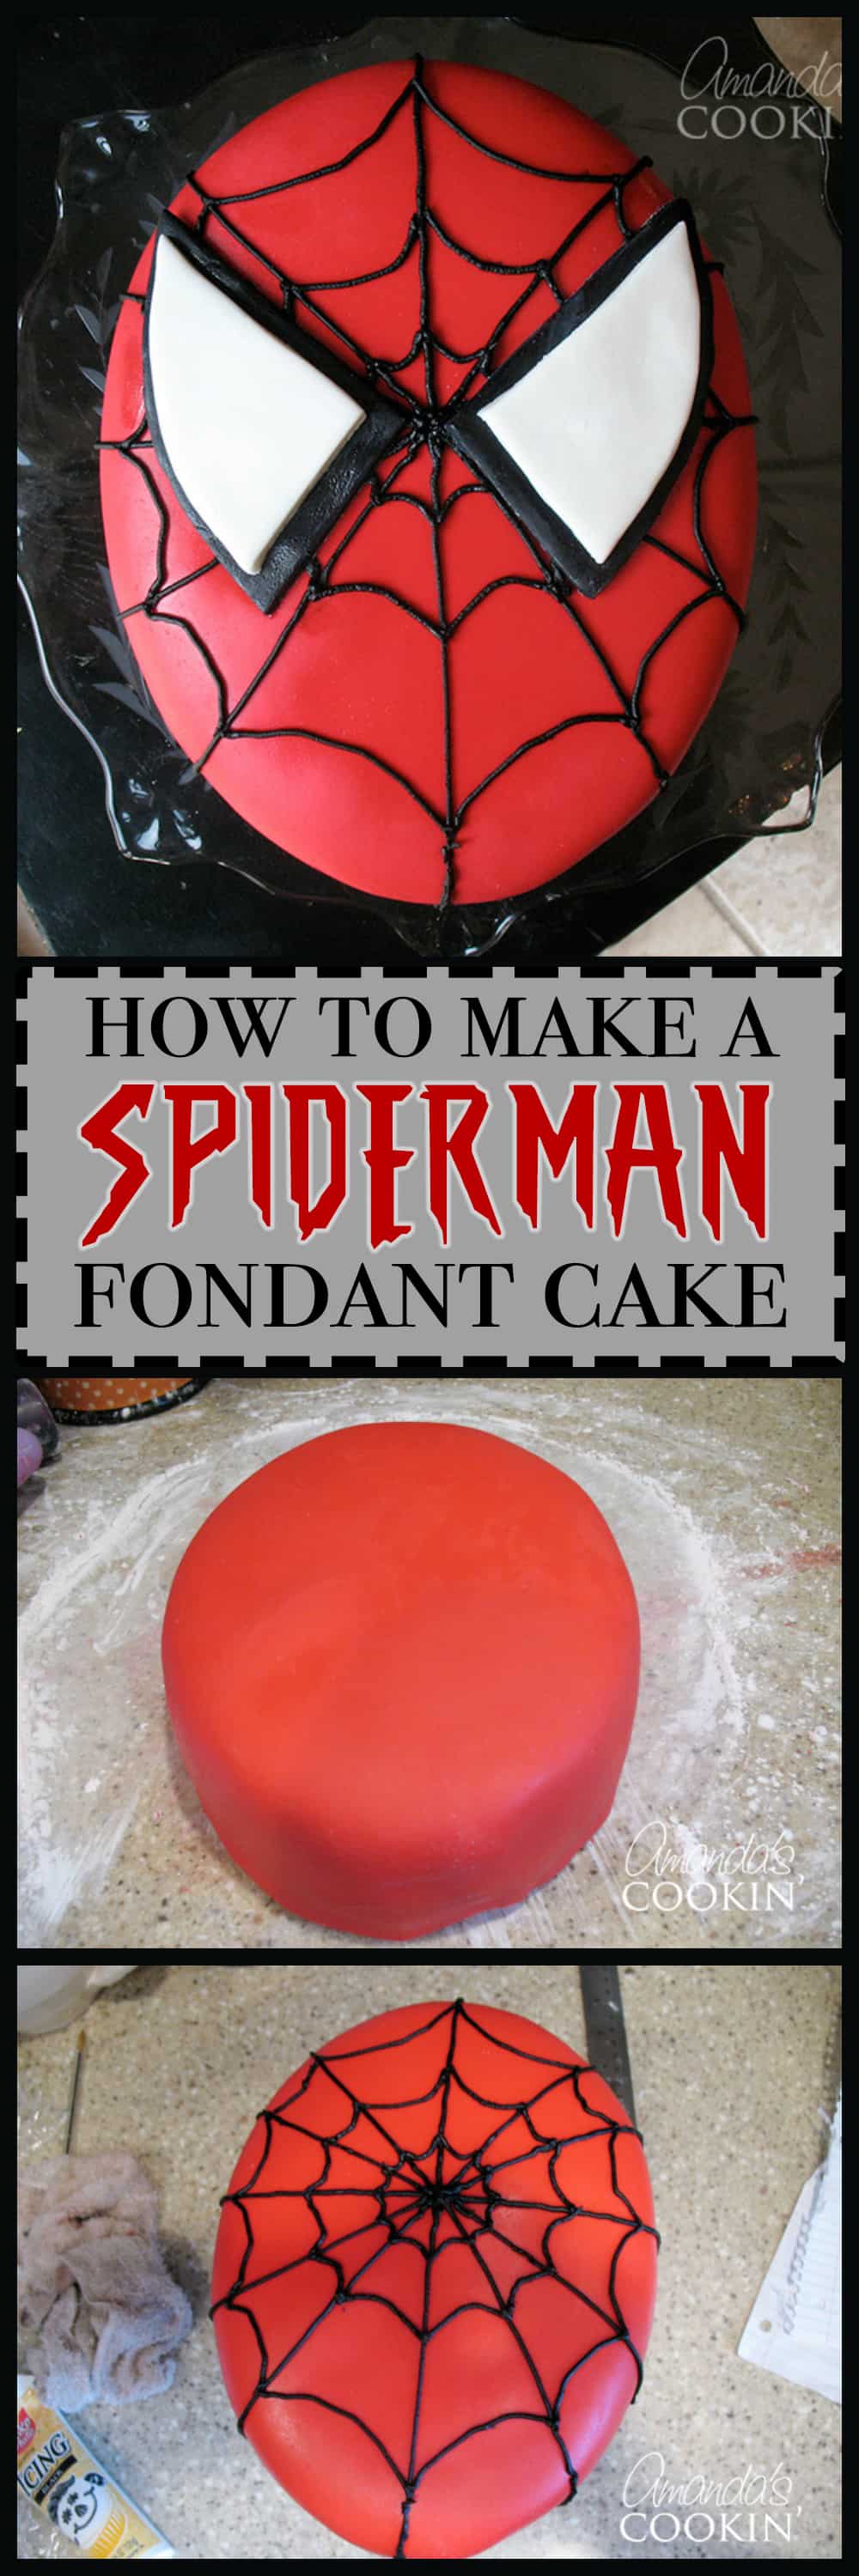
After trimming the fondant (I used the top of my turntable spice rack to place the cake on) to fit snugly around the cake, I then piped on the spider webs.
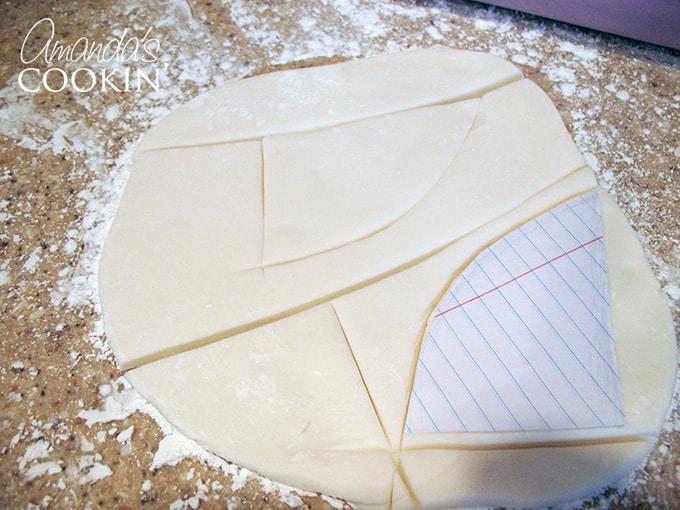
I drew out the eyes and cut them from fondant using my drawing. Pasted them together with a little water and placed them on top of the cake. I used a tiny paintbrush dipped in water, squeezed out the excess and touched up the cake. Done!
So all in all, even for my first time, I was pretty happy with it! My daughter and the birthday girl loved it, so that’s what was most important to me. Glad I conquered yet another fear that summer!
Here’s the fondant recipe. if you can get through it, watch the video I mentioned above, just remember it’s kinda longish.
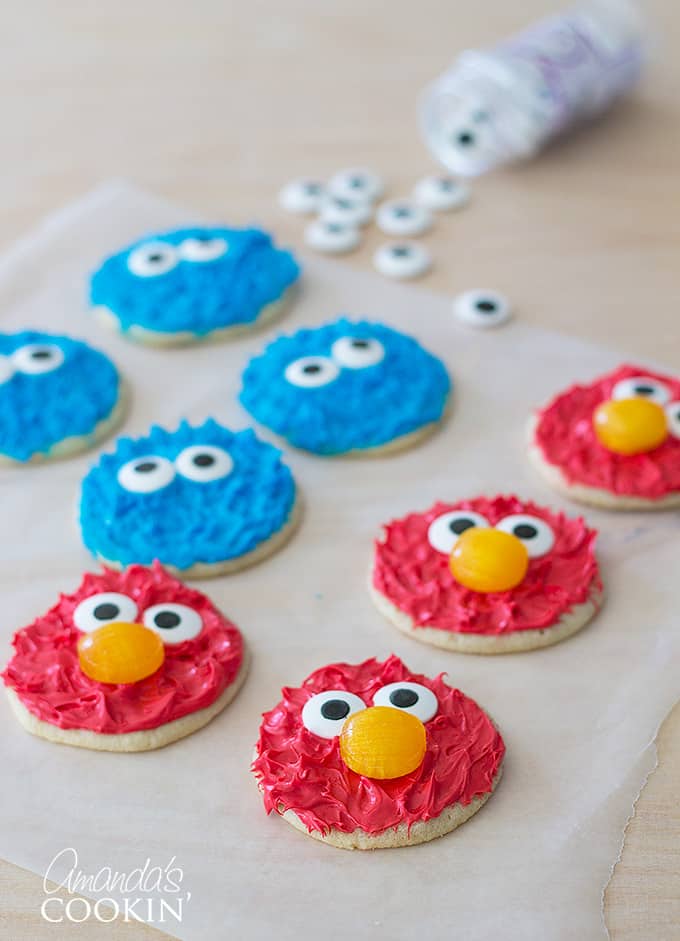
If you’re browsing around for more fun birthday party ideas, these Cookie Monster and Elmo cookies are SO easy and a lot of fun to make! You could even have the kids decorate them themselves as part of the party fun.
More recipes to try
Eight more recipes from the kitchen.
Chocolate Cake Roll
This homemade chocolate cake roll recipe features a tender chocolate…
Pumpkin Poke Cake with Pudding
This pumpkin poke cake skips the caramel and fills a spiced cake mix…
Lemon Cake
This gorgeous tiered lemon cake is topped with decadent lemon…
Merryfield Apple Cake: An Easy Apple Cake with Cake Mix
This easy Merryfield apple cake starts with a box of yellow cake mix…
Banana Cake with Cream Cheese Frosting
Banana cake with cream cheese frosting is nothing short of amazing…
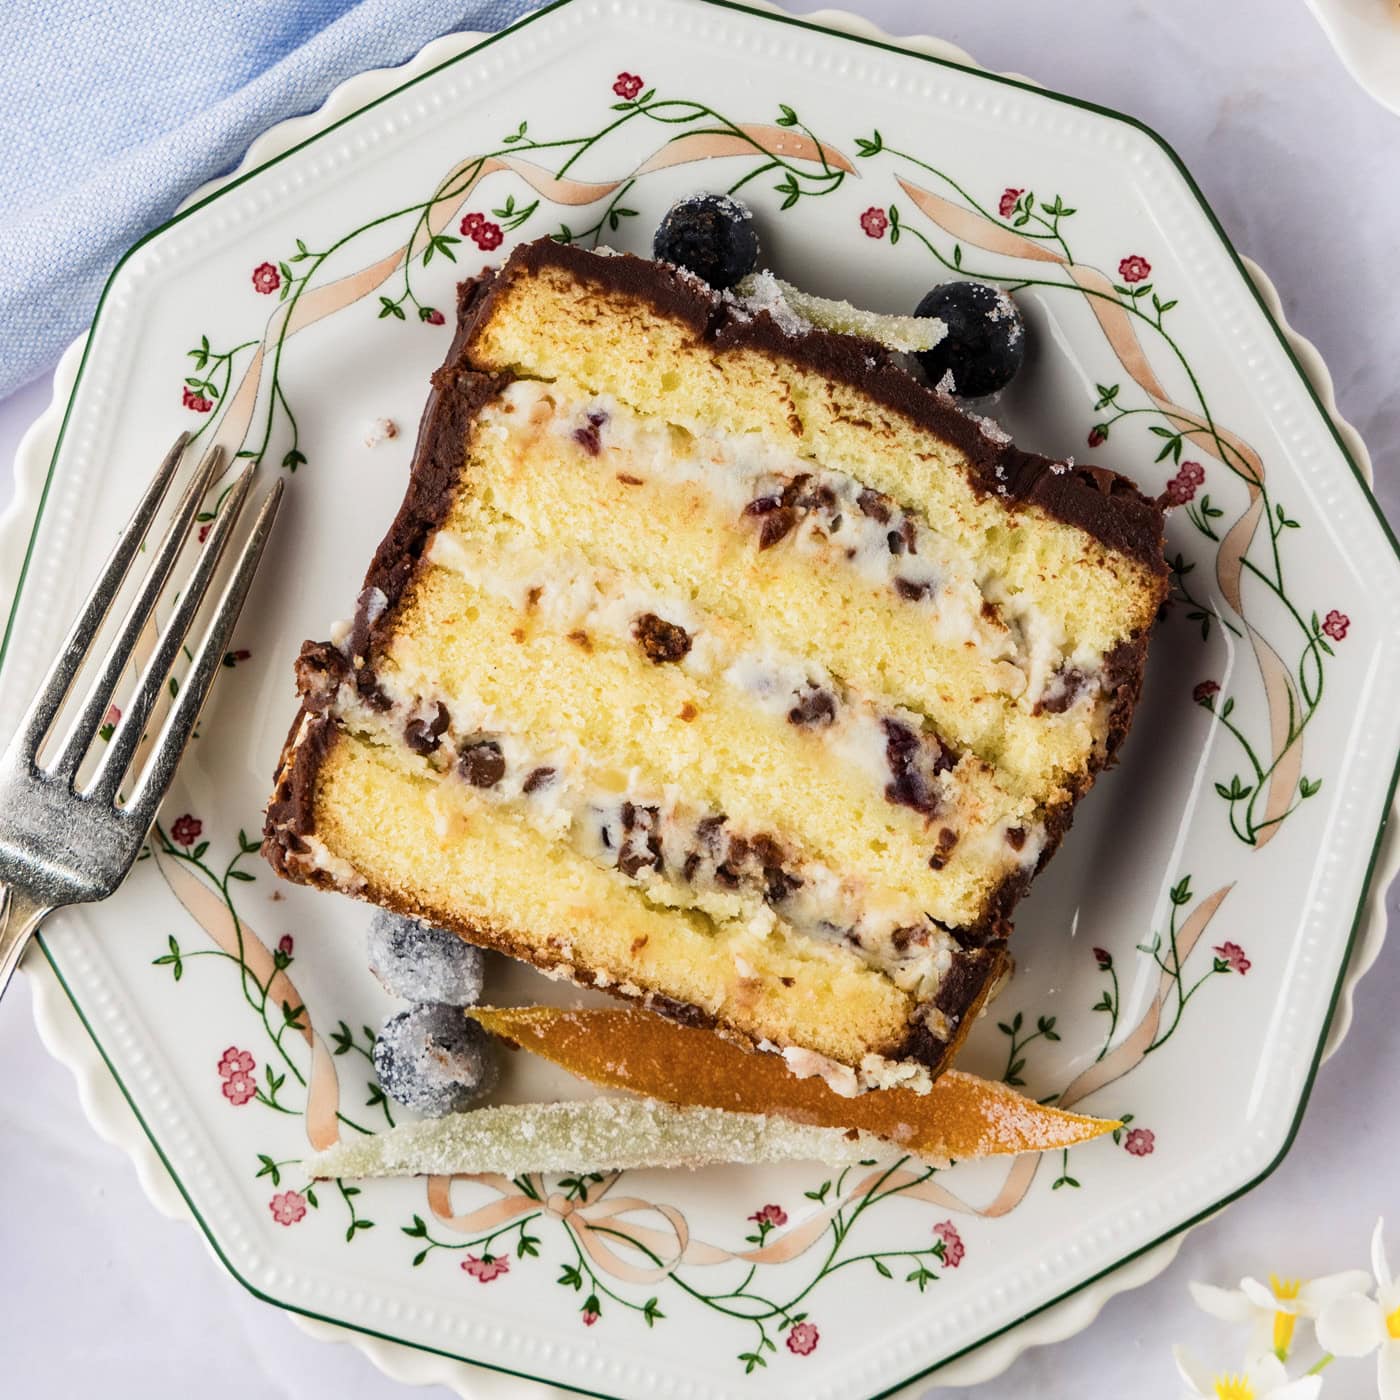
Cassata Cake
Our version of cassata cake combines a mixture of citrus liqueur and…
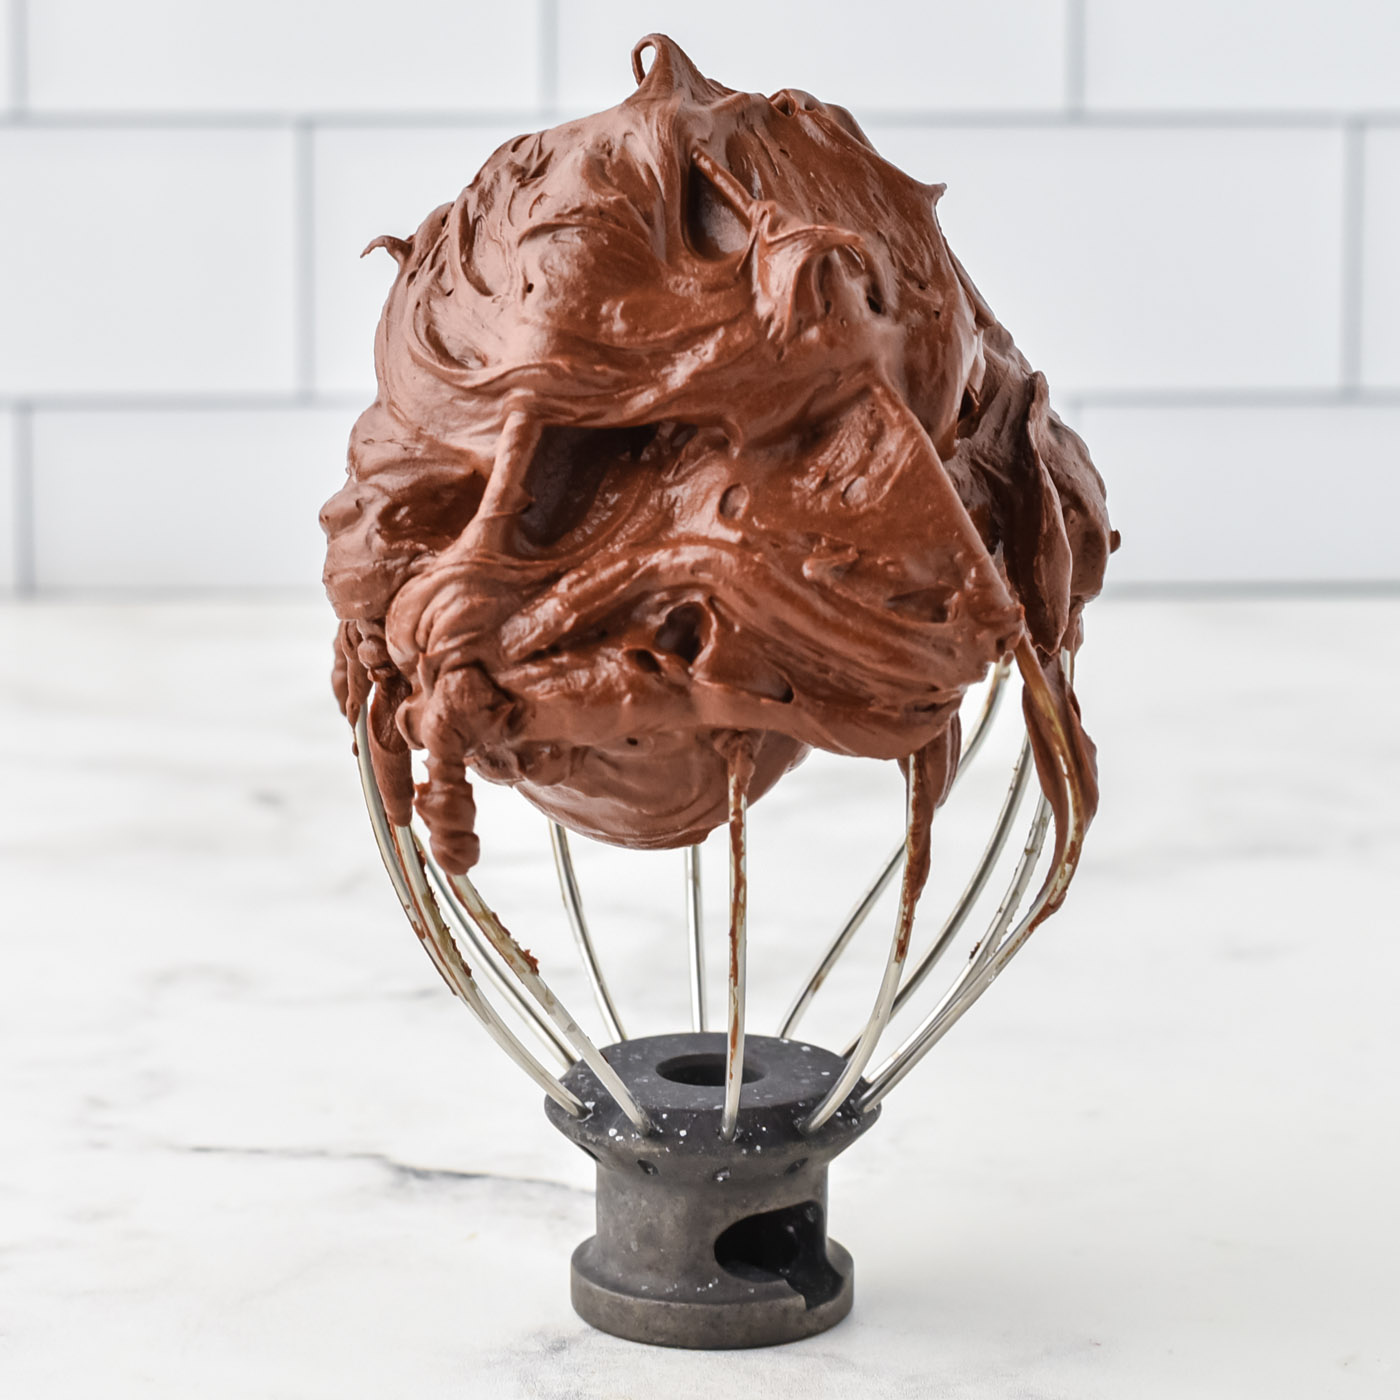
Chocolate Fudge Frosting
This ultra-rich and silky smooth chocolate fudge frosting only takes 5…
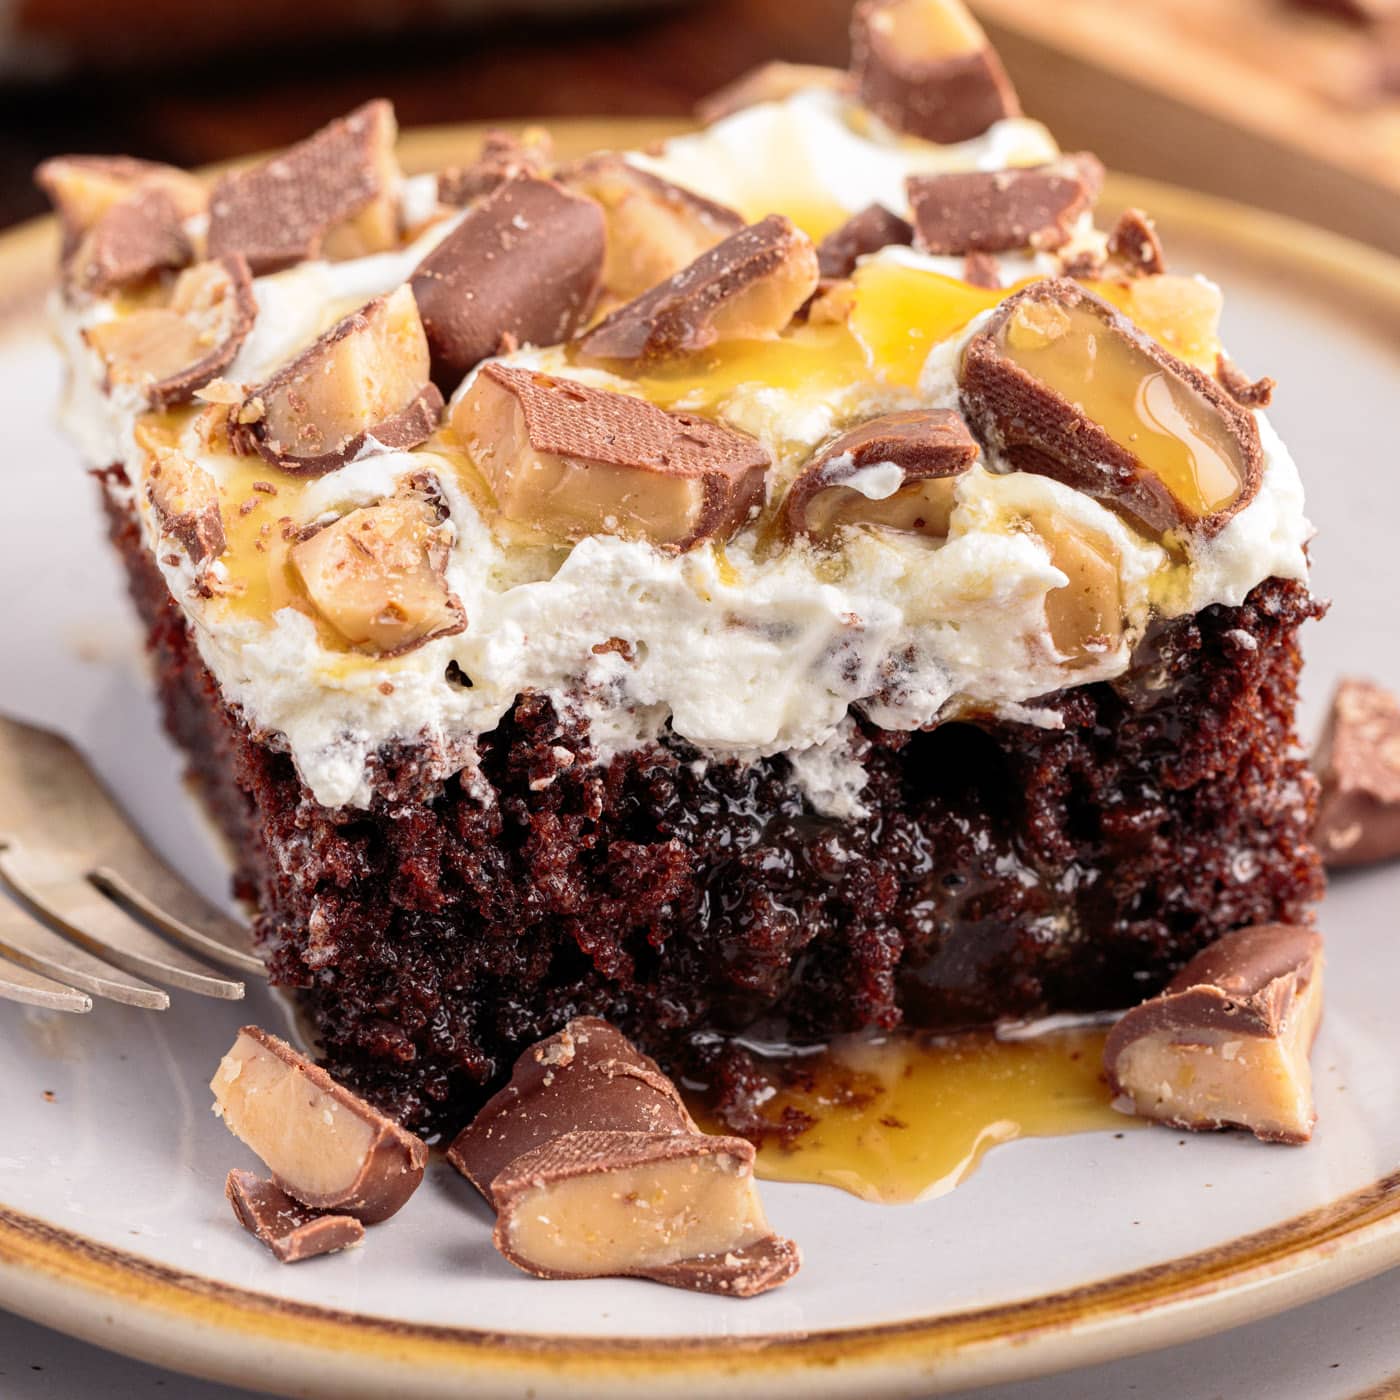
Better Than Sex Cake
Better than sex cake elevates a regular chocolate cake mix into a rich…