
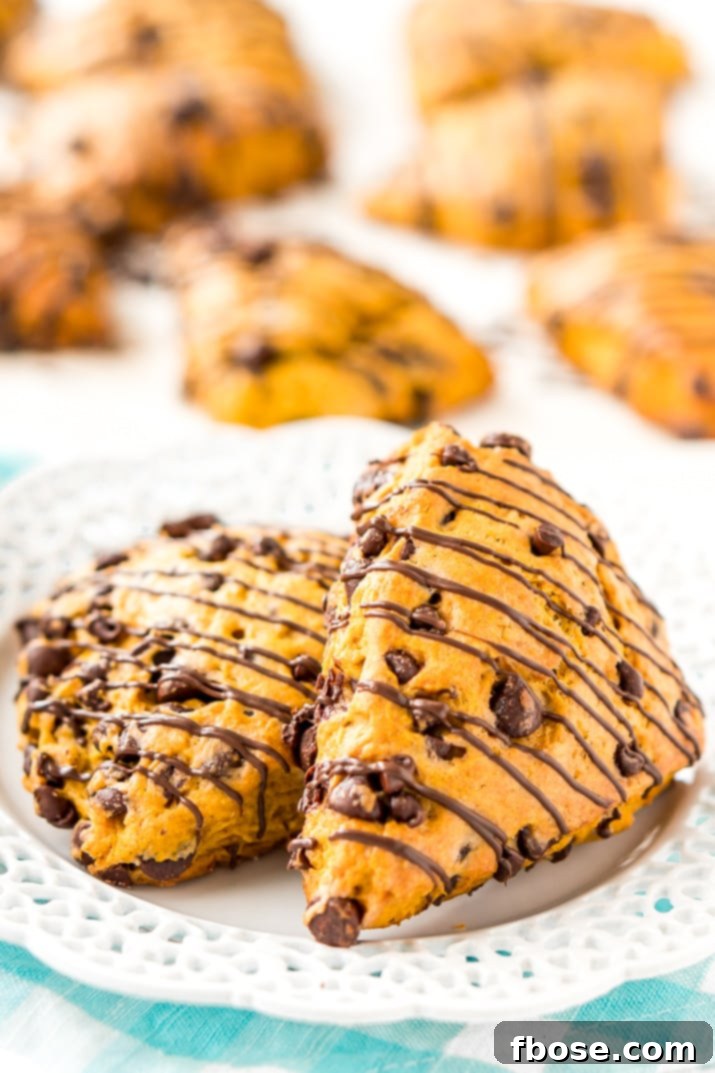
Indulge in the quintessential taste of autumn with these exquisite Pumpkin Scones. This simple yet sophisticated recipe combines the warmth of pumpkin and aromatic spices with rich dark and semi-sweet chocolate chips, offering a delightful treat perfect for any time of day.
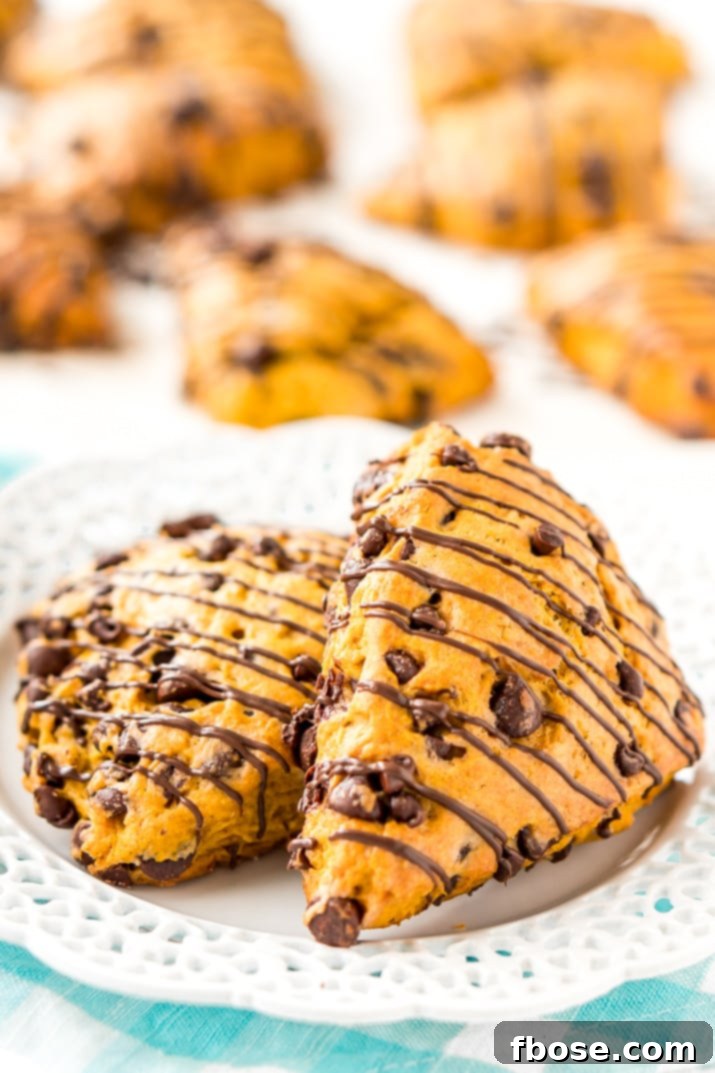
Homemade Pumpkin Scones with Chocolate Chips
As the leaves begin to turn and a crispness fills the air, there’s no denying that pumpkin season is upon us! While you might be dreaming of classic Pumpkin Bread or chewy Pumpkin Cookies, allow us to introduce you to a truly elevated way to celebrate fall flavors: homemade Chocolate Chip Pumpkin Scones. These tender, spiced pastries, dotted with decadent chocolate, are arguably the most sophisticated way to enjoy your favorite autumn ingredients.
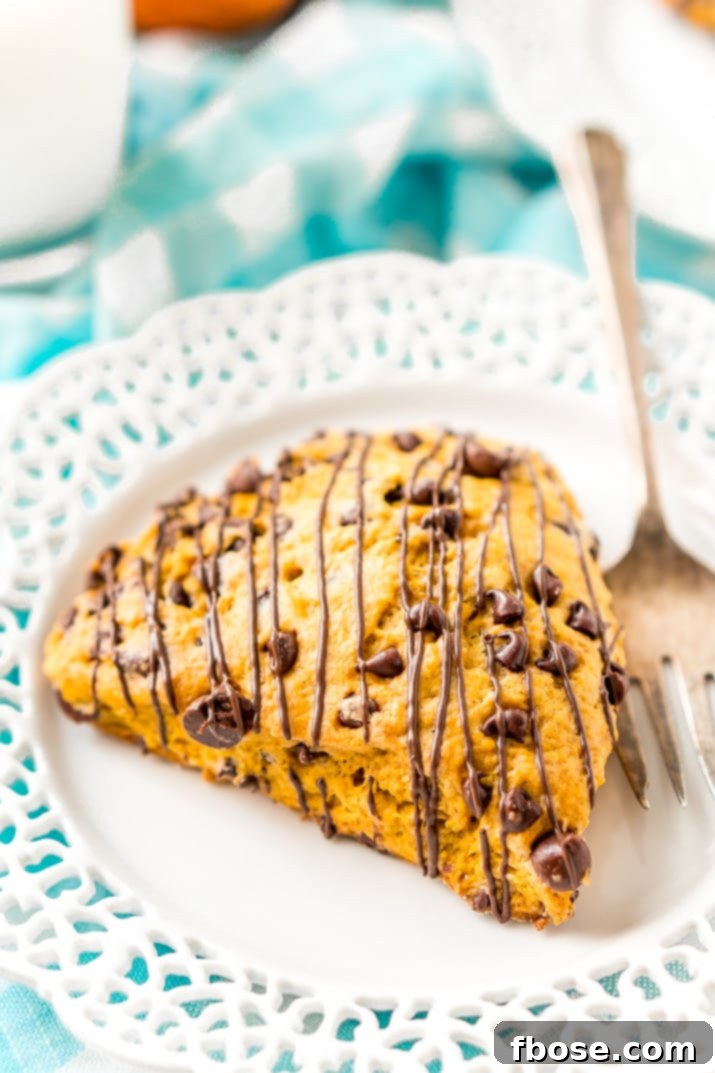
Whether you’re starting your day with a comforting breakfast, enjoying a leisurely brunch, or seeking a delightful afternoon snack, these Pumpkin Scones are a versatile and irresistible choice. Pair them with a steaming cup of coffee, a soothing mug of tea, or a refreshing glass of cold milk for an unforgettable culinary experience. Their perfectly balanced sweetness and rich texture make them a standout treat that will quickly become a seasonal favorite.
Ready to Bake? Jump Straight to the Best Ever Pumpkin Scones Recipe!
For those eager to dive directly into baking, simply scroll to the bottom of this page where you’ll find the complete, printable recipe card for these deliciously easy Pumpkin Scones. But if you’re looking for expert tips, insightful tricks, essential baking information, and inspiring serving suggestions that will elevate your scone game, keep reading! We promise it’s worth your while.
Why These Pumpkin Scones Will Become Your Fall Obsession
Our Pumpkin Scones are crafted using simple, wholesome ingredients you likely already have in your pantry: all-purpose flour, granulated sugar, fresh eggs, and creamy pumpkin puree. Of course, no pumpkin recipe is complete without a generous, fragrant dose of Homemade Pumpkin Pie Spice, which infuses every bite with that signature autumn warmth. The secret to their incredible flavor and texture lies in the careful balance of these elements, combined with the magic of cold butter.
For all the devoted fans of Starbucks Pumpkin Scones, prepare to be amazed by this homemade version. Many find our recipe to be even better than the ones you typically enjoy with your Venti Latte. The difference is palpable: when you bake them yourself, you control the quality of ingredients, ensuring they’re always fresher, more natural, and bursting with authentic flavor. Plus, making them at home is significantly more economical than daily trips to the coffee shop, allowing you to enjoy these delightful treats whenever the craving strikes without breaking the bank.
These scones strike a perfect harmony between sweet indulgence and subtle spice. They are just sweet enough to satisfy a morning pick-me-up or an after-dinner craving without being overly rich. The addition of both dark and semi-sweet chocolate chips introduces layers of complex flavor and satisfying texture, providing a luxurious counterpoint to the earthy pumpkin. It’s a combination that truly hits the spot, fulfilling both your pumpkin and chocolate desires in one perfectly baked package.
Crafting Your Perfect Pumpkin Scones: A Step-by-Step Guide
Creating these delightful Pumpkin Scones is a rewarding process, and with our clear, detailed instructions, you’ll achieve bakery-quality results right in your own kitchen. Precision in preparation and a few key techniques are all you need for perfectly flaky, tender scones.
Preparing Your Baking Station
Begin by setting up your workspace. Line a large baking sheet with parchment paper. This simple step prevents sticking and ensures easy cleanup, making your baking experience much smoother. Set this aside as you prepare the dough.
Mixing the Dry Ingredients and Incorporating Cold Butter
In a spacious mixing bowl, combine your dry ingredients: the all-purpose flour, granulated sugar, baking powder, a pinch of kosher salt, and, of course, the star of the show, your fragrant pumpkin pie spice. Whisk these together thoroughly to ensure even distribution of leavening agents and spices. Next, introduce the crucial element for flaky scones: cold butter. Cut the butter into small cubes and work it into the dry mixture using a pastry cutter (or your fingertips). Continue until the mixture resembles coarse crumbs, with some pea-sized butter pieces remaining. This technique creates pockets of butter that melt during baking, resulting in a wonderfully tender and flaky texture. If you don’t have a pastry cutter, you can use two knives or even a food processor for a quick pulse, but be careful not to overmix.
My Favorite Pastry Cutter!
Combining Wet Ingredients and Forming the Dough
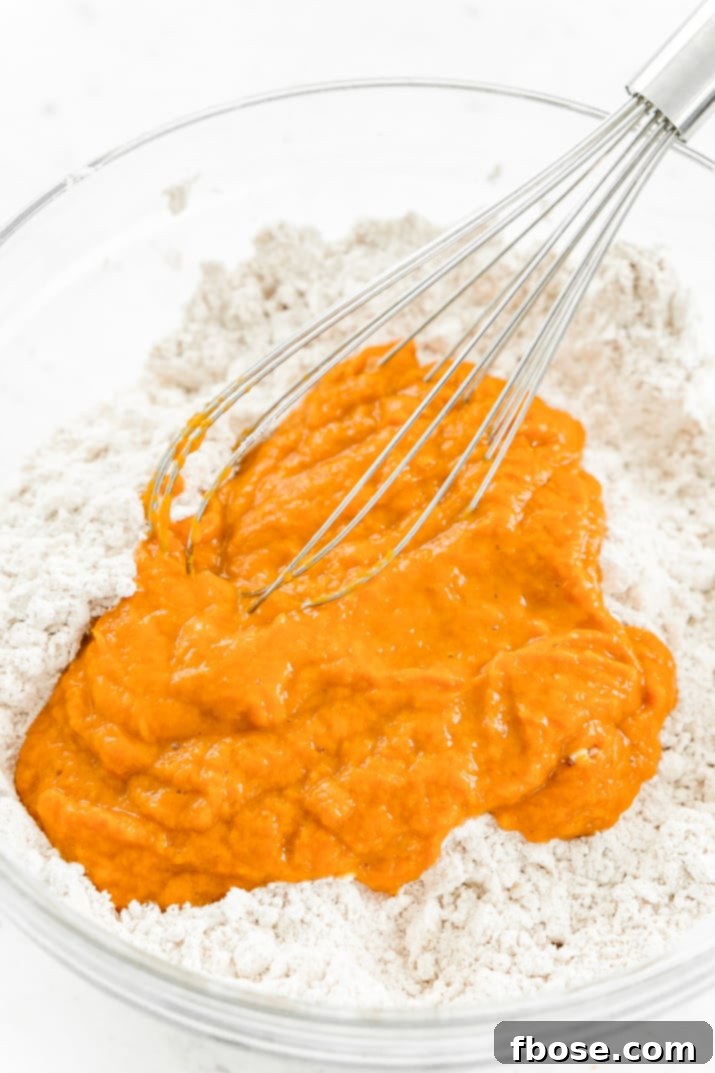
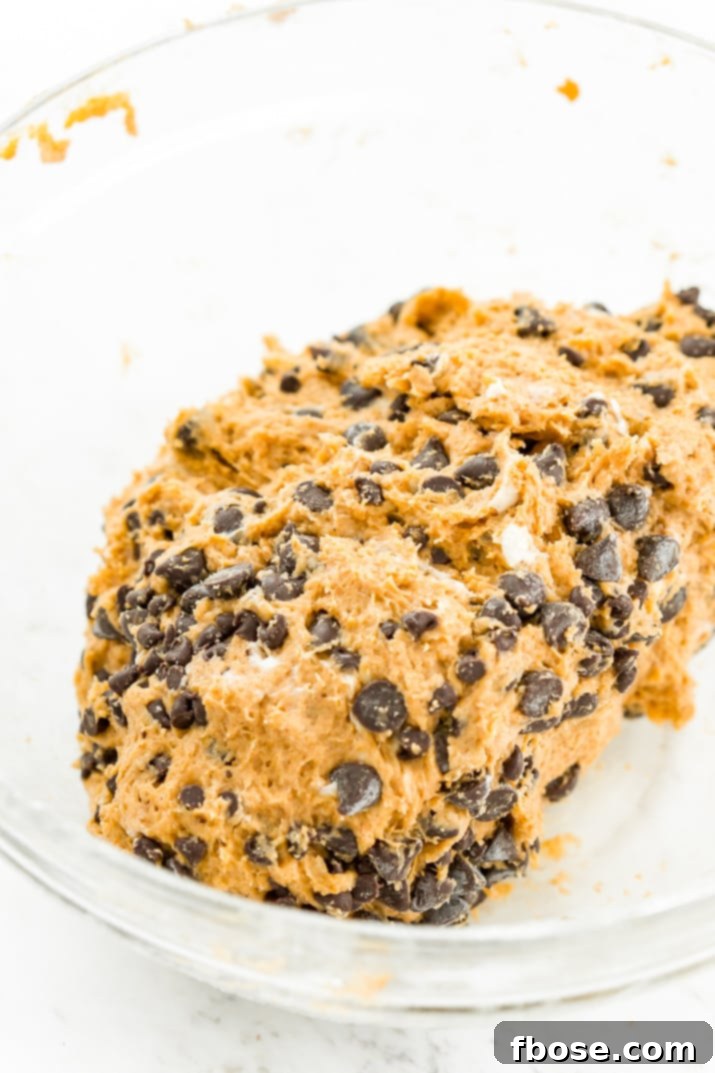
In a separate, smaller mixing bowl, whisk together the canned pumpkin puree and eggs until you achieve a smooth, uniform mixture. Gently add this pumpkin-egg mixture to your dry ingredients. Mix until just combined – overmixing will develop the gluten in the flour, leading to tough scones, so stop as soon as no dry streaks of flour remain. This is also the perfect moment to fold in the dark and mini semi-sweet chocolate chips. Their rich flavor and delightful melty pockets are a non-negotiable for true chocolate lovers!
Once your dough is ready, lightly sprinkle and spread some flour onto a clean, flat surface. Carefully scrape the dough out of the bowl onto this floured surface. Divide the dough evenly in half. This makes it easier to handle and ensures consistent scone sizes.
Shaping and Cutting Your Scones
Take each half of the dough and gently round it into a ball. Using a floured rolling pin, flatten each ball into a circular disk, aiming for a thickness of about 3/4-inch. Don’t worry if the edges aren’t perfectly round; you can gently shape them with your hands to create neat circles. The goal is a uniform thickness for even baking.
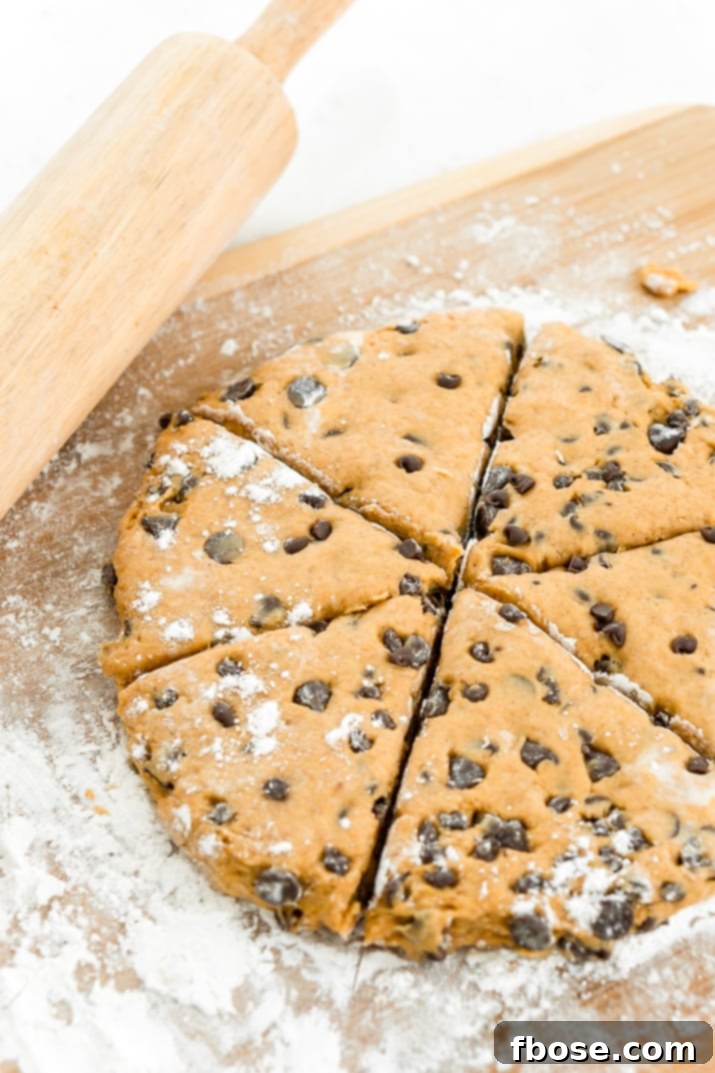
Now, for the classic scone shape! Use a large, sharp knife or a pizza cutter that you’ve run under cold water (this helps prevent sticking). Slice each circular disk into 6 even wedges, much like cutting a pizza. This traditional wedge shape is iconic for scones and ensures each piece bakes beautifully.
My Favorite Pizza Cutter!
The Secret for Perfect Rise and Texture
Carefully transfer the scone wedges to your prepared baking sheet, ensuring you leave 1 to 2 inches of space between each piece to allow for even baking and proper rising. Before baking, gently brush the tops of each wedge with a little milk. This step helps create a beautiful golden-brown crust and a slightly crisp exterior.
For the absolute best texture and highest rise, there’s a crucial step: place the baking sheet of scones, uncovered, into the freezer for 30 minutes. This chilling period re-solidifies the butter, which then creates more steam as it bakes, resulting in those desirable flaky layers and a significant lift. While your scones are chilling, preheat your oven to 425°F (220°C), ensuring it’s hot and ready for baking.
Baking and Serving Your Delightful Scones
Finally, transfer the chilled scones to the preheated oven. Bake for 22 to 25 minutes, or until they are beautifully golden brown on top and a toothpick inserted into the center of a scone comes out clean, free of any wet crumbs. The aroma filling your kitchen will be absolutely divine!
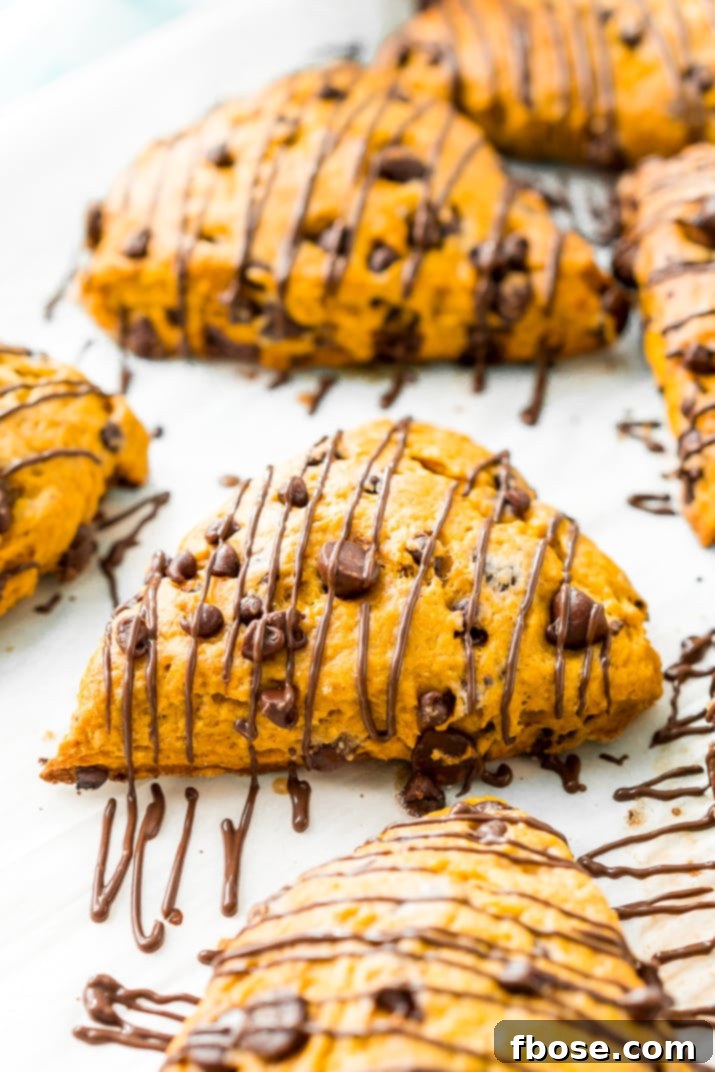
Once baked, remove the scones from the oven and allow them to cool slightly on the baking sheet before transferring them to a wire rack. These scones are best served warm, allowing the chocolate chips to be wonderfully gooey. For an extra touch of indulgence, feel free to drizzle them with additional melted dark or semi-sweet chocolate. Any leftover scones can be wrapped airtight and stored at room temperature for up to 2-3 days. To enjoy them again, reheat briefly in the microwave for a fresh-baked warmth.
To Freeze Scones for Later: For ultimate convenience, these Pumpkin Scones freeze beautifully. Once completely cooled, wrap individual scones tightly in plastic wrap, then place them in a large freezer bag, removing as much excess air as possible. Store them in the freezer for up to 3 months. When you’re ready to enjoy, simply transfer them to the counter to thaw at room temperature. You can gently warm them in the microwave or a low oven for that fresh-from-the-bakery taste.
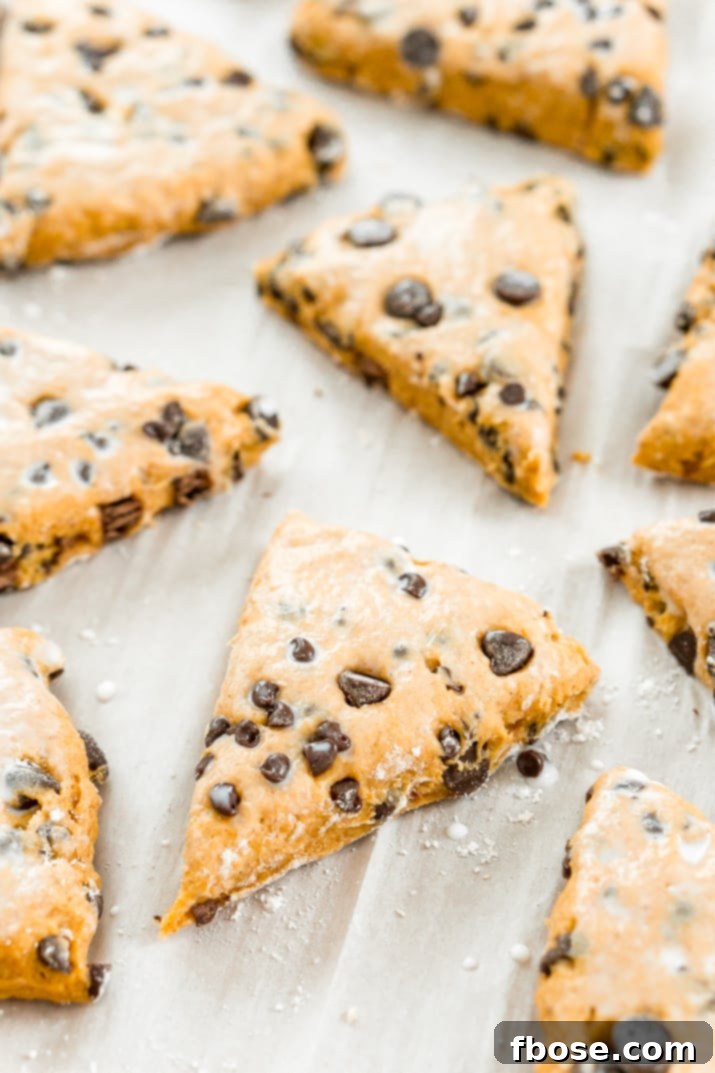
There’s something uniquely satisfying about these Chocolate Chip Pumpkin Scones that truly hits the spot. They offer a delightful pick-me-up that’s sweet without being overpowering, making them perfect for any time of day. And when those chocolate cravings undeniably strike, the generous inclusion of both rich dark and smooth semi-sweet chocolate chips provides a decadent answer. This thoughtful combination is what sets these scones apart, making them an unparalleled seasonal treat.

Unlocking the Scone Mystery: What Makes Them Truly Special?
Have you ever wondered what truly distinguishes scones from other baked goods like biscuits or muffins? It’s all in the preparation and shaping! Scone dough is typically pressed into a thick circle, then cut into traditional wedges. This method, along with the careful incorporation of cold butter, contributes to their characteristic crumbly yet tender texture. Once cut, each piece is often brushed with a little milk and sometimes sprinkled with sugar and cinnamon, forming a delicate, sweet crust on top during baking.
Here’s another secret for achieving perfectly light and airy scones: after shaping and cutting, place them in the freezer for about thirty minutes to chill before baking. This crucial step prevents the butter from melting too quickly in the oven, ensuring a higher rise and an exquisitely tender crumb. It makes a noticeable difference in the final texture, elevating your homemade scones to an entirely new level!

Pumpkin Scones: Perfect for Any Occasion
Beyond being incredibly easy to make, these Pumpkin Scones are wonderfully versatile treats. They make elegant finger foods, ideal for serving at a sophisticated brunch, a casual luncheon, or bringing as a thoughtful contribution to any fall gathering or holiday event. Everyone will be impressed by your “fancy” offering, but you’ll know the secret: they’re truly no more challenging to prepare than a batch of your favorite cookies!
For an absolutely unforgettable pairing, serve these delightful scones alongside a dollop of my homemade Cinnamon Butter. The rich, spiced butter complements the pumpkin and chocolate beautifully, creating a flavor explosion that will have everyone reaching for seconds, and perhaps even thirds! These Pumpkin Scones are truly the perfect way to savor some of autumn’s most beloved flavors in just a few delicious bites.
So, go ahead and bake a batch (or two!). Enjoy them for a cozy breakfast, a comforting dessert, an energizing afternoon snack, or any moment you find yourself craving that irresistible blend of spicy pumpkin and sweet chocolate goodness. They’re a taste of fall you won’t want to miss!
Pro Tips for Baking the Best Pumpkin Scones
- **Keep Ingredients Cold:** This is the golden rule for flaky scones. Ensure your butter is ice-cold, and even your pumpkin puree and eggs can be chilled. Cold butter creates steam in the oven, leading to those desirable pockets of air and a tender crumb.
- **Don’t Overmix:** Mix the dough only until the ingredients are just combined. Overmixing develops gluten, which can make your scones tough instead of tender. A light hand is key!
- **Handle Gently:** Scone dough is delicate. Avoid excessive kneading or pressing. The less you handle the dough, the more tender your scones will be.
- **Chilling is Crucial:** As mentioned, chilling the formed scones in the freezer for 30 minutes before baking is a game-changer. It helps the scones hold their shape, rise higher, and achieve a superior texture.
- **Even Cutting:** Use a sharp knife or pizza cutter and avoid twisting it as you cut. Clean cuts ensure a good rise and uniform shape.
- **Canned vs. Fresh Pumpkin:** While fresh pumpkin puree can be used, canned pumpkin puree is often thicker and less watery, which is ideal for baking consistency in scones. If using fresh, ensure it’s thoroughly drained to avoid adding too much moisture to the dough.
Creative Variations to Elevate Your Pumpkin Scones
While these Chocolate Chip Pumpkin Scones are perfect as is, feel free to get creative with these delicious variations:
- **Nutty Delight:** Fold in 1/2 cup of chopped pecans or walnuts along with the chocolate chips for added crunch and flavor.
- **Spiced Up:** Enhance the spice profile by adding an extra pinch of ground ginger, nutmeg, or allspice to the dry ingredients.
- **Citrus Zest:** A teaspoon of fresh orange zest can brighten the pumpkin flavor beautifully. Add it with the wet ingredients.
- **White Chocolate Bliss:** Swap out half of the dark or semi-sweet chocolate chips for white chocolate chips for a sweeter, creamier contrast.
- **Maple Glaze:** For an extra touch of sweetness, whisk together 1 cup powdered sugar with 2-3 tablespoons of maple syrup and a splash of milk or cream. Drizzle over warm scones.
- **Cream Cheese Drizzle:** A simple cream cheese glaze made from softened cream cheese, powdered sugar, and a touch of vanilla makes these even more indulgent.
Frequently Asked Questions About Pumpkin Scones
We’ve gathered answers to some common questions to help you bake the best Pumpkin Scones possible.
- **Can I use fresh pumpkin puree instead of canned?** Yes, you can! However, homemade pumpkin puree tends to be thinner. To prevent a soggy dough, make sure to thoroughly drain any excess liquid from your fresh pumpkin puree.
- **How long do homemade Pumpkin Scones last?** When stored in an airtight container at room temperature, baked scones will stay fresh for 2-3 days. For longer storage, see our freezing instructions above.
- **Can I make these scones gluten-free?** While this recipe hasn’t been tested with gluten-free flour, many readers have success substituting a 1:1 gluten-free baking flour blend (ensure it contains xanthan gum) for the all-purpose flour. Results may vary slightly in texture.
- **What’s the best type of chocolate for Pumpkin Scones?** We love a mix of dark and mini semi-sweet chocolate chips for a balanced flavor. However, feel free to use your favorite! Milk chocolate chips or even chopped chocolate bars can also work beautifully.
- **My scones didn’t rise much, what went wrong?** The most common culprits are warm butter, overmixing the dough, or not chilling the dough before baking. Ensure all ingredients are cold and handle the dough minimally for best results.
Don’t Forget to Pin this Irresistible Pumpkin Scones Recipe for Later!

Let’s Connect and Share Your Creations!
I’ve created a vibrant and fun community group on Facebook, and I would absolutely love for you to join us! It’s the perfect space to share YOUR favorite recipes, ask any baking questions you might have, and stay up-to-date with all the exciting new recipes from Sugar & Soul. You’ll never miss a delicious update! If you’re ready to connect with fellow food enthusiasts and bakers, you can request to join us HERE.
Make sure to follow me on Instagram and remember to tag #sugarandsoulco so I can see all the wonderful recipes YOU create from this site! I love seeing your culinary masterpieces and hearing about your baking adventures.
And for a direct line to all my latest recipes and kitchen tips, you can also Subscribe to my Newsletter. Get delicious inspiration delivered straight to your inbox, so you never miss out on another fantastic recipe!

Pumpkin Scones
Ingredients
- 2 3/4 cups all-purpose flour
- 1/3 cup granulated sugar
- 1 tablespoon baking powder
- 1 teaspoon kosher salt
- 1 1/2 teaspoons pumpkin pie spice
- 1/2 cup cold unsalted butter
- 2/3 cup canned pumpkin puree
- 2 large eggs
- 3/4 cup dark chocolate chips
- 3/4 cup mini semi-sweet chocolate chips
Instructions
-
Line a large baking sheet with parchment and set aside.
-
In a large mixing bowl, whisk together the flour, sugar, baking powder, salt, and spices.
-
Work in the cold butter with a pastry cutter just until the mixture is crumbly.
-
In a separate, small mixing bowl, whisk together the pumpkin and eggs until smooth. Add the pumpkin mixture to the dry ingredients and mix until well combined. Fold in the chocolate chips if you want them.
-
Sprinkle and spread flour onto a clean surface and scrape the dough out of the bowl onto it and divide the dough in half.
-
Round each half into a ball and use a floured rolling pin to flatten the dough into circles that are about 3/4-inch thick. Shape the edges with your hands if needed.
-
Use a large knife or pizza cutter that you’ve run under cold water and slice each circle into 6 wedges.
-
Carefully transfer the wedges to the prepared baking dish, leaving 1 to 2 inches between each wedge, and brush each wedge with milk.
-
For best texture and highest rise, place the pan of scones in the freezer for 30 minutes, uncovered. While the scones are chilling, preheat the oven to 425°F.
-
Bake the scones for 22 to 25 minutes, or until they’re golden brown and a toothpick inserted into the center of one comes out clean, with no wet crumbs.
-
Remove the scones from the oven, and serve warm. Feel free to drizzle with additional melted chocolate. Wrap any leftovers airtight, and store at room temperature. Reheat very briefly in the microwave, if desired.
-
To Freeze Scones: Wrap scones individually in plastic wrap and then place in a large freezer bag, remove excess air. Store in the freezer for up to 3 months, transfer to the counter to thaw at room temperature.
Nutrition
Did You Make This Recipe?
Don’t forget to share it with me on Instagram @sugarandsoulco and follow on Tiktok @sugarandsoulco and Pinterest @sugarandsoulco for more!
Pin Recipe
Share Recipe